2014 one little word…Brave

2014 one little word..brave.2

Just a warning: This post is going to get personal.

Do you choose One Word to focus on for the year? This is my 3rd year choosing One Word to focus on as I try to better myself throughout the year. I actually like making resolutions, I look at them more as life time goals. Choosing one word has helped me direct myself towards larger goals. I don’t always conquer all my goals and often fall short. Sometimes I think about repeating a …one little word… for another year and maybe I will one year. That doesn’t mean I haven’t made progress, it just means I still have a ways to go in that area.

So let’s get into why I chose Brave for my word this year. Like I said, this is going to get personal and I’ve been keeping a lot inside for a while. Hopefully this doesn’t scare anyone away but I want to share how I’m hoping this word will affect me this year.

I’ve had a few difficulties to overcome the past few years, there’s been job loss (several times), health issues, difficulties with teenagers, money problems because of job loss, and then just everyday things to pile on top of an already stressful situation. I’m not going to get as personal as I first thought I would because I don’t know that it will benefit anyone, but I have struggled with depression since my early teenage years. It can be debilitating at times. I feel like I’m in a deep hole and climbing out can be a long, emotionally exhausting journey. But I’ve made it out each time and grown a little stronger each time.

These past few months have been different though. We recently moved to a new state and it was a difficult move for me. While I believe it was a good move for my family it still didn’t make it any less difficult. I felt paralyzed! I started having panic attacks and was scared to leave my home alone. I can count 3 times I left my home alone, except to take Ammon to school (actually he was in the car with me so I guess I wasn’t alone) the first 3 months we were here and it was hard every time. We’ve had visitors and of course since we live in Vegas, they want to go to the Strip. While I used to love visiting the Strip it was now emotionally difficult for me to even think about going there. I didn’t want to disappoint anyone so I would go but usually cry and shake the whole way there, saying to myself I can do this! Crowds are not something that are easy for me right now.

That’s probably enough detail. Things have gradually been getting better. I’ve been pushing myself a little more every day. I’ve found that being outside everyday helps me tremendously, even if I don’t leave my backyard. Seeing my kids excel and be braver than I could ever imagine is helping. And an understanding husband is helping the most. When I haven’t been able to go to the store, he goes for me. When I’ve gone walking in the morning, he congratulates me. He pretty much goes with me everywhere I go right now. I actually went to a few stores right before Christmas and it went rather well.

So, you can see why I’ve picked Brave as my word this year. It’s not just about being brave enough to venture out on my own though, it’s about being brave in all aspects of my life. It’s also about being brave enough to notice what’s going on around me and acting on it. Going through this has made me realize that I usually have no idea what’s going on in someone’s life. I want to become brave so I can help someone else who’s struggling. I don’t want to be afraid to approach someone with a kind word, a smile, an invitation to lunch, or a long conversation. That might be second nature to some of you but for me it’s a stretch. Having a continuous fear of rejection makes it hard to be the one to make the first move, but this is the year I’m going to work hard on being Brave. Through being brave I hope I can help someone overcome a fear or a challenge. We all want to be the best person we can be and we all need help along the way. I have been so grateful to those who have helped me through difficult times, sometimes without even knowing they did. They were just there for me.

I hope to keep you updated here and there on my journey and how this word is helping me this year. Please only positive comments on this post. I will be brave enough to delete negative ones. If you have any questions you don’t want to leave in the comments you are more than welcome to email me.

I’m going to do something BRAVE today!

Also I am thinking of making a printable like the one above. I will offer the flag in different colors and leave it blank so you can add your own word. Would anyone be interested?

{ 26 comments }

It’s Thursday so it’s time for another great recipe from my food contributor. After weeks of parties and overeating I’m ready to eat healthier again. What about you? I think this salad is the perfect start so I’m making it for my family this week. Here’s Melissa with the recipe.

We love main dish salads at my house and this one is for sure one of our favorites. This salad is easy to prepare because there isn’t a ton of chopping required, just romaine lettuce, sliced pears, and a handful of dried cranberries. The simple salad helps compliment the chicken while keeping it the star of the dish. The pecan crusted chicken is incredible! It’s full of flavor and stays perfectly moist and juicy on the inside with a satisfying crunch on the outside. The sweet and tangy honey mustard dressing is the perfect compliment to the chicken and fruit on the salad. I hope you enjoy this one as much as we do.

pecan chicken salad with honey mustard

Pecan Crusted Chicken Salad
(serves 4)

  • 1 recipe pecan crusted chicken (see below)
  • 1 recipe honey mustard dressing (see below)
  • 8 cups chopped romaine lettuce
  • 1 pear, thinly sliced
  • 1/2 cup dried cranberries

Directions:

Combine lettuce with cranberries and divide evenly on four dinner plates. Top lettuce with sliced pear and pecan crusted chicken. Drizzle with desired amount of honey mustard dressing.

Pecan Crusted Chicken

  • 3-4 boneless skinless chicken breasts (about 1 lb)
  • 1/2 cup pecans
  • 15 saltine crackers
  • 1 teaspoon Italian seasoning
  • 1/4 teaspoon salt
  • pinch of cayenne pepper (optional)
  • 1/3 cup milk
  • 2 eggs

Directions:

-Between pieces of plastic wrap or waxed paper, place each chicken breast smooth side down; gently pound with flat side of meat mallet or rolling pin until about 1/2 inch thick.
-Combine pecans, crackers, Italian seasoning, salt, and cayenne in a food processor or blender. Process until pecans are finely ground.
-Add 1/3 cup of milk and 2 eggs into a shallow pan (I like to use pie tins), mix with a fork until well combined.
-In an additional shallow pan add the pecan mixture.
-Dip each chicken breast in the egg mixture and then coat chicken in the pecan mixture
-In a skillet, heat oil over medium heat until hot. Cook chicken in oil 8 to 10 minutes, turning once, until chicken is no longer pink in center and coating is golden brown.

*If you want you can also bake the chicken in the oven at 350* for 30 minutes. The pecan coating will not be as crunchy as it is when you fry it in the oil, but it is still good.

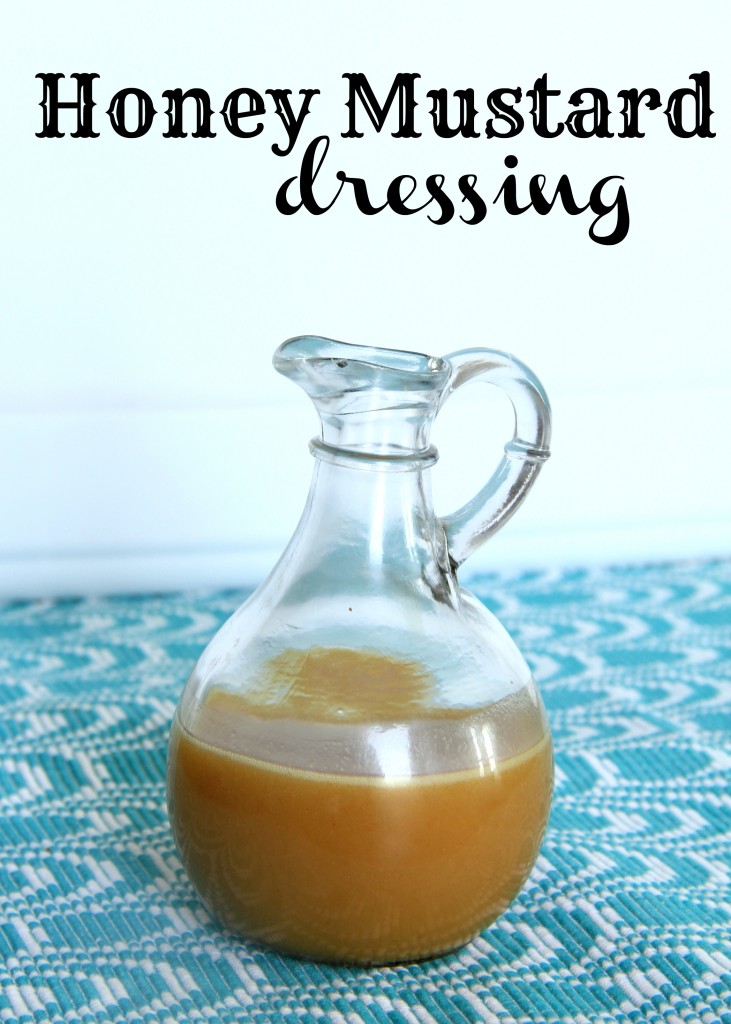
honey mustard dressing

Honey Mustard Dressing

  • 1/2 cup honey
  • 1/4 cup Dijon mustard
  • 1/4 teaspoon garlic powder
  • 1/4 teaspoon pepper
  • 1 tablespoon apple cider vinegar
  • 2 tablespoons extra virgin olive oil

Directions:

Add all ingredients to a bowl and whisk together until smooth. Chill until ready to serve.

*This also makes a wonderful and easy marinade for baked chicken.

Thank you for another tasty recipe Melissa! Don’t forget to also check out My Mommy Style where Melissa blogs regularly.

{ 3 comments }

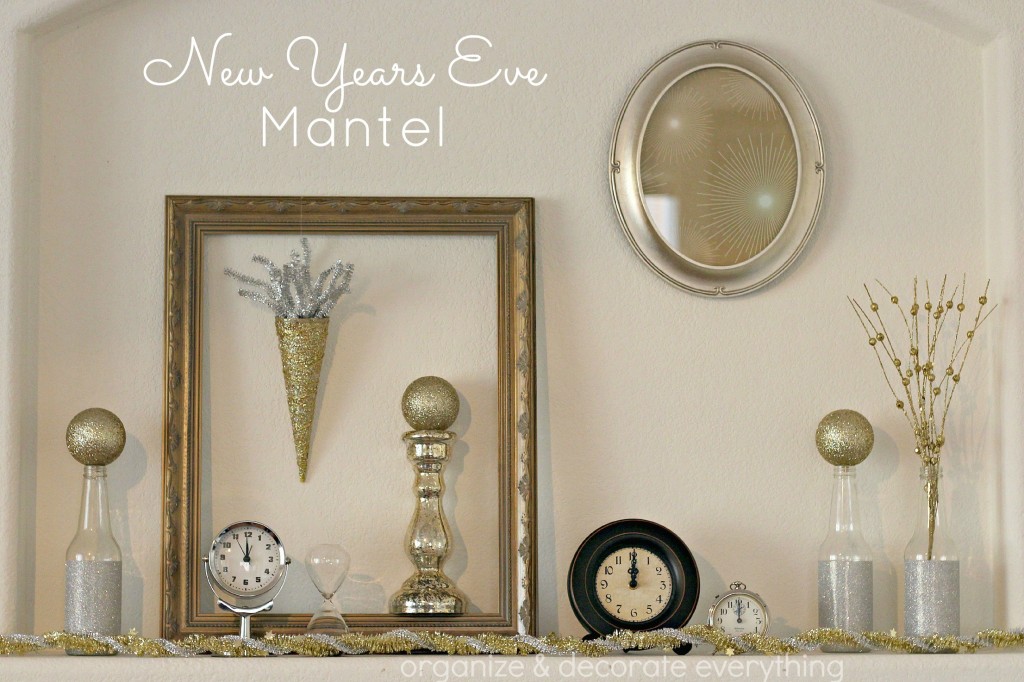
New Years Eve Mantel

New Years Eve mantel.1

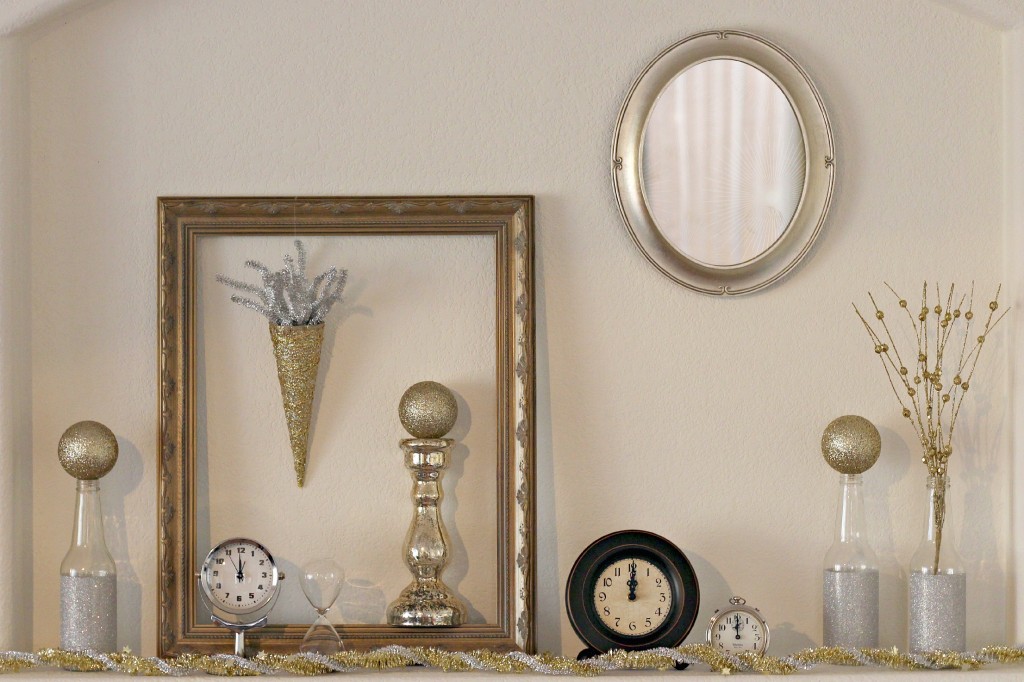
We were out of town for the weekend so my Christmas is still up, but I decided I wanted a mantel for New Years Eve so I took a few minutes and came up with this. I used some of my Christmas decorations then grabbed a few things from the craft room and from around the house. Gold, silver, and glitter must have been speaking to me because this is what happened.

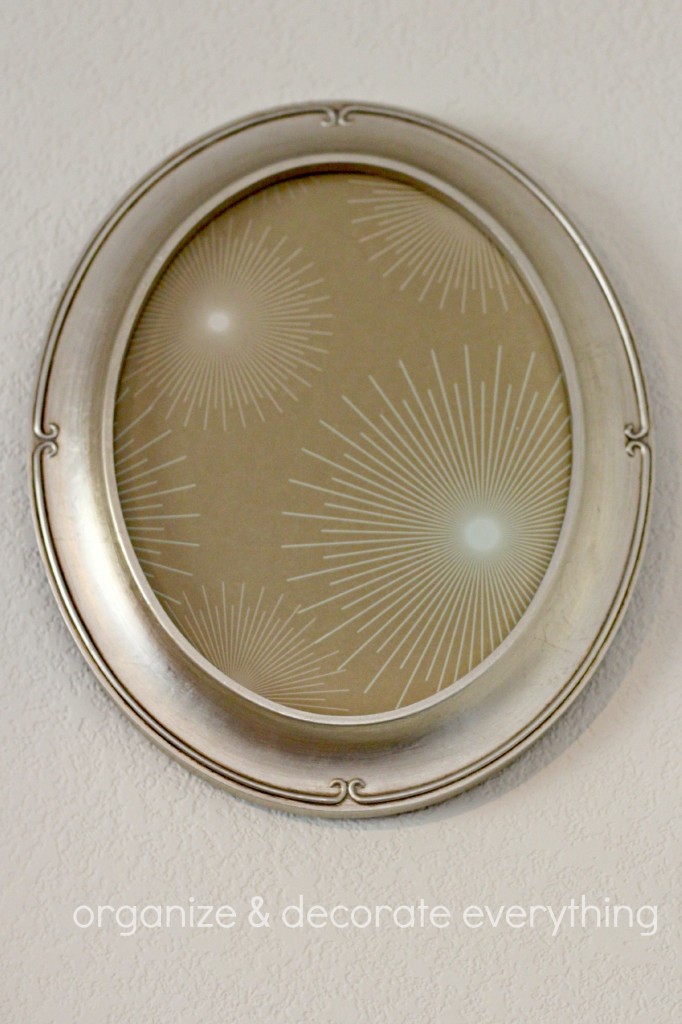
New Years Eve mantel 10.1

I found this scrapbook paper in my stash and thought it would be perfect to represent fireworks, luckily the colors were perfect too. It’s from a Martha Stewart Christmas line from about 4 years ago. I used the glass from the frame to trace onto the paper then cut it out and placed it in the frame. Talk about super fast and easy decor!

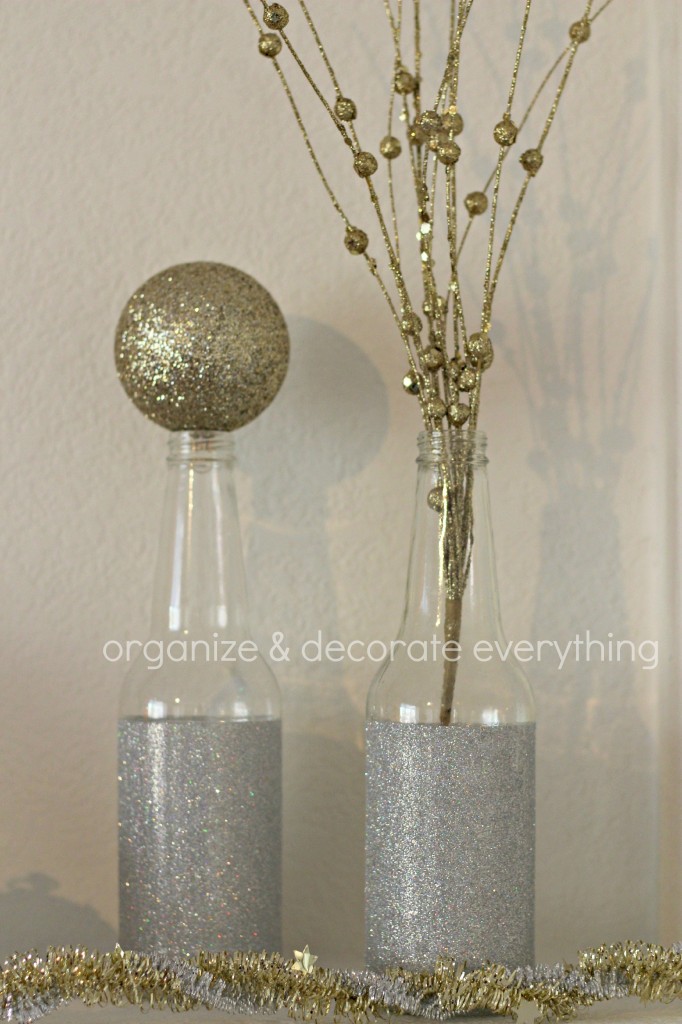
New Years Eve Mantel 4.1

My glitter bottles from a couple years ago have been one of my most popular posts. They’re so pretty and another really fast and easy project. Just leave time for them to dry. I love the gold and silver glitter together. The gold glitter balls are just ornaments turned upside down and the gold spray is leftover from Christmas.

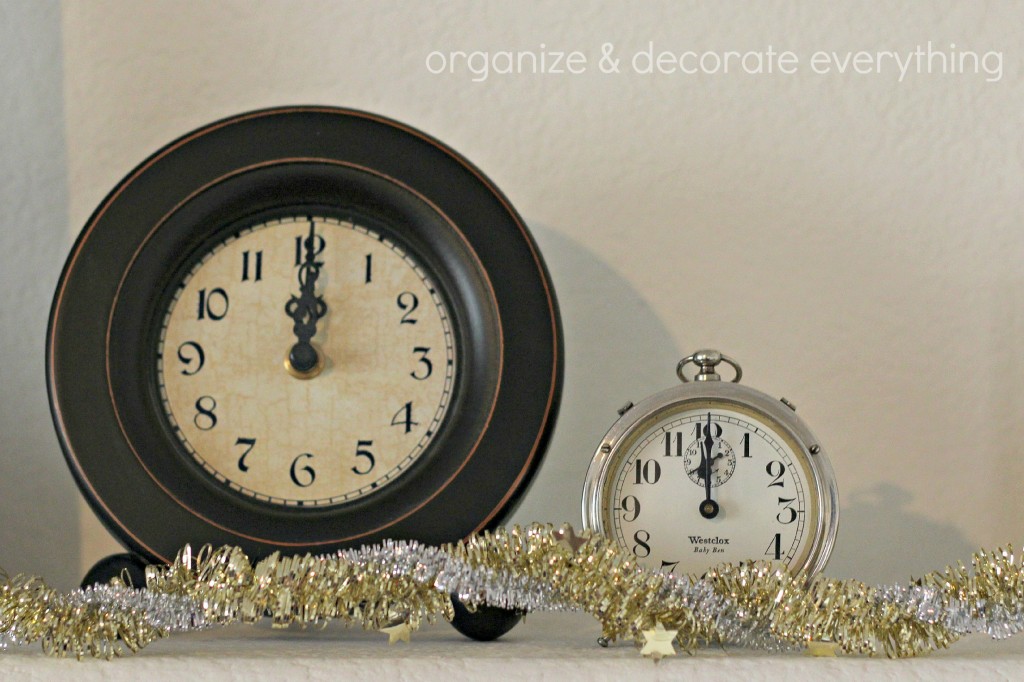
New Years Eve mantel 5.1

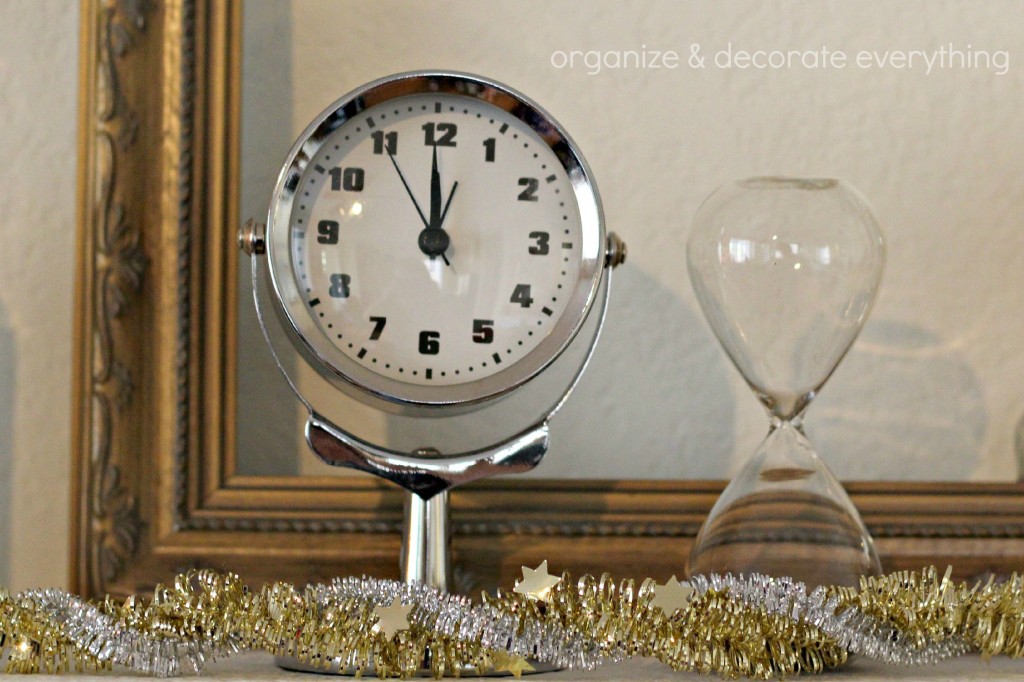
Clocks are always perfect for New Years Eve decor so just gather them from around the house for the night.

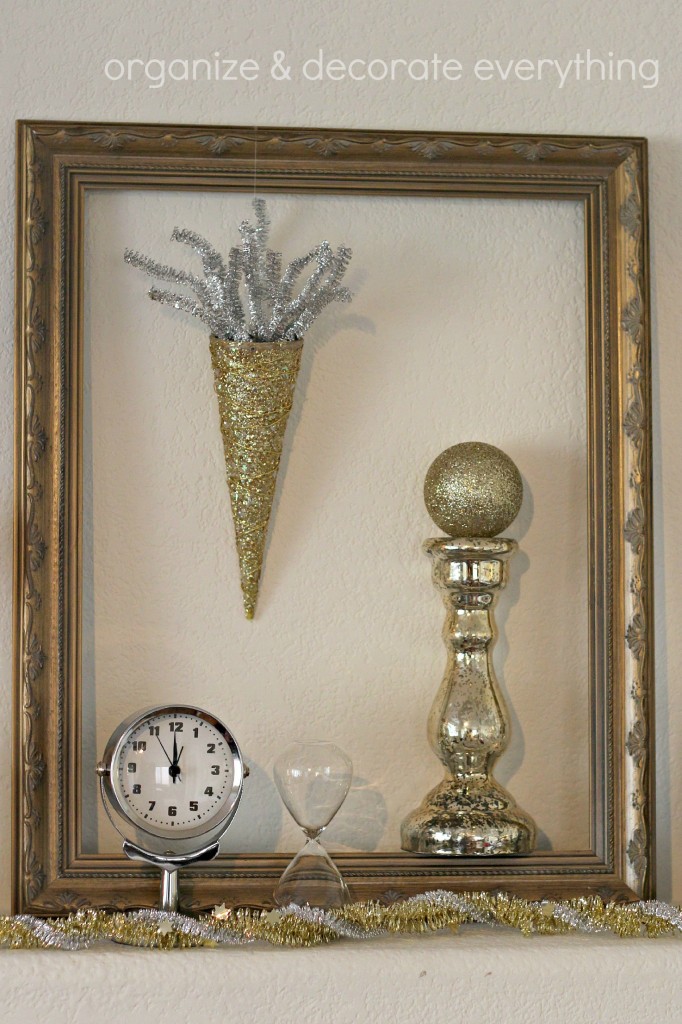
New Years Eve mantel 9.1

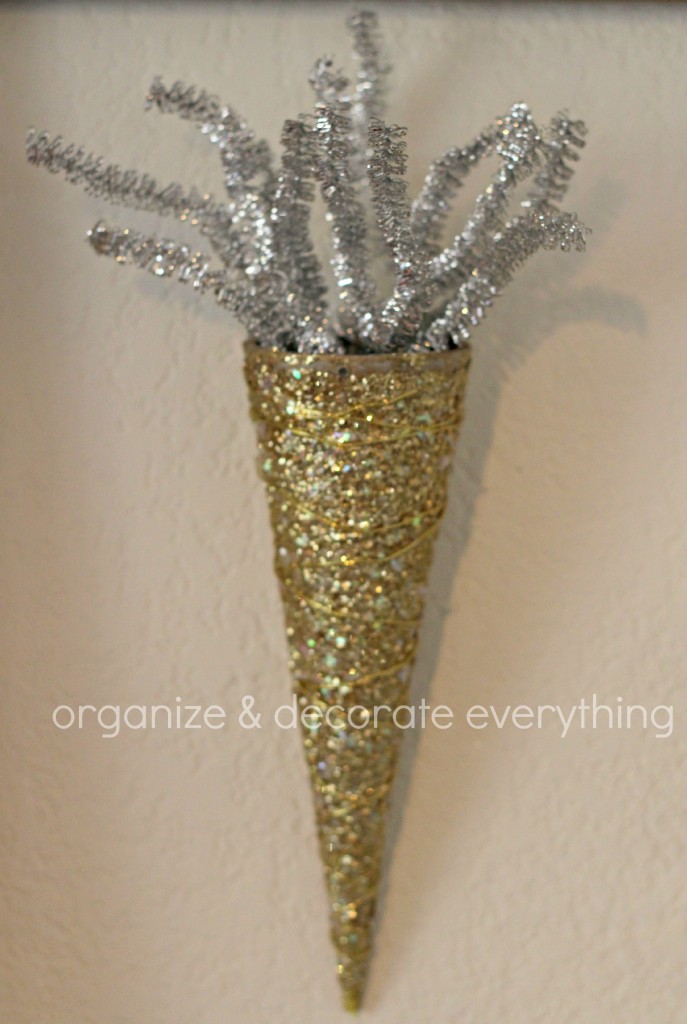
I like to use empty frames and other large pieces to bring height and balance to the mantel. They’re also fun to hang things from like this gold glitter cone.

New Years Eve mantel 6.1

I placed another clock and an hour glass in front of the frame.

New Years Eve mantel 8.1

The glitter cone is actually a Christmas tree cone turned upside down. I had it on the mantel for Christmas and decided to use it again for New Years. I punched little holes in the base and strung fishing line through them to hang it up, then I cut pieces of silver tinsel garland to stick out of the top. It kind of looks like a party, don’t you think?

New Years Eve mantel 3.1

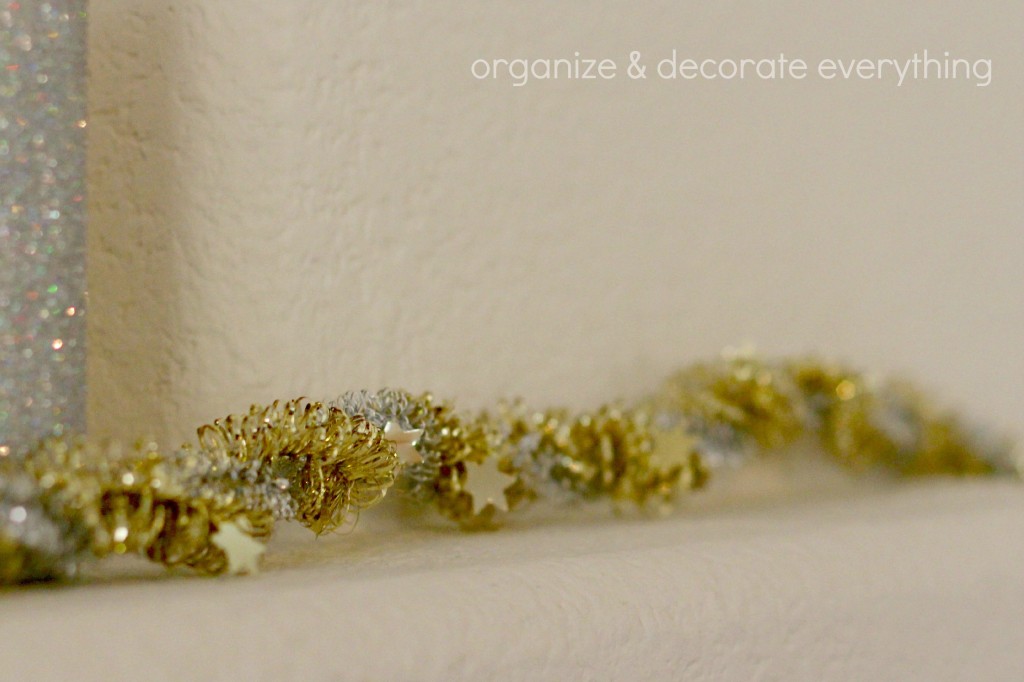
The garland is just gold and silver tinsel twisted together. I had it leftover from gift wrapping.

New Years Eve 2

I love how it turned out and how fast I was able to gather what I wanted to use. This was so last minute and then I decided it needed a banner too, so that will be on the blog later today. Are you prepping for a New Years Eve celebration or do you just like to decorate for the family? You know I’ll change my mantel any chance I get so this was just for fun, plus Ammon loves when I use the clocks and hour glass.

{ 5 comments }

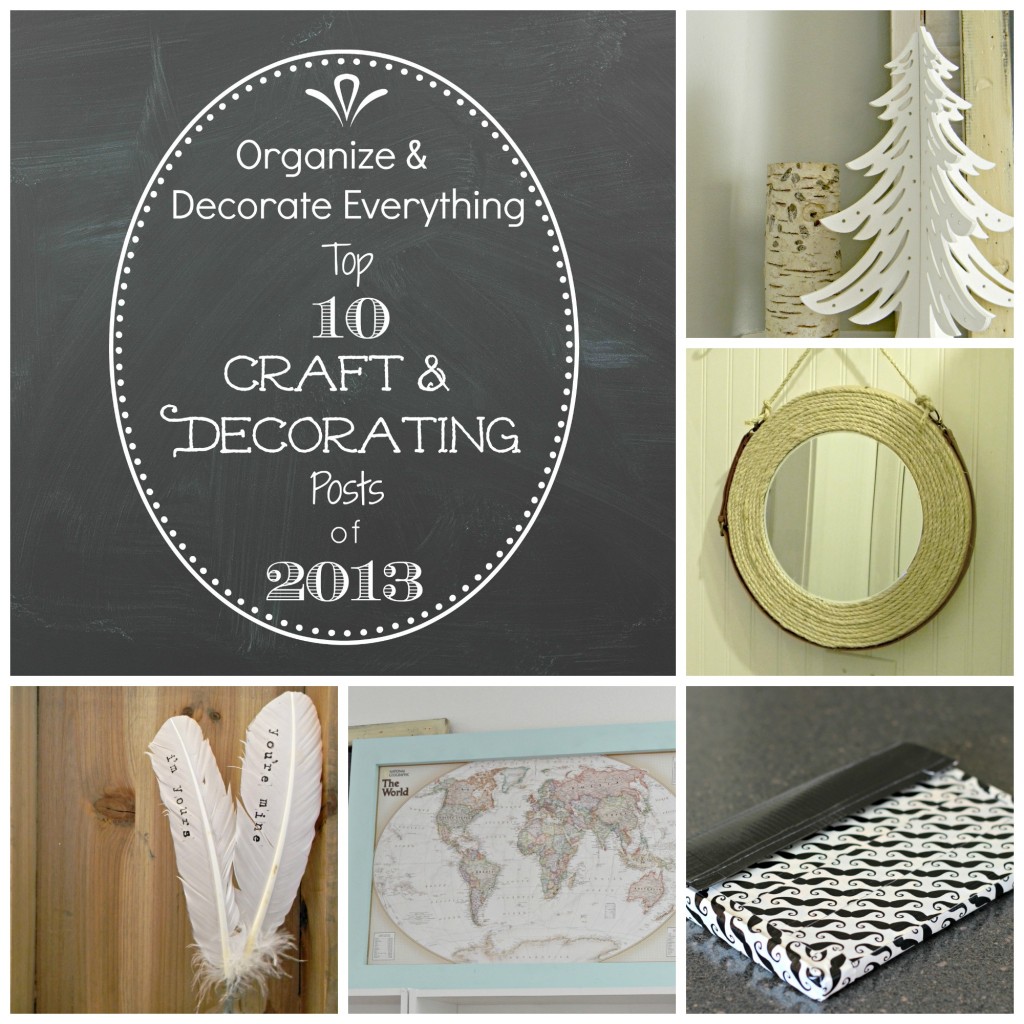
Top 10 Craft and Decorating Posts of 2013

Top 10 crafts of 2013 collage

As we see 2013 come to a close I like to look back and see what craft and decorating projects have done the best with all of you. It’s determined by a combination of the most Pins, Likes and Comments. Here are the Top 1o Craft and Decorating Posts of 2013 in no particular order.

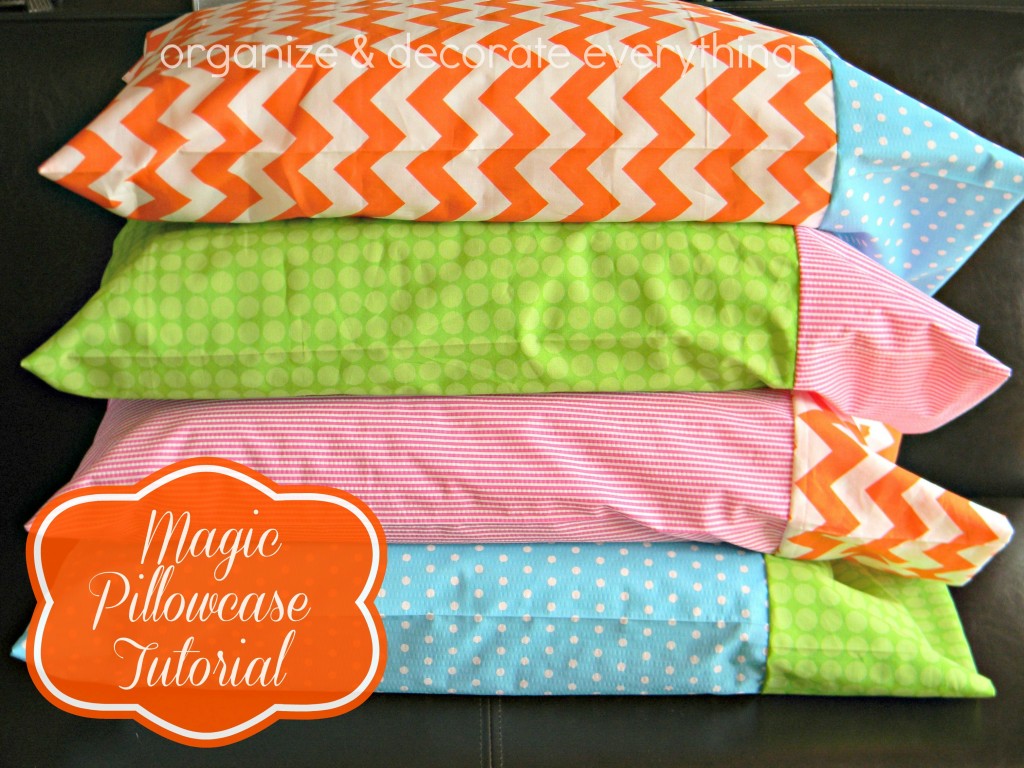
2 fabric magic pillow cases.2

Magic Pillowcase

Stamped Feathers.1

Stamped & Dipped Feathers

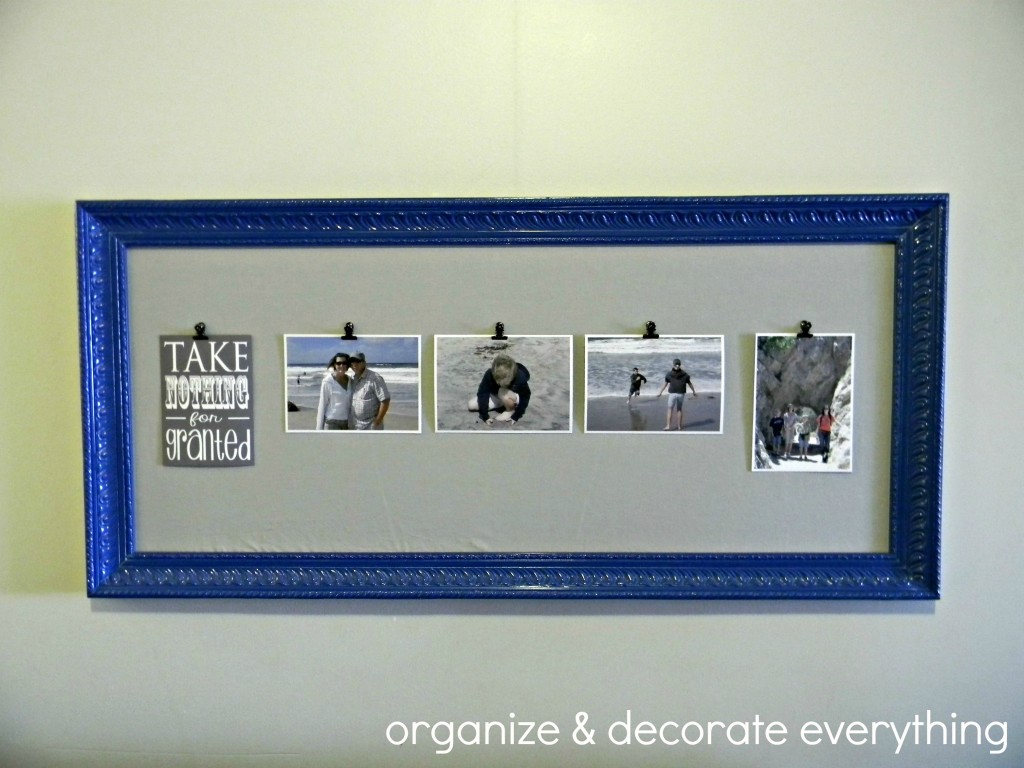
decorating with pictures 1.1

Decorating With Family Pictures

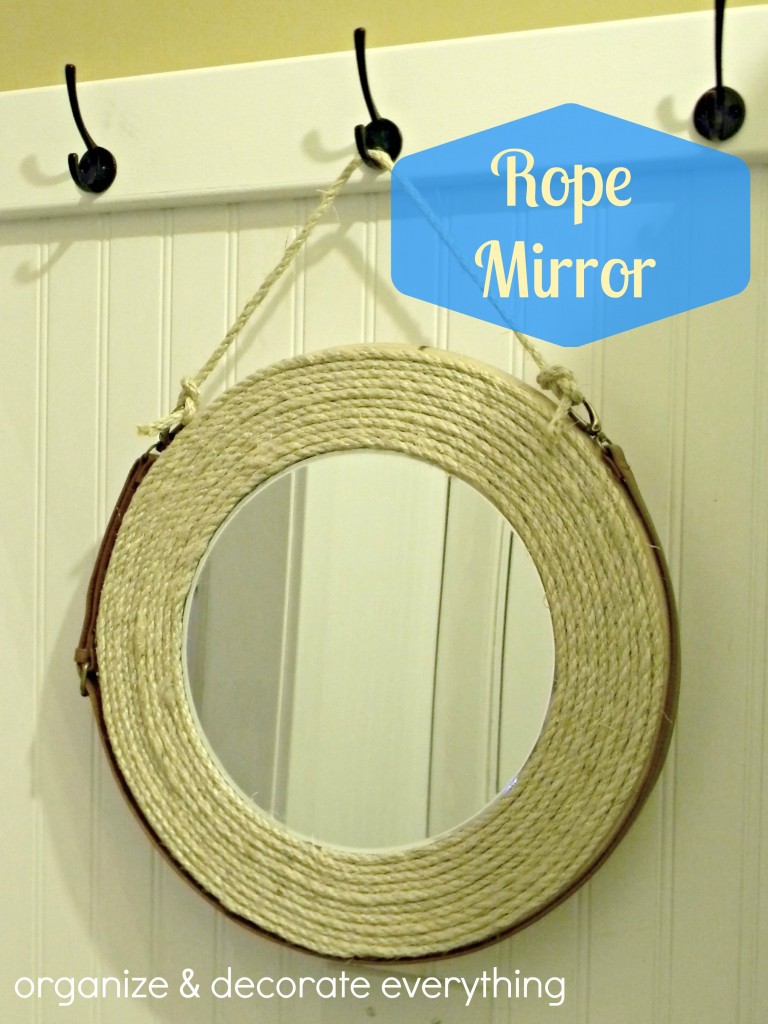
rope mirror.1

Rope Mirror

Cricut Iron-on Pillows 2.1

Iron-on Image Envelope Pillows

winter wonderland mantel .1

Winter Wonderland Mantel

porch curtains 4.2

Drop Cloth Porch Curtains

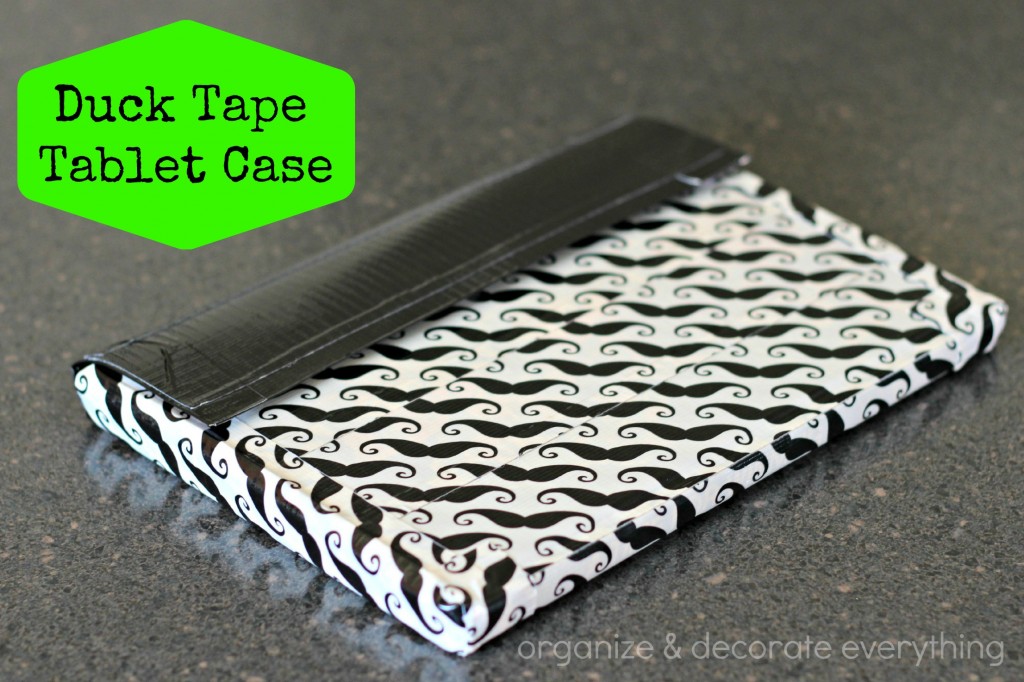
duct tape tablet case.1

Duct Tape Tablet Case

DIY Frame 2.1

DIY Frame

merry christmas

Merry Christmas Printable

I hope you enjoyed these projects and don’t forget to pin the ones you missed.

{ 7 comments }

Top 10 Organizing Posts of 2013

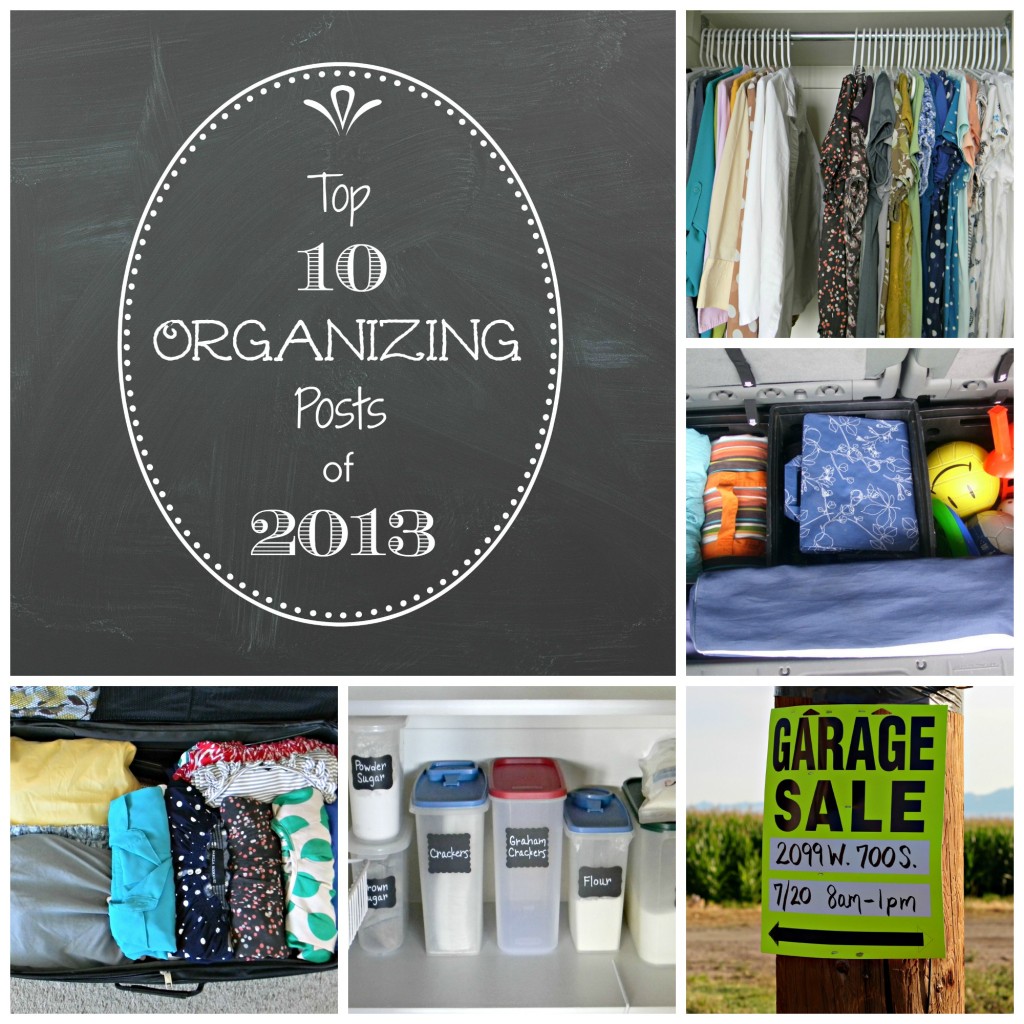
top 10 organizing 2013 collage

I love looking back on my most popular organizing posts of the previous year, don’t you? It’s determined by a combination of the most Pins, Likes, and Comments. Here are the Top 10 Organizing Posts of 2013 in no particular order.

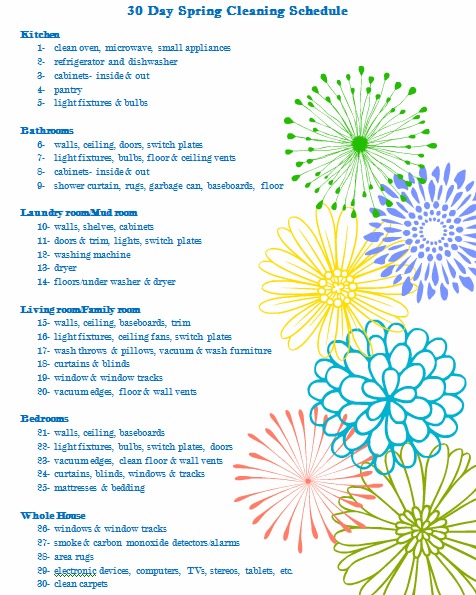
30 day spring cleaning schedule.1

30 Day Spring Cleaning Printable Schedule

garage sale 1.1

10 Tips for a Successful Yard Sale

Master Closet Organization button

5 Tips on Organizing Your Closet and Keeping It That Way (teleconference)

packing for a trip.1

Packing for a Trip

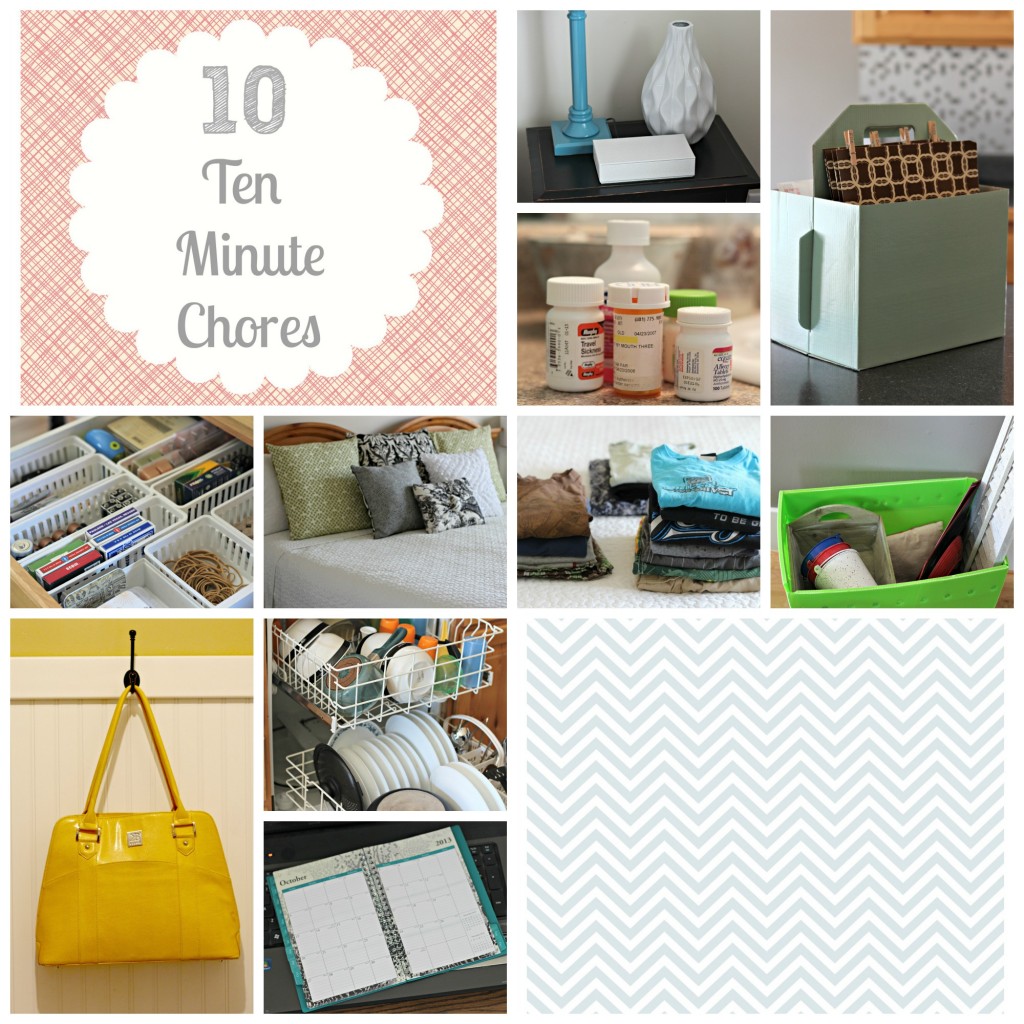
10 minute chore button

10 Ten Minute Chores

less stuff means printable 2

Less Stuff Means… Printable

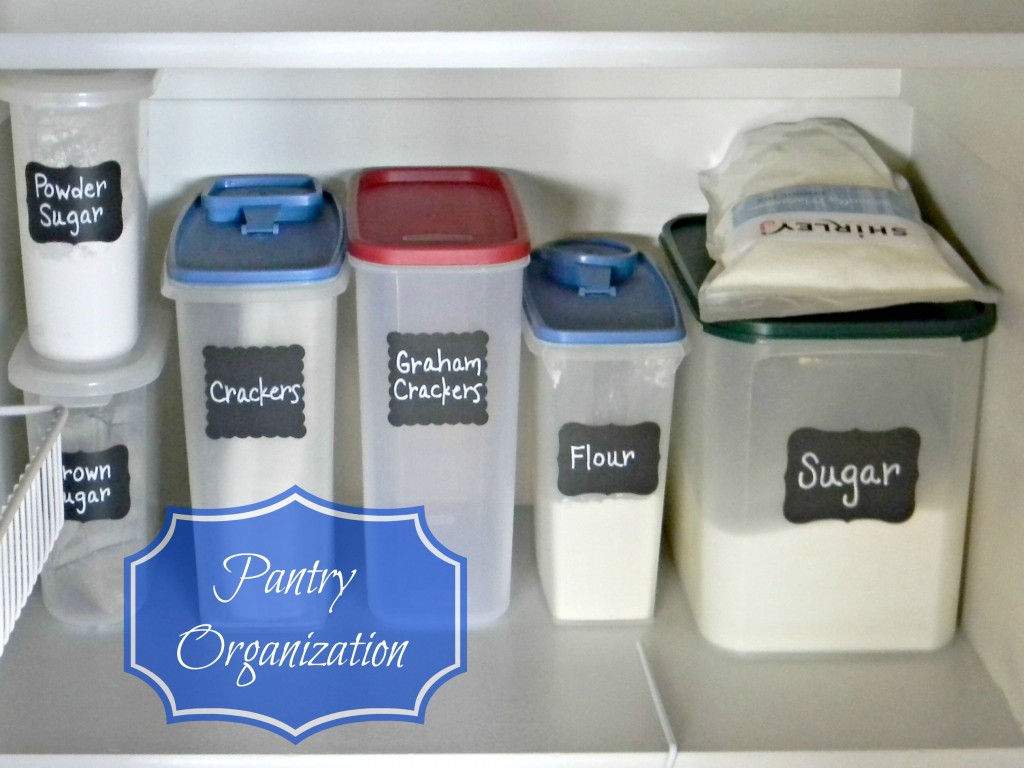
pantry organization

Pantry Organization

31 days button 2013

31 Days of Getting Organized By Using What You Have

Closet Organizing Tips

Closet Organizing Tips

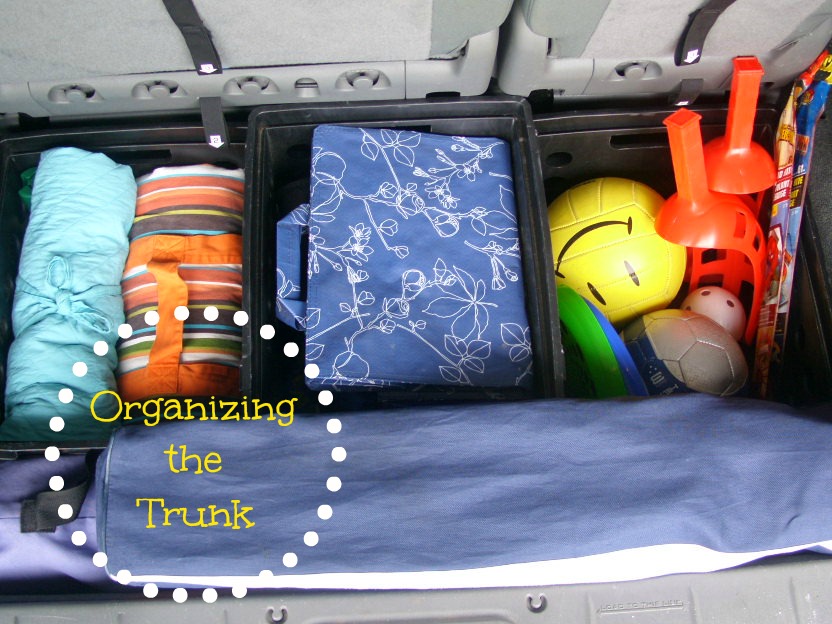
Car Organizing 004.1

Organizing the Trunk

I hope you enjoyed these organizing projects and don’t forget to pin the ones you missed. Look for even more awesome organizing posts in 2014!

{ 4 comments }

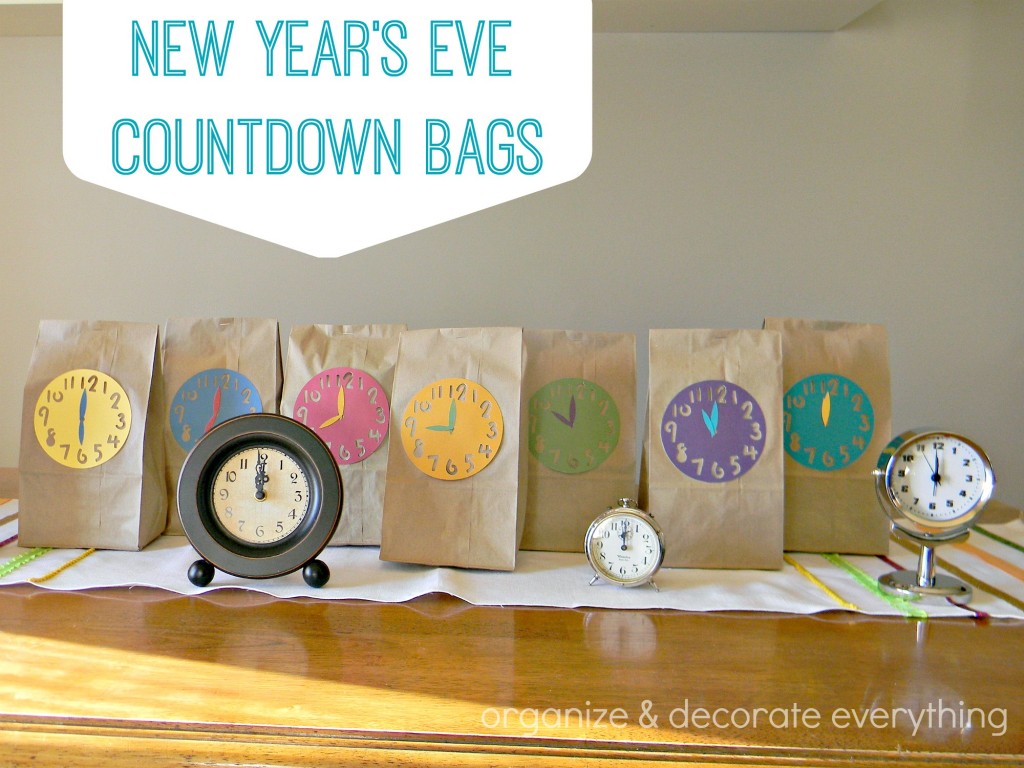
New Year’s Eve Countdown for the Family

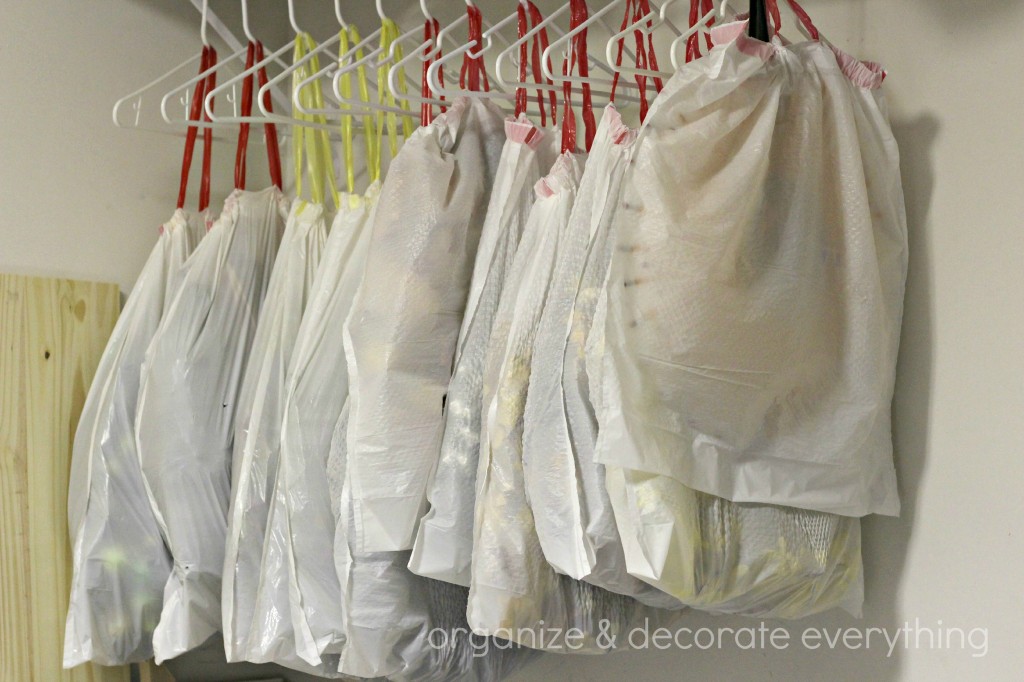
New Years Eve countdown bags

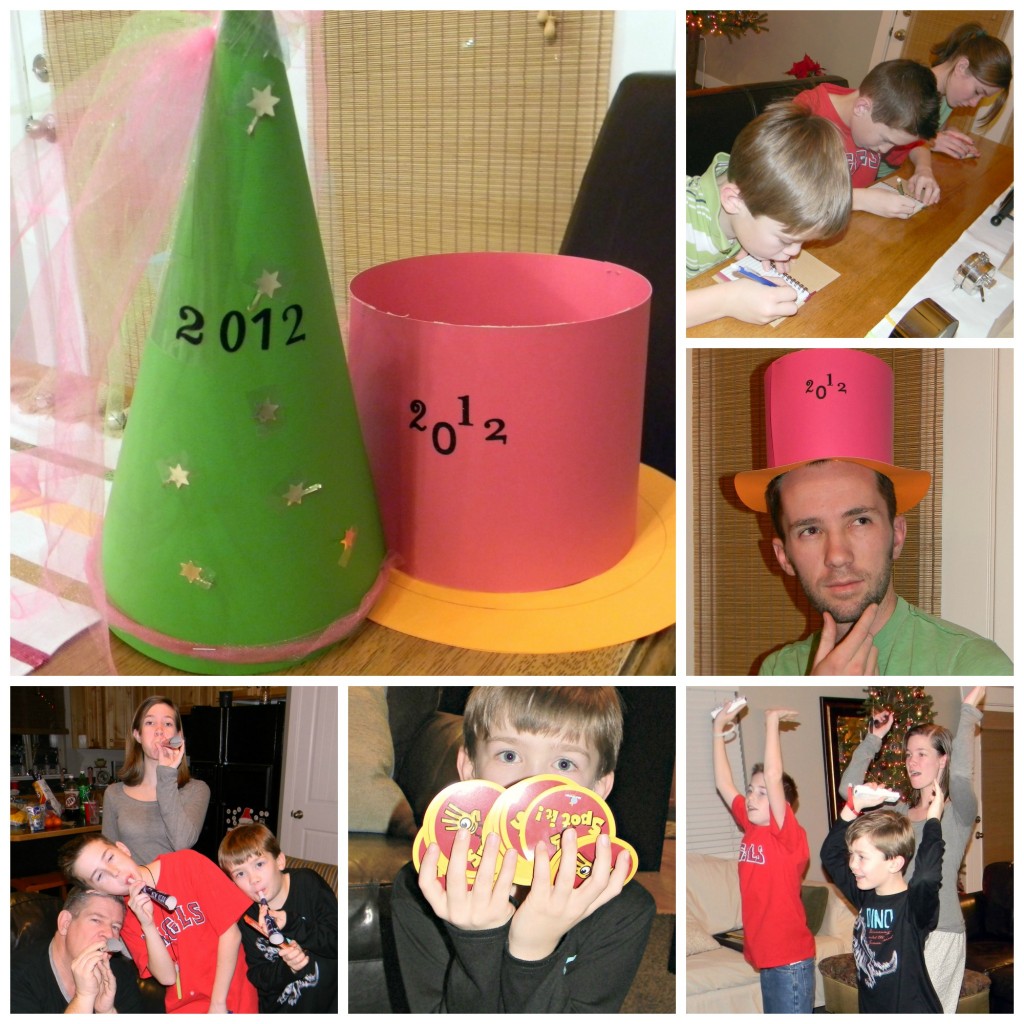
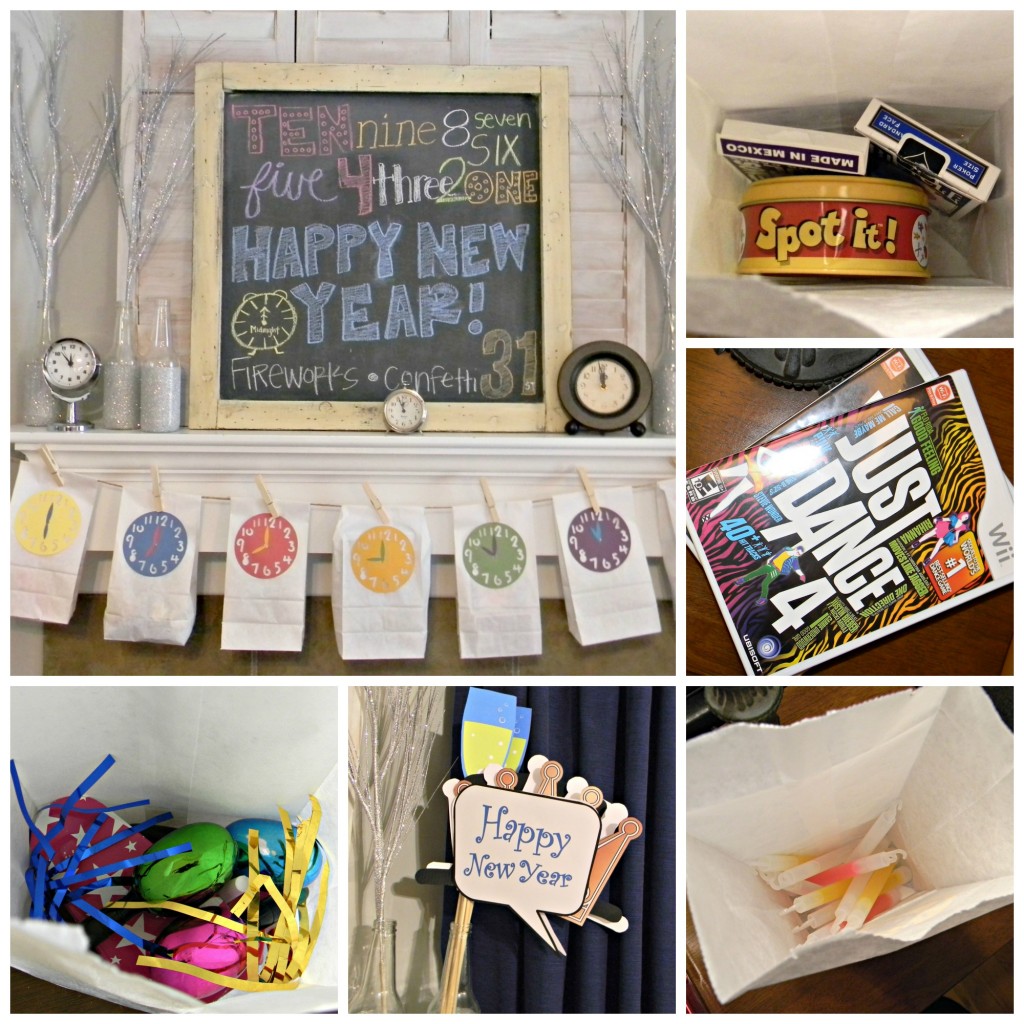
Have you started planning your New Year’s Eve bash? We always stay home with the family and sometimes it’s been a chore keeping everyone together and entertained the whole time. We started these New Year’s Eve Countdown Bags a few years ago. They’ve kept the whole family together and entertained throughout the whole evening . The best part is that it can be tailored to any family and their needs. You can start and end at any time of day if you have little ones.

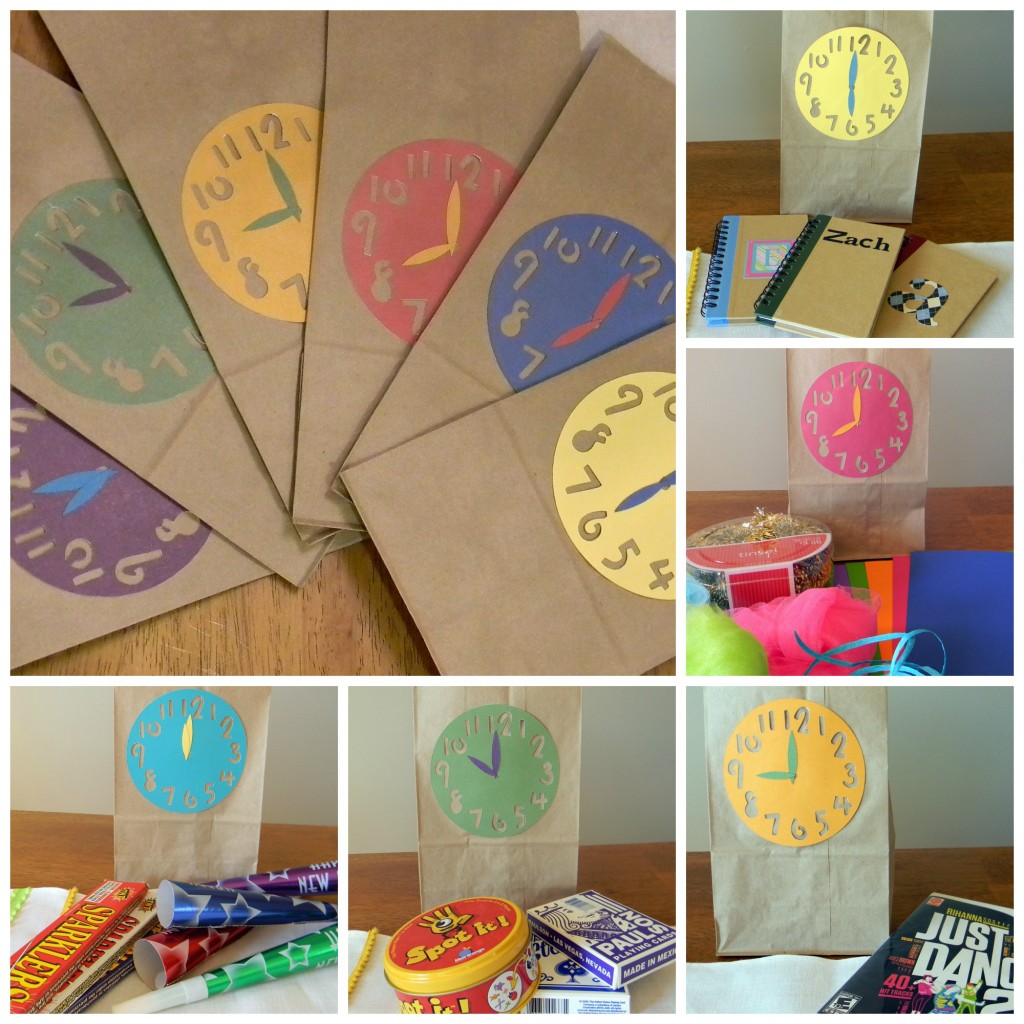
Here’s how I filled some of the bags for New Year’s Eve 2011. (click on the link for more details)

PicMonkey Collage

And here’s some of the fun we had.

PicMonkey Collage2

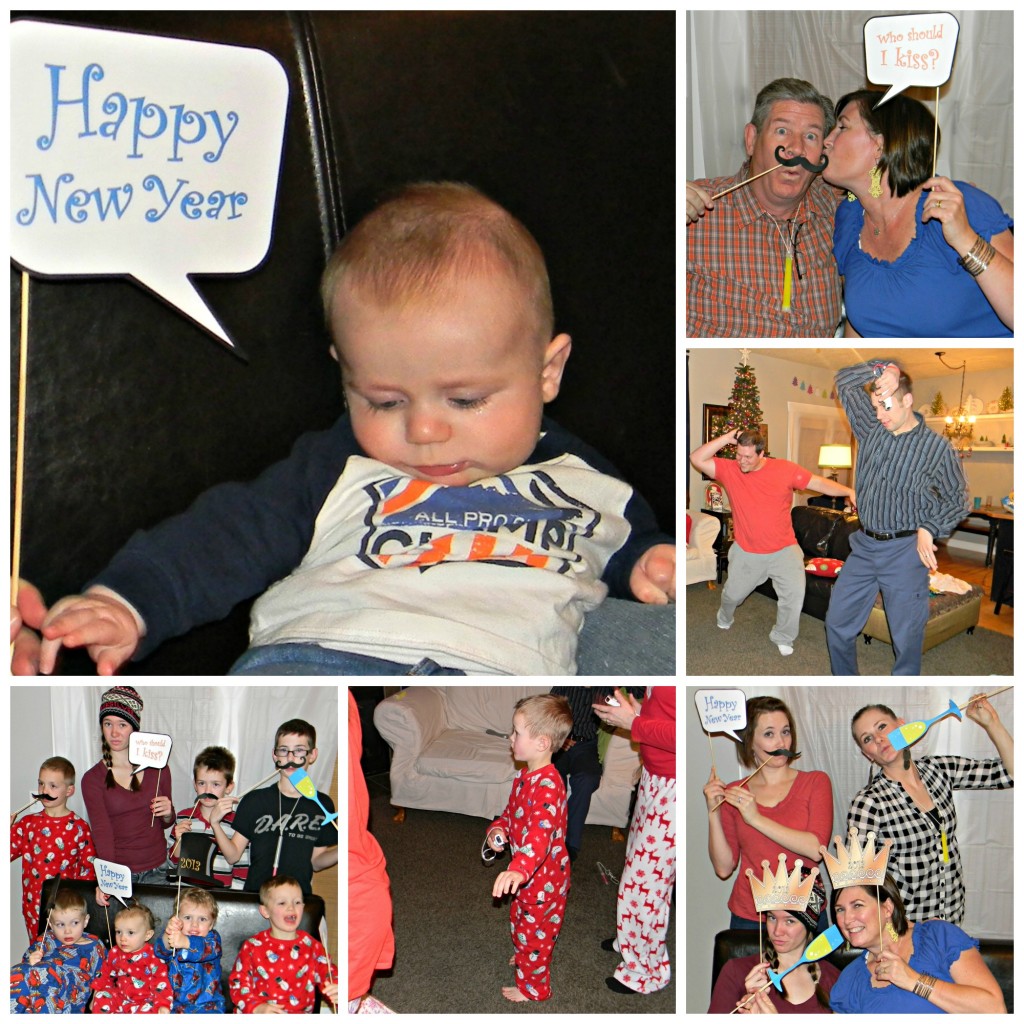
I changed a few things in the bags for New Year’s Eve 2012 because we had a few more family members that year. (click on the link for more details)

New Year's Eve bags collage

Here’s some of the fun we had.

PicMonkey Collage NYE

I can’t wait to make new countdown bags for this year. Click on the links above to be taken to the full posts with tutorials and even more fun pictures. What are your plans for New Year’s Eve? Maybe I can use some of you ideas and include them in our countdown bags this year.

{ 2 comments }

Cranberry Apple Salad

Cranberry Salad.1

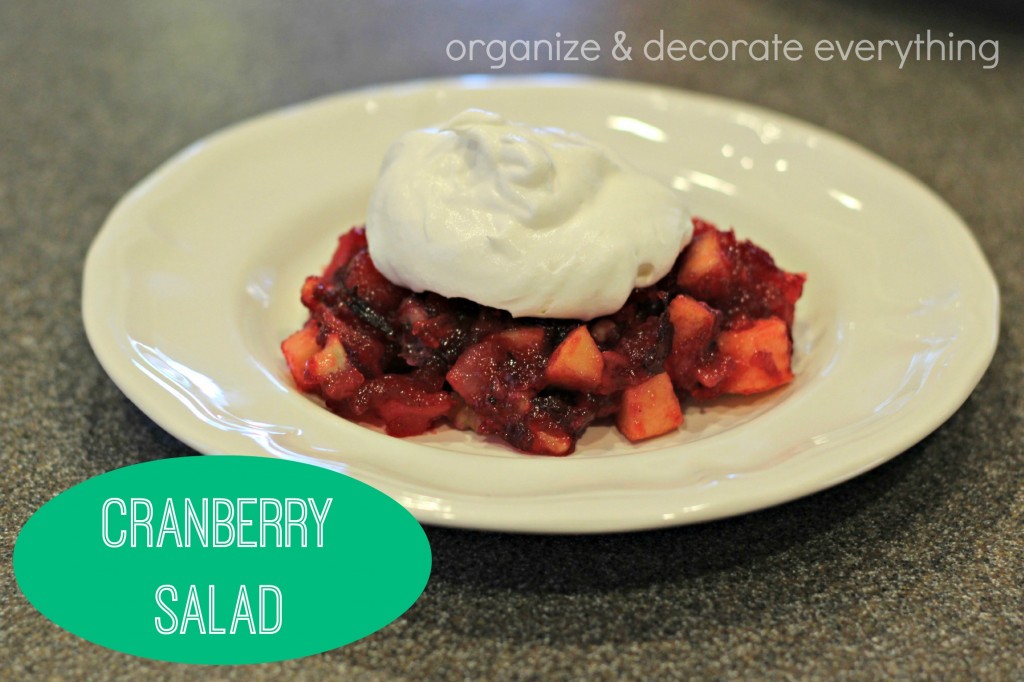
I make this salad every year for Thanksgiving and Christmas. Hubby doesn’t like cranberry sauce but he loves this salad. He’s suggested I make it more than twice a year. I love the tart, sweet, and crunchy flavor all in one bite.

Ingredients:
20 ounce can crushed pineapple, undrained
1 large package raspberry gelatin
16 ounce can whole cranberry sauce
1 apple, chopped
2/3 cup chopped walnuts

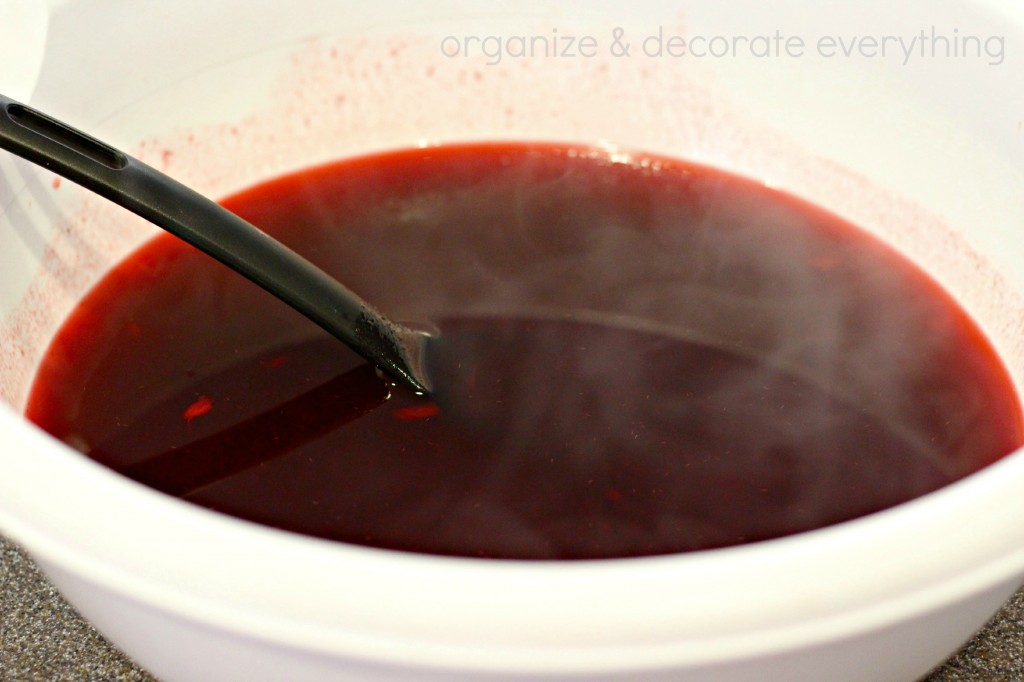
Drain pineapple. Reserve liquid in measuring cup and add enough cold water to make 3 cups liquid. Pour into large saucepan. Bring to a boil, remove from heat. Add gelatin, stir at least 2 minutes until completely dissolved. Add cranberry sauce and stir until mixed well. Pour into a large bowl and refrigerate 1 1/2 hours or until slightly thickened.

Cranberry Salad 2.1

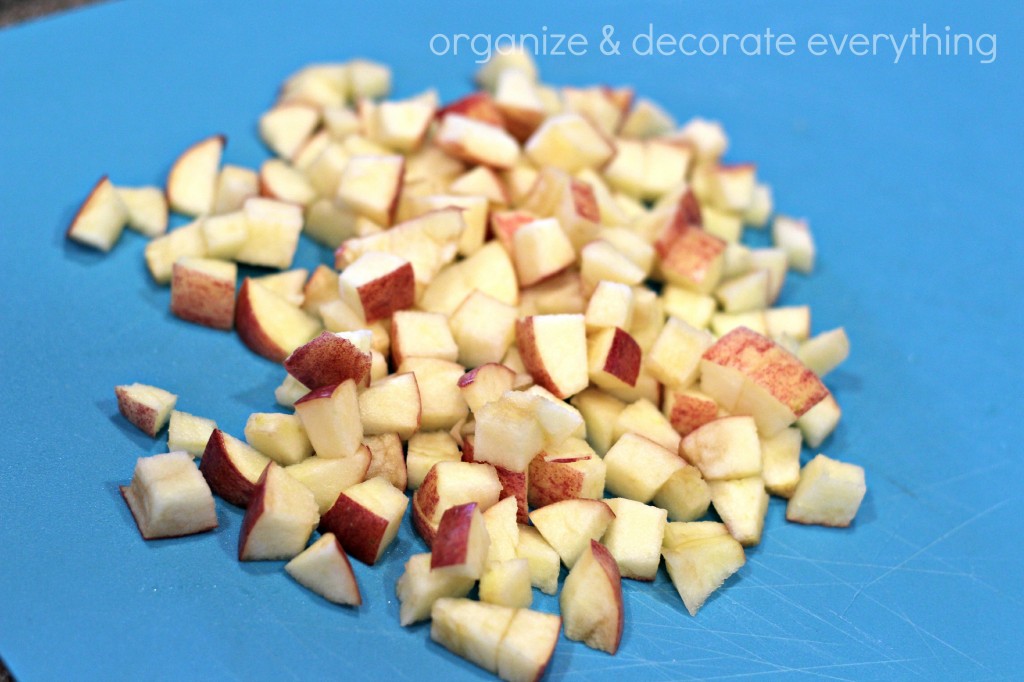
Chop apple into small bite size pieces.

Cranberry Salad 4.1

Stir crushed pineapple, chopped apple, and chopped walnuts gently into gelatin. Pour into serving bowl and refrigerate until firm.

Cranberry Salad 5.1

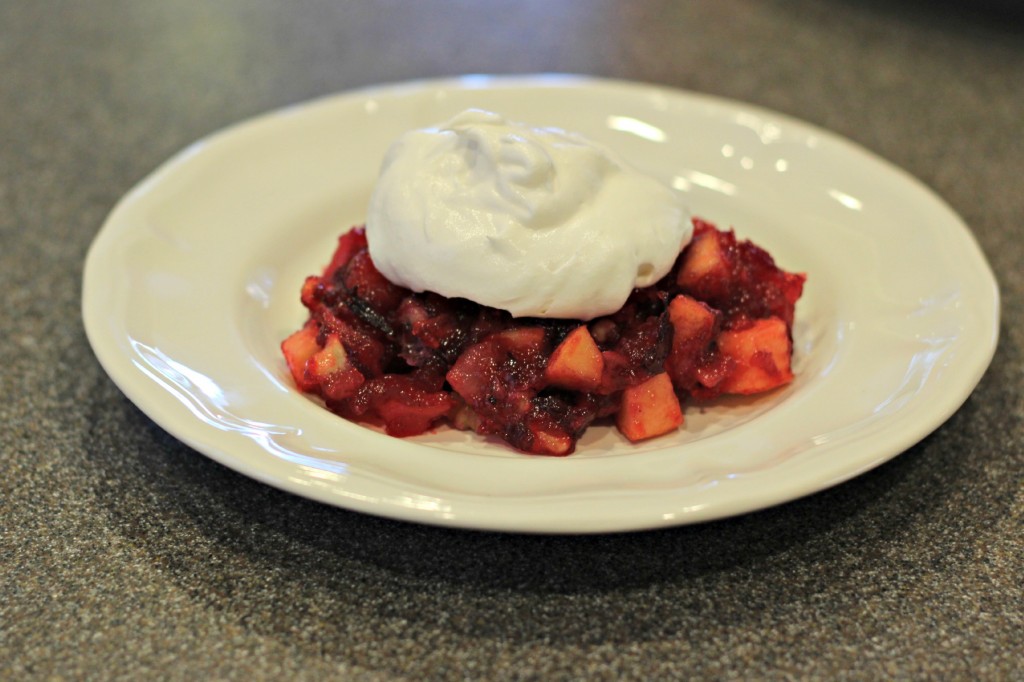
Serve topped with whipping cream.

Cranberry Salad

Enjoy!

{ 2 comments }

Christmas 2013 Home Tour

Home Tour 18.1

I thought I’d take you on a little tour of our Christmas house. We moved a few months ago and this house is about half the size of our old one, plus it’s a rental so it’s not exactly how I want it. But something magical happens at Christmas and no matter your decor, how little or how much, there’s a sweet feeling when you enter homes this time of year. I wish we could all visit each others homes but I guess this little tour will have to do.

Home Tour entry

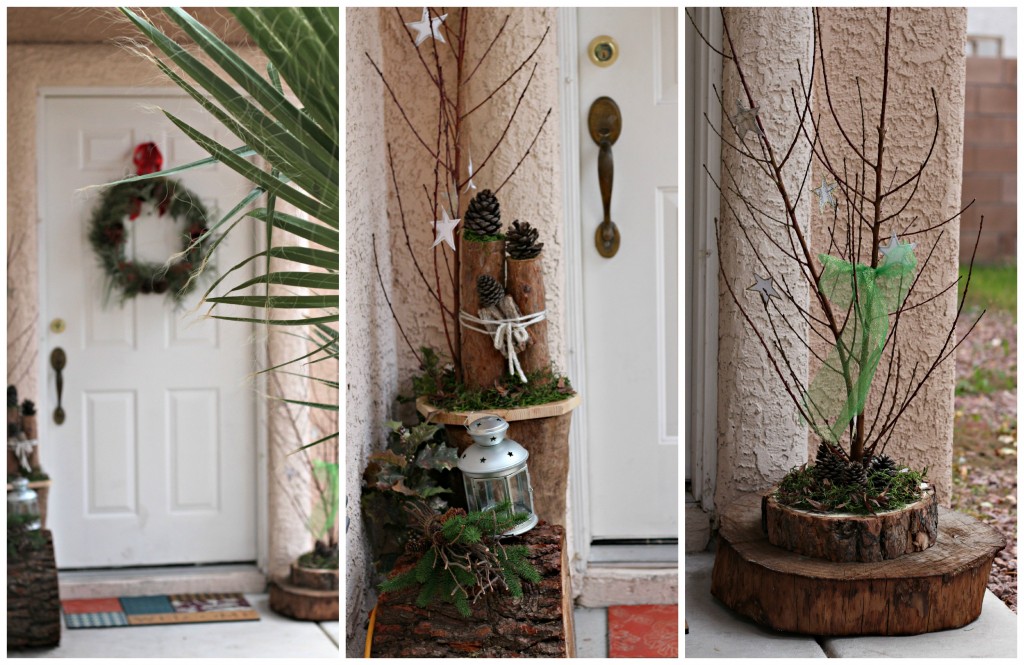
Let’s start with the front porch. Everything on the front porch was made from nature this year and the best part is that it was all easily accessible in our new area. The tree stumps and branches are from a local orchard and the other things were gathered from around my home. You can see how I made everything here and here.

Home Tour Livingroom 2

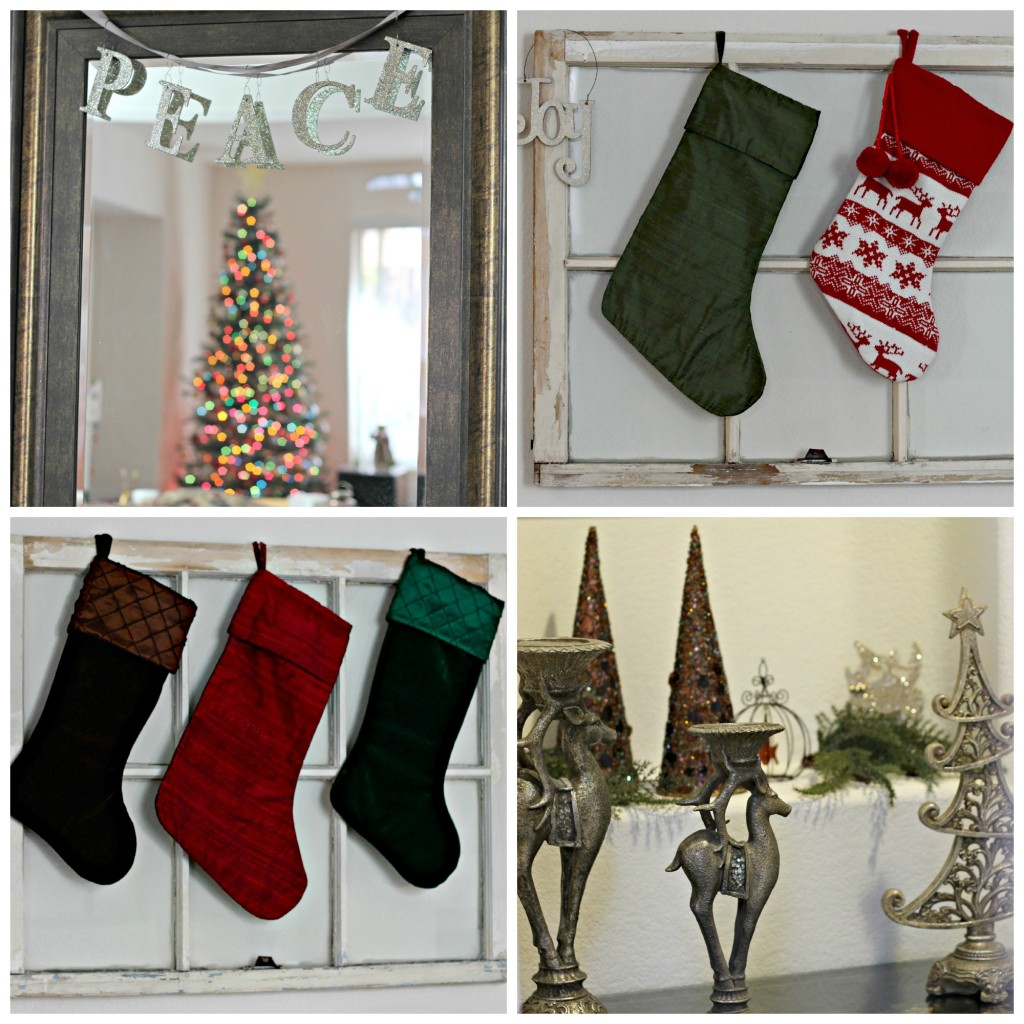
Now lets move on to the living room. I have old windows on the wall that the stockings are hung on. Glitter letters spell out Peace and are hanging on the mirror. You can see the reflection of the tree in the family room. The little alcove by the front door holds glitter trees and reindeer.

Home Tour Livingroom

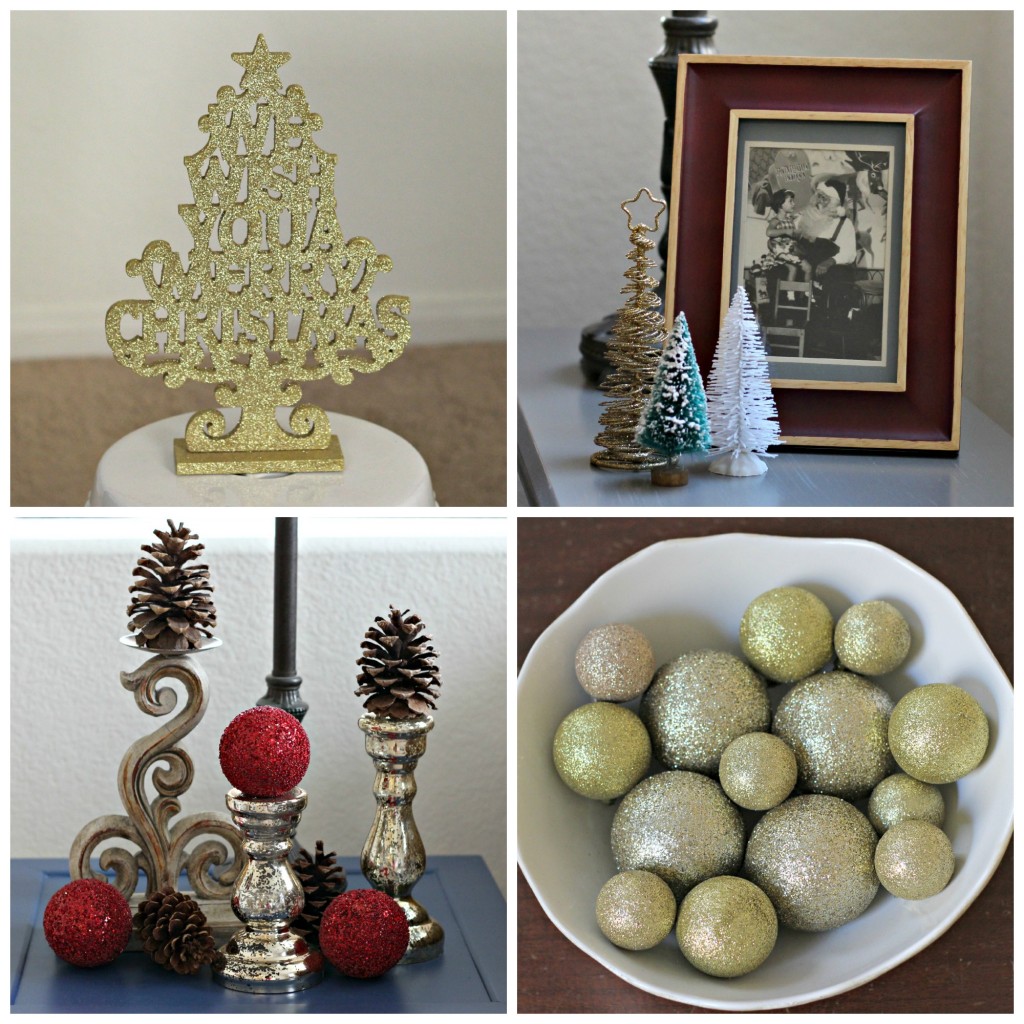
A gold glitter tree sits on a white garden stool and a white bowl of glitter ornaments are on another table. I used varied candlesticks, pinecones, and red glitter balls to make a vignette on a side table. The last table holds a picture of me sitting on Santa’s lap at Santa Claus Land, Indiana. I think it was taken in 1966.

Home Tour 30

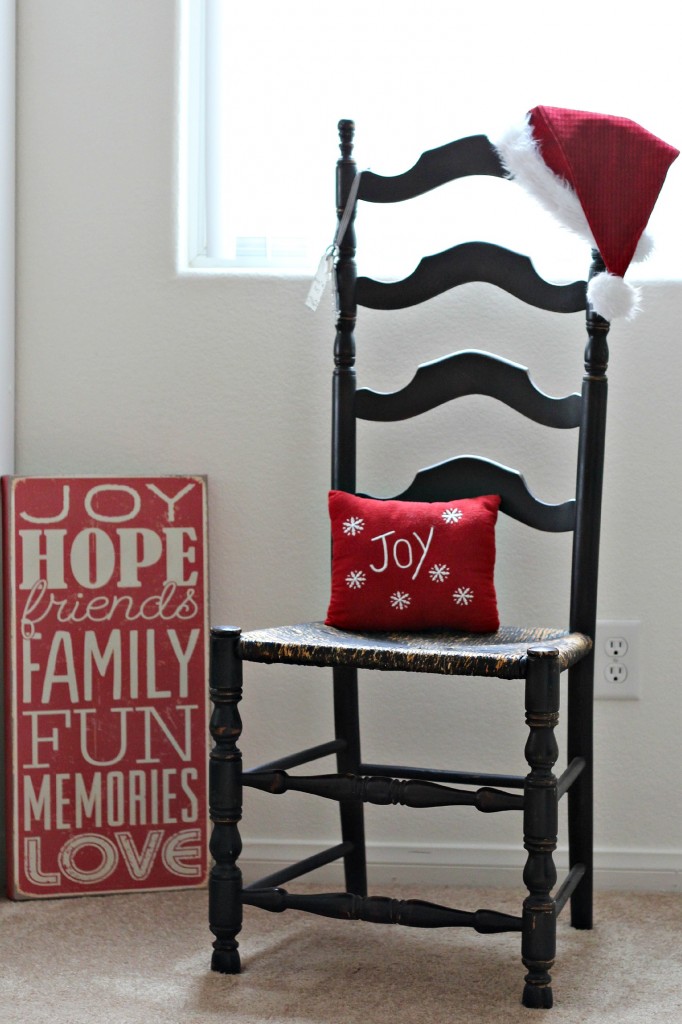
I love this little area by the front door. Hubby always wears a Santa Hat as he passes out gifts from under the tree Christmas morning. I love that little tradition and obviously it’s one he likes too since he initiates it every year. The Santa Key is also hanging from the chair. Santa needs an easy way to get into the house.

Home Tour Bookcase

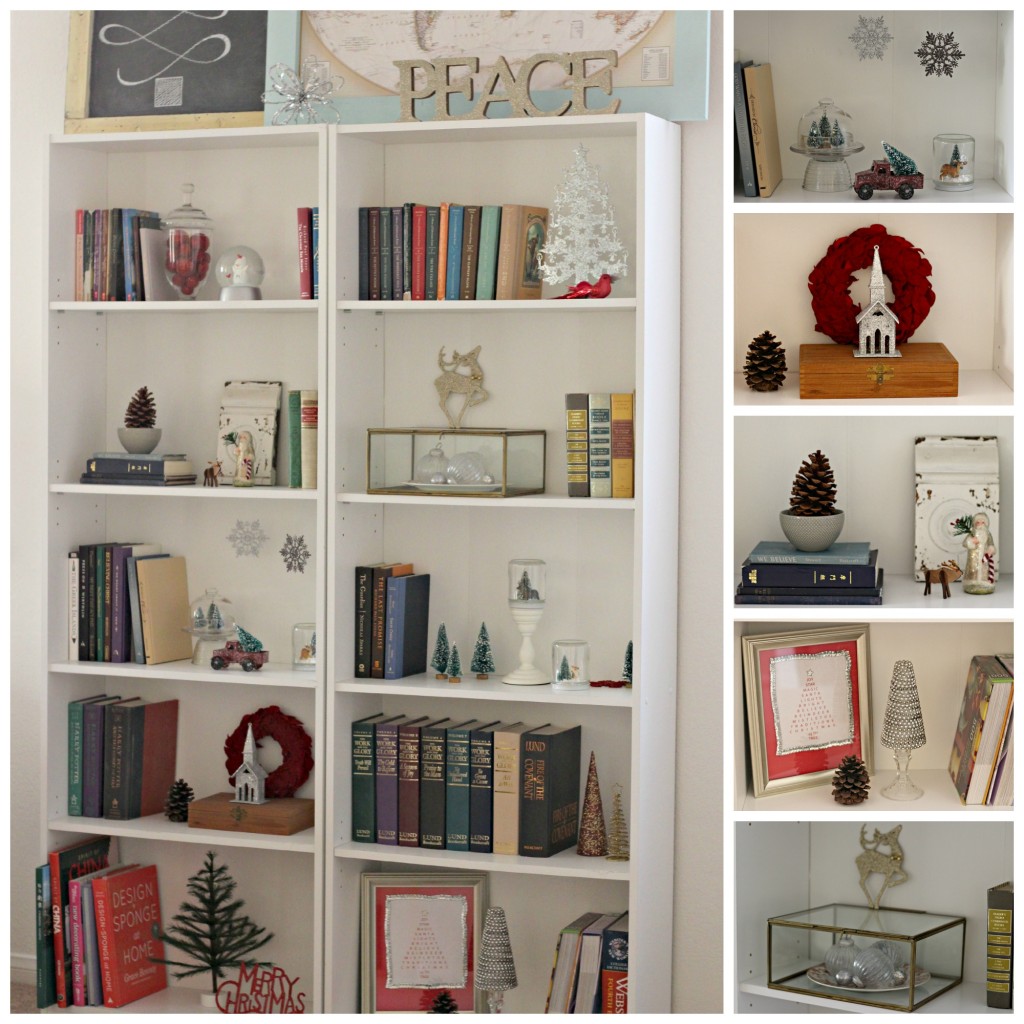
I love decorating our bookcases for holidays almost as much as decorating the mantel. You can almost tell a little story on each shelf. I can’t help being sentimental while going through the Christmas decorations every year. It’s such a fun process remembering past Christmases and even the craft projects that were made. I added the Waterless Snow Globes this year. The Christmas Word Art is from a few years ago and you can see a glimpse of the Chalkboard Art above the bookcase.

Home Tour stairs

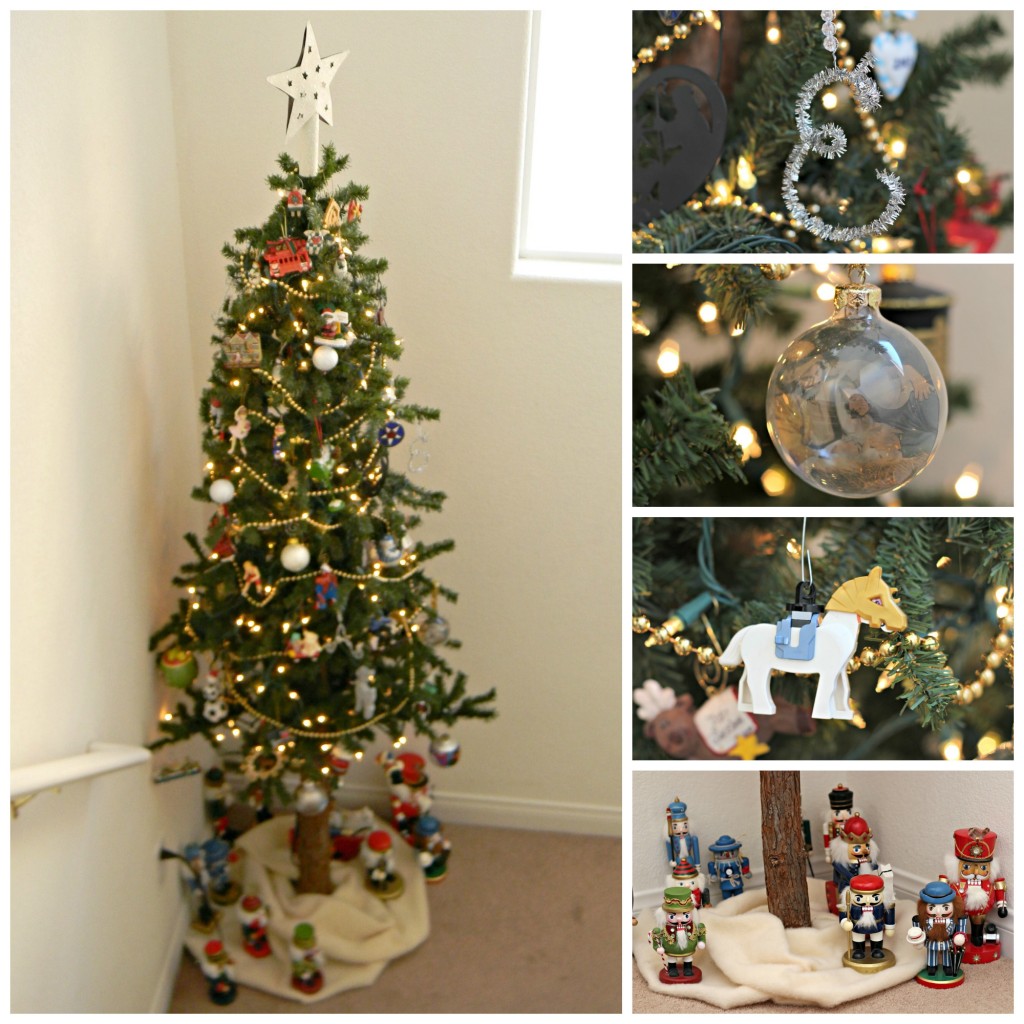
We have a small tree on the stairs leading to the bedrooms for made and collected ornaments. The kids receive a new ornament every year, sometimes it’s made and sometimes I buy it but it’s always special for them. Ammon added his LEGO horse to the tree this year. The nutcrackers are from a fun family tradition we have.

Home Tour

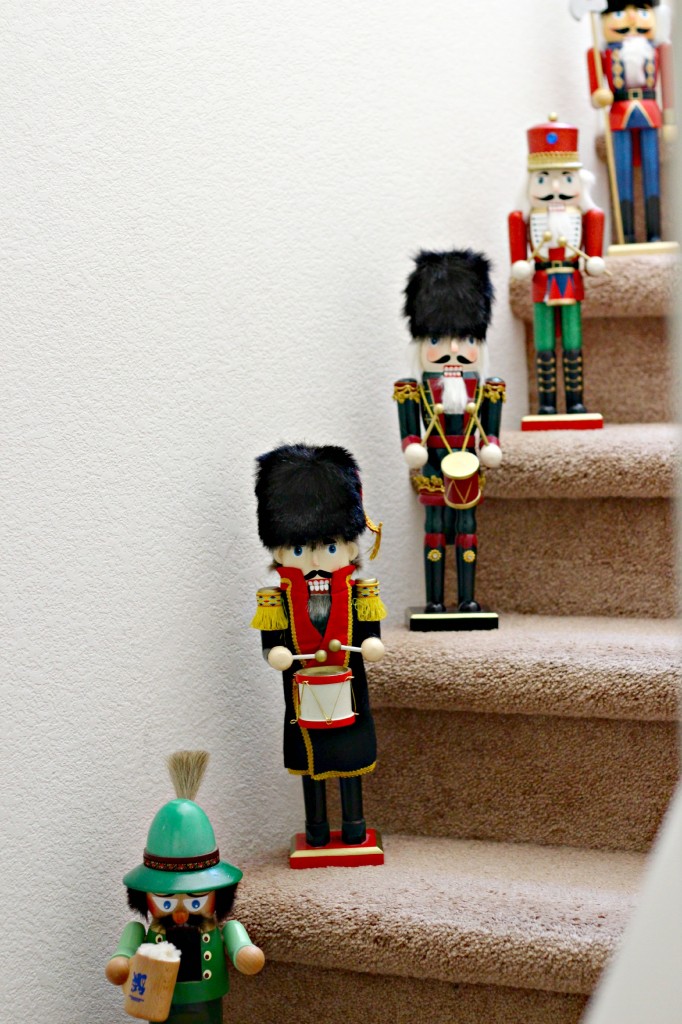
More nutcrackers leading the way up the stairs. Every year we hide a Pickle Ornament in the Christmas tree. Whoever finds the pickle that year gets a new nutcracker. I write their name and the year they received it on the bottom. When they leave home they get to take their nutcrackers with them, so from year to year the number of nutcrackers we have could vary. The green one in bottom corner is mine. My dad brought it from Germany for me.

Vintage Woodland Mantel 2

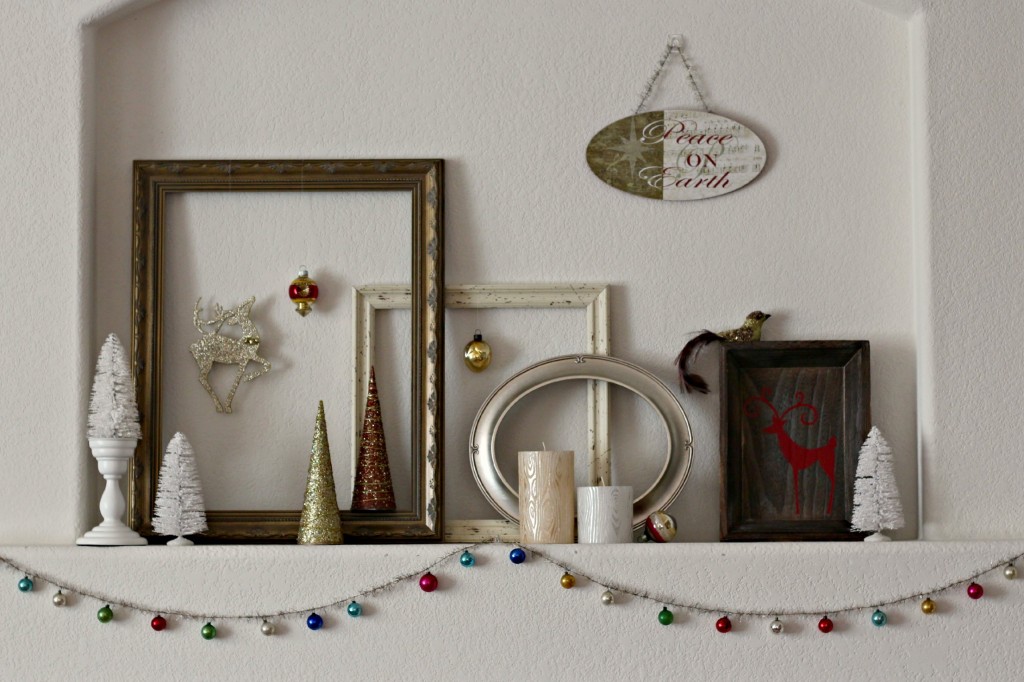
Now let’s move to the family room. I shared my Mantel in this post if you’d like to read more about it. I’m kinda really in love with it this year. I get really excited when I don’t have to spend any money.

Home Tour family room

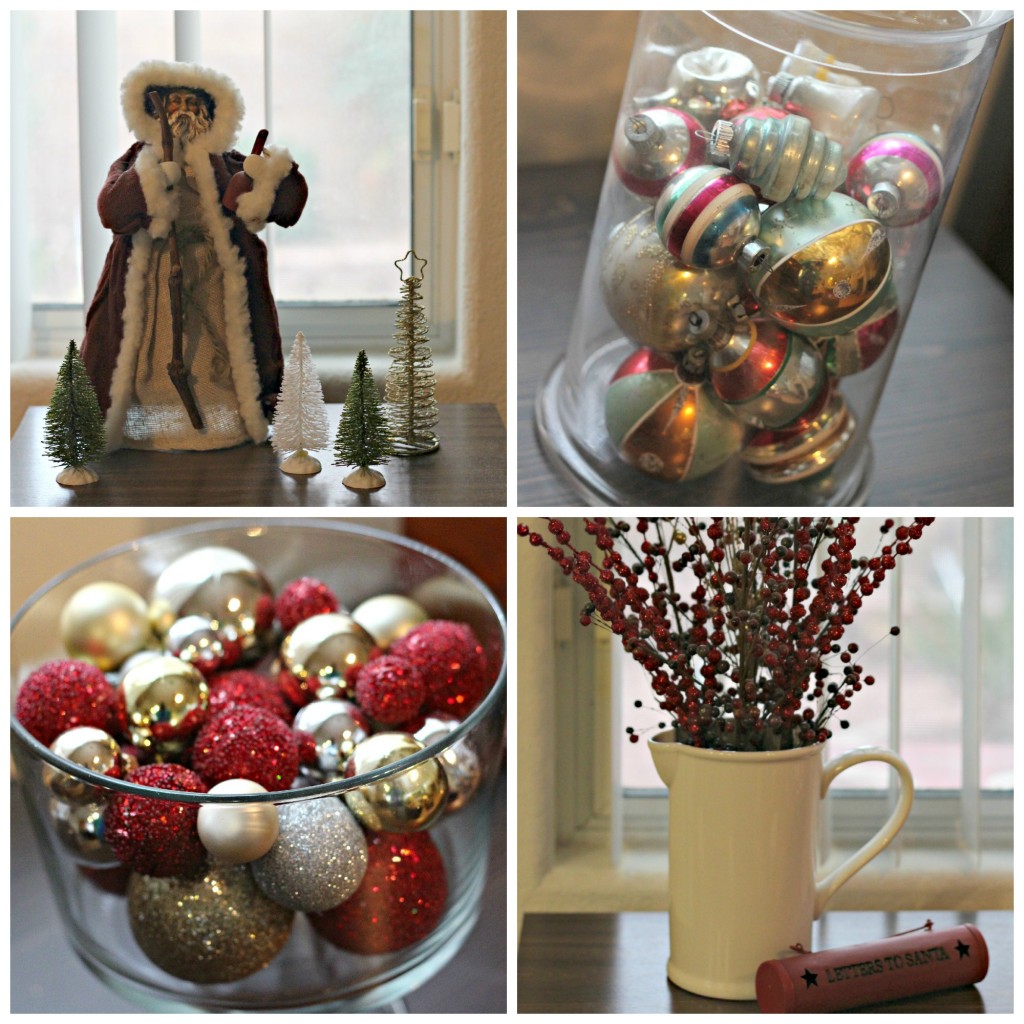
I change my Christmas decor from year to year so I don’t have the same things out every year. I usually make a few new things, paint something, or change an item or two in some way. There are a few of the same things I always display though. The old Santa in the top left picture is from our 1st Christmas together, 33 years ago. It’s actually a tree topper that we used as such for many years, now I always display him somewhere but not usually on the tree. I love my vintage ornaments, they’re either in a glass jar, on the tree, or hanging from a chandelier.

Home Tour family room 2

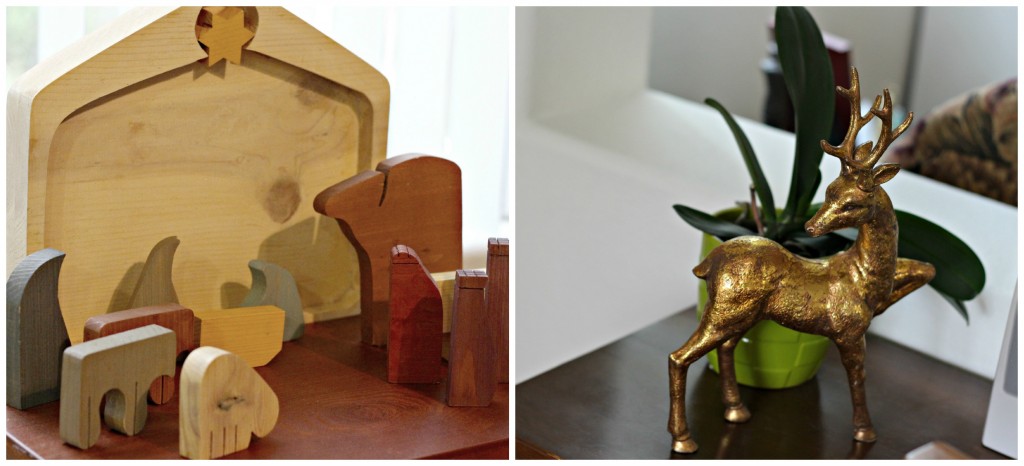
This Nativity was made by a neighbor about 17 years ago. It’s one of my favorites and gets displayed every year. It’s perfect for little kids since it’s pretty much indestructible. It’s also a puzzle for easy storage.

Home Tour family room tree

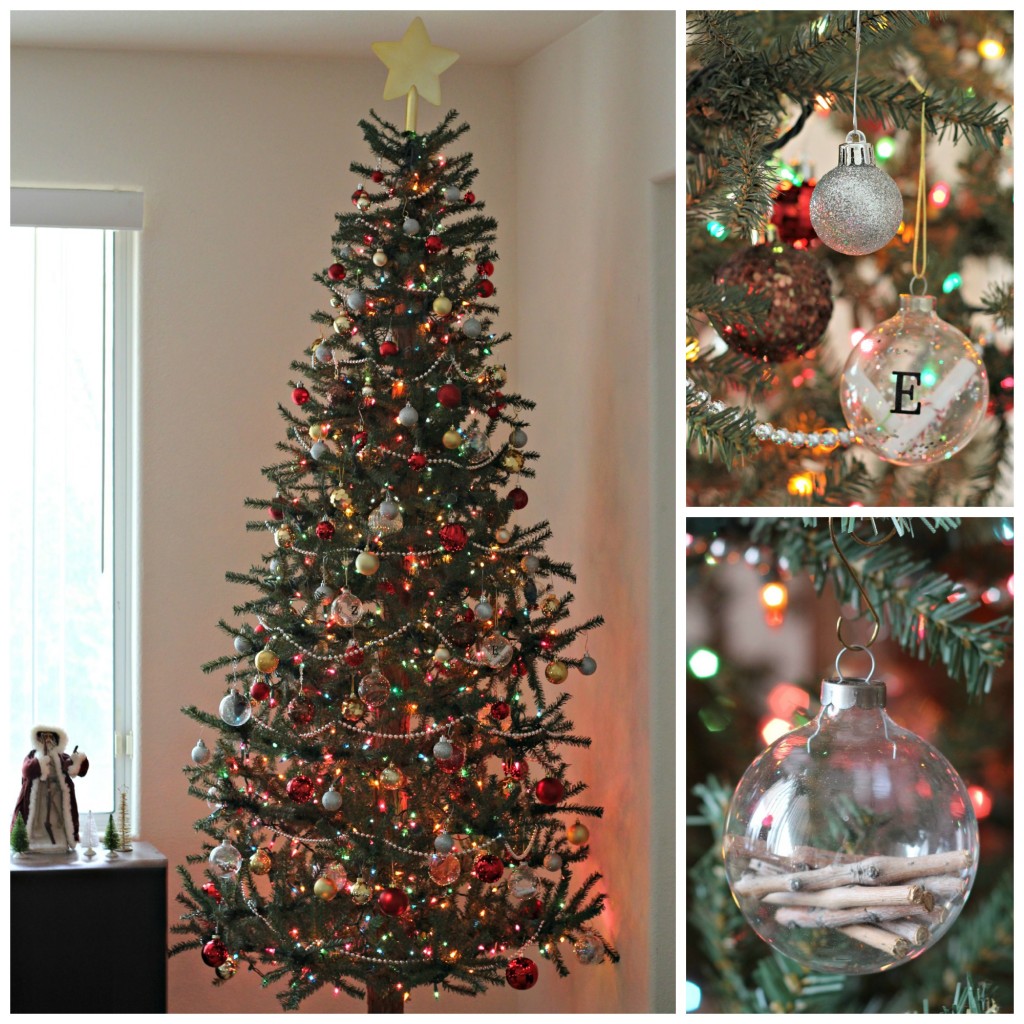
Our Christmas tree is really simple this year with red, silver, and gold balls. I also threw in a few nature glass ball ornaments and our Memory ornaments. I love white lights but the kids and hubby love colored lights so that’s what we have on the tree.

Home Tour 31

I hung a few mirror ornaments in the empty frames by the back door. There’s also a 2 and a 5 print blocks sitting in one of the frames.

Home Tour 7

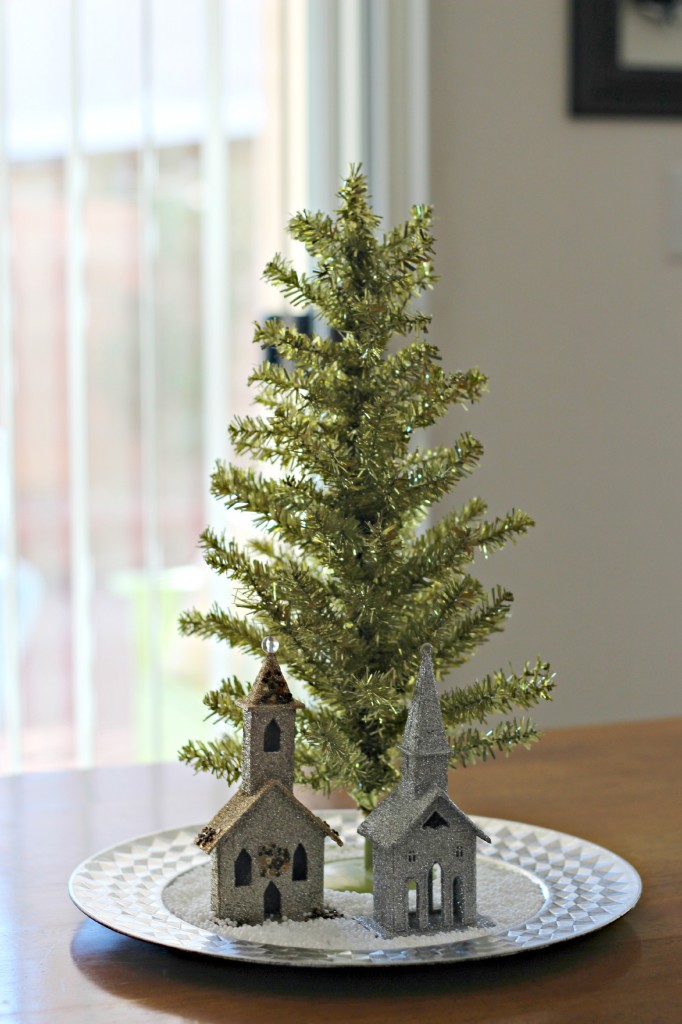
Moving on to the kitchen. This is our simple centerpiece for this year. I really love these colors together.

Home Tour kitchen

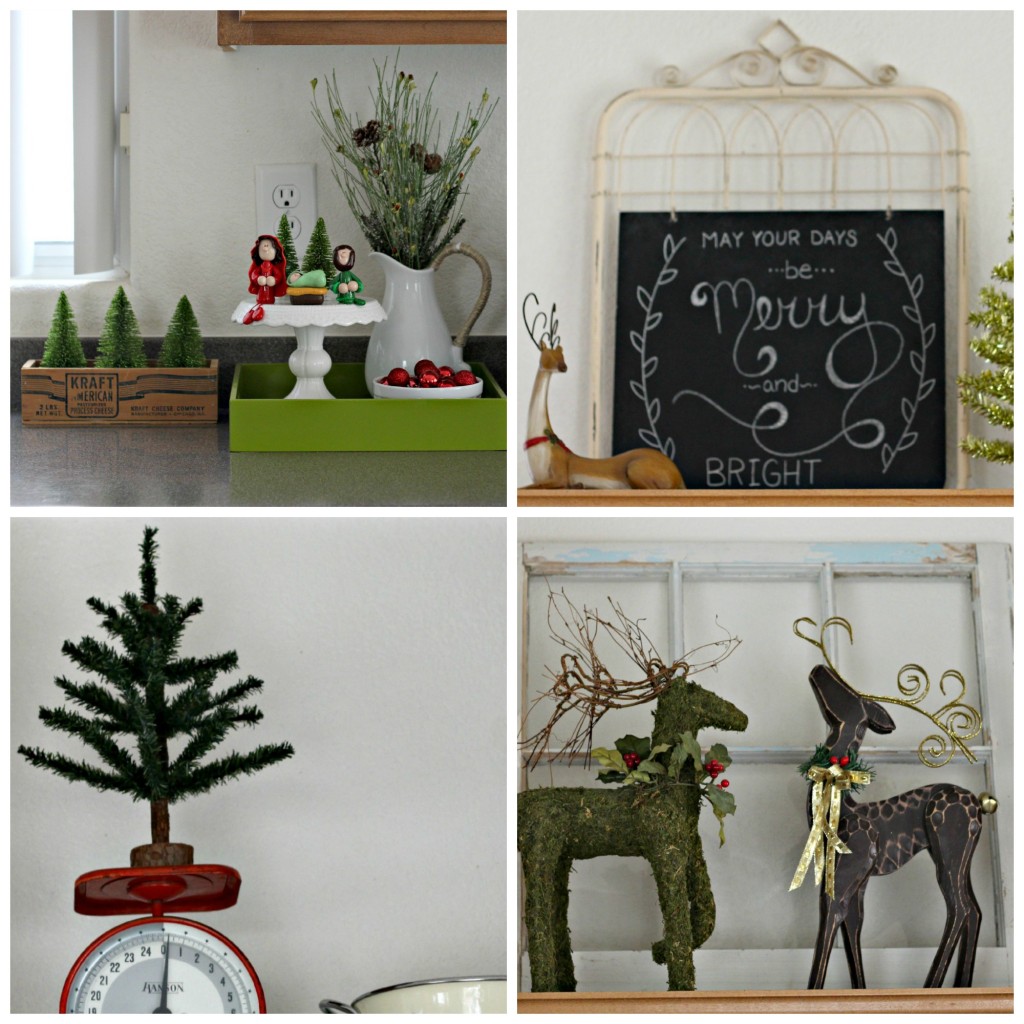
I made a little vignette in the green tray on the kitchen counter. My sweet friend made the clay nativity for me. I love the bottle brush trees, vintage cheese box, and white pieces. The other 3 pictures are displays on the cabinet tops. I’m really starting to love doing simple chalkboard art.

merry christmas

I also did a few small decorations in the bathrooms and the kids have small trees in their rooms they decorated. My favorite thing about the decorations are the memories and creating them. I love how cozy my home feels this time of year. Thank you for stopping by. I hope your home expresses your feelings of warmth and happiness also. Here is a link to the Merry Christmas printable!

Merry Christmas!

{ 5 comments }

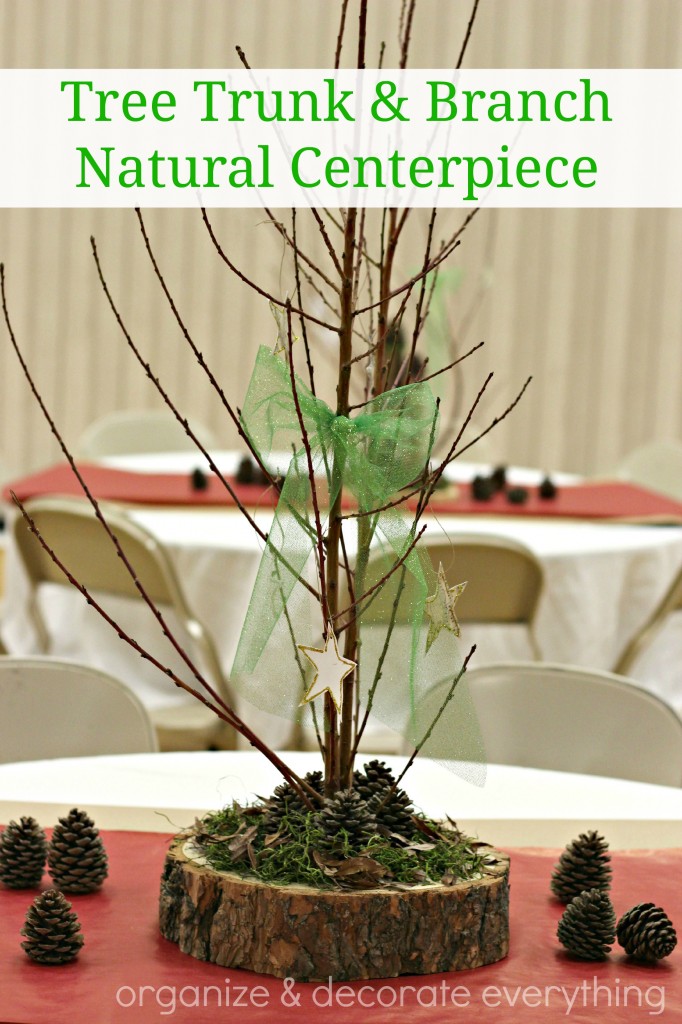
Tree Trunk Slice & Branch Centerpiece

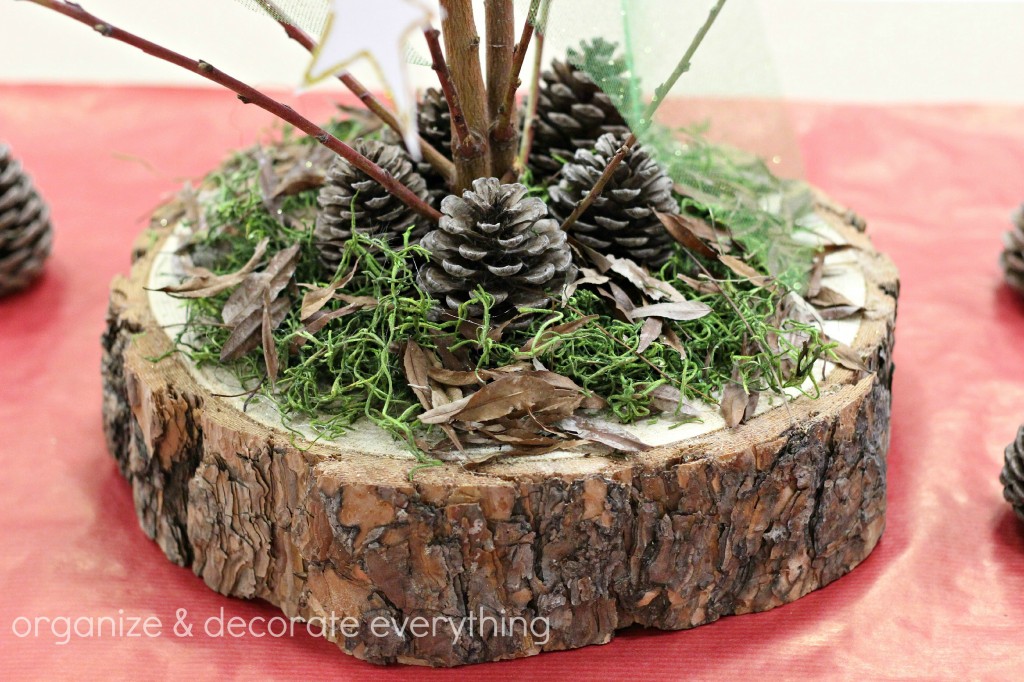
Trunk Slice and Branch Natural Centerpiece.1

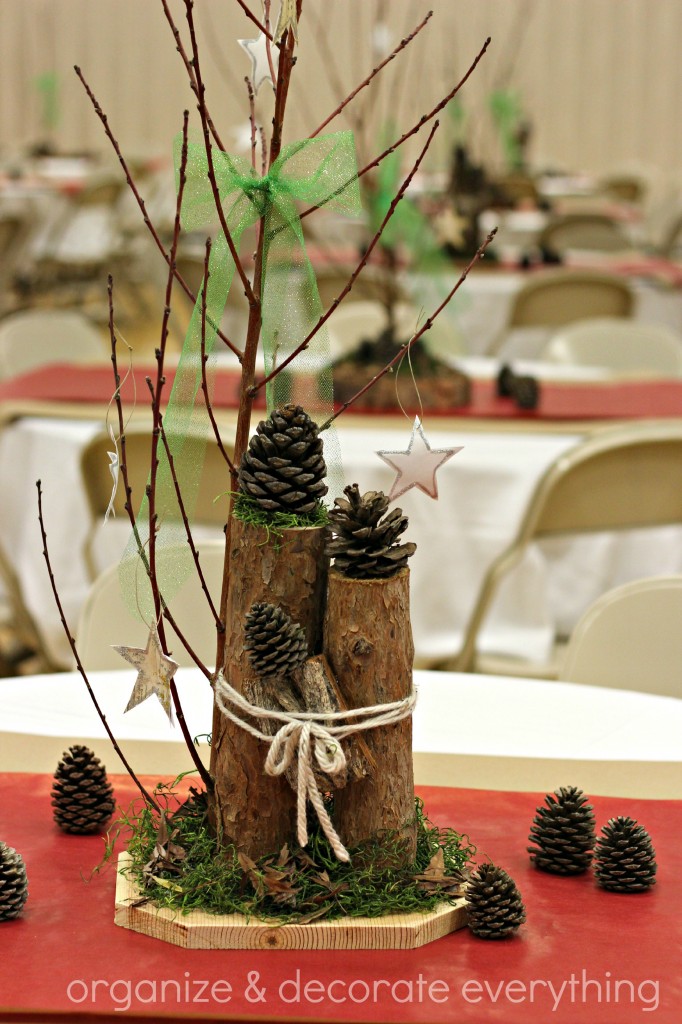
Sometimes it’s really rewarding making things from nature. Not only are they beautiful but you also save a ton of money. We needed to make 30 centerpieces and spend as little money as possible. Free seemed to be a good price!

Trunk Slice and Branch Natural Centerpiece 2

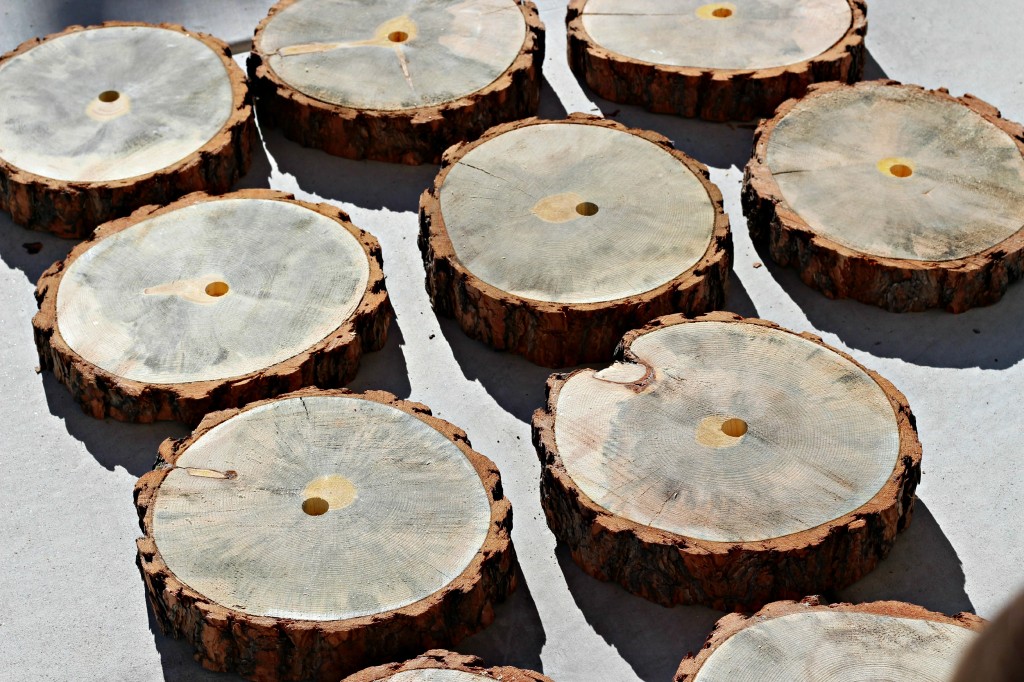
Luckily someone from our church was cutting down a tree on their property so we asked him if he could slice it up while he was at it. To preserve the wood so it doesn’t get large cracks, use a product such as Pentacryl Wood Preservative. This can be found at most home improvement stores. We were only able to get 20 slices but that was a good start. We drilled a hole about 2/3 of the way through the center of the slice to insert the branch in to.

Trunk Slice and Branch Natural Centerpiece 3.1

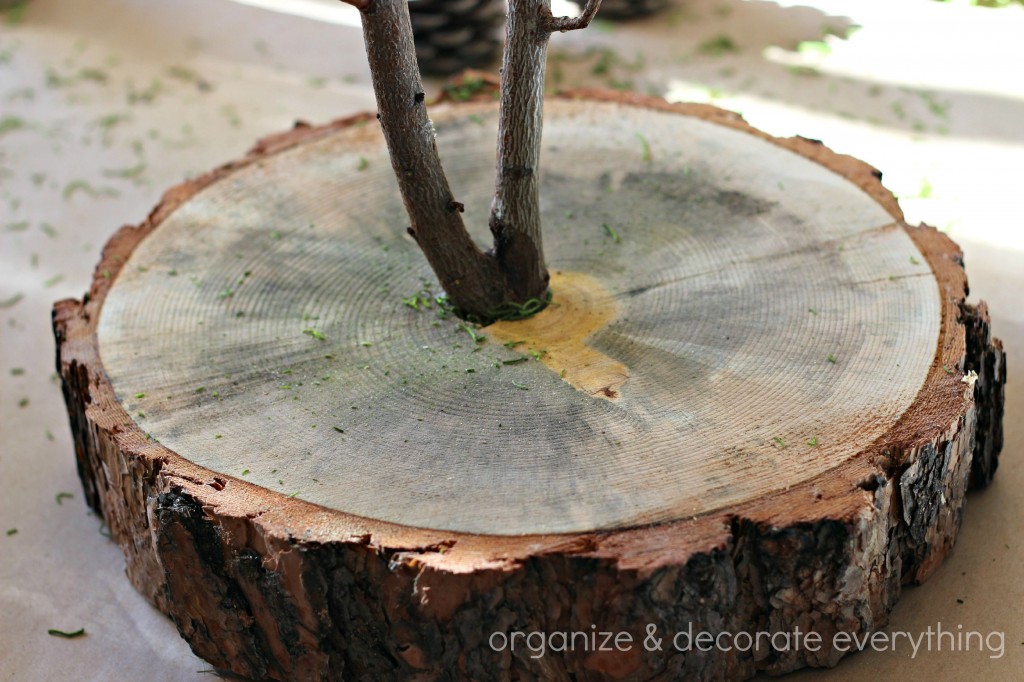
A few weeks ago we went to a local orchard to take some of the branches they were pruning off their hands. We probably got twice as many as we needed but there were so many to choose from. We used hot glue to secure the branch in the drilled hole. Hold branch in place until the glue dries. It only takes about a minute.

Trunk SLice and Branch Natural Centerpiece 4.1

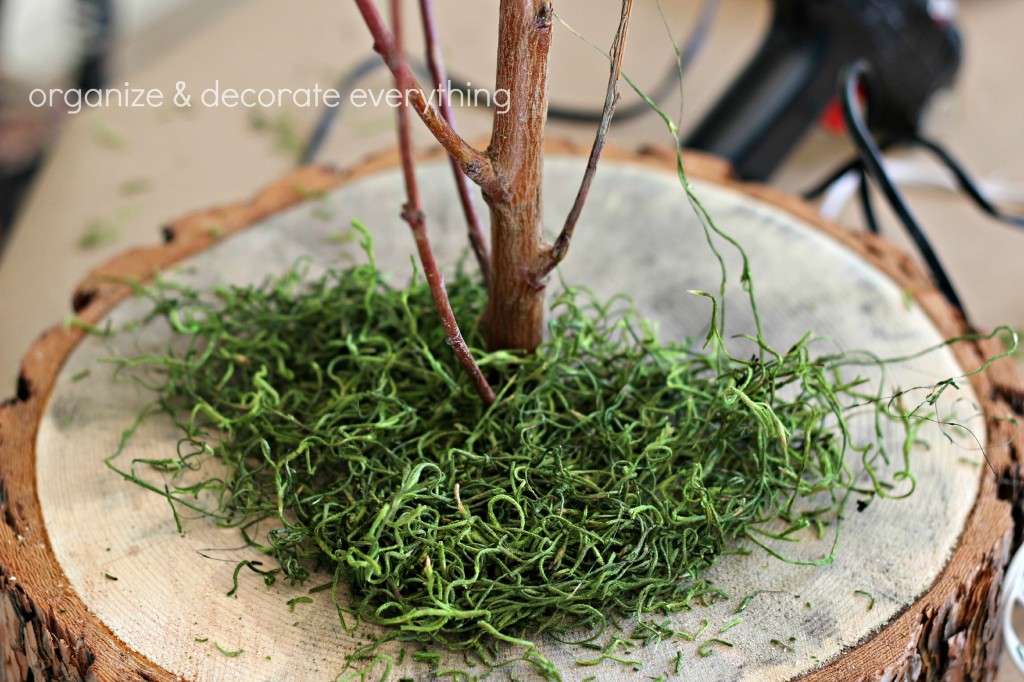
Use hot glue to secure the moss to the trunk slice. Be generous with the glue and gently push the moss into place.

Trunk Slice and Branch Natural Centerpiece 5.1

Now, add the pine cones. Use hot glue to secure them in place. Before using the pine cones bake them in a 200 degree oven for 30-45 minutes to kill all the bugs. We had a lot of tiny spiders.

Trunk Slice and Branch Natural Centerpiece 6.1

We also added some fallen leaves to the centerpiece by using Elmer’s glue and just sprinkling and pressing the leaves into place.

Trunk Slice and Branch Natural Centerpiece 7.1

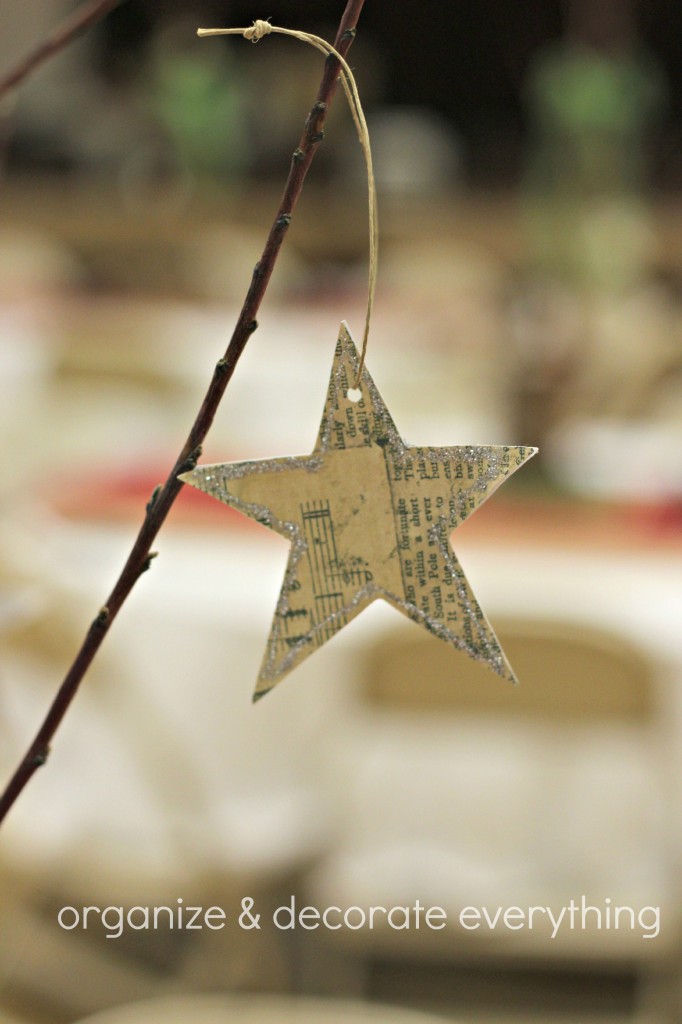
I had the 8 and 9 year old girls at my church help me cut and glitter about 200 stars for the trees. We used sheet music paper for most of them then used white cardstock for the rest. I love how they turned out and that we were able to use things from nature. It looks pretty awesome on my front porch right now.

Trunk Slice and Branch Nativity.1

Since we were about 10 centerpieces short we came up with another idea to make a very rustic Joseph, Mary, and baby Jesus. We cut a pieces of wood for the base then used larger cut branches to make Mary and Joseph. Baby Jesus is a piece of bark from the tree. The pine cones are their heads and we tied them all together with natural colored yarn. We hot glued all the pieces together and used the same process for the moss and leaves on the base. We had a drawing for all the centerpieces after the church breakfast. I was able to sneak 2 out for me before the drawing.

Nativity.1

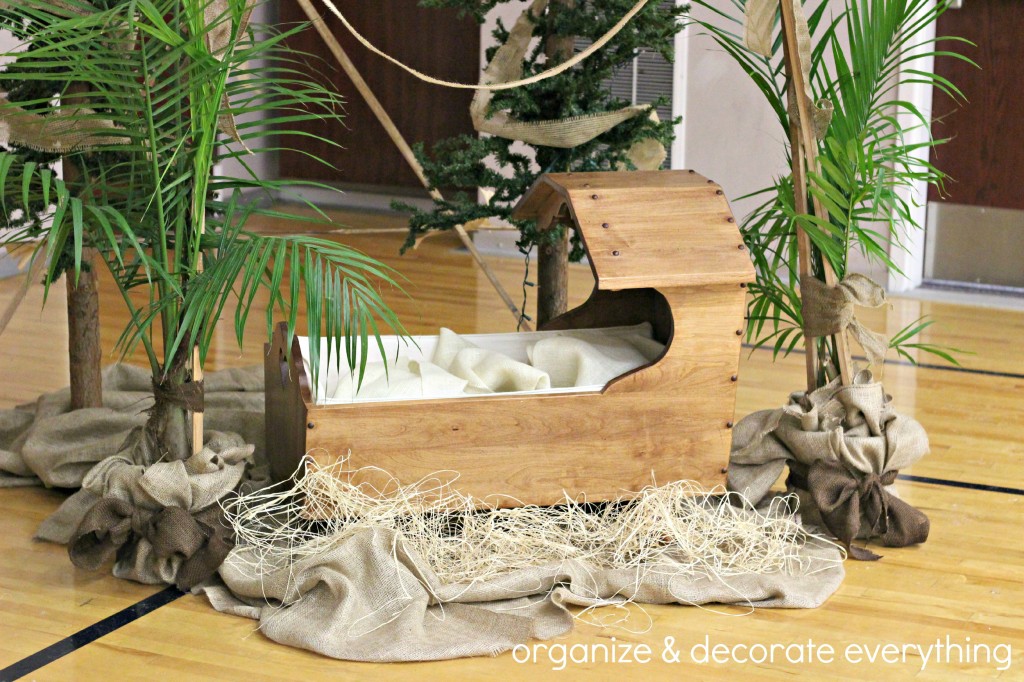
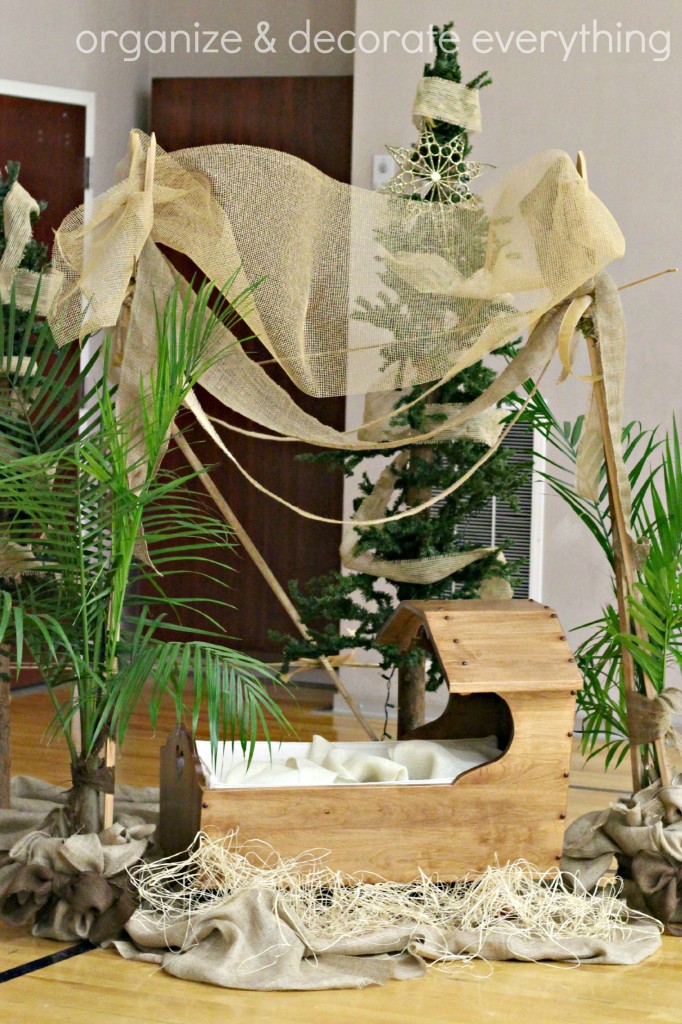
I just had to show you this sweet little manger area that was made for the skit.

Nativity 3.1

Everything was so simple and natural and beautiful! I love how it turned out!

Merry Christmas!

{ 8 comments }

Vintage Woodland Christmas Countdown Printable

Were you planning on making an awesome activity to countdown the days until Christmas? Did you get it done or did the days slip by without it happening? There’s still 2 weeks left and if you don’t want to hear the same question at least 20 times a day, I have the perfect printable for you.

Christmas countdown.1

It’s super simple but the kids have been able to easily keep track of the days counting down to Christmas. I can’t believe it’s only 2 weeks away! I still have so much to do!

Christmas countdown 4.1

Just pop the printable into the frame of your choice. The printable was made to be 8 x 10 but can be very easily re-sized on your computer or printer. Use a dry erase marker to write the countdown number on the glass. It’s super easy to wipe off with a paper towel or cloth.

christmas countdown 2

If you would like to use this printable for yourself, just click the link below. Printables are for personal use ONLY and are available to subscribers of Organize & Decorate Everything. SUBSCRIBE NOW to get full access to all printables.

Countdown Printable

I hope you are having a wonderful Holiday season!

{ 0 comments }
About Me | Disclosure Policy | Copyright Policy | Privacy Policy | Contact Me