Make an easy DIY Wood Frame any size you need using a miter box and saw.
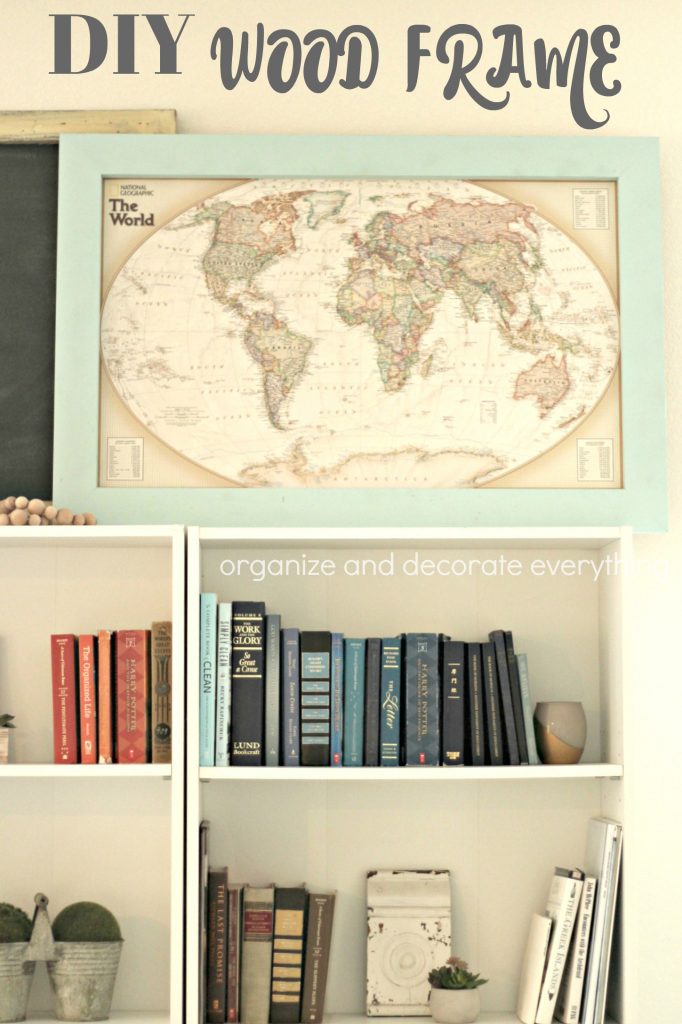
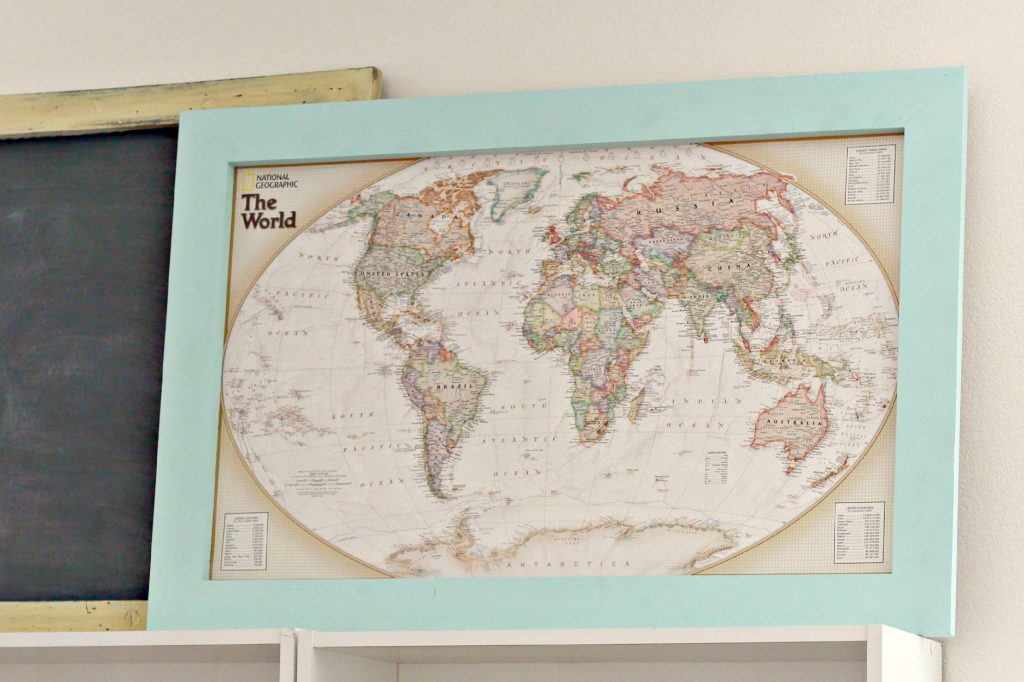
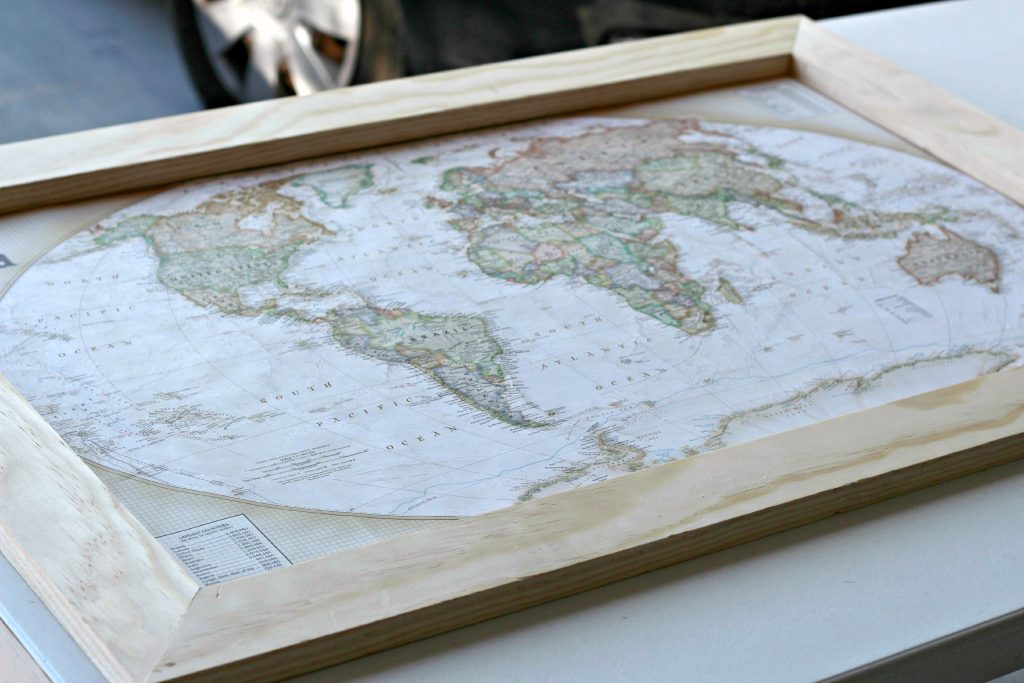
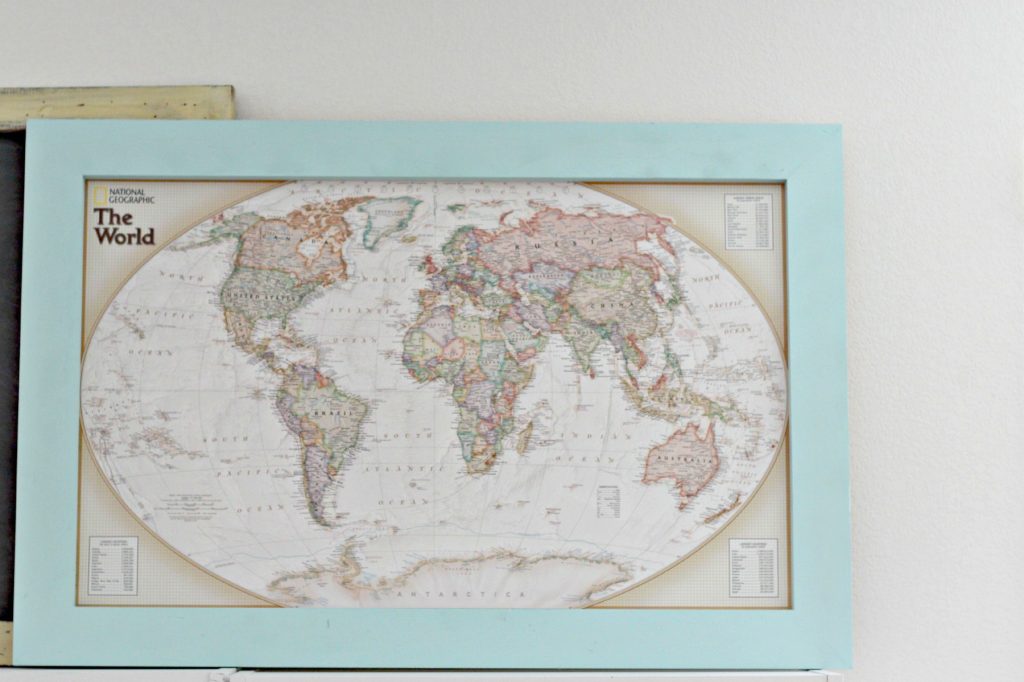
Necessity (and lack of money) is the mother of invention. It’s a long story but I’ll give you the short version. We’re renting our house and there is a big ugly mirror hanging in the living room. We can’t take it down so we placed bookcases in front of it but it didn’t hide it all the way. I decided to prop things on top of the bookcases to hide the rest of the mirror but I needed a large frame for the map. Since it measures 19″ x 30″ a frame was going to cost too much so I decided to make it.
You can make a simple wood frame using a miter box and a 1″ x 4″ board. I wanted to show you that making a frame was possible without a chop saw. We had just moved into our new house in Nevada and some of our things were still in our house in Utah. Of course, the saw was one of those things. So miter box and saw to the rescue.
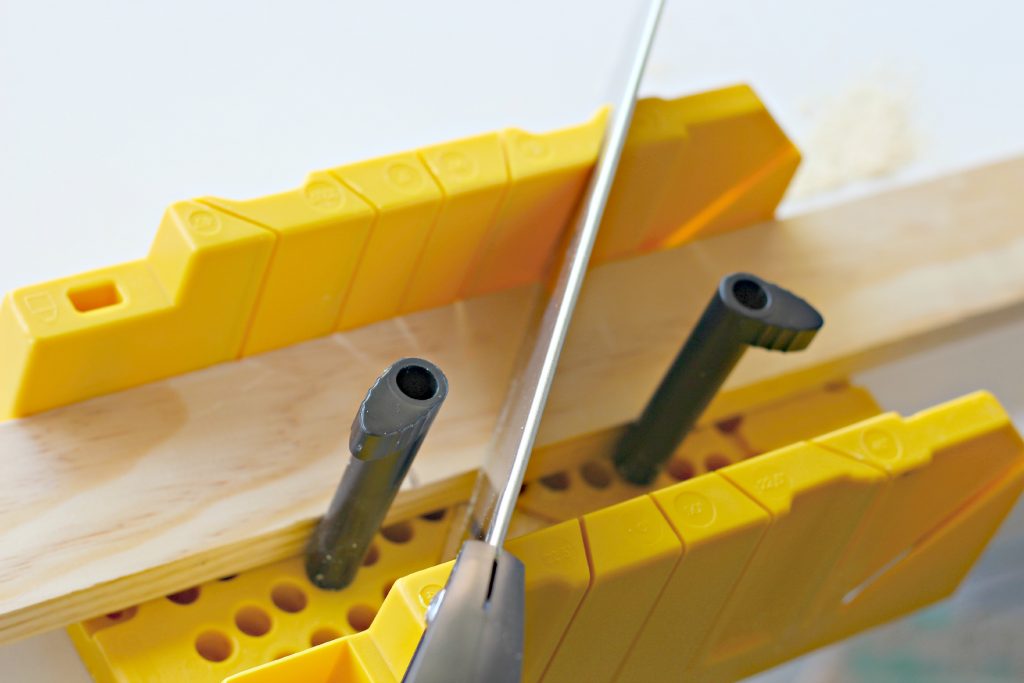
I started by cutting a 45 degree angle and used the map as a guide to decide where to make the second cut. I made a mark for the second cut and cut another 45 degree angle in the opposite direction.
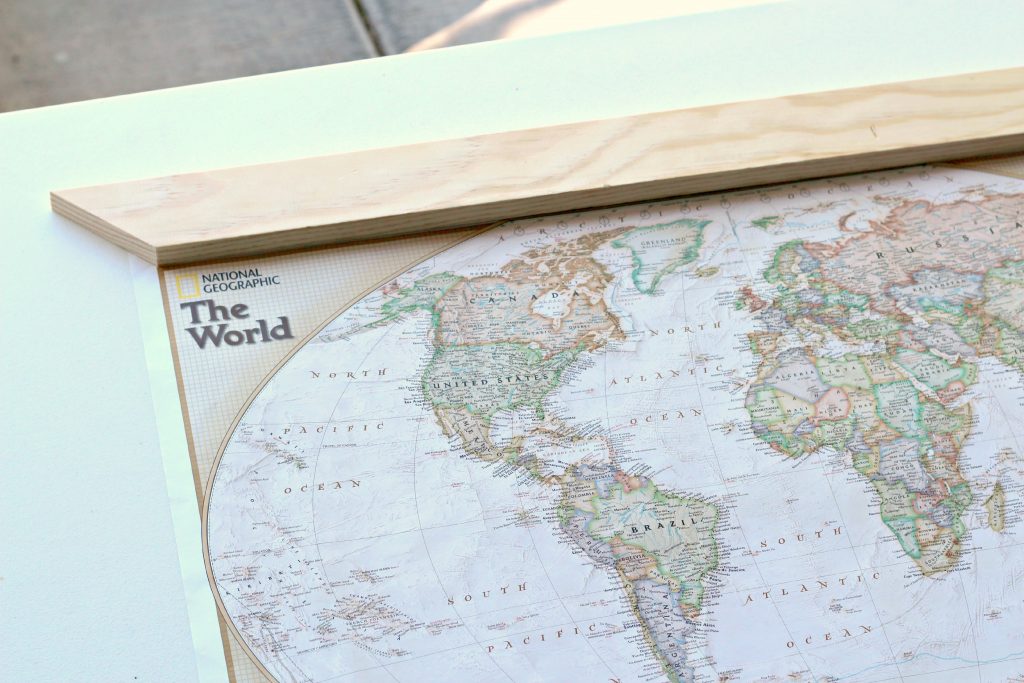
Then I did the same with the other 3 sides making sure the cuts fit well. There might be an easier way to do this but for a beginner it worked really well.
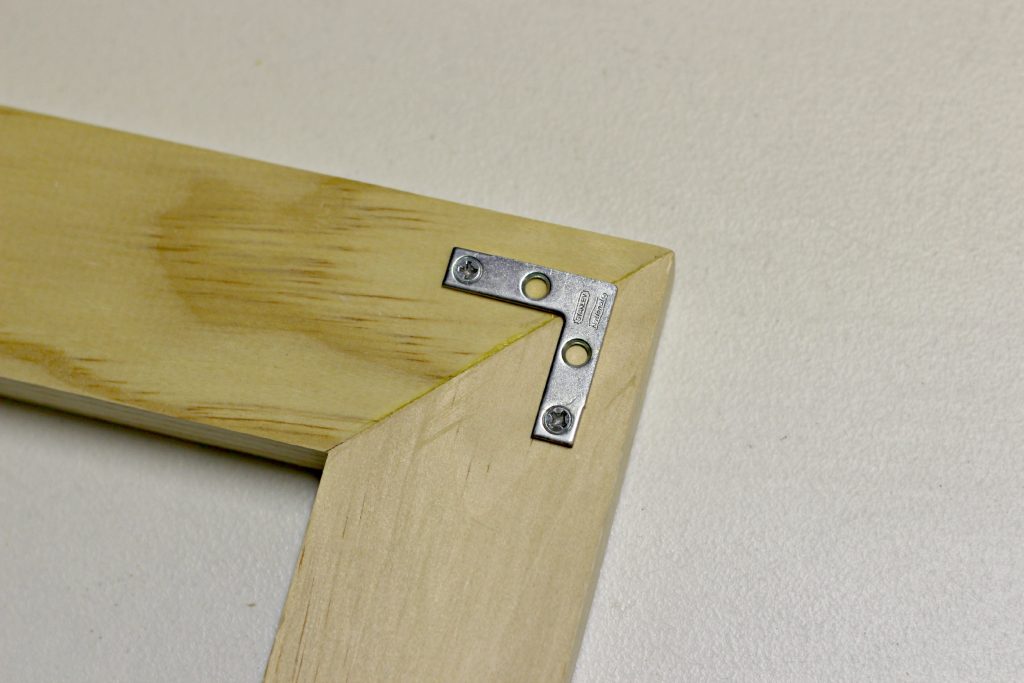
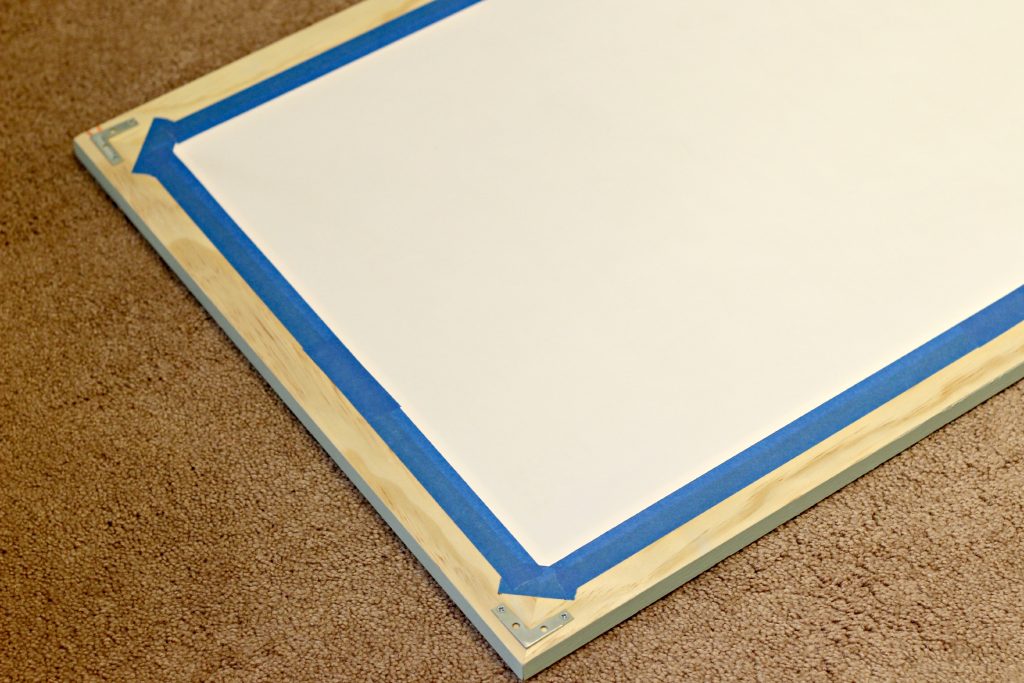
I flipped the boards over and used wood glue to hold them together. I also screwed these brackets into place to hold the frame together and make it more secure. Then I let it dry for a few hours.
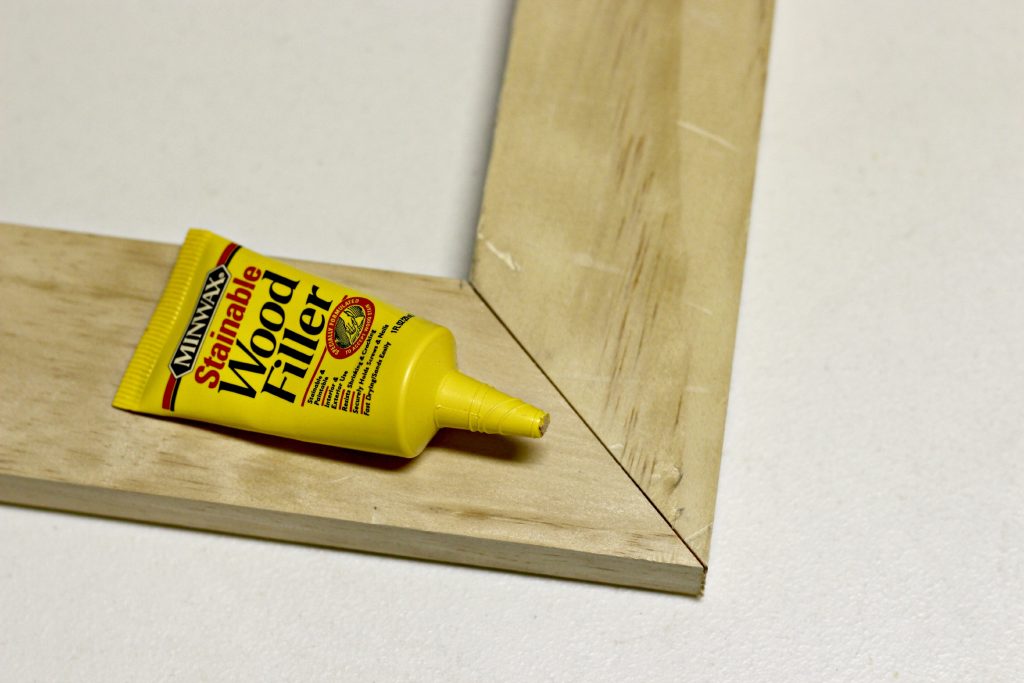
After the seams were dry I used a sample of Minwax Stainable Wood Filler to fill in the frame seams.
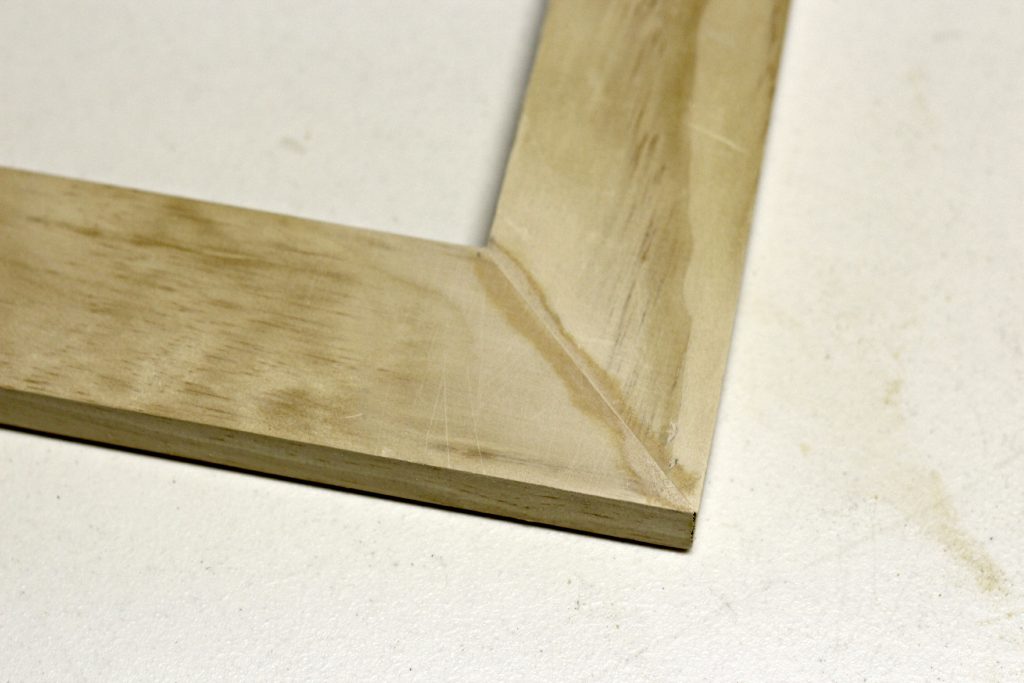
Once it was dry I lightly sanded the area. I was trying to decide between staining and painting but ultimately decided on painting.
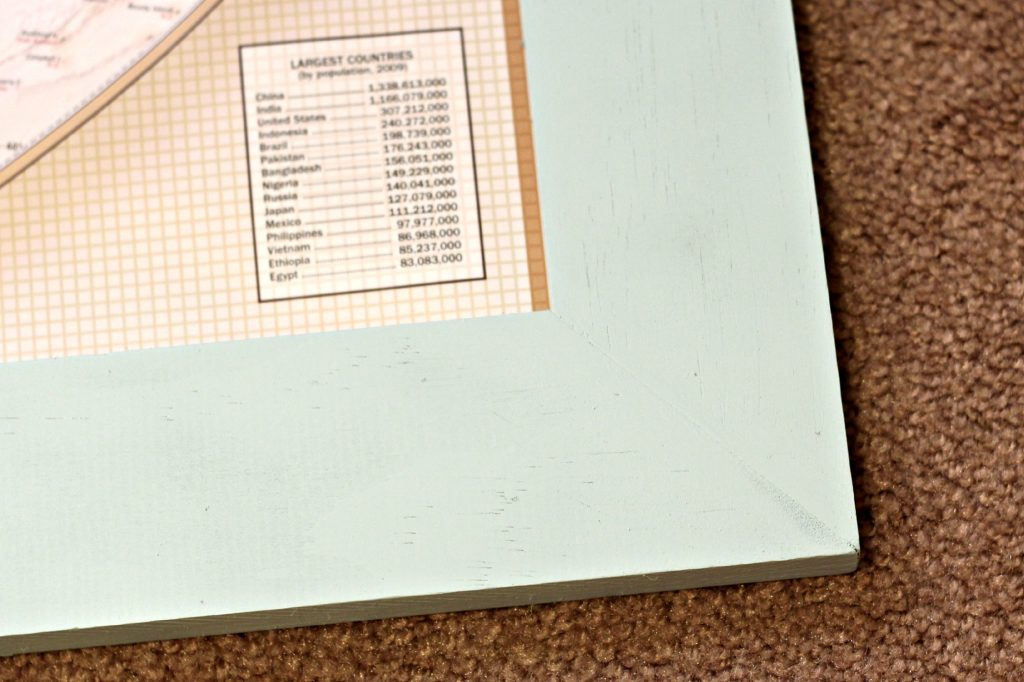
I chose LaFonda Mirage by Valspar. The color goes perfectly with the map and the rest of my home decor. Here are how the corners turned out once they were painted.
I used painters tape to secure the map to the back of the frame. I was originally going to staple the map using a staple gun but the tape worked so well that I decided to keep it. I’m going to be leaning the map but you could easily hang it by attaching sawtooth hangers to the back of the frame.
I’m so happy with how it turned out and that it hides the ugly mirror I can’t do anything about. Now when someone comes over they have no idea what is lurking behind the bookcases and the map.
Pin it for Later:
DIY Wood Frame

You might also like:


Love it Leanne! I have one of those yellow miter boxes too, but I’ve only used it once! Time to bust it out again 🙂
Thank you – the pictures are really good. I’d never even heard of a mitre box – brilliant!
I’m a single mom, renting, with no home improvement tools except a drill but this project is awesome. I will definitely get a mitre box and handsaw (once budget allows) and make a frame, I can see lots of ways to use this beyond pictures. Thank you so much for the inspiration and very clear directions (if I can’t see the whole process in my head I am lost LOL!) God bless you and your family!
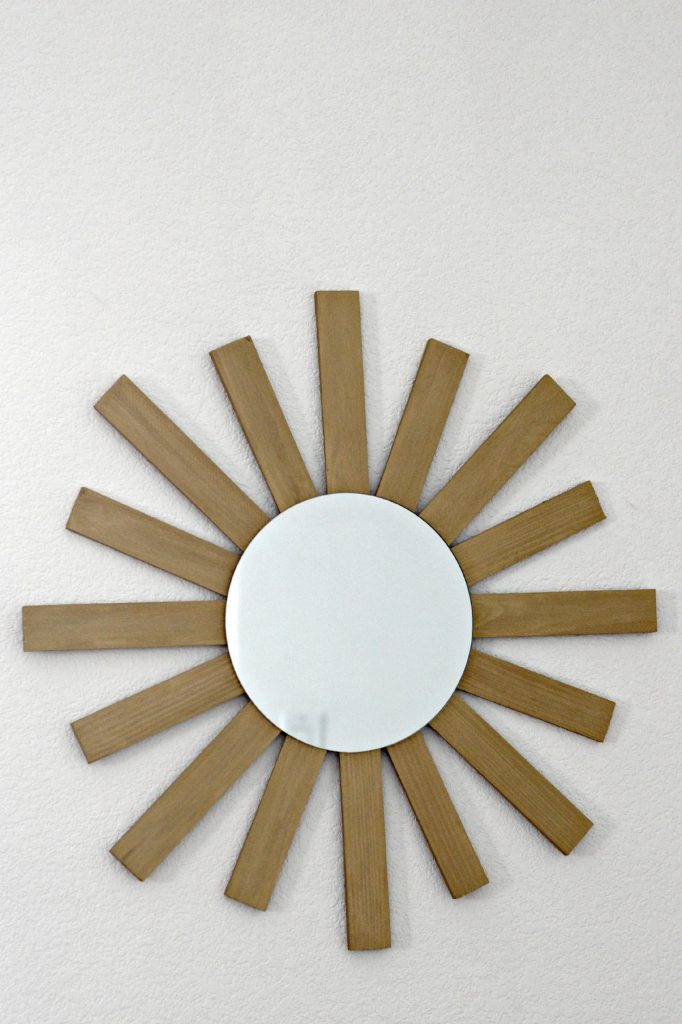
The Shim Sun Mirror is an awesome idea. I am so used to using shims for construction and carpentry, but this one takes the cake! How about a shim clock/picture frame. Nice job!
This frame is really looking so beautiful. I will also try to make the same. Thank you for sharing this idea.
The mirror and frame are just amazing. Thanks for the post.
That looks good on mirrors too. It can work as a good frame for it to give it a unique and appealing look.
The frame looks very nice! thanks for sharing
This frame Is Good ! I really like it thanks for sharing useful stuff like this .
wow, I will appreciate you, I can’t believe how well designed you are and also you have described it step by step with easy method. Thanks for this informative article.