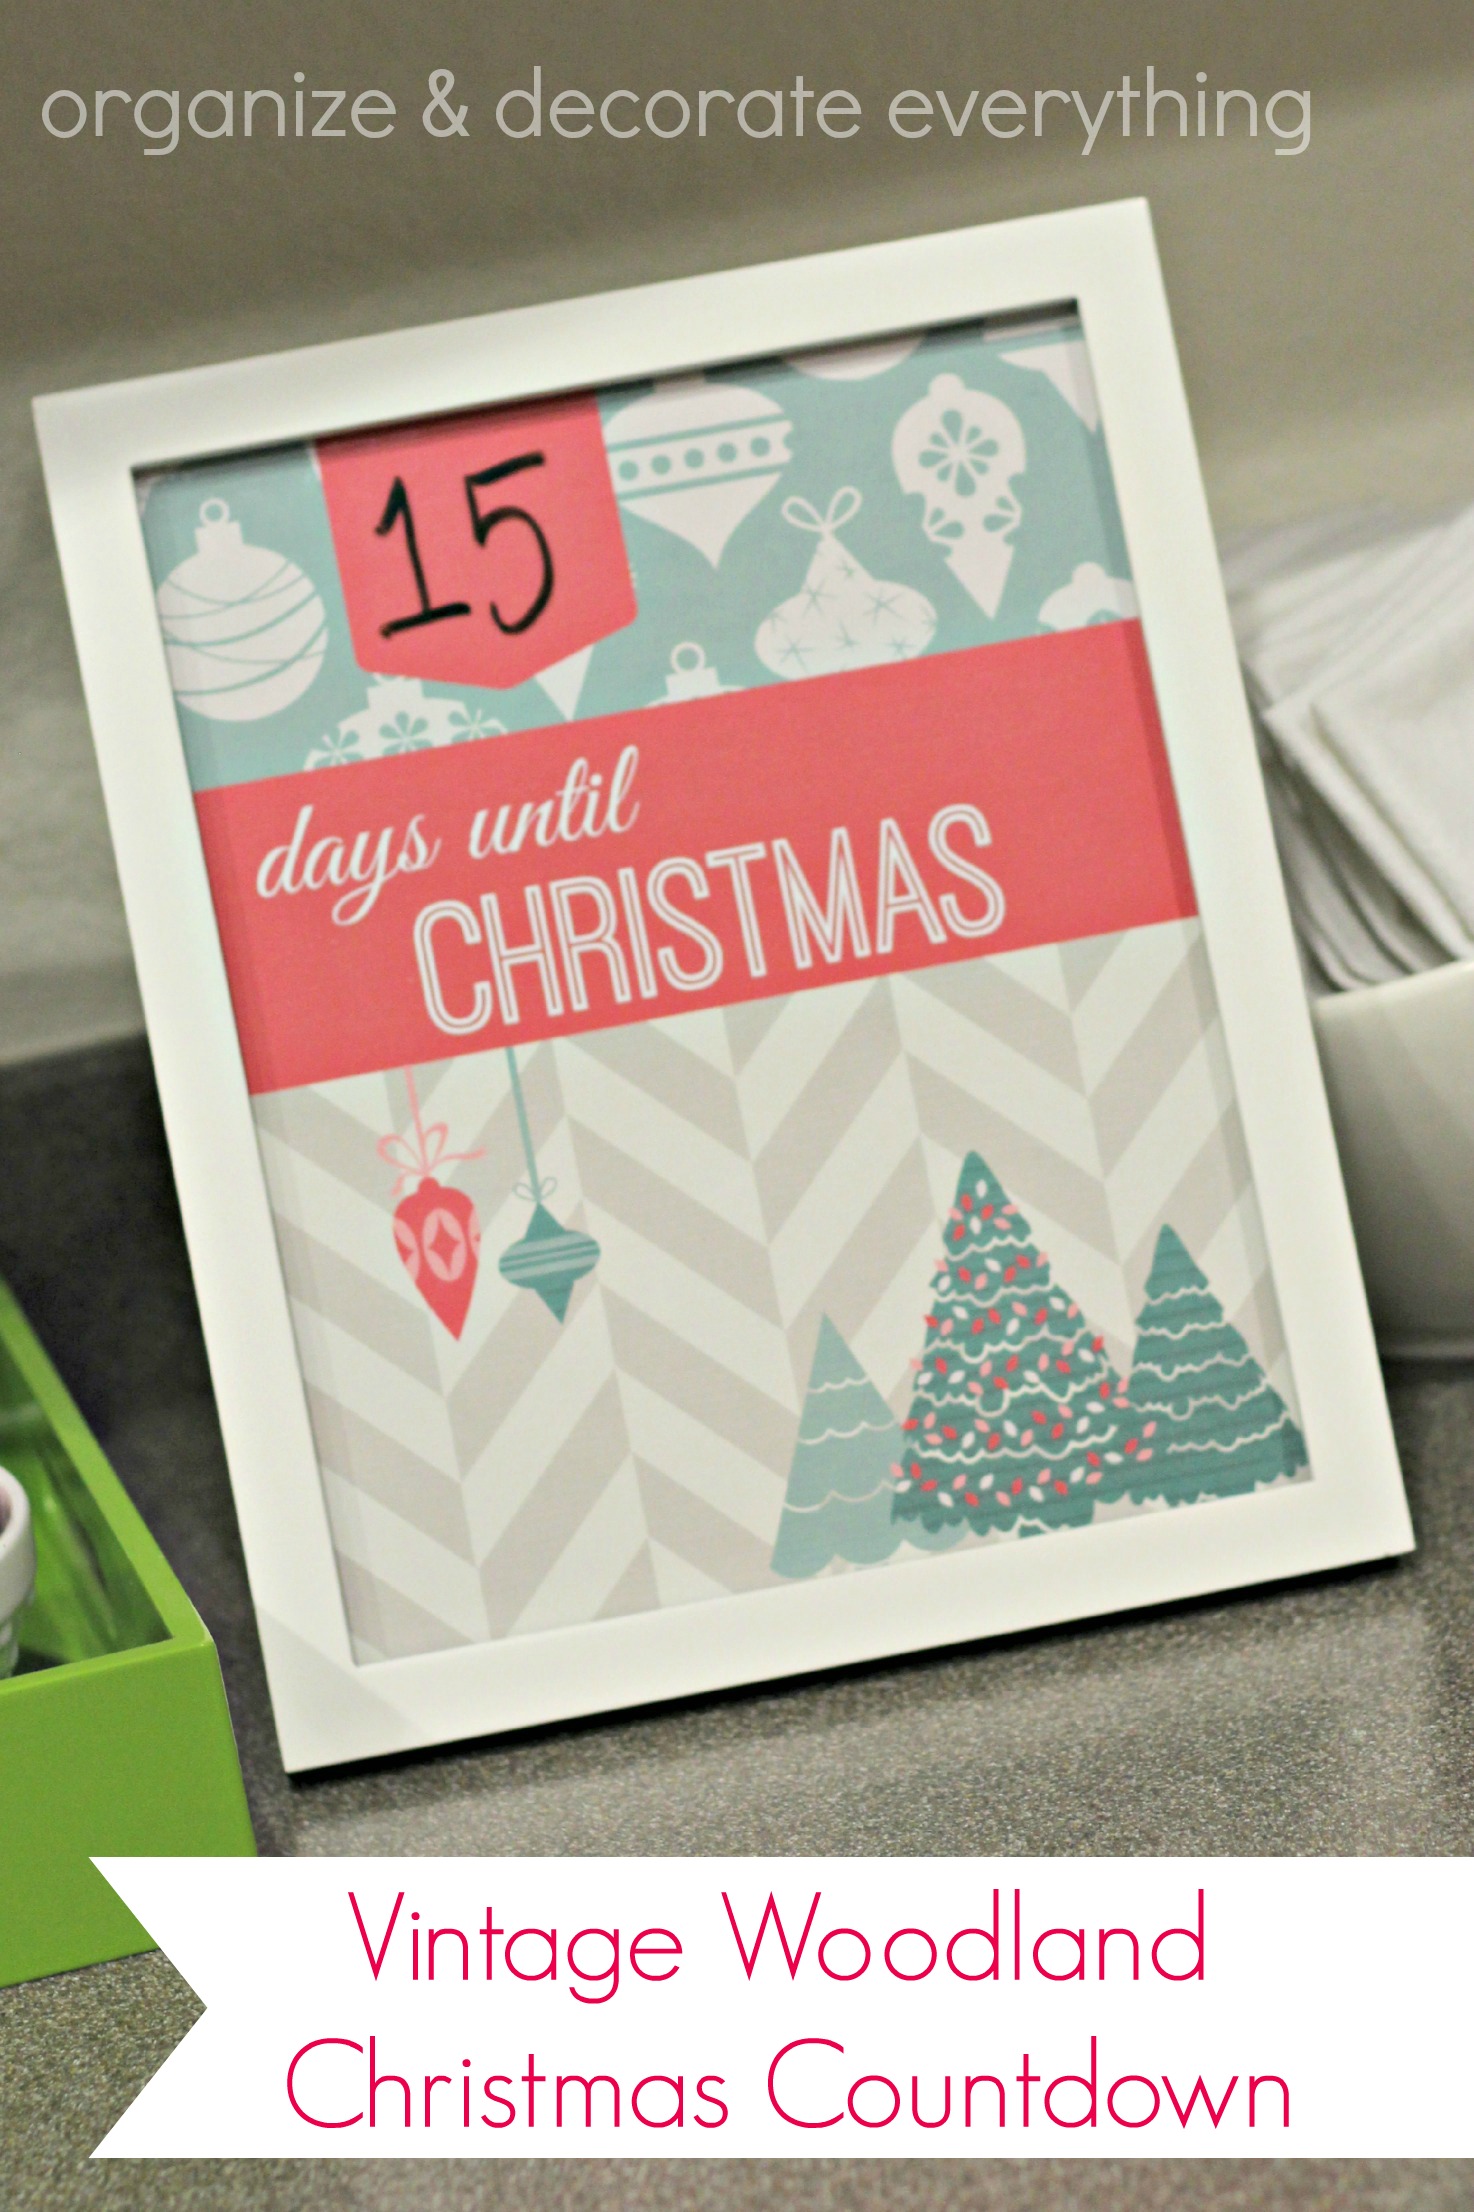
Were you planning on making an awesome activity to countdown the days until Christmas? Did you get it done or did the days slip by without it happening? There’s still 2 weeks left and if you don’t want to hear the same question at least 20 times a day, I have the perfect printable for you.
It’s super simple but the kids have been able to easily keep track of the days counting down to Christmas. I can’t believe it’s only 2 weeks away! I still have so much to do!
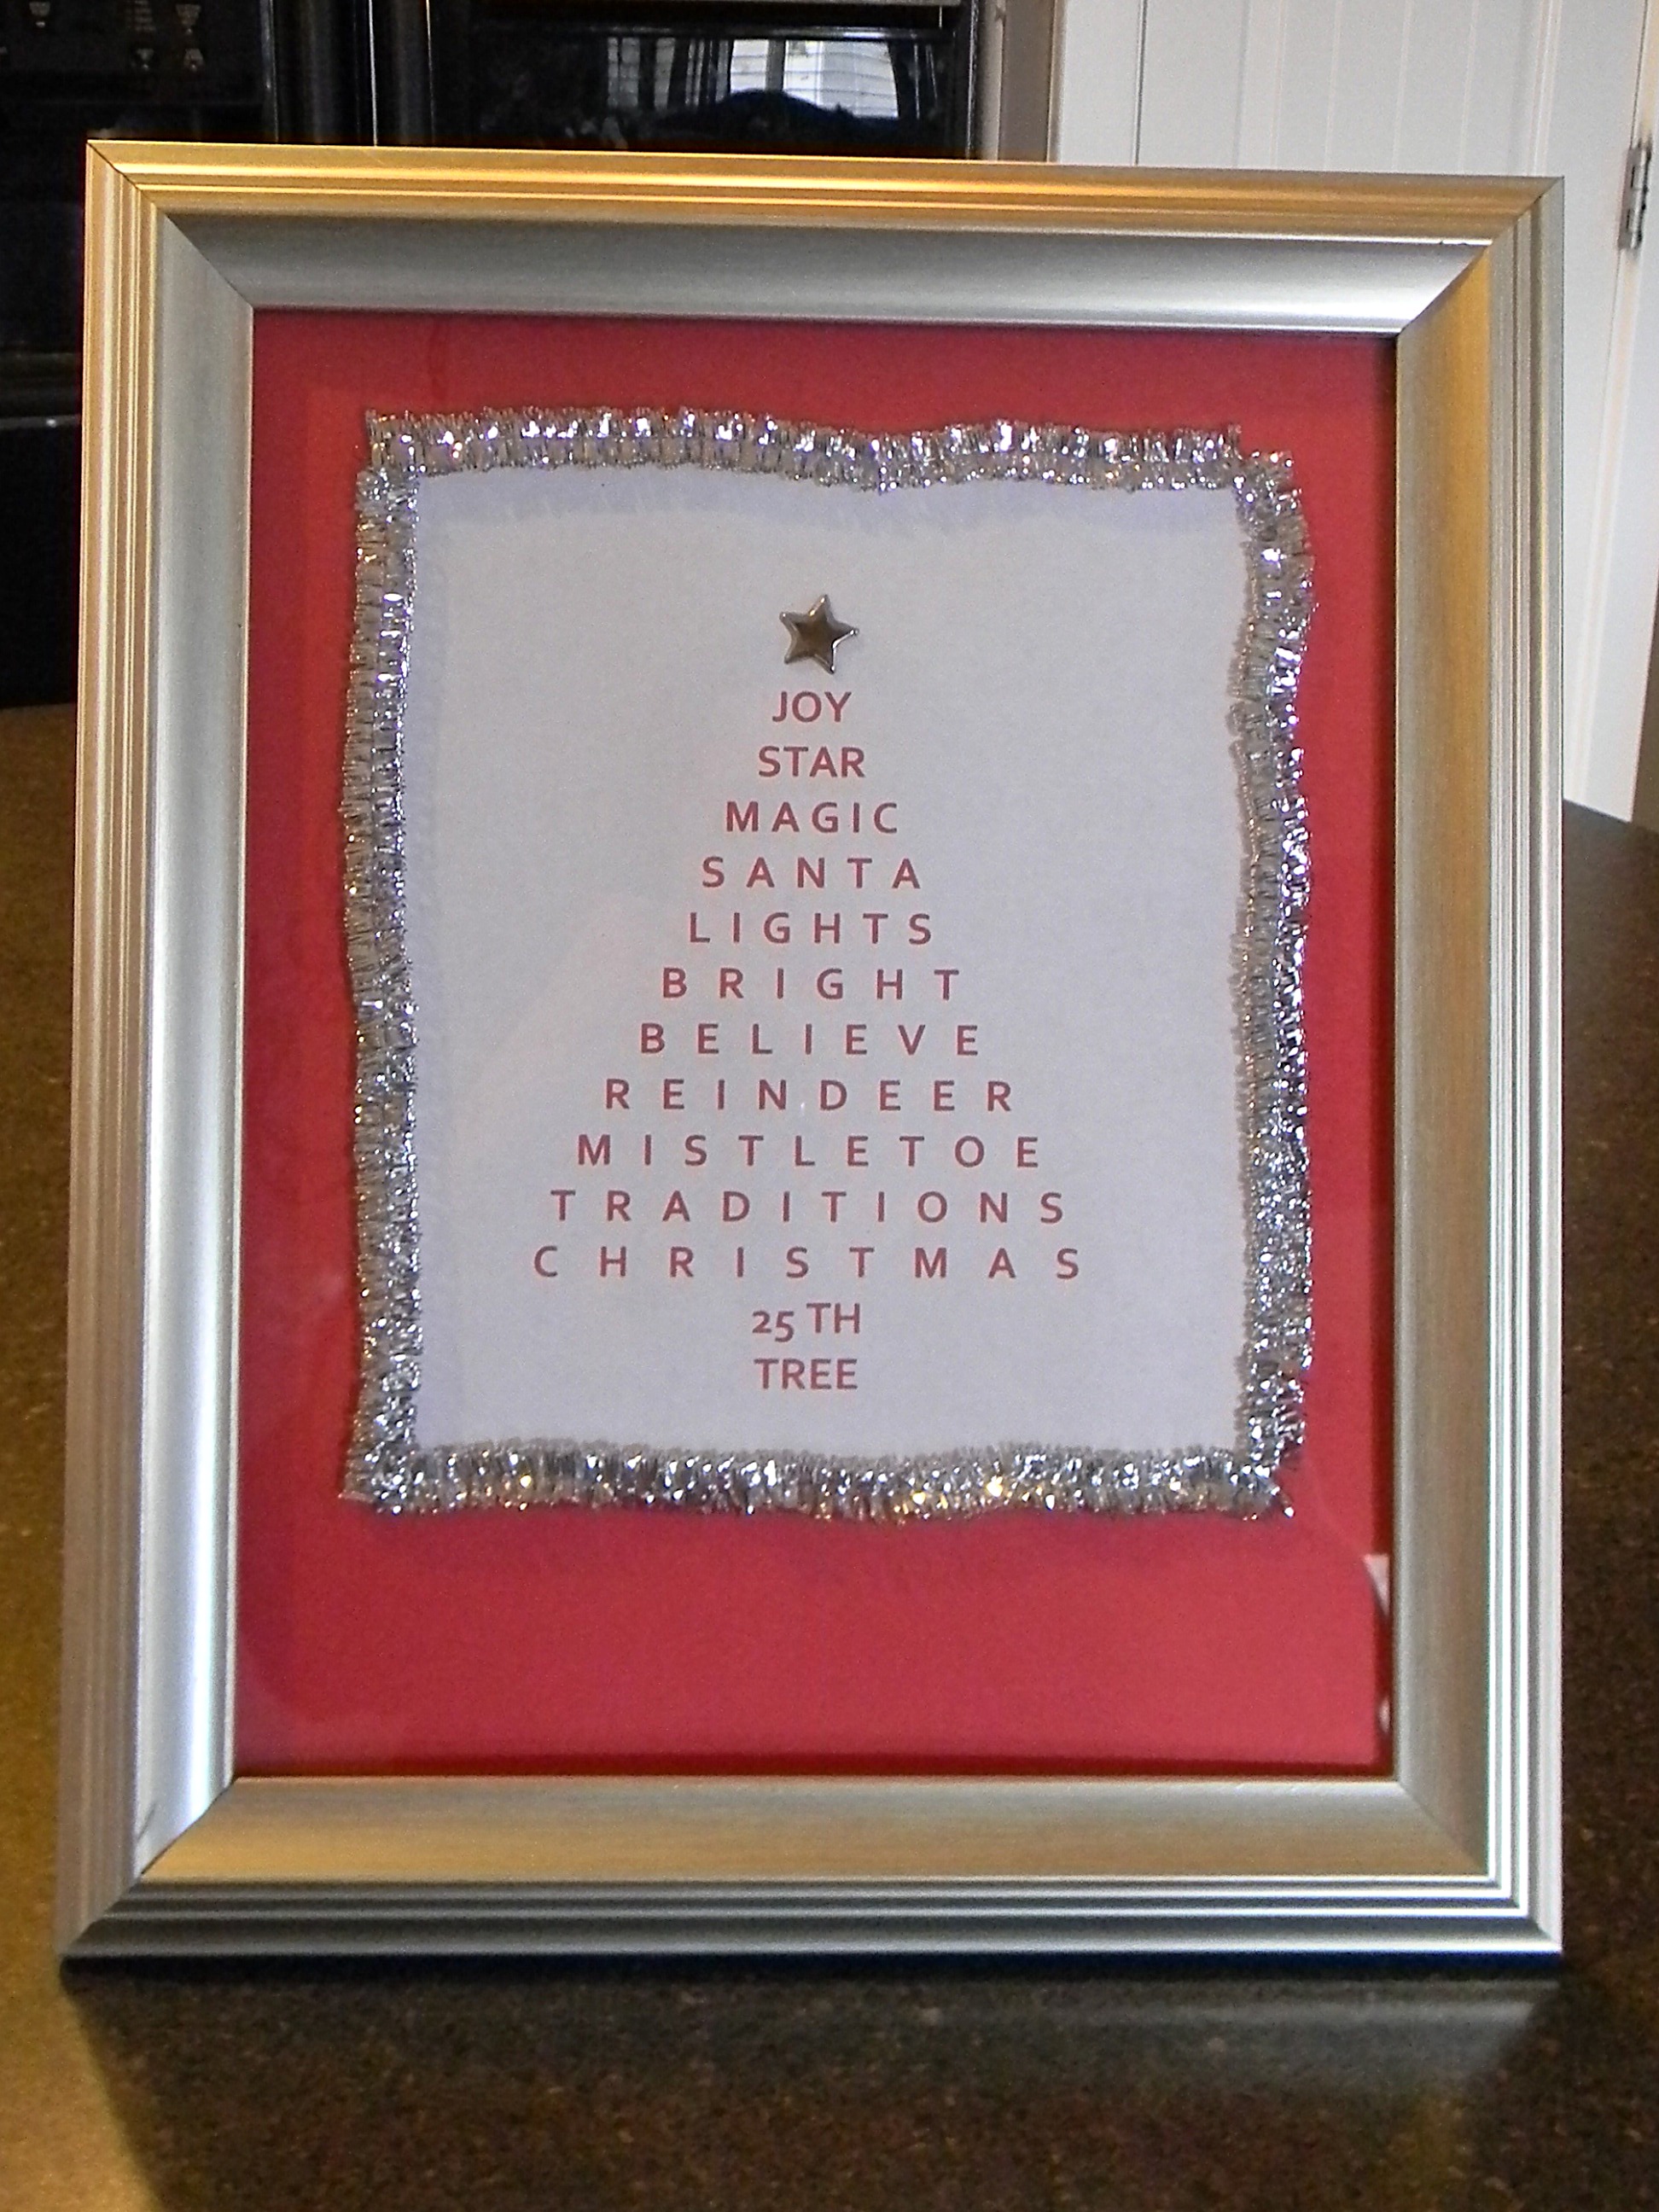
Just pop the printable into the frame of your choice. The printable was made to be 8 x 10 but can be very easily re-sized on your computer or printer. Use a dry erase marker to write the countdown number on the glass. It’s super easy to wipe off with a paper towel or cloth.
If you would like to use this printable for yourself, just click the link below. Printables are for personal use ONLY and are available to subscribers of Organize & Decorate Everything. SUBSCRIBE NOW to get full access to all printables.
I like to mix up my Christmas decor a little every year. This year I decided to go with a Vintage Woodland theme. I had a slight problem though, we moved a few months ago and I got rid of at least 5 Christmas totes. I really didn’t remember what I still had until I opened the totes. I knew the colors I wanted to use were: red, gold, silver, and a little white. Another challenge: I am spending $0 on Christmas decorations this year.
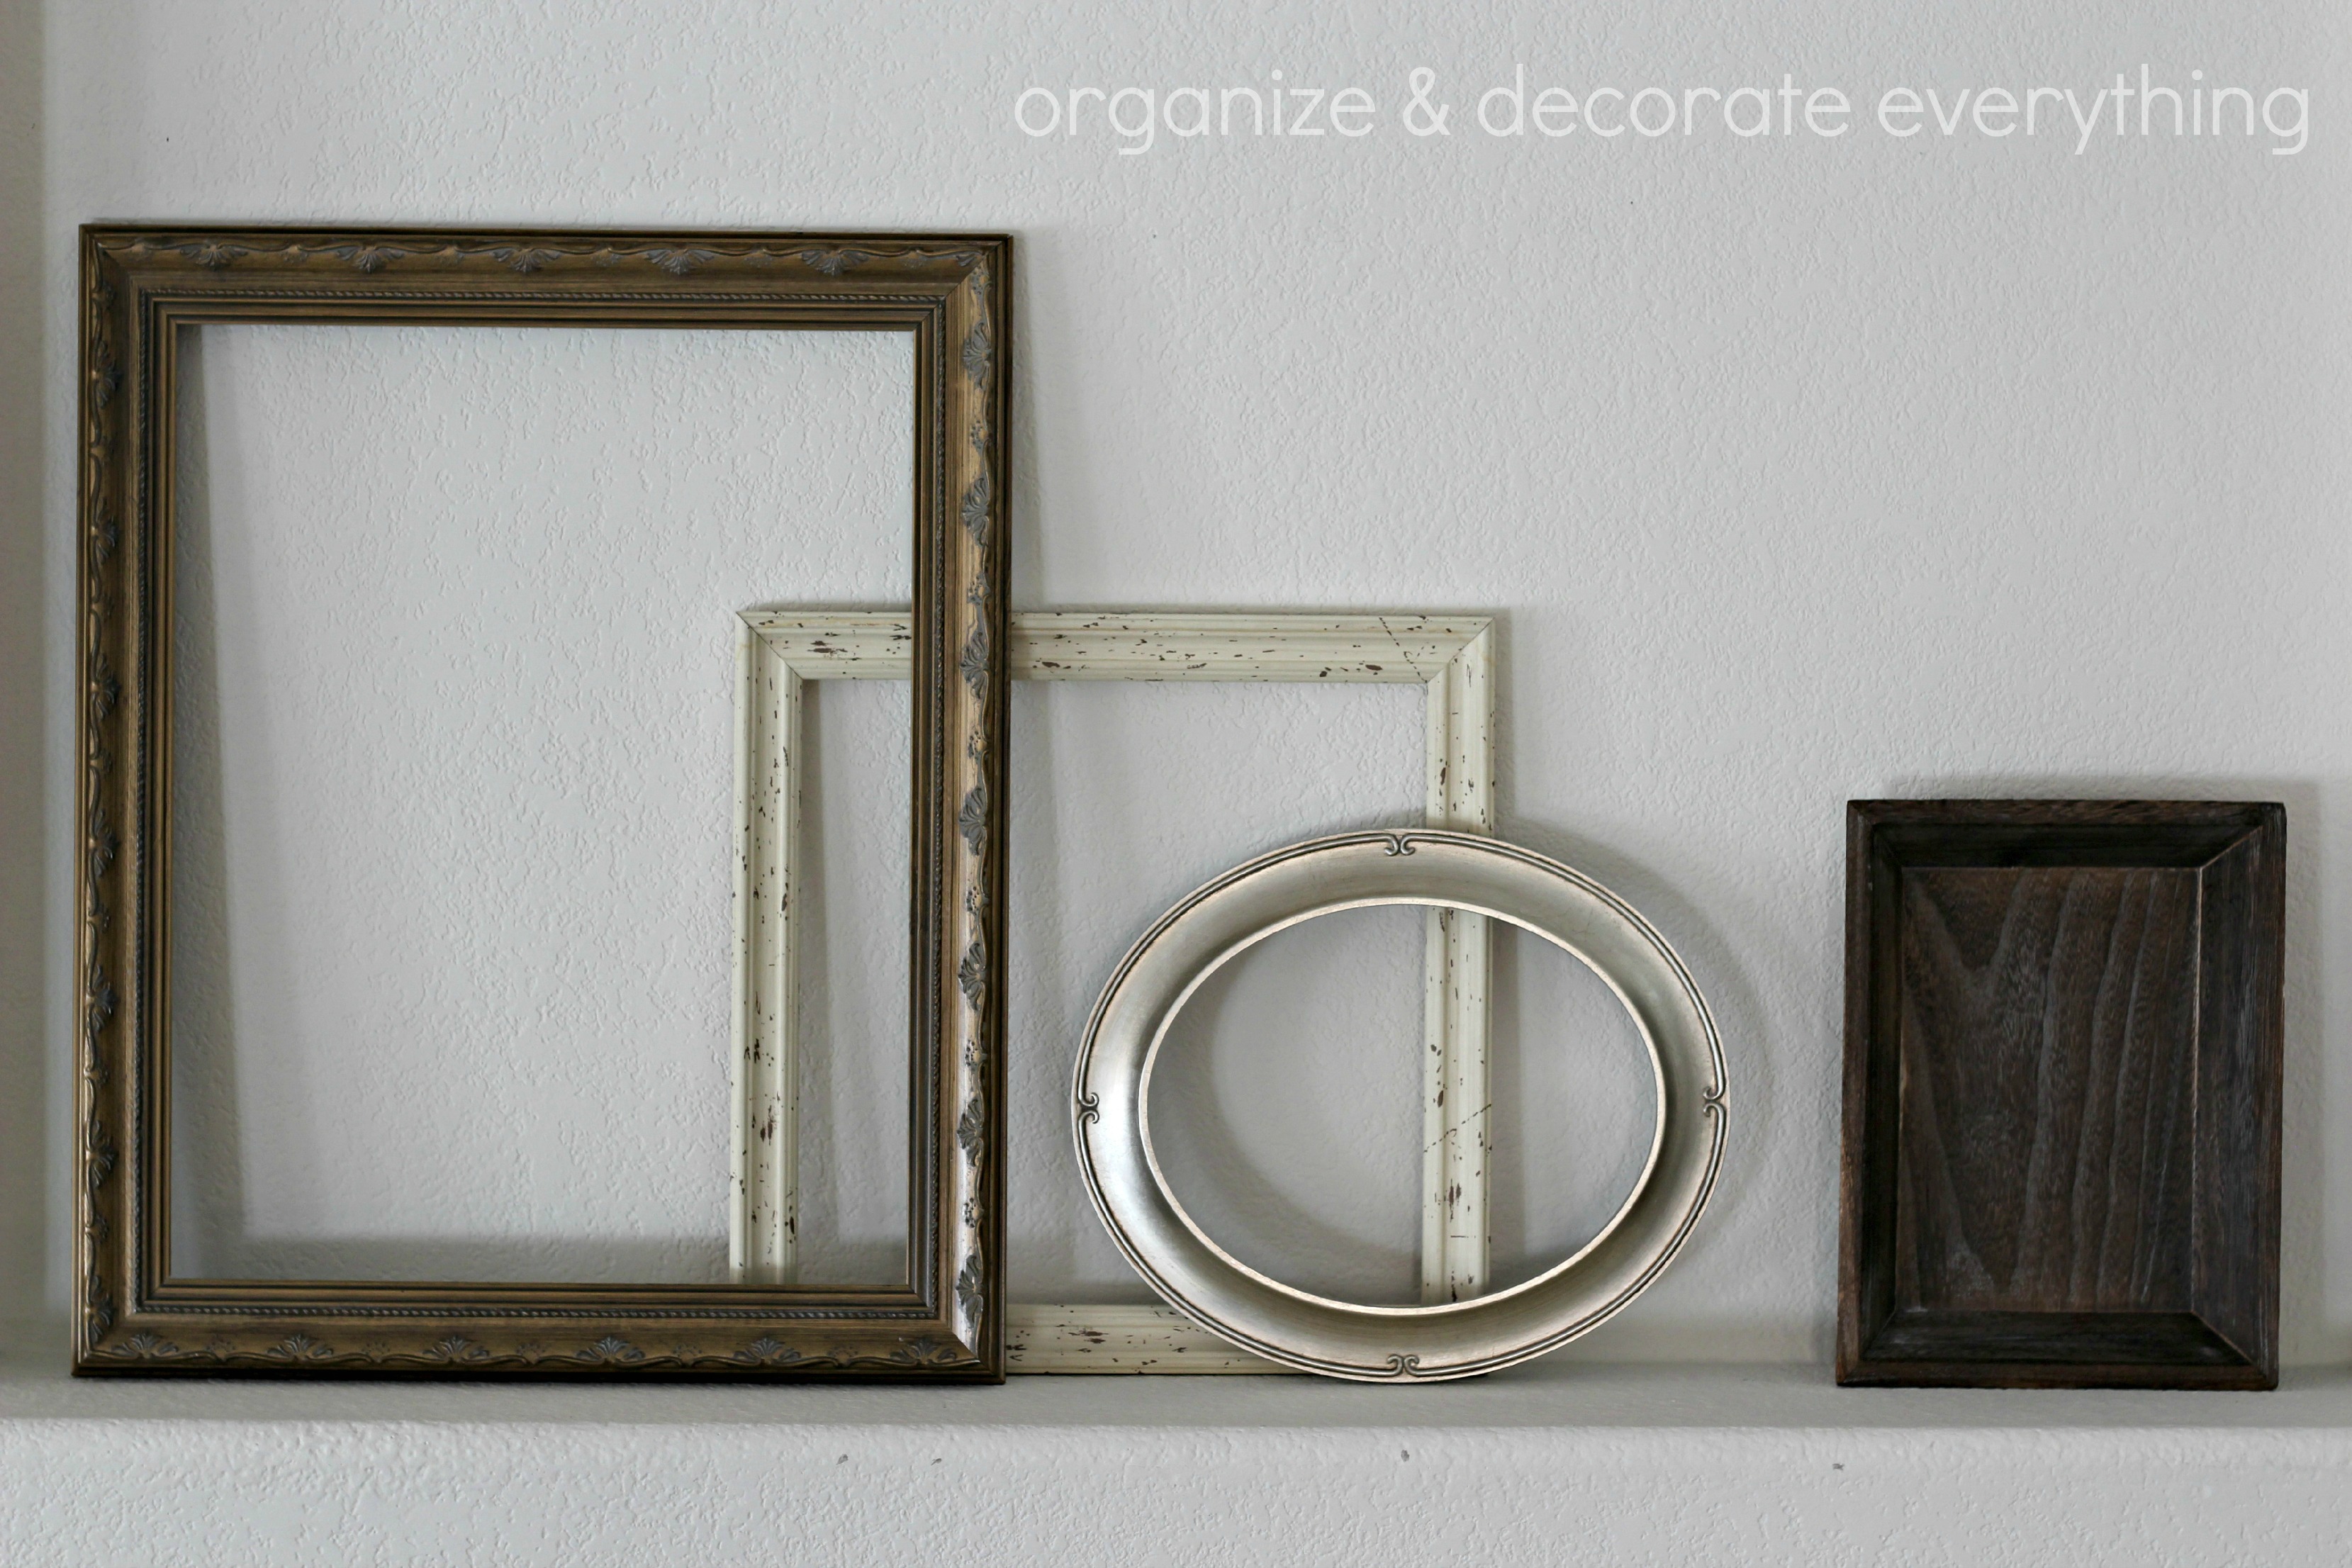
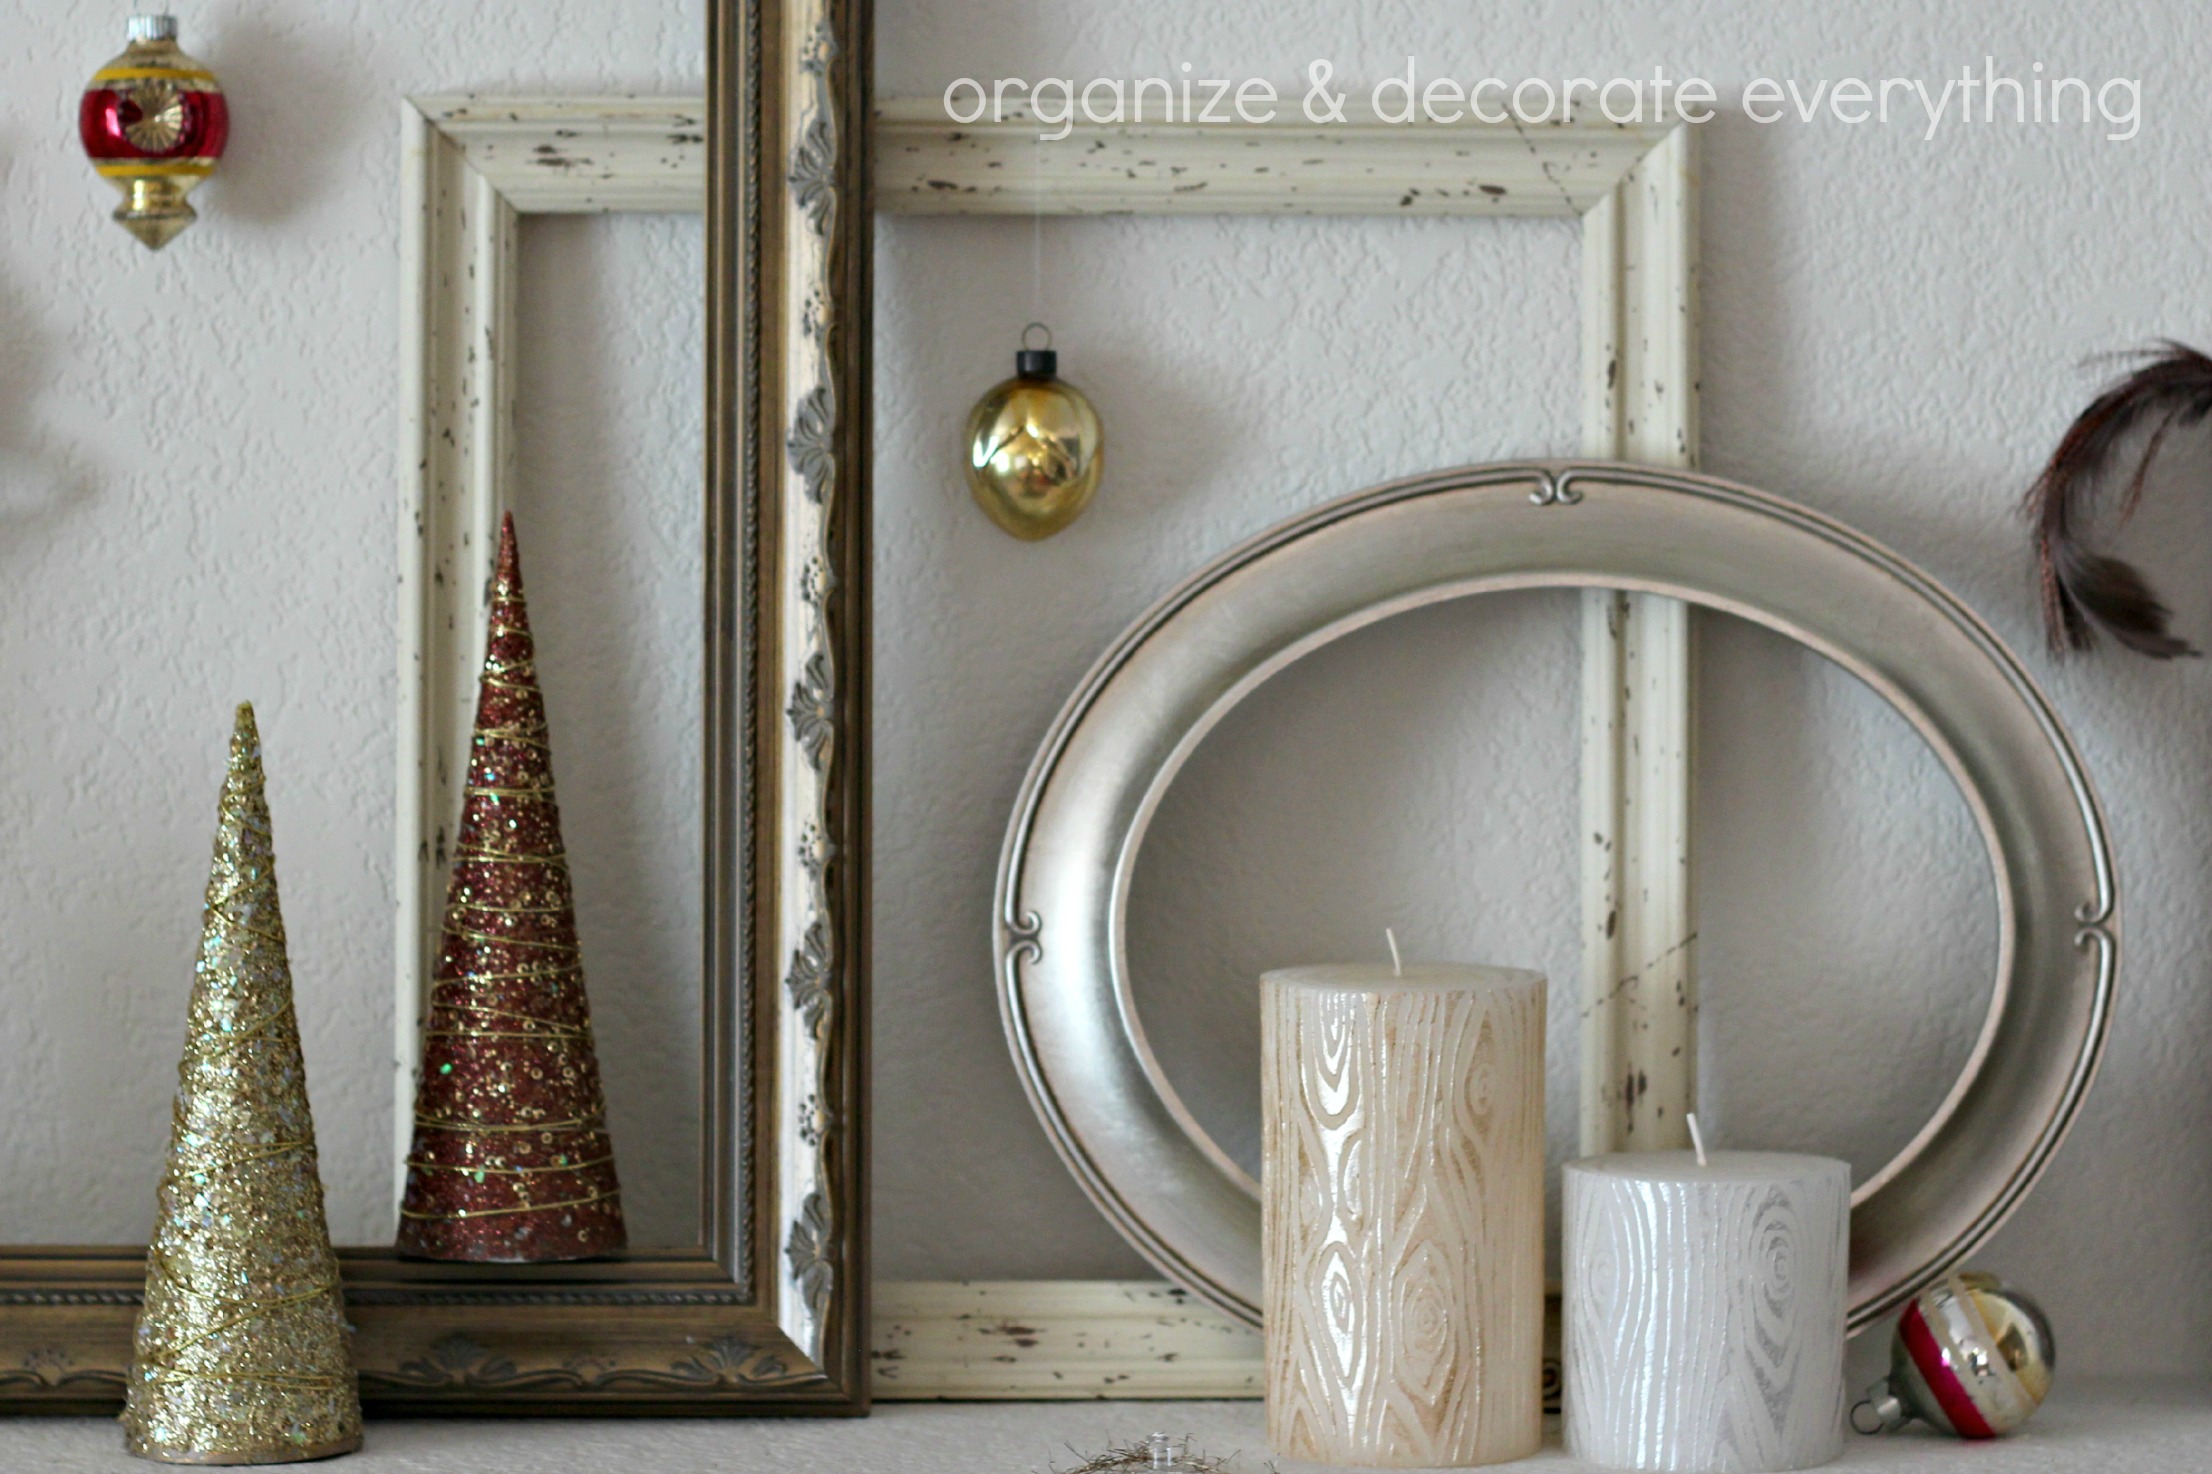
I started out with non Christmas items I had in my craft room. Use frames, mirrors, trays, shutters, books, etc. as a base when decorating your mantel. I used these 3 frames and a small wood tray. All of these frames had been purchased at a thrift store. Arrange them until you like the look.
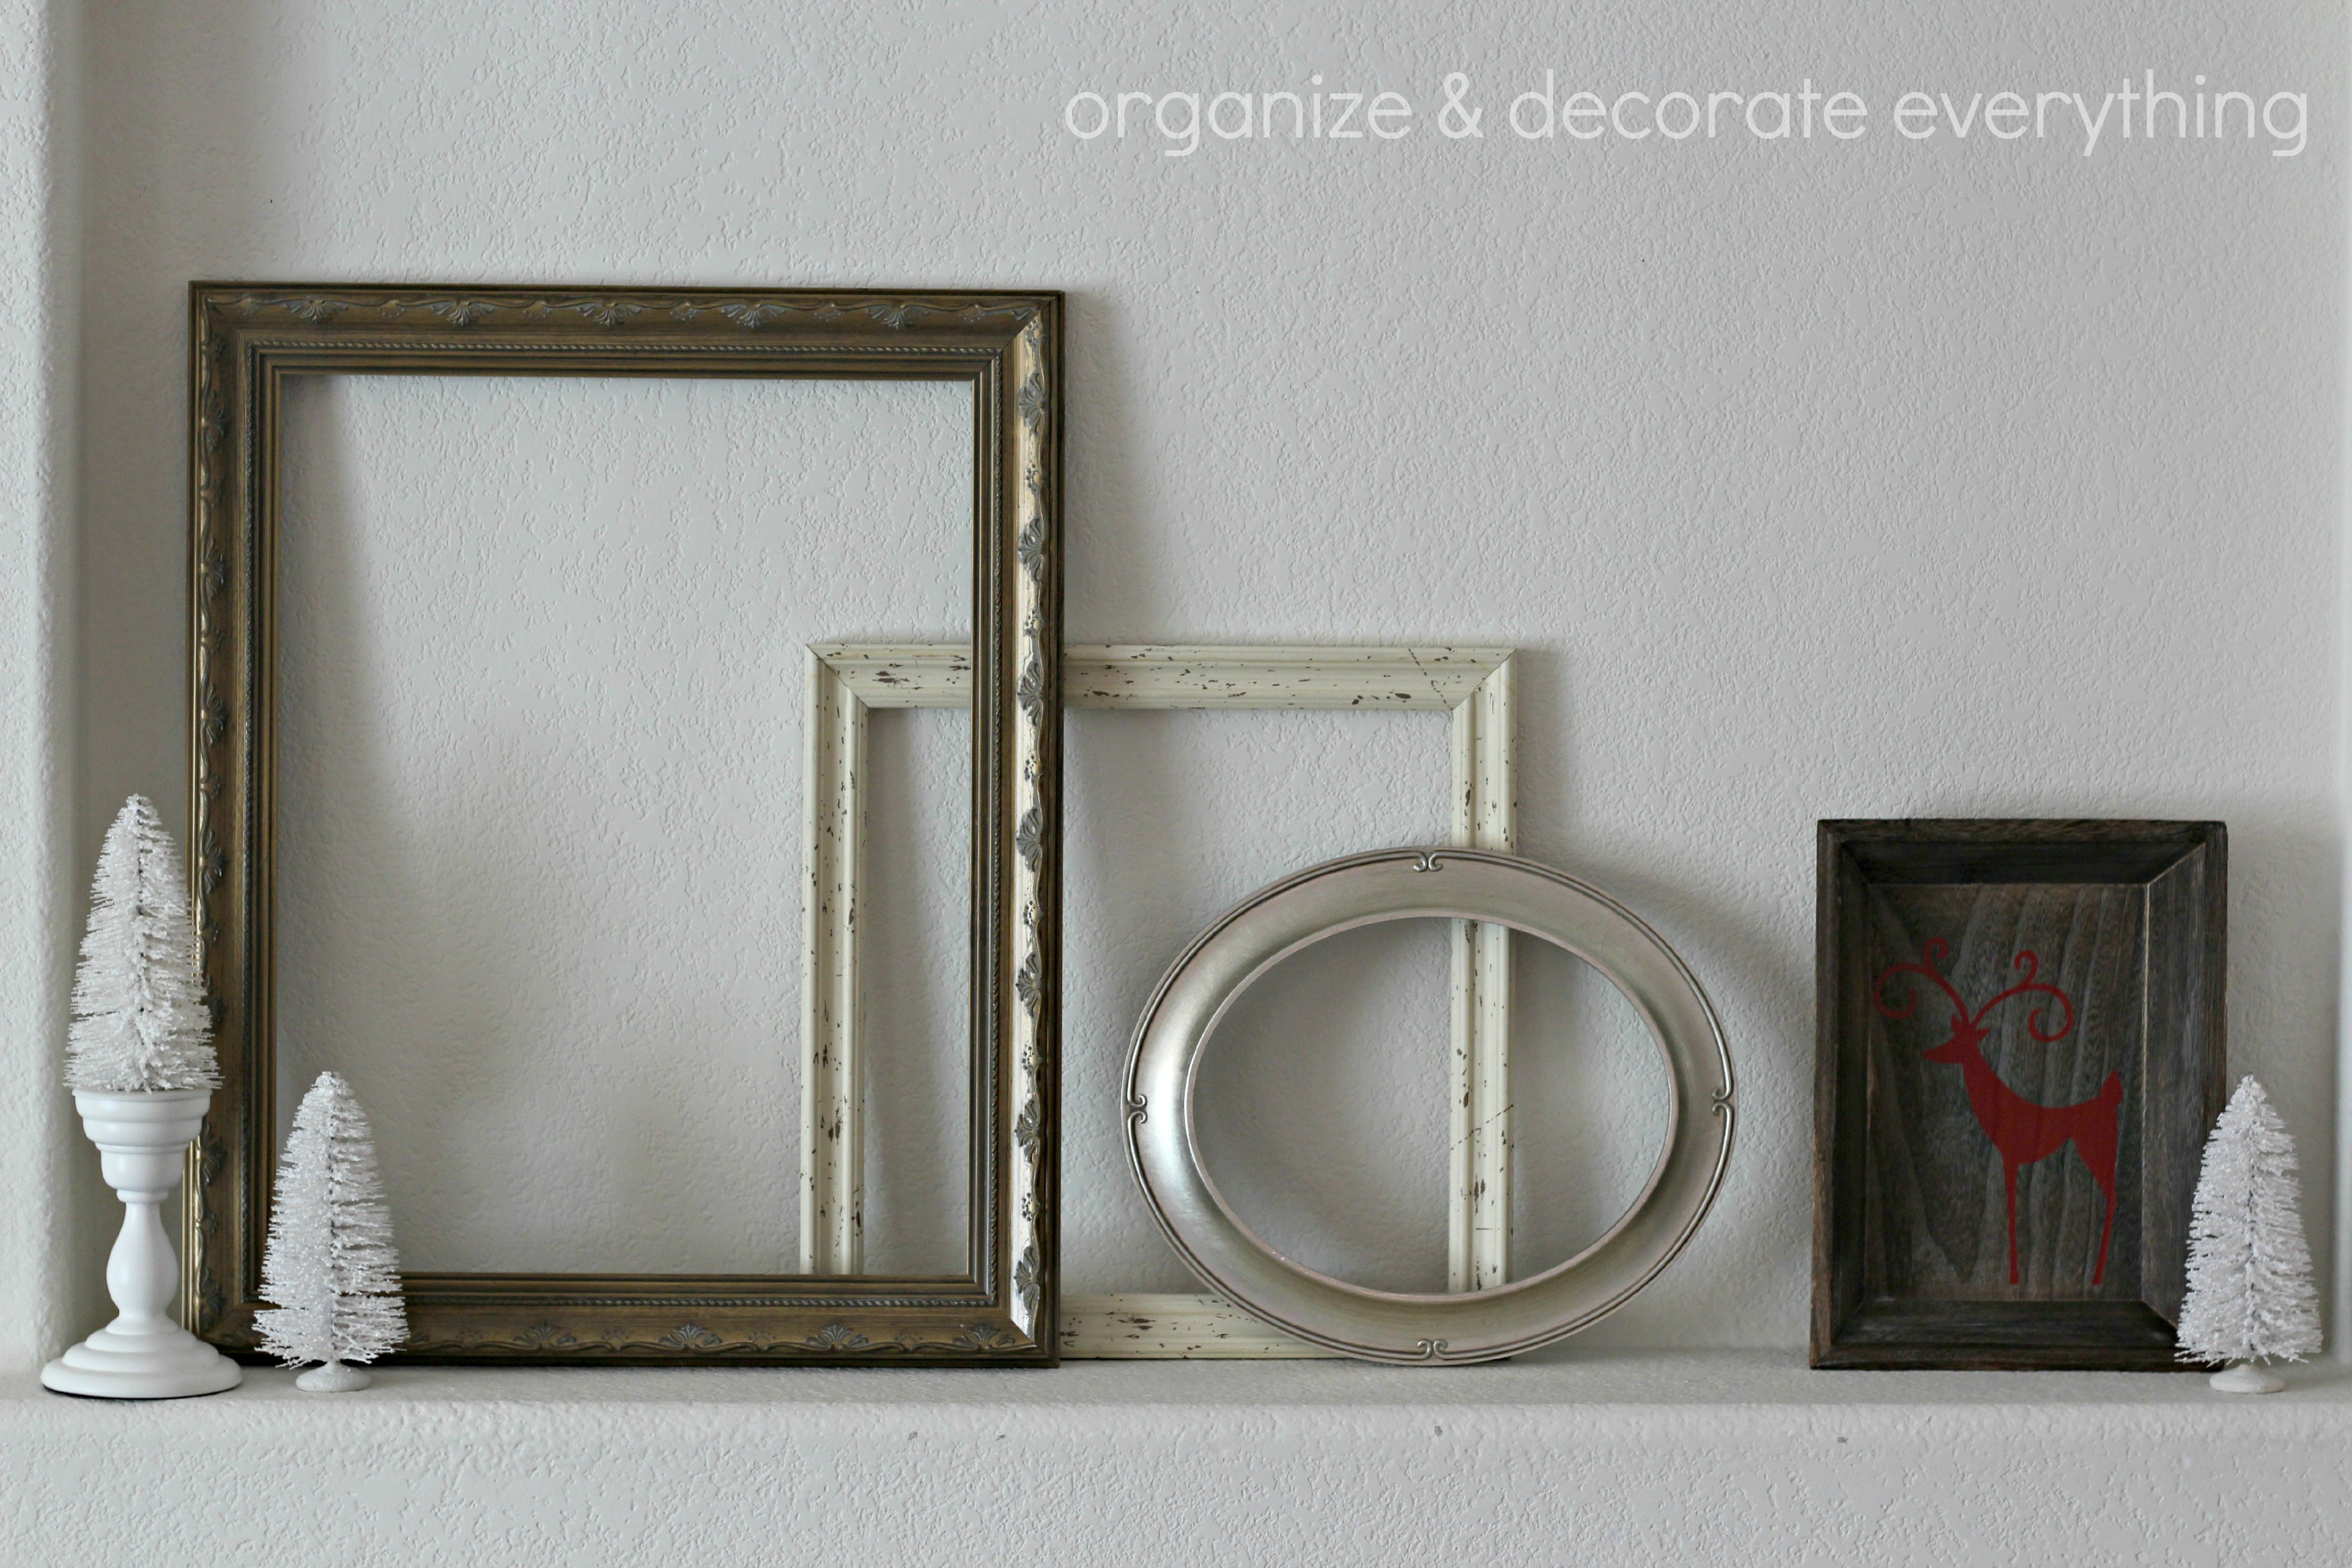
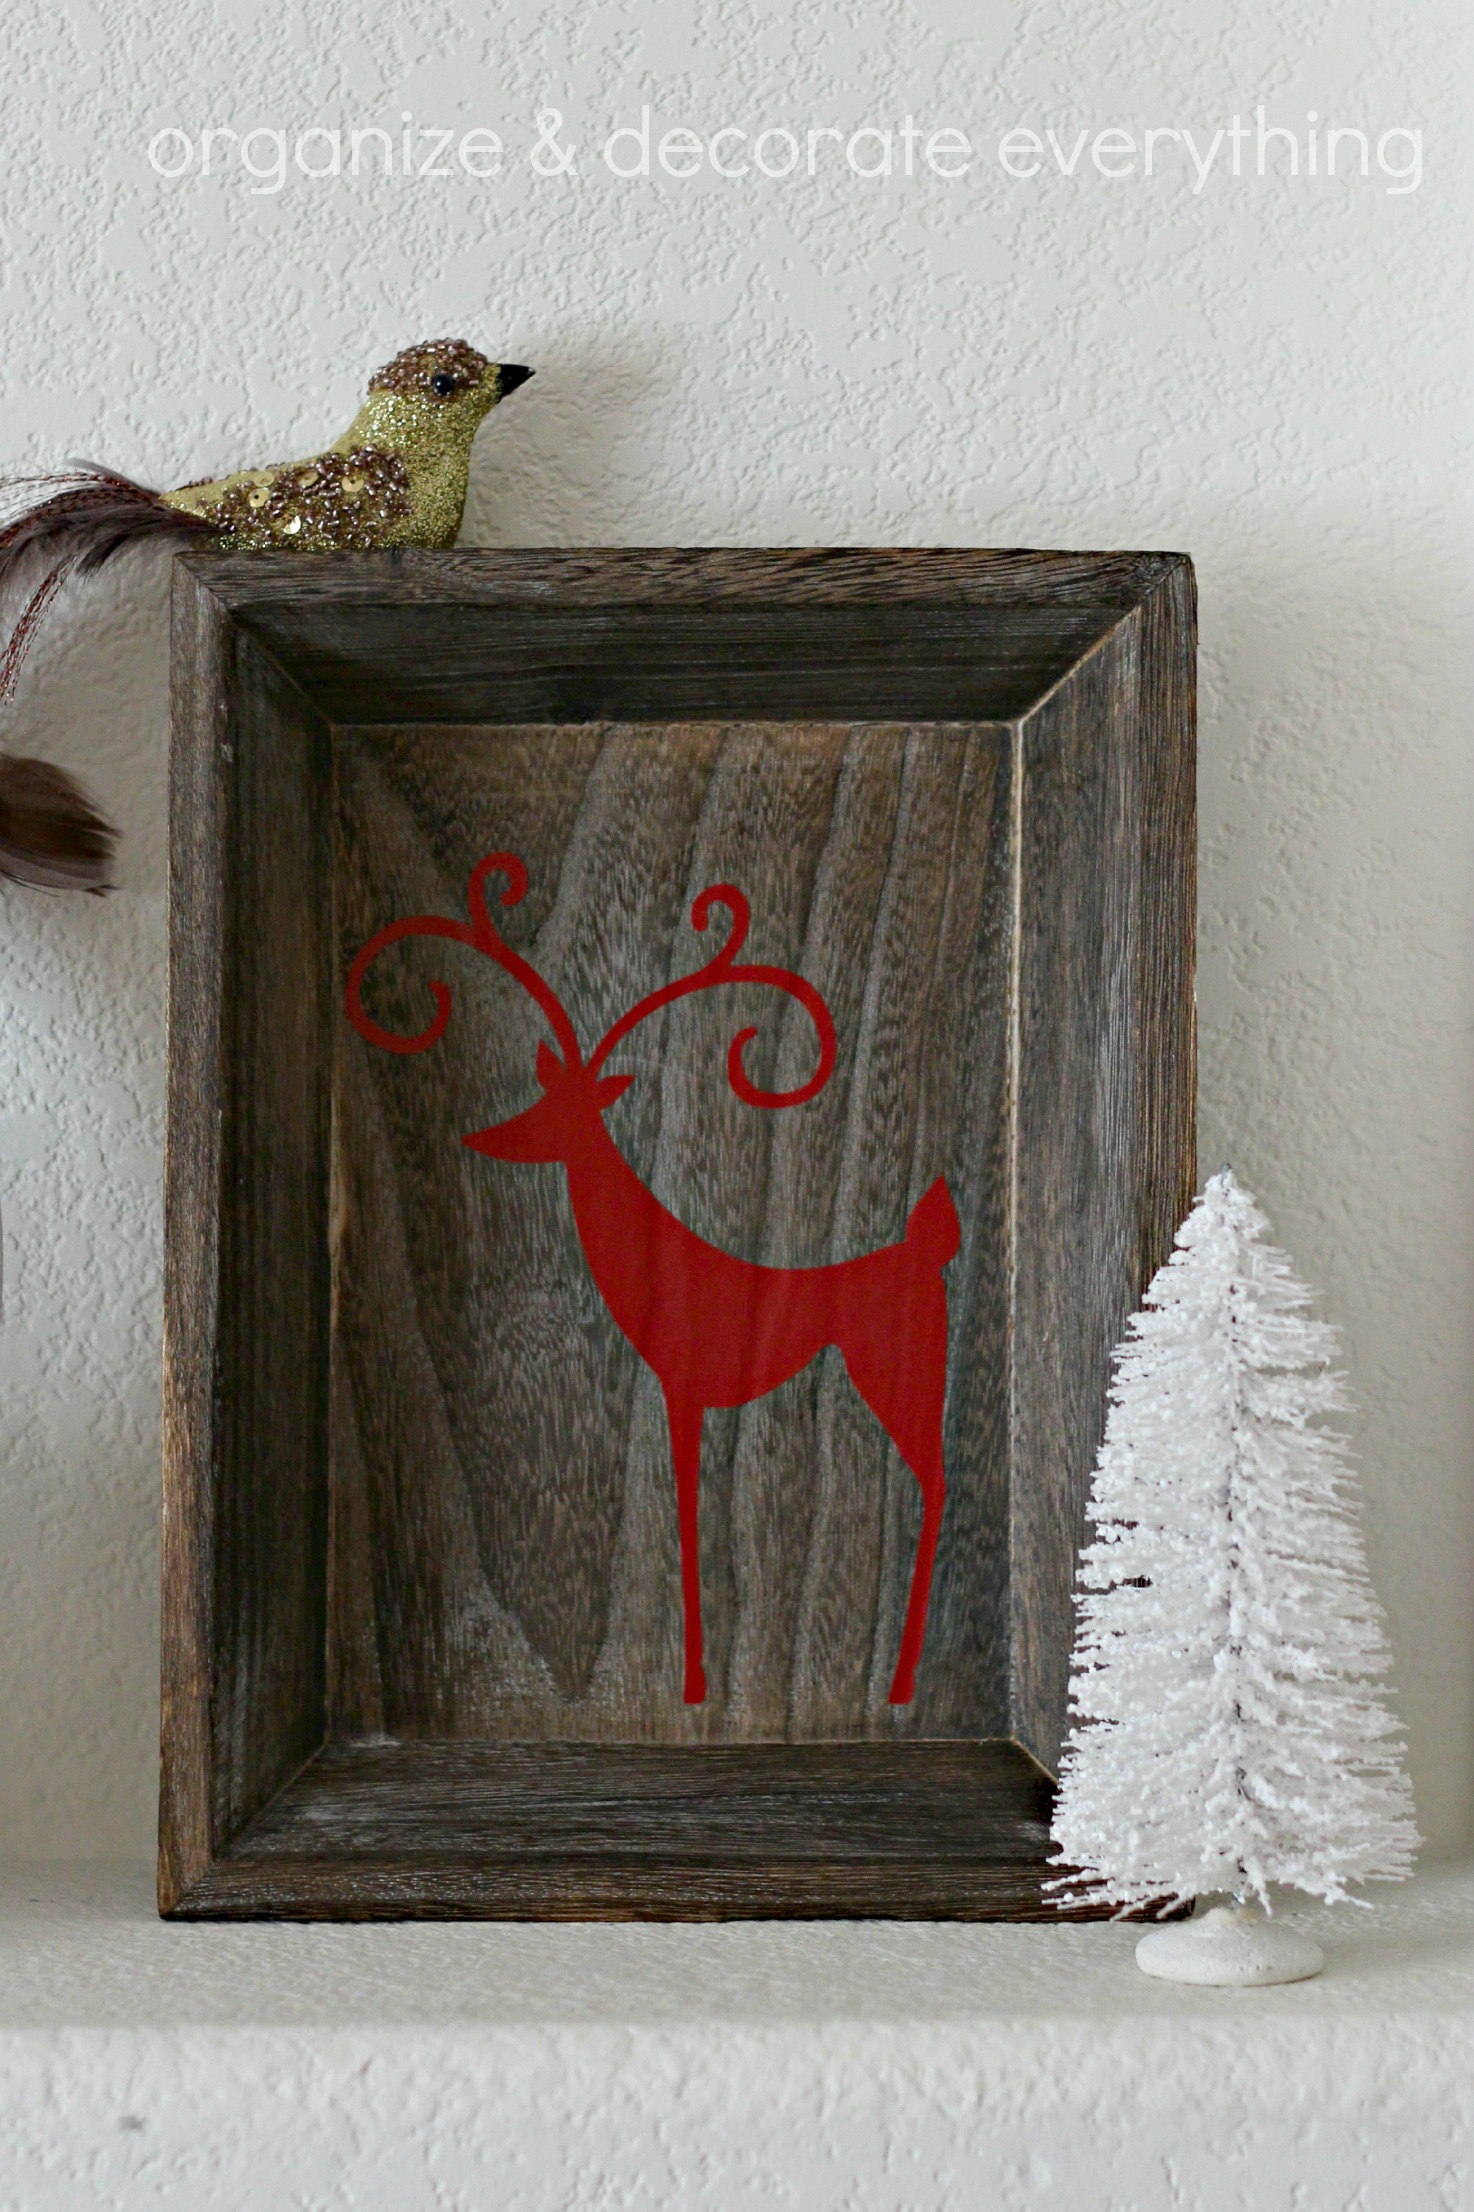
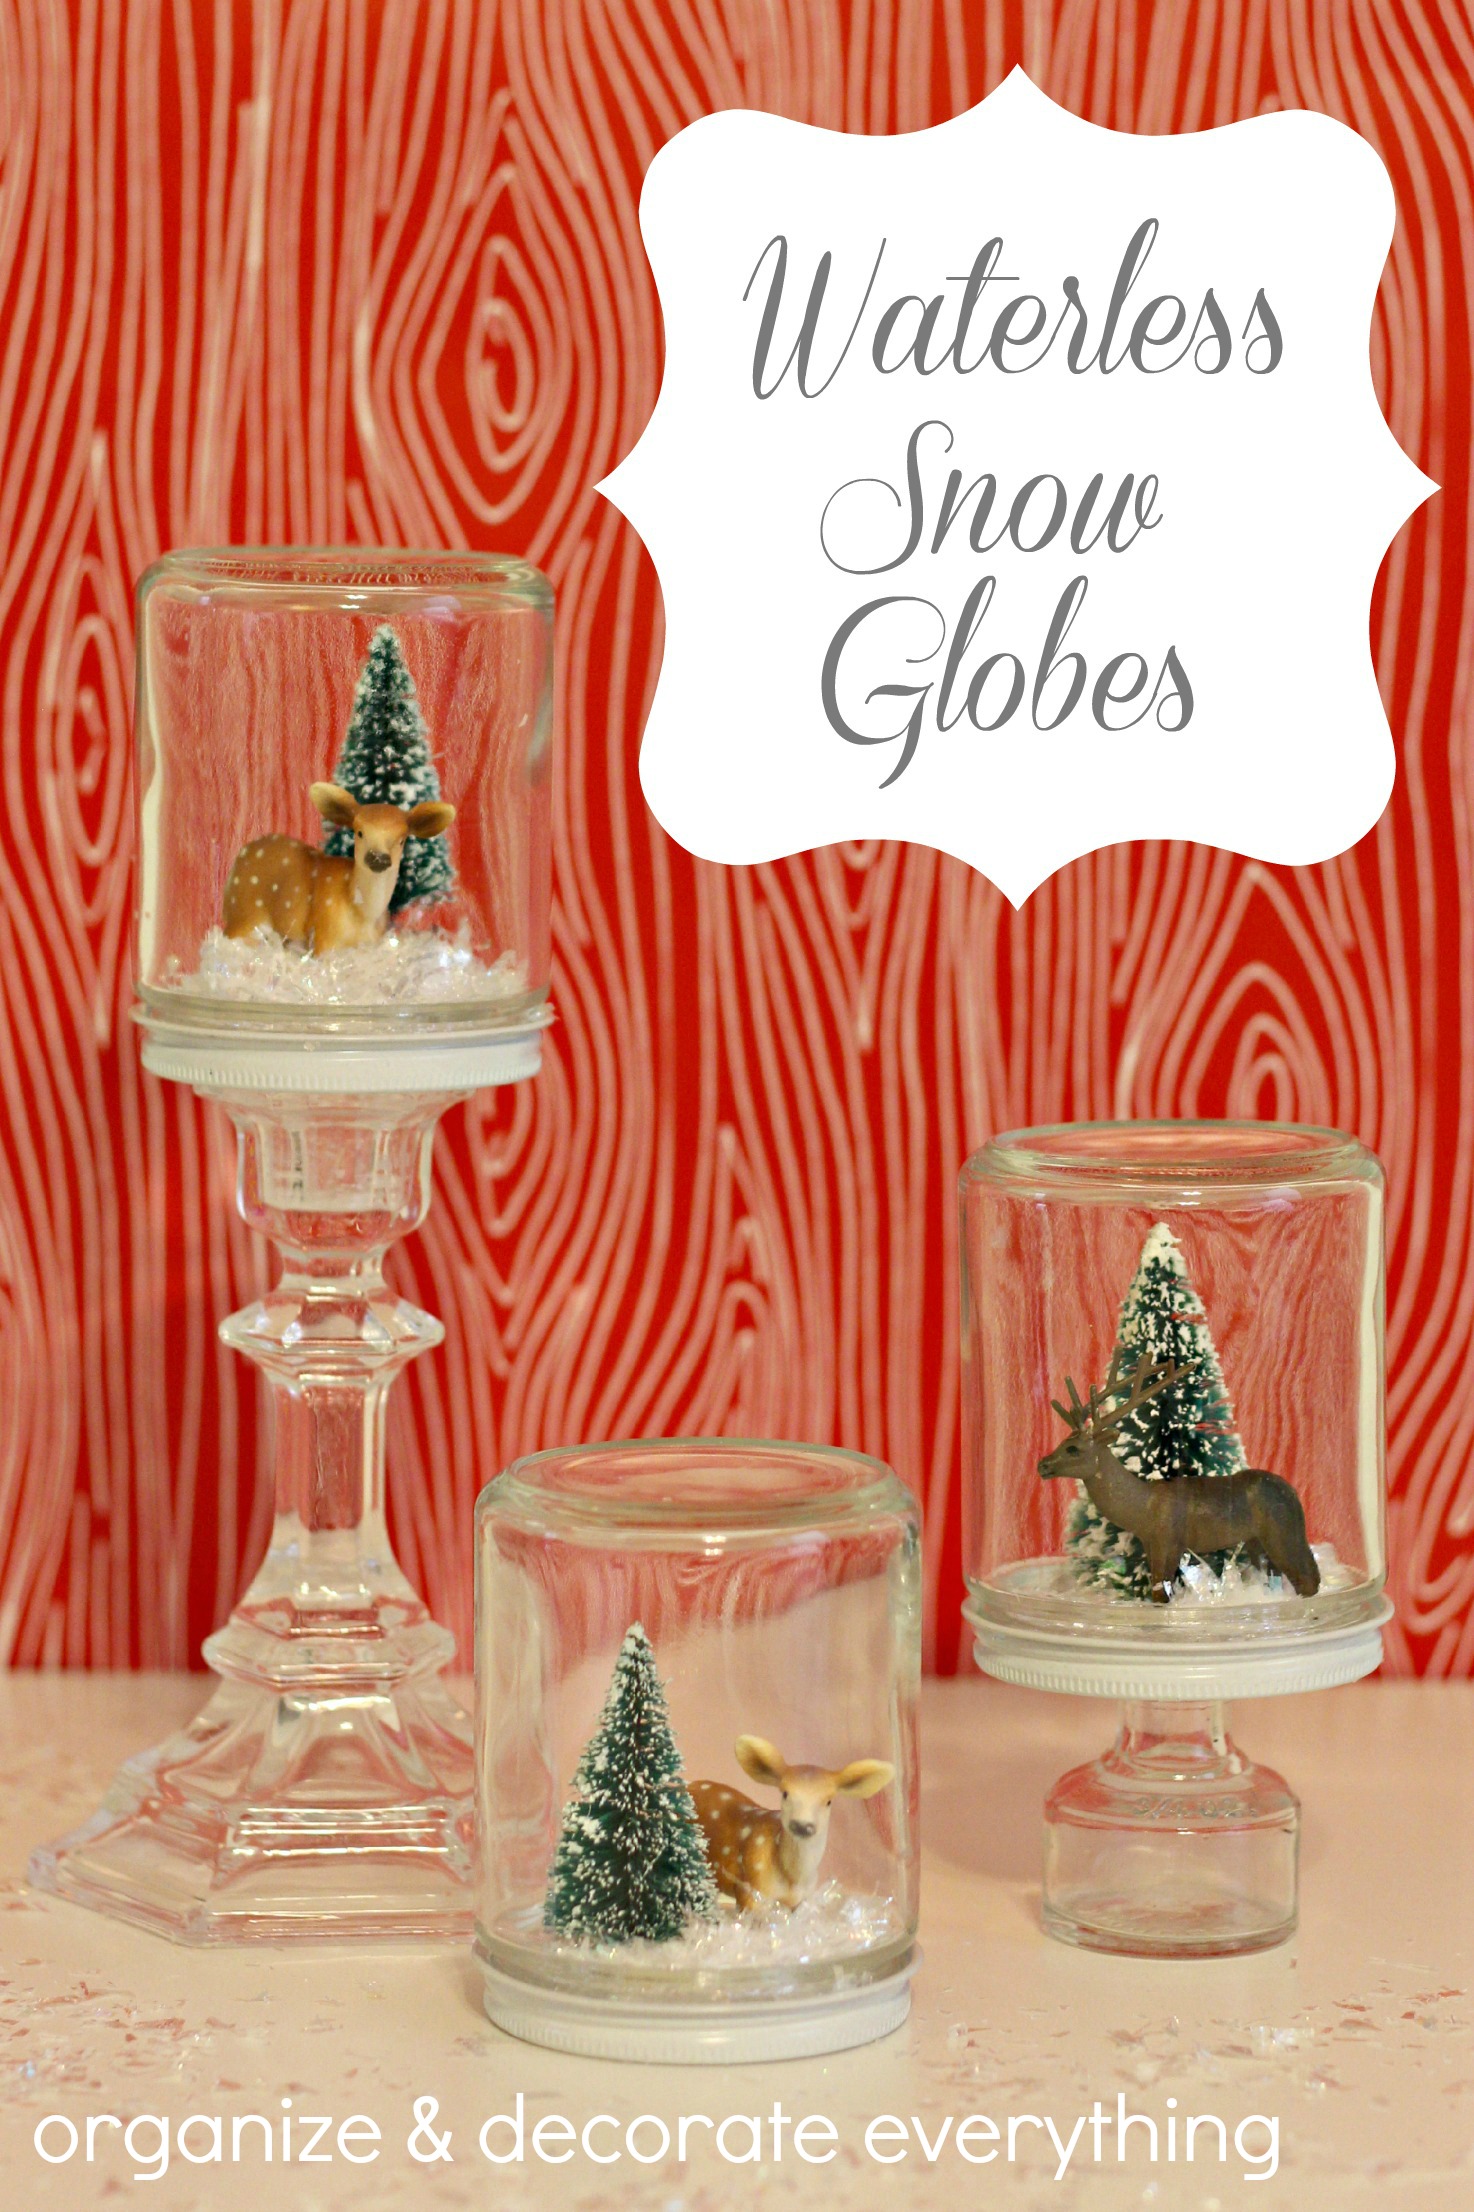
Once you have your base, start experimenting with items you know you want to include on your mantel. I knew I wanted to include the white bottle brush trees so I started with them. I placed one on a candlestick to give it height. Then I added a red vinyl deer to the wood tray.
Here’s a close-up of the deer tray. I love the simplicity of it. I added a glittery bird ornament sitting on the top corner of the tray.
I had an empty space on the right side of the wall above the mantel so I added a little plaque in the theme colors. I hung it from some beautiful vintage tinsel.
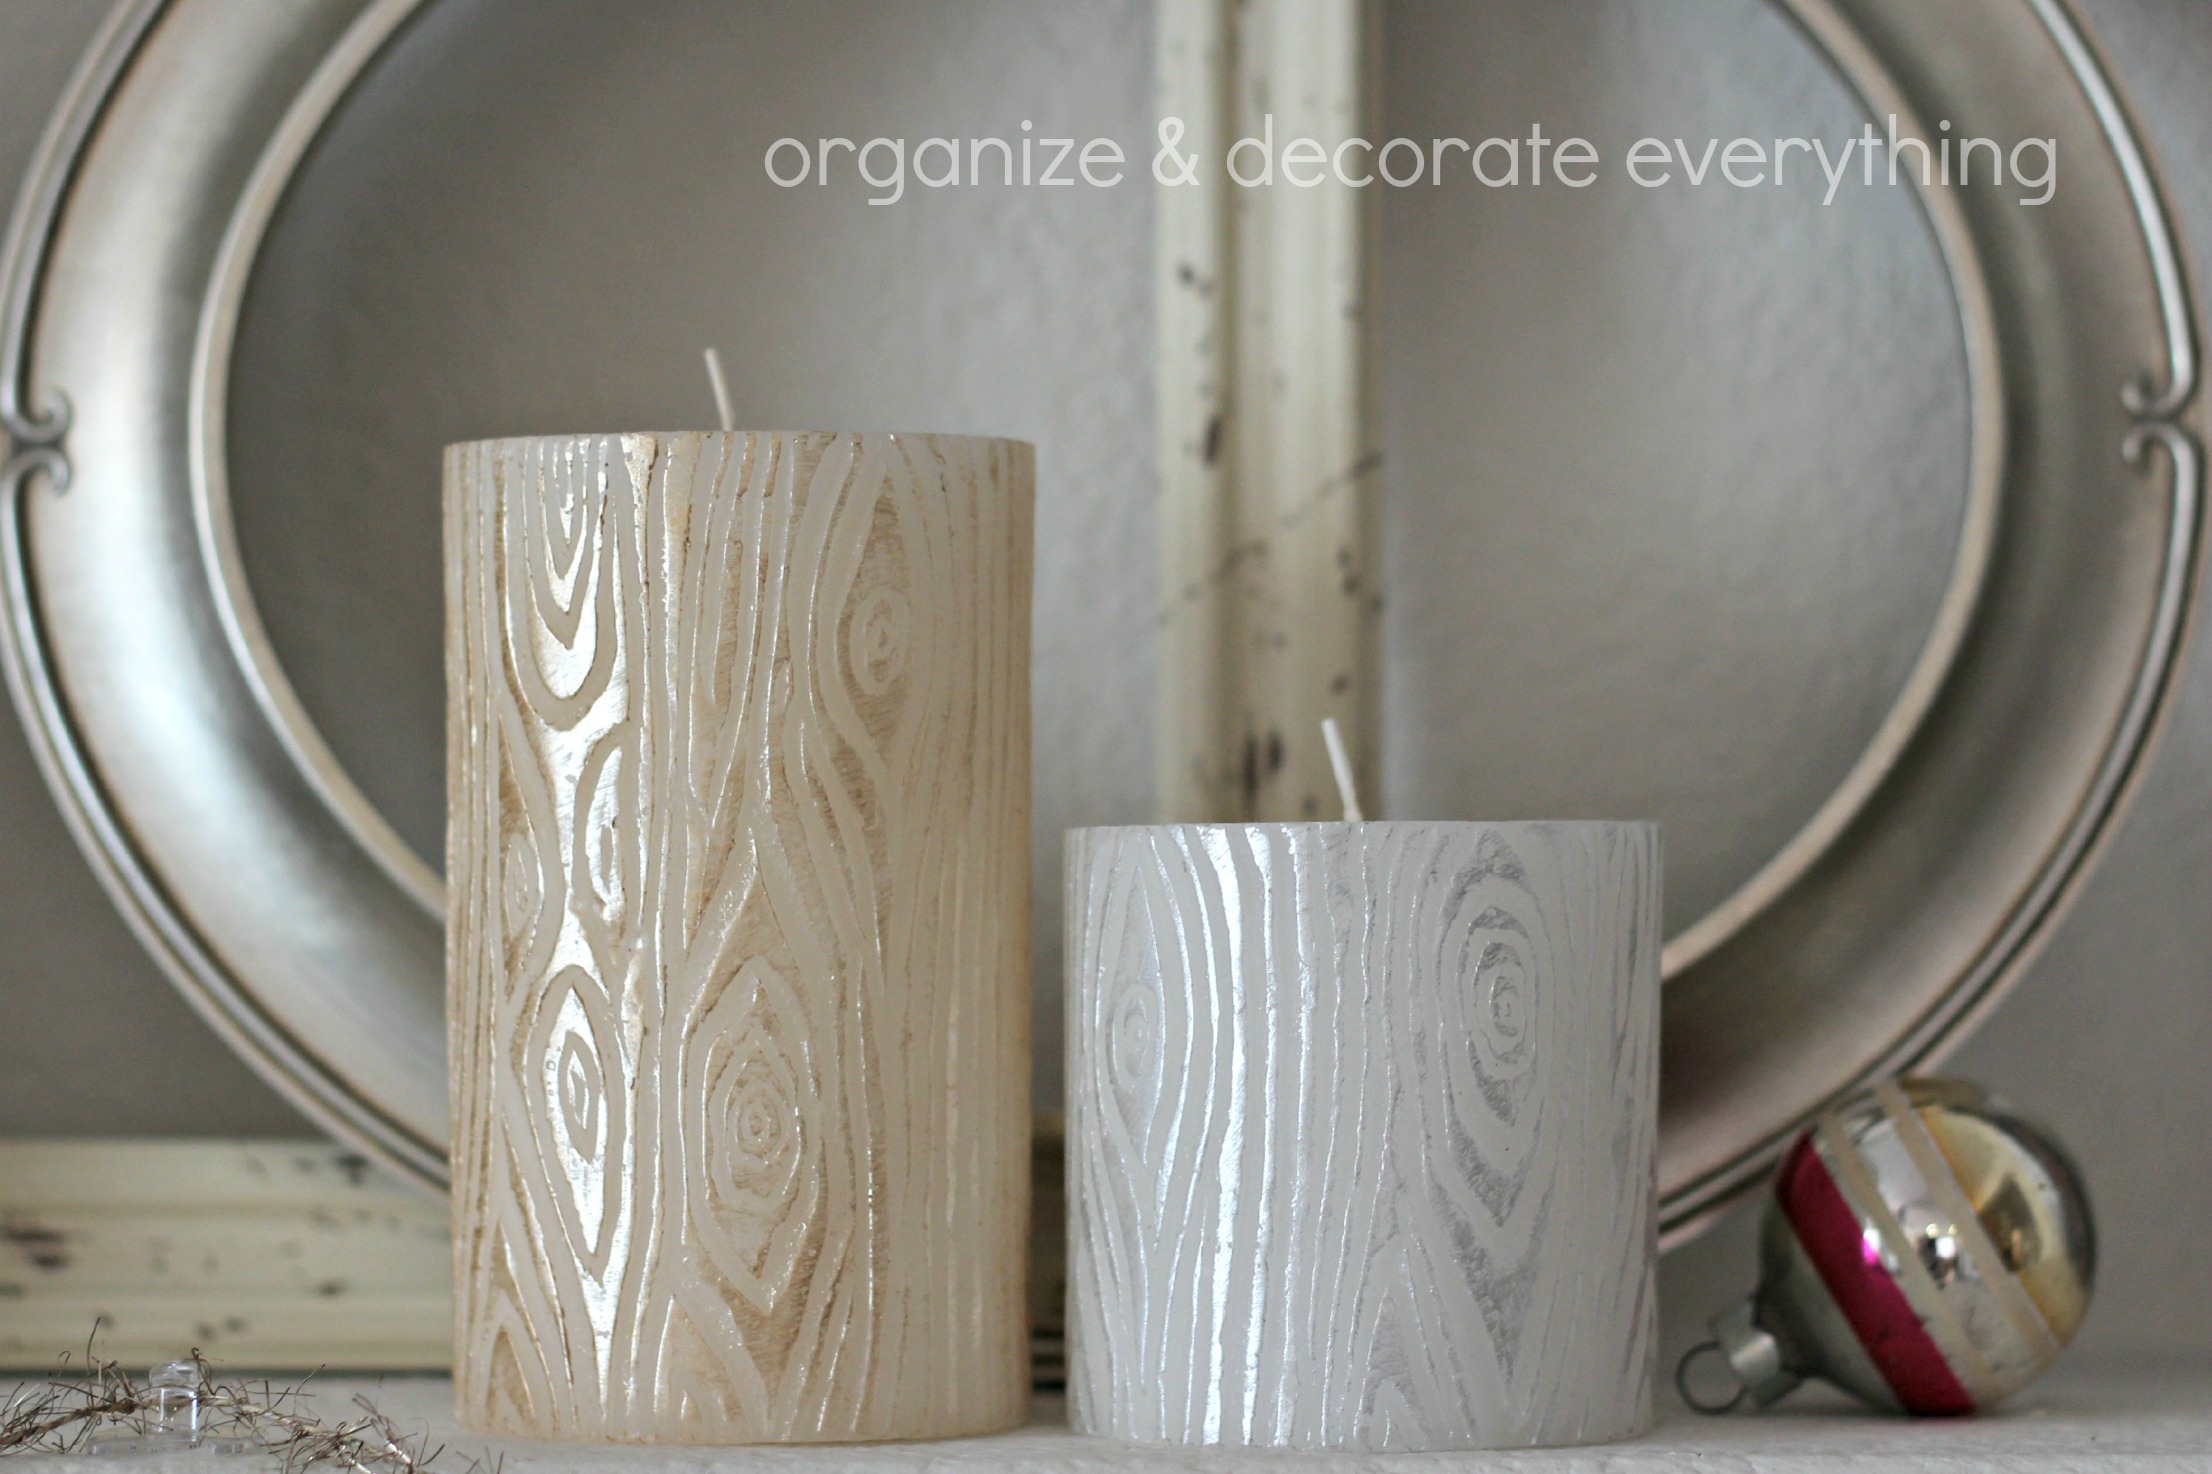
Then I found the faux bois candles in my craft room and added them in front of the oval frame. I usually use these candles for Winter decor because of their color. I love the way they look and think I’ll try making some of my own. I’ll let you know if it works.
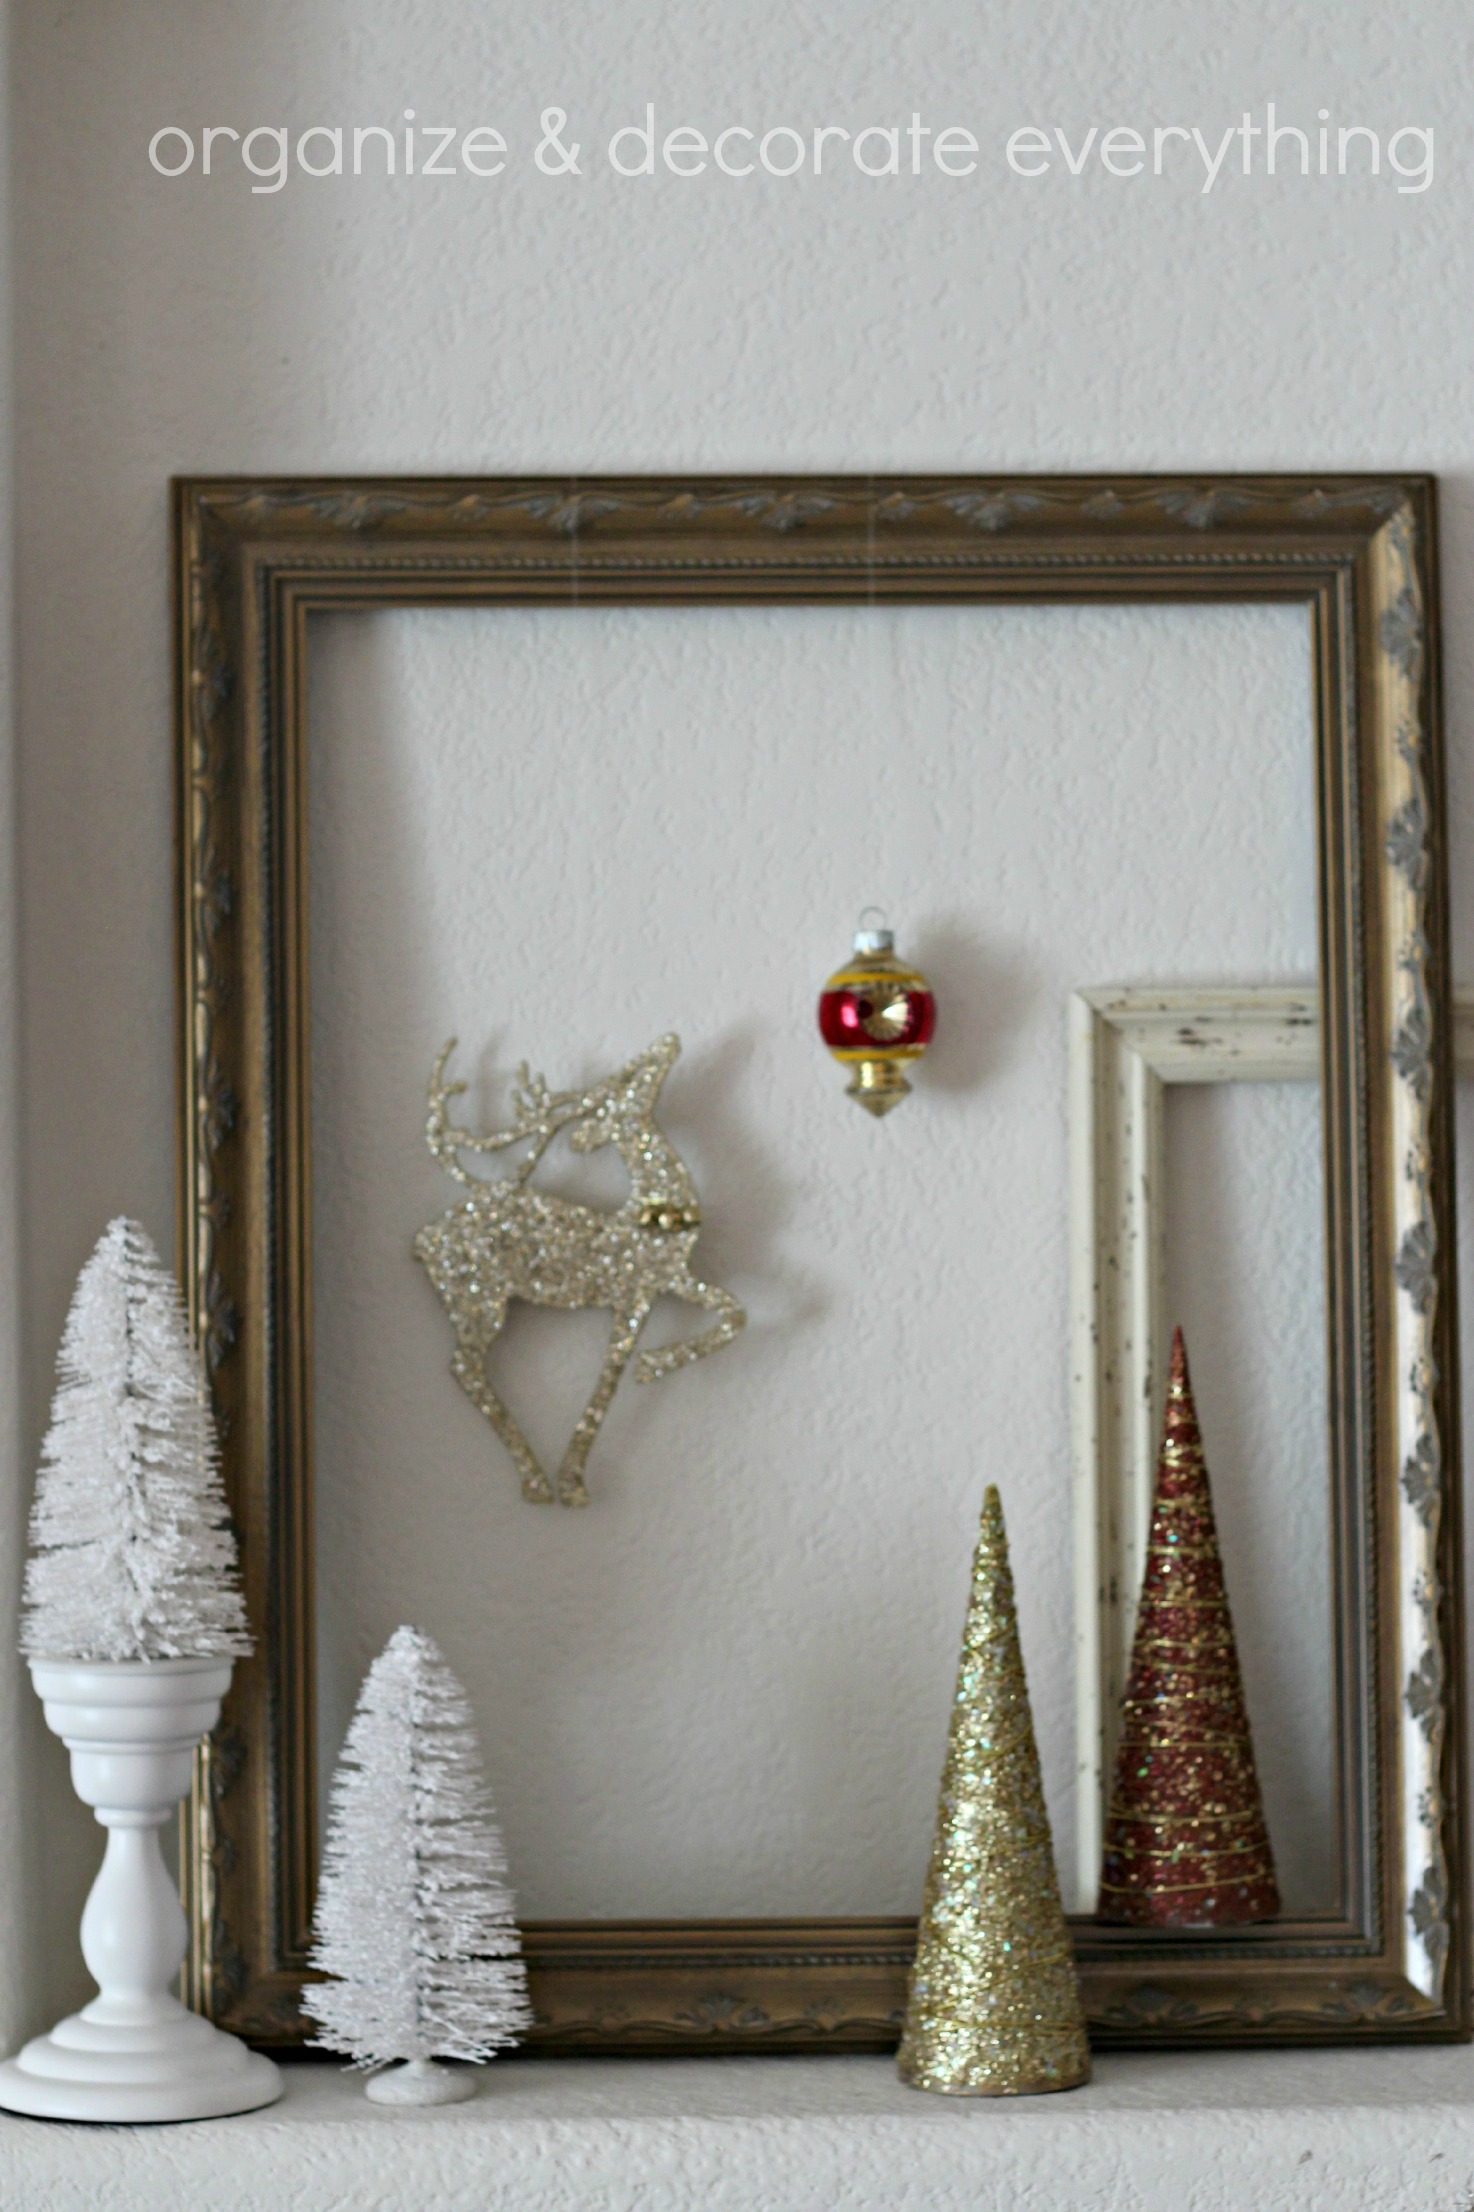
I added some glitter cone trees in red and gold and a few vintage ornaments here and there. I hung 2 from the frames using fishing line.
The glitter deer ornament came from Dollar Tree a few years ago. Isn’t it awesome?! I’m always surprised what I can find at the dollar store.
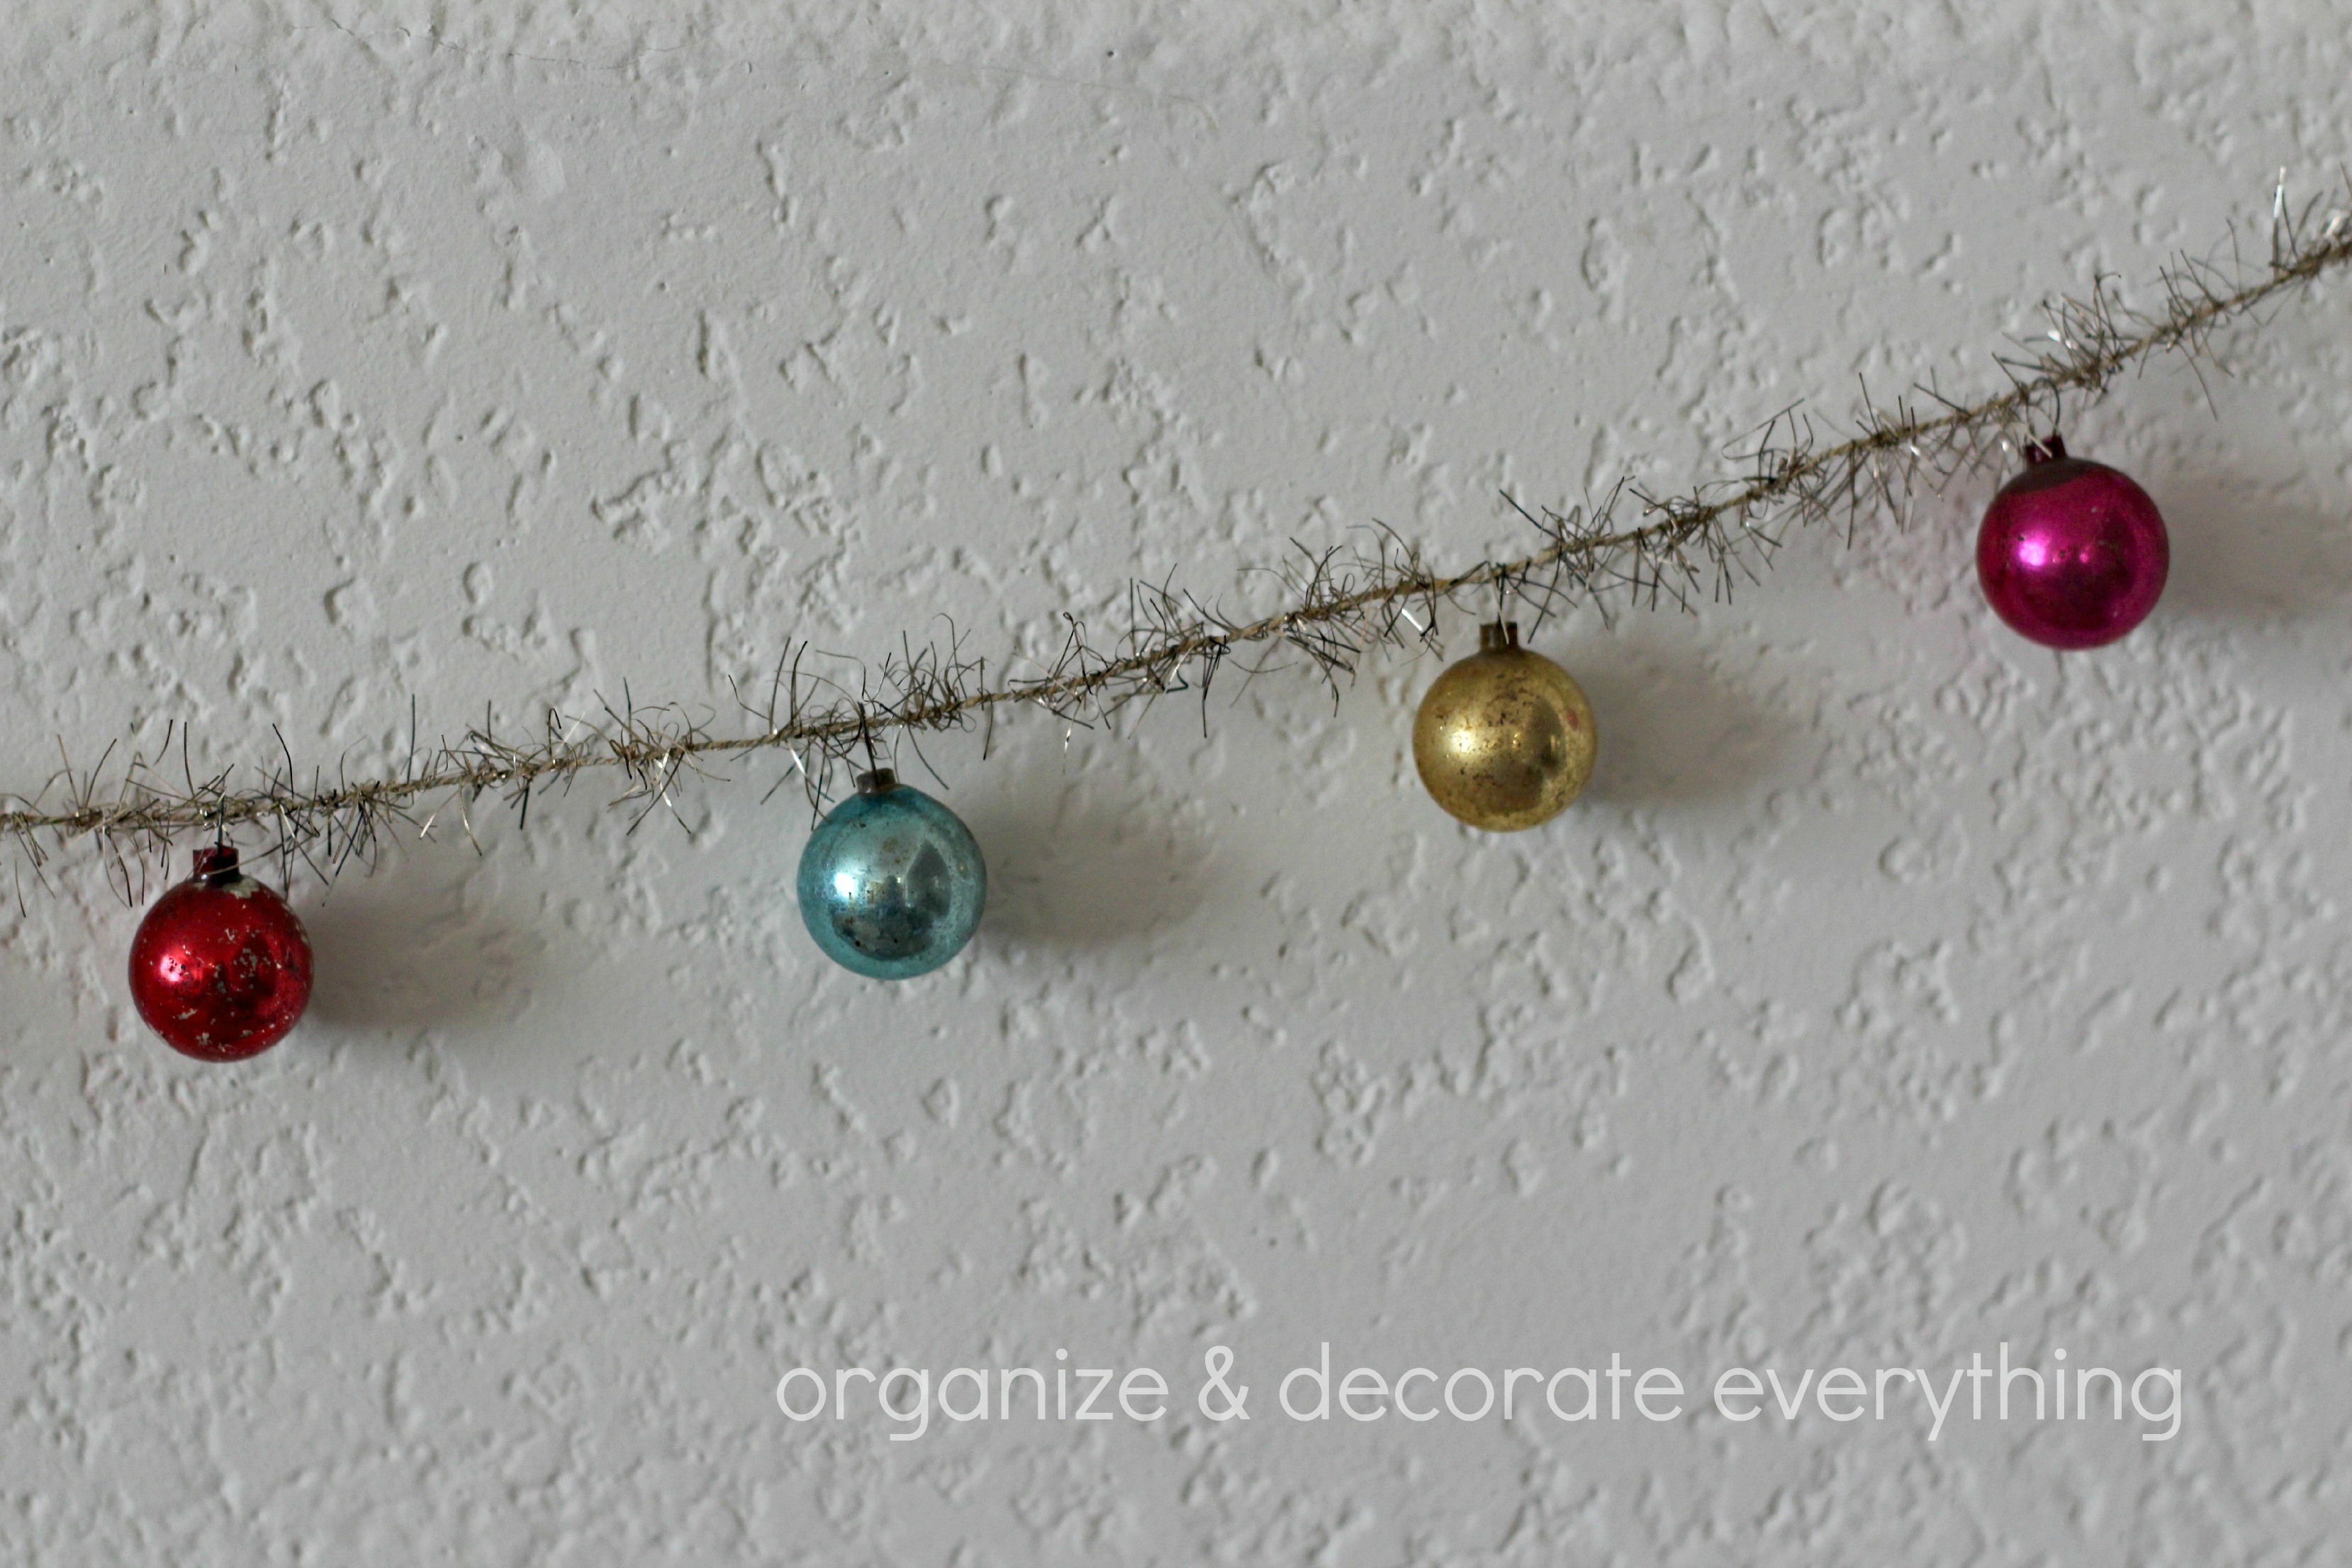
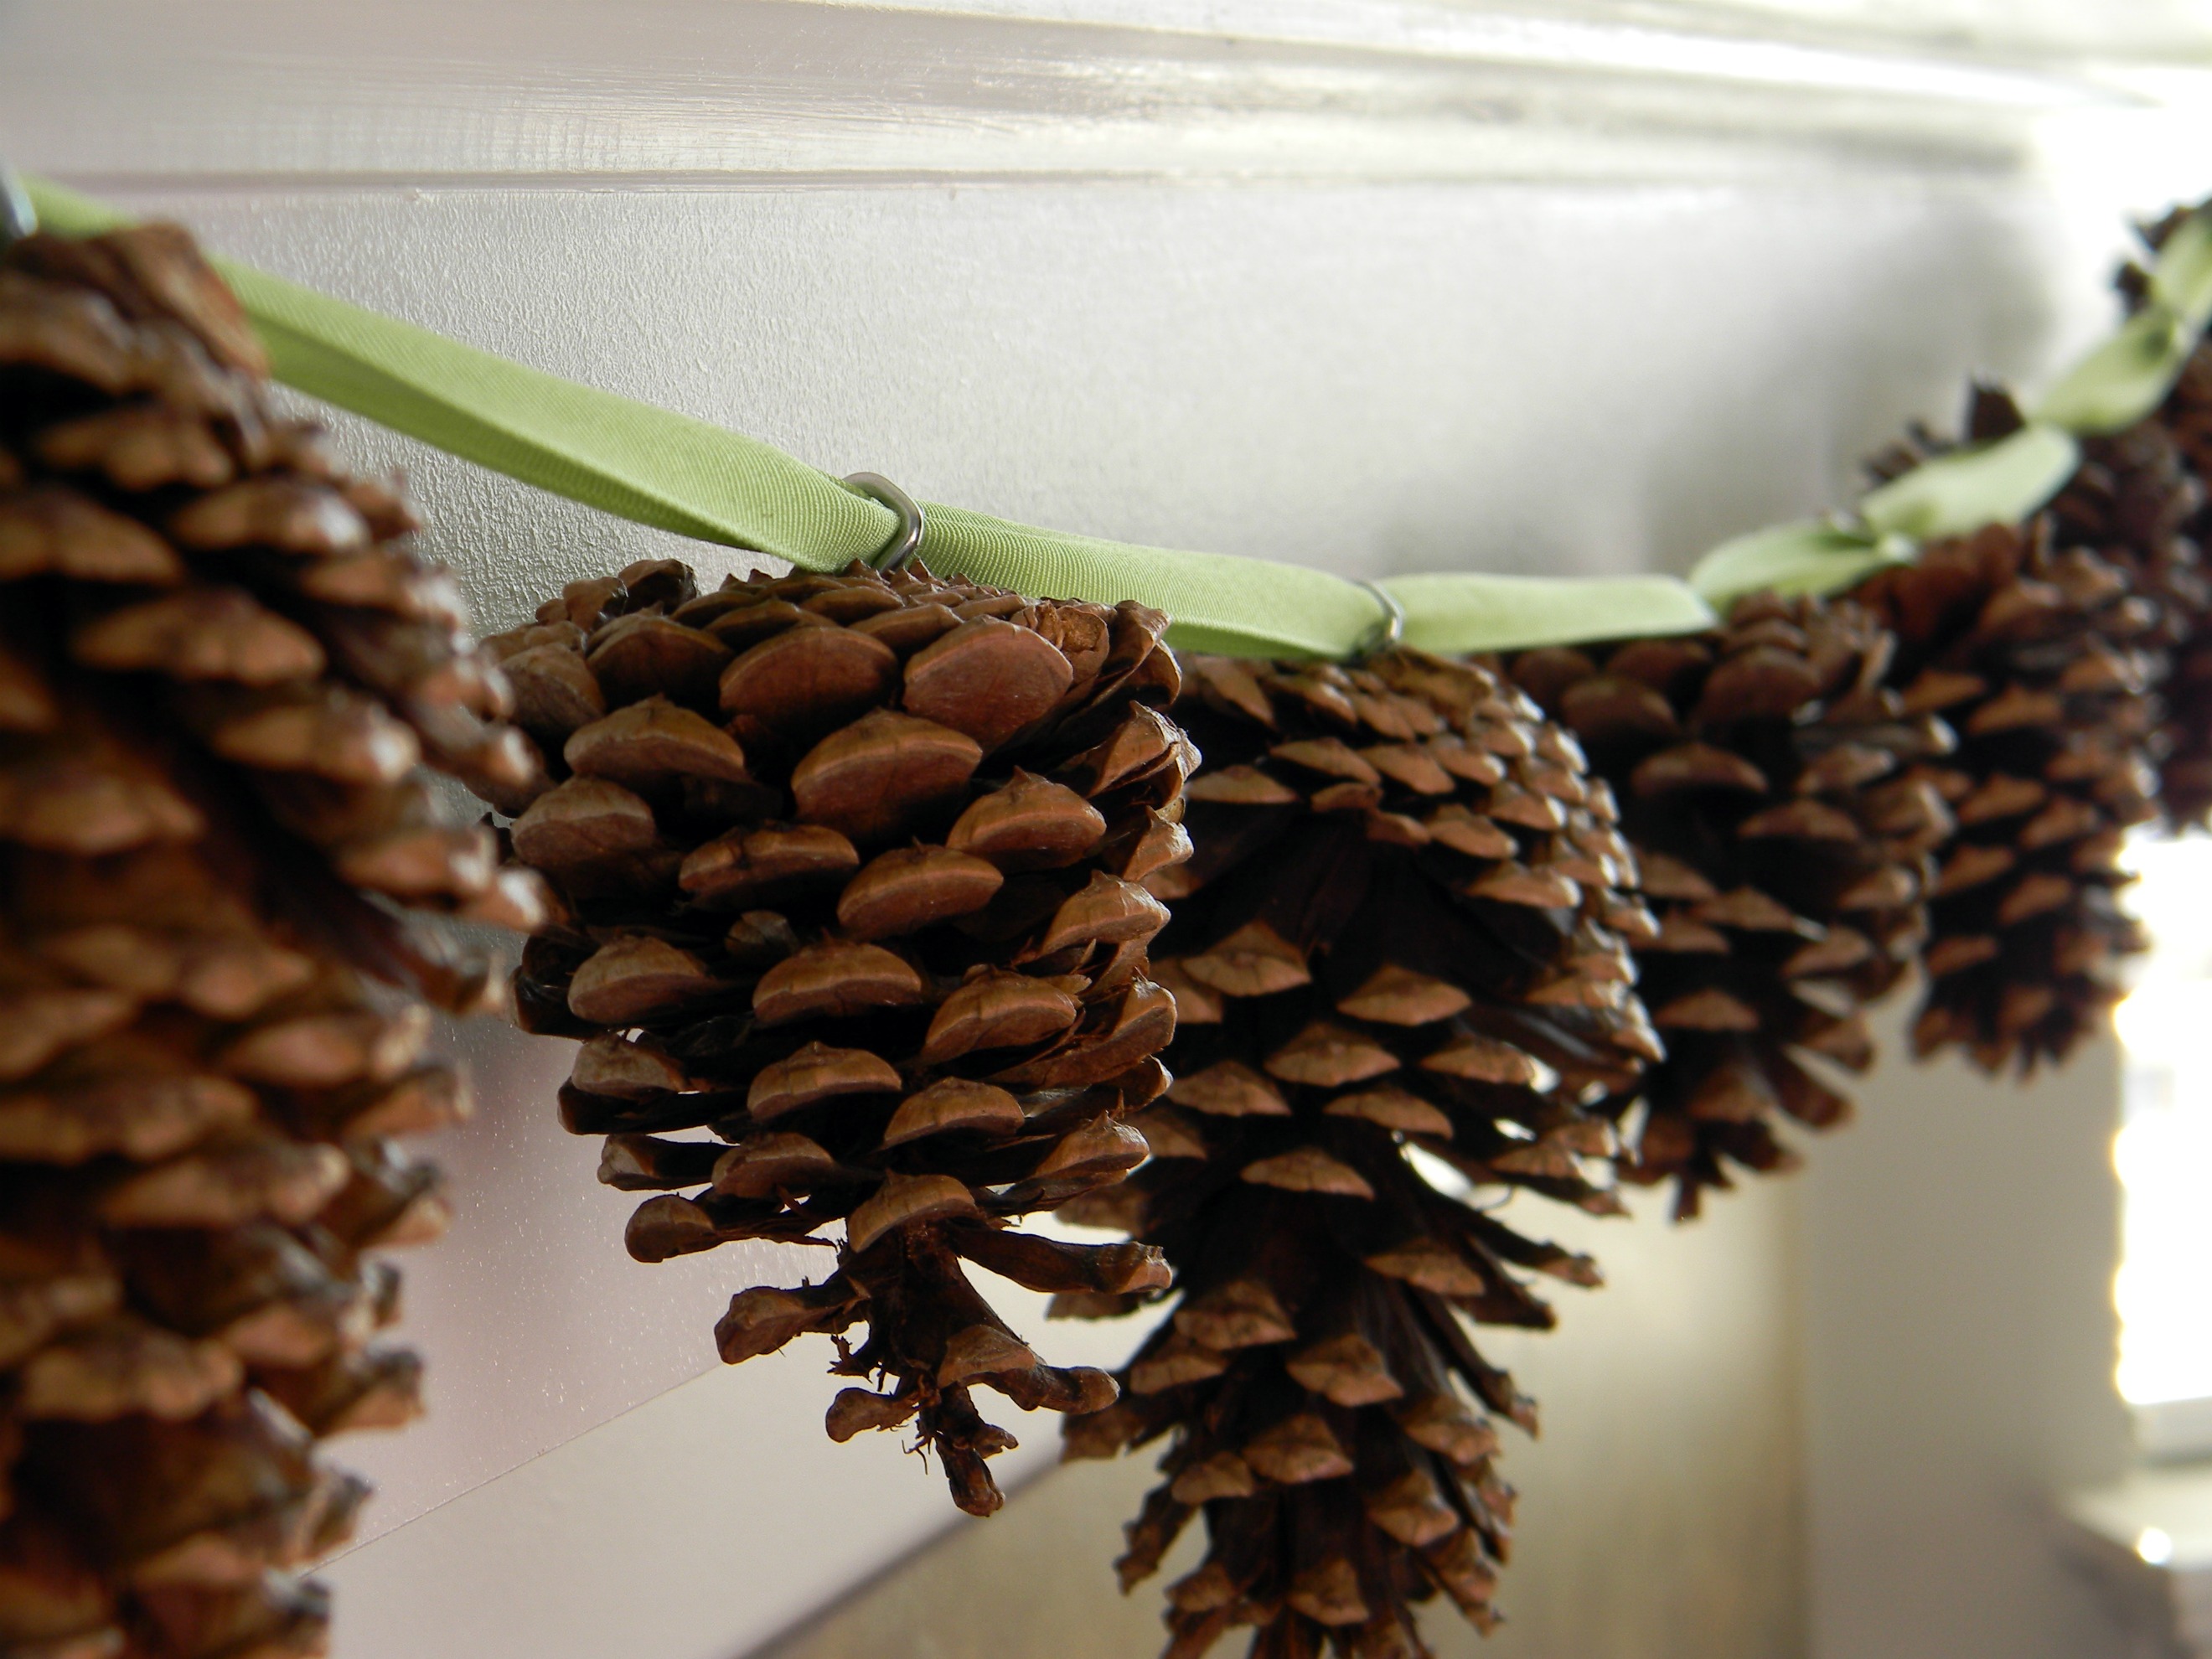
My favorite thing on the mantel this year is the vintage garland. It’s tinsel with small vintage balls hanging from it. I hung it using clear Command hooks. Since I’m renting I can’t put holes in the walls so I love using these Command hooks.
Here’s a close-up of the chippy vintage balls that I’m in love with.
So, that’s my mantel for this year. Having a $0 decorating budget is a little freeing. Let’s see if I can pull it off in the rest of the house.
I wanted to make a gluten-free dessert for Thanksgiving and decided an apple crisp would be perfect.
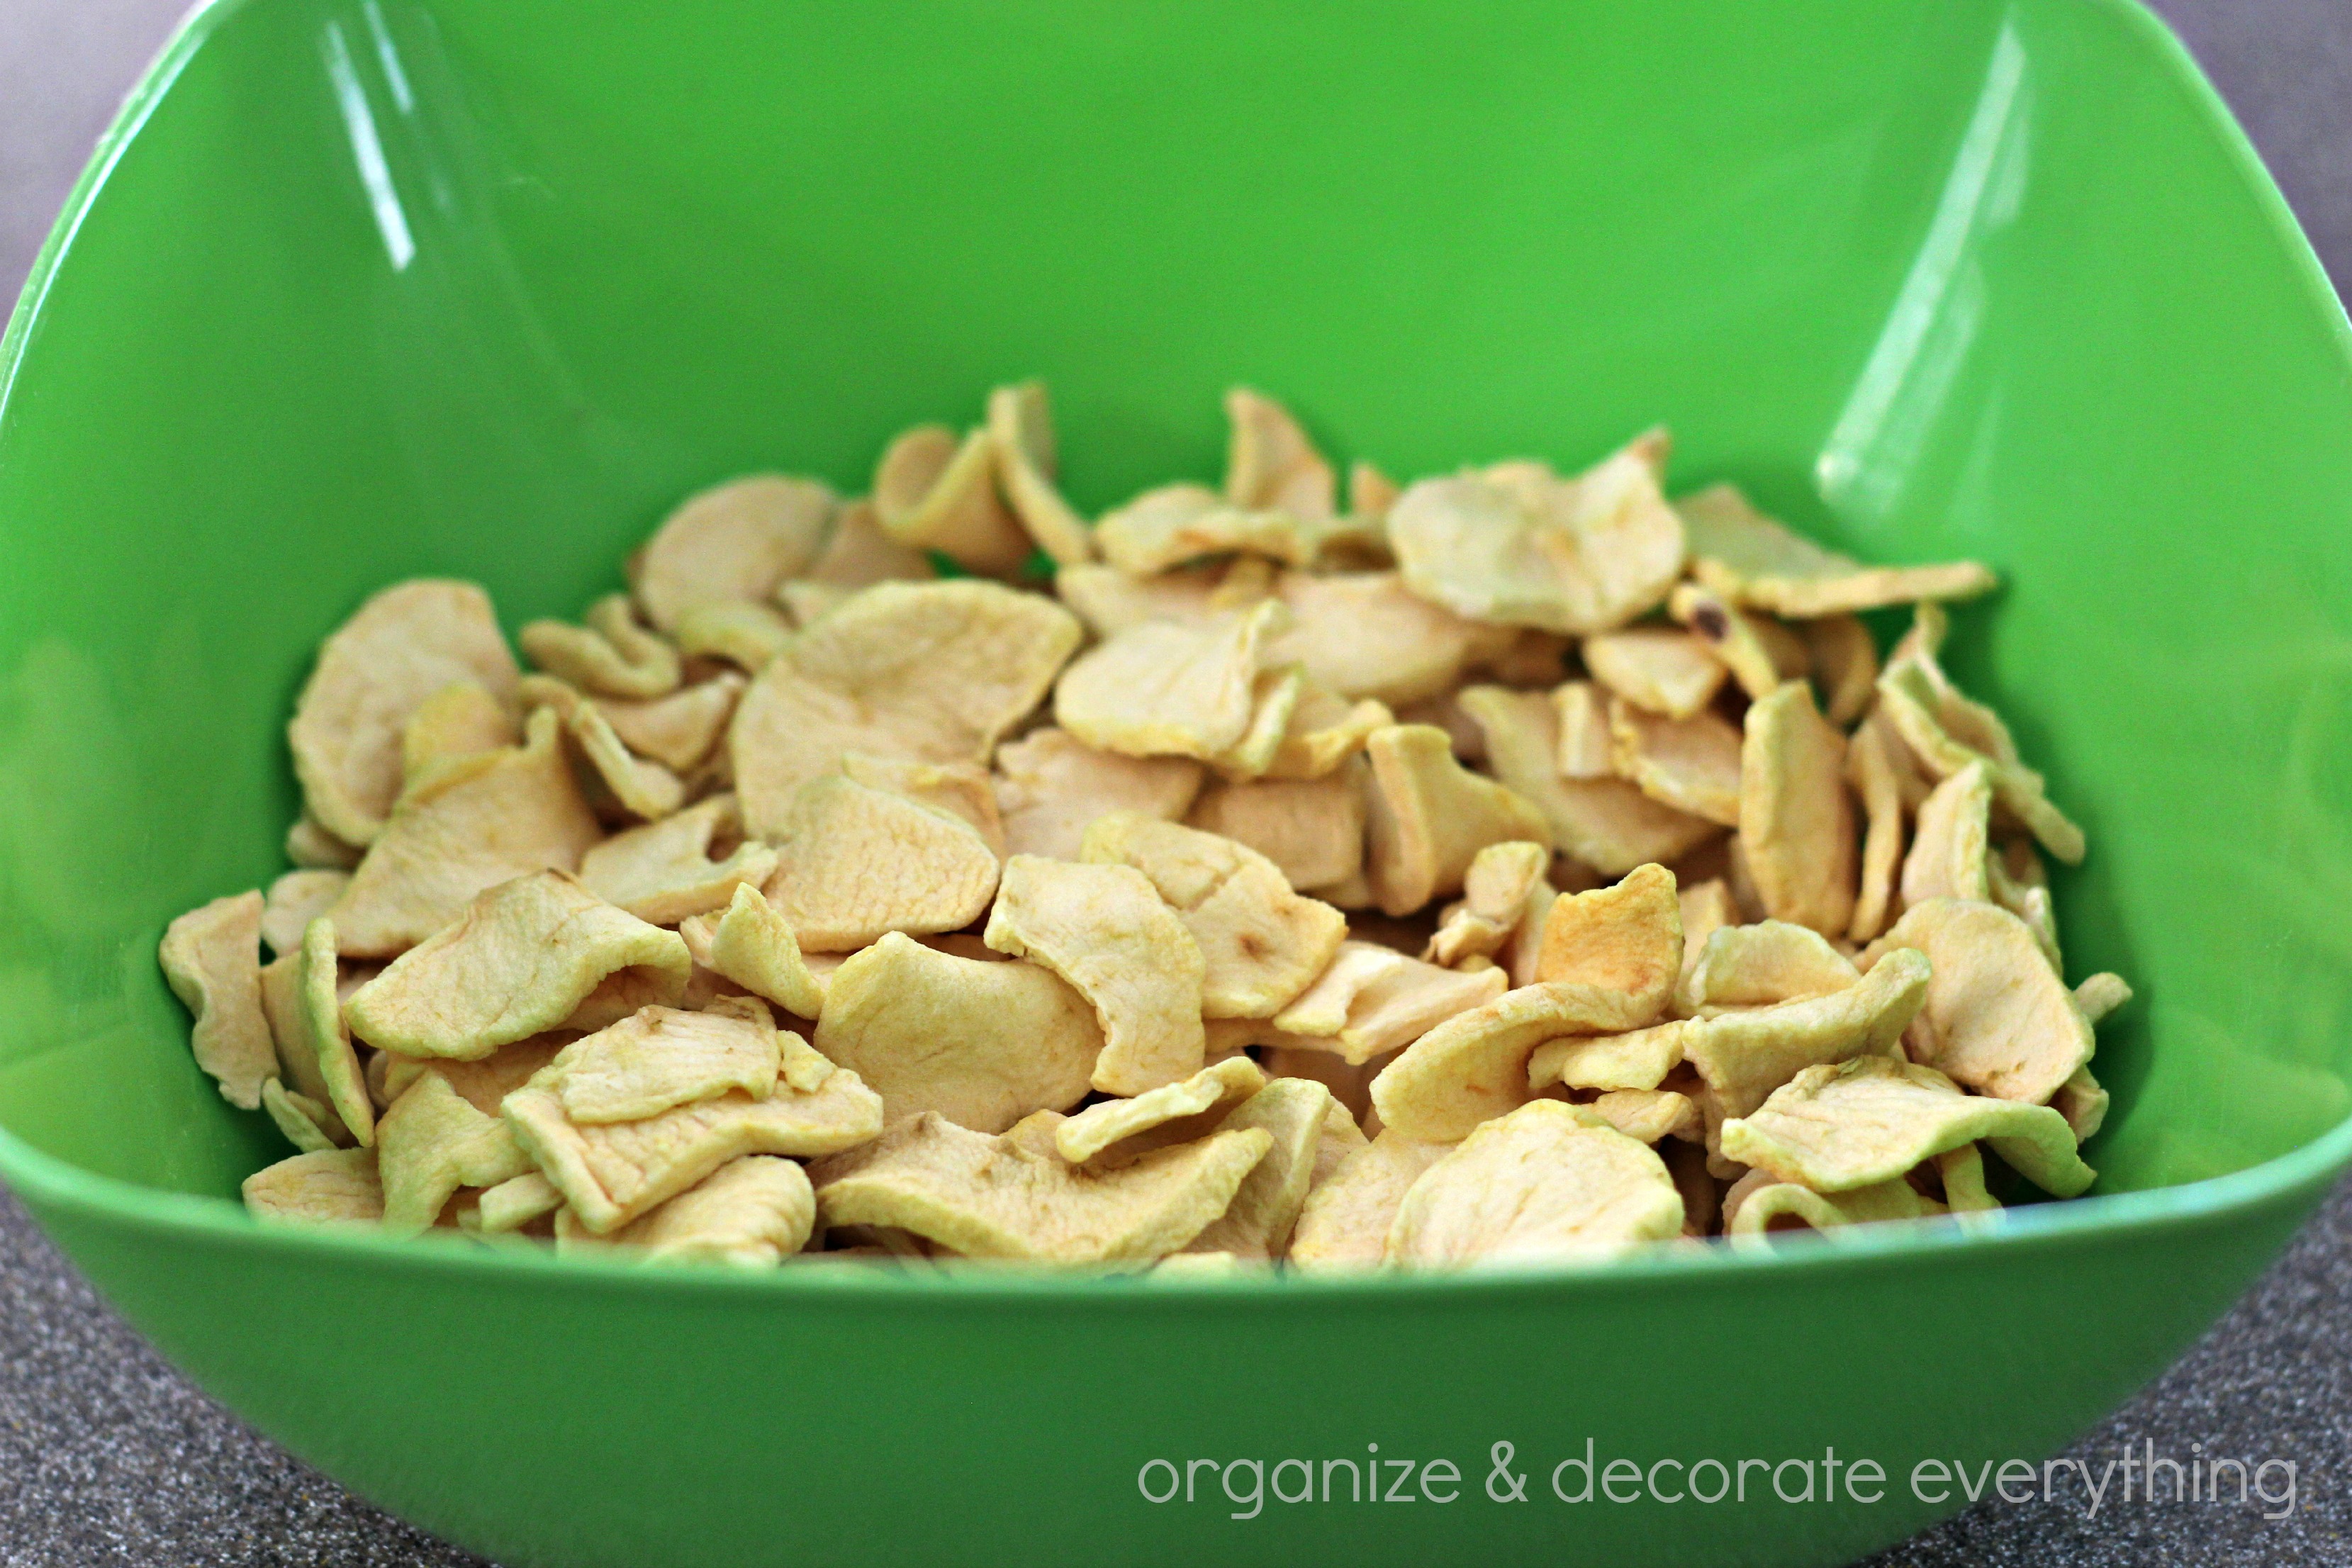
The only problem is that I don’t like peeling, coring and slicing the apples. Good thing I had dehydrated apples in my food storage.
Ingredients:
5 cups dehydrated apples (or about 8 apples)
8 cups water
1 T. cornstarch
1/4 cup sugar
1 1/2 cup packed brown sugar
1 cup gluten free flour (I use Bob’s Red Mill)
1 cup gluten free quick oats (Bob’s Red Mill)
1/4 tsp. Xanthan gum
2 tsp. cinnamon
1/2 tsp. nutmeg
2/3 cup softened butter
Reconstitute the dehydrated apples in 8 cups of water. This will take about 2 hours.
(If you are using fresh apples, skip this step)
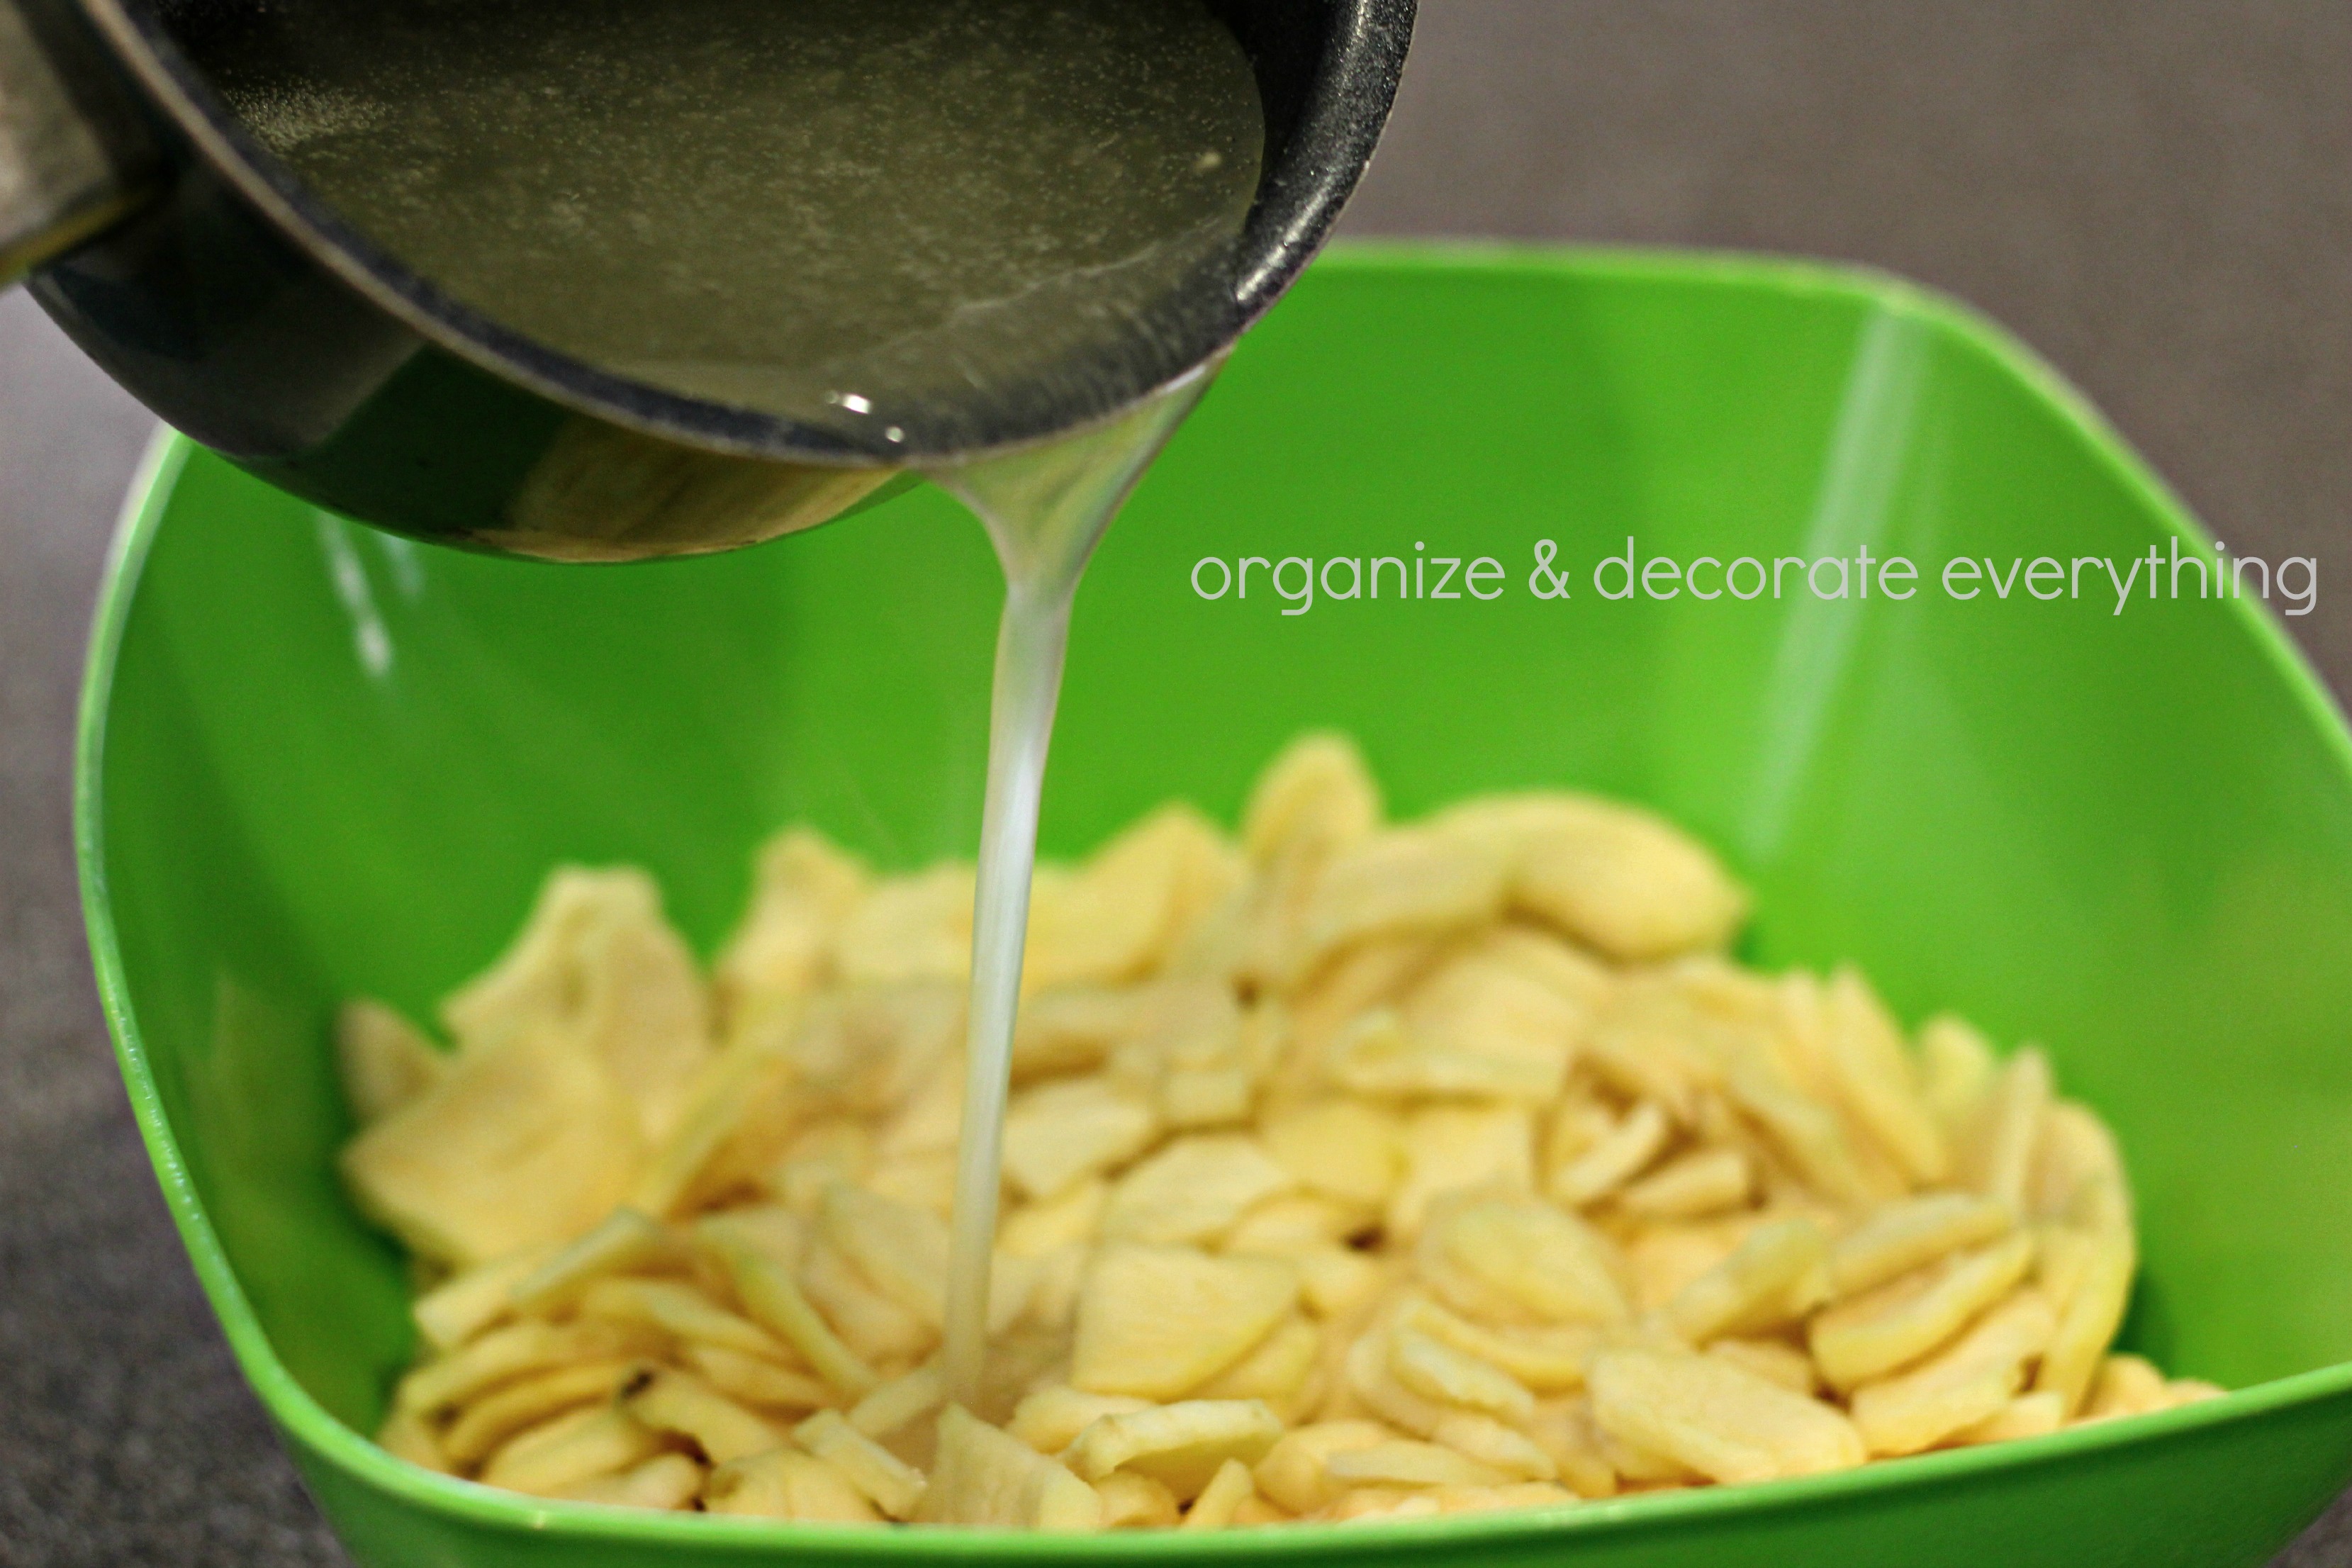
Save 1 cup of the water after apples are soft then drain off the rest.
Thickened reserved water with cornstarch and sugar. Heat until thick and bubbly.
Add to apples and stir well. Pour apples into a greased 9 x 13″ pan.
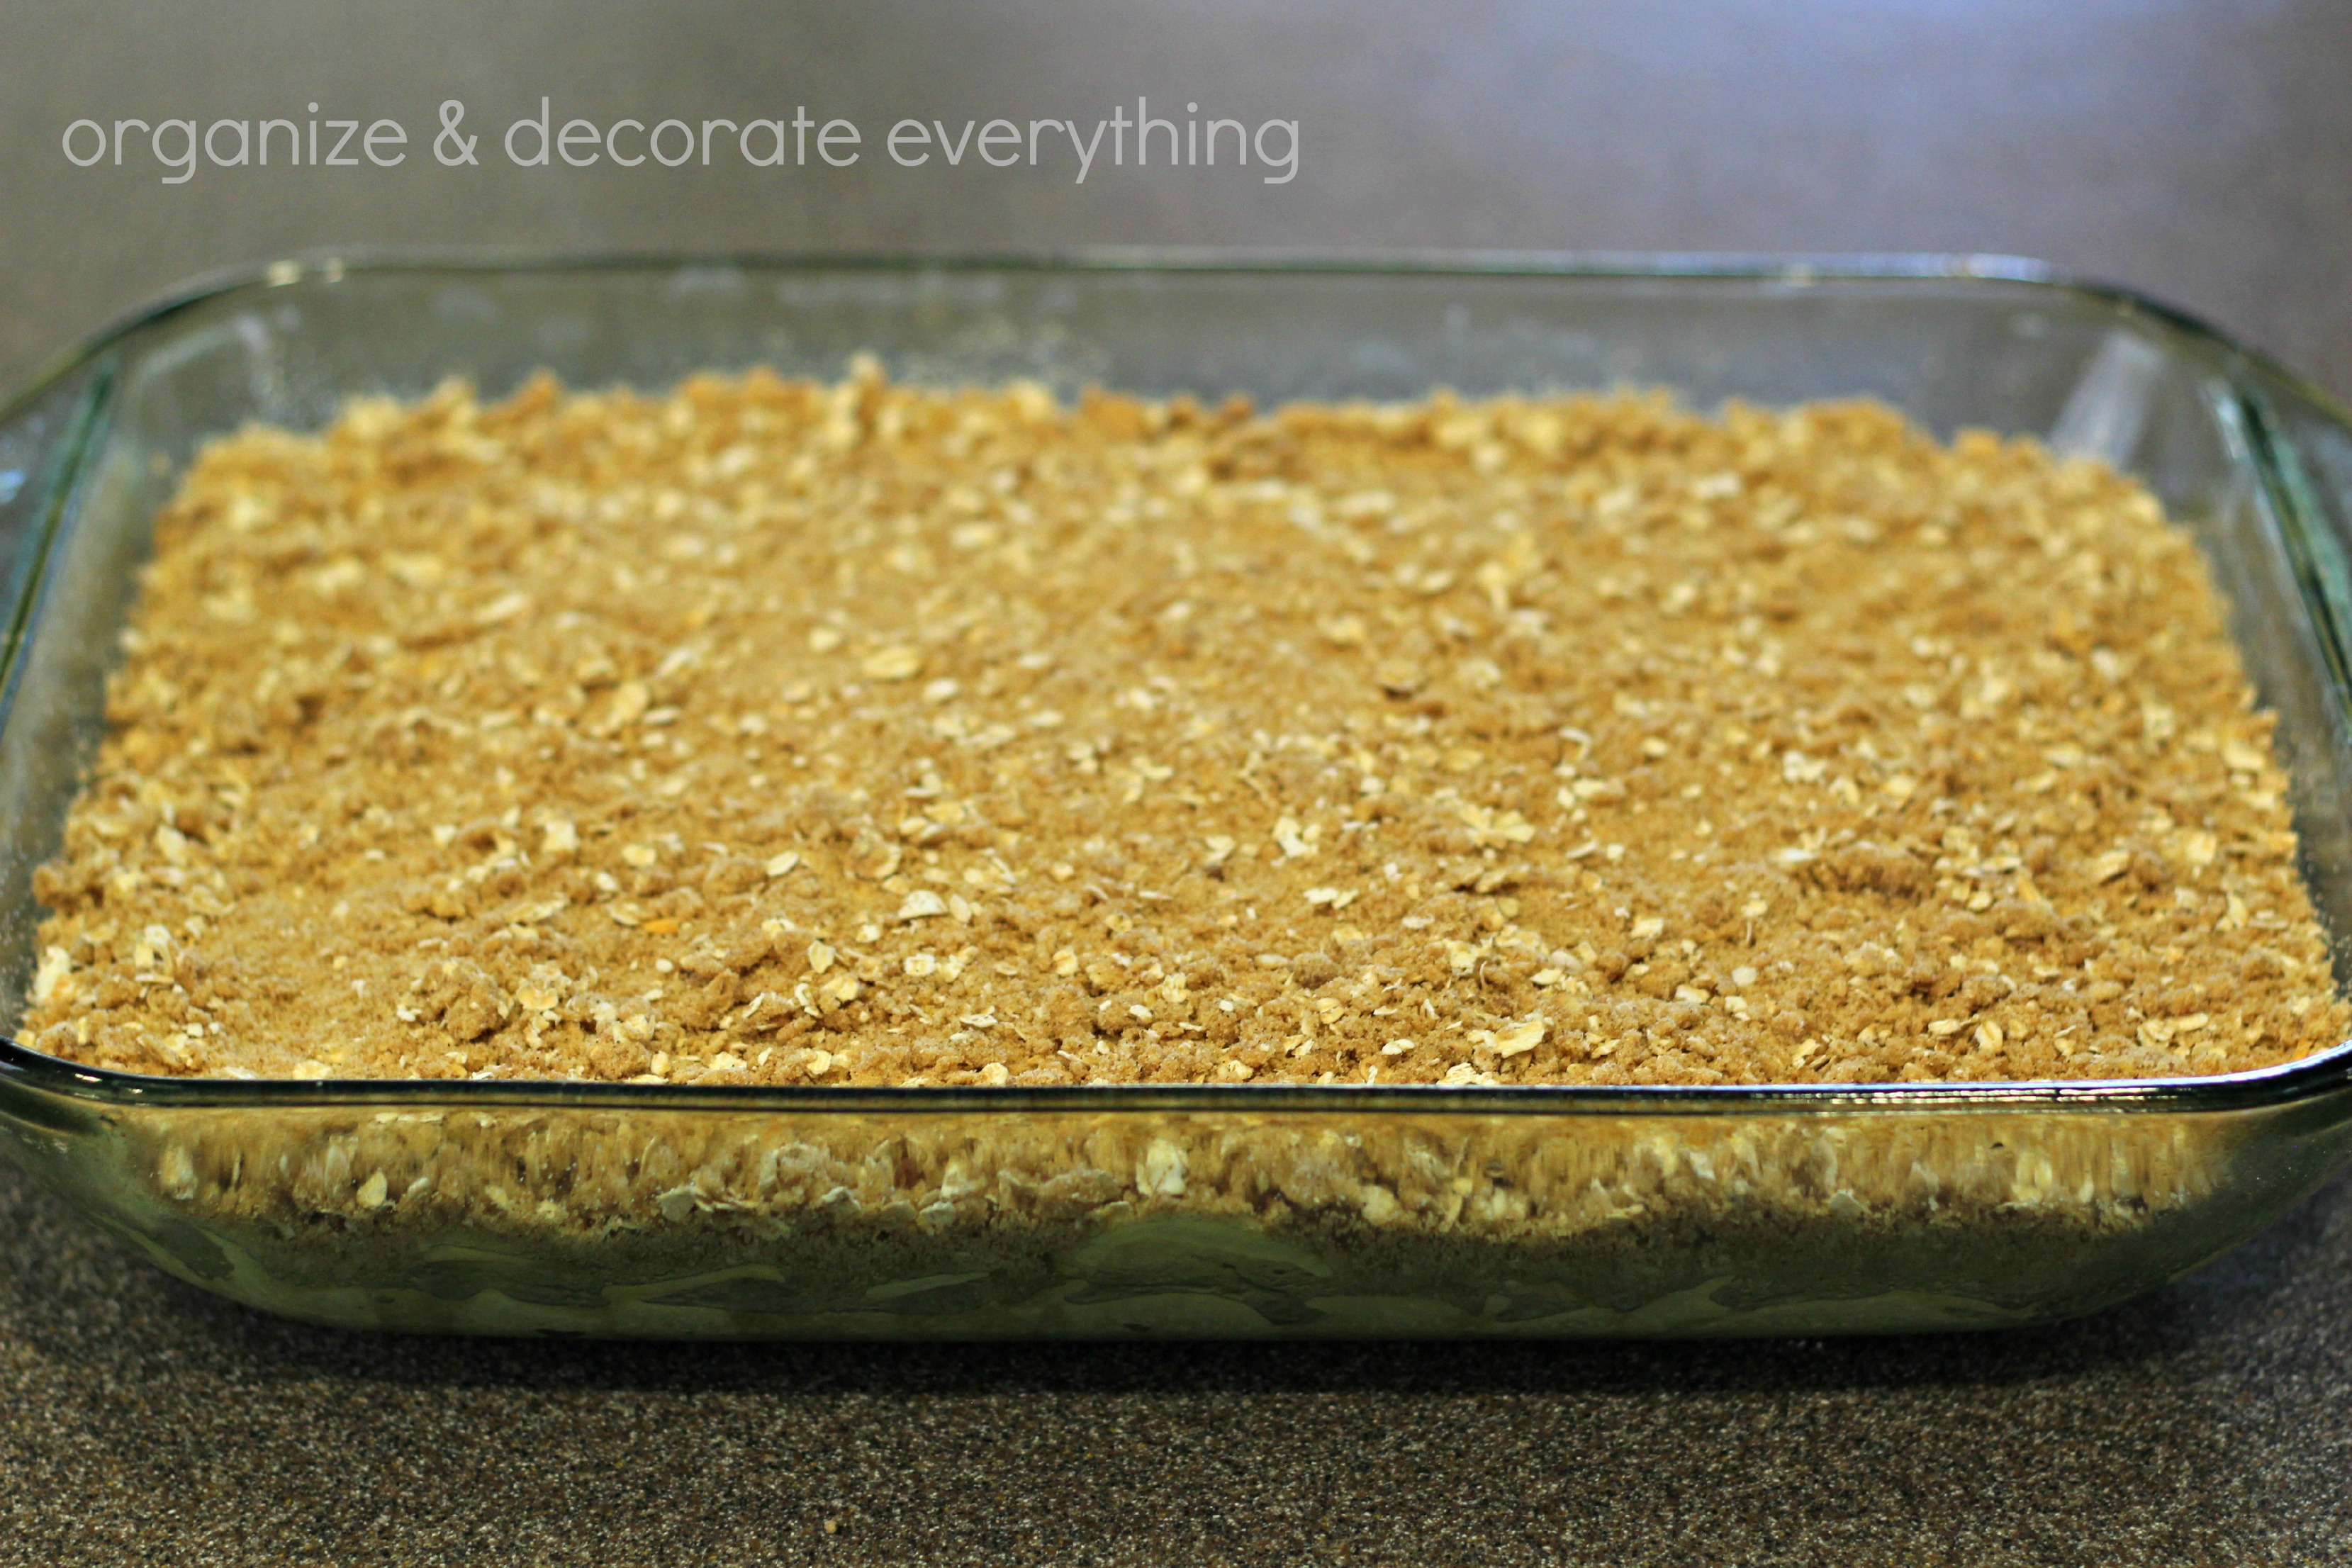
Topping: Thoroughly mix brown sugar, flour, quick oats, cinnamon and nutmeg.
Cut in the butter. Sprinkle over apples.
Bake at 375 degrees for 30 minutes or until apples are tender and topping is golden brown.
Serve with ice cream or whipped topping. Enjoy!!!
This recipe is delicious using regular flour and oats also, just omit the Xanthan gum.
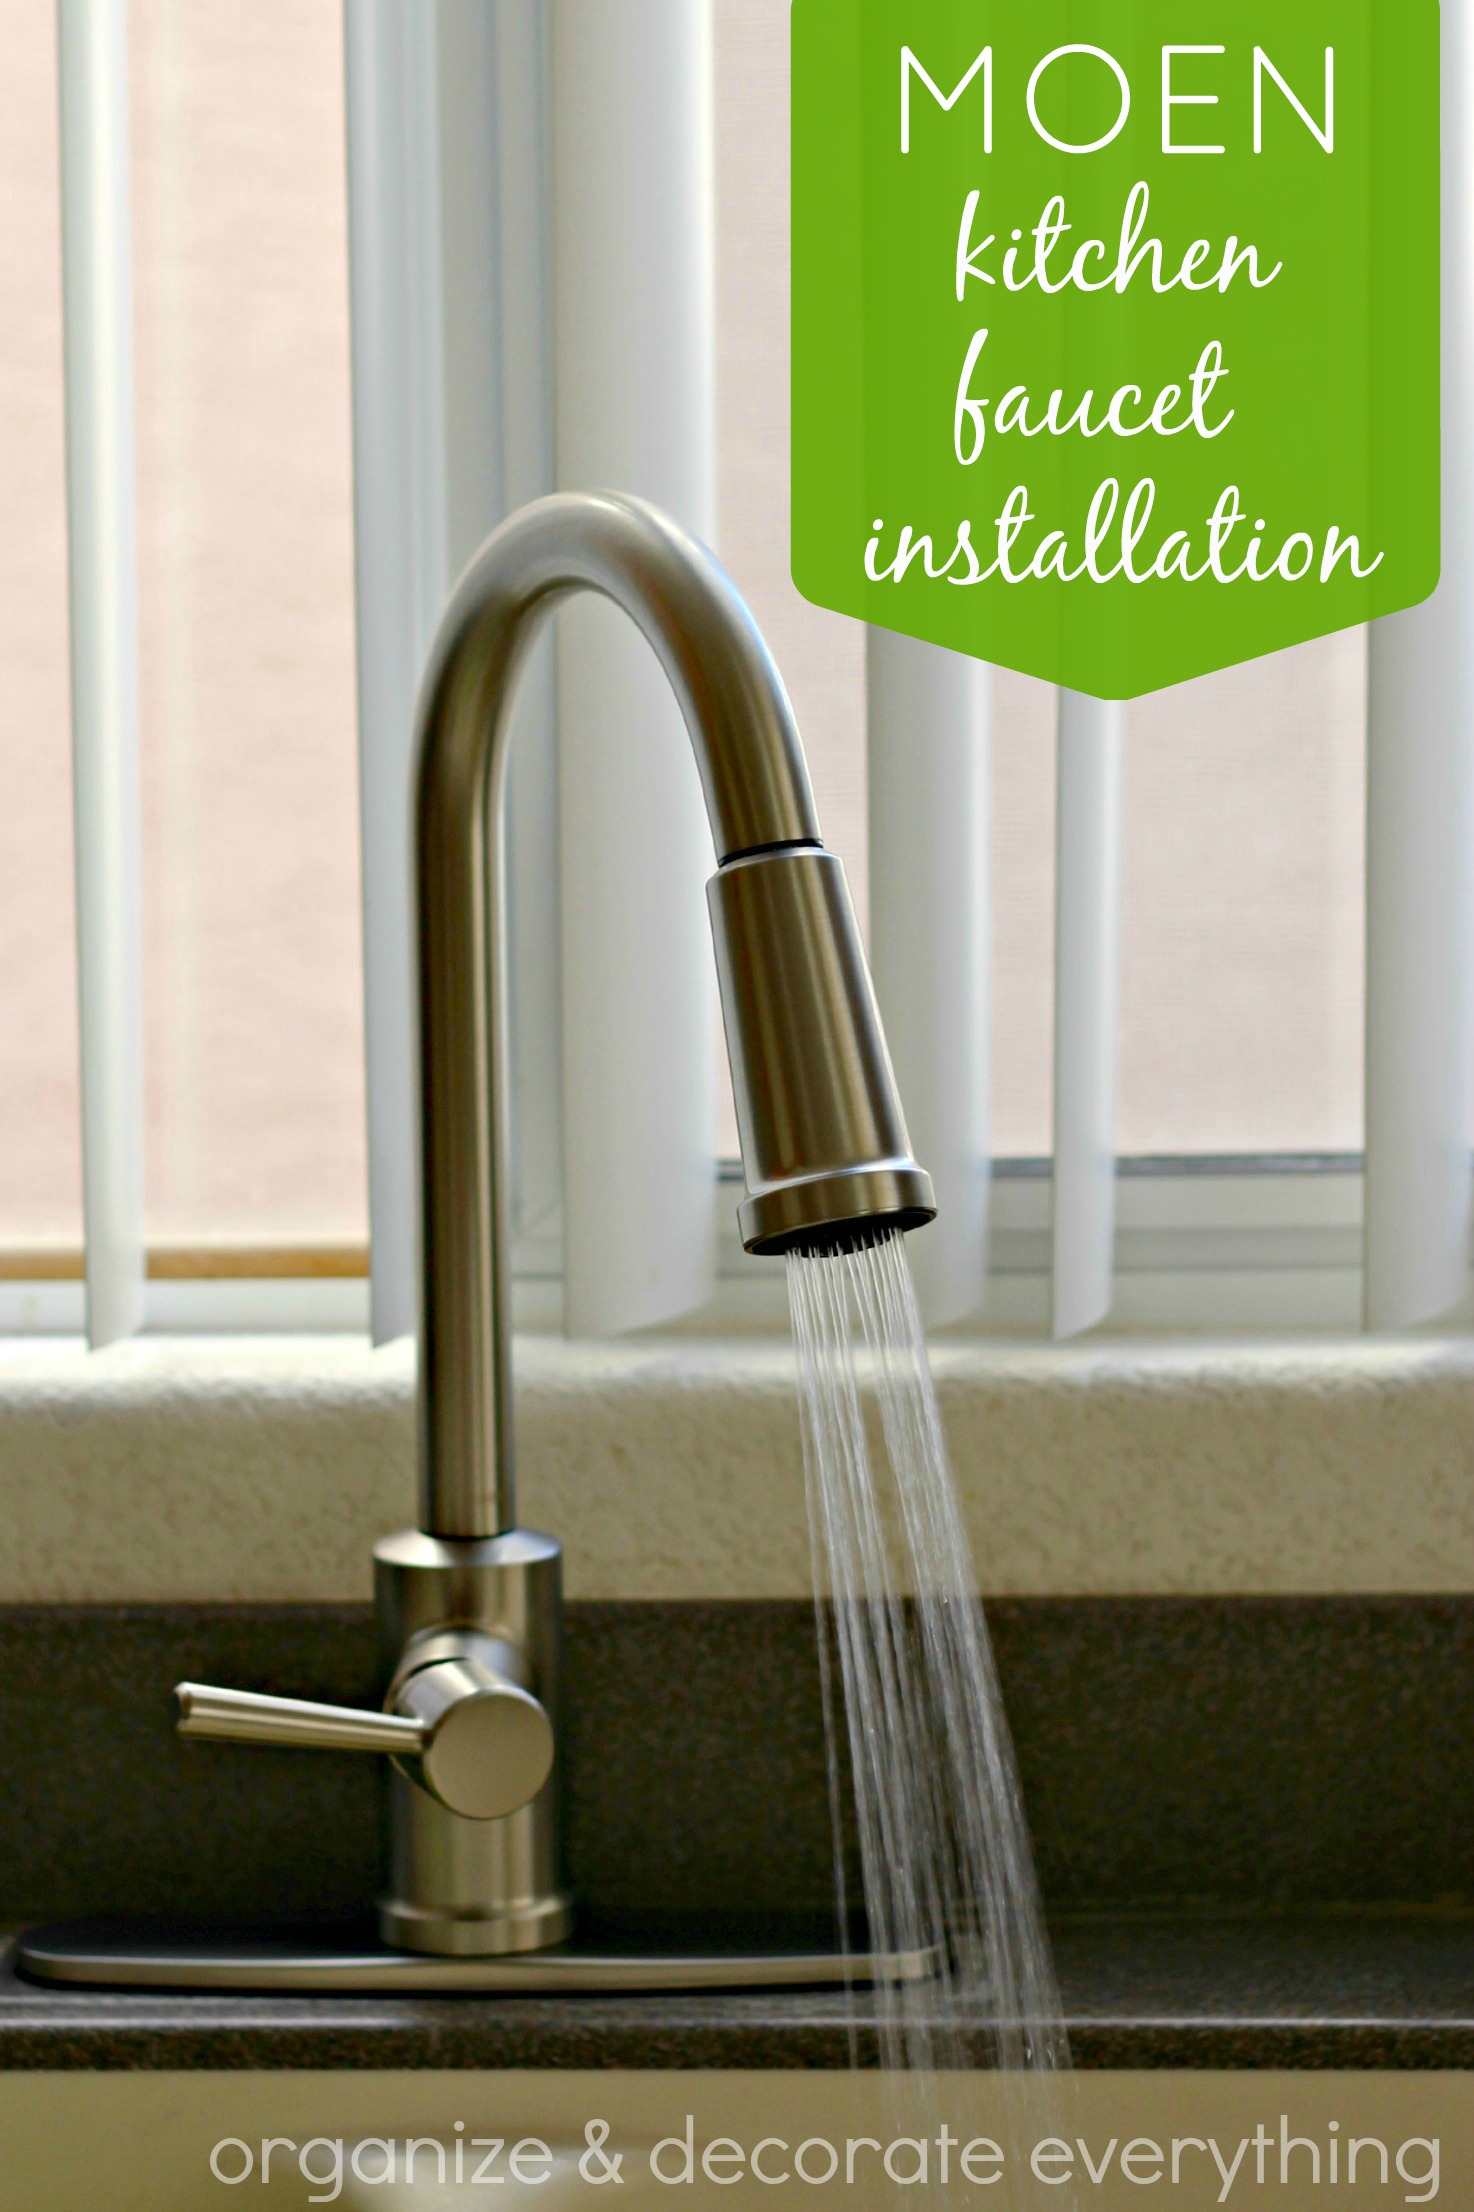
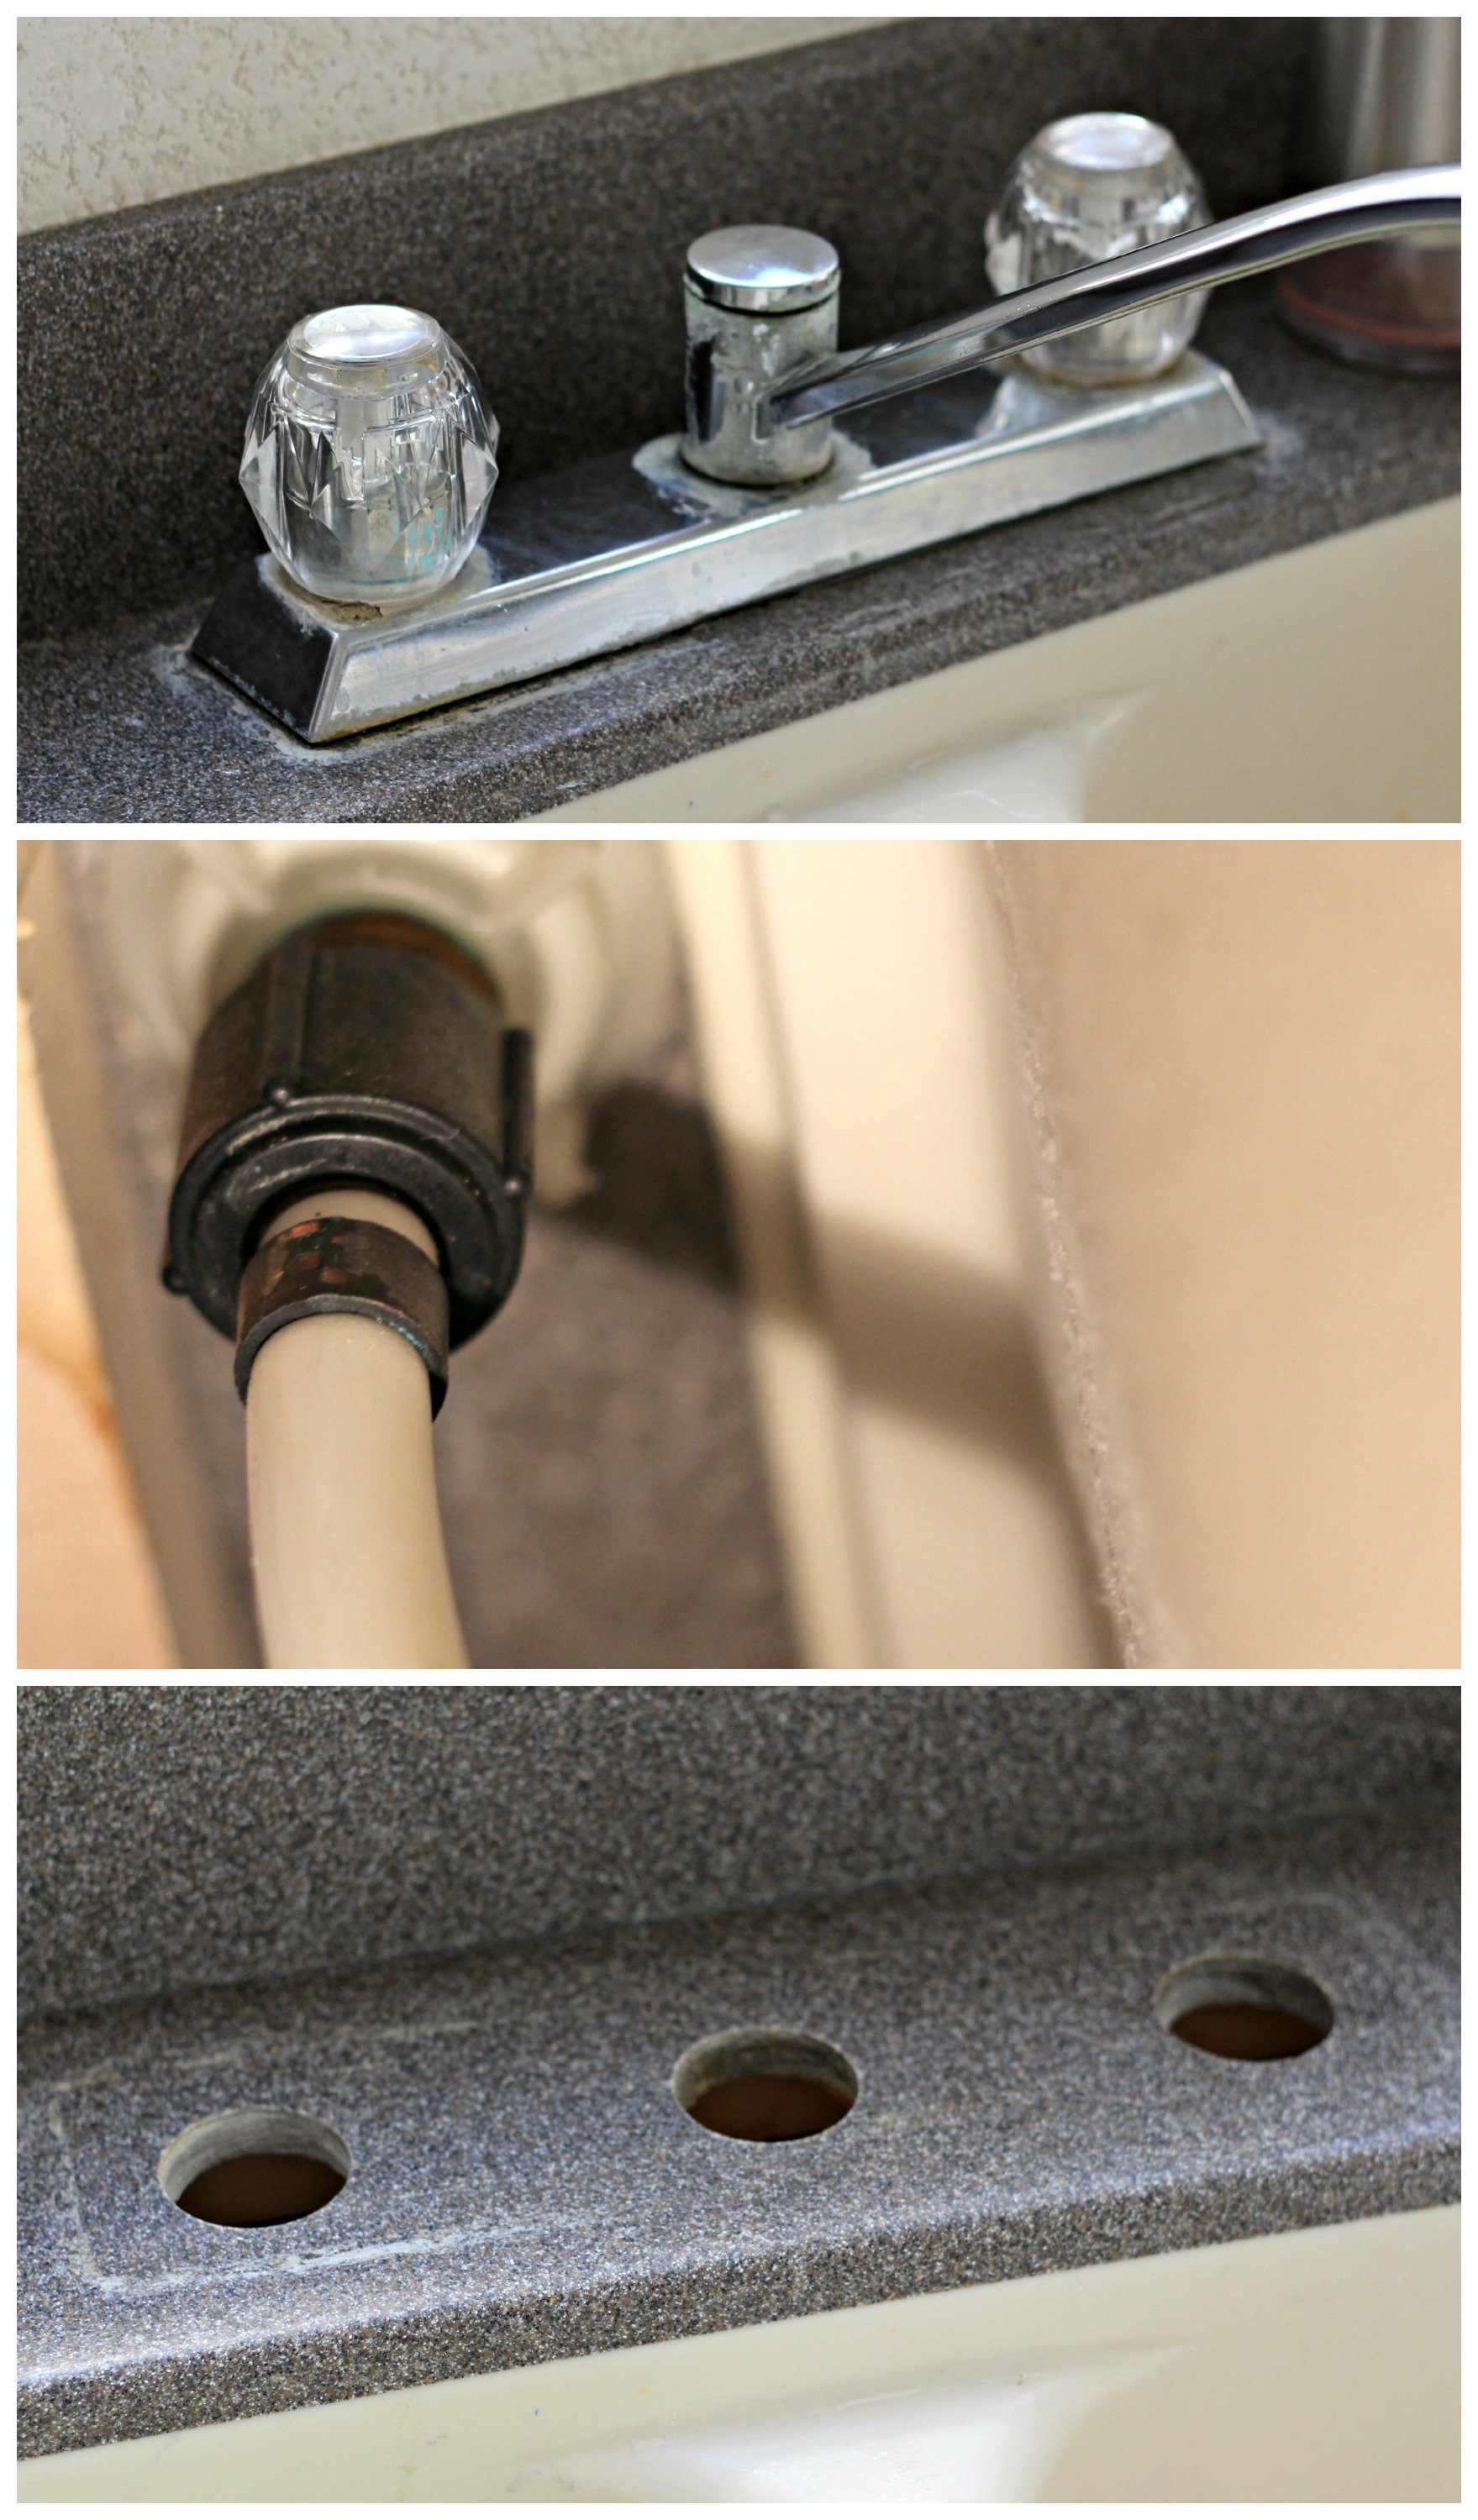
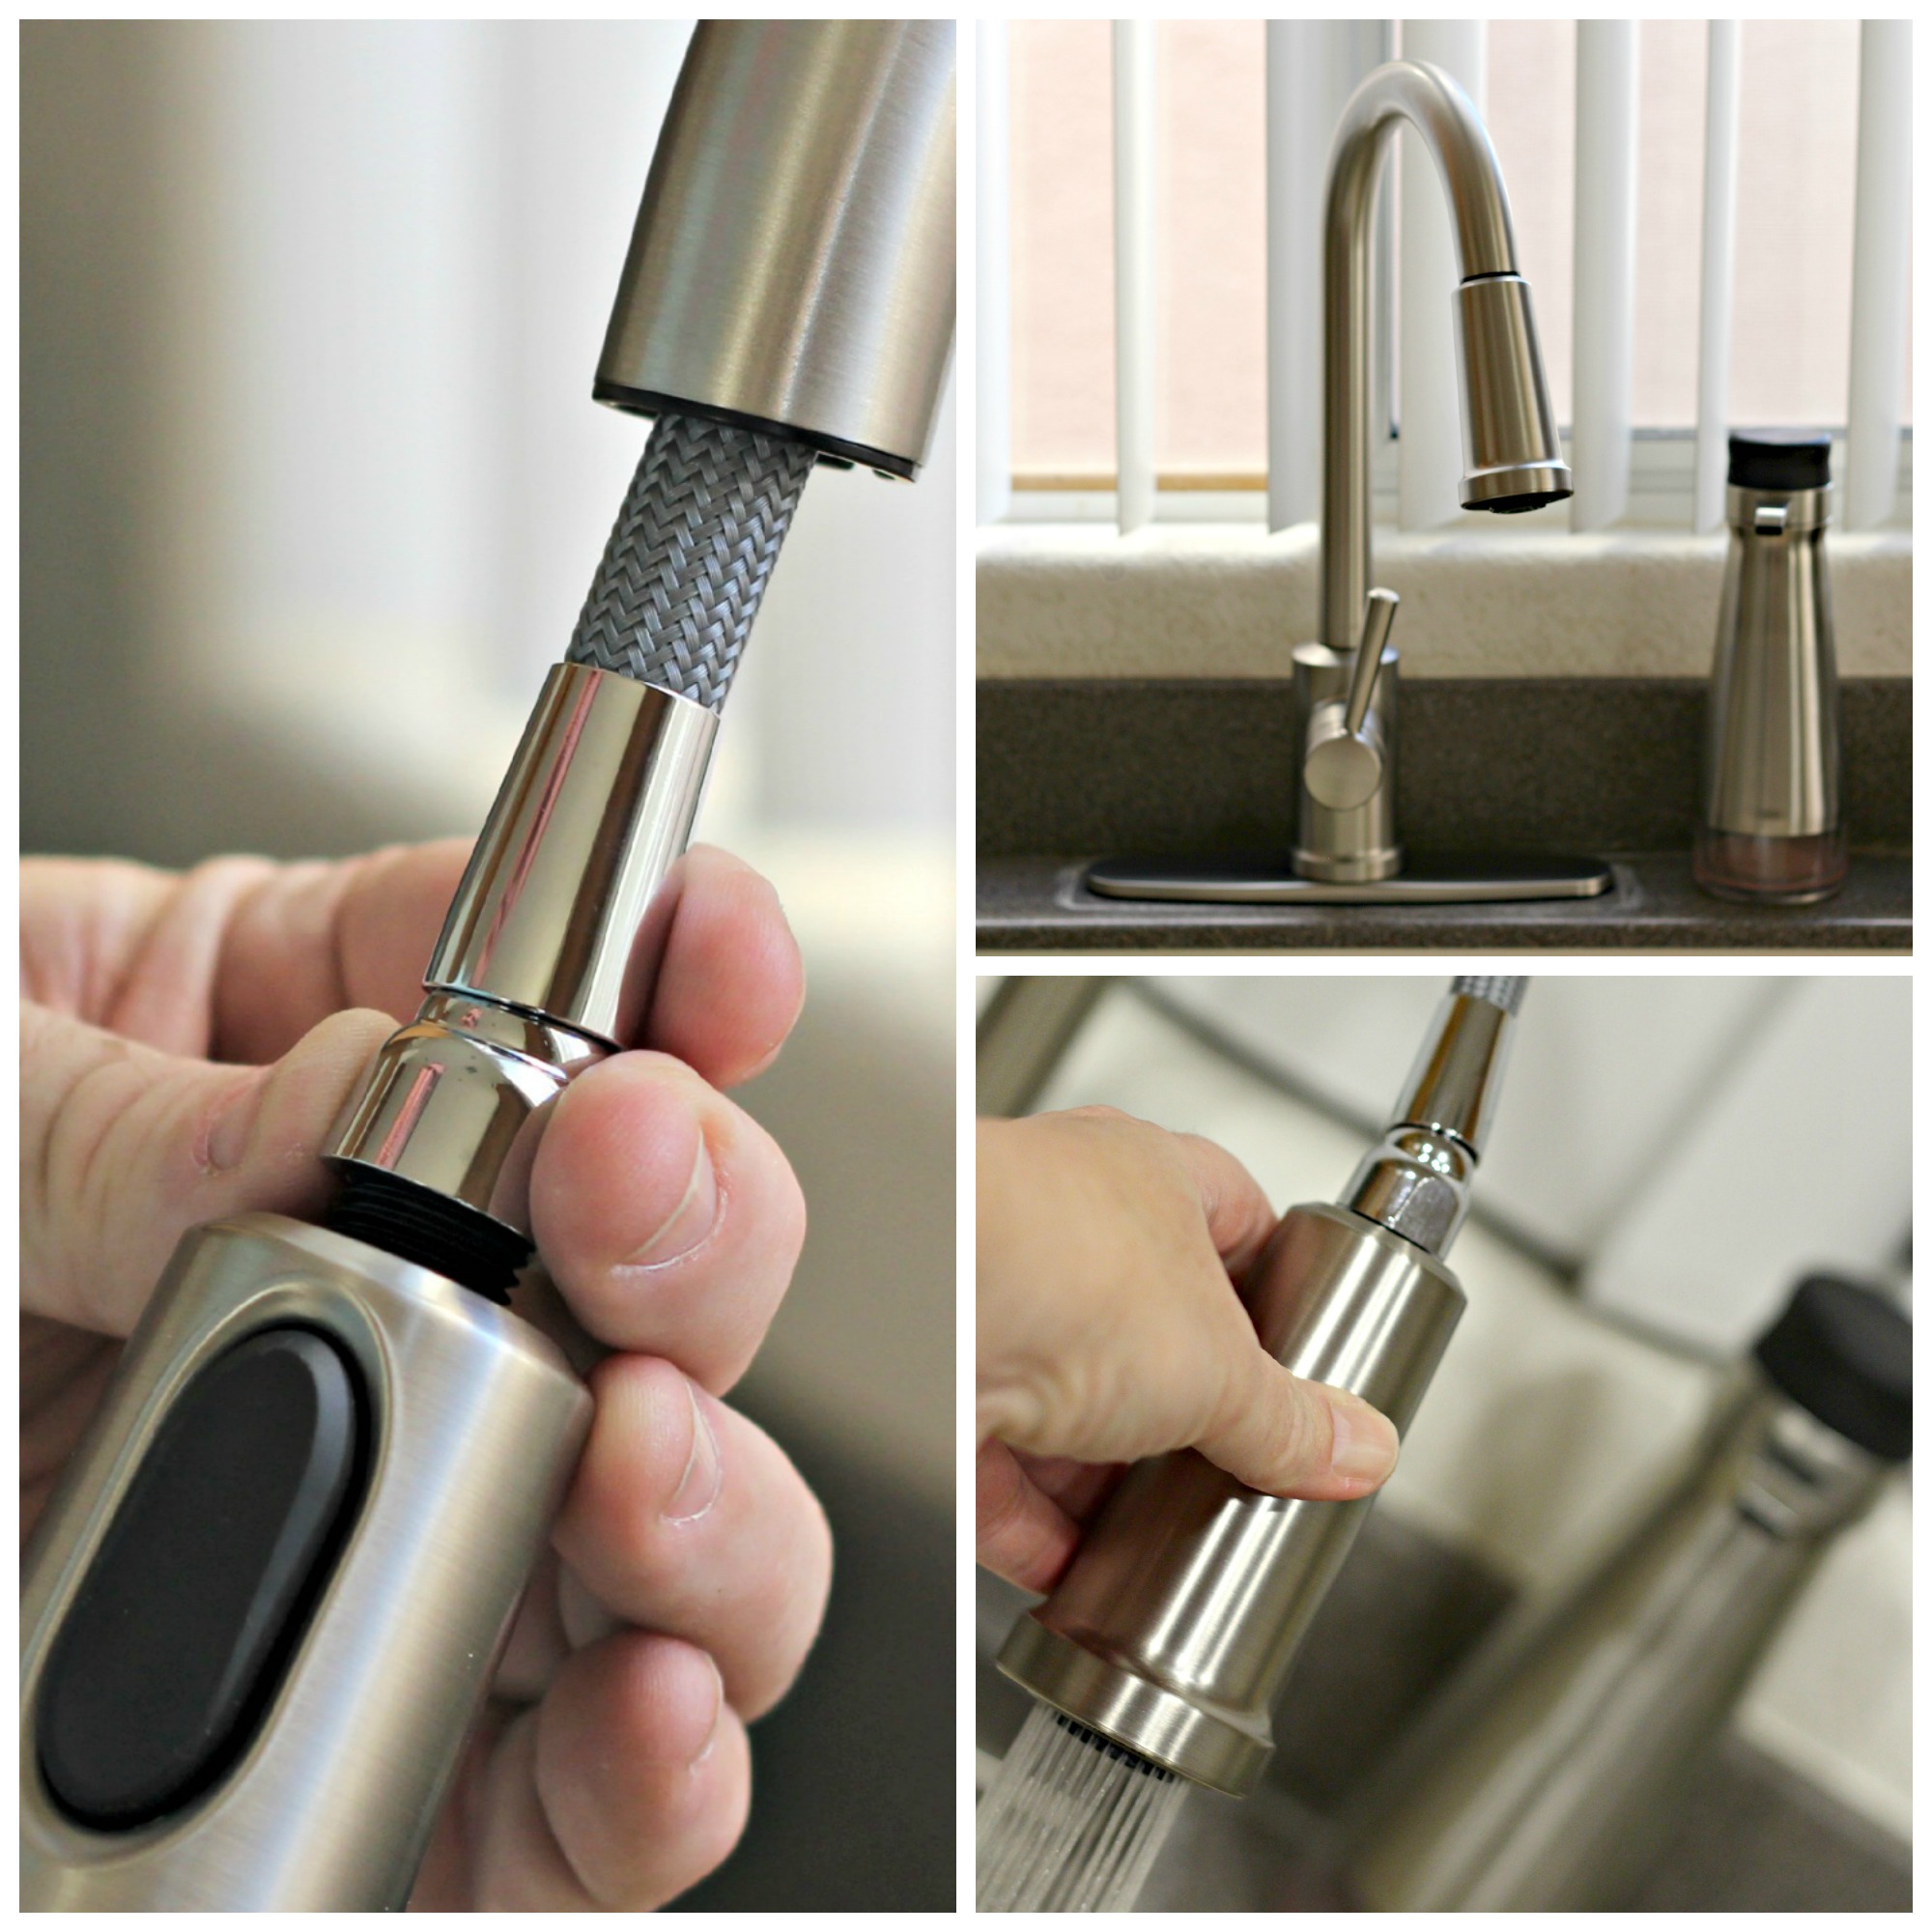
We moved a few months ago and the things I disliked most about this house were the faucets. I’m not kidding! They put in the smallest and cheapest faucets they could find. The kitchen faucet didn’t even have a spout diffuser so the water just kinda blurged out. When I was asked to review the Indi spot resist stainless Microban kitchen faucet by Moen I jumped at the chance. Not only is it exactly what I needed but it’s beautiful too. I’m pretty sure this is the easiest kitchen faucet installation ever.
Check out the before faucet at the top. It leaked and was even rusty in a few spots. It was really pretty gross! I have to say I didn’t replace the faucet by myself. Hubby and I did it together, but we did it without arguing and that’s saying a lot. Important: start by turning the water off. Once the water was off hubby used pliers to twist the old faucet pipes and connecter off, then it was easy to take the faucet out leaving these 3 lovely holes. You might get a little dripping from water left in the pipes if you didn’t get it all out.
The faucet came with a round gasket and a deck plate and gasket. I had to use the deck plate to hide the 2 additional holes in the counter top. We used the support bracket and mounting bracket under the counter because it was right at 1/2″ thick (refer to installation guide). Use the Installation tool to tighten the mounting nut.
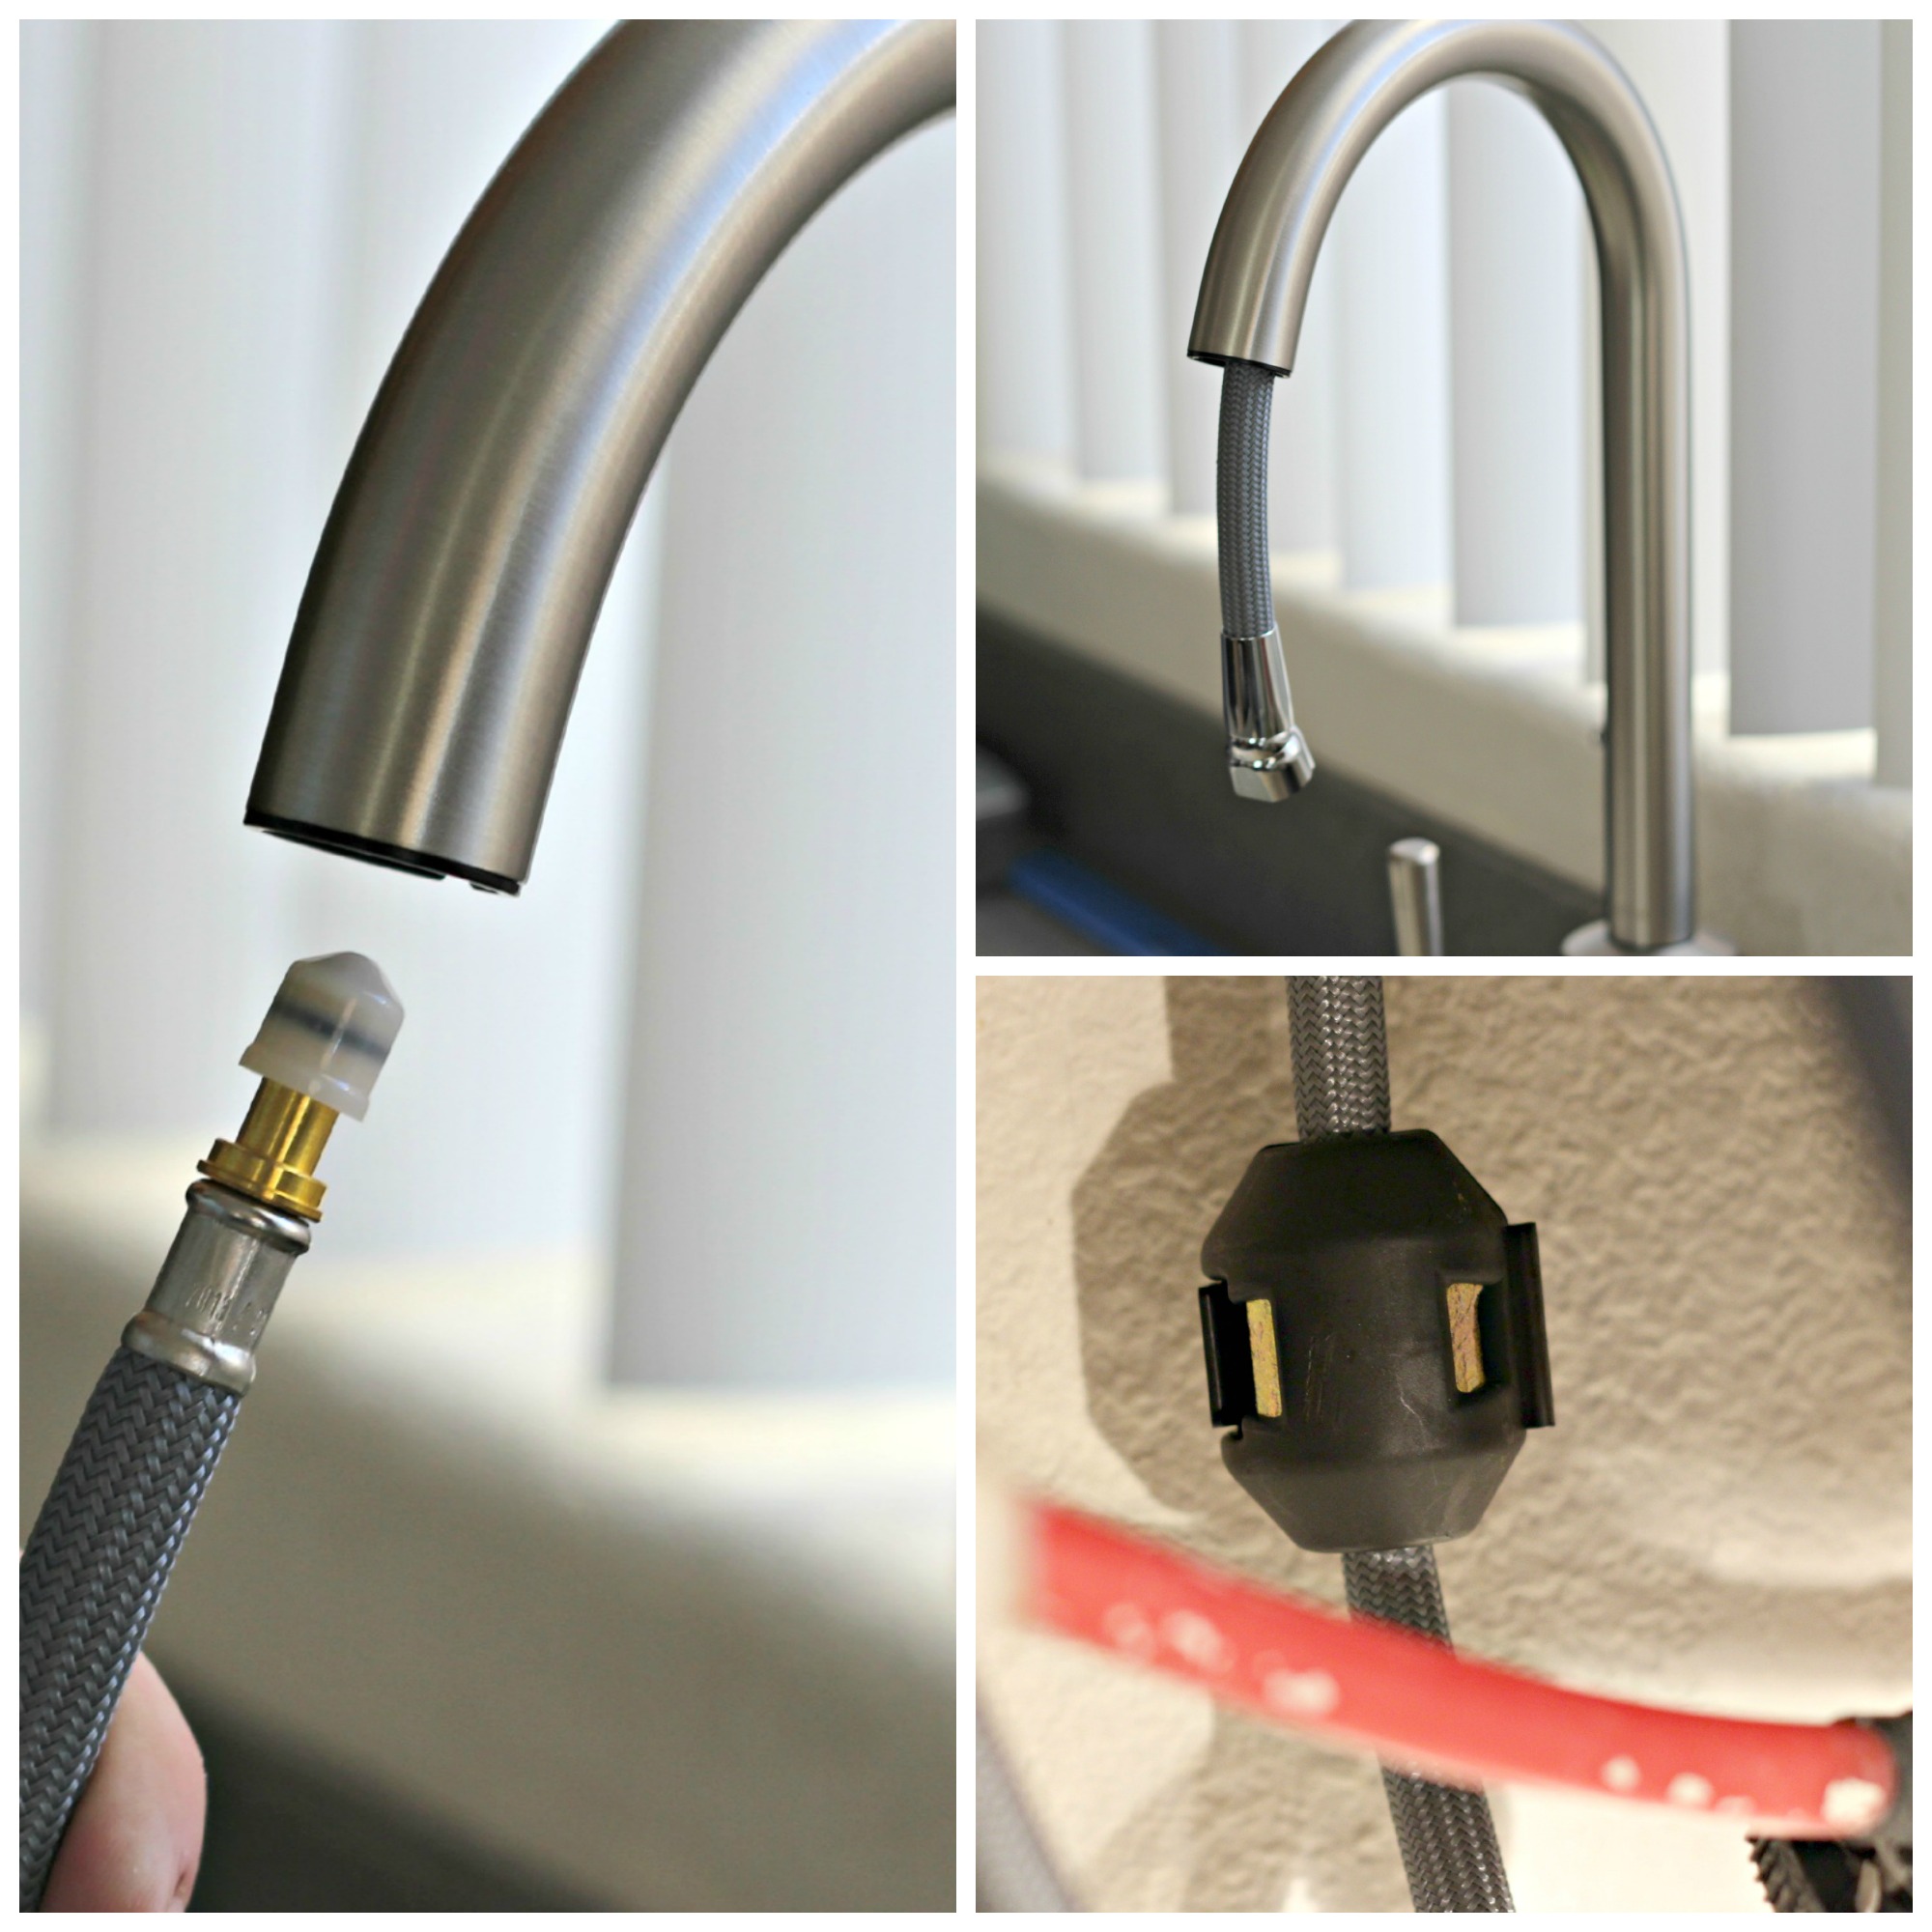
Install the pull down hose (my favorite part) through front of the spout. Then install pull down hose to outlet hose. Push in as far as you can until you hear a click, pull down (toward you) to make sure it’s secure. Place the hose weight onto the pull down hose, it simply clicks around the hose.
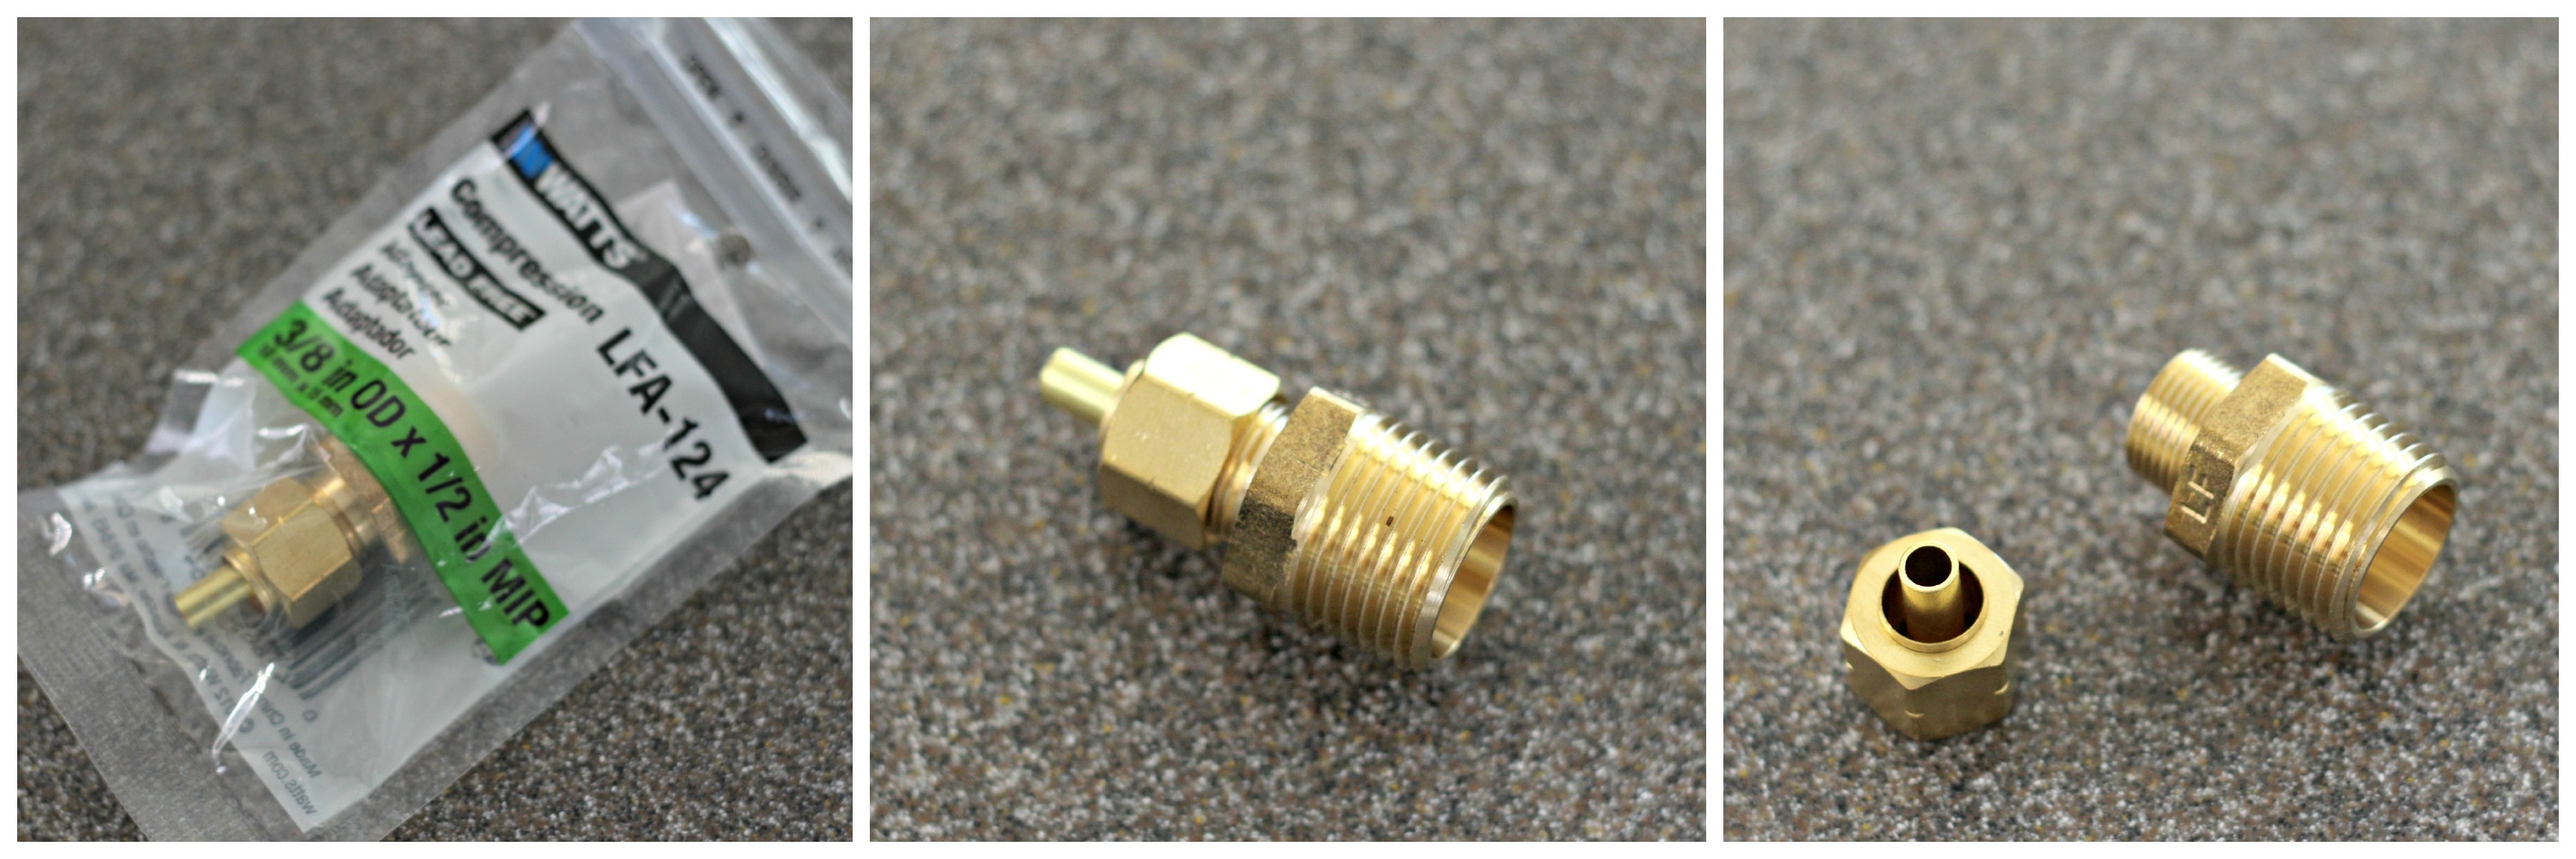
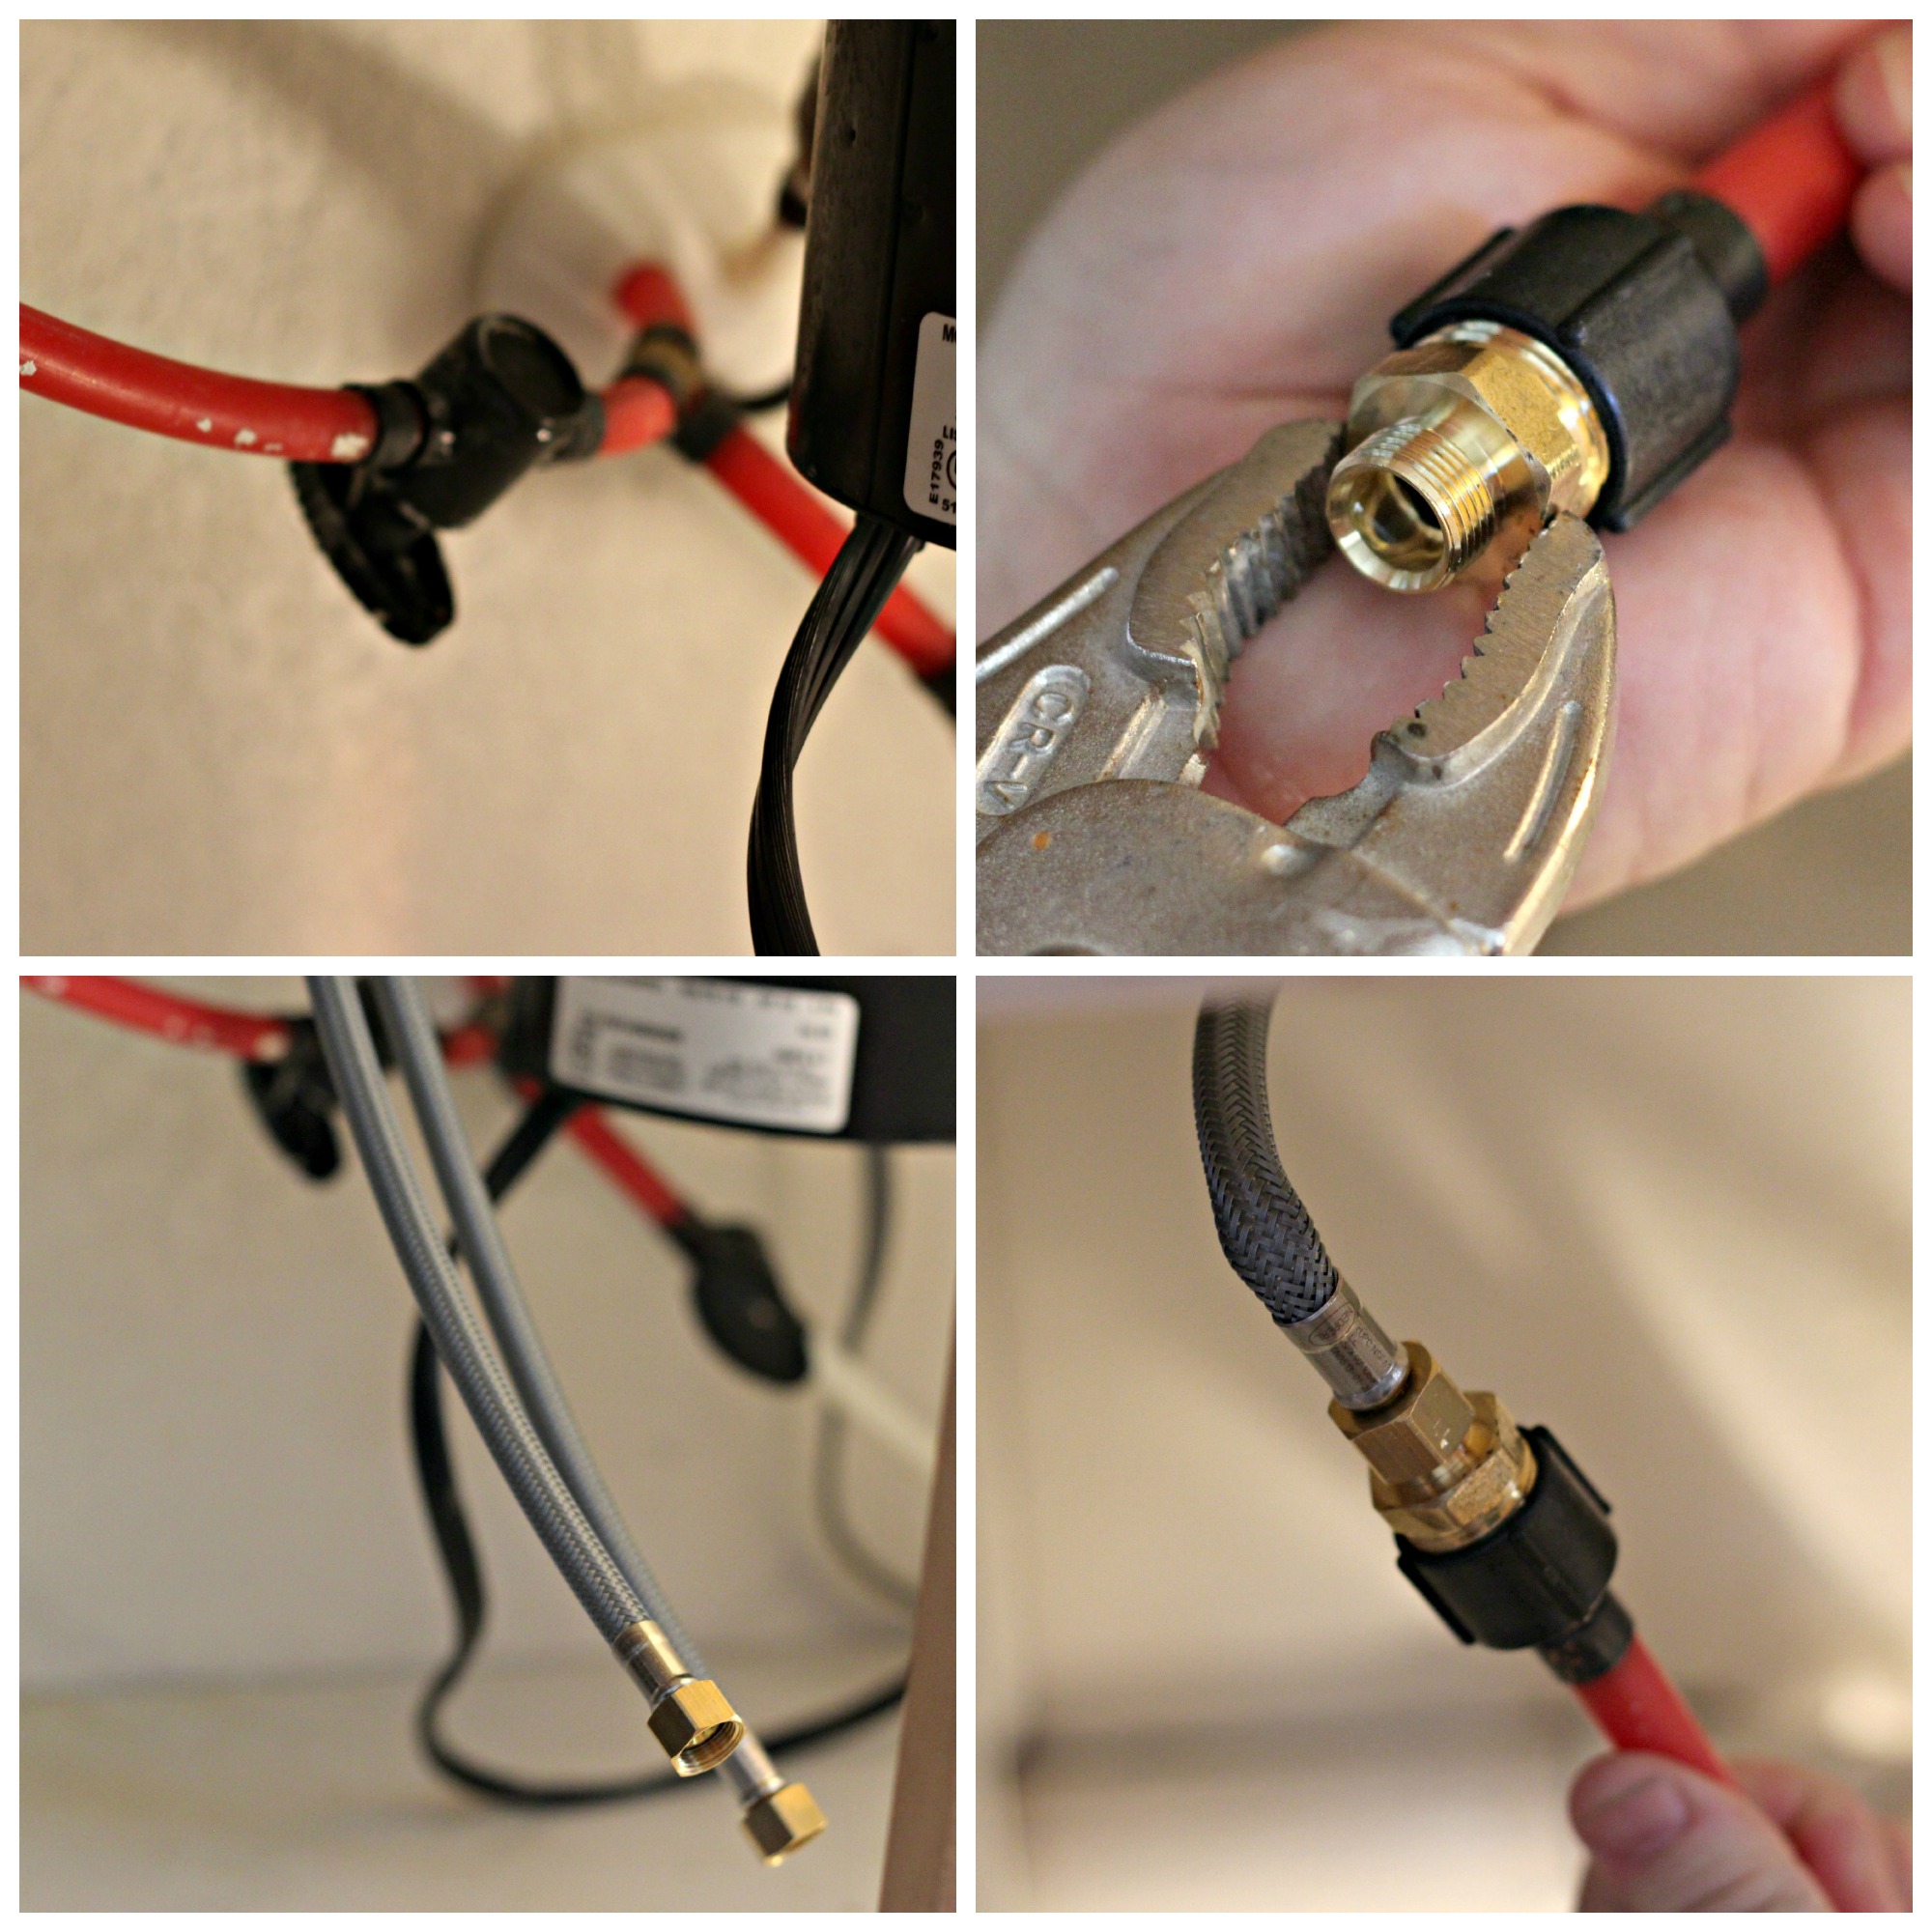
If you have normal water supply lines follow #8 & #9 in the Installation guide. Because our lines are permanently connected to the water valves we had to use the end of the the line that connected to the old faucet and connect it to the new faucet. We went to the local hardware store and talked to the guy in the faucet department about how to do that (the guy in the plumbing department had no idea how to help us). Just keep asking around until you get the help you need. He took my husband to the plumbing department for a piece that would act as an adapter. You will only need this part if your lines are connected like ours and you only need the piece on the right in the last picture, even though you have to buy the whole part. It’s very inexpensive.
This is how you will be putting the adapter on if your water lines are like ours. The adapter piece goes on the end of the water line then connects to the new water line from the faucet (like in the last picture). The lines from the faucet are labeled, hot and cold. Turn the water back on and check for leaks.
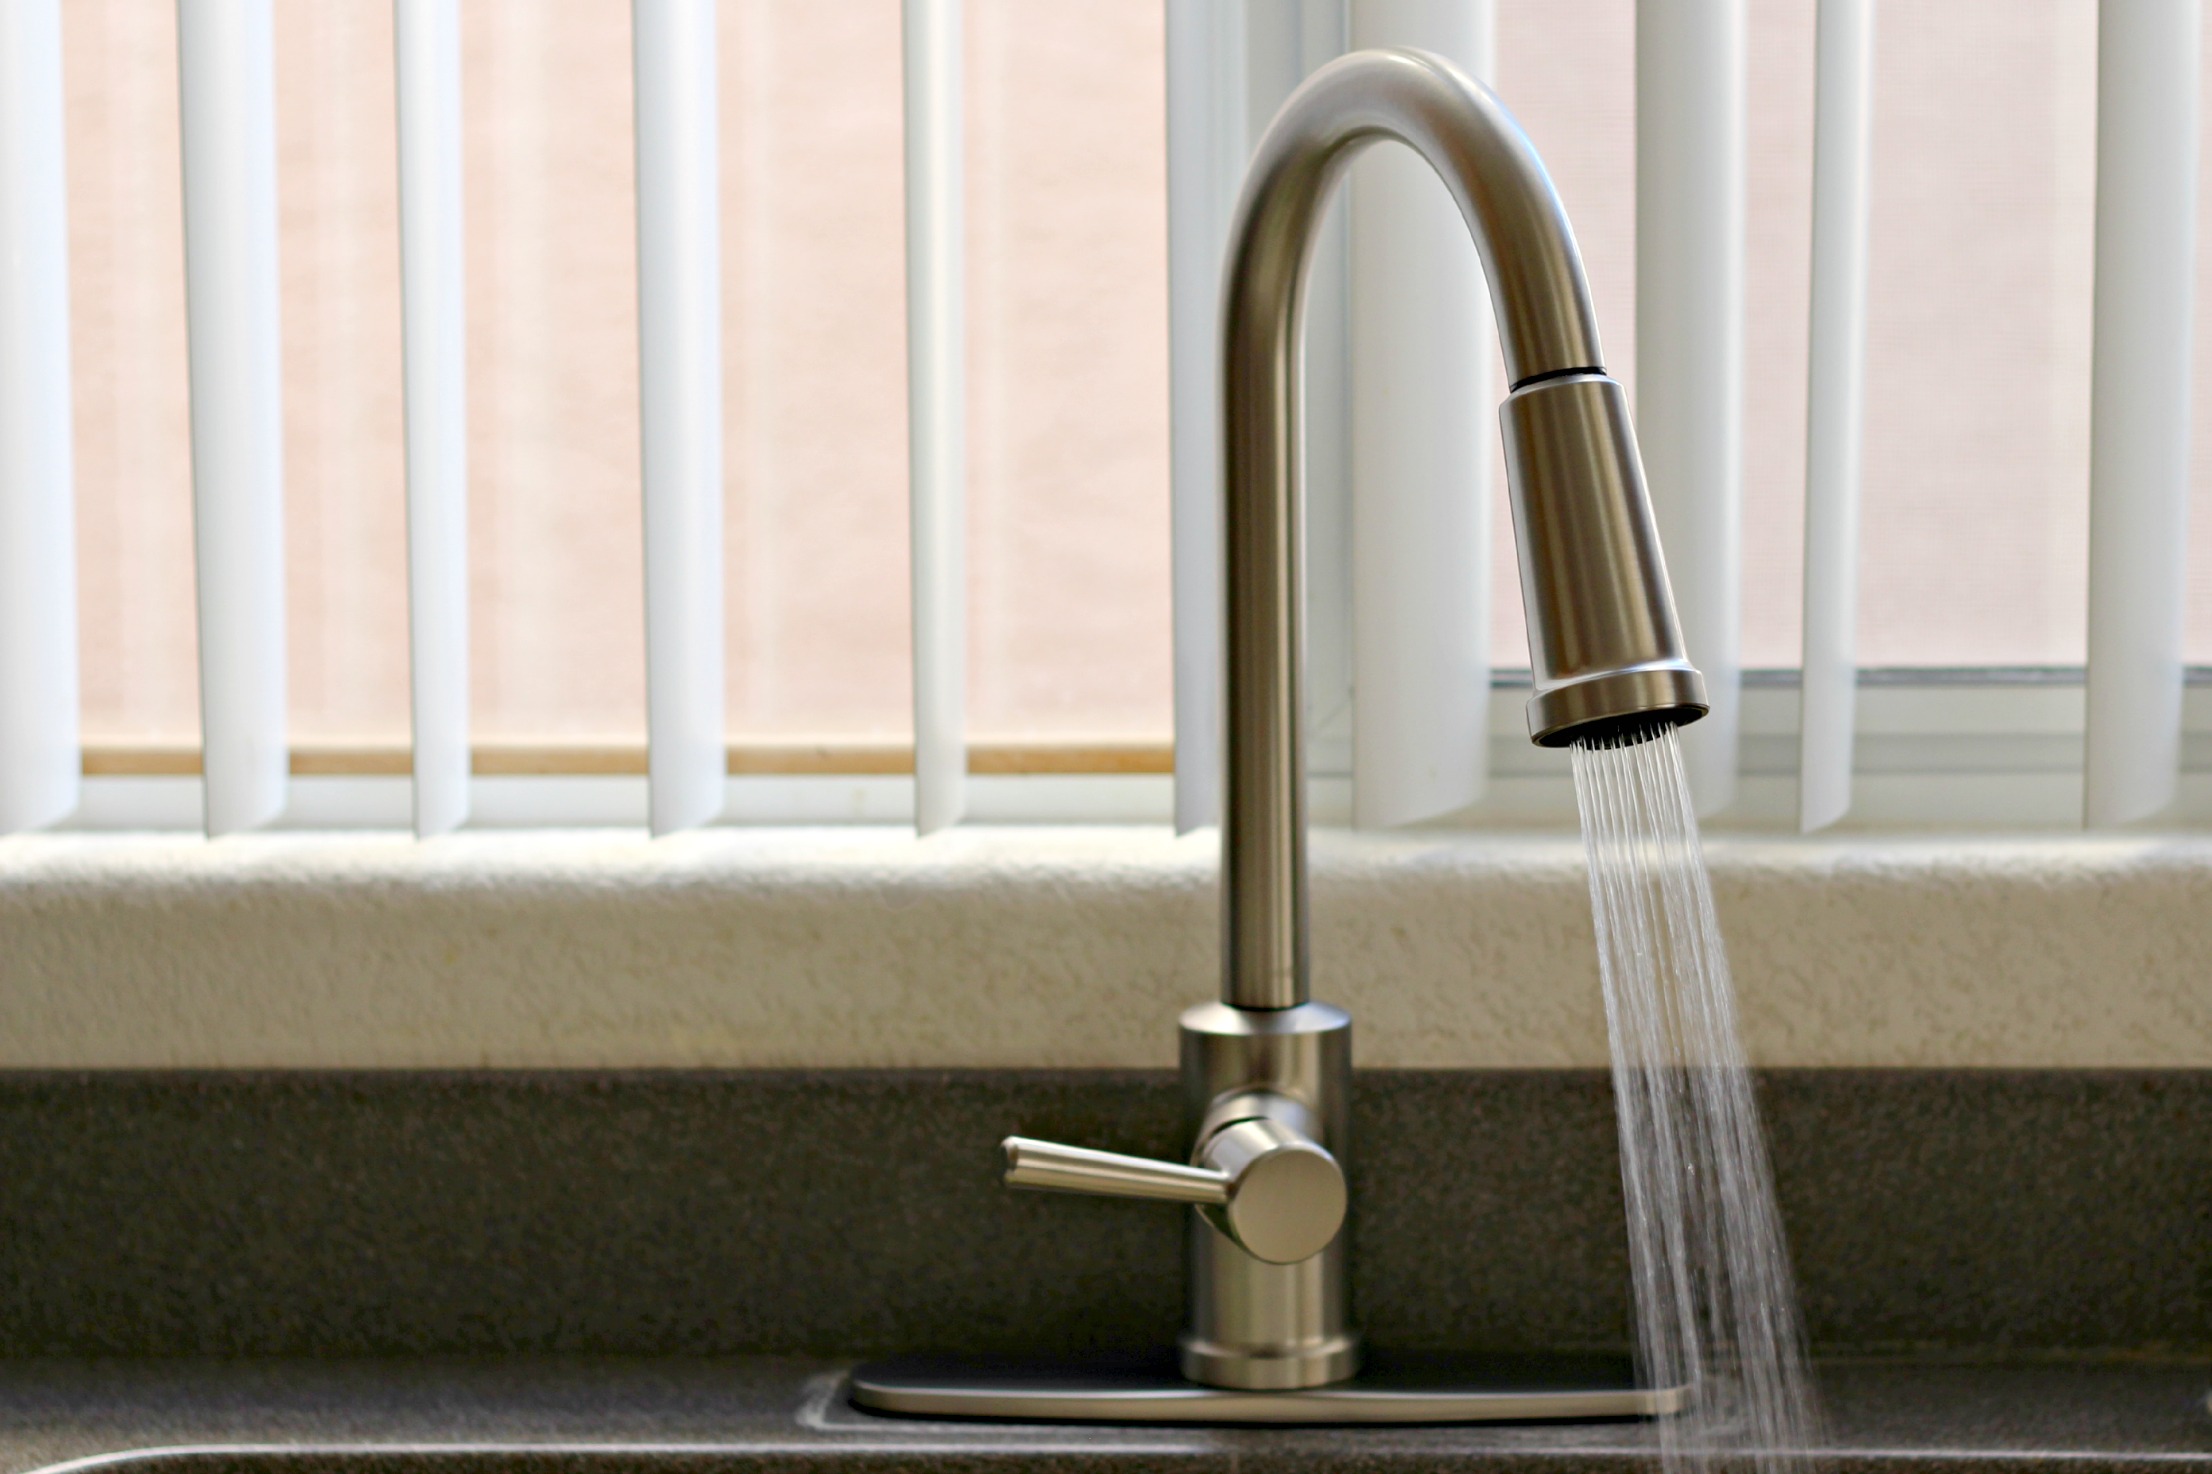
Make sure the screen and o-ring are in the inlet of the spray wand then thread the spray wand onto the pull down hose. Using pliers make a 1/8 turn. Do not over tighten. There’s a stream mode, spray mode, and pause mode. I love having a sprayer again. It was difficult cleaning some dishes and the sink without one.
It comes with a soap dispenser but I won’t be using it because I don’t have an extra sink hole. Make sure to follow the installation guide for full instructions and trouble shooting. Isn’t it lovely? I can’t tell you how happy it makes me to have a full running, beautiful faucet in my kitchen now.
It was actually really quick and easy to install. The instructions are easy to follow but if you need more assistance Moen has step by step video instruction. Check out all the features and specifications. I love that it’s spot resistant stainless with Microban technology especially in the kitchen. I love no fingerprints!
In an upcoming post I will be sharing how I get rid of those tough hard water deposits on the counter top from the old faucet. Now if you’ll excuse me I’m going to go admire my new kitchen faucet for a minute.
Disclosure: I was given the Moen Indi kitchen faucet for review and as compensation for this post. All opinions, experiences and photos are 100% mine.
I was on the very early Channel 8 morning news here in Las Vegas a few mornings ago. I’m sure most of you didn’t see it so I’m going to share it with you here. The topic was Quick and Easy Holiday Decorations, so you know I had more than a few to share. They picked the ideas they wanted me to highlight and I came to the station to share a quick overview of the projects. Everyone was so welcoming and helpful. It was a pleasure to be on a morning segment.
Kirsten was lovely and a pleasure to talk with. We were even color coordinated but you can’t tell very well in this picture. Below is a link to the segment and then below that I will have a link to each project. Please forgive me for stammering a bit. It was 5am after all, and I am usually still in bed at that time!
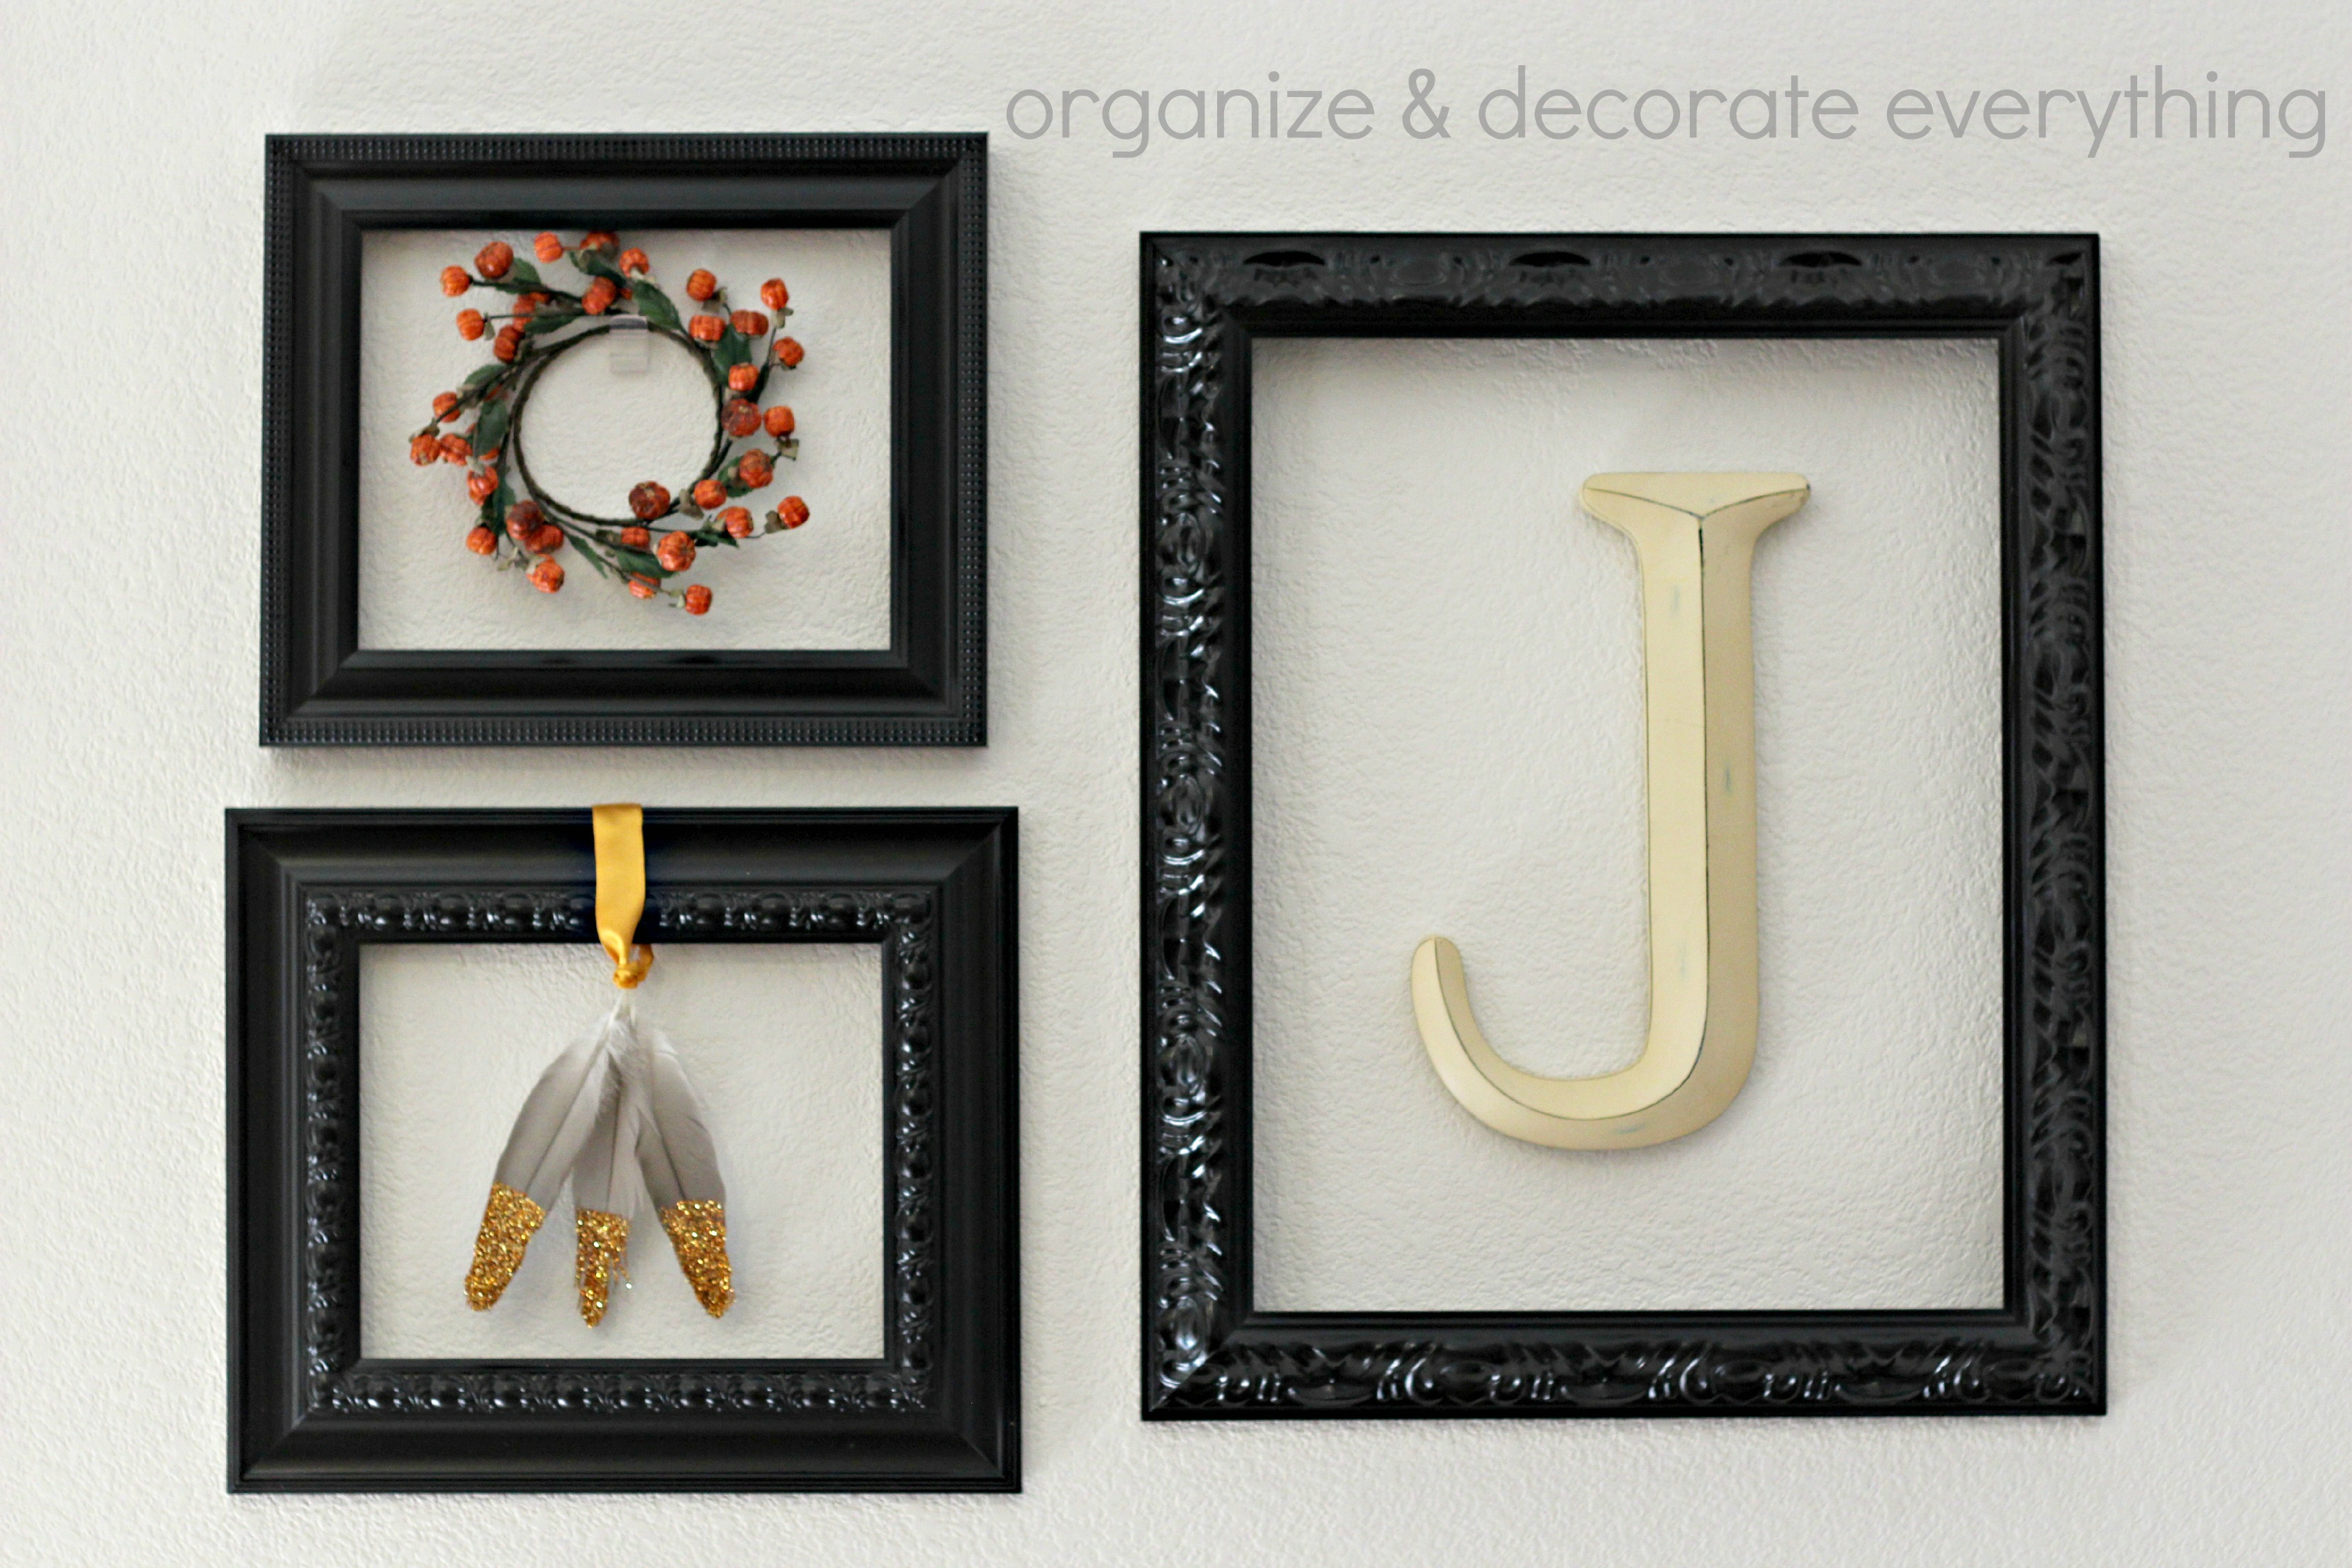
I had an empty frame, I had feathers and I had glitter, so why not?
A sweet friend gave me feathers months ago. I made some stamped feathers shortly after, then kind of forgot about them. Thanksgiving was the perfect time to bring them out again. I started by placing the feathers on wax paper.
I carefully brushed mod podge on the top 3rd or so of the feathers, then sprinkled glitter over the mod podge. I had a few different gold glitters so I mixed them together.
Pull the feathers off the wax paper around 1 minute so they don’t stick. I only glittered the front because the backs were going to be against the wall. Seriously one of the quickest decorating crafts ever.
I have decorating ADD, so I have 3 empty frames I spray painted black that I can change whenever I want. This display is for Thanksgiving (obviously). I’ll have Christmas up next Friday.
These feathers would be perfect for place cards also. Just add a a small tag with the name stamped on it and place at each setting.
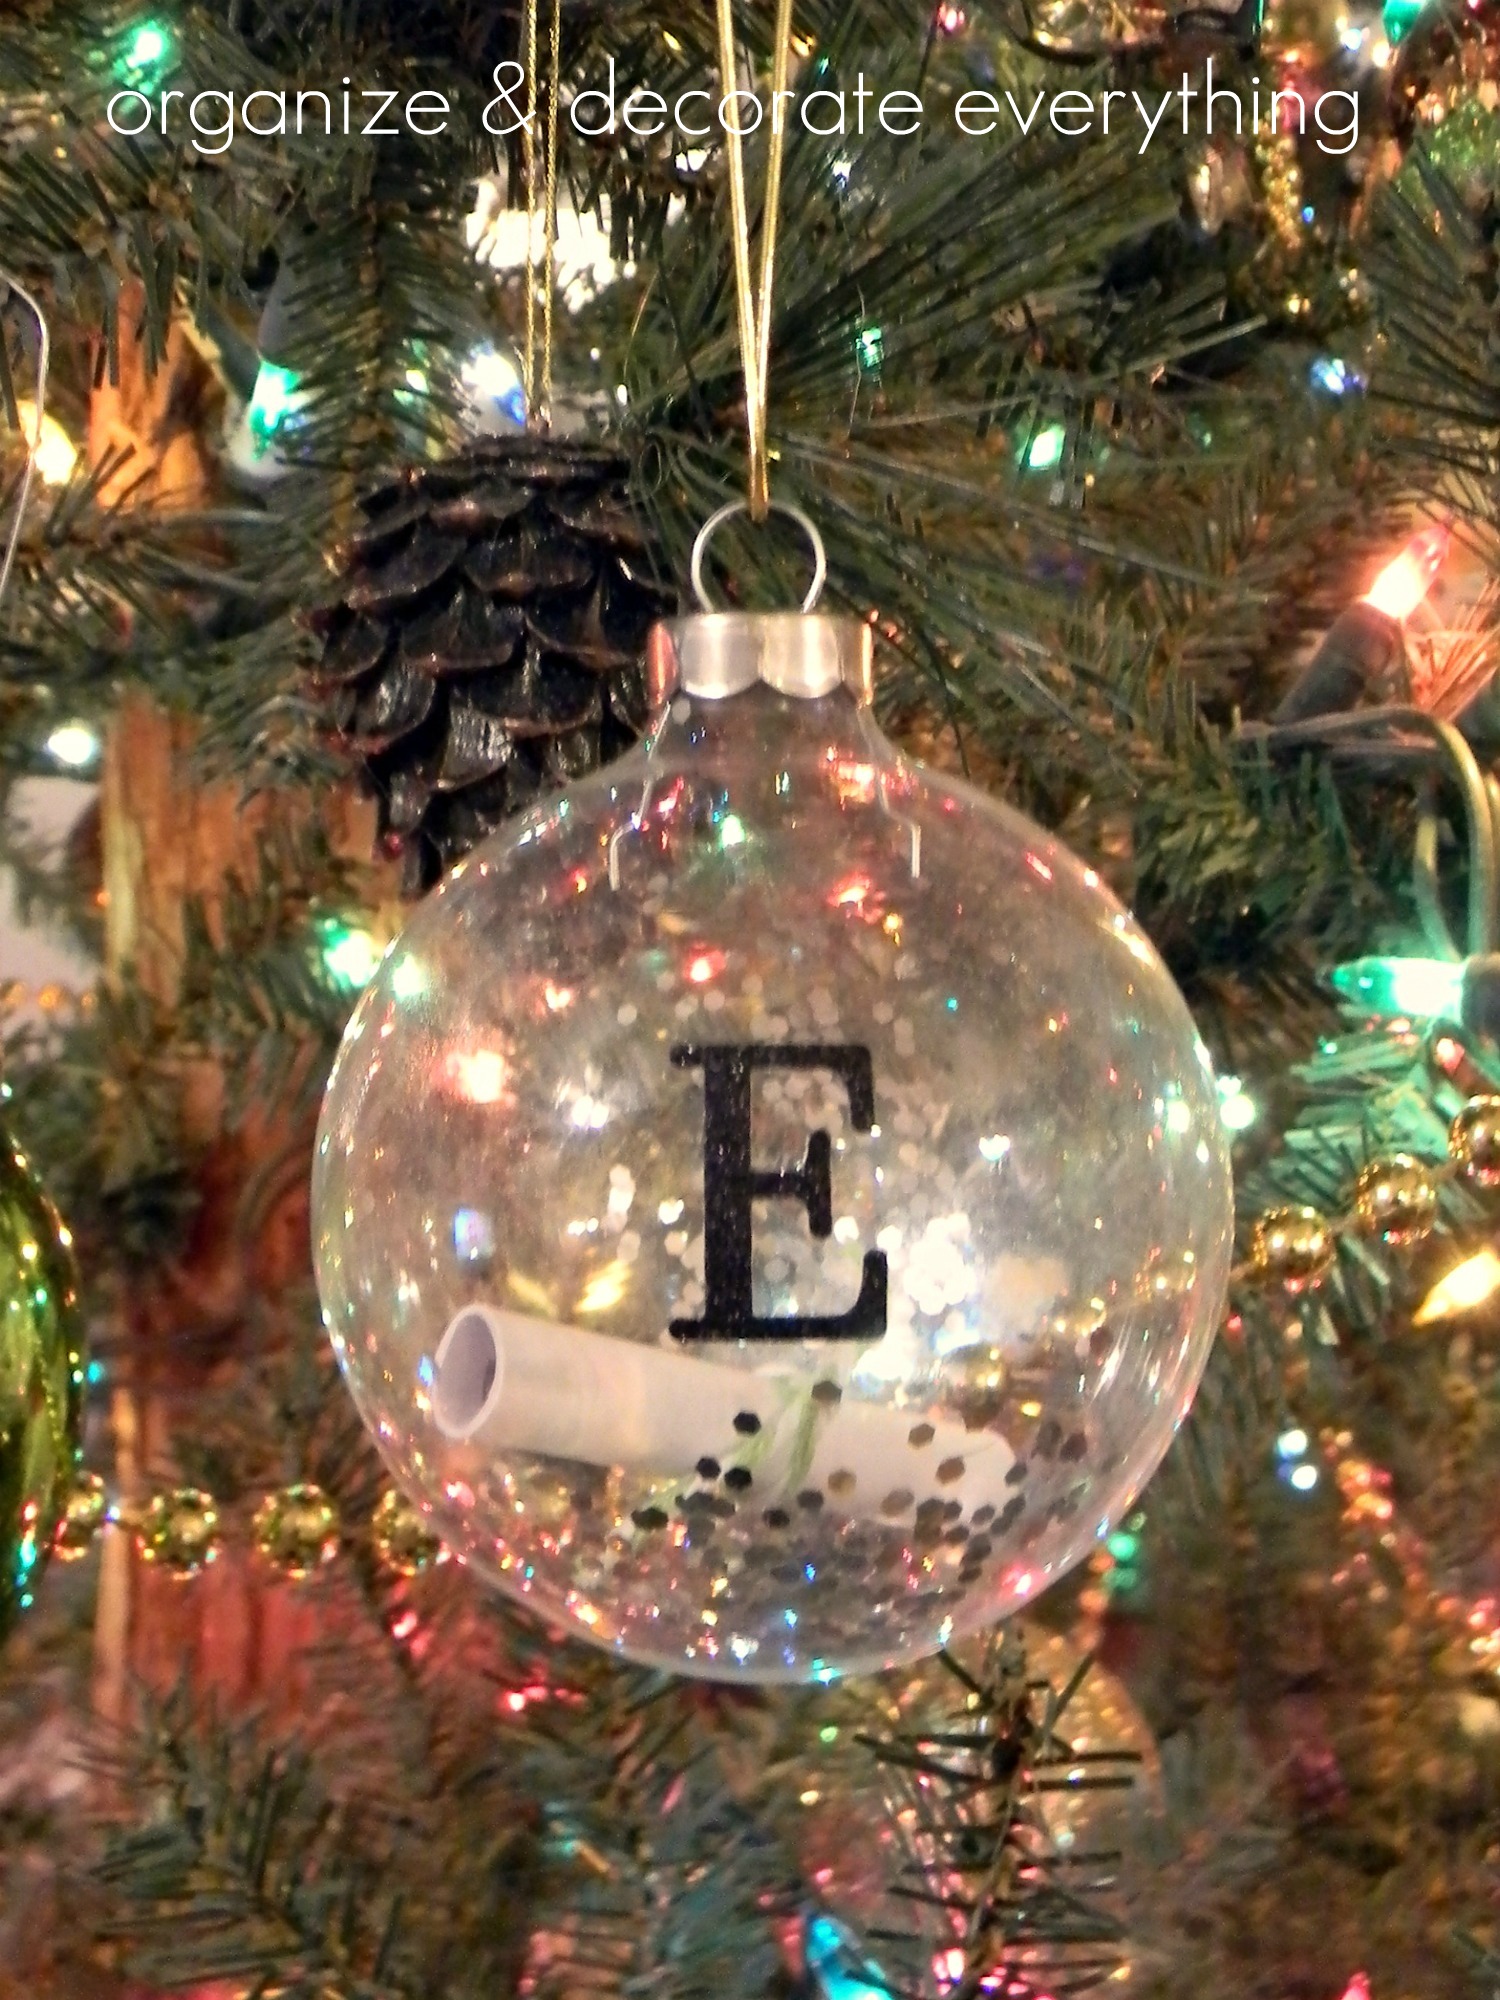
I love printables and I love using them in my home for seasonal and holiday decor. Actually I love using them anytime I can. I’m new at making printables but I’m enjoying the challenge and hope I keep improving. This one is really simple but I love it!
I think I’ll make a couple more before Christmas so I can hang them together. What about Silent Night Holy Night and Joy to the World? Watch for them on the blog soon.
If you would like to use this printable for yourself, just click the link below. Printables are for personal use ONLY and are available to subscribers of Organize & Decorate Everything. SUBSCRIBE NOW to get full access to all printables.
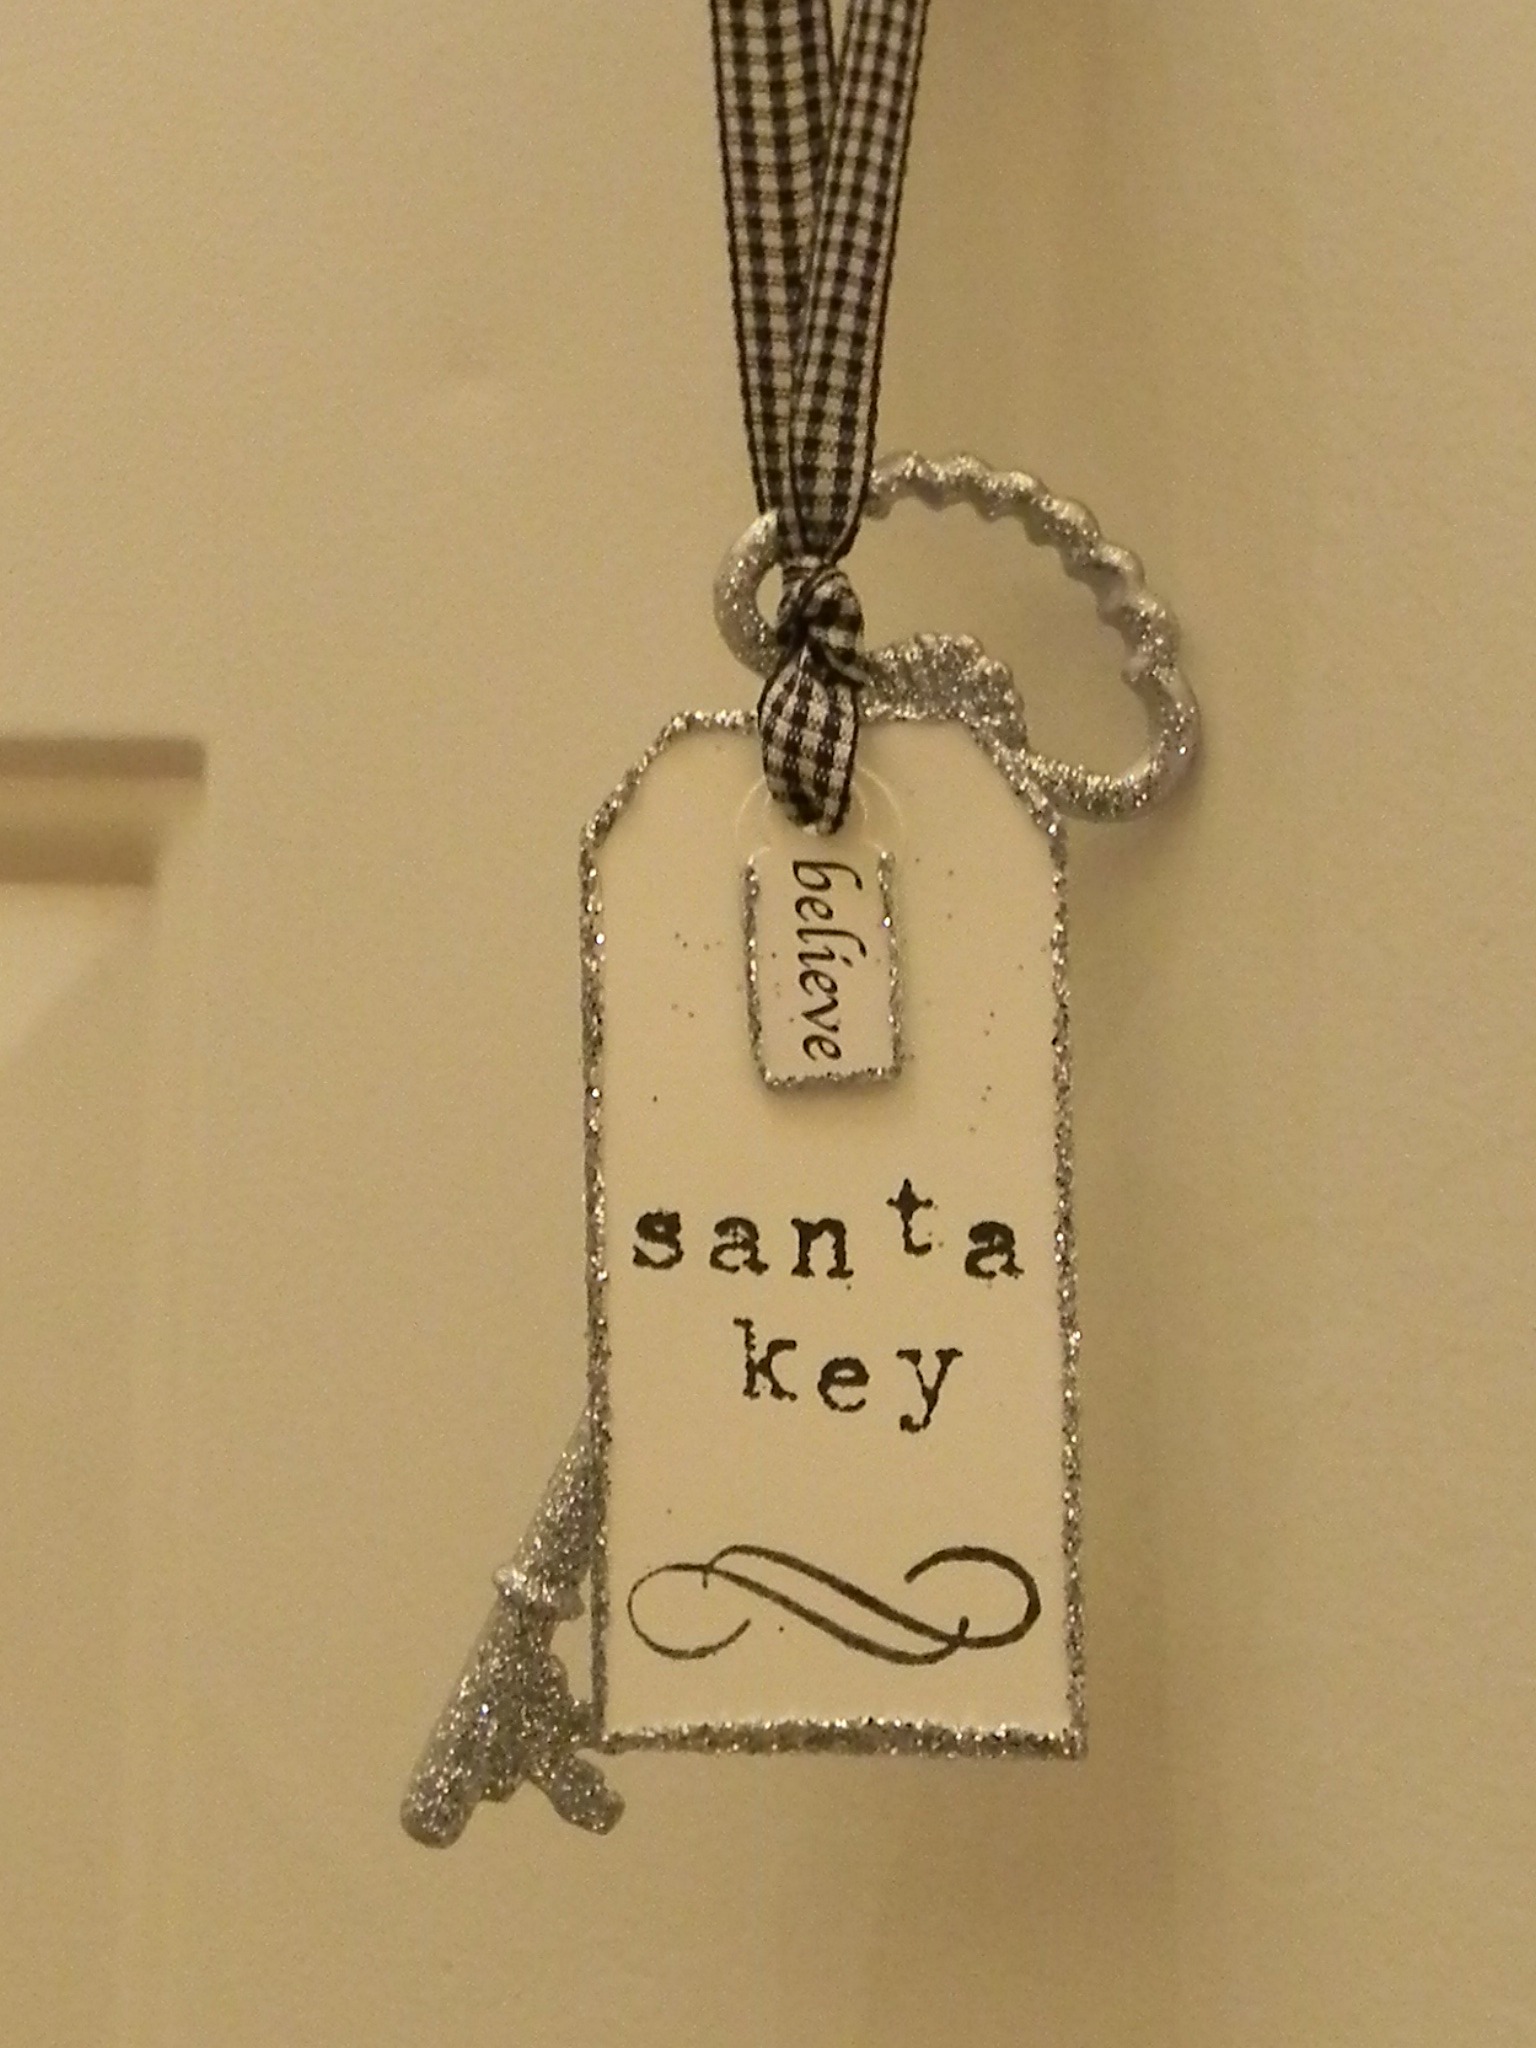
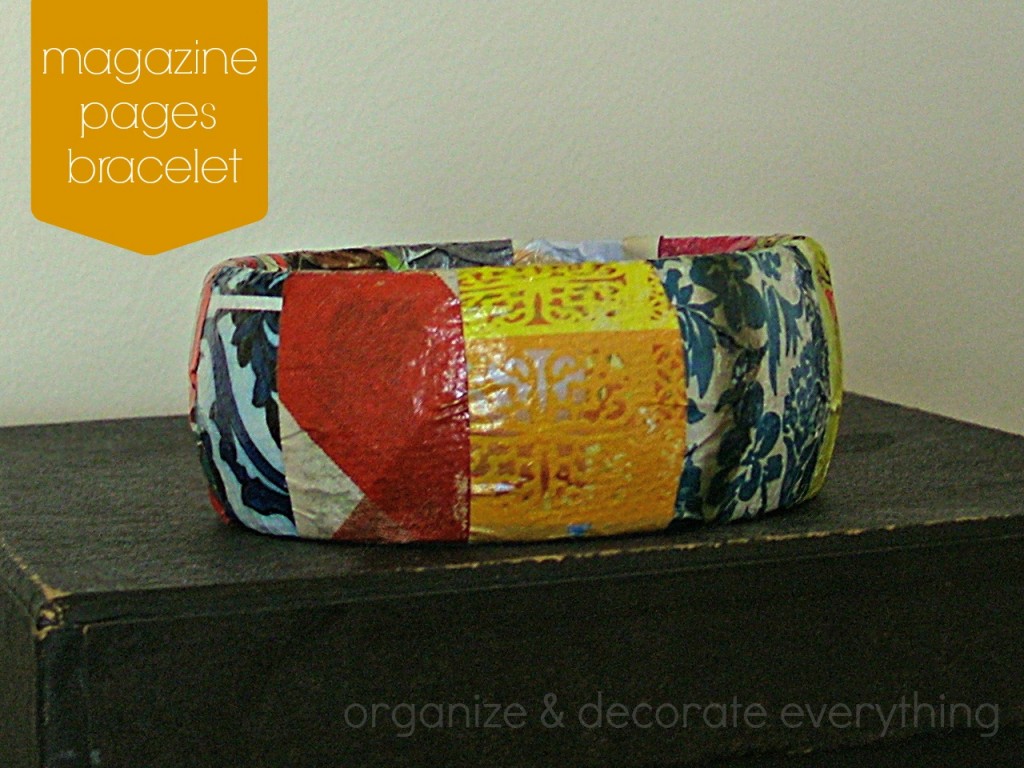
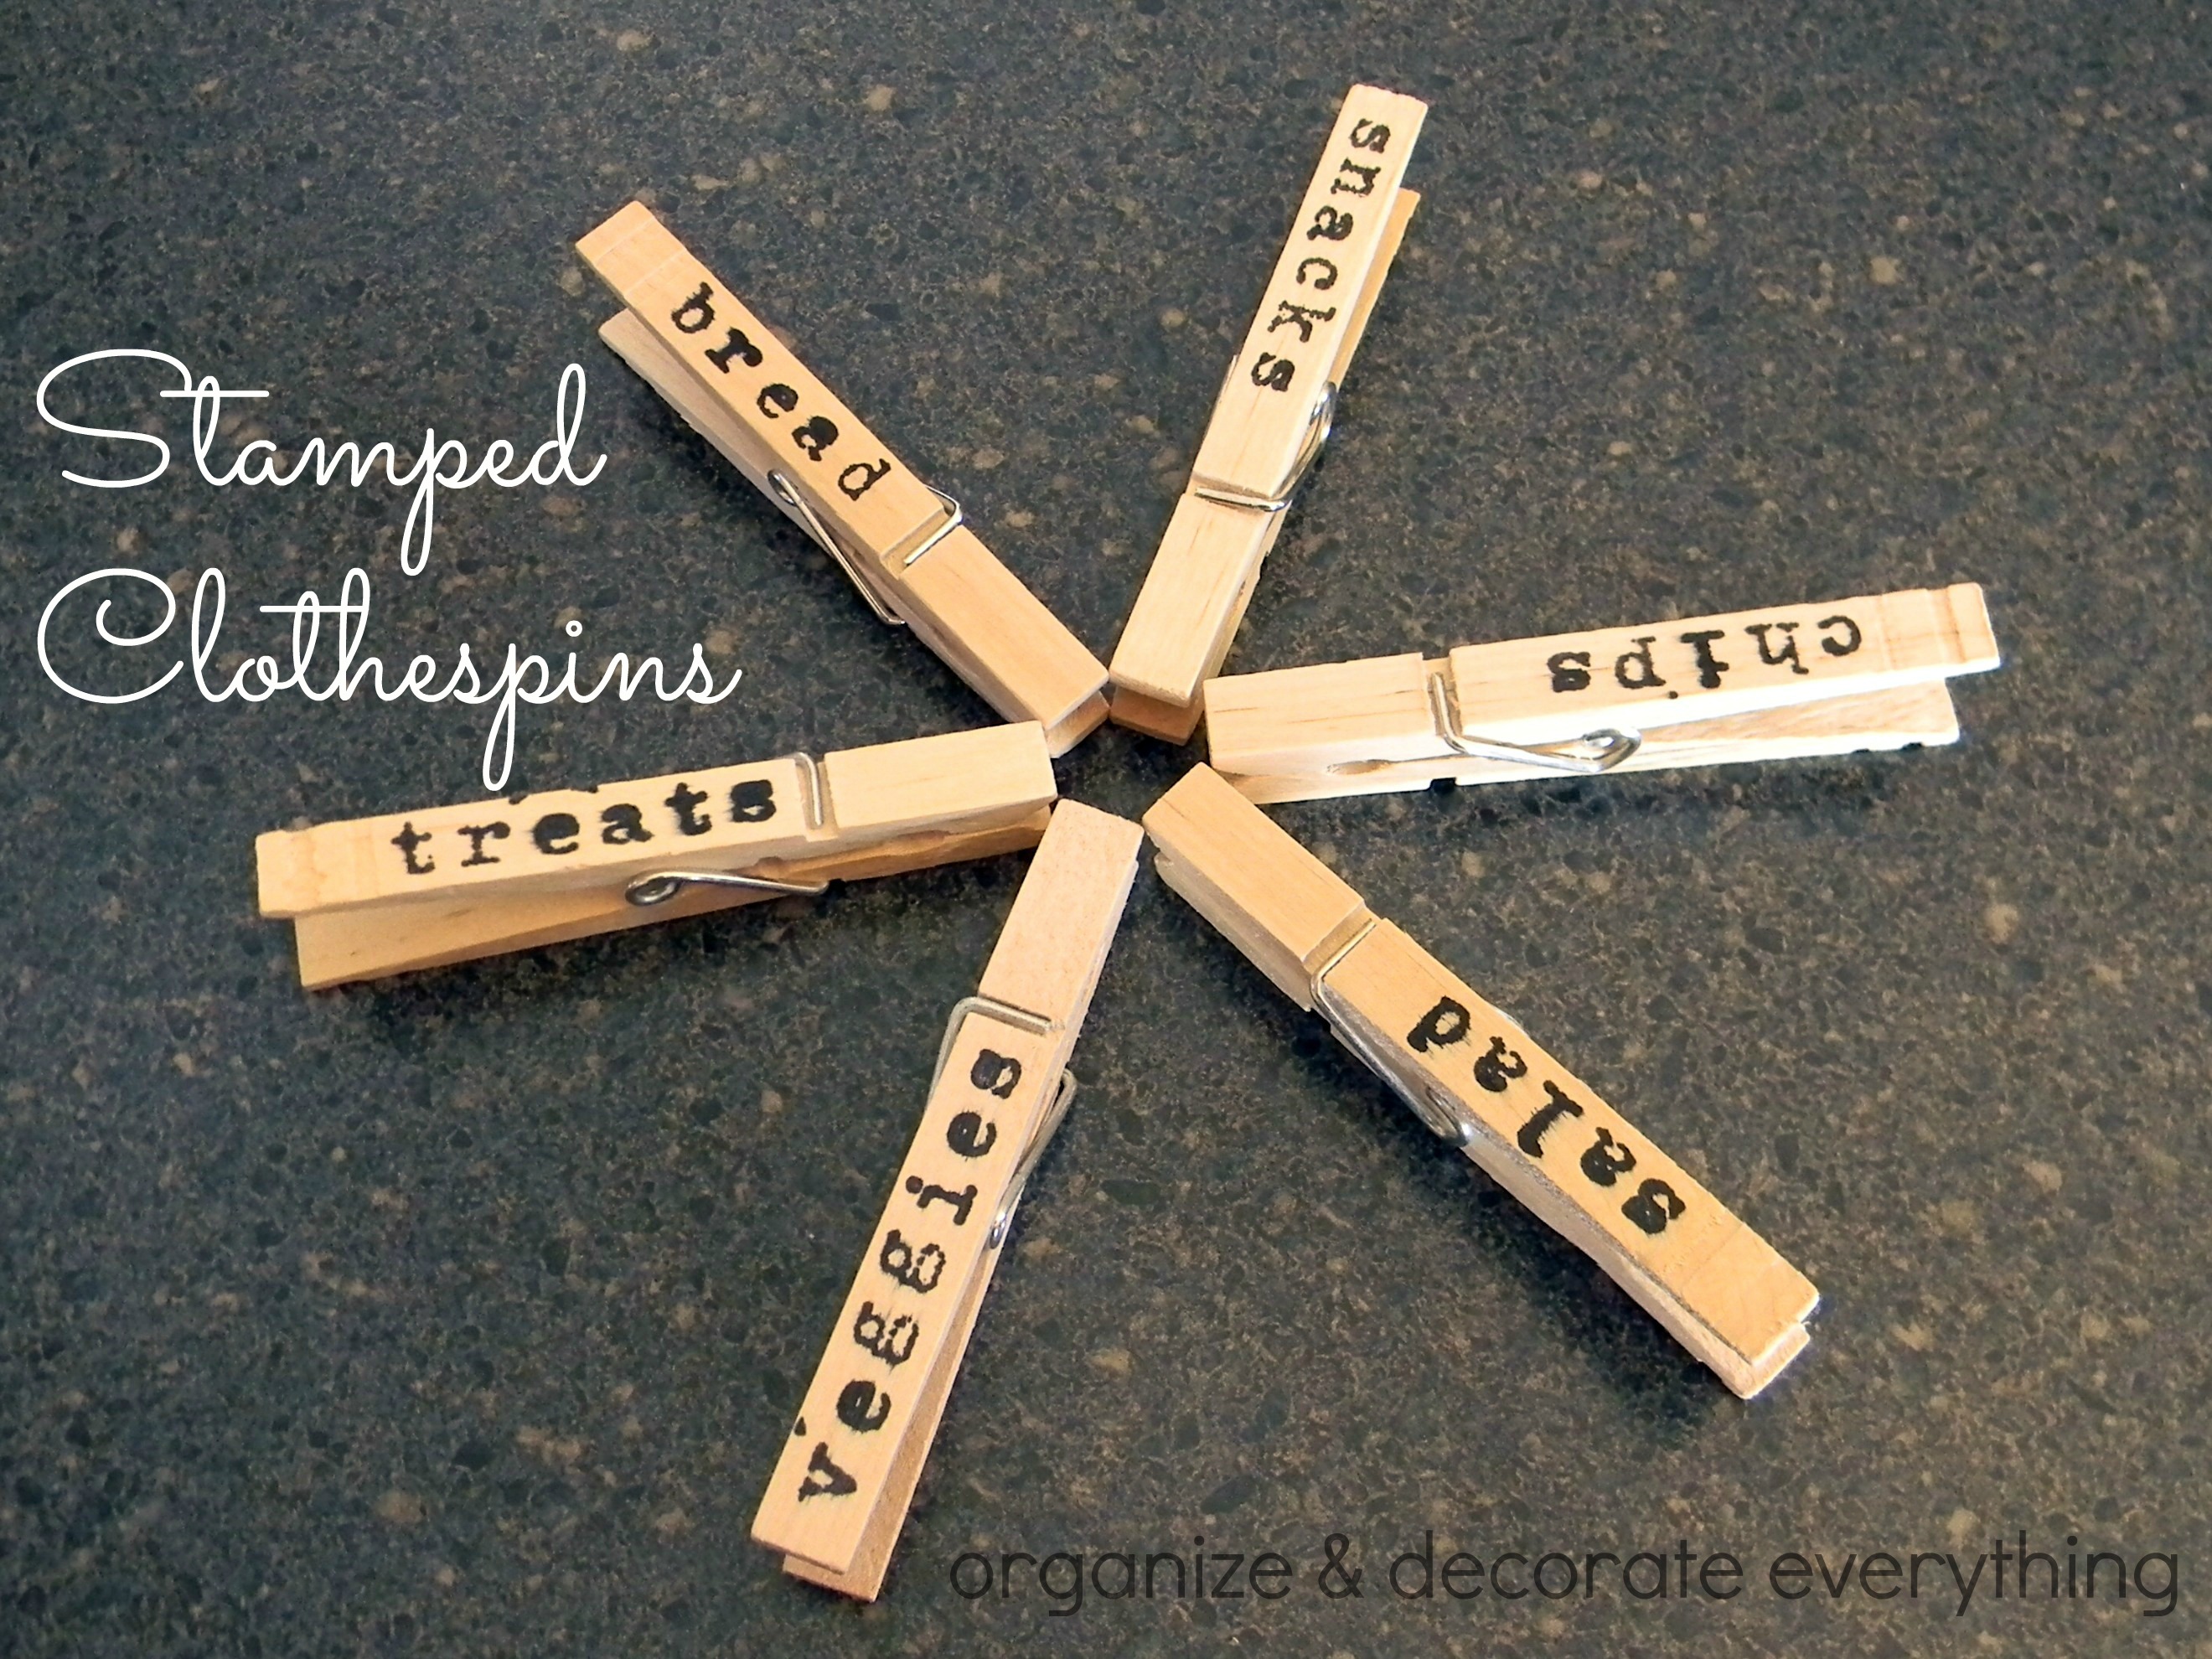
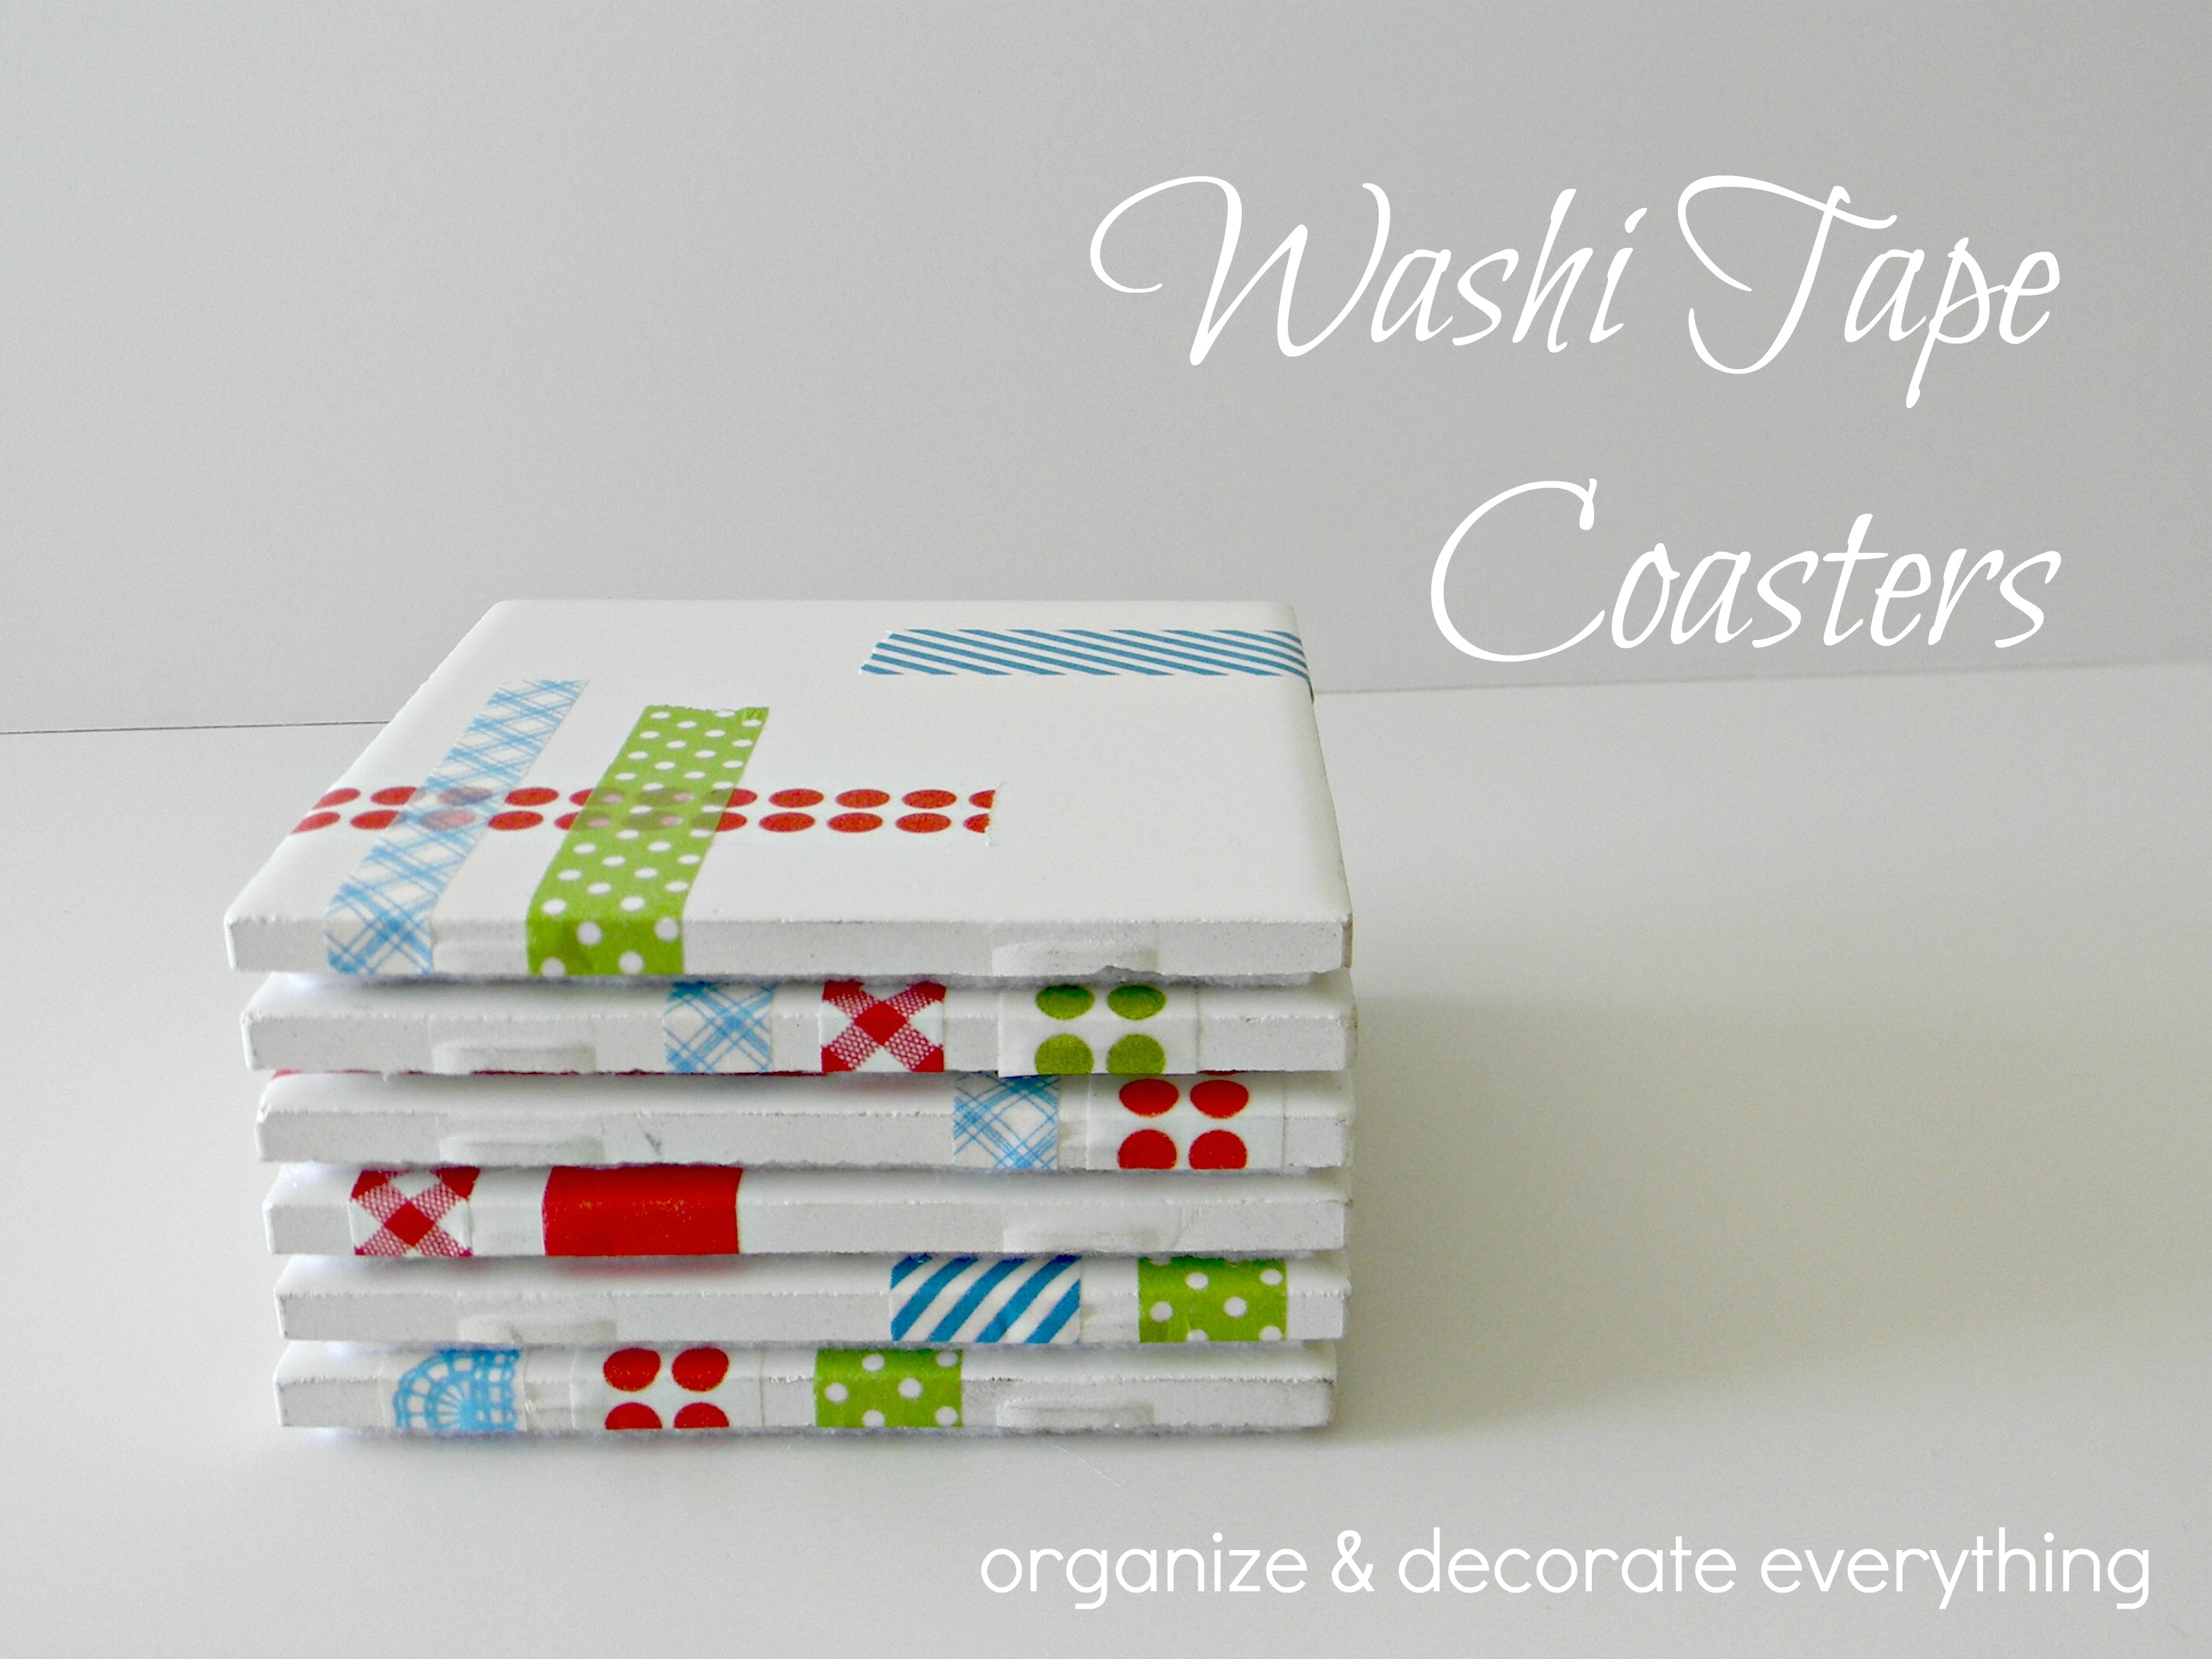
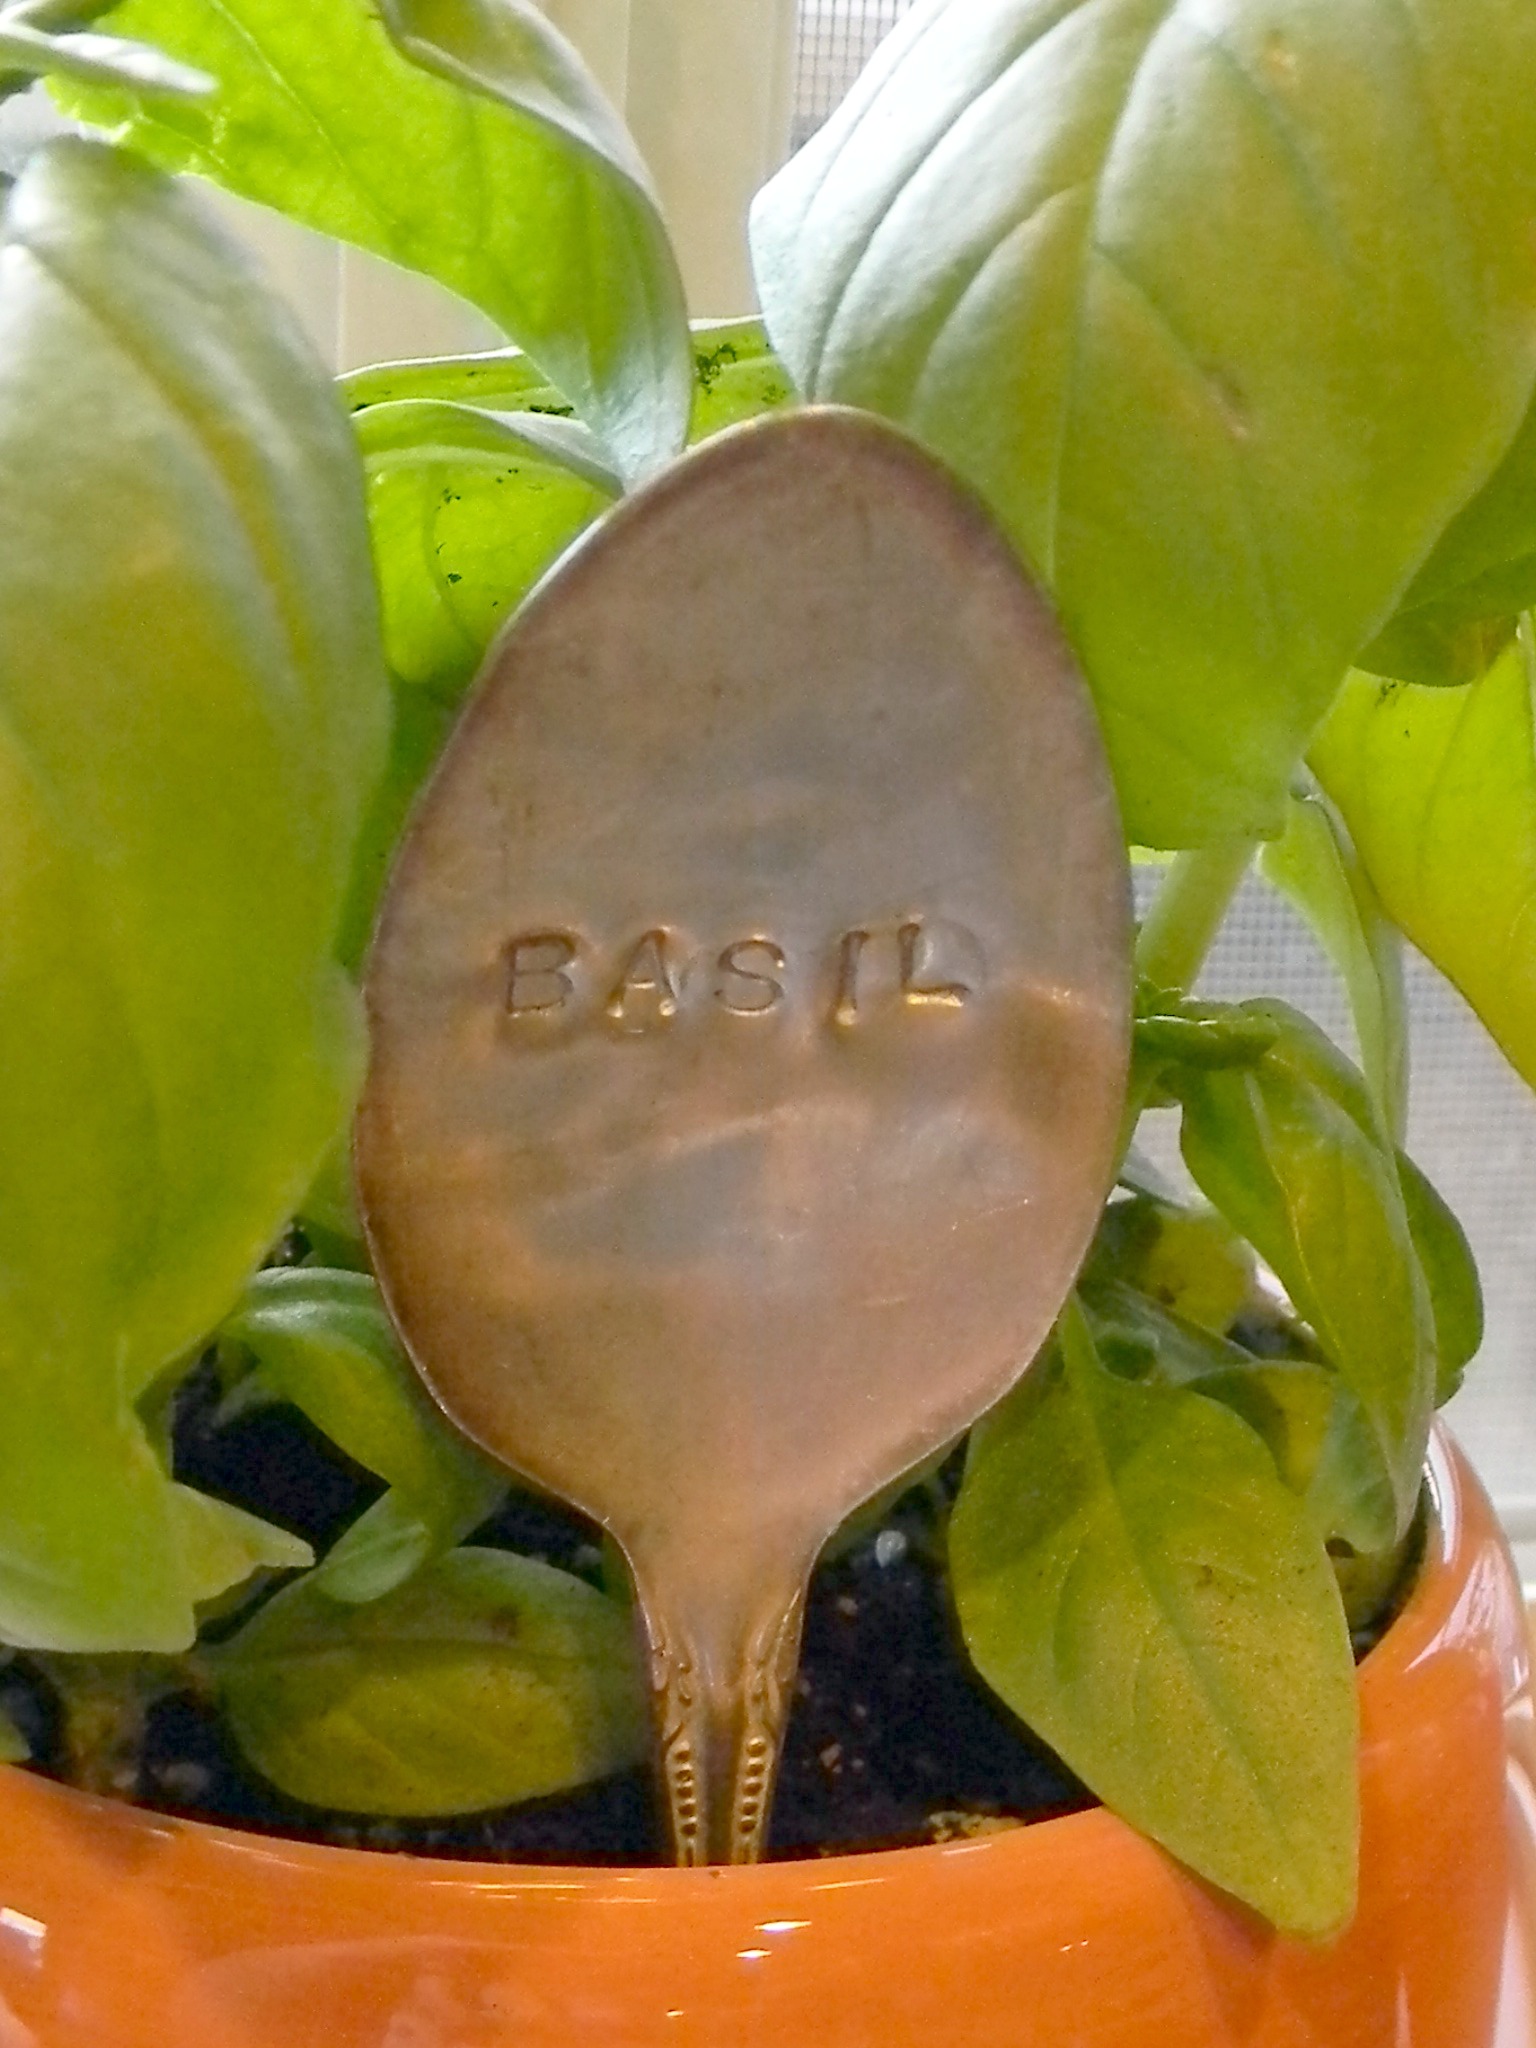
Nothing is better than a thoughtful, homemade gift. I love giving and receiving homemade gifts especially around this time of year. I have made a few craft projects over the last few years that I think would make great gifts so I thought I’d share them with you. I’m going to be making a few of them in the next few weeks for friends and relatives. How about you?
We moved recently and while it’s not my dream house I still want to make it feel like home and share how I decorate for the holidays. Most of us have less than perfect homes, but I want us to have the desire to dress them up and make them feel special for our family and friends. So here’s a little tour of my not so perfect, but much loved Thanksgiving decor.
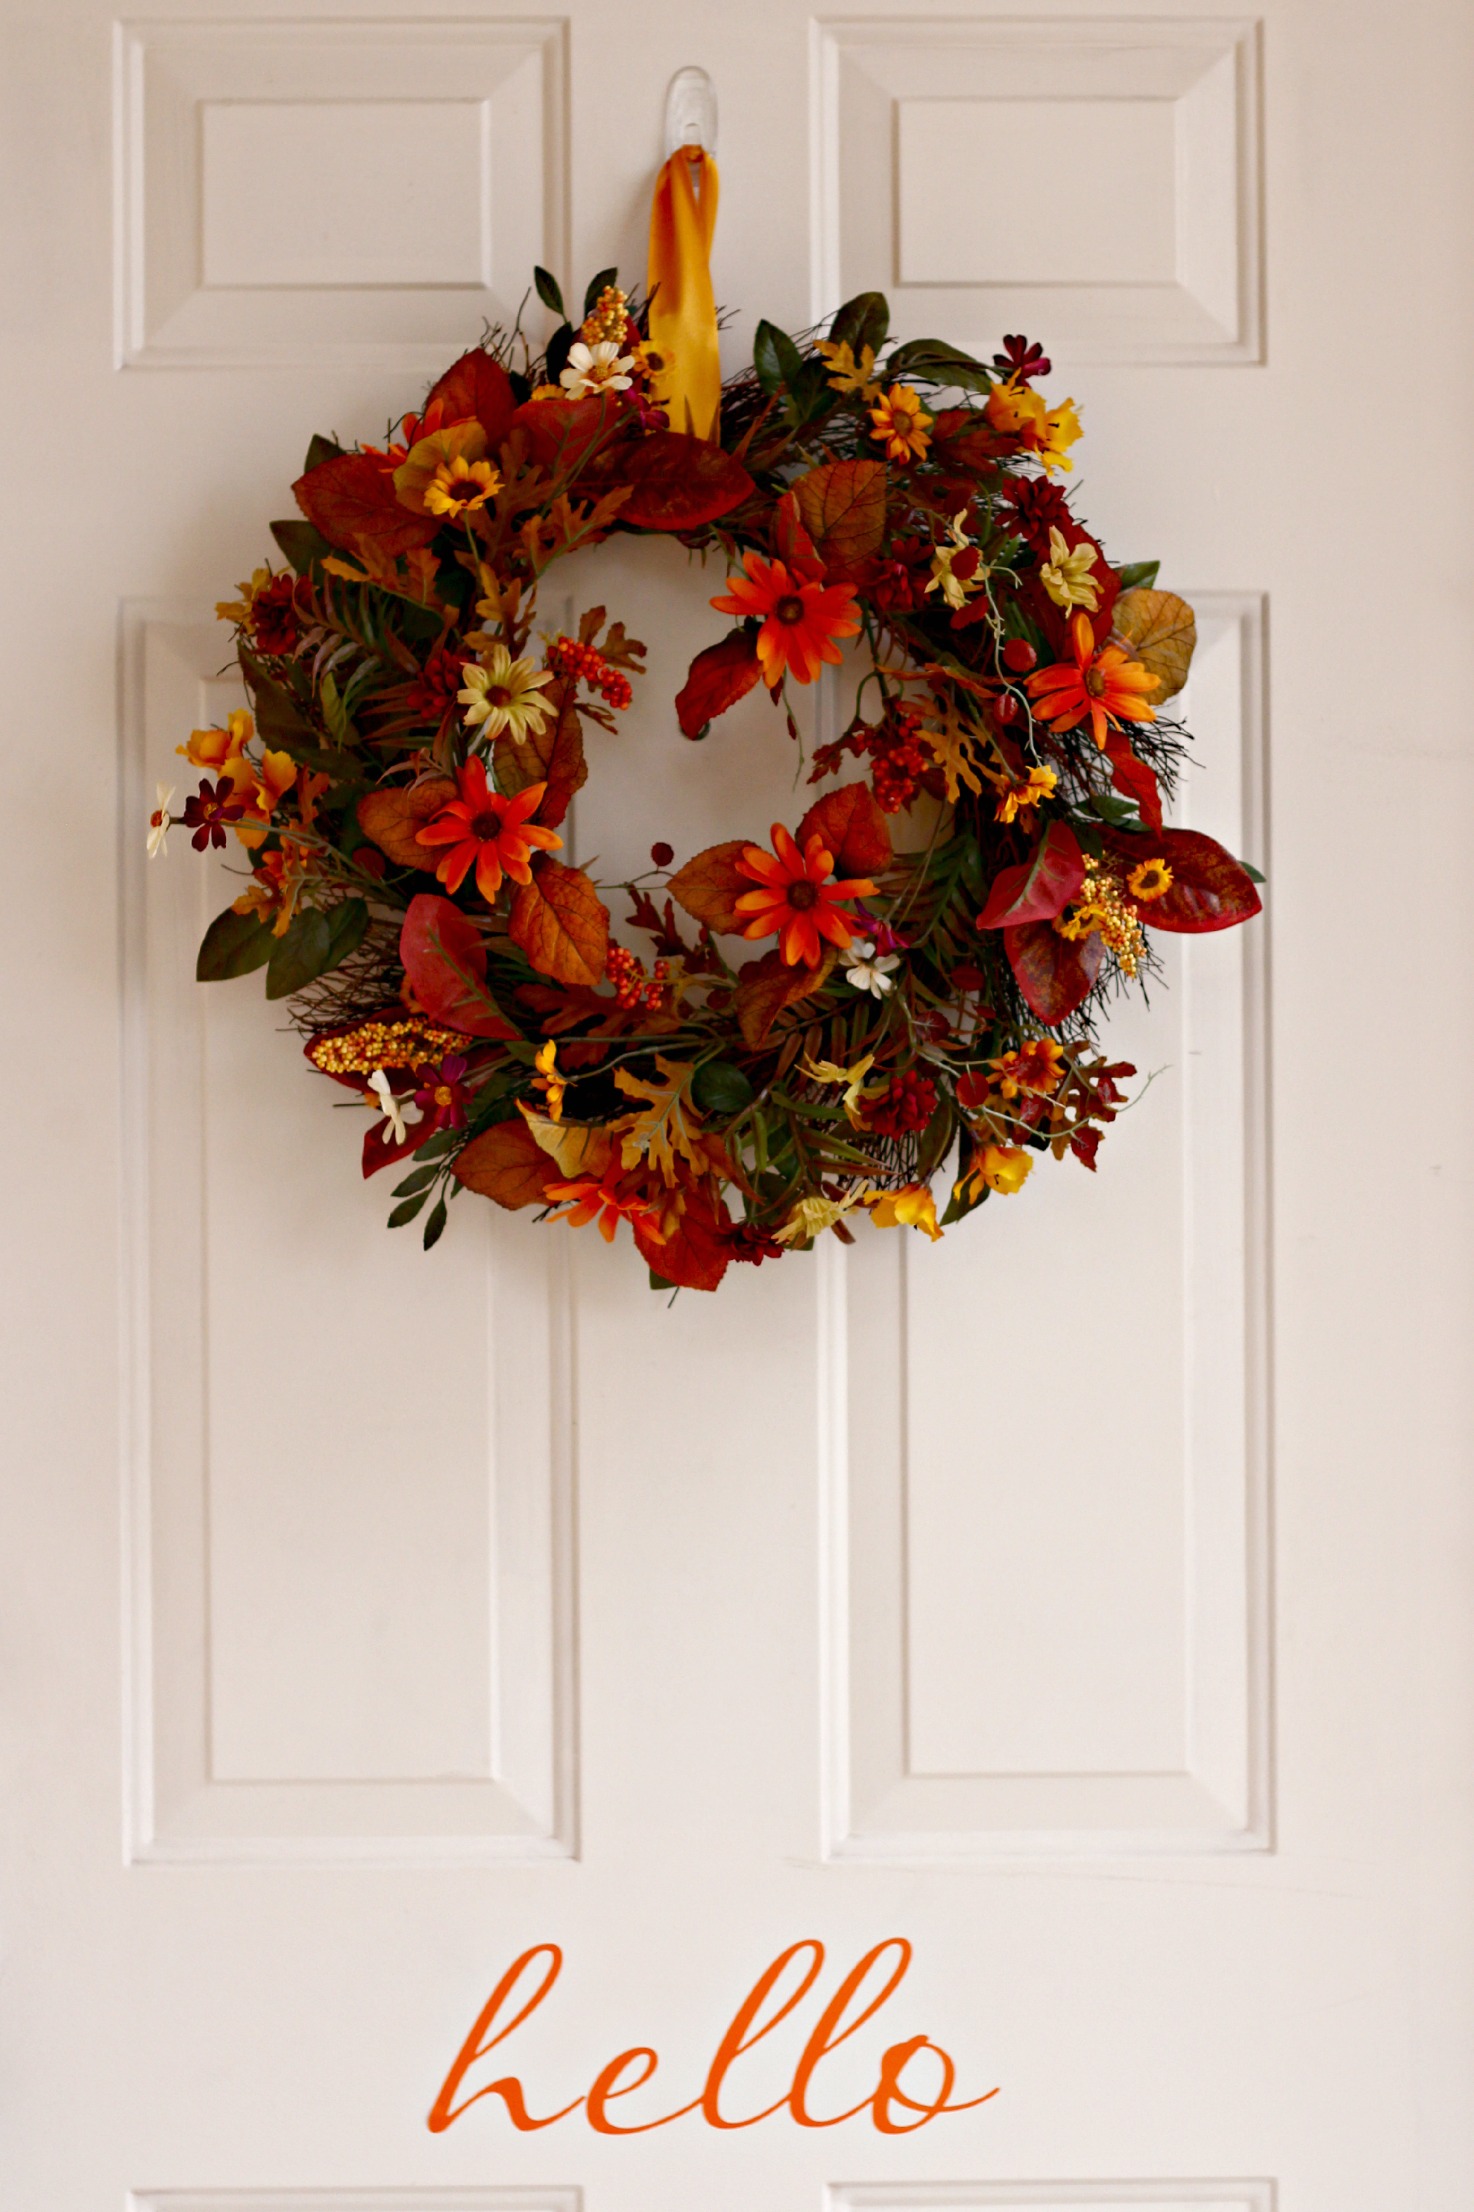
You don’t know how bad I want to paint my front door, but since I can’t, I just add as much color and personality as possible. The vinyl “hello” is from FabDecor. I’m pretty sure I need one in every color so I can change it at least once a month.
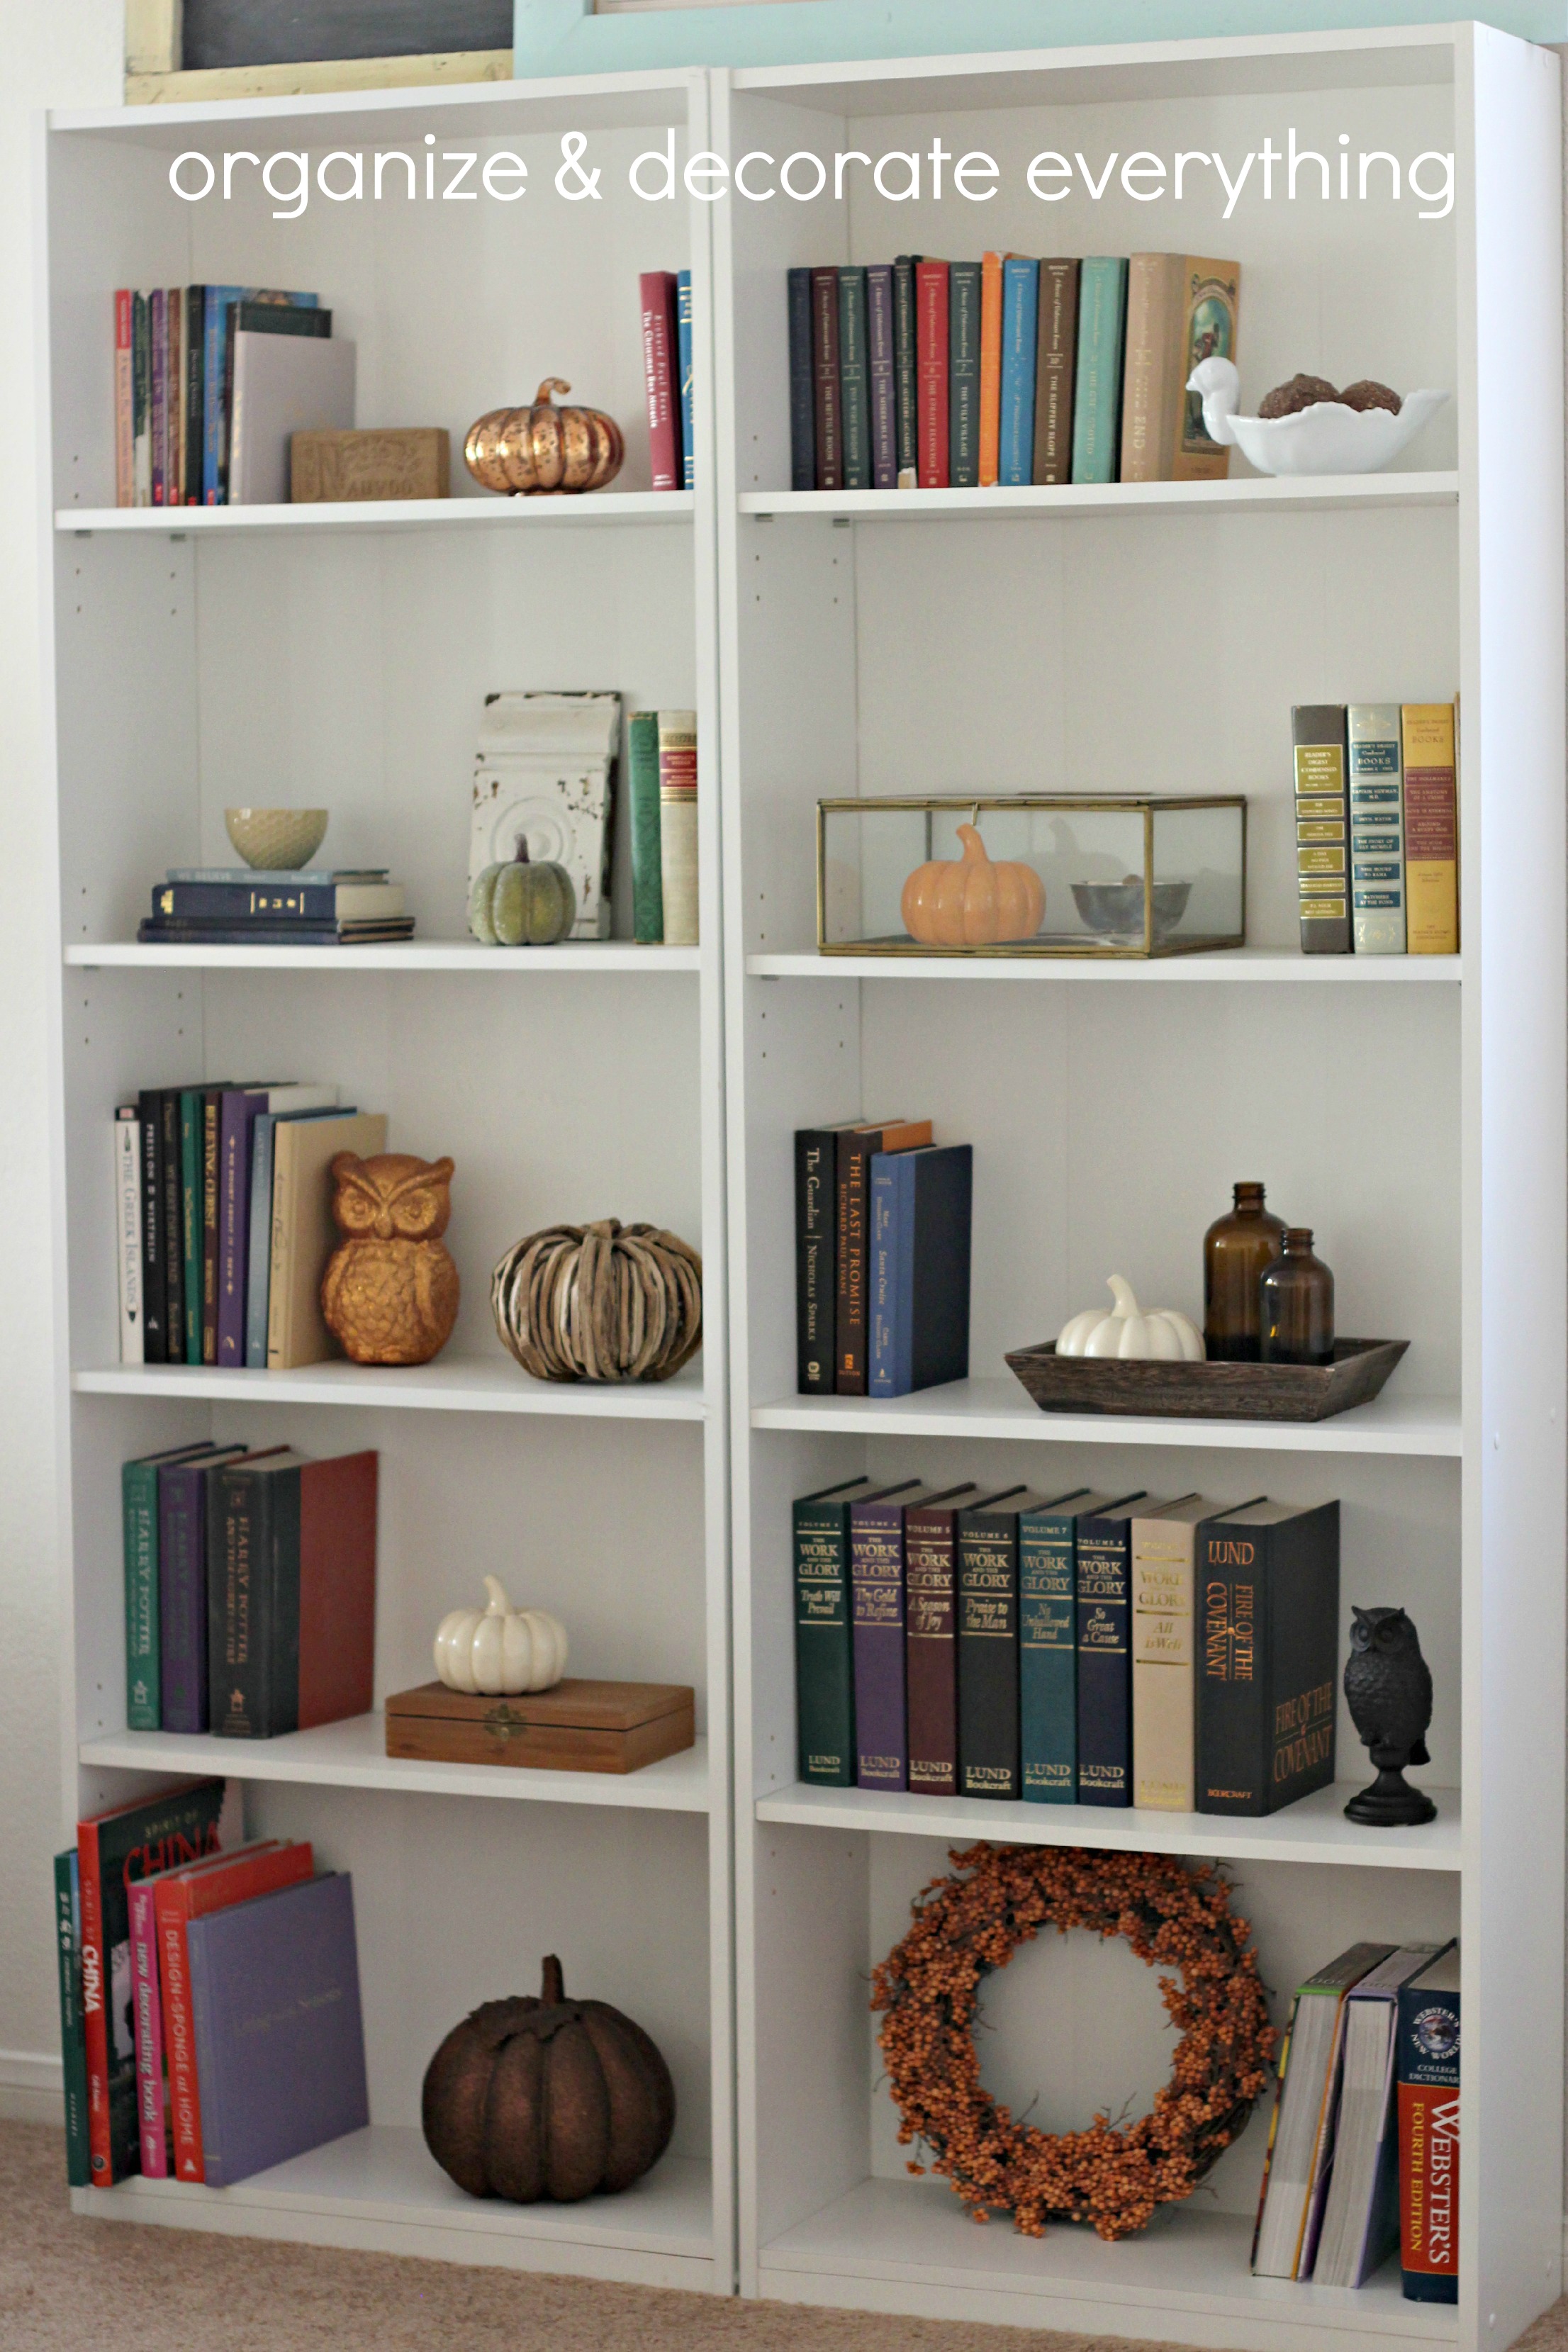
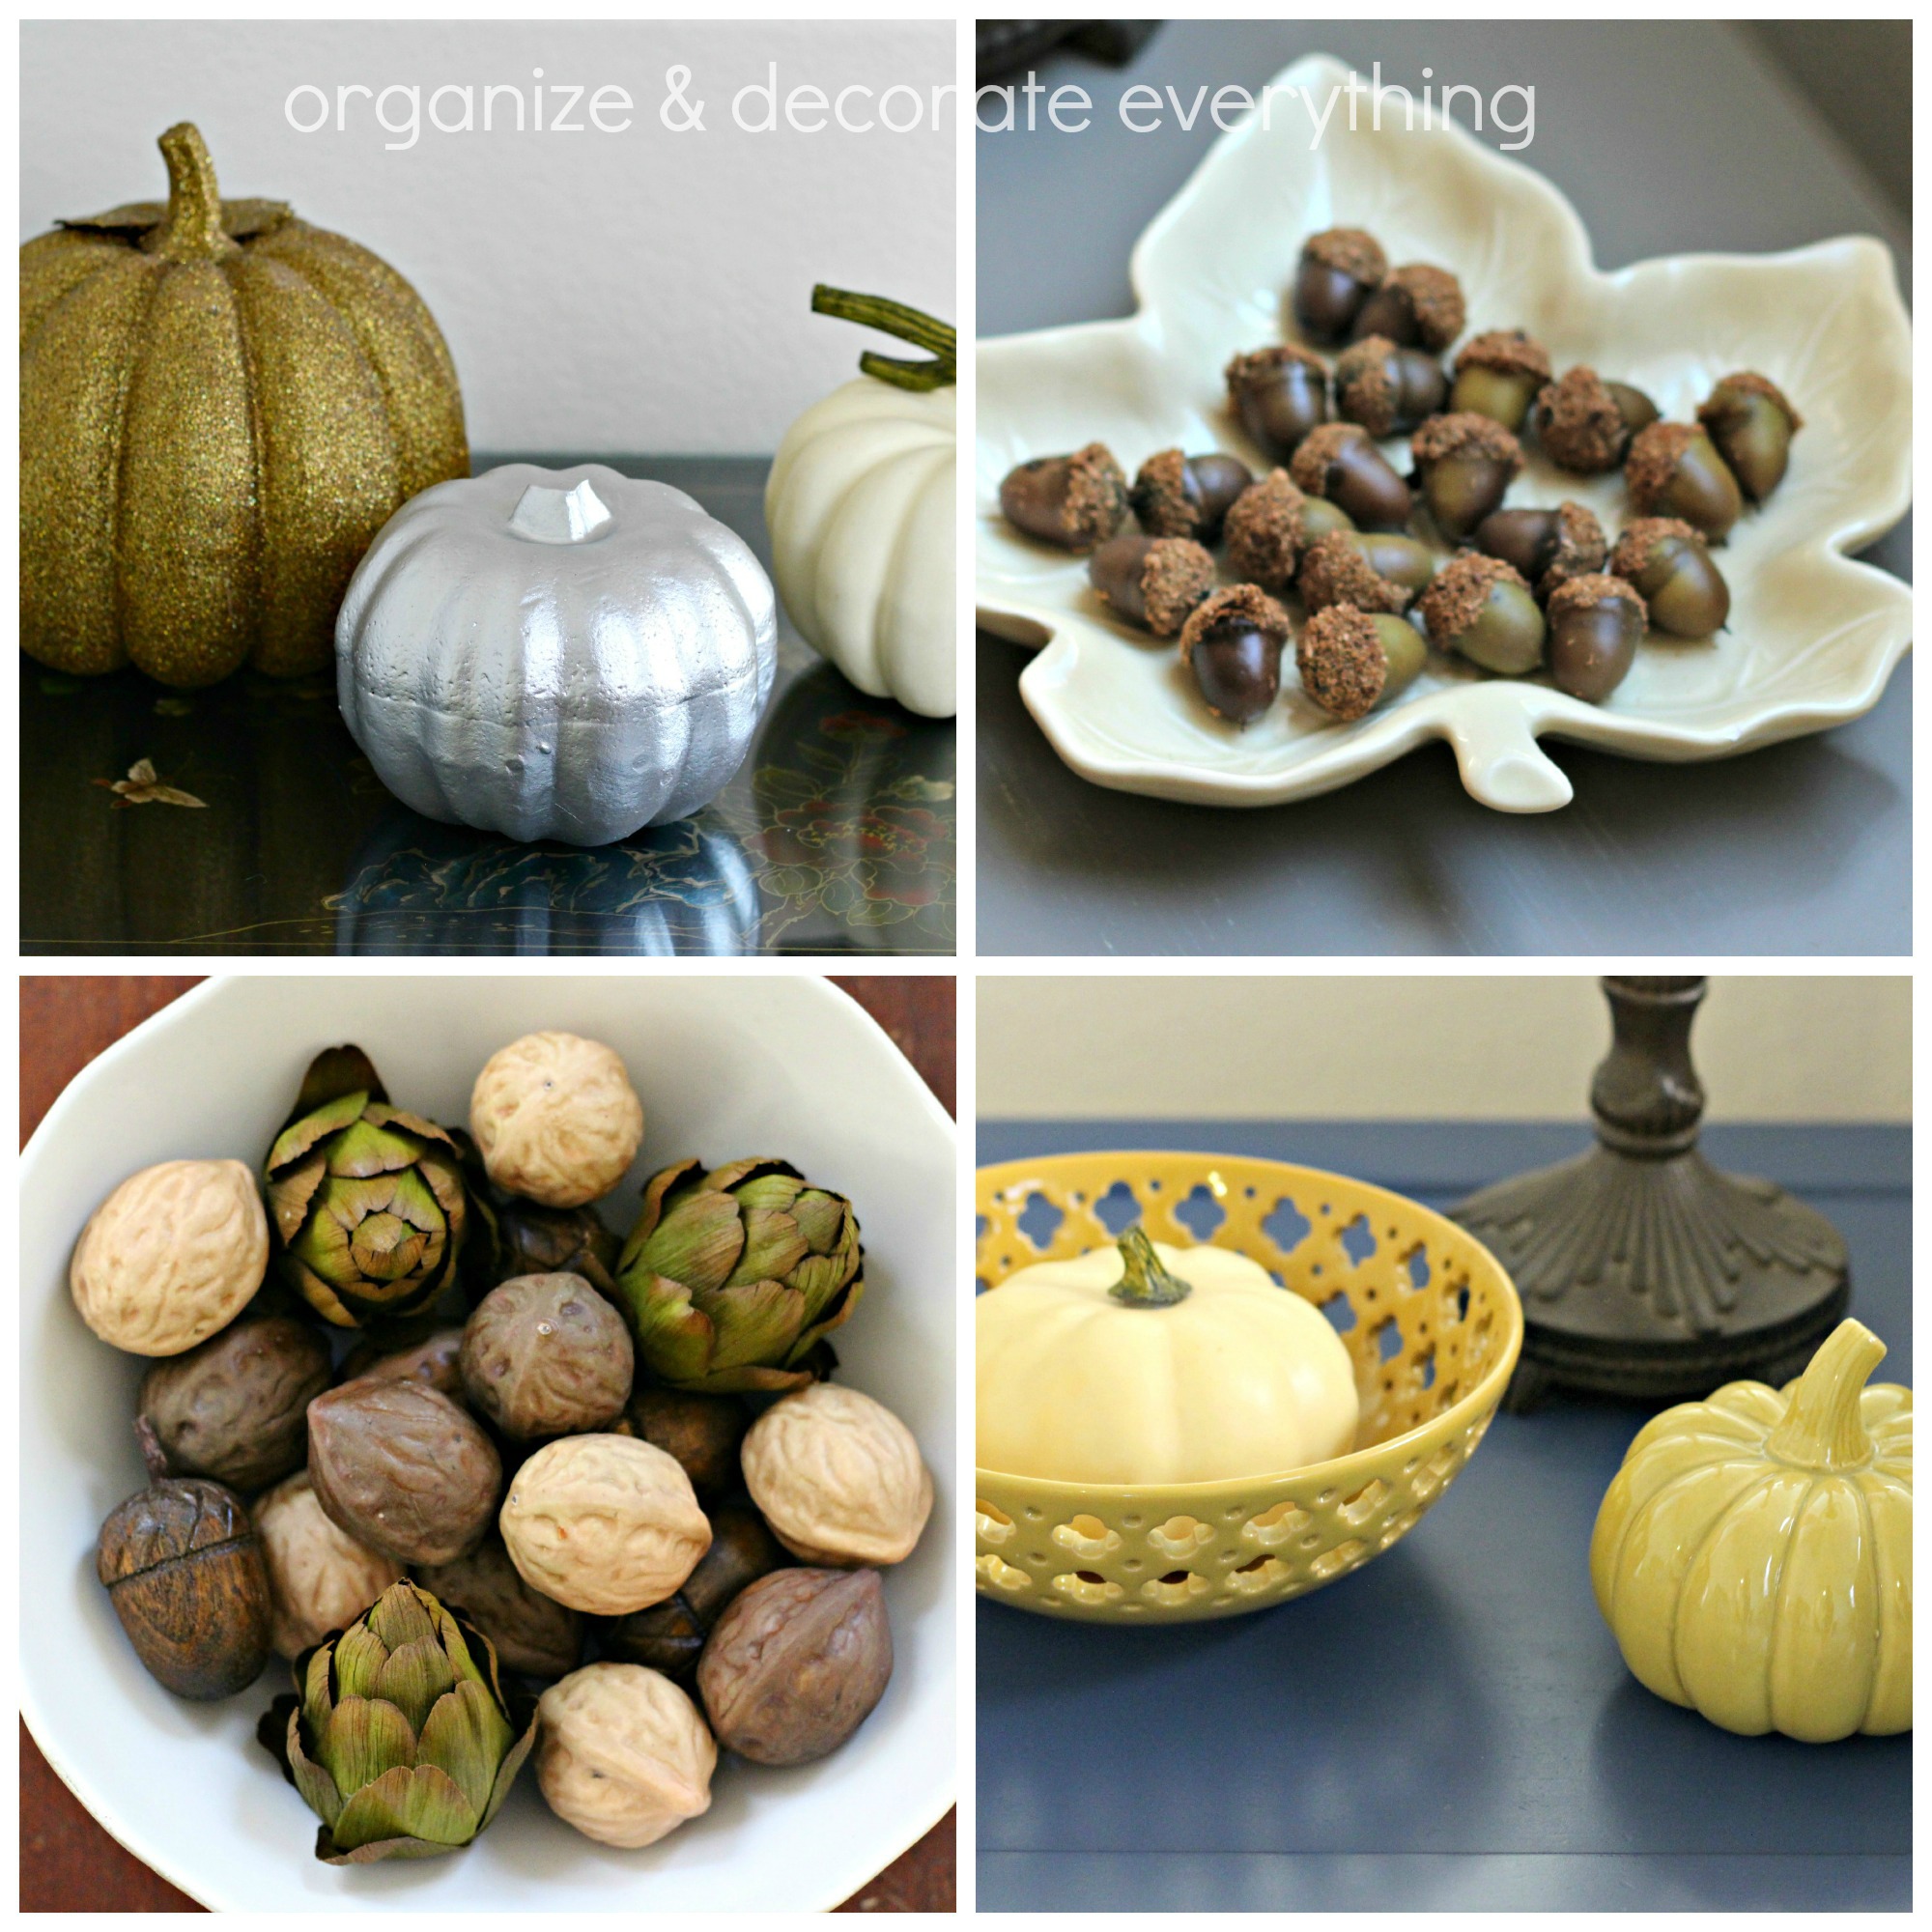
I don’t have many flat surfaces in this house so the bookcases have become my favorite place to change for the holidays or with the seasons.
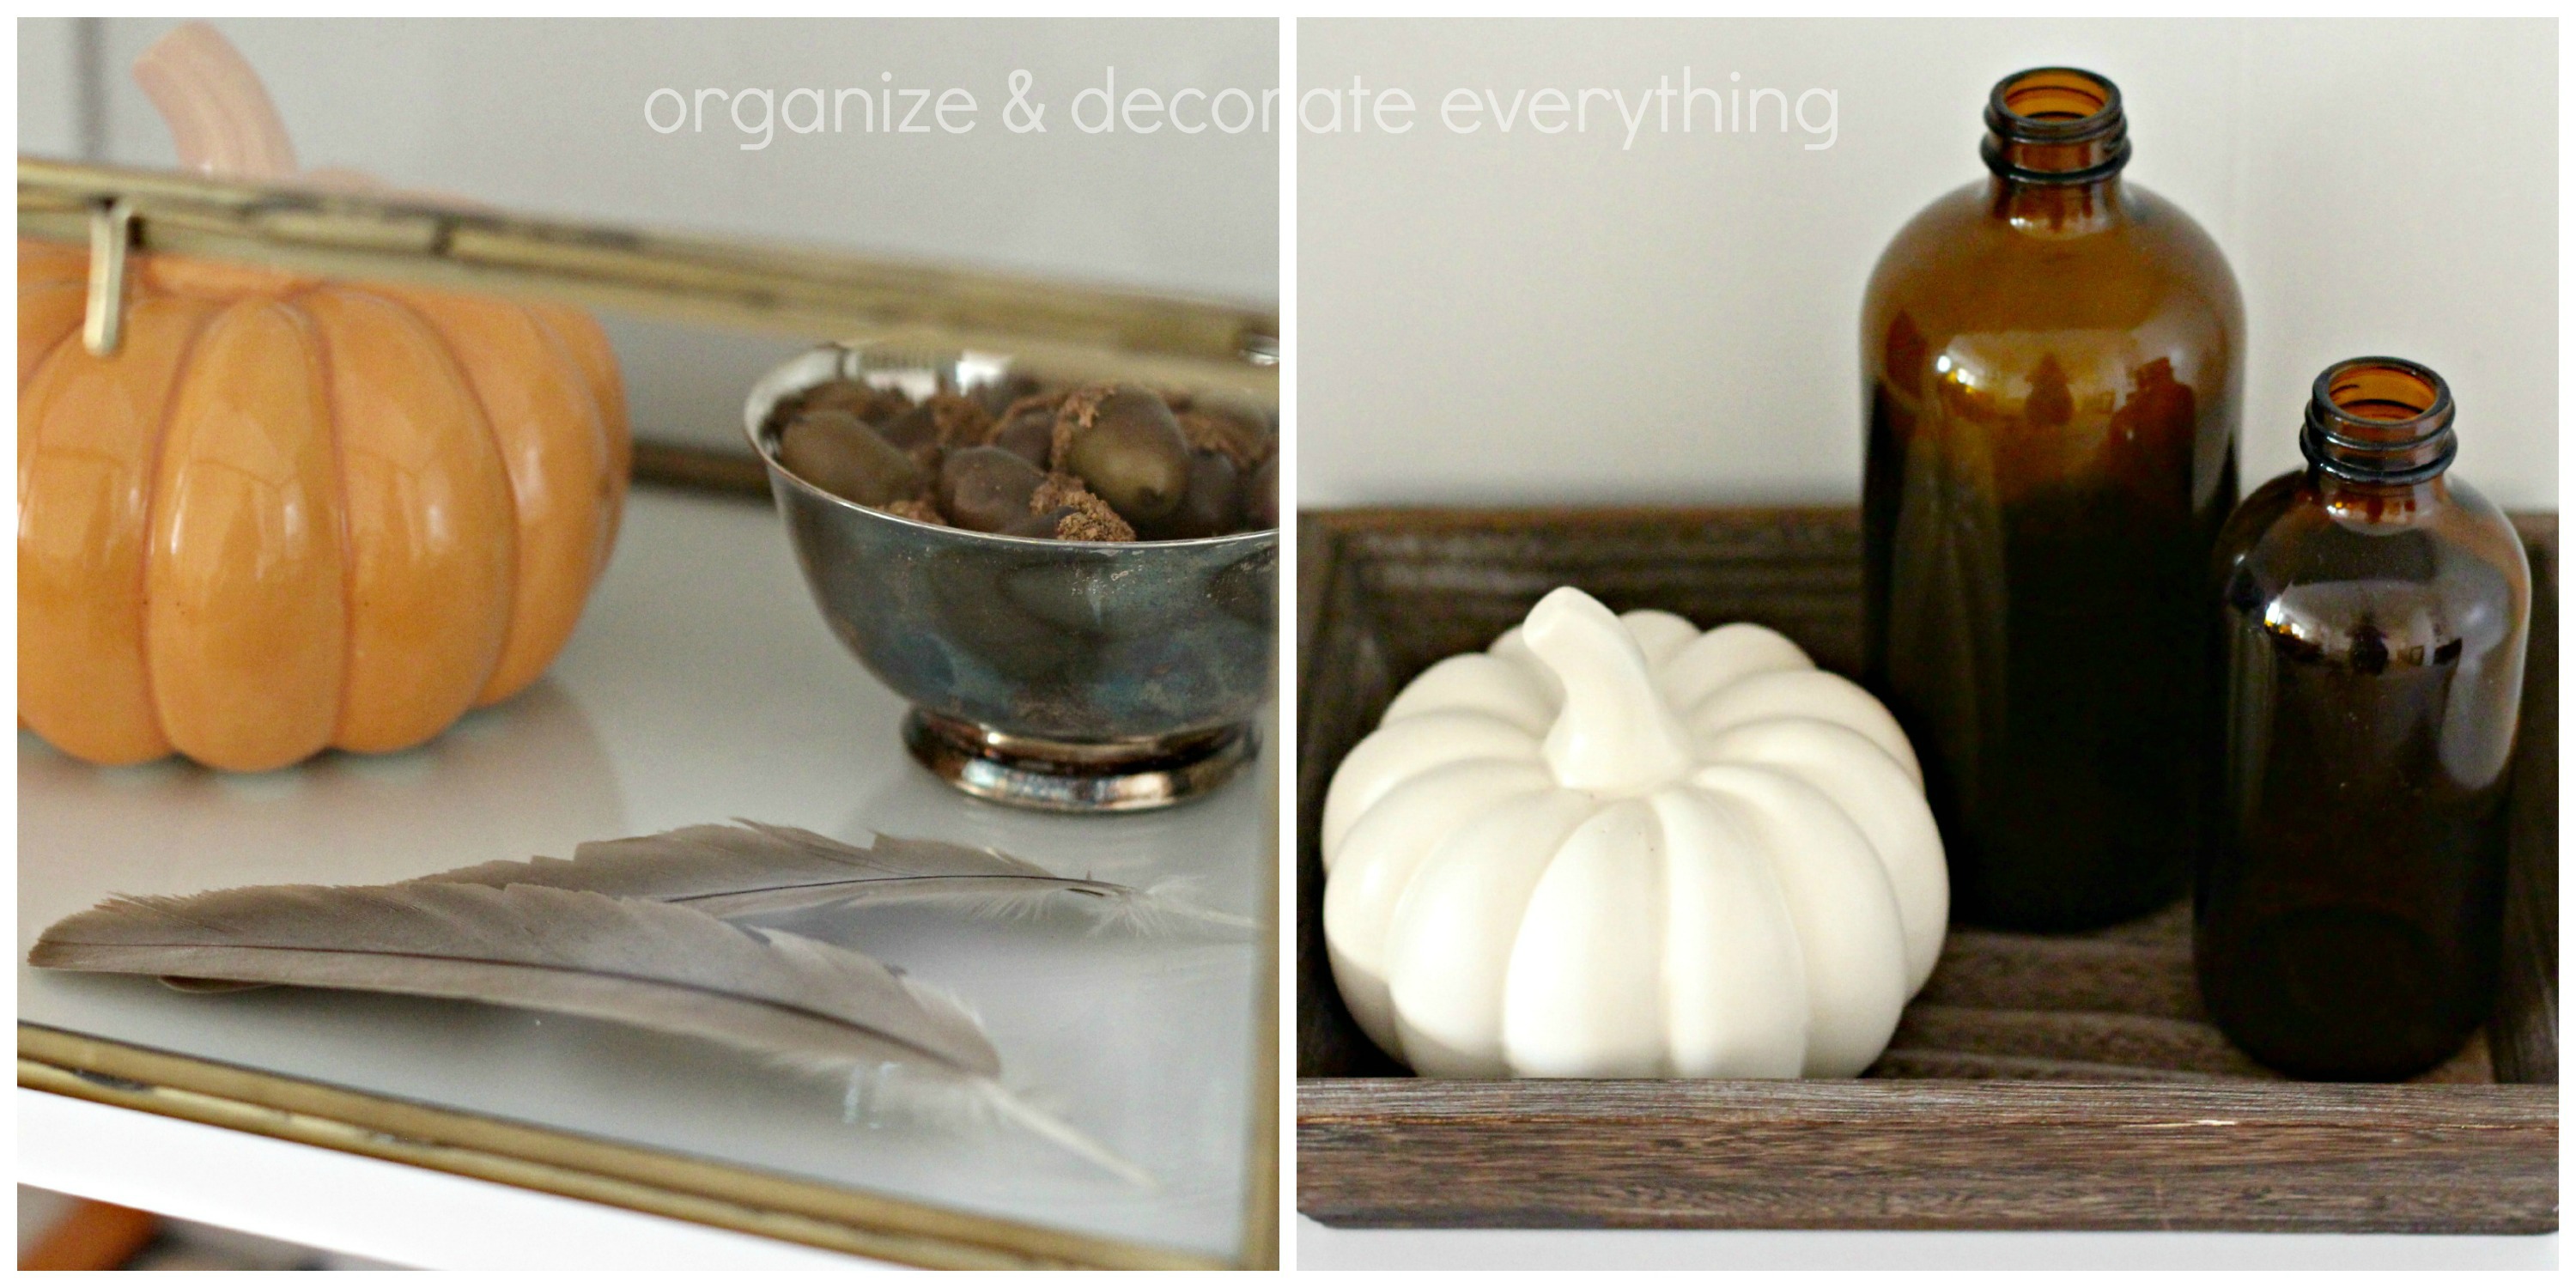
I love changing the glass box to hold special things that represent the holiday or season. When an arrangement doesn’t seem to be working I like to use a tray to bring the pieces all together. It works almost every time.
Here are more decorating ideas from my living room. I love mixing and matching color, finishes, and texture. I actually really love these colors for Christmas too. Spray paint and glitter can easily update anything.
Let’s move to the family room. I showed my mantel last week but here is the whole fireplace again. I have the basket on the ground full of faux pumpkins.
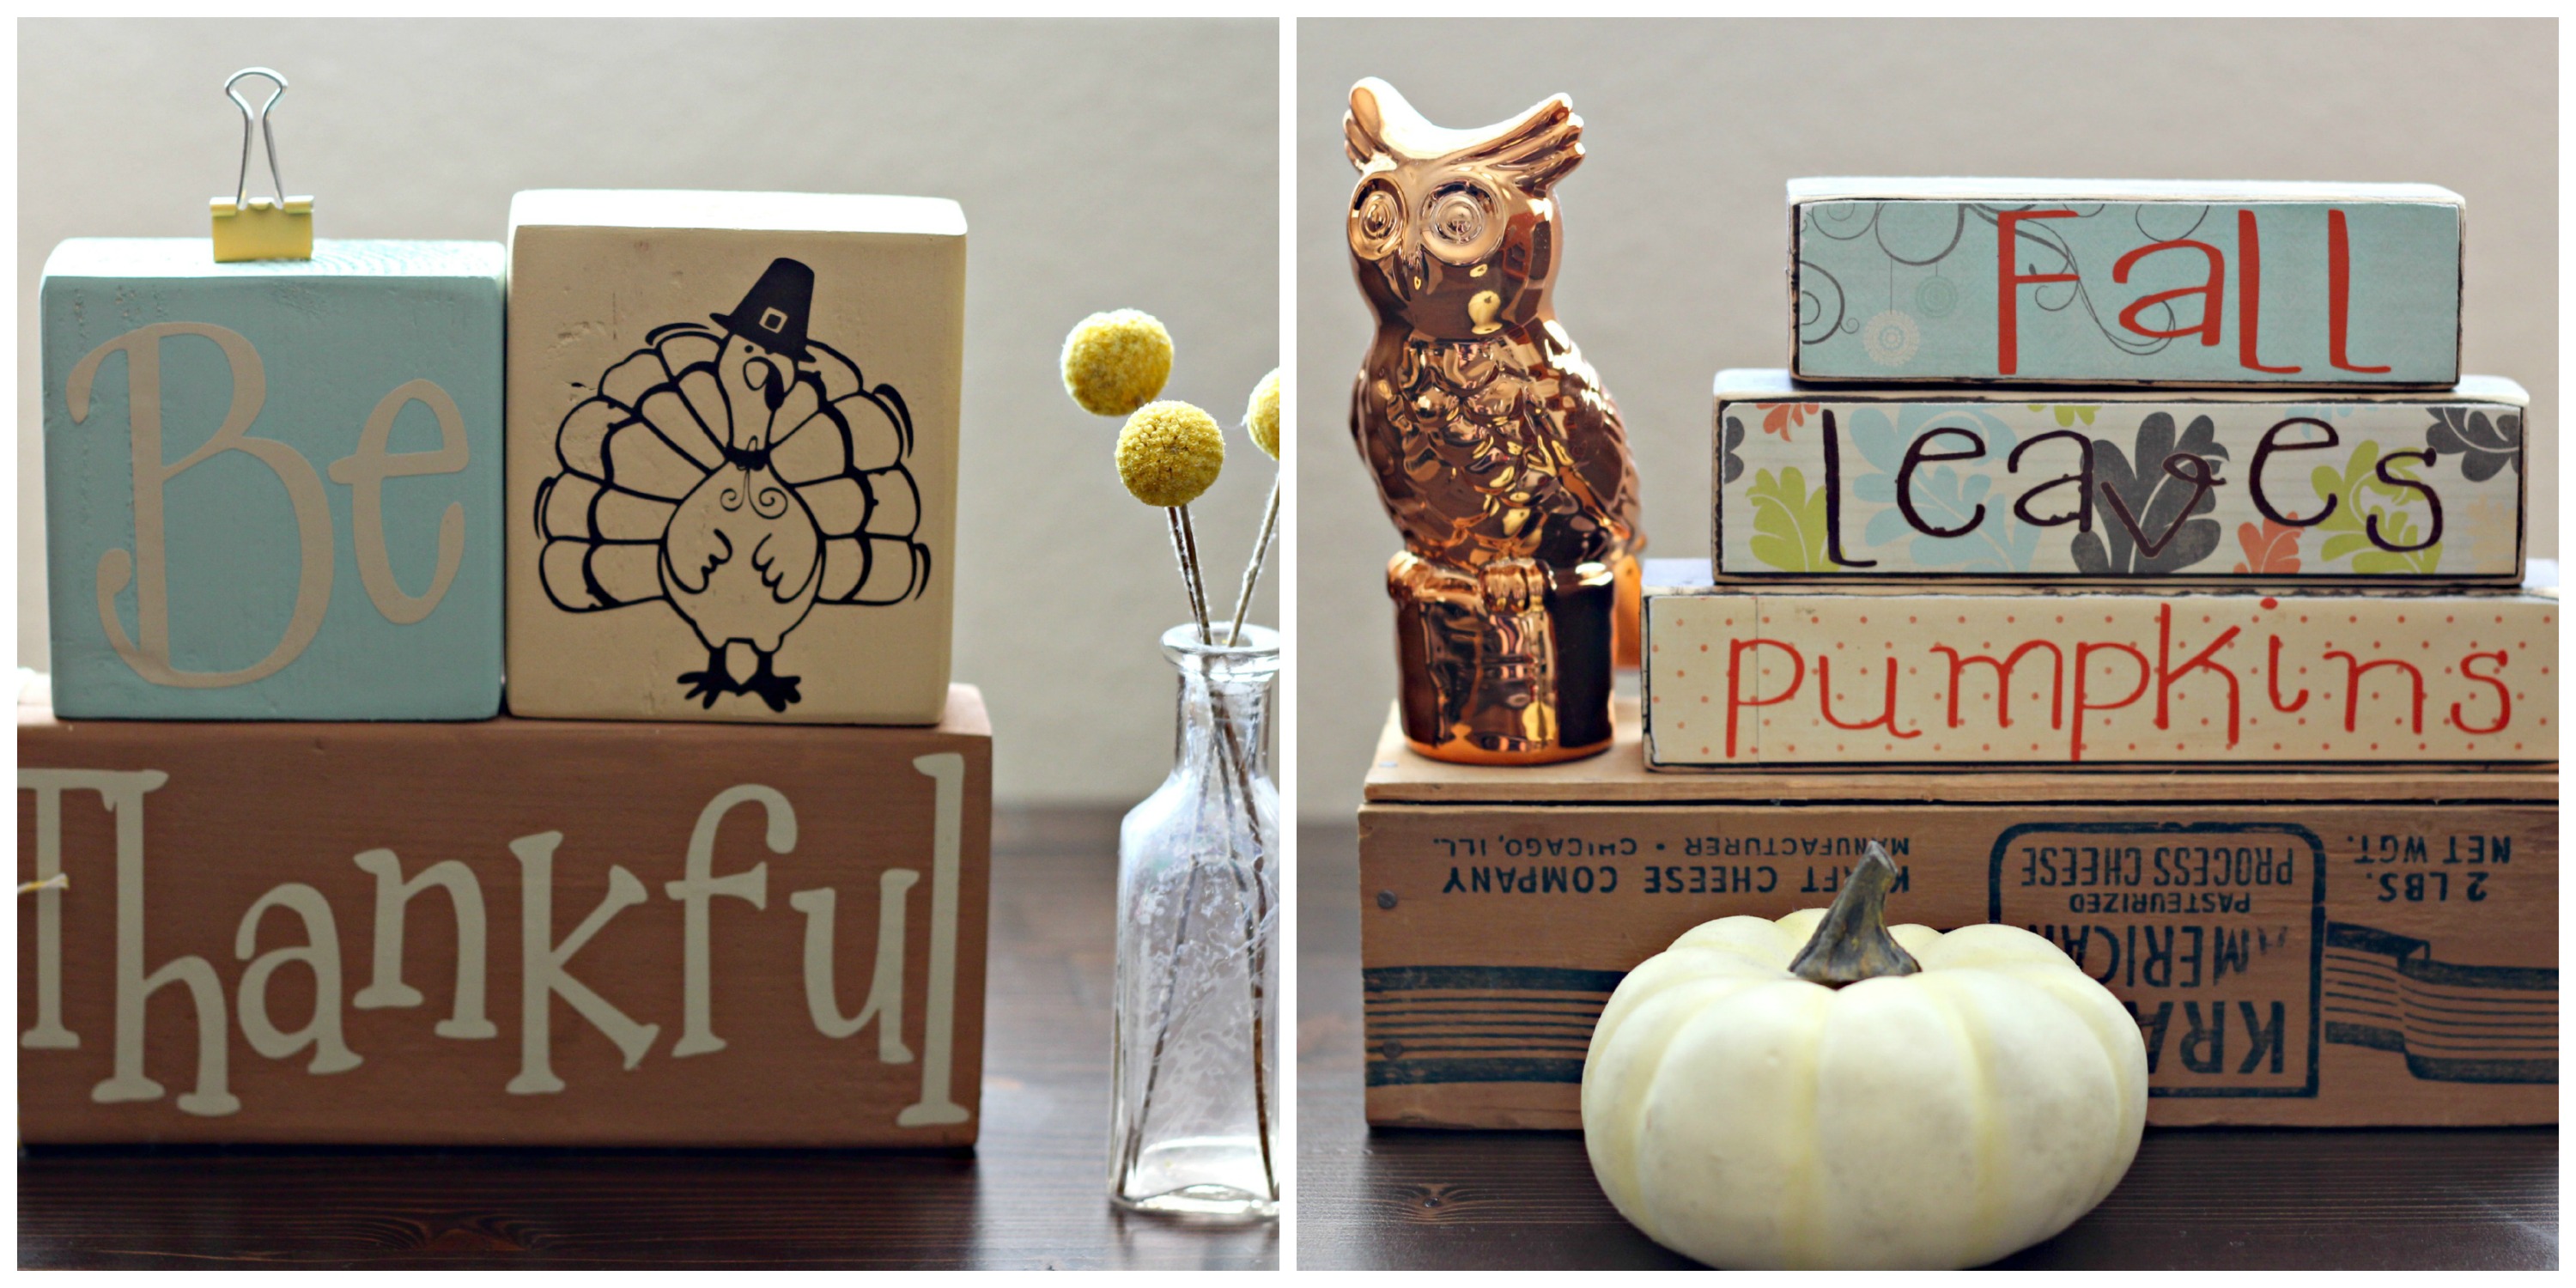
The BeThankful blocks can be found here. You can use a box or pedestal to add height to decor. I like adding a little more color to the family room. The clip on top of the BeThankful can hold a picture or quote. I change it out often.
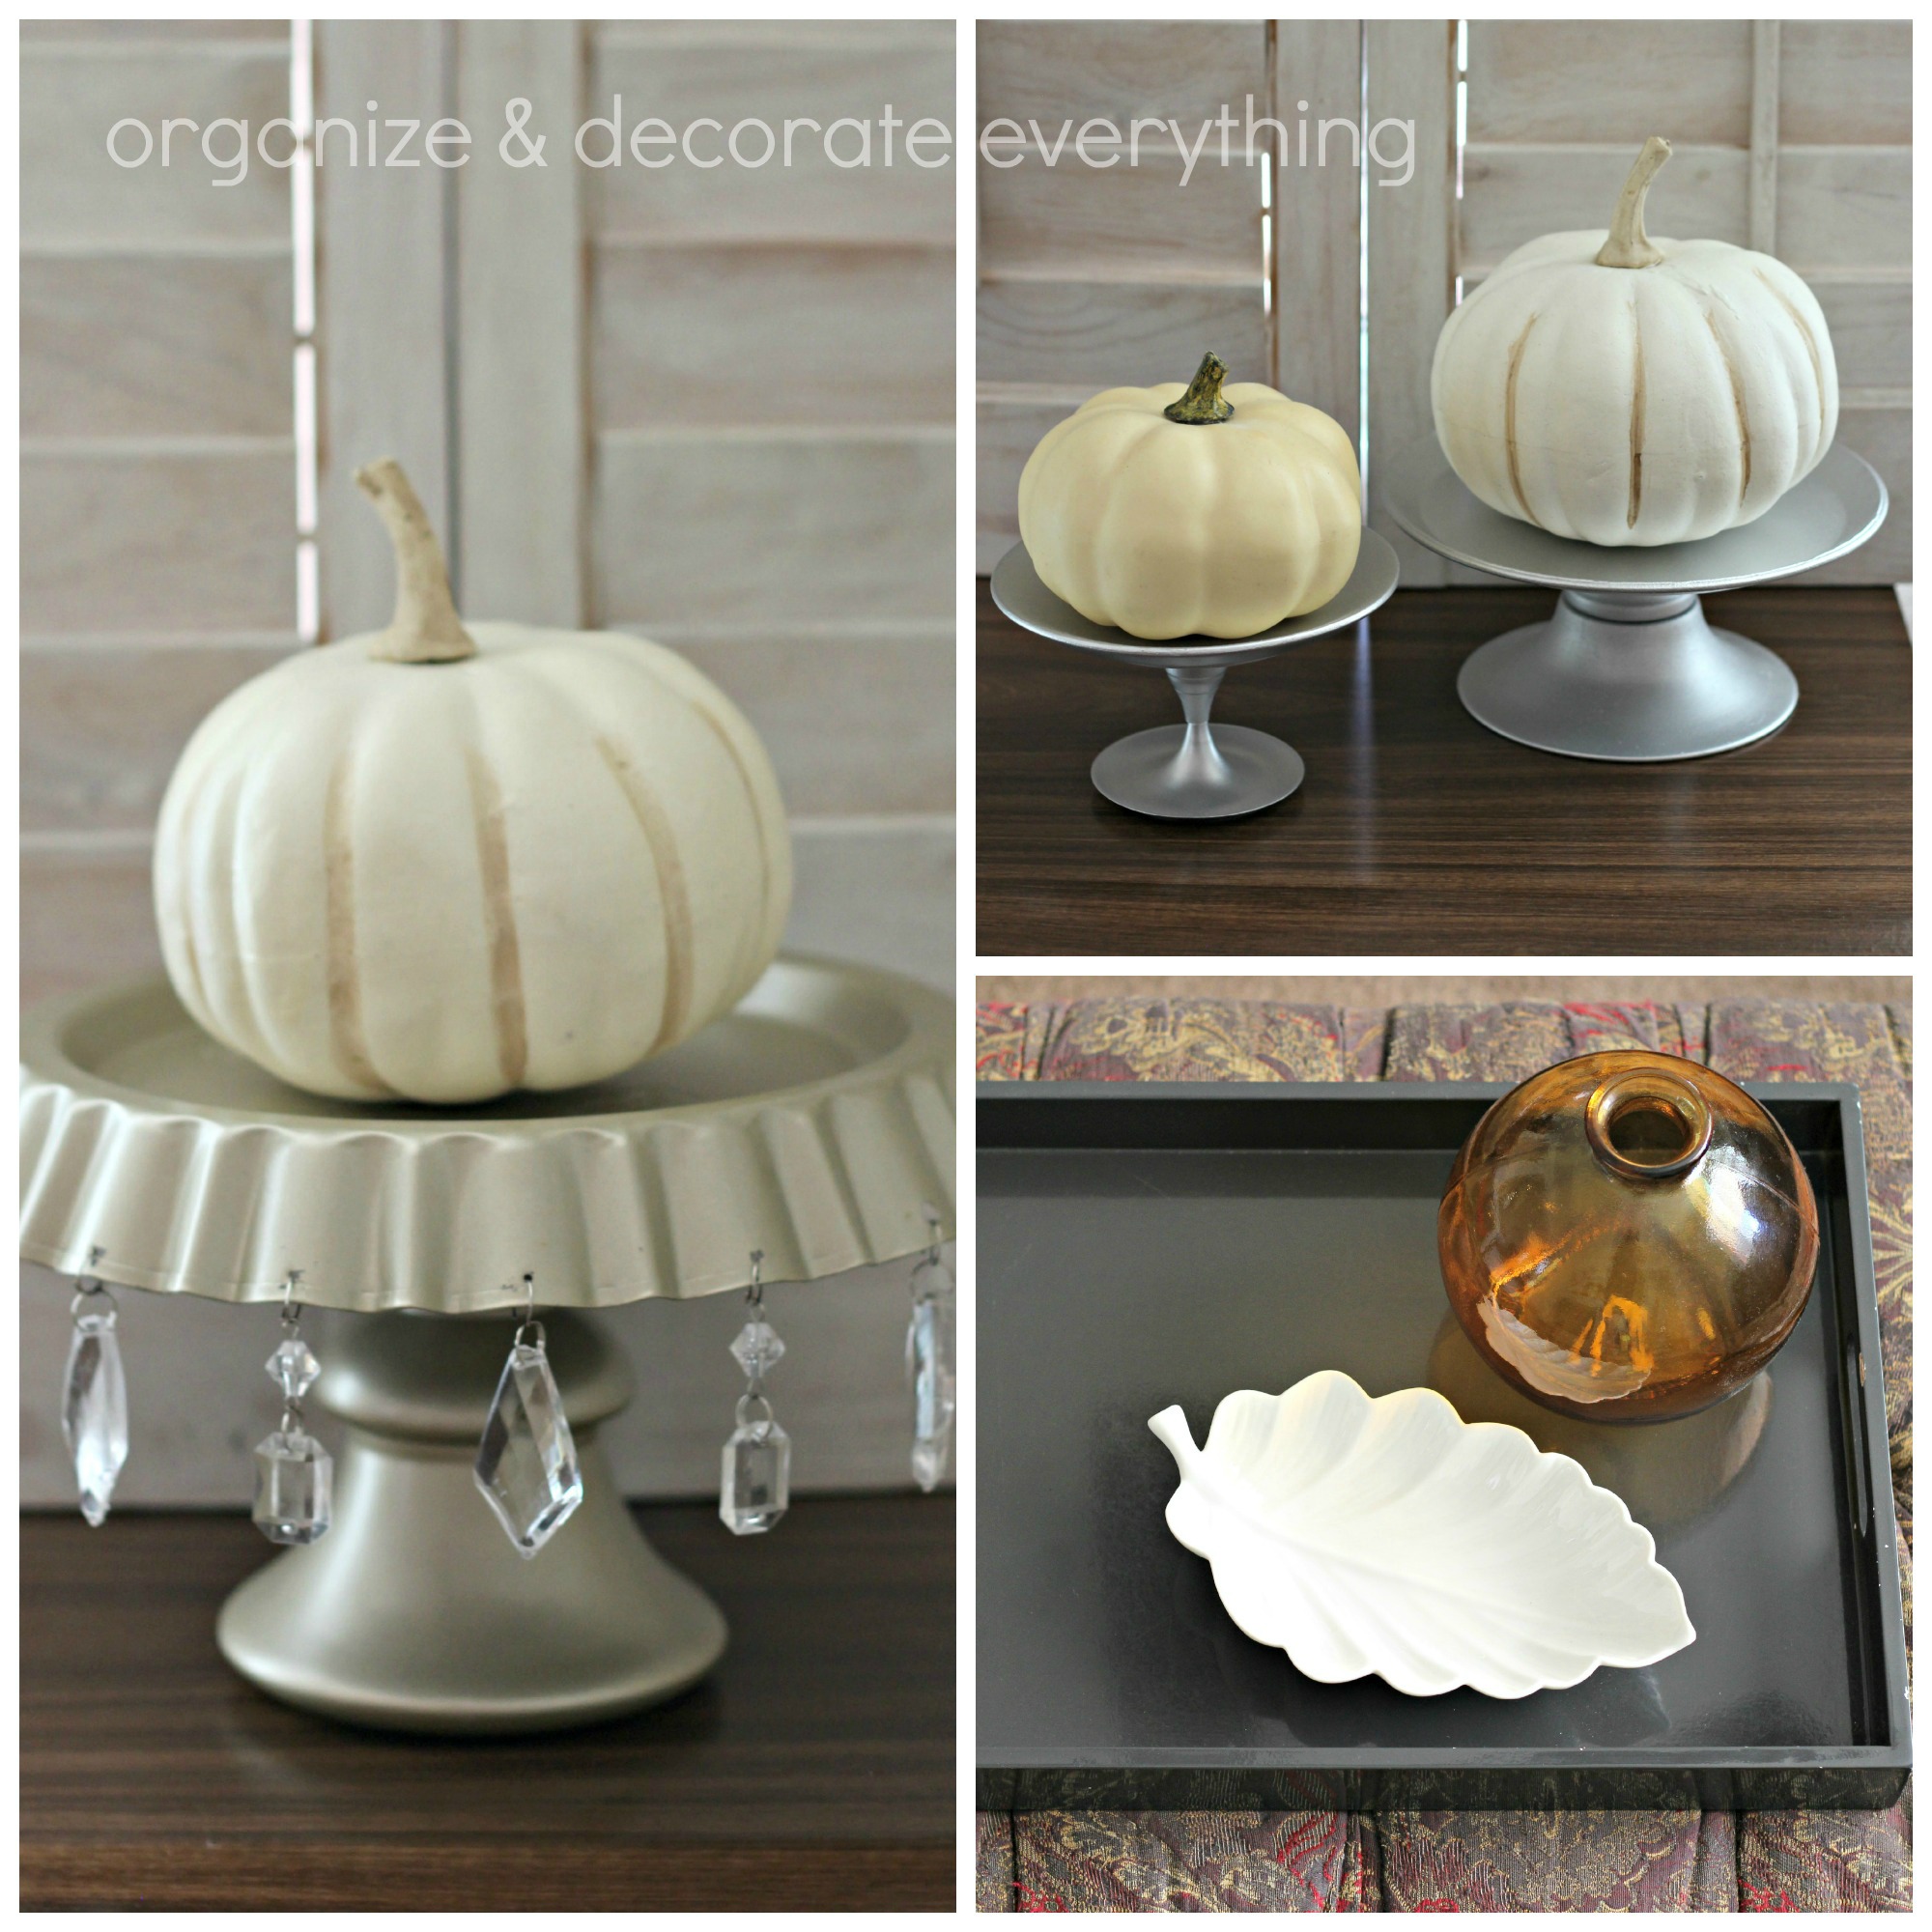
I made the dessert stands out of plates, tart pans, and candlesticks then painted them in metallic colors for the holiday season. I use them for Christmas and Easter also. Here’s a link to the stand with the crystals. The tray on the ottoman holds an orange vase and a white leaf while still leaving space for drinks while watching TV. That’s super important, according to hubby.
I try to make my centerpieces small so they don’t take up too much space on my dining table. I wanted to use a tray but couldn’t find one in my home that would work well so I used a shadow box. The color was perfect, the size was perfect, and I love the trim detail. Don’t be afraid to use something in an unusual way. You might be surprised how much you love it!
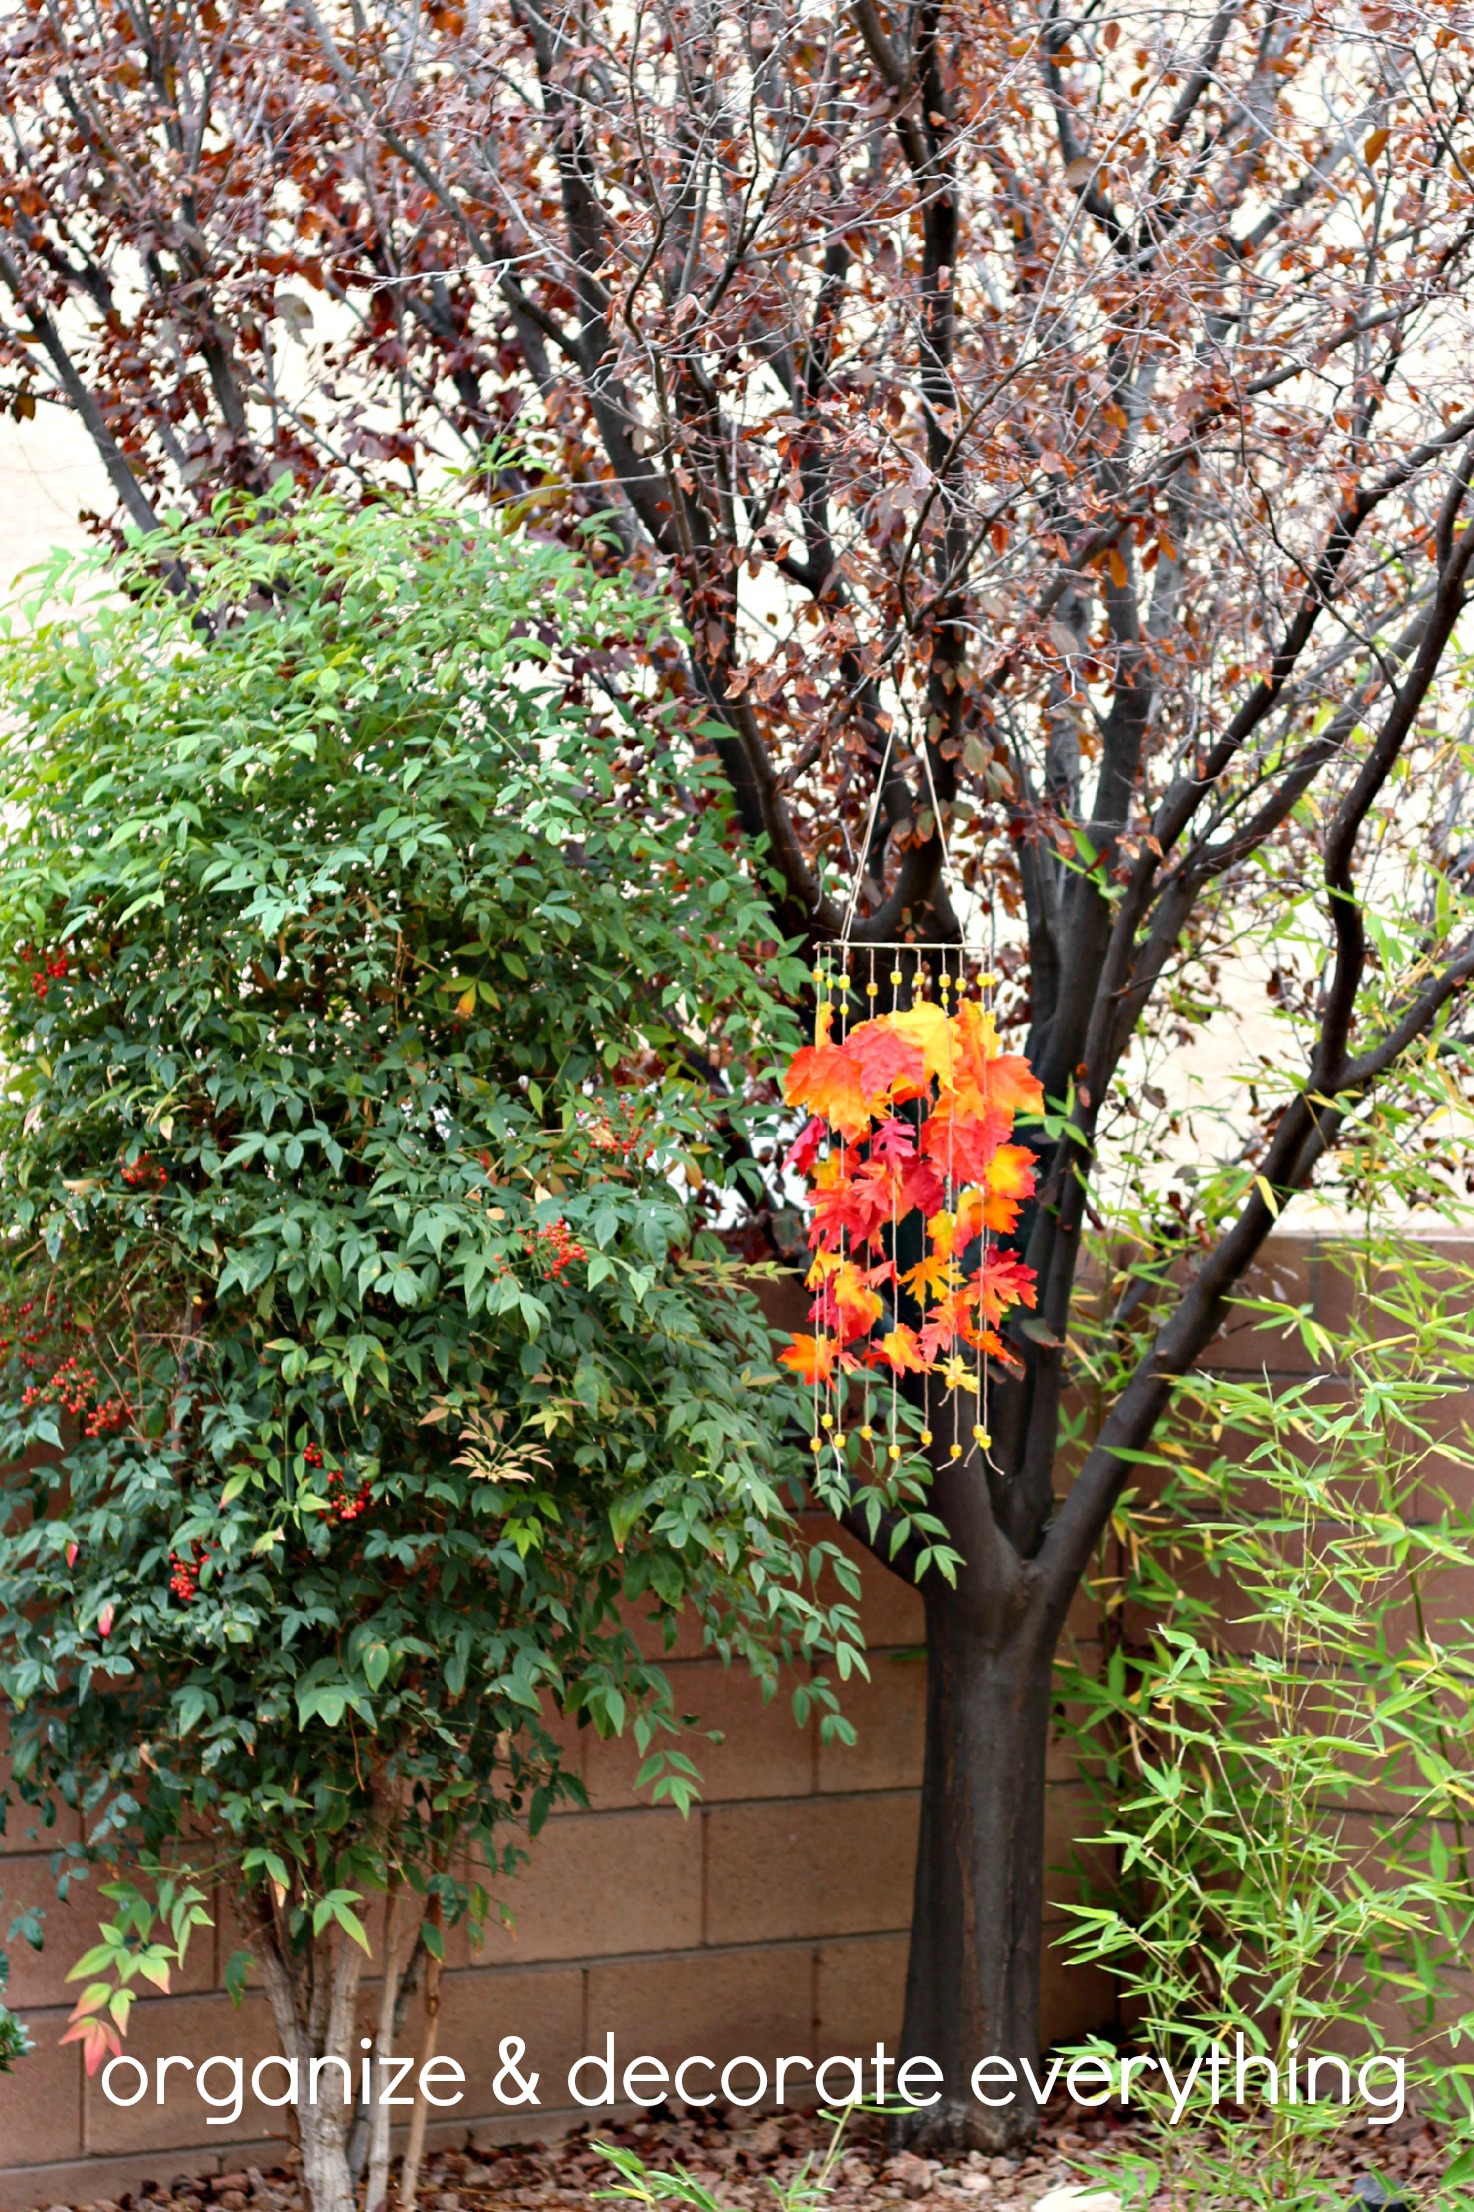
My backyard doesn’t have much fall color so this falling leaf mobile I made a few years ago adds the Fall color I’m craving. It is pretty cool having bamboo in my backyard though.
I hope you enjoyed my Thanksgiving Home Decor Tour. Cost of decorating for Thanksgiving? $0 I can’t wait for the Christmas tour!
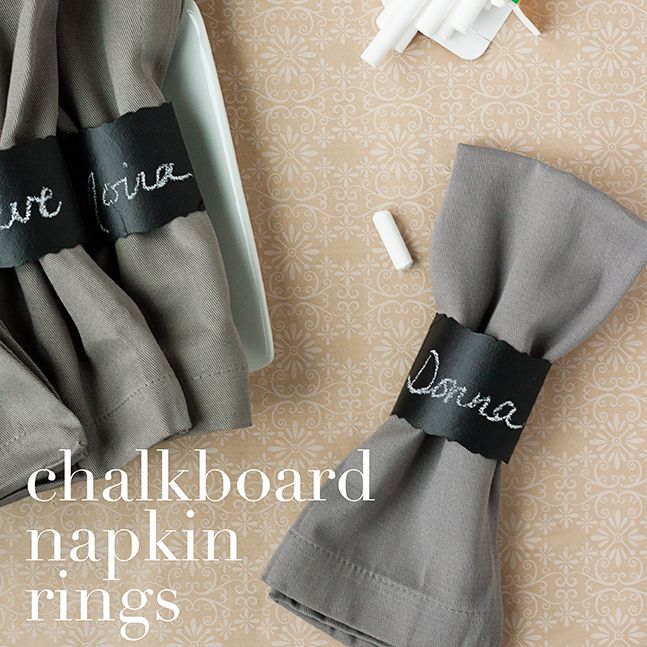
Don’t you love getting together with family and friends? It can be a simple get-together or a grand dinner party, but it’s the details that make it special. Anne is sharing an easy, but lovely chalkboard napkin ring idea that will make your table look special and impress your guests.
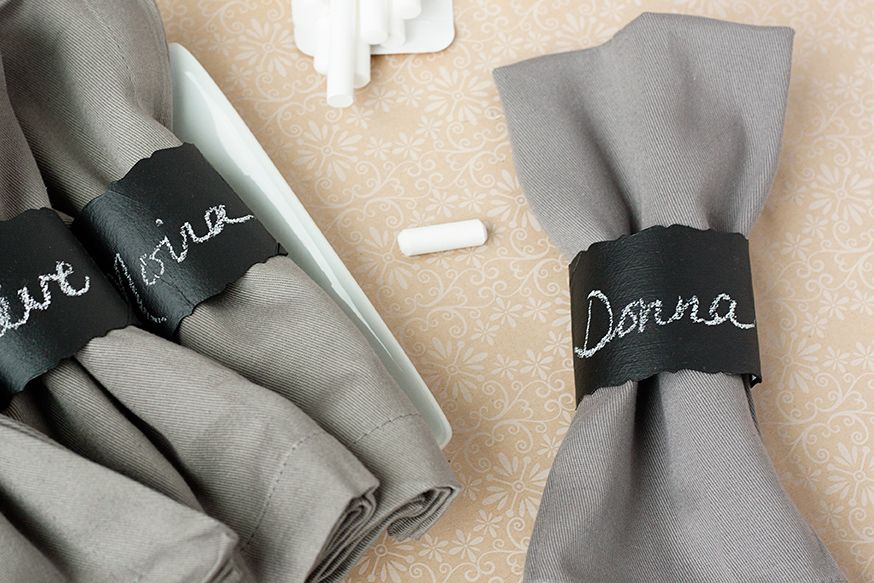
Happy November friends. Today I am doing a little twist on my usual party post, sharing a quick DIY with you. With Thanksgiving and the other holidays rapidly approaching, you may find yourself hosting a dinner party…or two. These fun chalkboard napkin rings double as place cards and would make a fun addition to your dinner table.
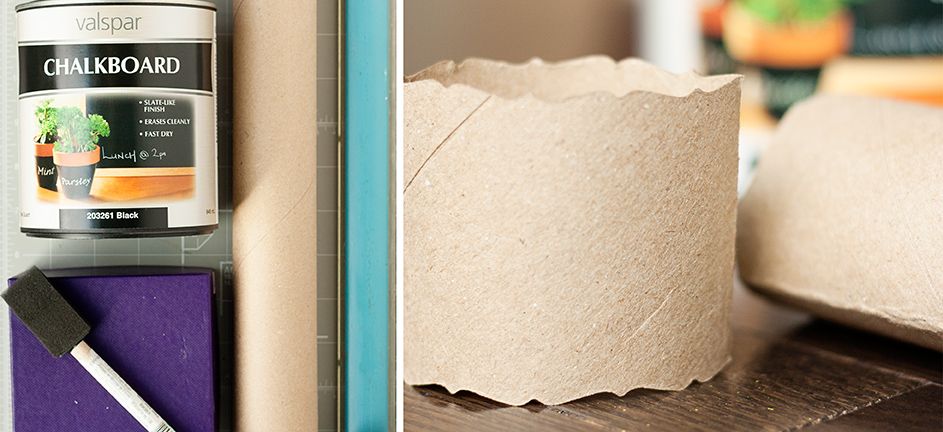
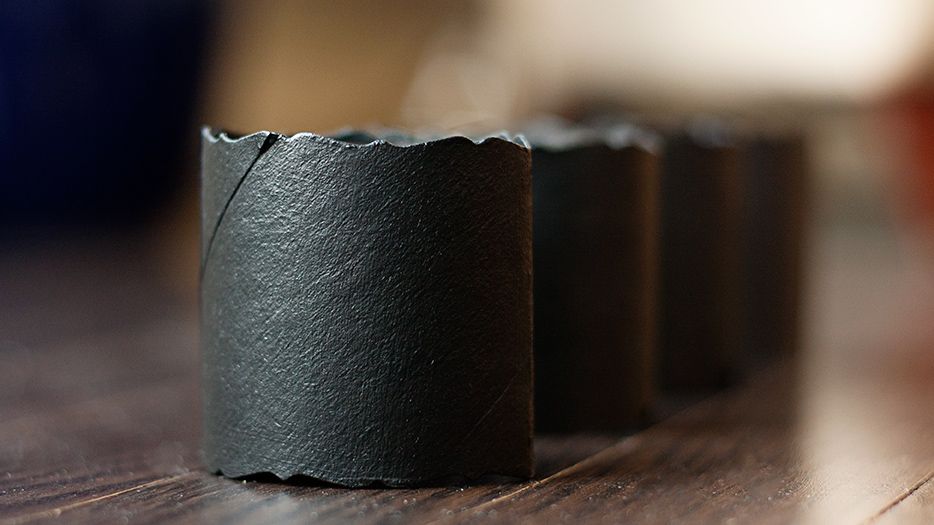
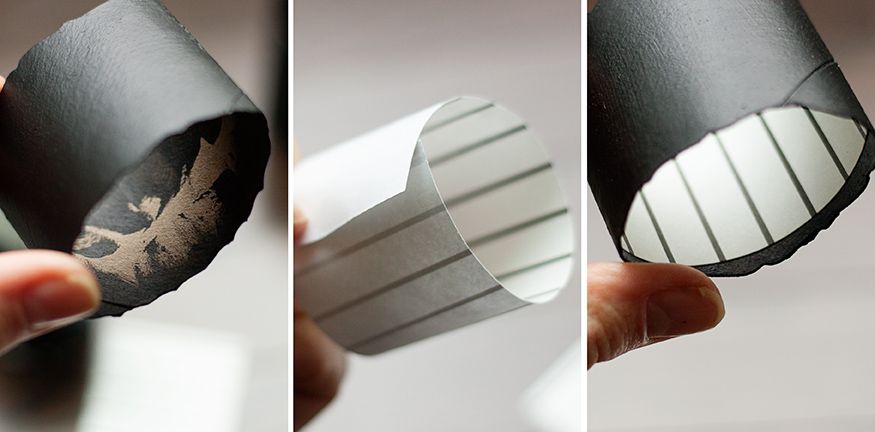
You’ll need: A cardboard tube (paper towel, toilet paper, wrapping paper…whatever you have), chalkboard paint, and paper edgers (I have a decorative blade on my paper trimmer that I used). Use your edgers to cut the tube to 2 inches. Then paint with chalkboard paint, painting a little on the inside as well. That part will eventually be covered.
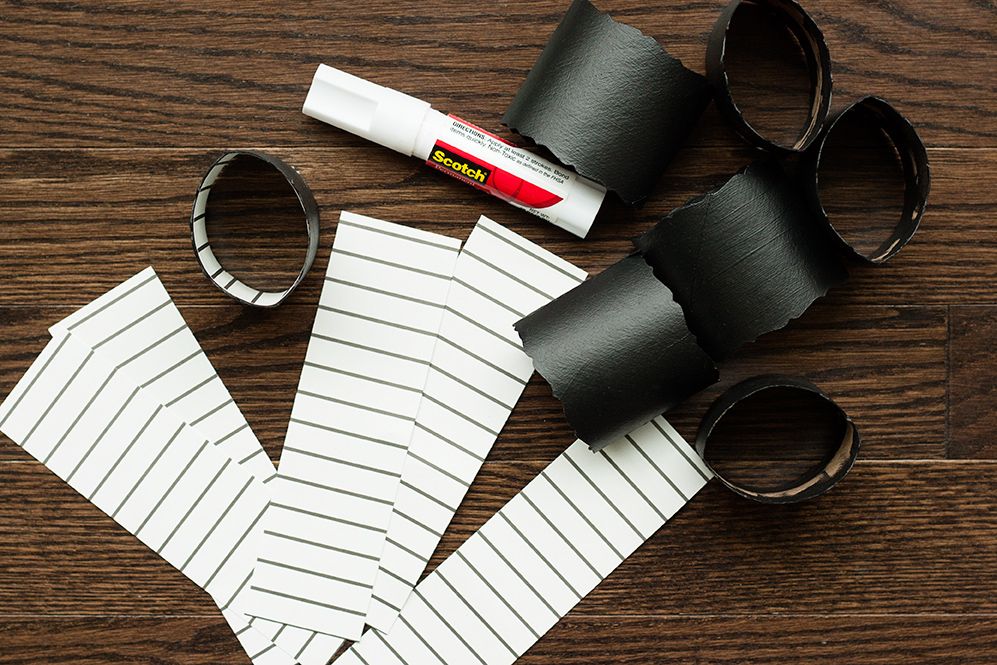
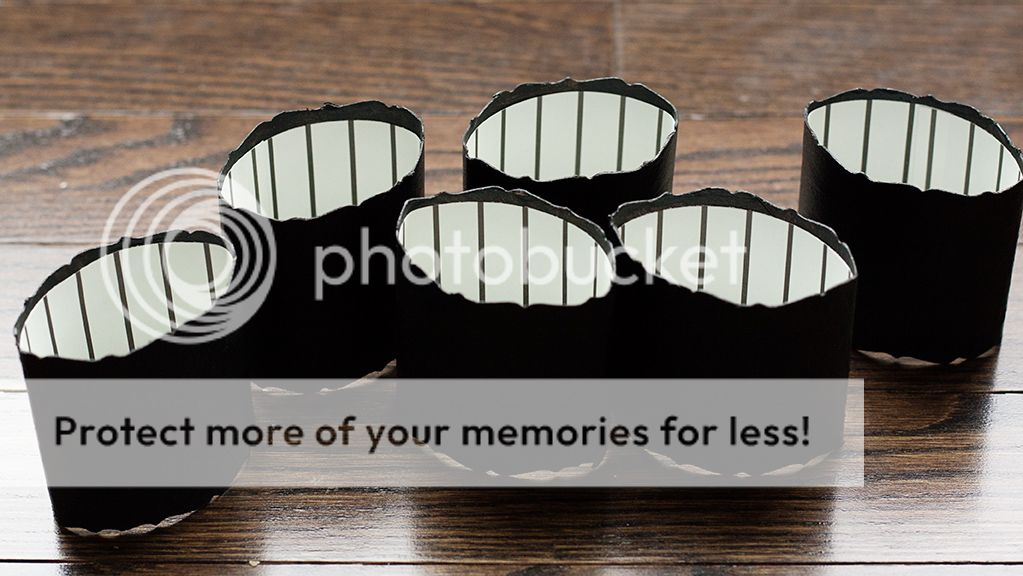
Cut some strips of lightweight scrapbook paper to 6 inches by 1 3/4 inches. Put glue on the back of the paper, form a roll, and slide it inside your tubes. Smooth it out, lining up your edges.
And that is all! You can use them as your place cards or even draw fun little seasonal sketches on the rings to match your occasion (think holly leaves, acorns, Christmas trees, stars…you name it).
Hope you all have a joyous Thanksgiving! See you in December!