
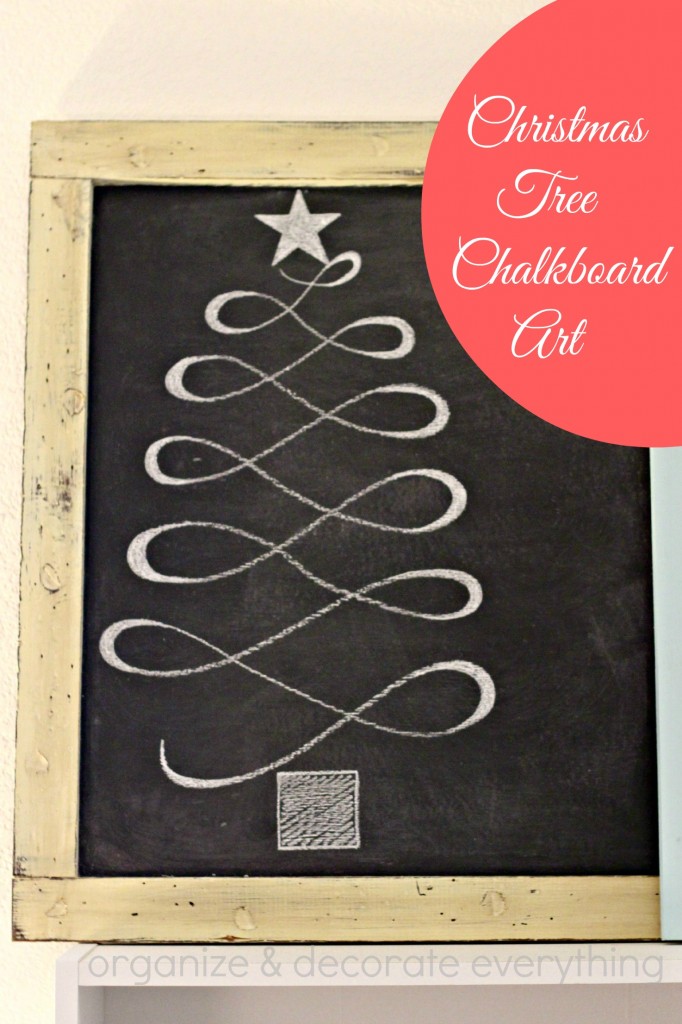
I’ve been wanting to try my hand at chalk board art for a while, and since I had some time to myself I thought it would be the perfect time to try something new. I love seeing beautiful chalk board art but I’m not an artist so I decided to try something a little simpler. This Christmas Tree Chalk Board Art was the perfect first attempt and it’s so easy anyone can do it. If you’re left handed it can still be done but it is a little harder. Just remember to hold your hand off the surface as you write. I’m left handed so I have experience.
This post is part of the 31 days of Christmas Ideas series. Click over to the main page to see all of the 31 Christmas posts (they will be added daily).

I started by sharpening my chalk. Yeah, it took me a while to learn this little trick, so if you didn’t know it before, I’m sharing it with you now. Sharpen the chalk often throughout your project (as needed). I don’t love the chalk markers because they leave ghost marks after a short time that are hard to clean off. There are new chalk pencils but I haven’t tried them yet, so I’ll just stick with real chalk for now.

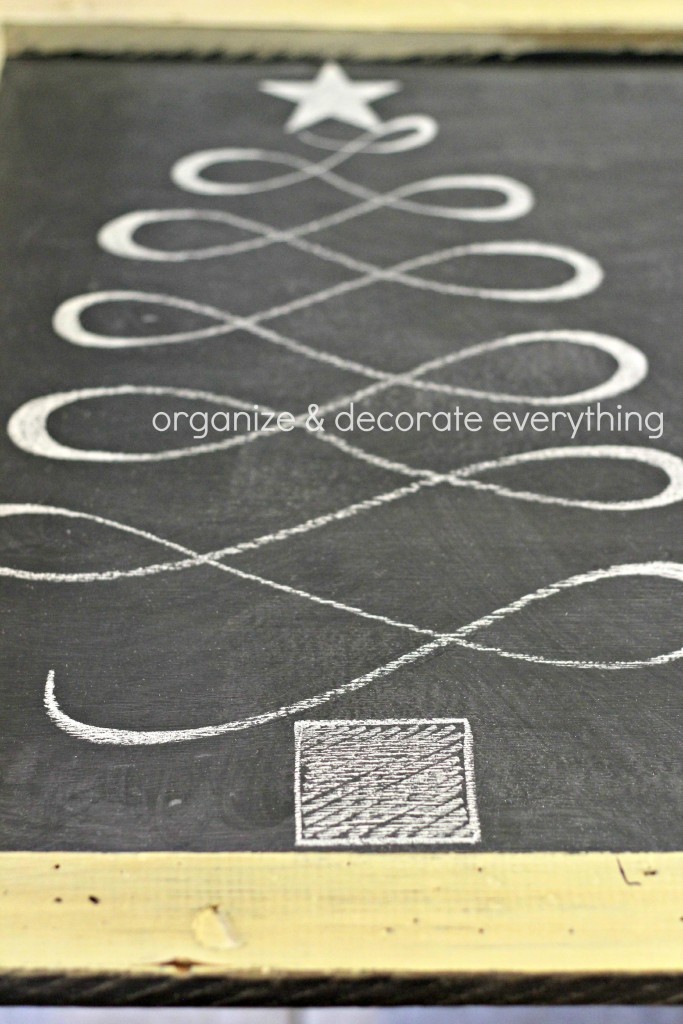
I’ll walk you through how I made this curvy Christmas tree. I started by making a cursive “L” then adding loops to each side and making them wider and wider as I went down, making the shape of a Christmas tree. Don’t stop, continue the loops in one movement. I’ve had lots of practice on cursive L’s since that’s the first letter of my name.

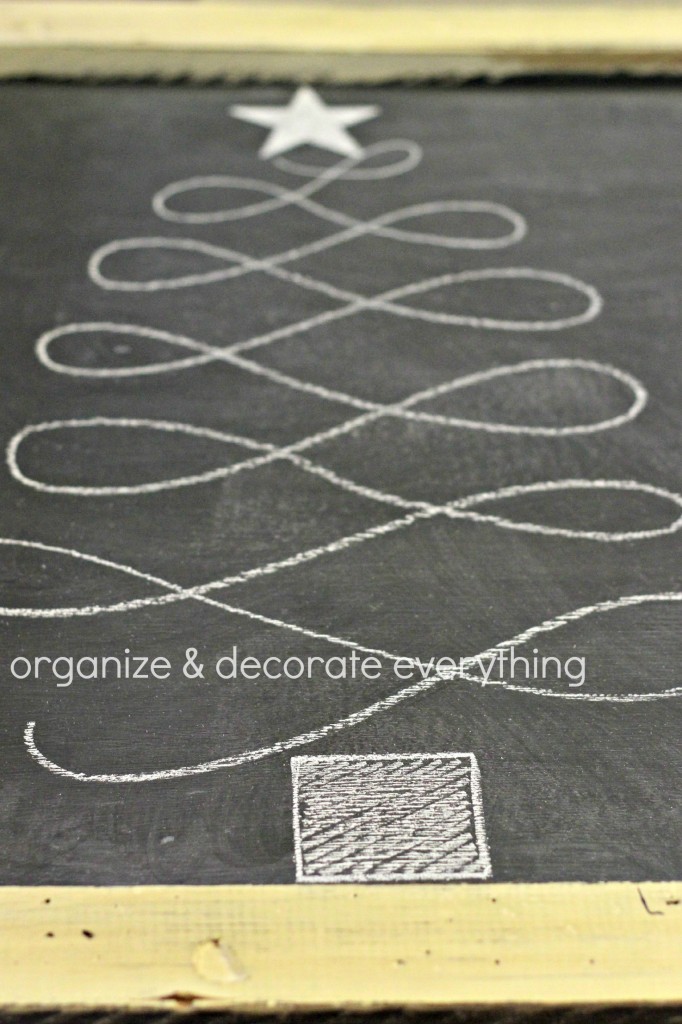
Once you’ve made the loops make a square for the tree trunk and a star on top. I traced a cookie cutter to get a good star shape. Shade in the tree trunk and star to add definition to them.
I thickened the center of each loop and shaded it in, similar to how it would look if you were to use a calligraphy pen. I really love that look!
Here’s a close-up of the star and shading. I love the simplicity of it and that it was so easy to create. It was actually very relaxing to work on. If you want more detail on your tree, you could add some hanging ornaments.

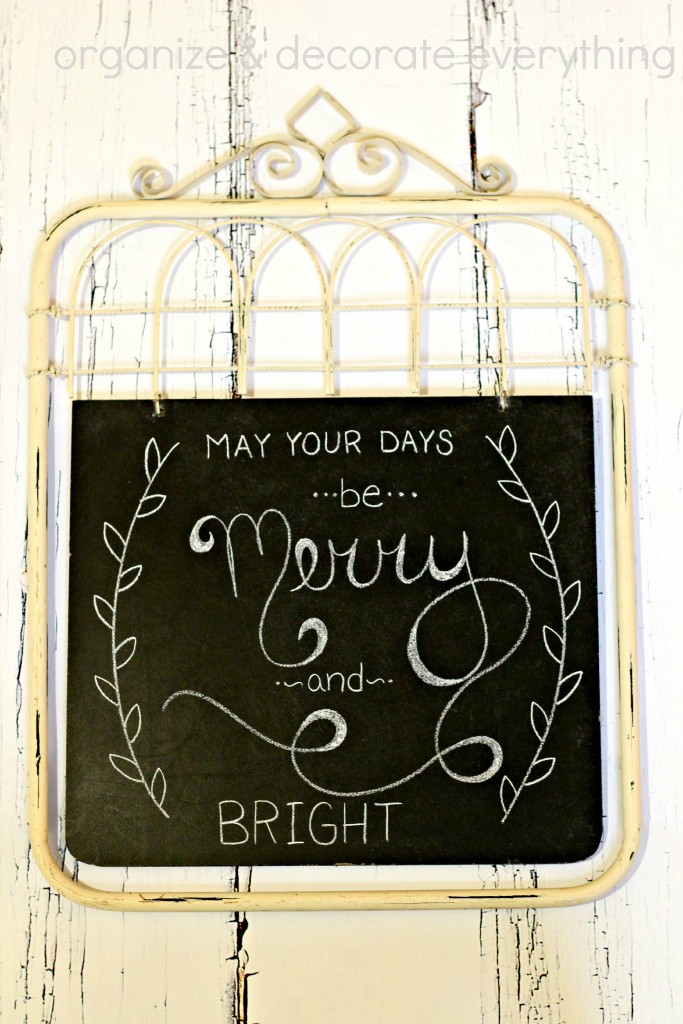
I had a little more time before the kids came home so I decided to whip out another one. I started with the Merry and shaded it, then I added the other words in simple letters. The last thing I did was the garland border. My daughter gave me this chalkboard years ago. Don’t you love it?
Have you tried your hand at chalk art?
Please join me tomorrow for the next 31 Days of Christmas Ideas post.


I was just telling my husband that I needed to update out chalkboard! I love the simplicity of the tree. I’m not too talented in the art department but totally think I can handle this one! Pinning!
So pretty I totally love how it looks
This is darling! I love how easy, but elegant it looks.
It looks so pretty! I love that is is so simple but makes a statement all at the same time. I might have to give this a try!
Wow – that looks really good! I’m left handed, so I can already imagine what a disaster my chalkboard art would be! Yours looks fab and a great piece to decorate this winter!
I’m left handed too Yvonne. It can make it more difficult for sure.
What a good idea to sharpen chalk! I never thought to do that. Brilliant.