Iron-on Image Envelope Pillows

Cricut Iron-on Pillows 2.1

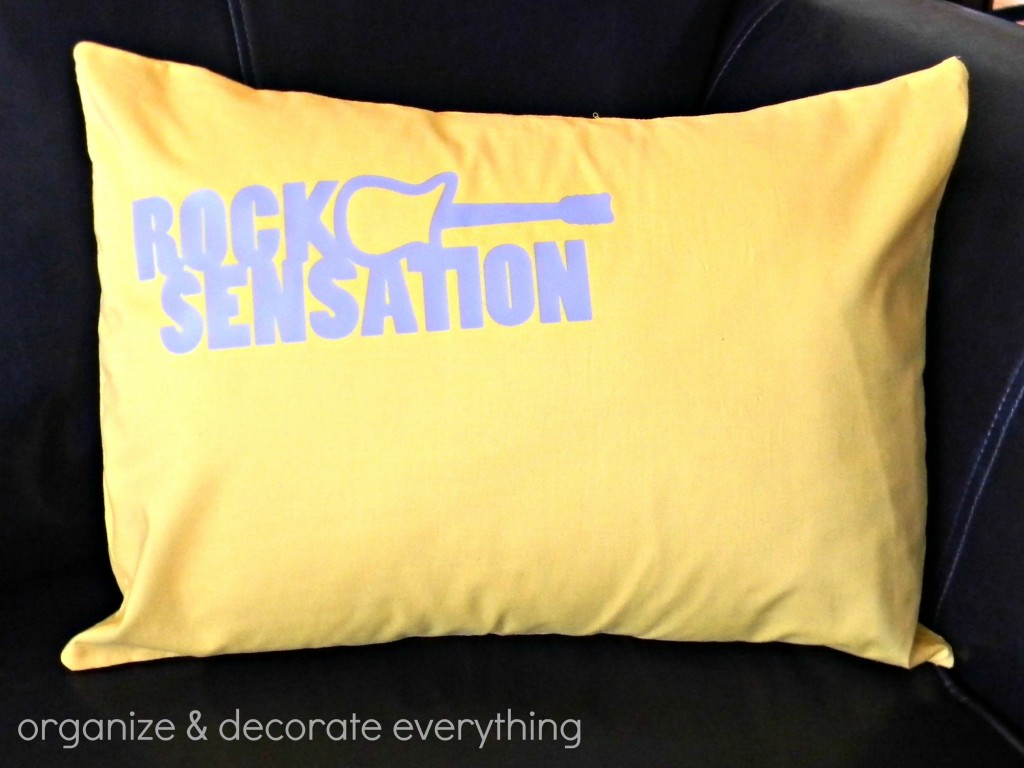
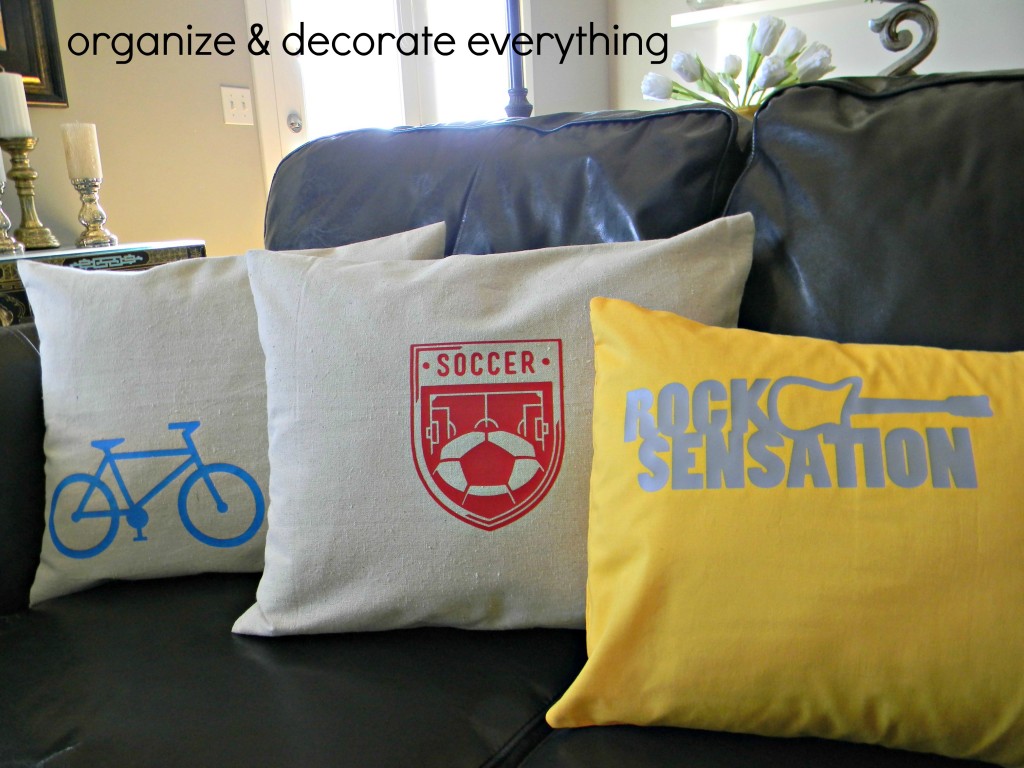
My boys seem to miss out on the results of my crafting projects so it was about time I made something for them. I made these pillows to go on their beds. I used images of things they are interested in right now to make the Iron-on Image Envelope Pillows.

Cricut Iron-on Pillows 7.1

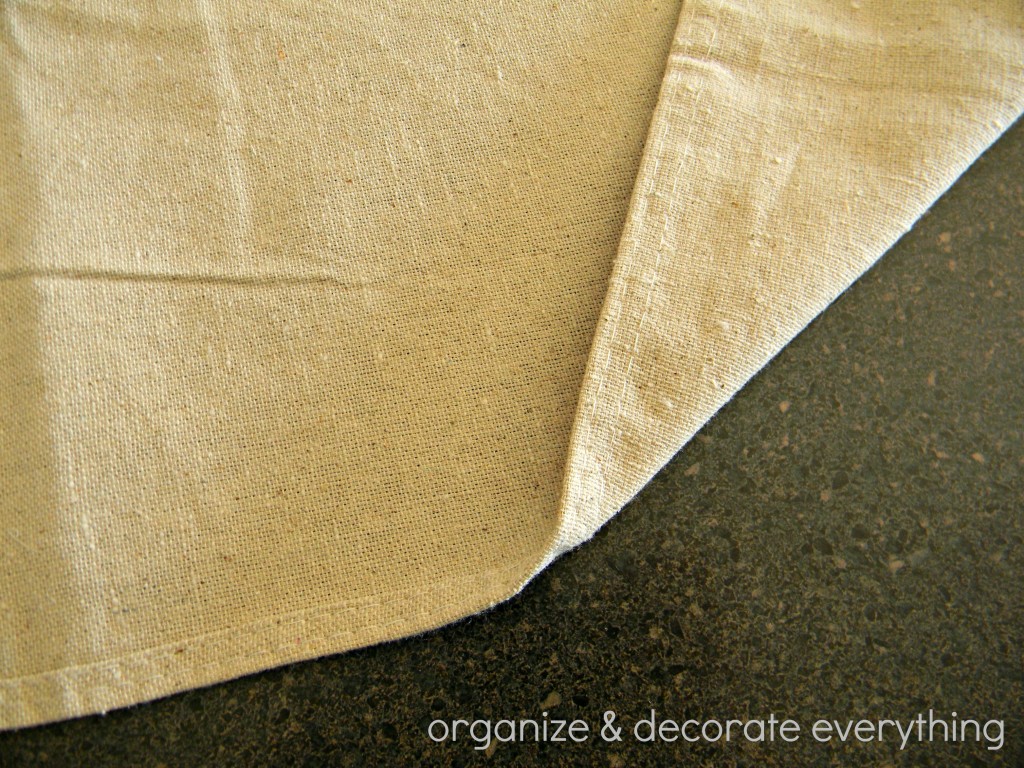
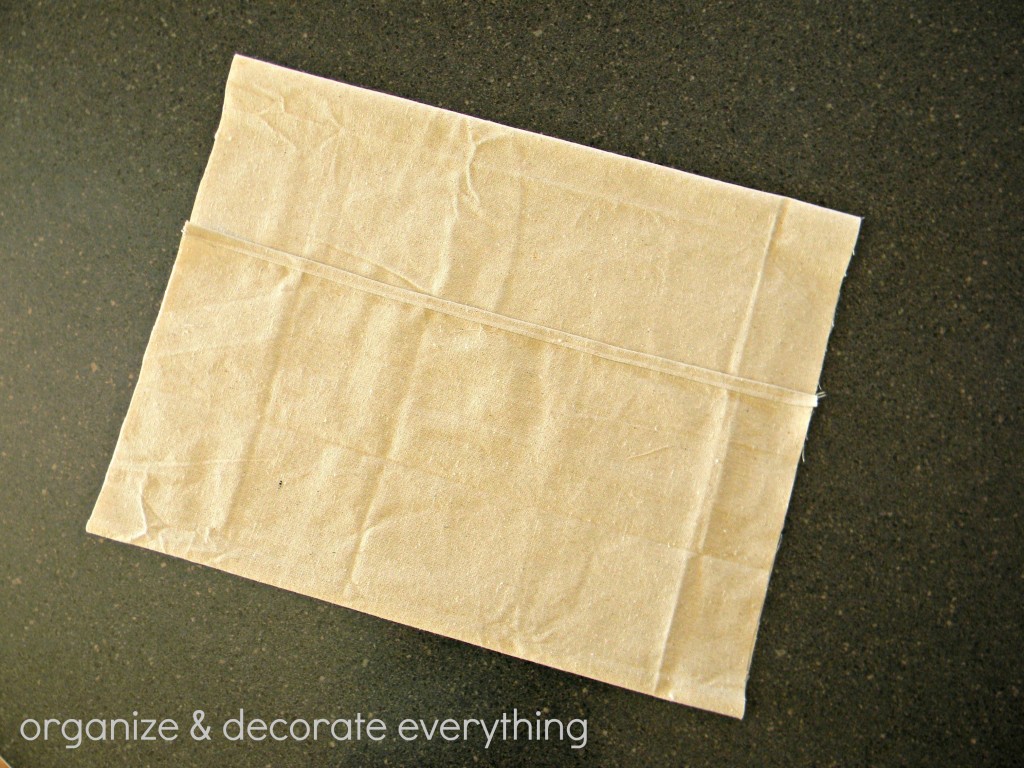
The first thing I had to do was make the pillow cases. I used a cloth drop cloth for the cases. I like using the edge of the drop cloths when possible because the edge is already finished and that means one less side for me to sew.

Cricut Iron-on Pillows 8.1

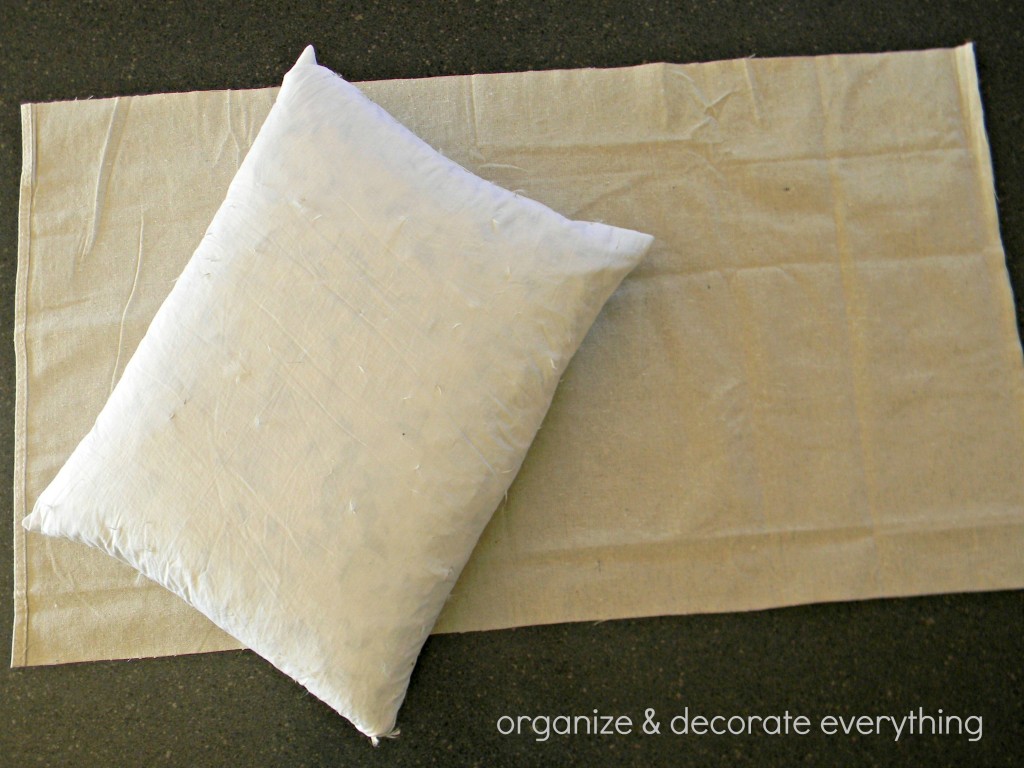
I’m using pillow forms I already had. The boys love it because I happened to have some really nice feather pillows. I wanted to cut and sew as little as possible so I’m showing you how to make an envelope pillow using just one piece of fabric. Cut a piece of fabric 1″ wider than the width of the pillow and cut the length 2 times the pillow size + 5″. So if your pillow is 18″ square, your fabric will be 19″ x 41″.

Cricut Iron-on Pillows 9.1

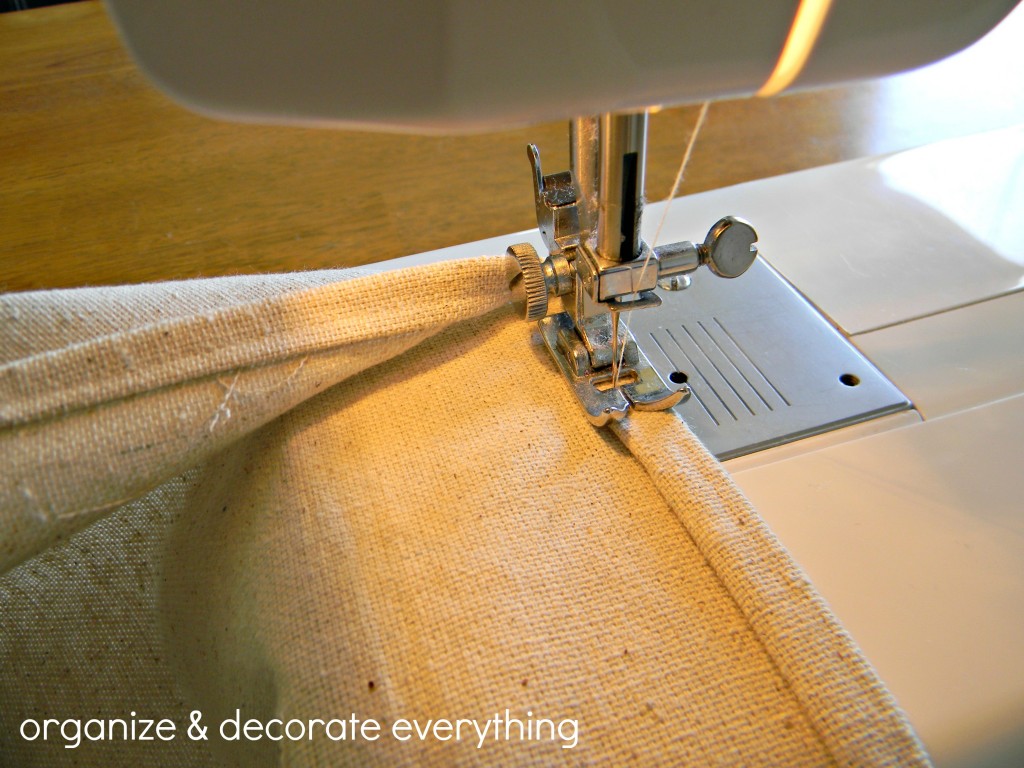
Fold over the other short end and stitch. Remember my fabric was already stitched on the other short end, if yours isn’t then stitch both short ends now.

Cricut Iron-on Pillows 10.1

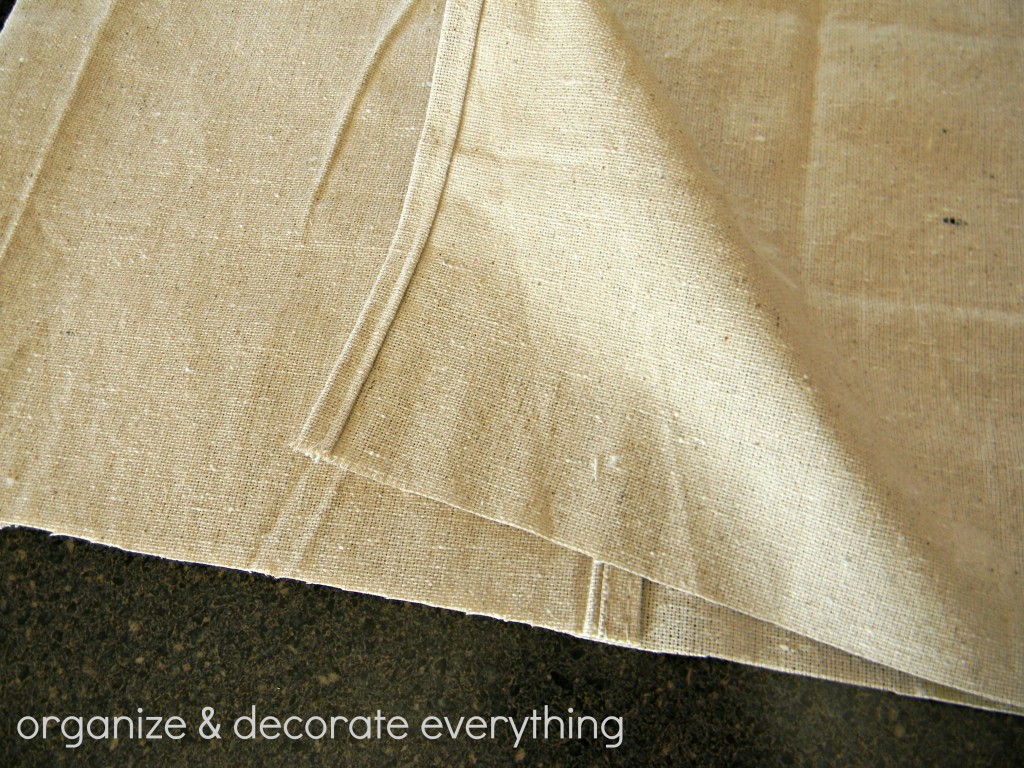
Fold the fabric right sides together, making the ends overlap 4″ in the center.

Cricut Iron-on Pillows 11.1

With the fabric folded like this stitch both sides. Turn the pillow case right side out and now we’re ready for the second part of this project. So simple!

Cricut Iron-on Pillows 4.1

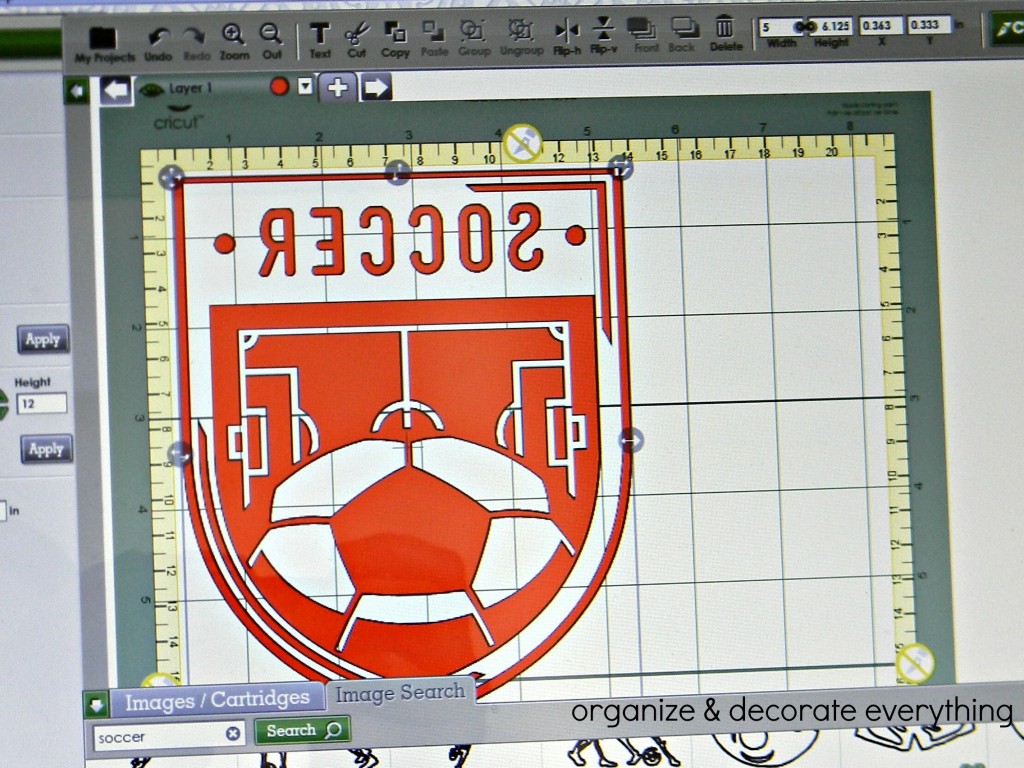
Okay, this is the fun part. I’m so happy I had the chance to try out Cricut’s new Iron-on product. I searched through Cricut Craft Room to find the images I wanted. This Soccer crest caught my eye right away for Zachary. It’s so easy to size, flip and cut multiple images using Cricut Craft Room, everything is right there on your computer screen. When using the iron-on product your images need to be flipped before cutting, this is especially important if you are using letters or numbers. Don’t forget to do that, learn from me. Oops! A flipped or mirror image should look like the one above. Also when placing the Iron-on sheet in your Cricut machine it needs to be shiny side down, matte side up. The matte is the actual iron-on product.

Cricut Iron-on Pillows 5.1

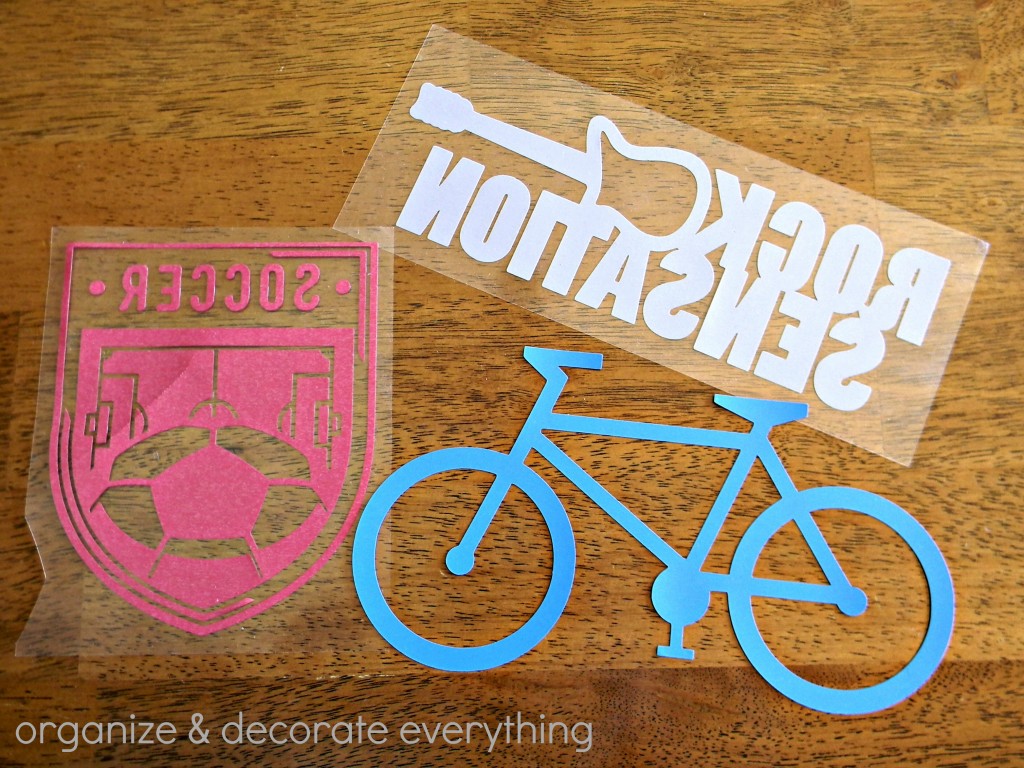
You can make the images bigger by flipping or turning them, that’s what I did to the bike and rock sensation images. When using the Iron-on product it’s best to use the kiss cut method where it cuts through the iron-on film but leaves the liner intact. I had to adjust mine even more than what it said in the instructions, but it worked either way. The soccer and rock sensation images were cut at a 2 blade depth and a 1 pressure, which worked perfectly.

Cricut Iron-on Pillows 6.1

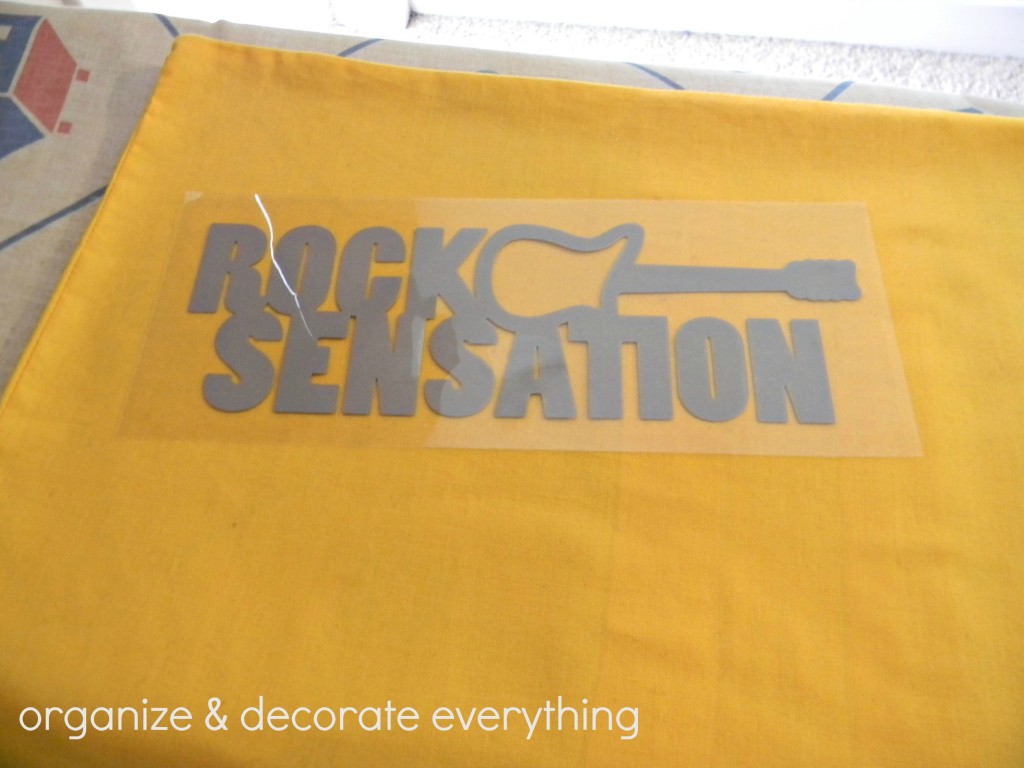
Take your iron-on image and place it on the fabric where you want it, shiny side up. Using a towel or piece of fabric on top of the vinyl, iron down by pressing and holding for 30 seconds until all parts of the cut-out are affixed. Then flip the pillow over and repeat for 30 seconds ironing on the back side. I had to use more pressure on the boy’s pillows because the fabric was a lot thicker. Let cool, then peel off film covering.

Cricut Iron-on Pillows 3.1

Stuff the pillow form inside the case and you’re finished. Okay, so I couldn’t leave Emilee out, I had to make one for her too.

Cricut Iron-on Pillows.1

The kids love their new pillows and I like how they turned out too. I love the vibrant colors of the Iron-ons. I’m so happy I finally made something for the boys, now to work on the rest of their rooms. I can’t wait to work more with this product, maybe some fun summer pillows.

{ 5 comments }

Food Box Bookmarks

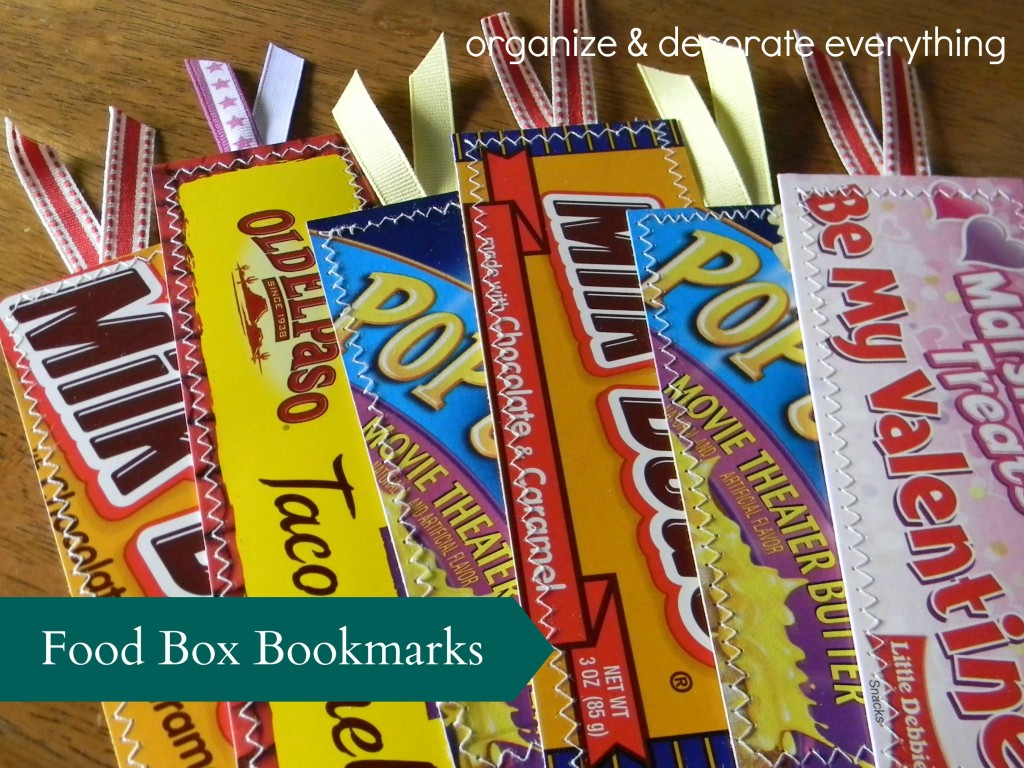
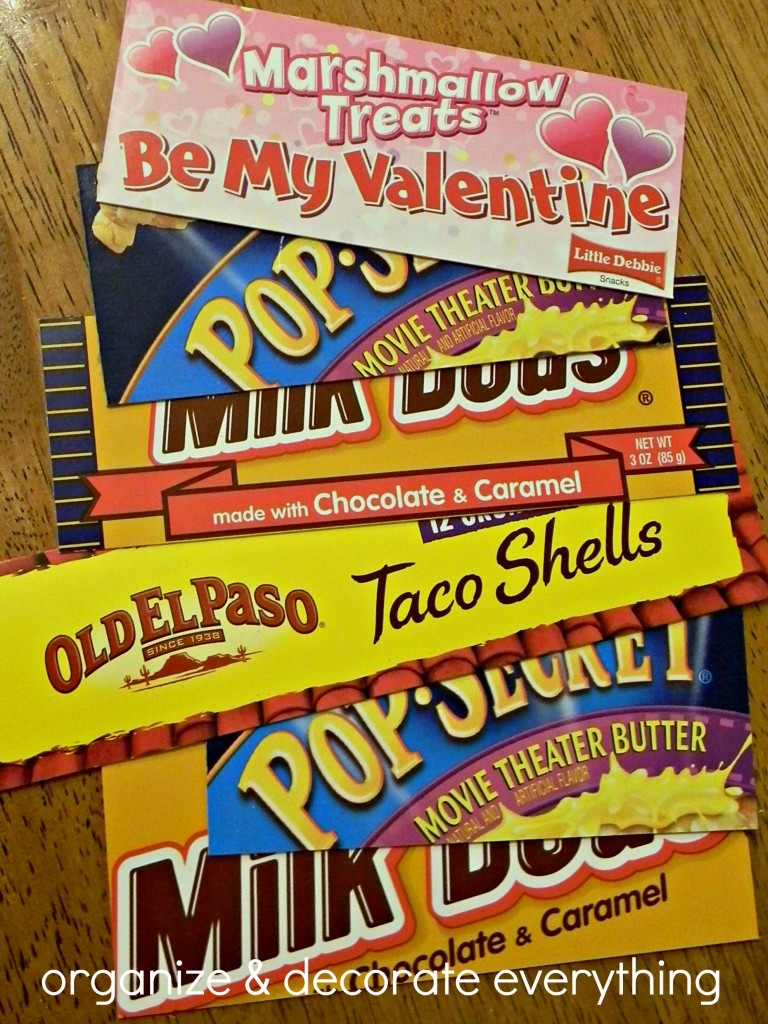
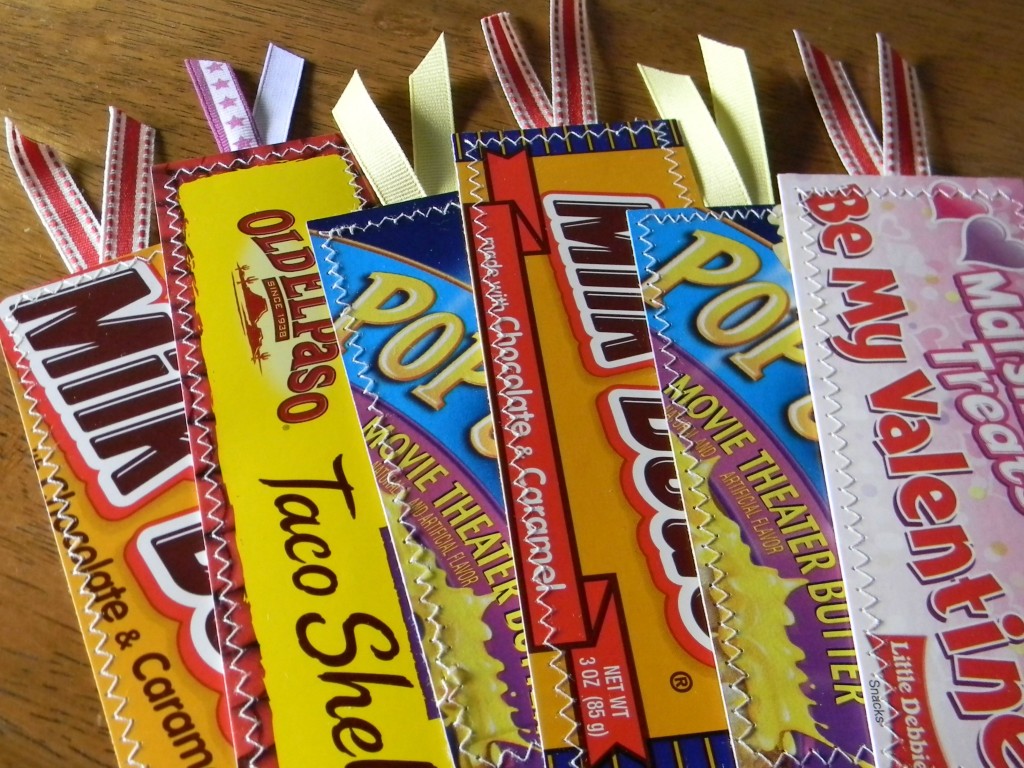
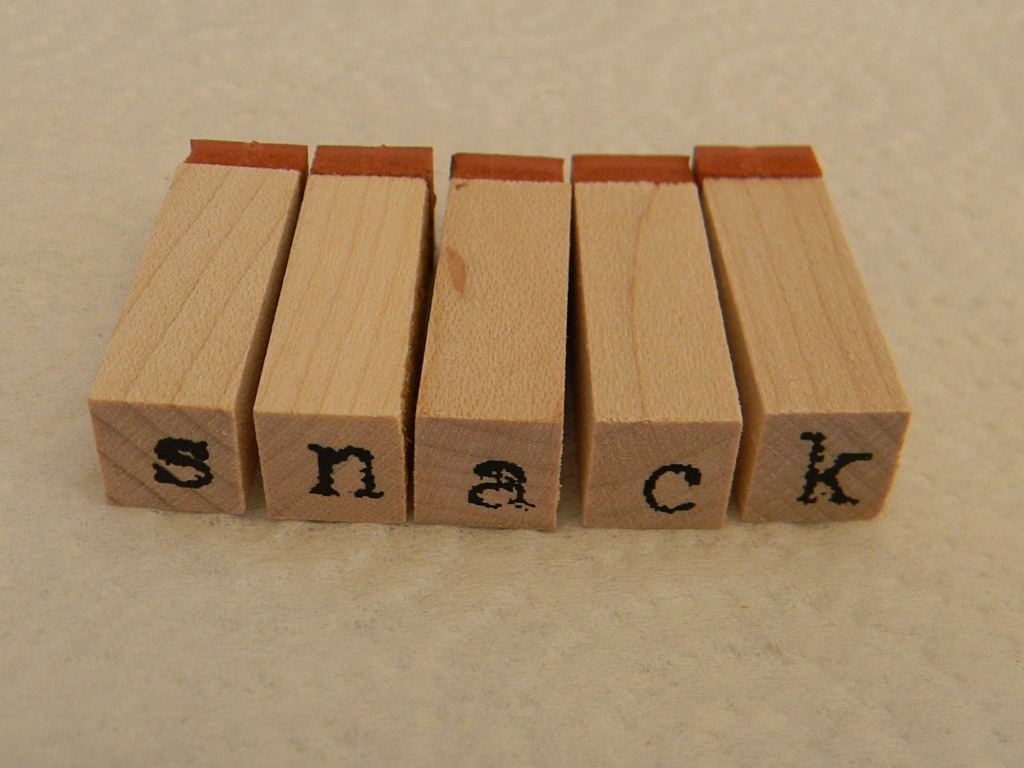
Sometimes I like to look to Pinterest to see what projects of mine are being repinned often. I figure if it’s being repinned there’s at least some interest in it. These bookmarks have been popping up a lot lately and I thought they would be so cute tucked in a book you might be giving as a gift or you could just make some for yourself and kids.
Food Box Bookmarks.1

I always feel weird about trashing so many food boxes. I love the typography and the brilliant colors so I decided to start making things out of them. One of my first attempts were these cute bookmarks.
Food Box Bookmarks 2.1

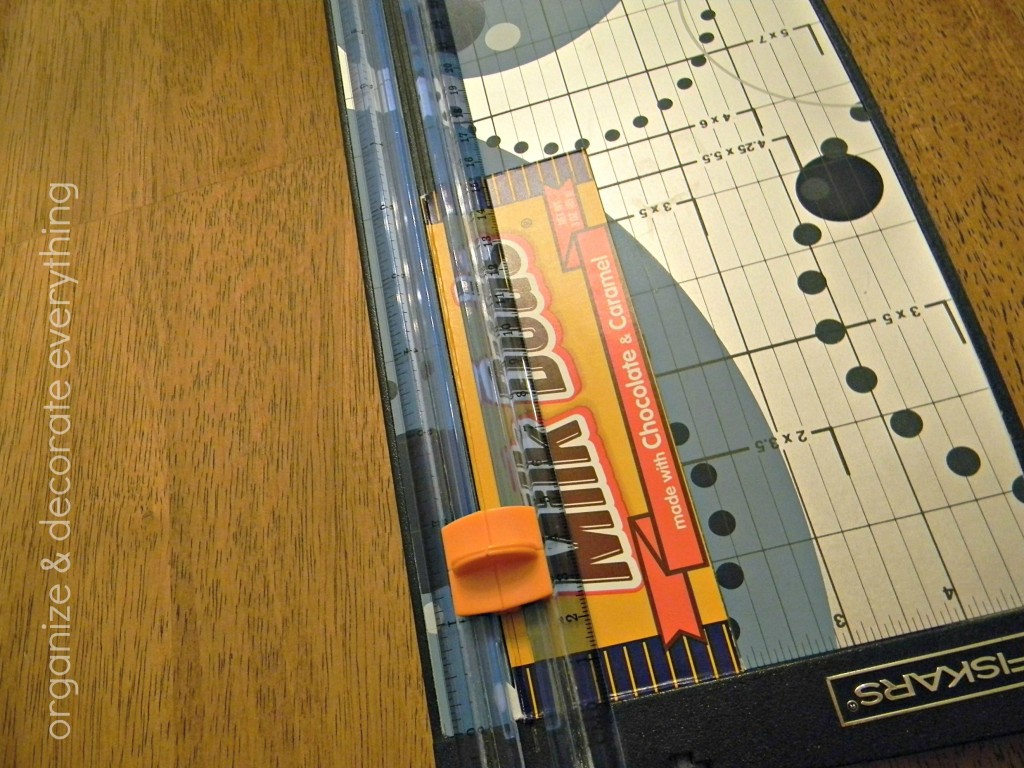
Start by opening the box all the way and deciding what graphics you want include in the bookmark. Use a paper cutter to get the size you want.

Food Box Bookmarks 4.1

My bookmarks range from 5″-7″ long and 1 3/4″- 2 1/2″ wide.

Food Box Bookmarks 6.1

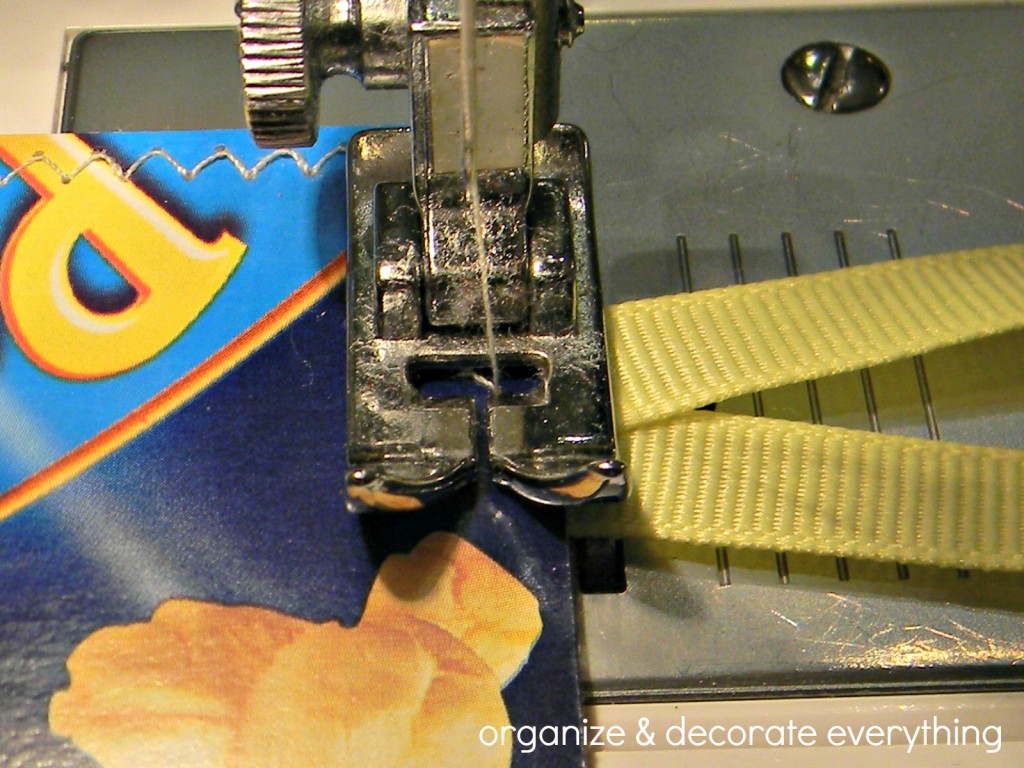
I simply made a zig-zag stitch all the way around the piece and stitched a ribbon to the top in the center.

Food Box Bookmarks 8

These would be so cute as teacher gifts, friend gifts, tucked in an Easter basket, the possibilities are endless. They would also look really cute stitched with contrasting thread.

Wouldn’t it be fun to get a bookmark of your favorite treat?

{ 1 comment }

Coat Closet to Media Closet

Video Closet

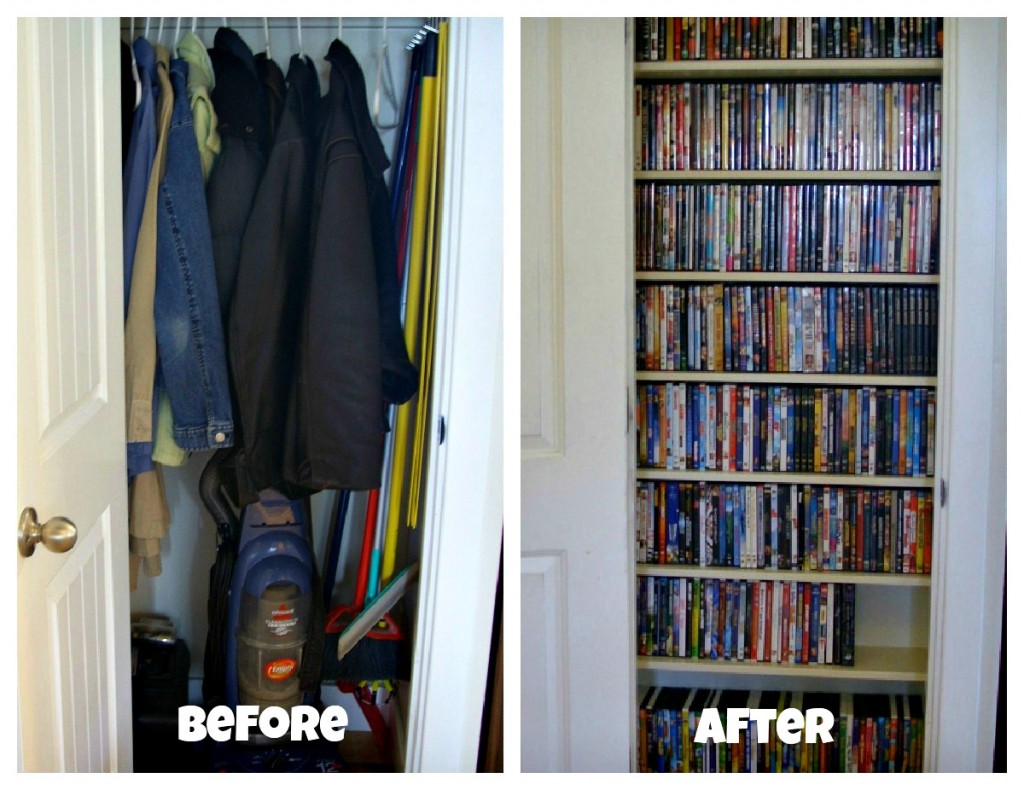
You would think in a house with 5 bedrooms the coat closet would be big enough to hold more than a few coats. Our coat closet has never functioned the way I wanted it to, so when we built a mudroom off the garage it was the perfect time to turn it into something else.

Before and After Video Closet

We enjoy watching movies and since we don’t have cable TV we watch a lot of them. I like having them easy to see, retrieve, and return so everything looks neat and tidy. Our TV is right around the corner so it’s in a perfect location.

Video Closet 2

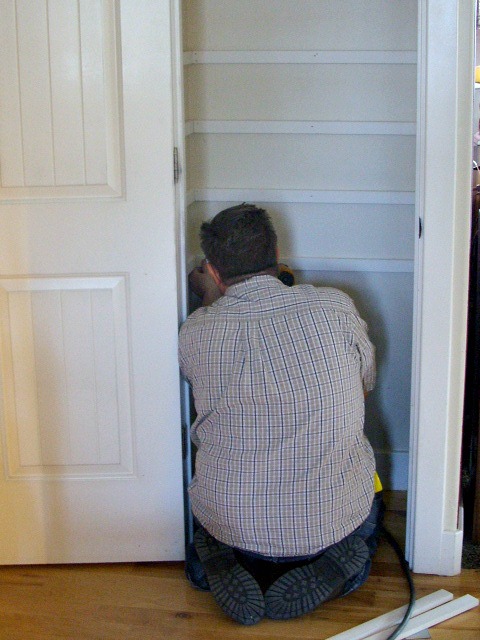
I measured the closet for the movies to fit perfectly so we could add as many shelves as possible. We measured for the shelves and added the strips for support.

Video closet 3

Once the strips were in place we added the shelves. The depth of the shelves are just slightly larger than the DVDs.

video closet 5

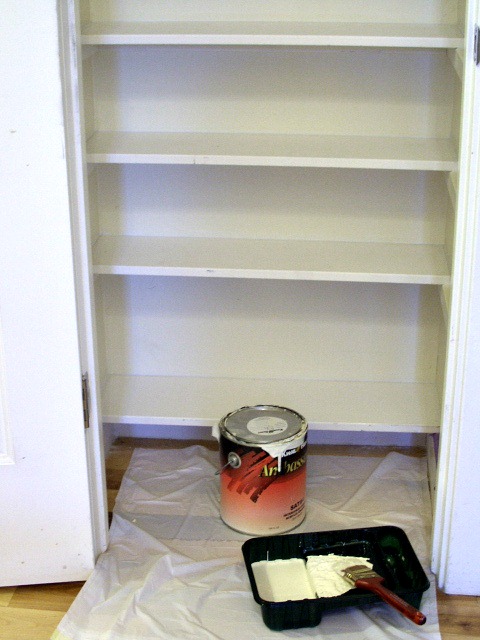
Then it was time to fill the holes, caulk, and paint.

video closet 8

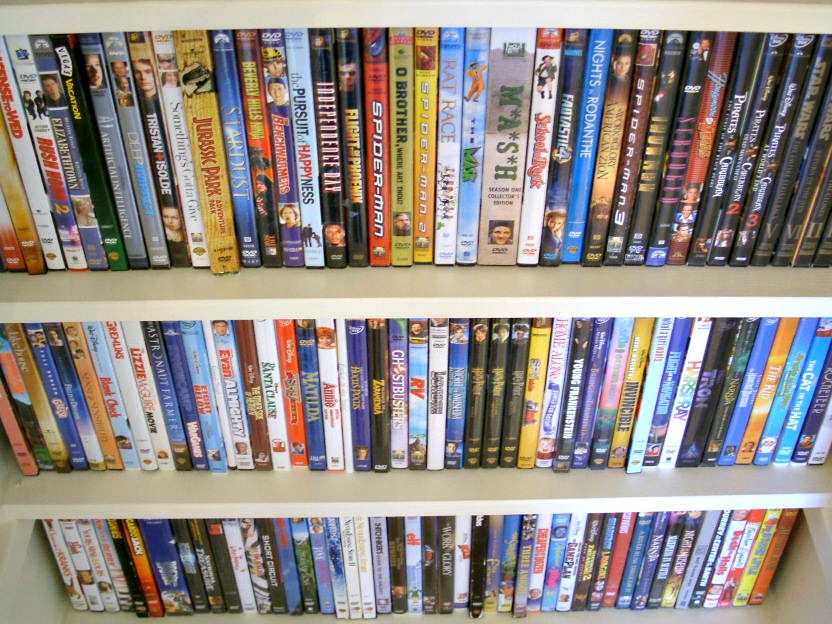
See how great they fit? We have the movies divided by what the kids can watch. The 2 top shelves are off limits unless we okay one of them.

Don’t be afraid to change something you don’t use into something you do.

{ 8 comments }

Easter Printable

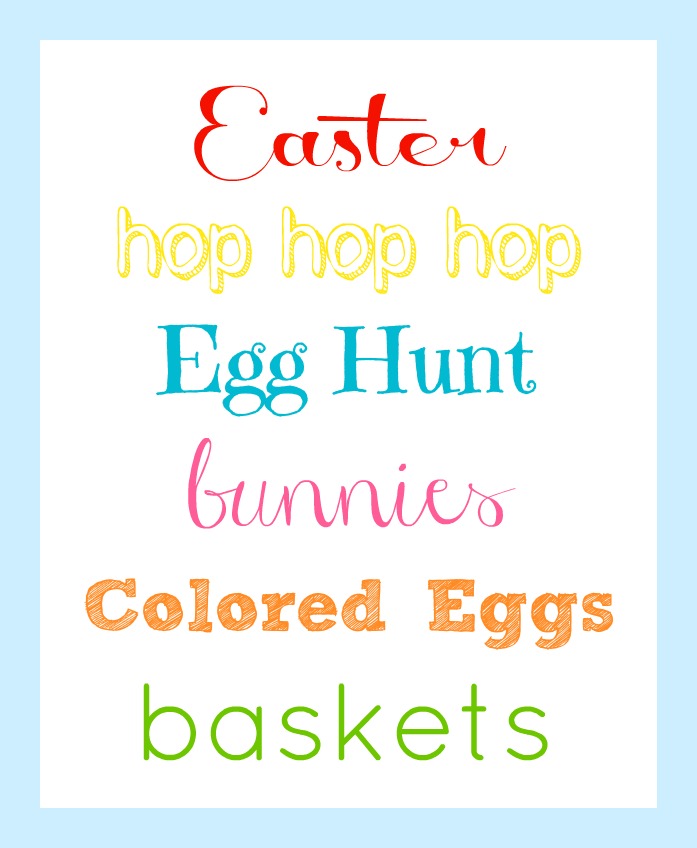
I have another fun printable for you. This time it’s for Easter. It would look so cute framed or on a corkboard and you could even give it as a gift. You might notice a trend in my printables. I like mine simple and uncluttered, they pretty much reflect my decorating and organizing style. I hope you like them too.

Easter printable

To use this printable just click on the printable, go to file, then print preview to choose the size you want and print it out. Feel free to pin it!

I hope everyone’s having a wonderful weekend!

{ 1 comment }

10 Decorating and Crafting Ideas for Easter

10 Easter ideas

I find it so strange that I have way more Halloween decorating and craft ideas than I do Easter. Maybe I’m just to tired from Spring cleaning to do much for Easter. Here are a few ideas I wanted to share with you. They’re so simple that you still have time to do most of them.

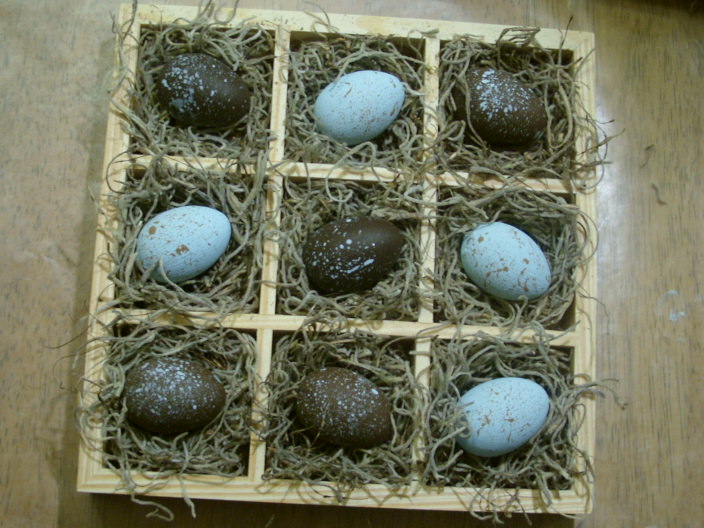
Egg Crate Eggs

Easter Crafts 2010 035

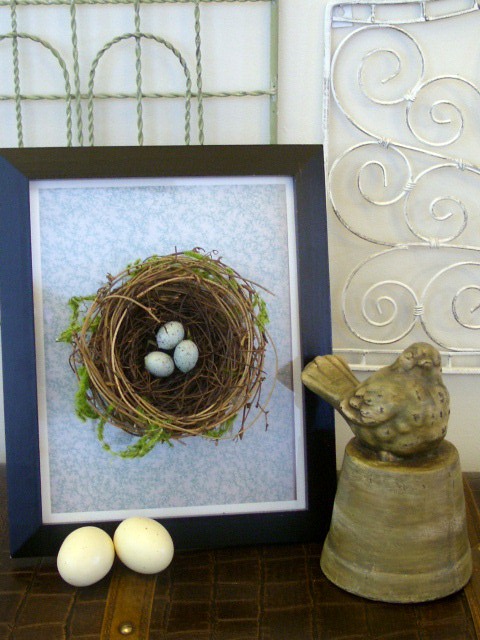
Framed Nest

Easter Crafts 2010 027

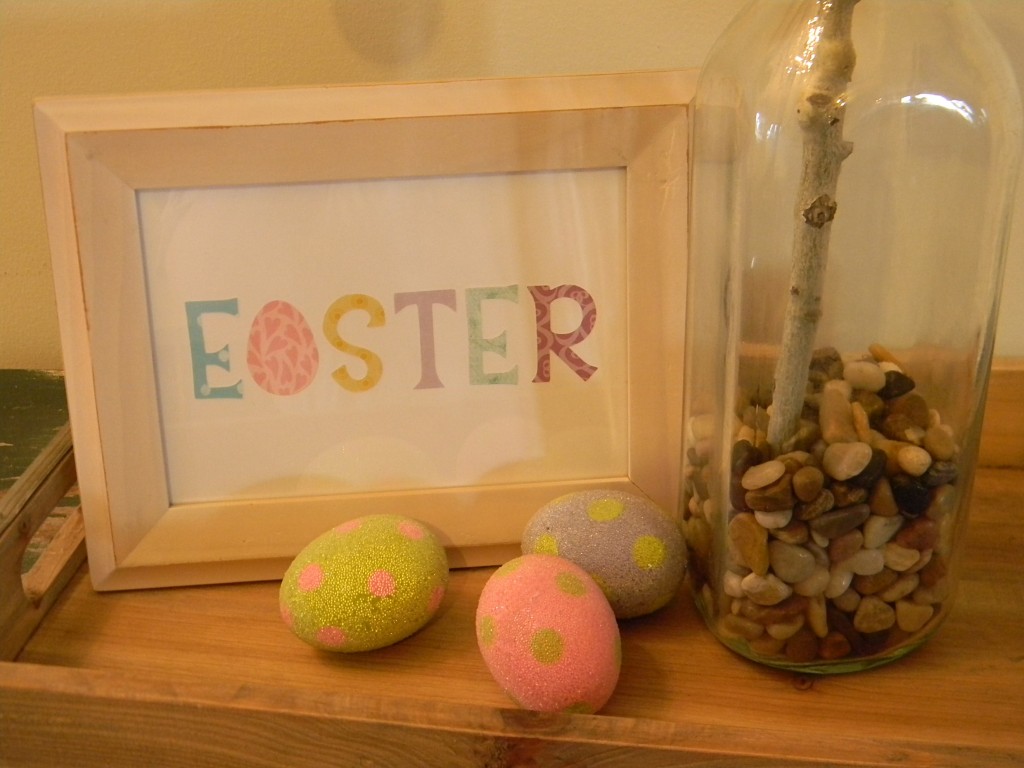
Simple Easter Sign

Easter Decor 2011 024

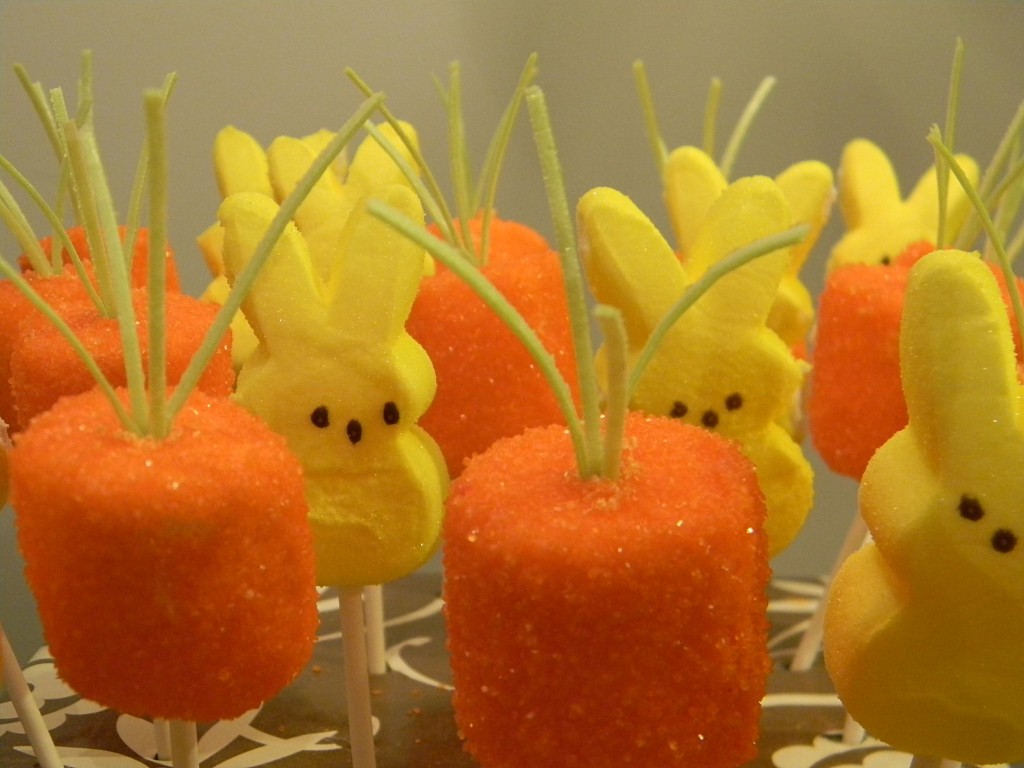
Marshmallow Carrots

Easter 2011 005

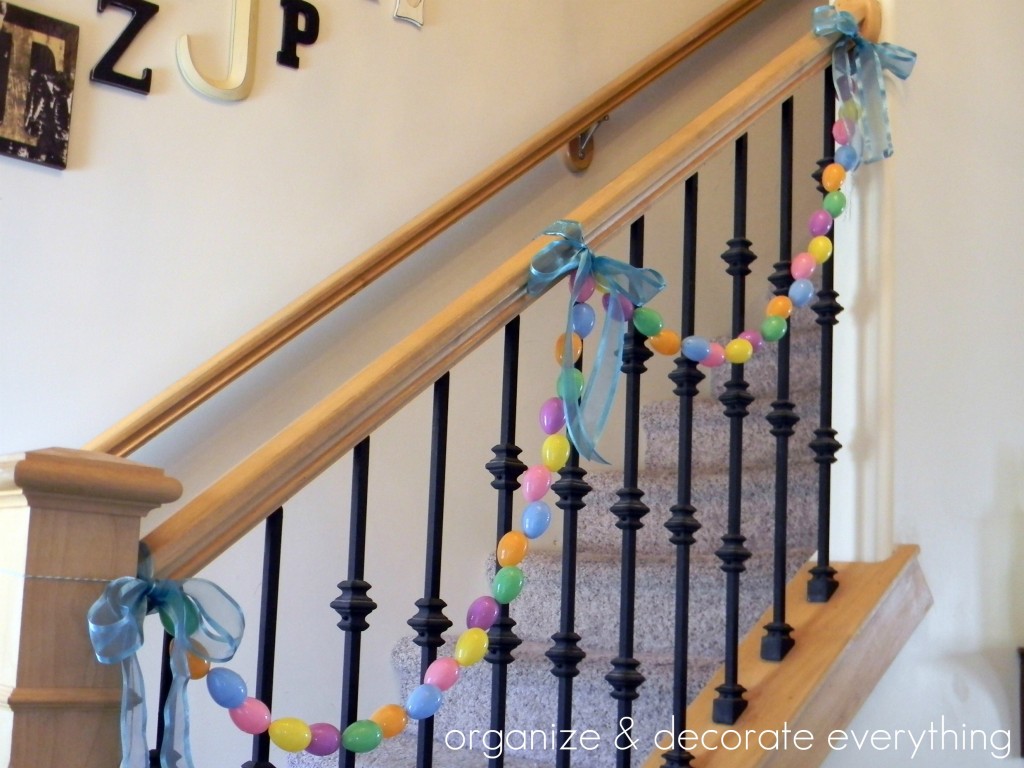
Easy Egg Garland

egg garland5text

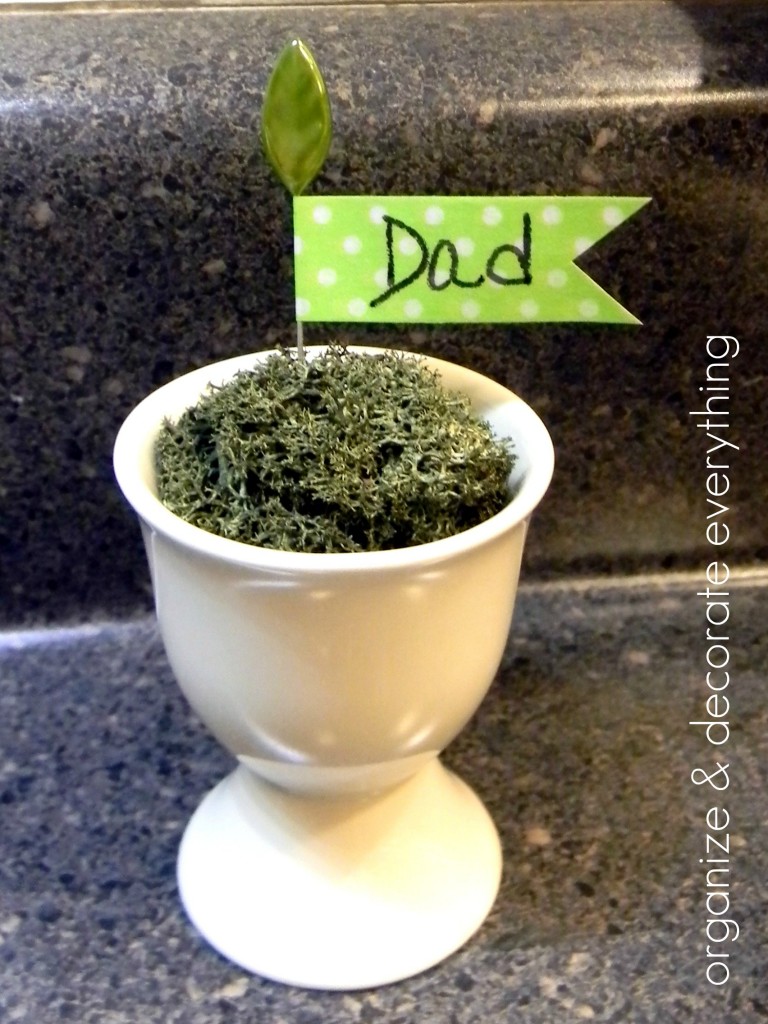
Egg Cup Place Holders

place holders6text

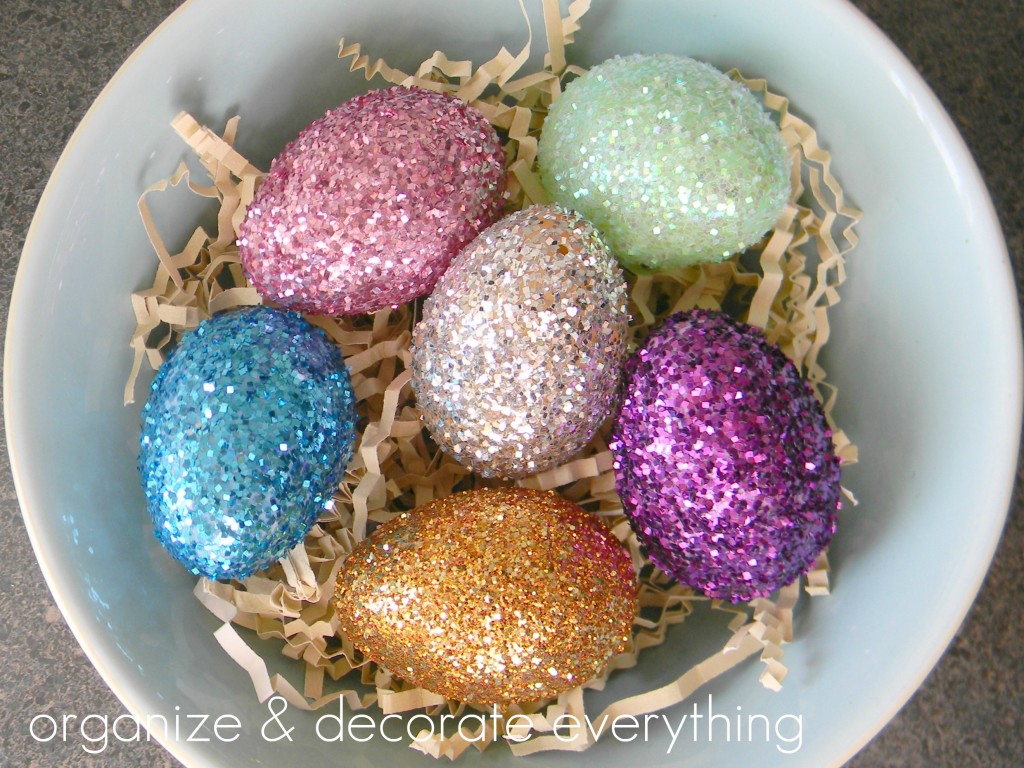
Glitter Eggs

glitter eggs5text

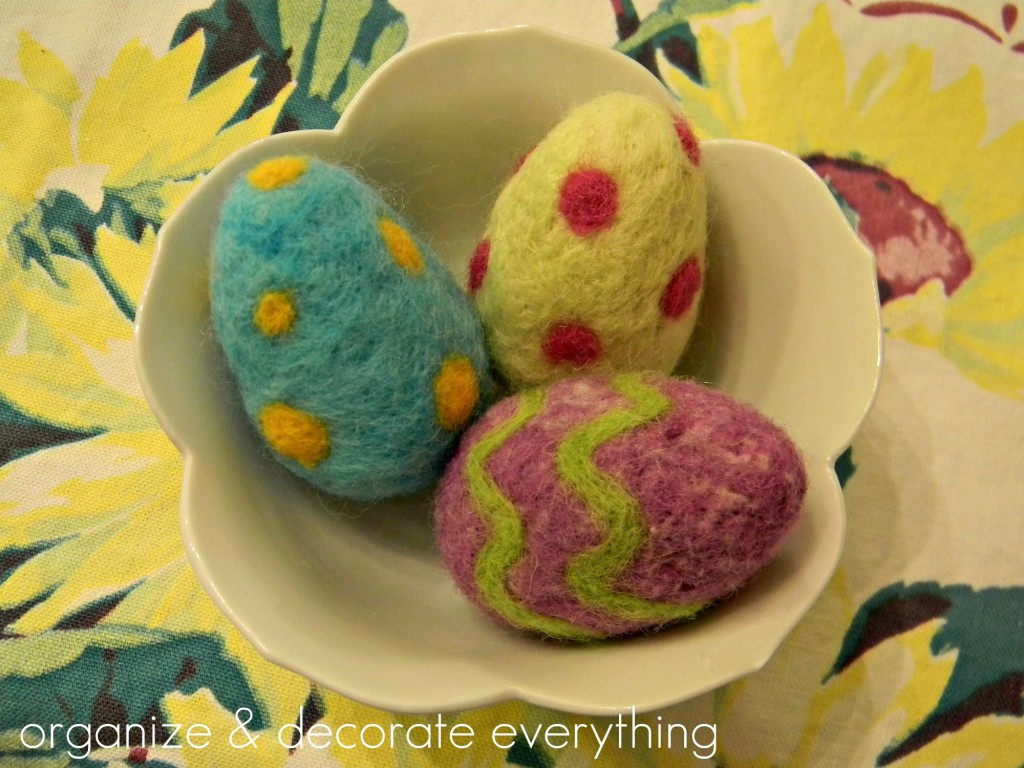
Needle Felted Eggs

needle felting2text

Easter Apothecary Jars

Easter Apothecary Jars 1.1

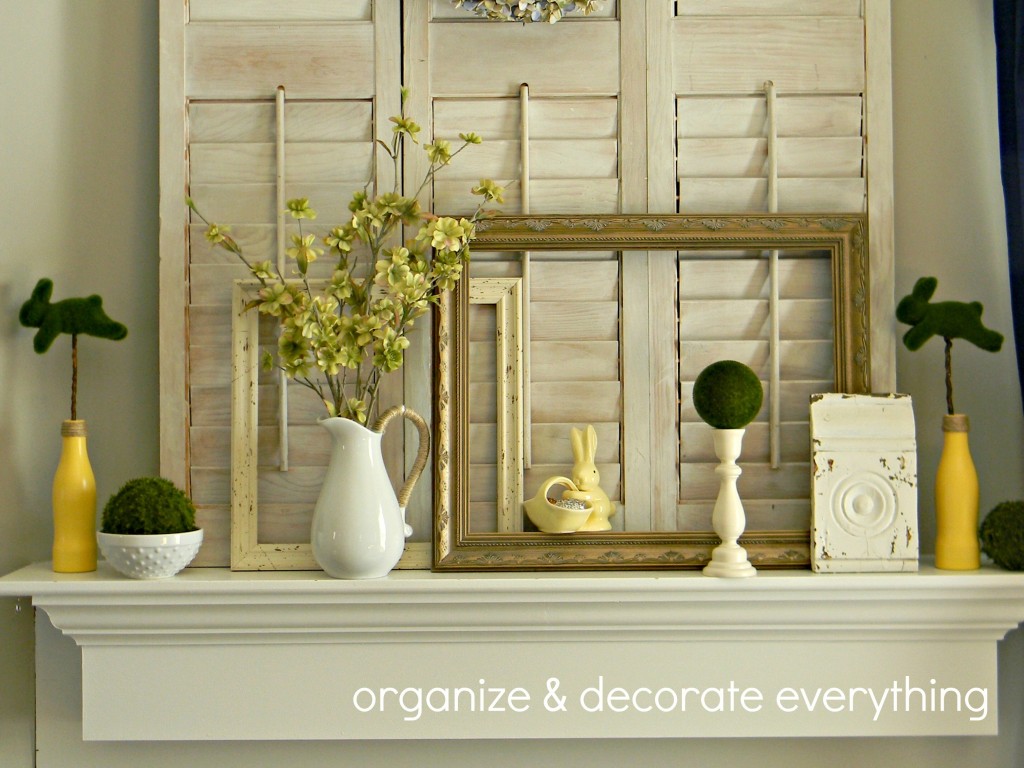
Easter-y Mantel

Easter-y mantel7.1

Do you do much decorating for Easter? I’ll have more Spring decorating ideas next week!

Have a wonderful weekend!

{ 2 comments }

Stamped Clothespins – Repost

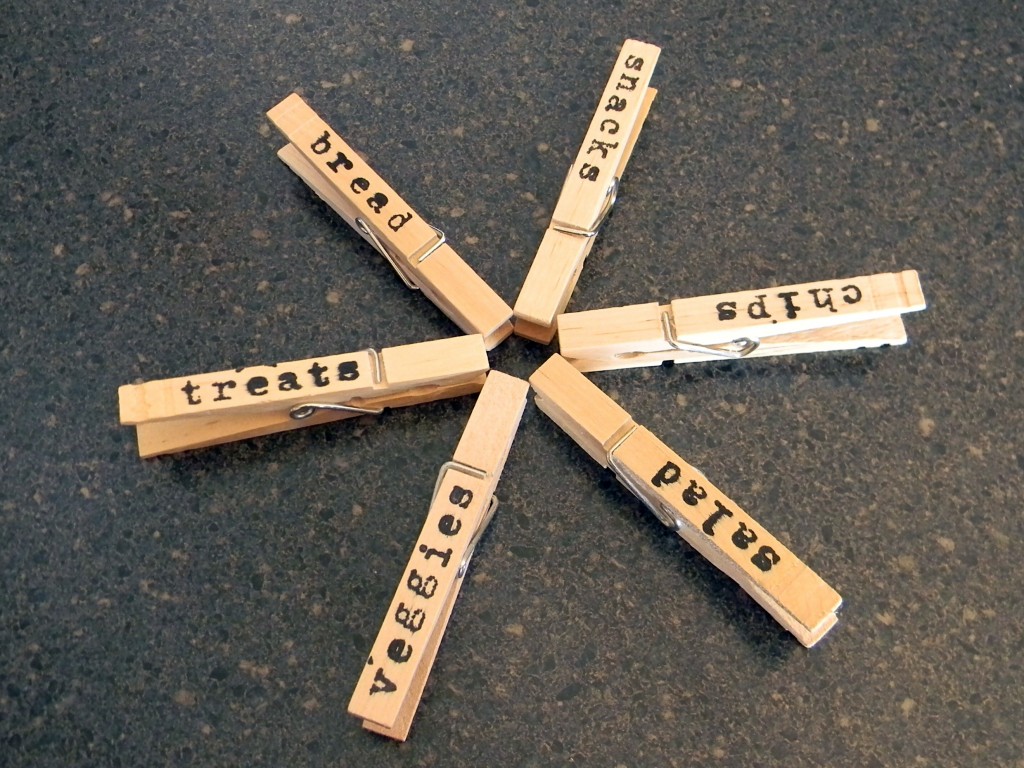
I have a love of clothespins. They can be used for so many things. They can be kept simple and natural or dressed up with paper, glitter or fabric. They’re also cheap and sturdy which is perfect for many of the craft projects I do. I made these stamped clothespins for my pantry a couple years ago and still use them everyday.

Stamped Clothespins

This post may contain affiliate links for your convenience. There is no added cost to you but I do receive a small commission if you purchase something.

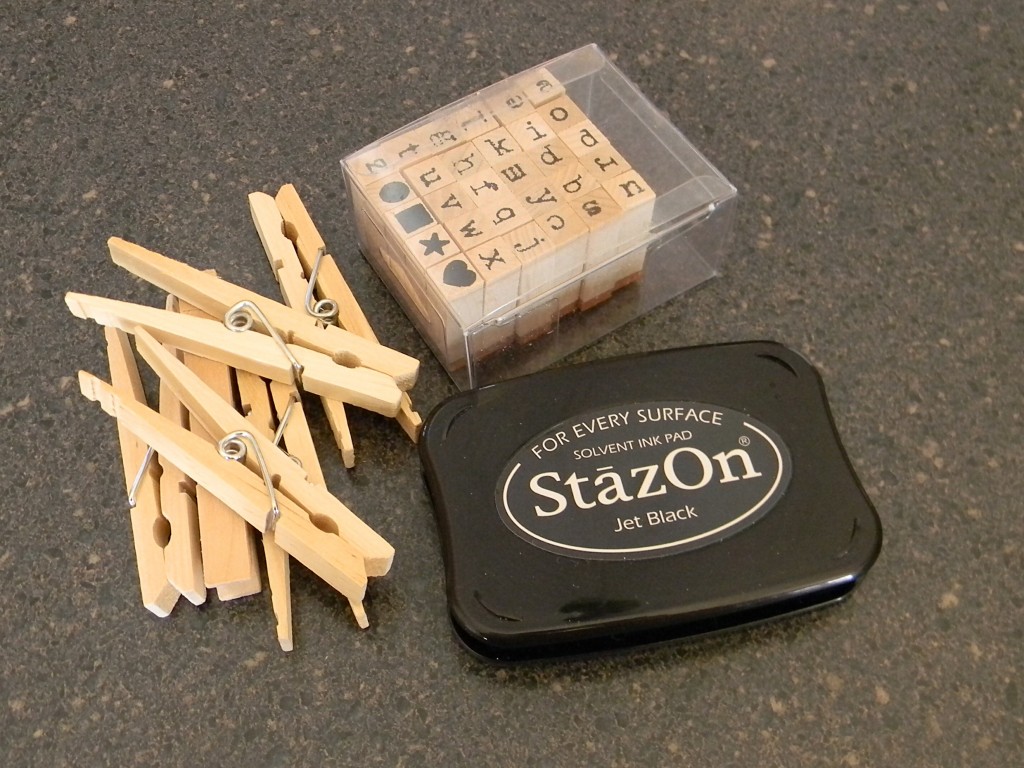
Here’s What You Need:
Clothespins
Alphabet Stamp Set
Stamp pad

Crafts 2010 183

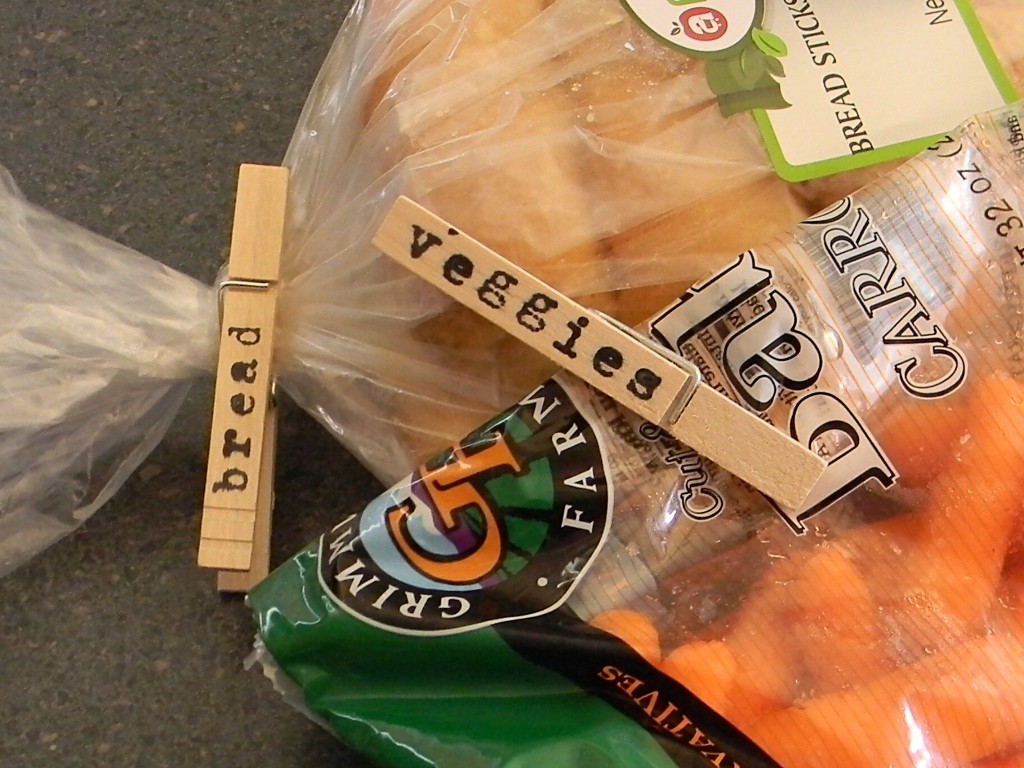
I simply stamped different words on each clothespin to clip on food bags. They don’t have to be perfect, that’s part of the fun and uniqueness.

Crafts 2010 184
Make words you need to describe what you need clipped. I’ve been meaning to stamp more, maybe I’ll do that this weekend.

Crafts 2010 185_picnik

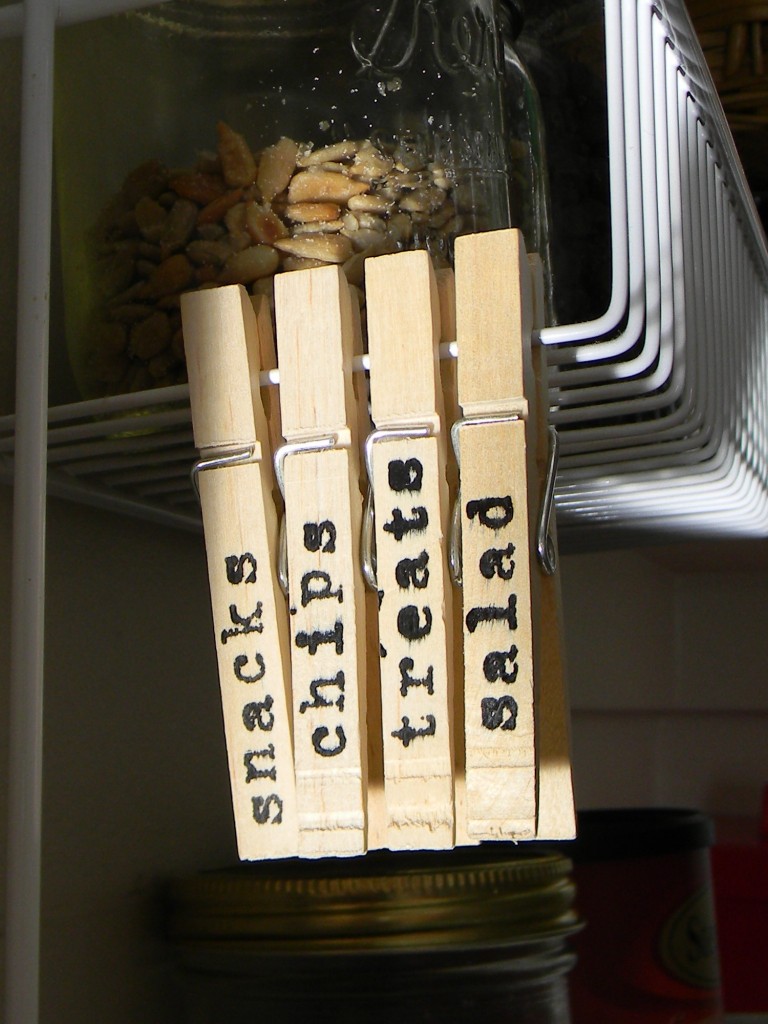
Not only do they keep things closed well but they also look pretty awesome. You can use them in the pantry or the fridge.

Crafts 2010 186

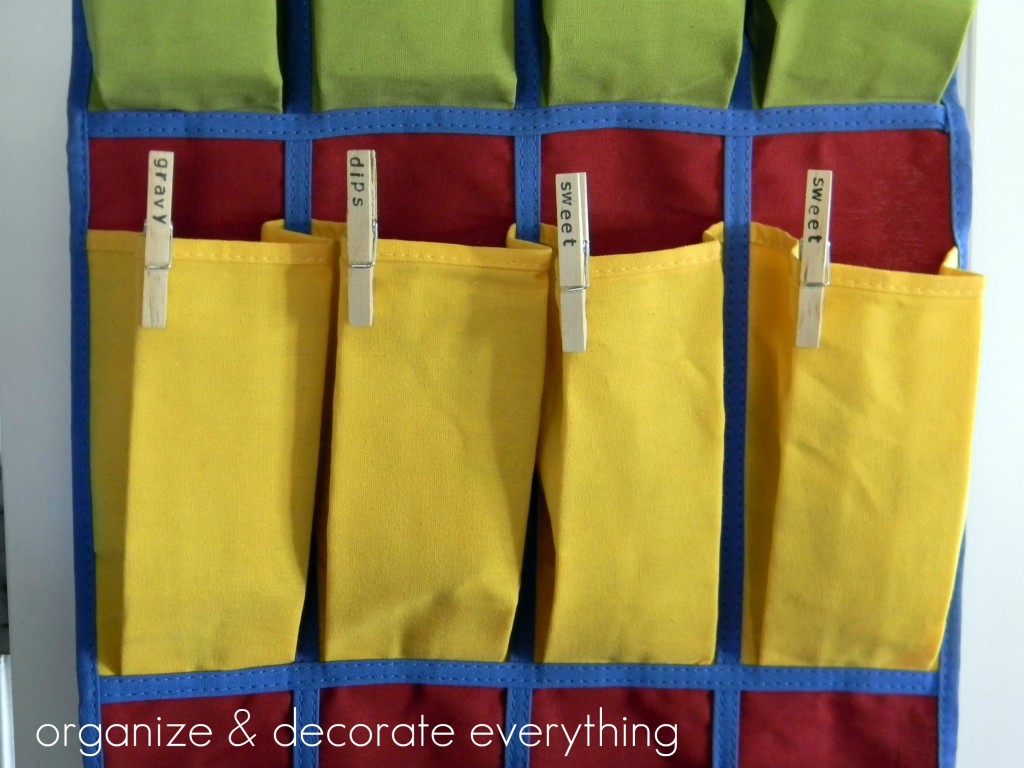
I also used them on the pockets of the door organizer to label the ingredients of the spices inside.

hanging organizertext

When they’re not being used they are easy to clip on the wire shelving for storage. If you don’t have wire shelving you can keep them in a small basket in the pantry, so you have easy access to them.

Crafts 2010 187

So, do you think you’ll be making some stamped clothespins? Where would you use them?

{ 3 comments }

Closet Organizing Tips

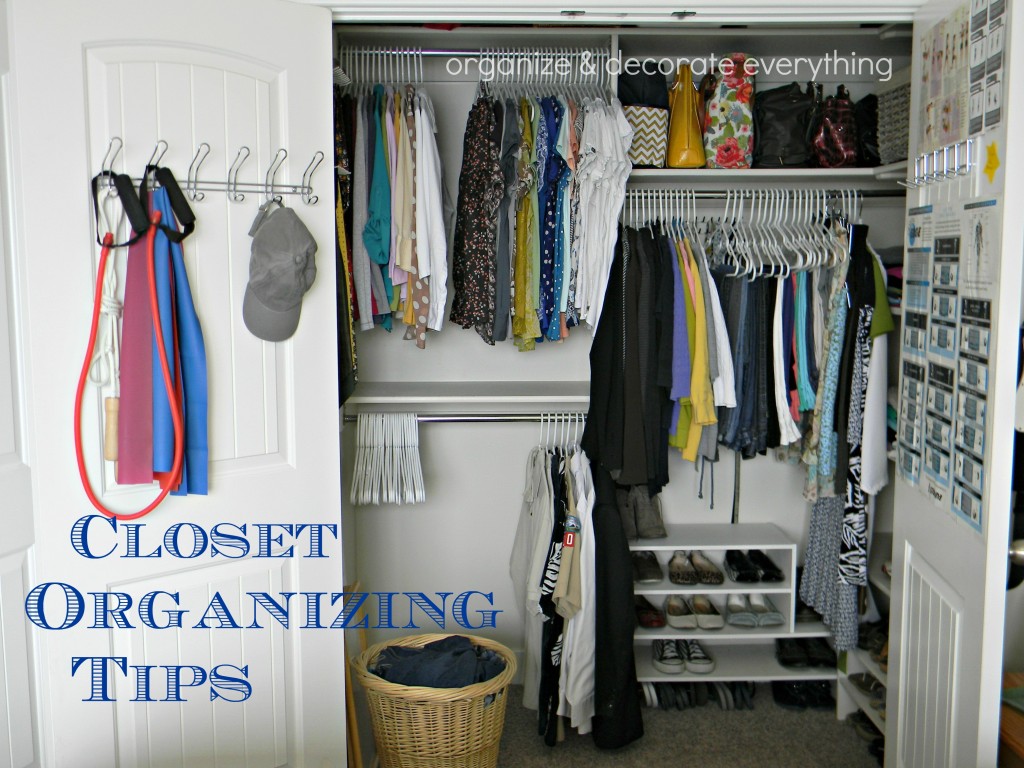
Closet Organizing Tips

Whether you have a large walk-in closet or a tiny closet, these tips can help you get your closet clean and organized and keep it that way. If you’ve never cleaned out your closet before (or it’s been a long time) start by emptying the whole thing to get a fresh start. While it’s empty take a damp cloth and wash down the rods, shelves, walls, and baseboards. Don’t forget to vacuum too.

Master Closet Organization 9.1

Go through your clothes and ask yourself some simple but important questions:
1- When was the last time I wore this? If it’s been more than a year it’s time to get rid of it.
2- Does it fit? Don’t hang onto things that are too small or too large.
3- Do I want it just sitting in my closet taking up valuable space? That space can be used for clothing you actually wear.
4- Would I buy it right now? If you wouldn’t, you probably never wear it.
5- Do I like the way I look in it? Again, you’re probably not wearing it if you don’t.

Master Closet Organization 10.1

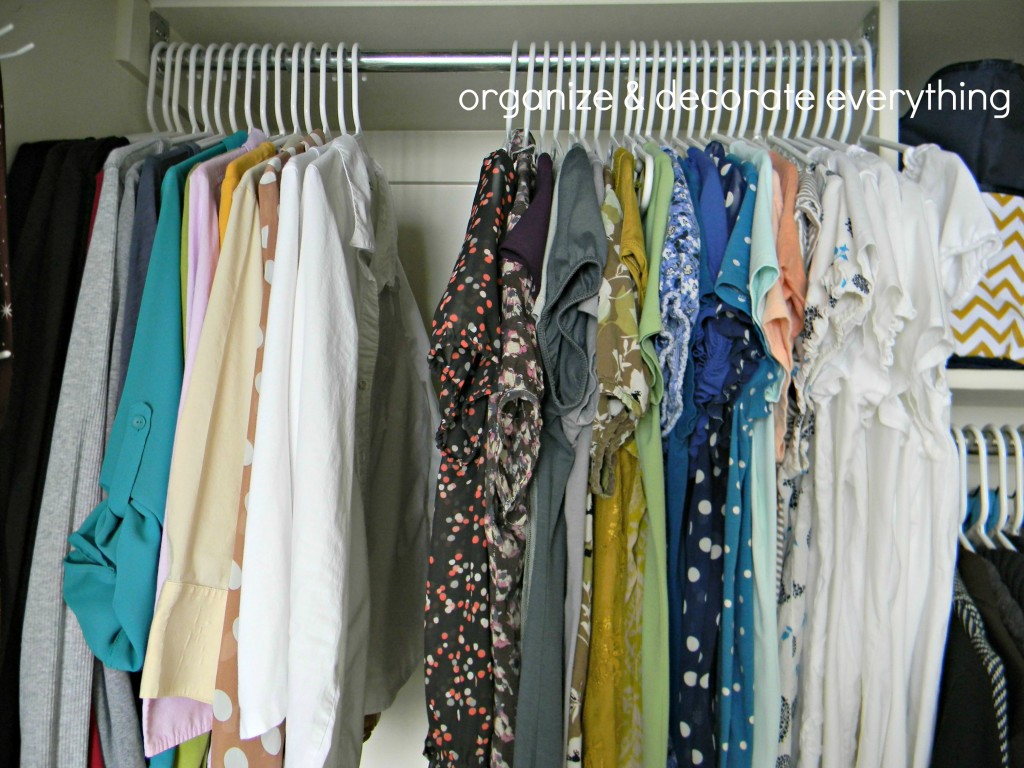
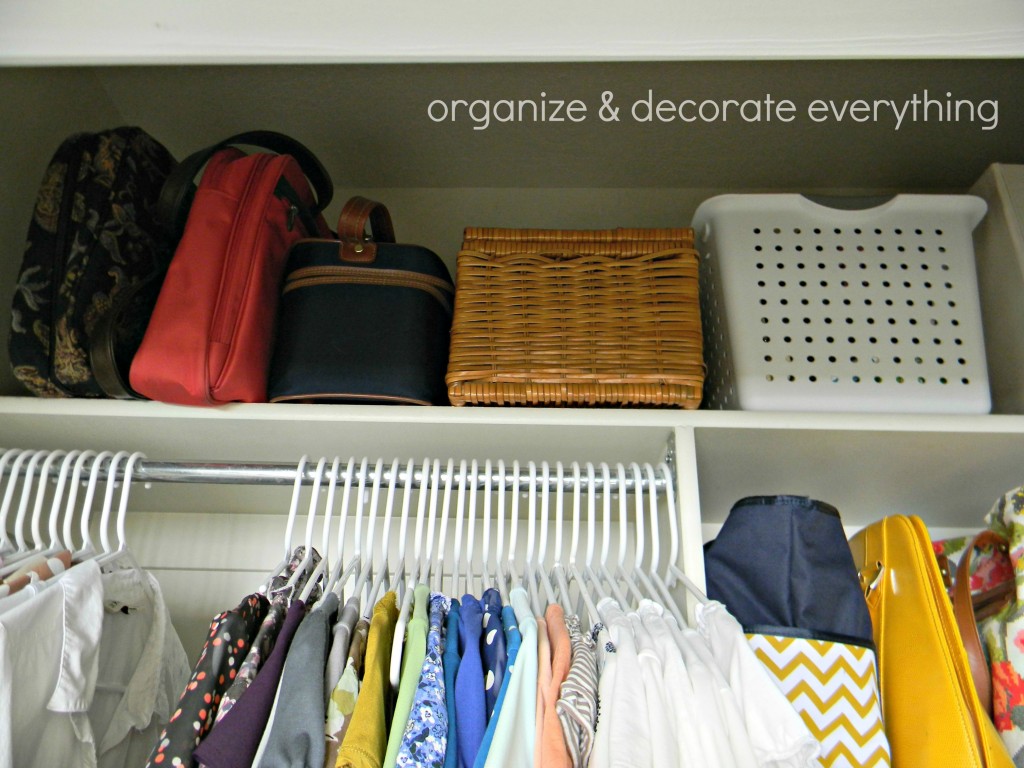
As you’re putting things back group “like with like”: dresses, skirts, pants, sweaters, long sleeve shirts, short sleeve shirts, etc. I also like to group by color. It makes it easier to find what I want to wear and make outfits quickly. Don’t return things back to the closet that don’t belong there.

Master Closet Organization 7.1

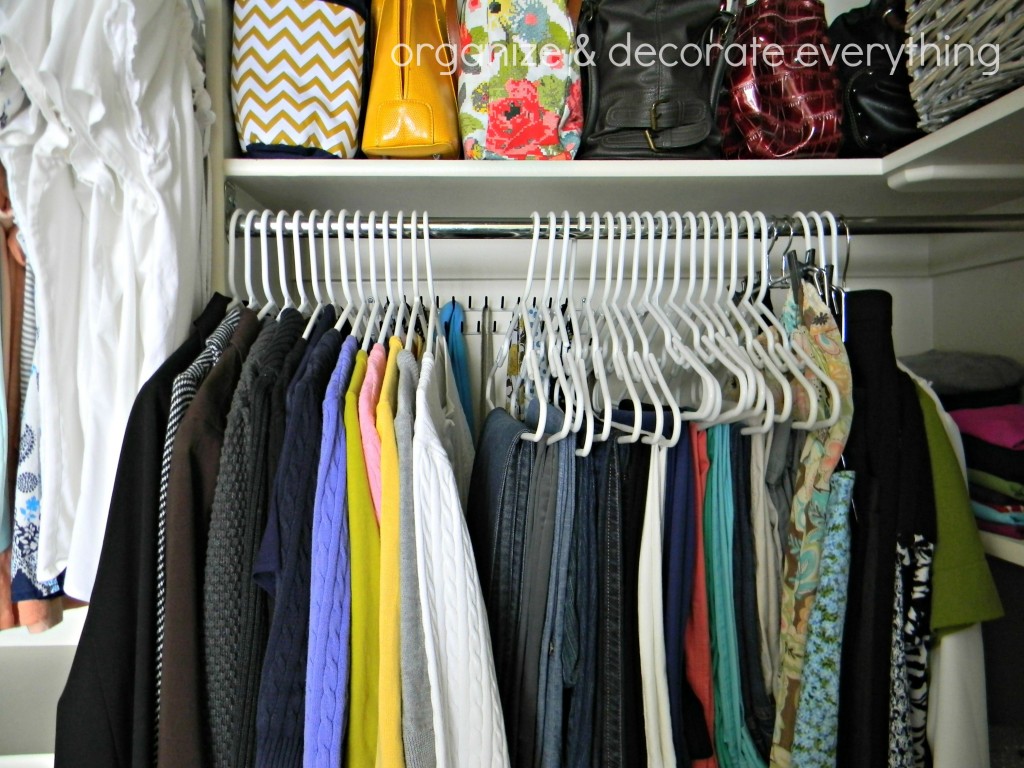
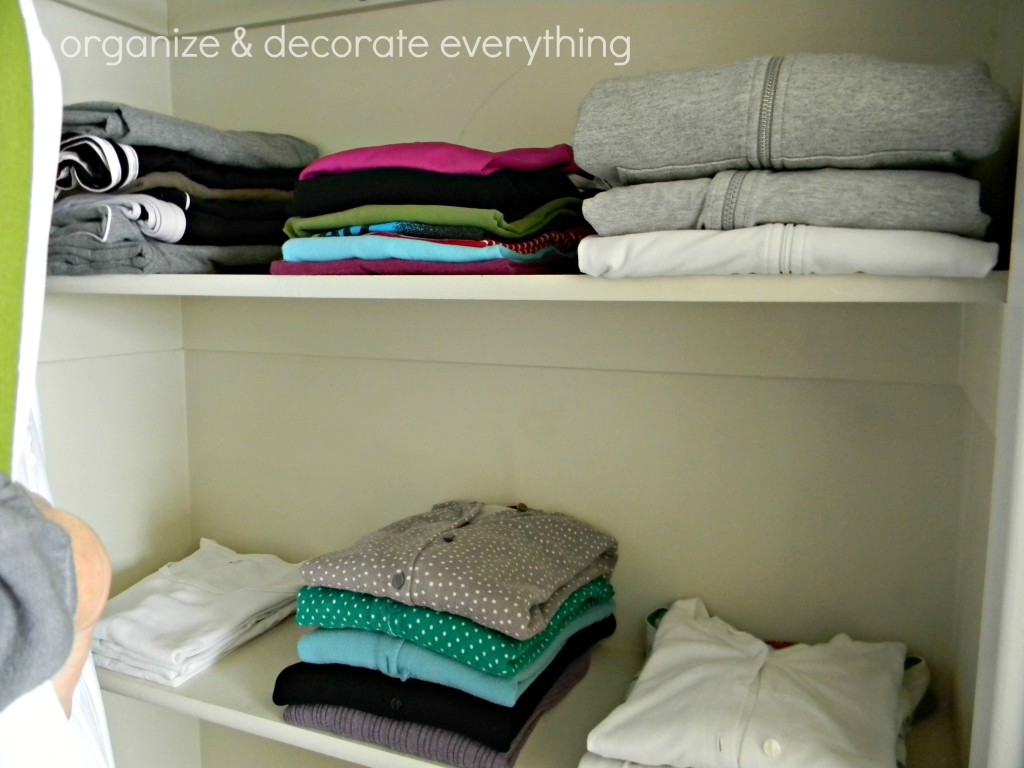
I like to store my exercise clothes, jackets, sweaters and tanks on shelves. If you don’t have shelves in your closet you can hang a portable hanging shelf unit from the rod. You could also add some stacking portable shelves if you have the floor space.

Master Closet Organization 6.1

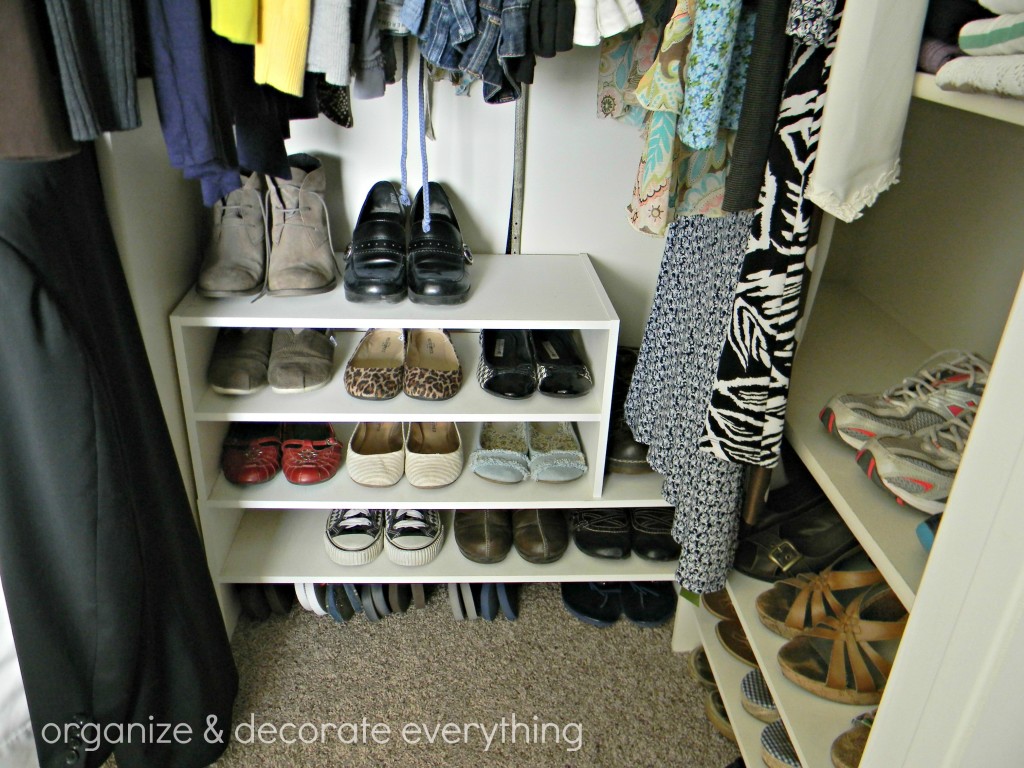
I also use portable shelves for shoes. It keeps them off the floor and easy to see. Try to use all available space but keep as much off the floor as possible. I’ve placed the shelves under the hanging clothes and under the shelves on the right side of the closet.

Master Closet Organization 5.1

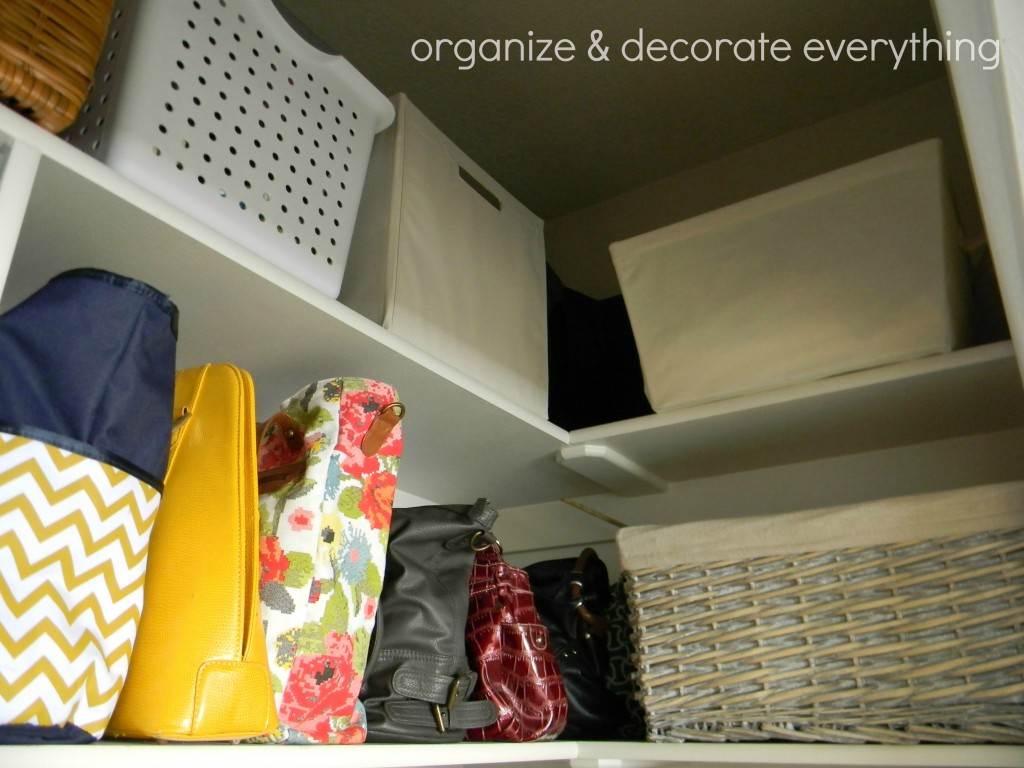
Store your bags out of the way but also easy to get to if you change often. If you have space to hang your bags that’s also a good option. My bags are stuffed with paper to help them keep their shape. Use baskets or bins to hold smaller objects to keep them corralled. It would be nice and pretty if containers matched perfectly but I use what I have. You don’t have to spend money to be organized.

Master Closet Organization 4.1

Store seldom used items on the very top shelf. The bags and baskets can also hold smaller, little used items. Use tags labeled with what’s inside if you can’t remember. Keep a fold-up stool in your closet to reach the high shelves.

Master Closet Organization 3.1

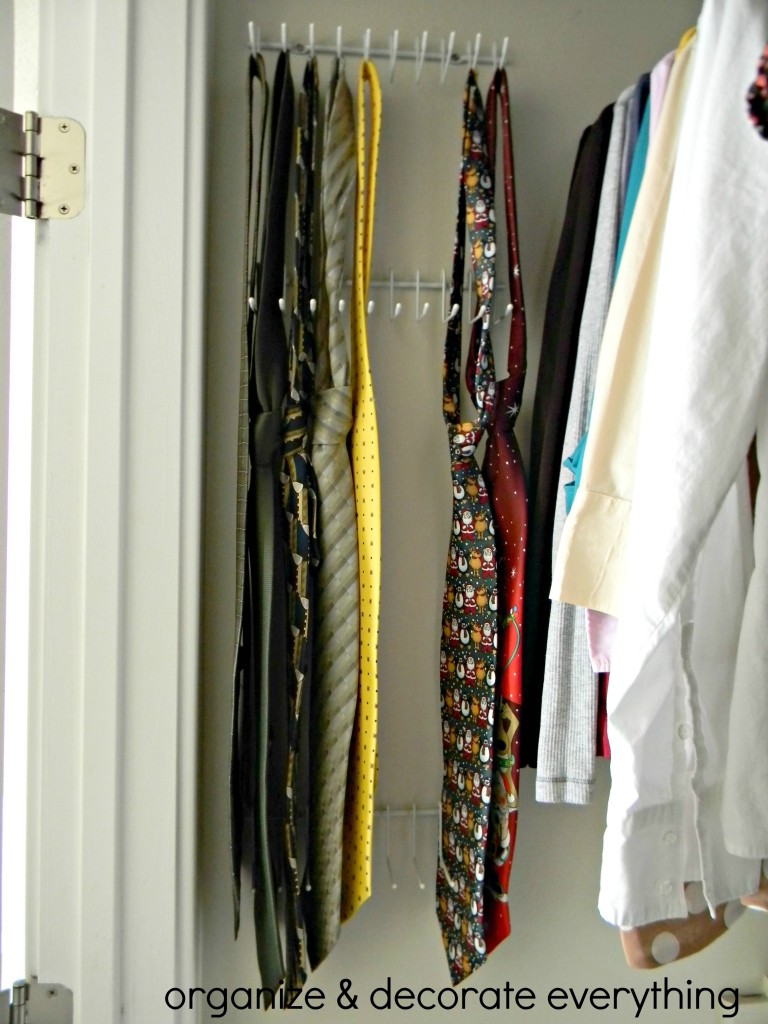
There’s usually space on the inside walls of a closet no matter how small. Utilize that space by hanging hooks to store ties, belts, bags, scarves, etc. They’ll be kept neat and tidy and you’ll have easy access to them.

Master Closet Organization 2.1

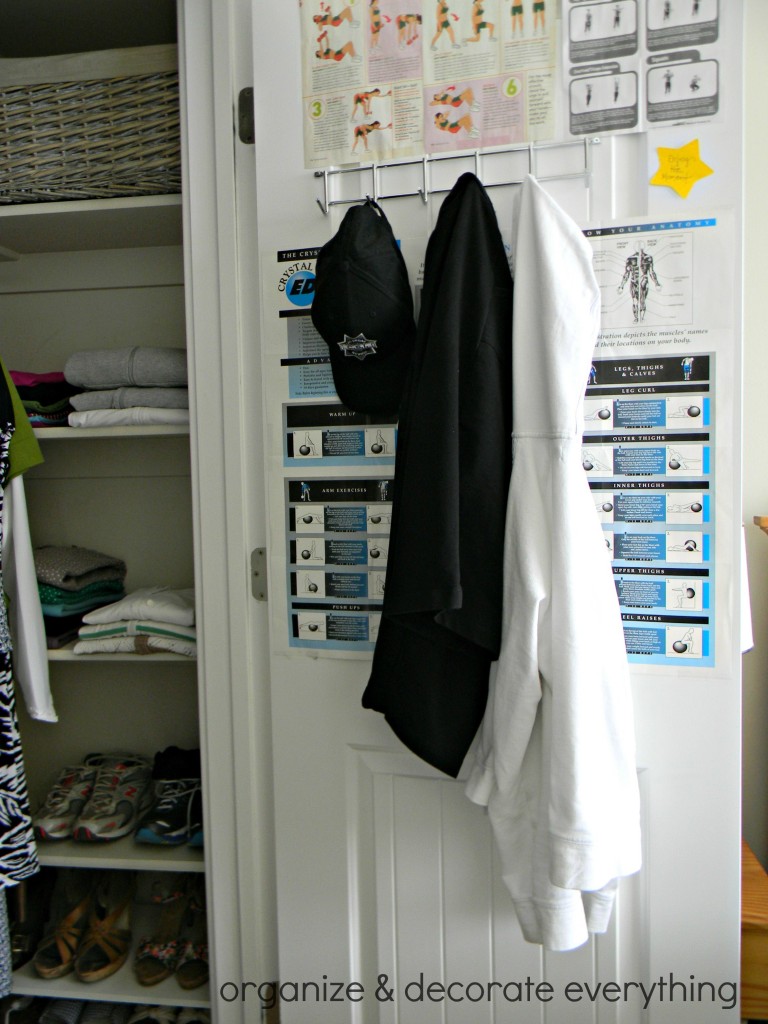
Don’t forget the inside of the doors. Use over-the-door organizers or hooks to hold things you use often. I have my exercise clothes, hats, and a jacket to grab quickly.

To keep things organized:
1- Have a designated space for every item.
2- Use labels for keeping track of things.
3- Return things promptly.
4- Don’t place things in your closet that don’t belong.
5- Hang regularly used items from hooks.
6- Before returning things to your closet ask yourself if you really want to keep it.
7- Don’t store things behind other things.
8- Do a quick straighten up every few weeks to stay on top of it.
9- Take a picture of your closet once you have it organized so you can remember how great it looks.

{ 6 comments }

Gluten-Free Almond Crunch Bars

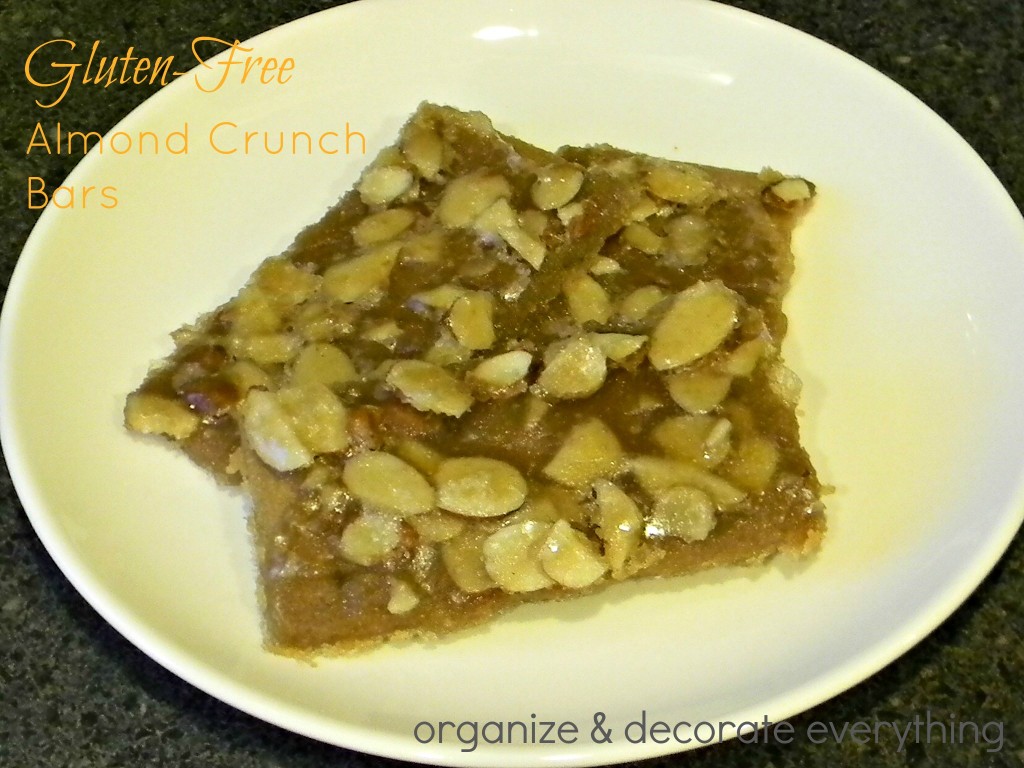
Are you gluten-free? Here’s a quick and easy treat for you. Even the non gluten-free ones will love it! Be prepared for a sugar rush.

Gluten Free Almond Crunch Bars .1

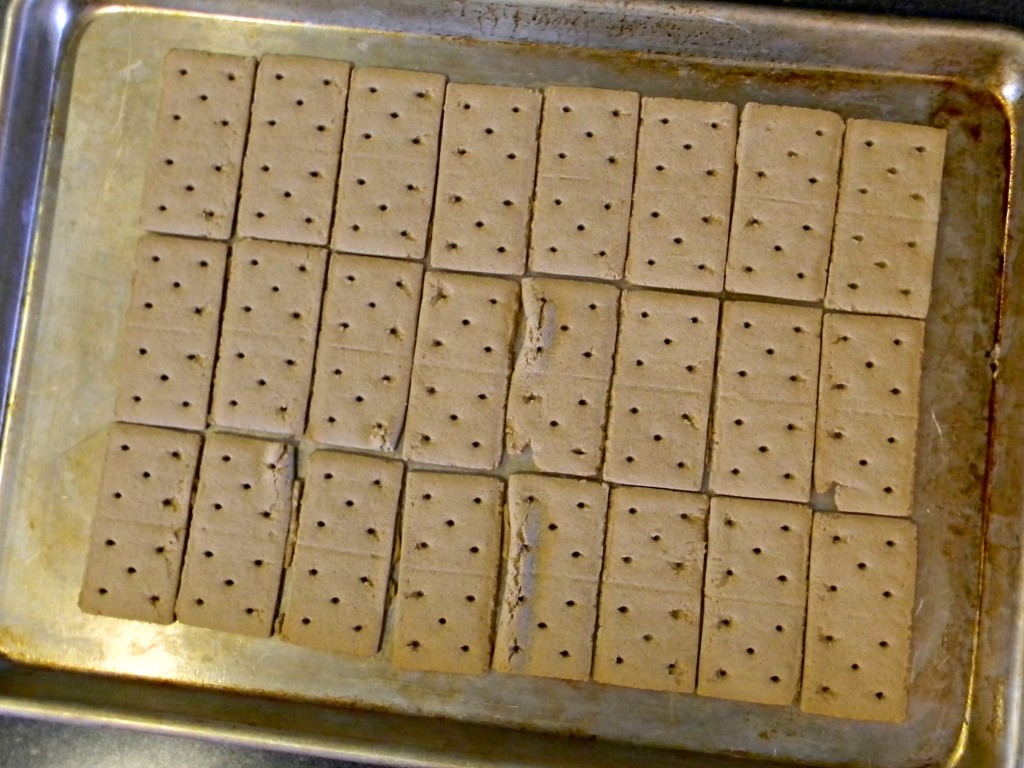
1 package gluten-free graham crackers (or 24 crackers)
3/4 cup unsalted butter
3/4 cup brown sugar
1/2 -1 cup toasted sliced almonds

Preheat oven to 350 degrees.Lightly grease  a cookie sheet (or use parchment paper).

Gluten Free Almond Crunch Bars 3

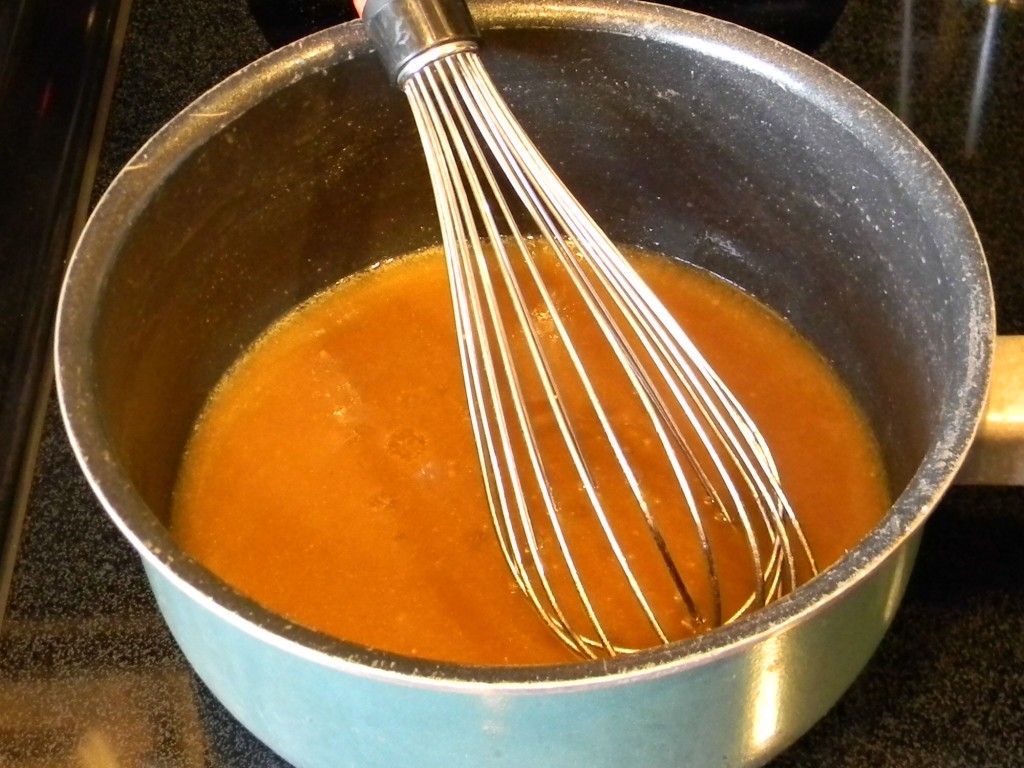
In a saucepan, melt butter over medium heat. Whisk in brown sugar until combined well, but not boiling. Remove from heat and stir in almonds.

Gluten Free Almond Crunch Bars 2

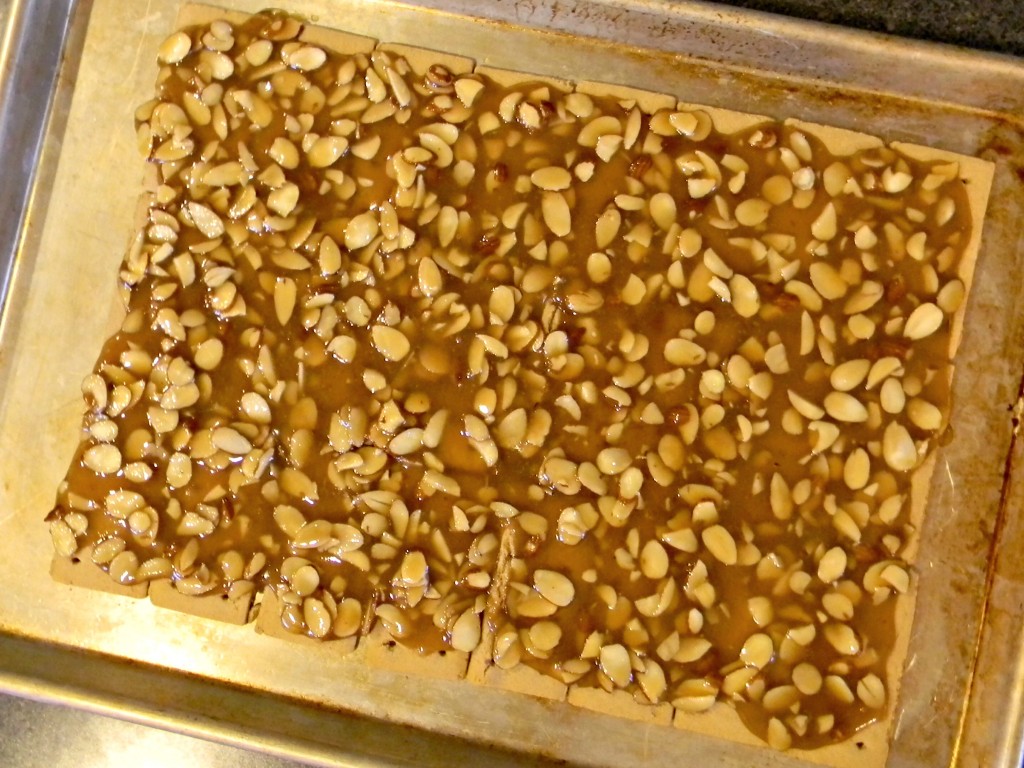
Spread mixture over graham crackers.

Gluten Free Almond Crunch Bars 1

Bake for 8-10 minutes (until top mixture is boiling). Let cool and trim bars of excess mixture. Store in an airtight container.

Enjoy!

{ 0 comments }

Trinket Push Pins and Magnets

push pins and magnets.1

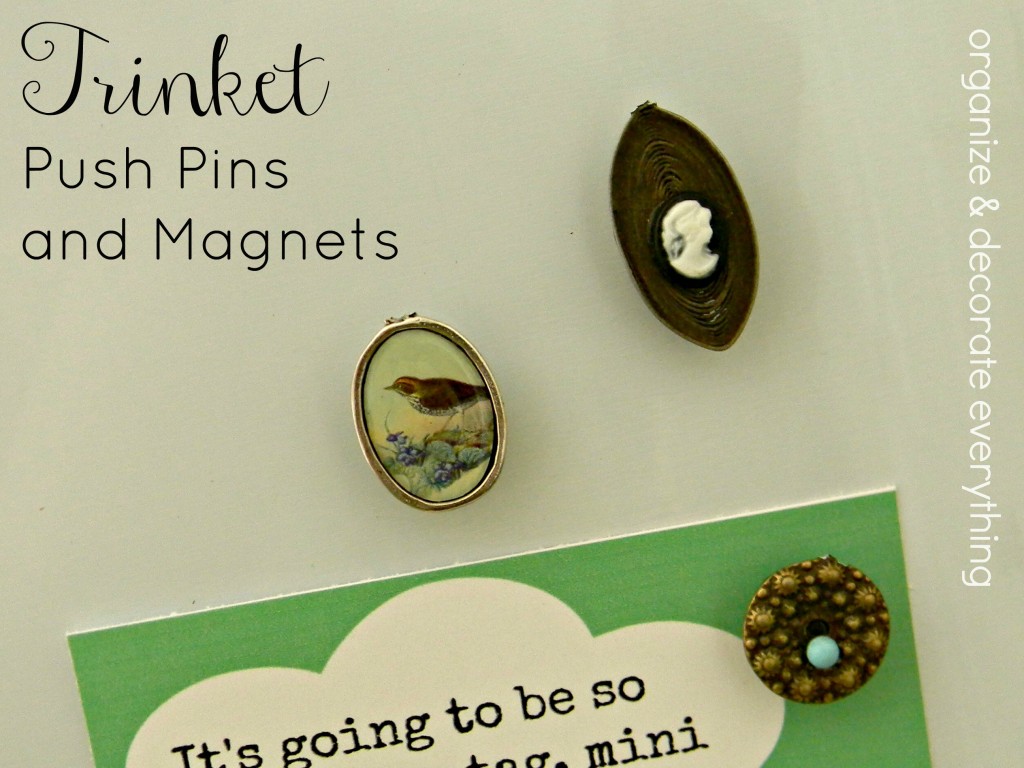
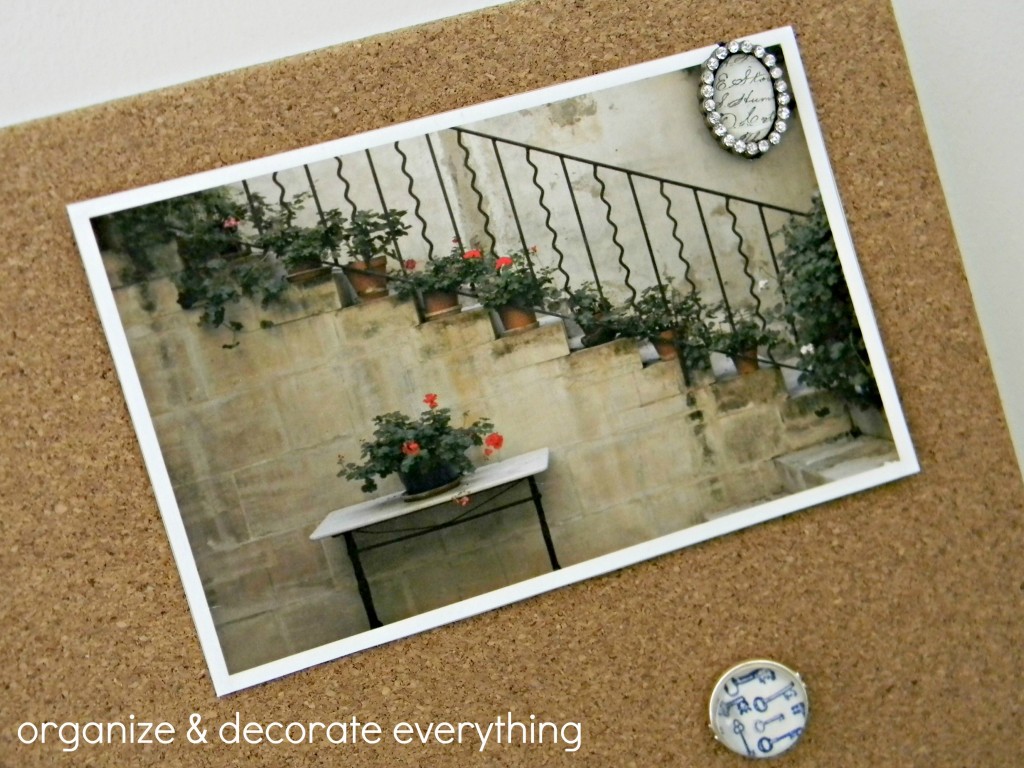
This project is far from rocket science but I needed some really awesome looking magnets and push pins to go on my new cork board wall system. And since it’s another project using just “what I have on hand” I thought it might inspire you to do the same.

push pins and magnets 6.1

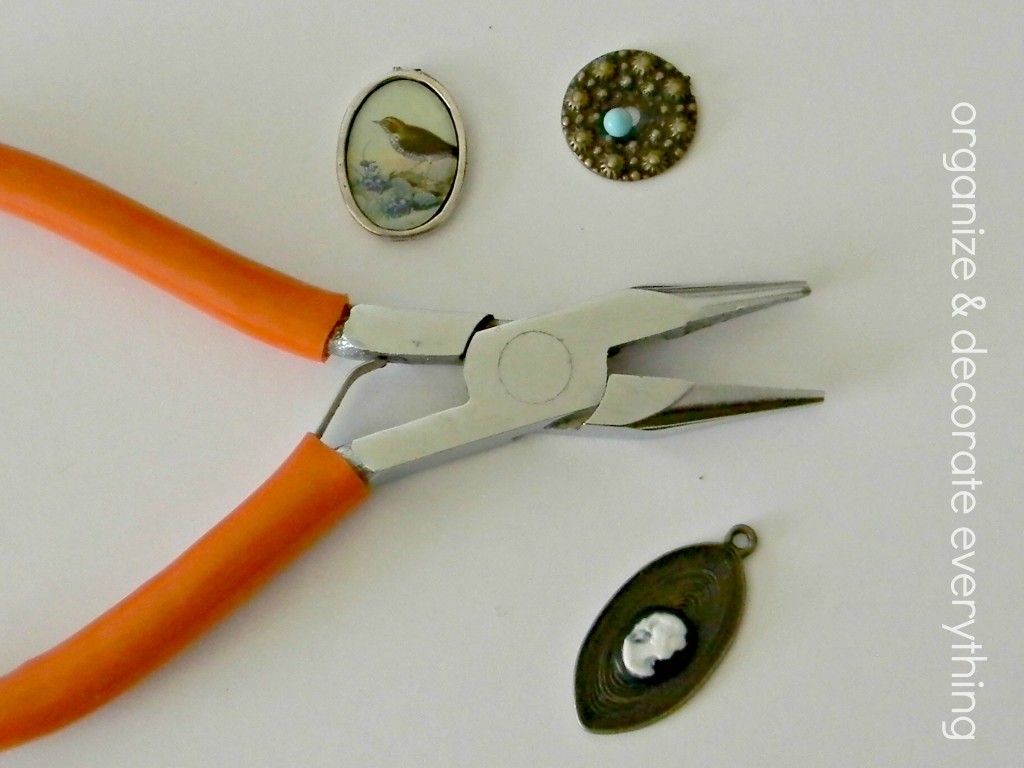
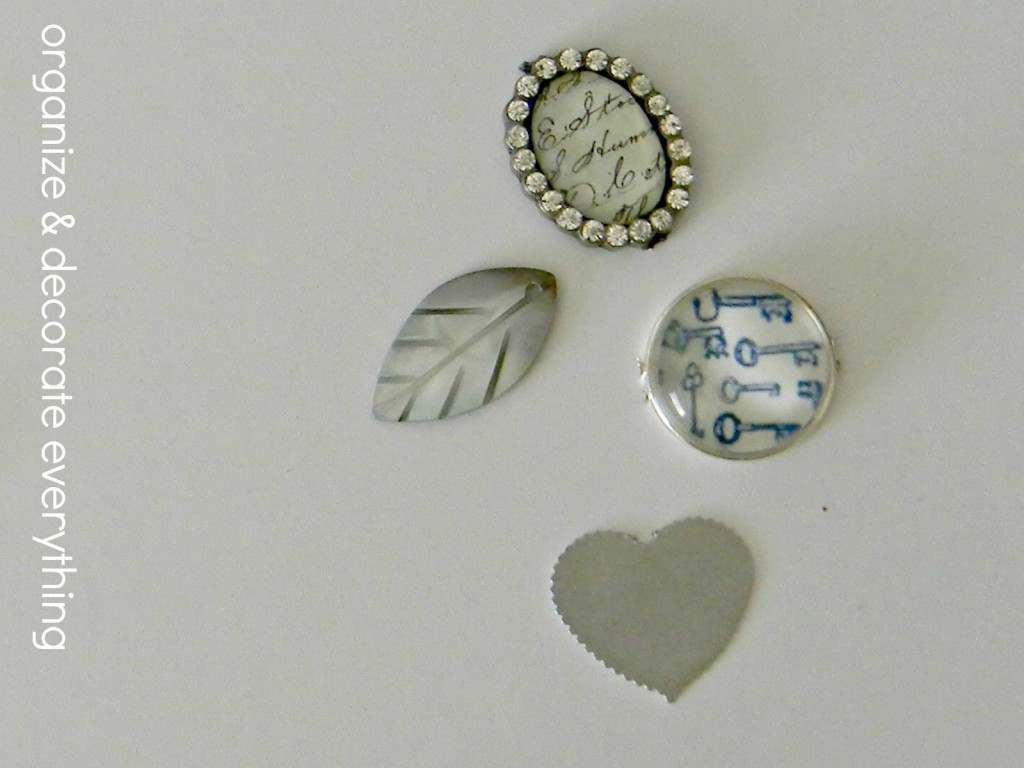
I found some really pretty and interesting jewelry pieces in my stash. I used the pliers to take the jump ring off and then snapped the loop off the actual piece.

push pins and magnets 5.1

The loops didn’t come off perfectly but you could take a metal file to them if you’re really concerned out it.

push pins and magnets 4.1

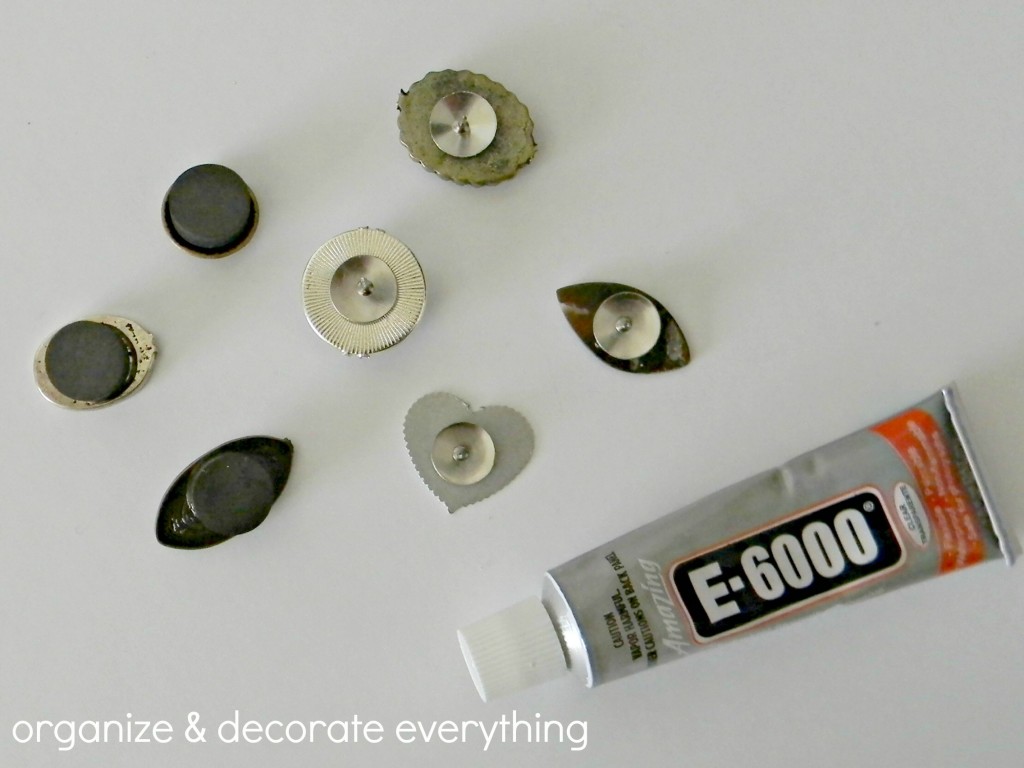
I used E6000 glue to attach the tacks and magnets to the pieces. This is the perfect glue for projects like this. Give it a few hours to dry and use it in a well ventilated area.

push pins and magnets 3.1

I love mix and matching pieces and repurposing them into something I will enjoy. I mean who wants something that looks like everyone else?

push pins and magnets 2.1

So do you have anything lying around your house that needs repurposing? Make it a goal to get it repurposed this week and start enjoying it.

{ 2 comments }

The Story of Our RV (the cabinets)

You can read The Story of Our RV (part 1) for some background on our RV journey. Since we basically gutted the RV we can pretty much do whatever we want to the inside. We decided we didn’t love the traditional RV look and wanted to make it look more like a home. I can’t wait to share with you all the things we are going to be doing to it but let’s start with the cabinets today.

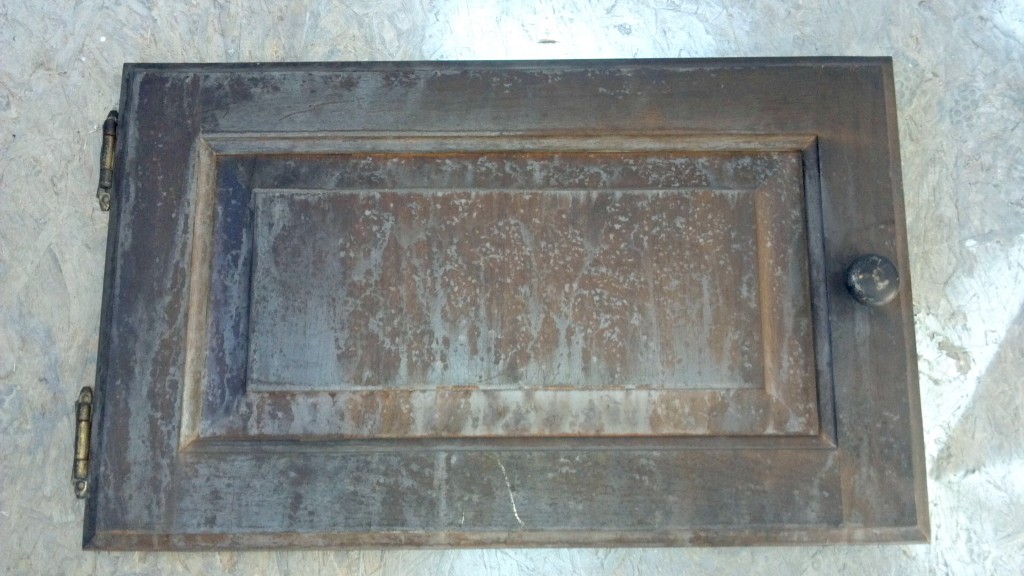
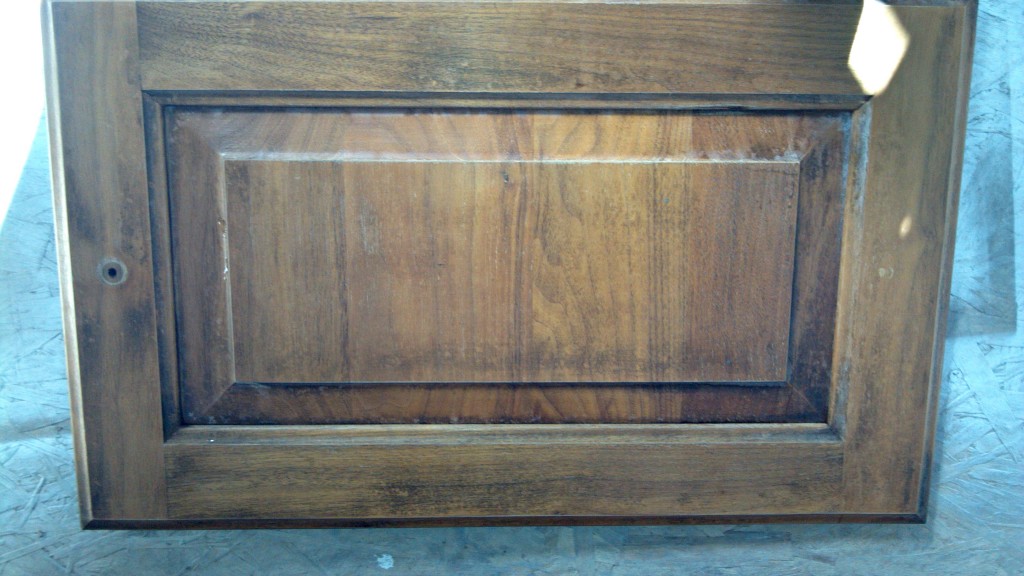
These cabinets had fire damage and also damage from the fire extinguisher chemicals. This is how they looked before. Hubby took the knobs and hardware off then got to work.

RV cabinets Dirty

He used SOS pads and scrubbed and scrubbed and scrubbed. He seriously thought his arms were going to fall off. After all that scrubbing they were looking a lot better and didn’t have the smoke smell anymore. He let them dry overnight before he continued with the painting.

RV cabinets Clean

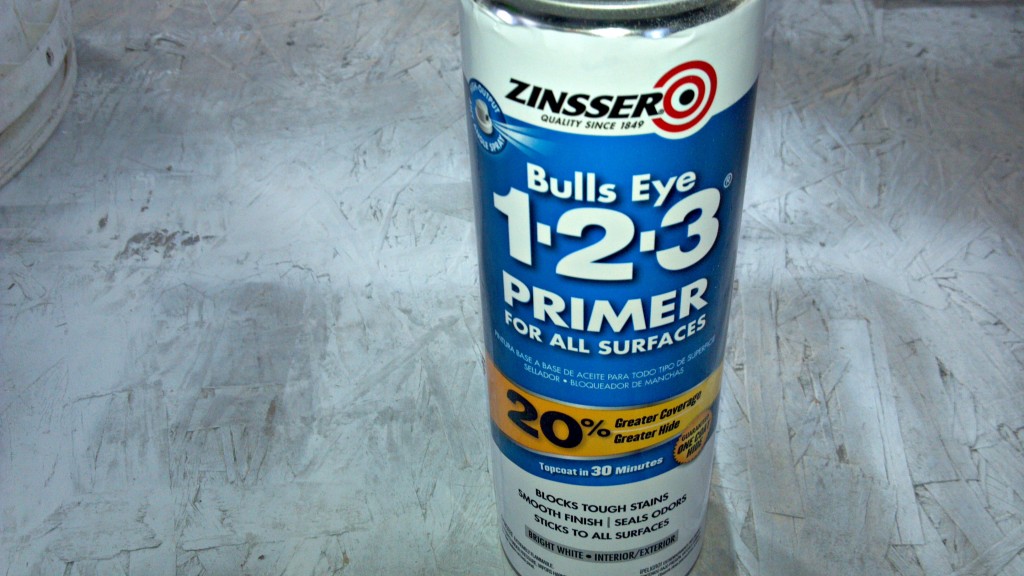
I will spray paint over any other way of painting if possible. Hubby is finally on board with me and everything that has been painted so far in the RV has been spray painted. He started with Zinsser primer and now swears by it. He could do a very convincing commercial of it’s awesomeness.

RV cabinets Primer

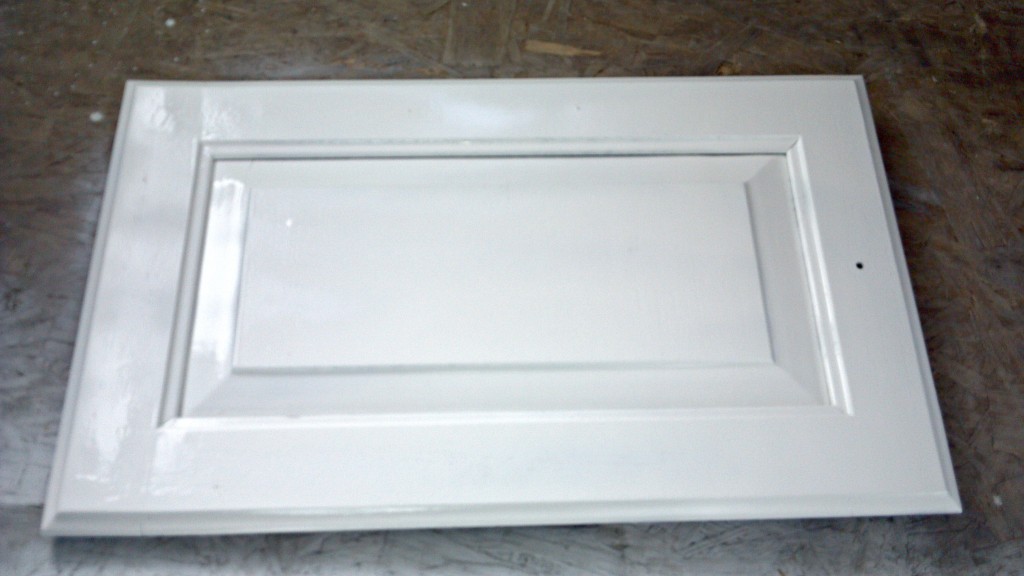
It sprays on totally smooth and blocks any stains that are still on the cabinet doors. It was dry to the touch in 15 minutes but he waited and hour before applying the top coat.

RV cabinets Primed

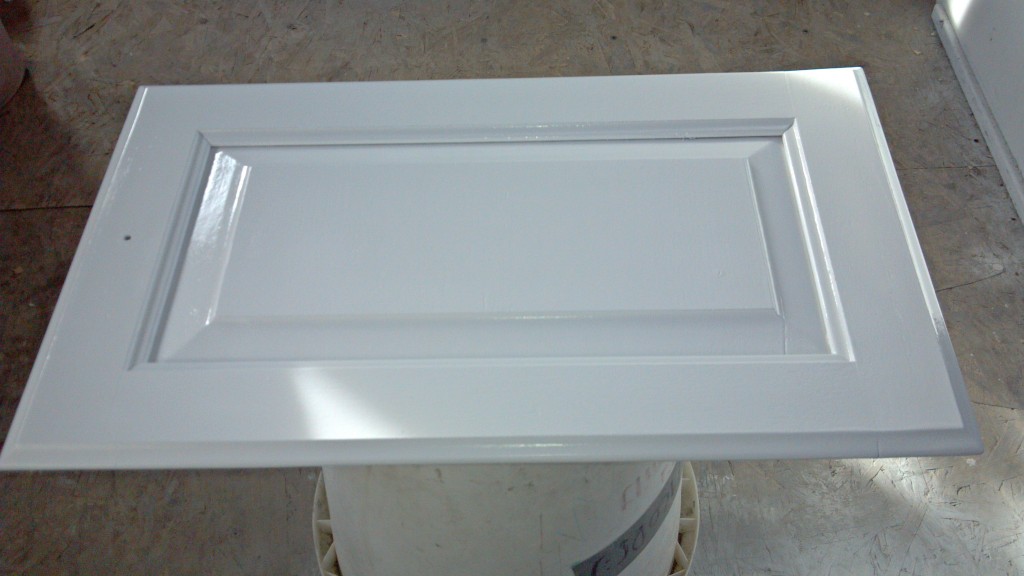
We used Valspar White Satin spray paint for the top coat. It went on totally smooth also. The cabinet doors look like they came this way from the manufacturer. Hubby let them dry overnight before adding the hardware.

RV cabinets Topcoat

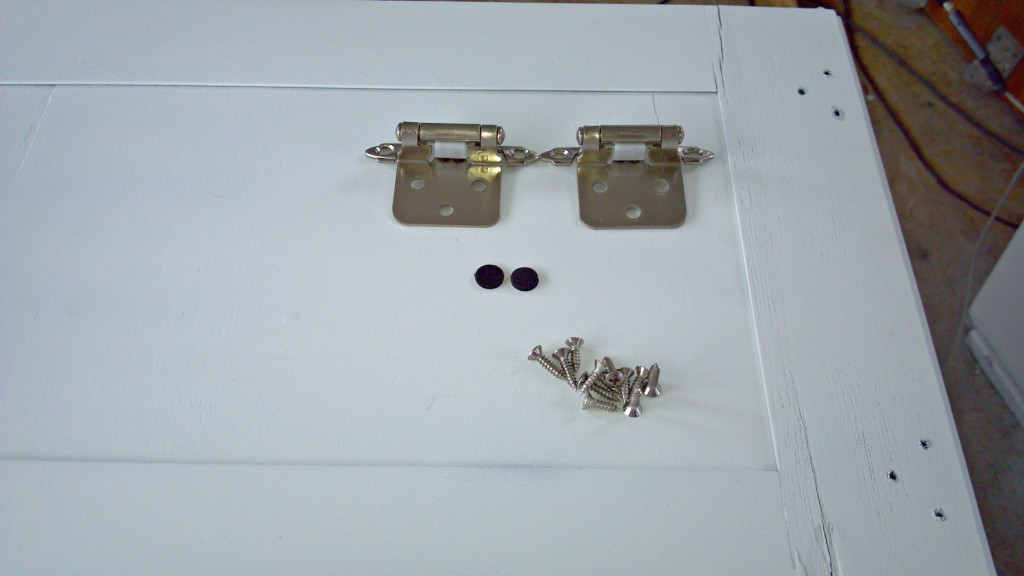
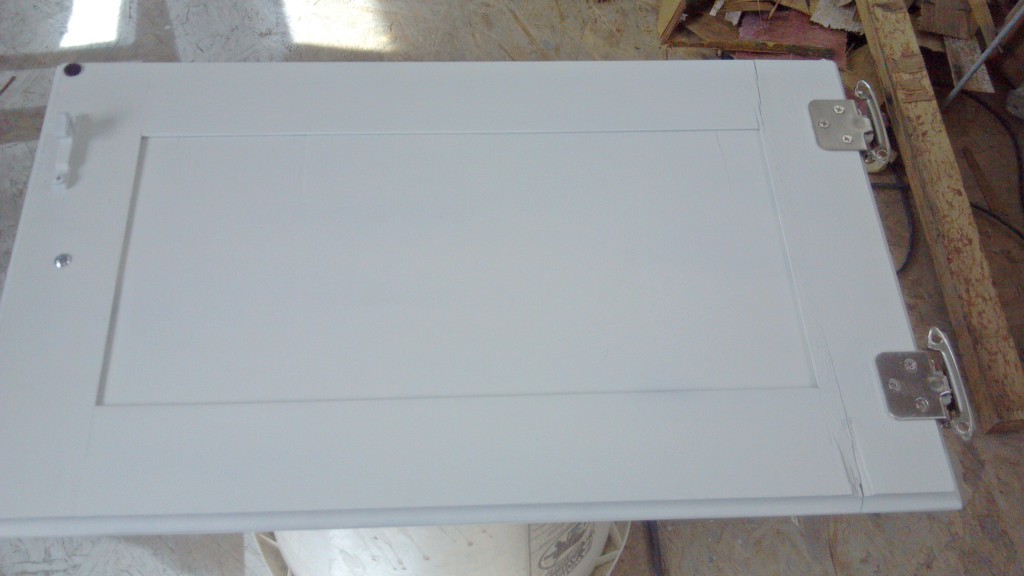
The old hinges were brass and the old knobs were wood. We bought brushed nickel knobs and hinges to update the cabinet doors. They were really quite inexpensive too. This is all being done on a very tight budget. I will share cost with you when I can.

RV cabinets Hardwareoff

The hinges were the same size but the holes didn’t line up perfectly. Luckily the new hinges hid the old holes. The new knobs were easy to replace by putting them in the same holes.

RV cabinets Hardwareon

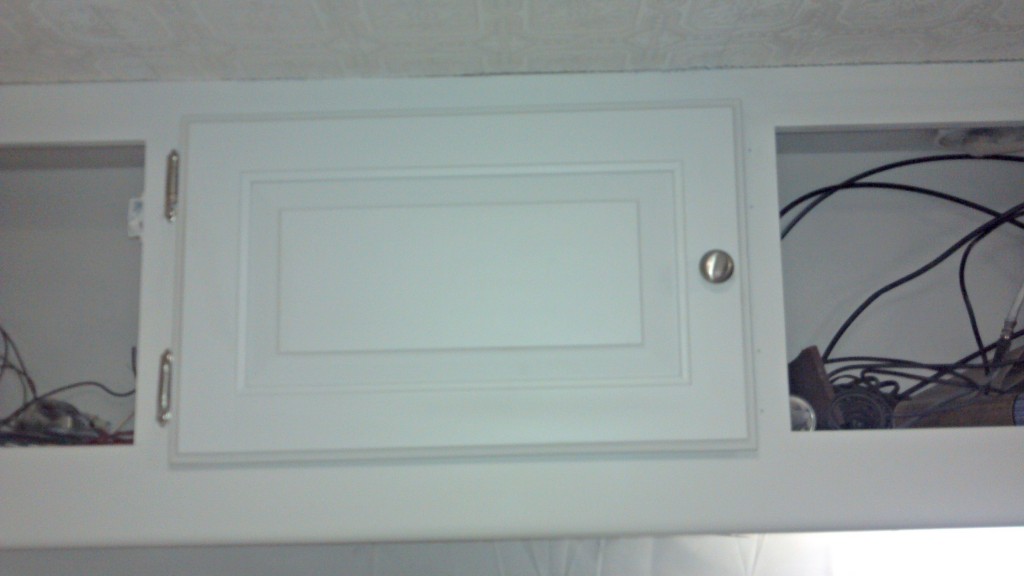
Pretty amazing transformation, don’t you think?

RV cabinets Installed

Here’s another quick before and after, just for fun. I love how they turned out!

RV collage

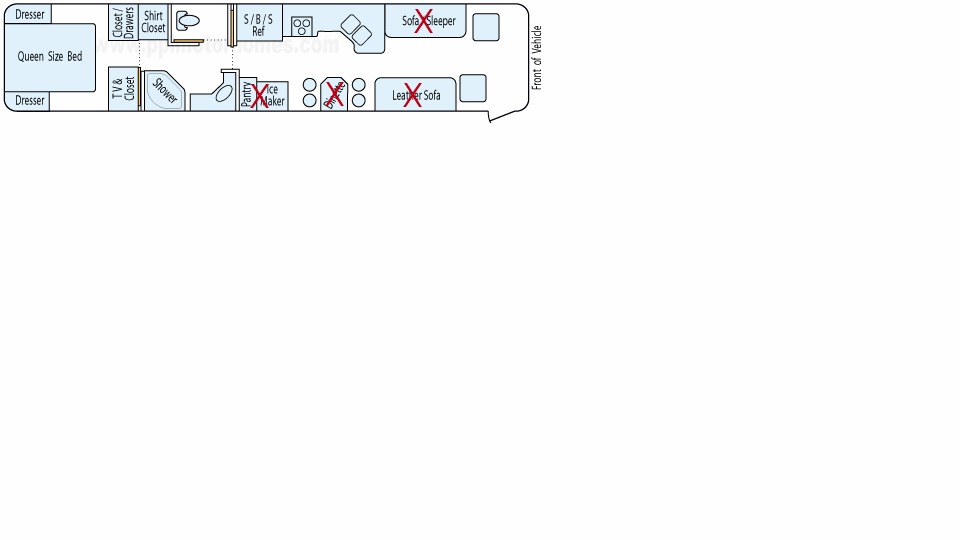
Here’s the basic floor plan but we’re changing it a bit. He’s working on the front half right now, which is on the right side of the screen. The kitchen area is basically finished as is the front driving area. Bunks will be going where the dinette, icemaker, and pantry are now. A dinette will be where the leather sofa is and a new sofa sleeper will be going where the old sofa sleeper was. Still a lot of work to do, but I’m excited to keep you updated.

RVFloorplan now

{ 8 comments }
About Me | Disclosure Policy | Copyright Policy | Privacy Policy | Contact Me