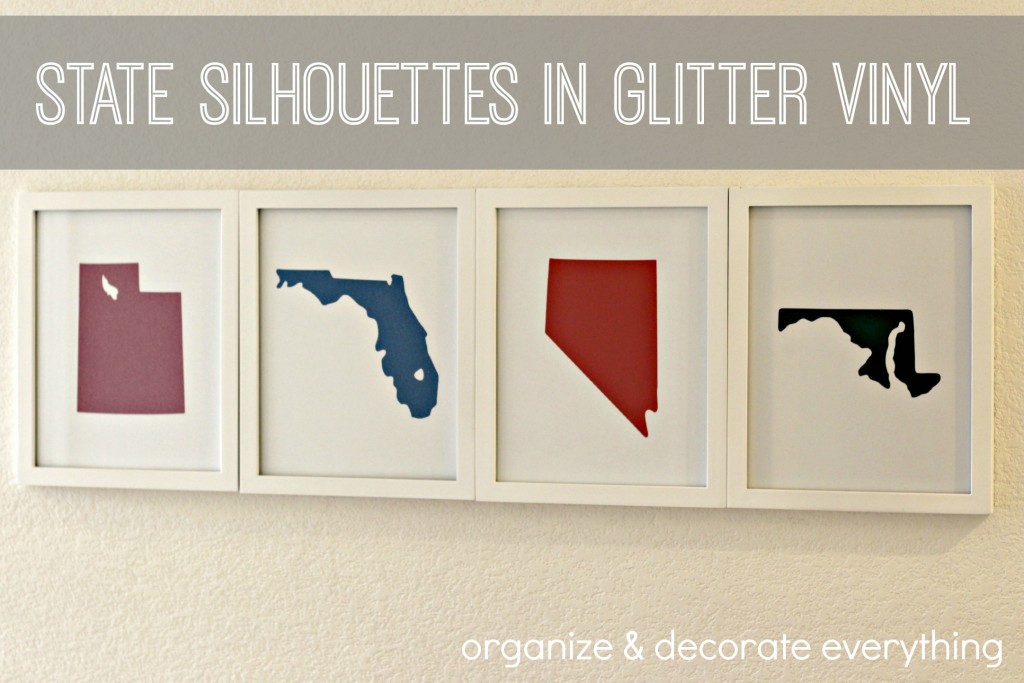
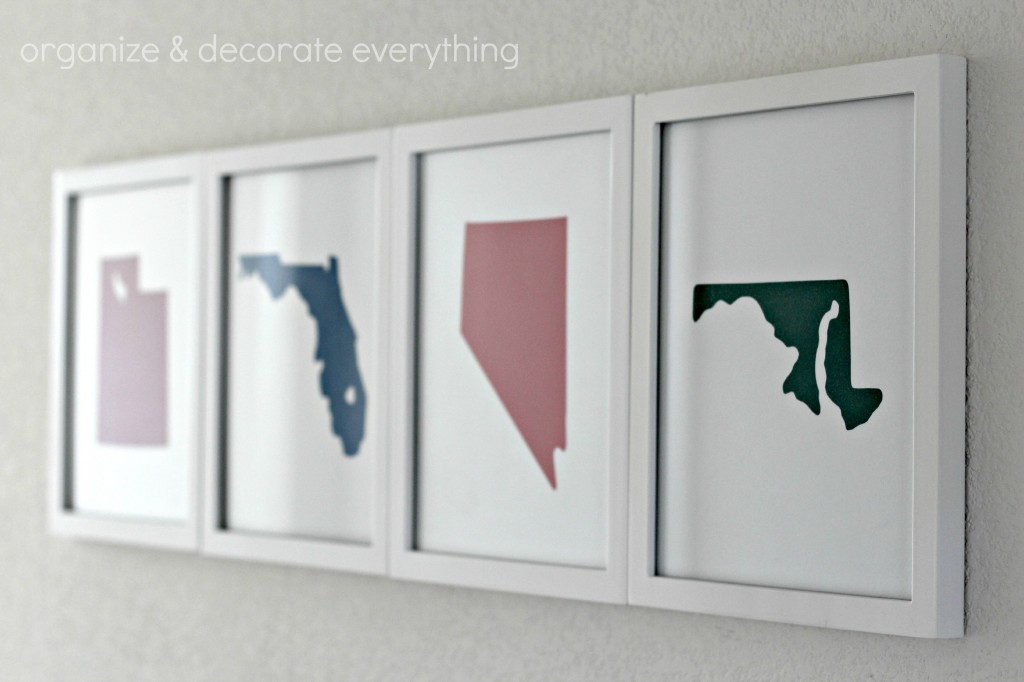
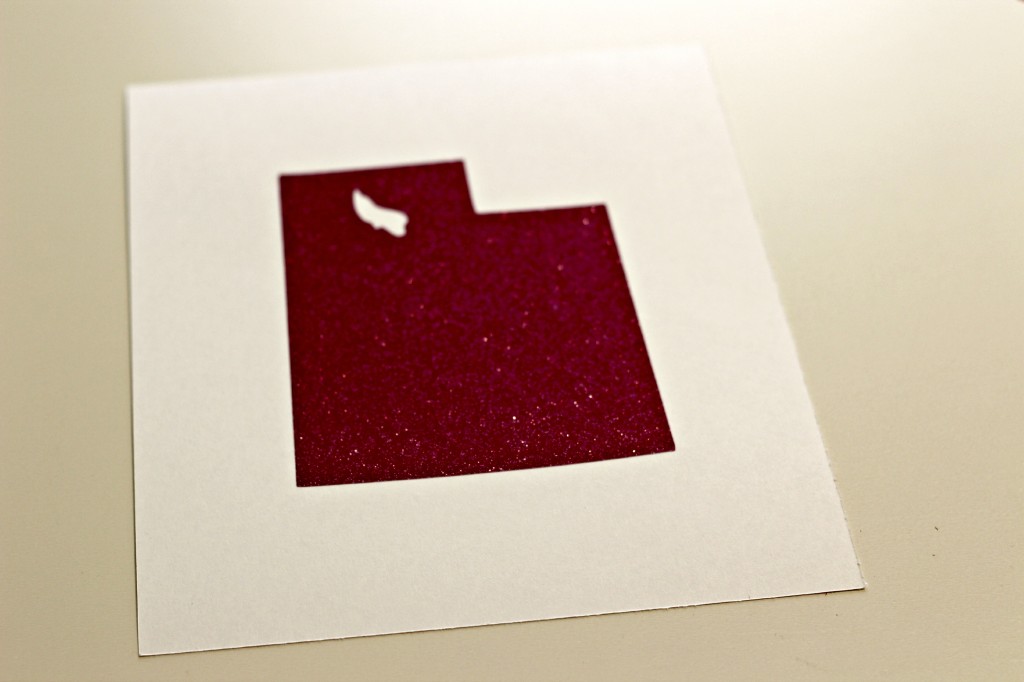
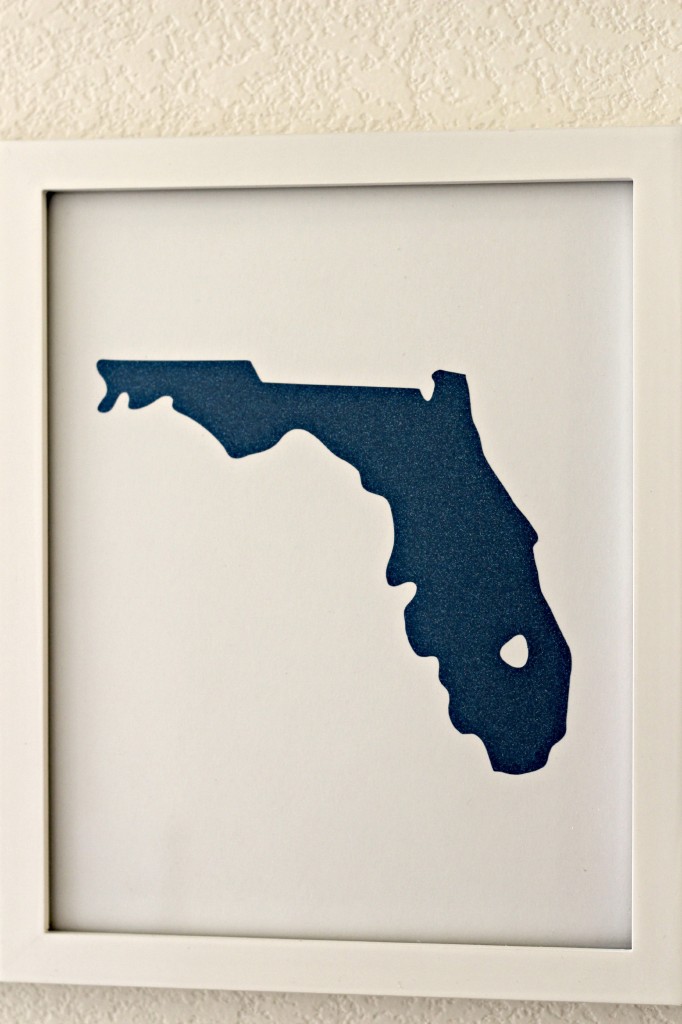
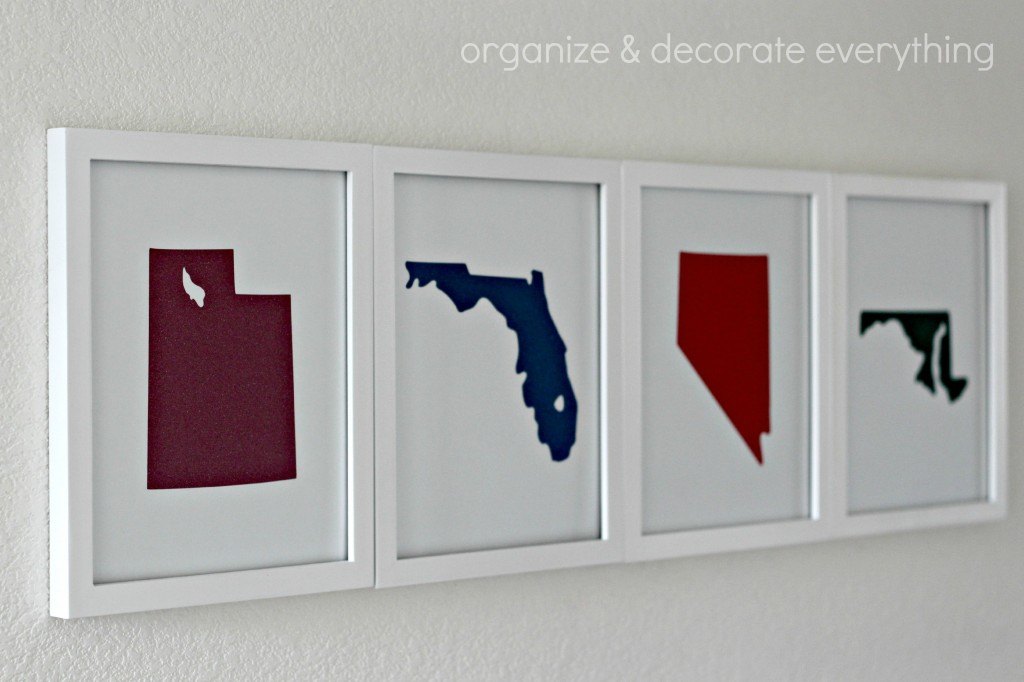
Can I just say, I am more than excited about how these turned out. I absolutely love them! I wanted to show in a fun way, where we have lived as a family. They’re on the wall across from the kids rooms so I wanted them to be simple and bold. The white frames and card stock keep them simple while the glitter vinyl adds just the right amount of boldness.
Supplies:
Frames Glitter Vinyl
White Cardstock
Scissors
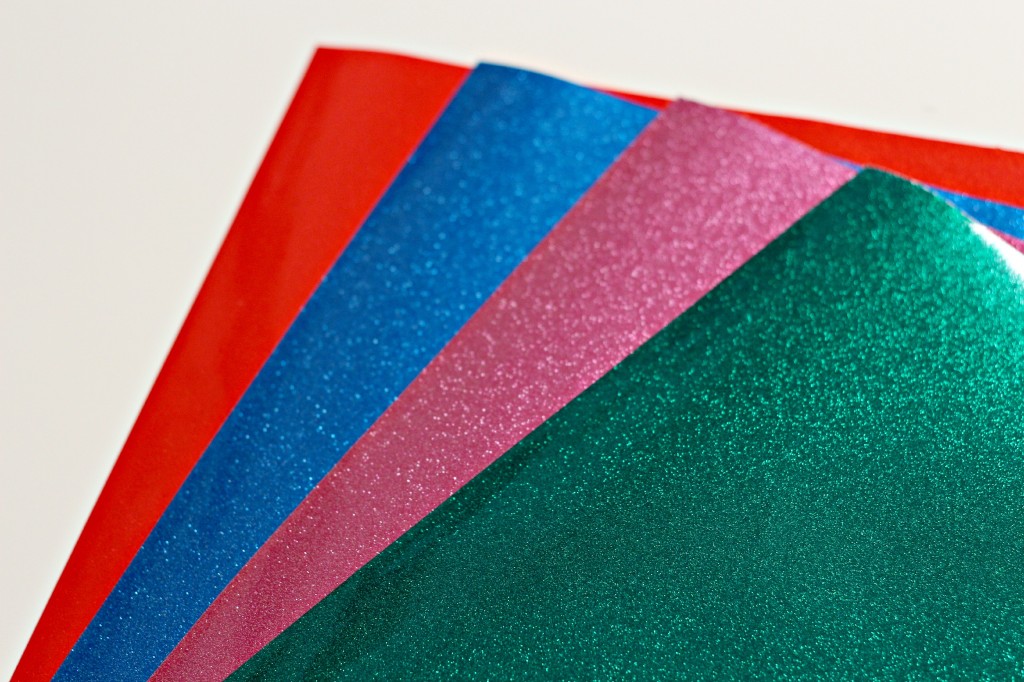
Glitter vinyl is hard to photograph but you can see the true colors pretty well here. They’re a lot brighter in real life than they are behind glass in a photo.
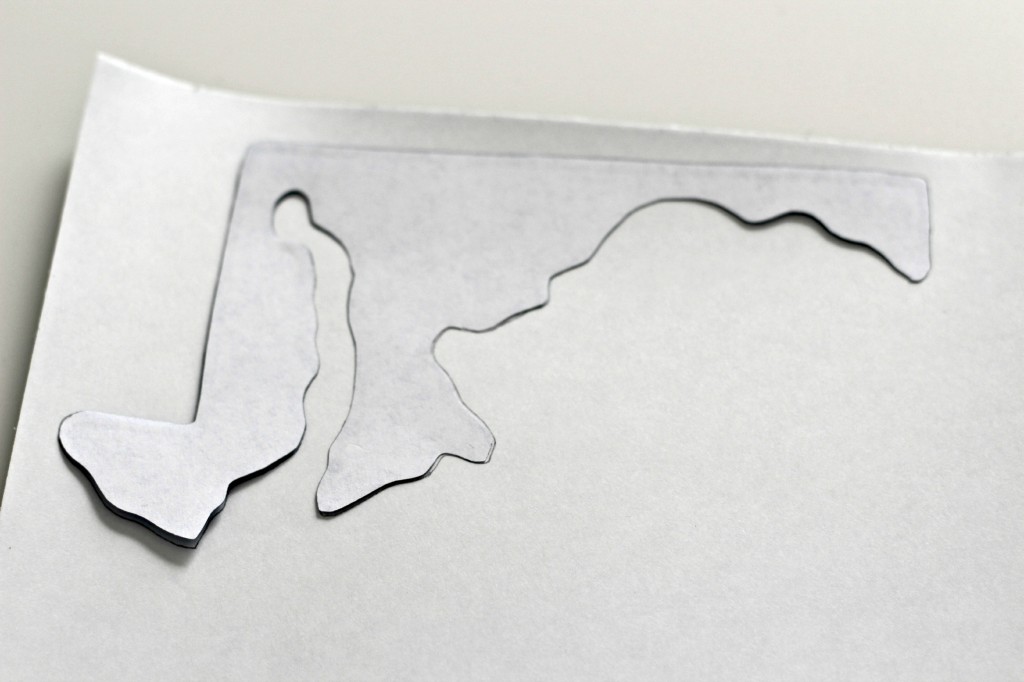
Cut your states using a cutting machine or they can easily be cut with scissors. I found an image, sized it, printed it, then cut it out. Before you trace the image onto the back of the vinyl, make sure to flip the image so it will be correct from the front.
Here they are cut out. Can you name the states we’ve lived in?
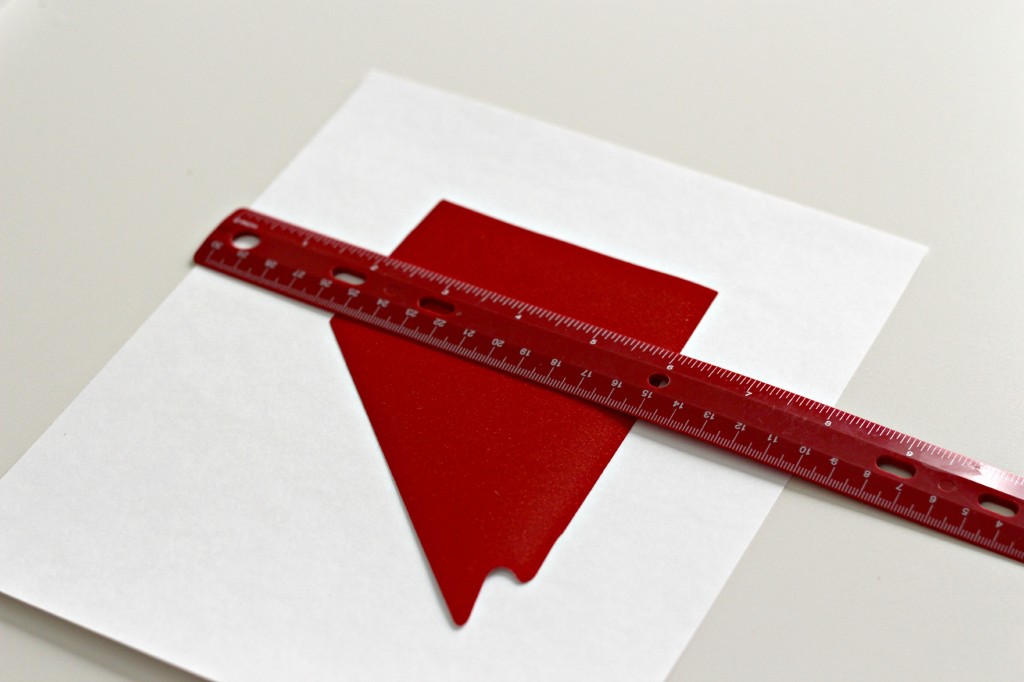
Cut the cardstock to fit the inside of the frame then center the state on each one by using a ruler.
Peel off the backing a little at a time and apply it to the paper. You can’t use the transfer paper on this project because it will stick to the cardstock.
Then pop it in the frame and you’re done.
I decided to hang the frames side by side and touching each other. I love the big impact they have for such a small cost. Stay tuned for another vinyl project coming next week.
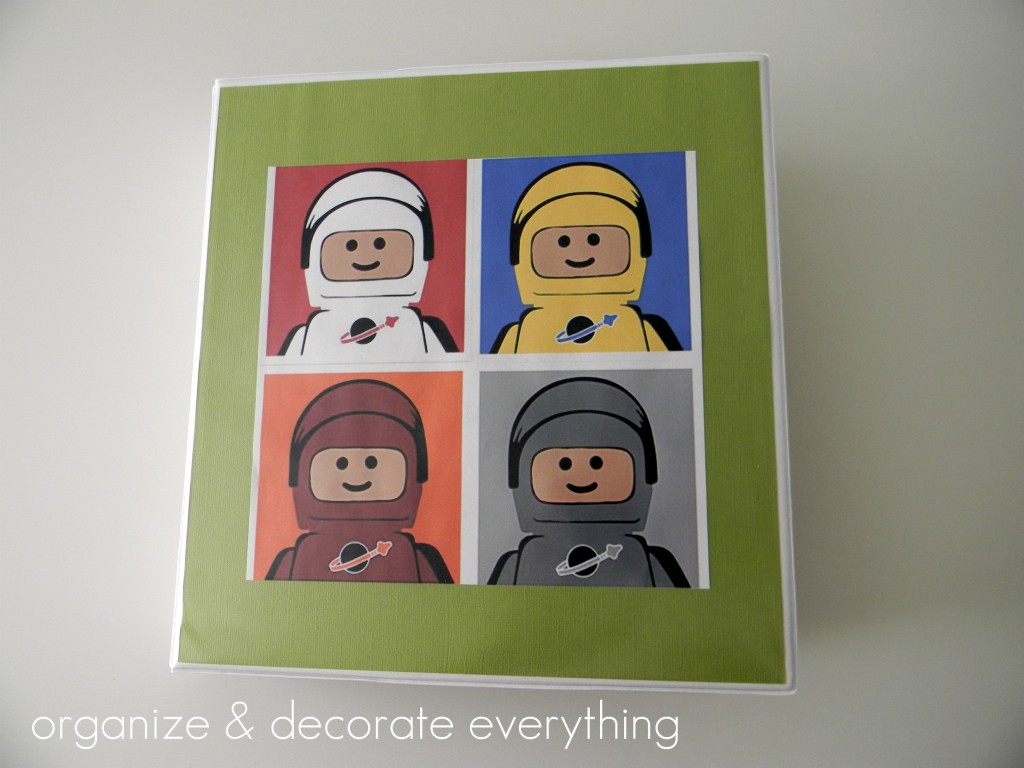
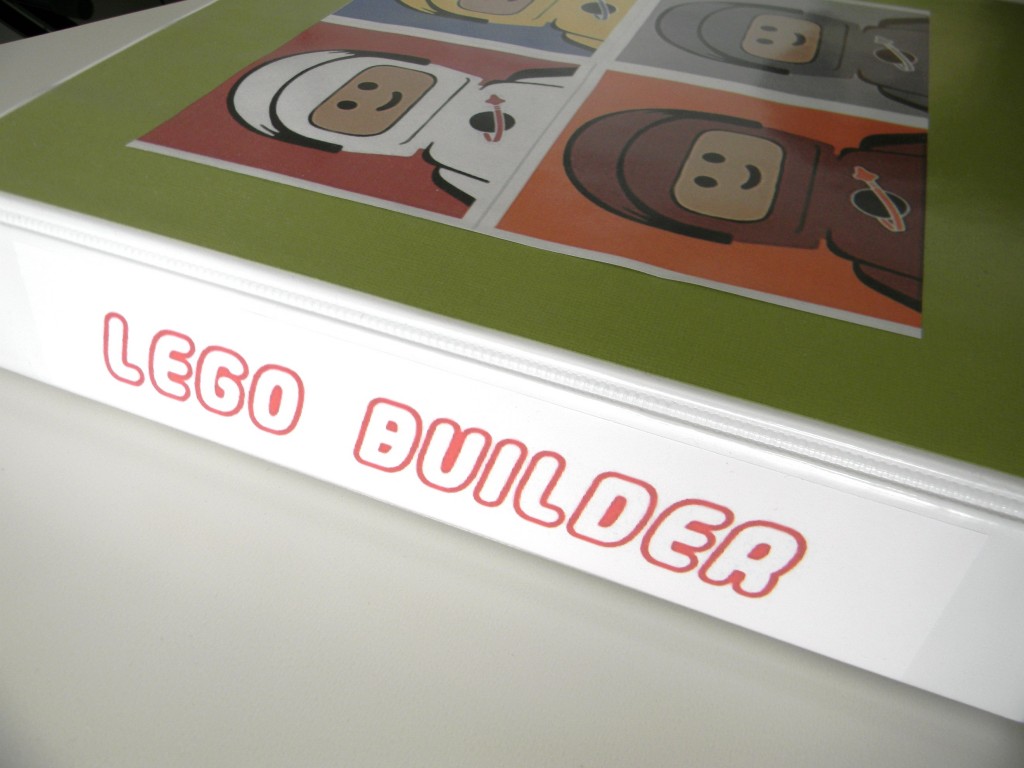
It’s been 2 years since I shared Ammon’s LEGO binder. He still keeps all his LEGO instruction booklets in his binder only he has 2 now. His collection keeps growing and growing. If you have a LEGO lover in your family you’re going to want these printables.
I’ve had lots of requests to share the cover printables so here they are. The label for the side of the binder is from obSEUSSed. You can print it out by clicking over to her blog on the link.
You can print the cover printable from this post. I printed it out then adhered it to a solid piece of cardstock cut to the size of the binder. Once you click on the link you can resize the printable on your computer.
If you would like to use this printable for yourself, just click the link below. Printables are for personal use ONLY and are available to subscribers of Organize & Decorate Everything. SUBSCRIBE NOW to get full access to all printables.
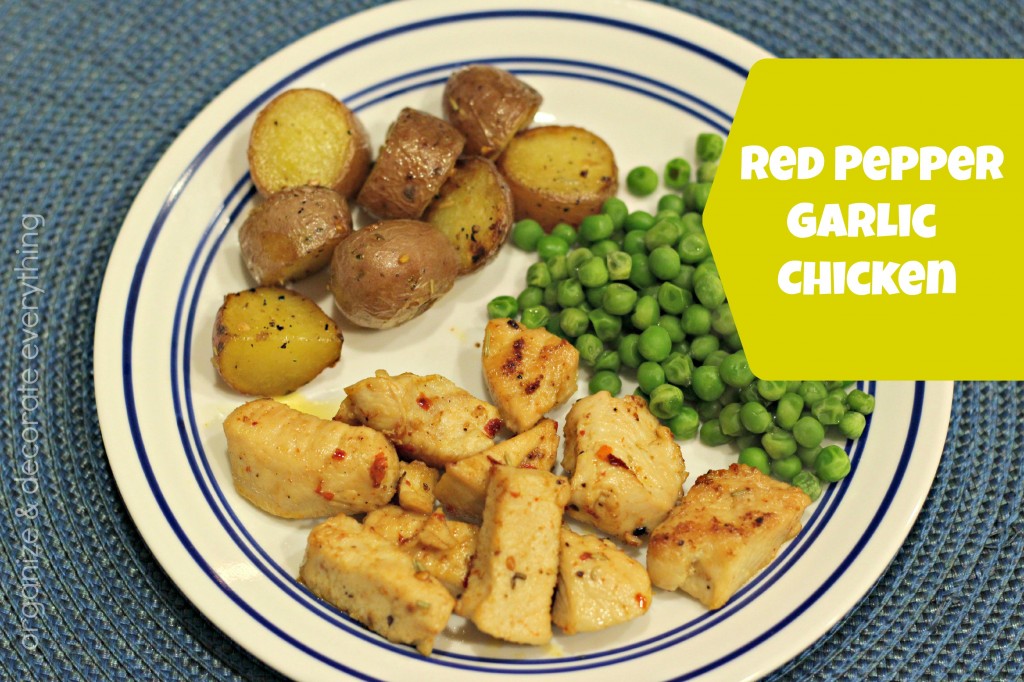
This has quickly become my favorite way to prepare chicken and one of my family’s favorite ways to eat it. Red Pepper Garlic Chicken is delicious!
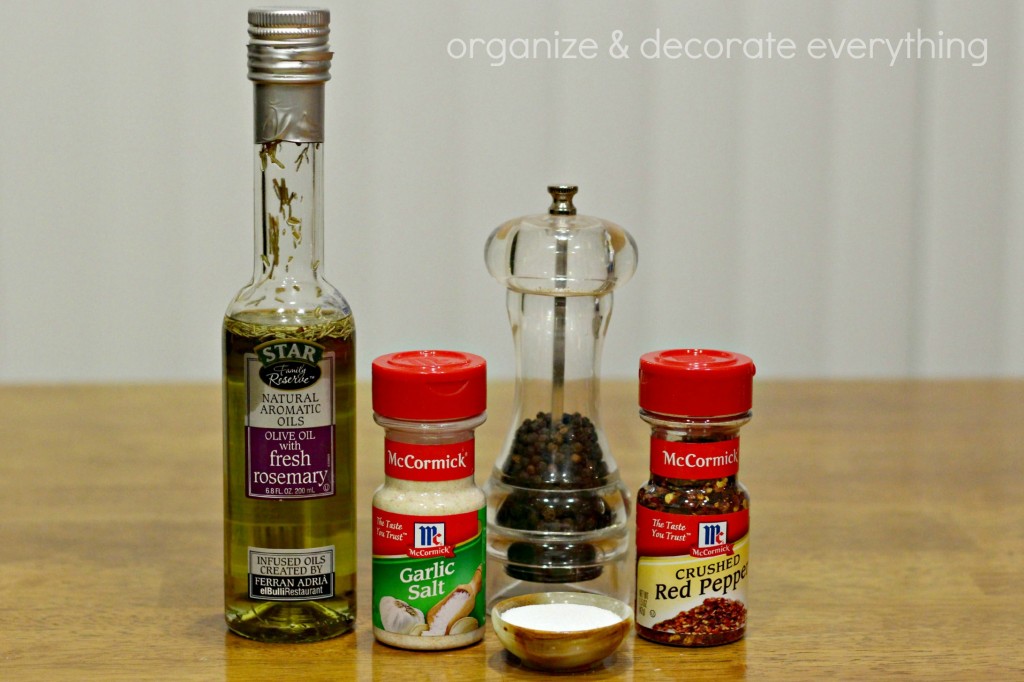
Ingredients:
4 chicken breasts
1/4 cup butter
3 tbsp rosemary olive oil
1 tsp crushed red pepper
1 tsp garlic salt
1 tsp pepper
Cut chicken into bite size pieces. Saute in 1/4 cup butter and 3 tbsp rosemary olive oil 10-15 minutes. Sprinkle with garlic salt, pepper, and crushed red pepper. Cook thoroughly, stirring frequently.
Season to taste. Some days I add a little more crushed red pepper, it’s your own preference.
Here’s a bonus recipe for my Roasted Red Potatoes. I don’t have exact measurements because I just season to taste, but here’s the ingredients.
Olive Oil
Rosemary
Minced Onion
Pepper
Salt
Wash and cut small red potatoes. Place in bowl, drizzle in olive oil. Add rosemary, minced onion, pepper, and salt. Mix well. Place on foil lined cookie sheet. Bake for about 30 minutes at 350 degrees.
I bake carrots the same way and they’re delicious too.
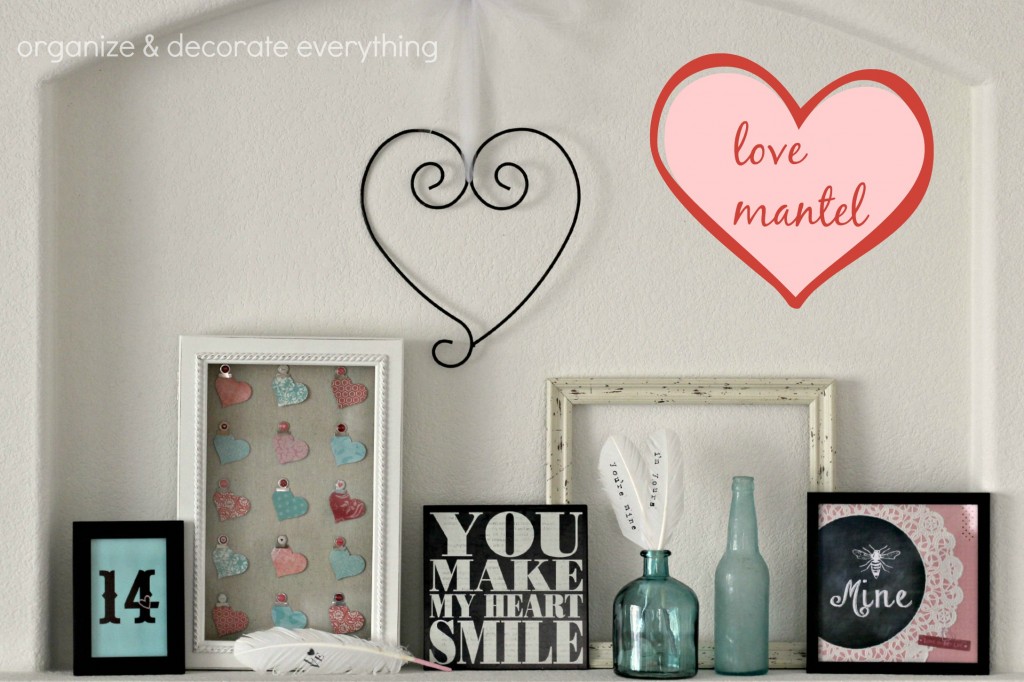
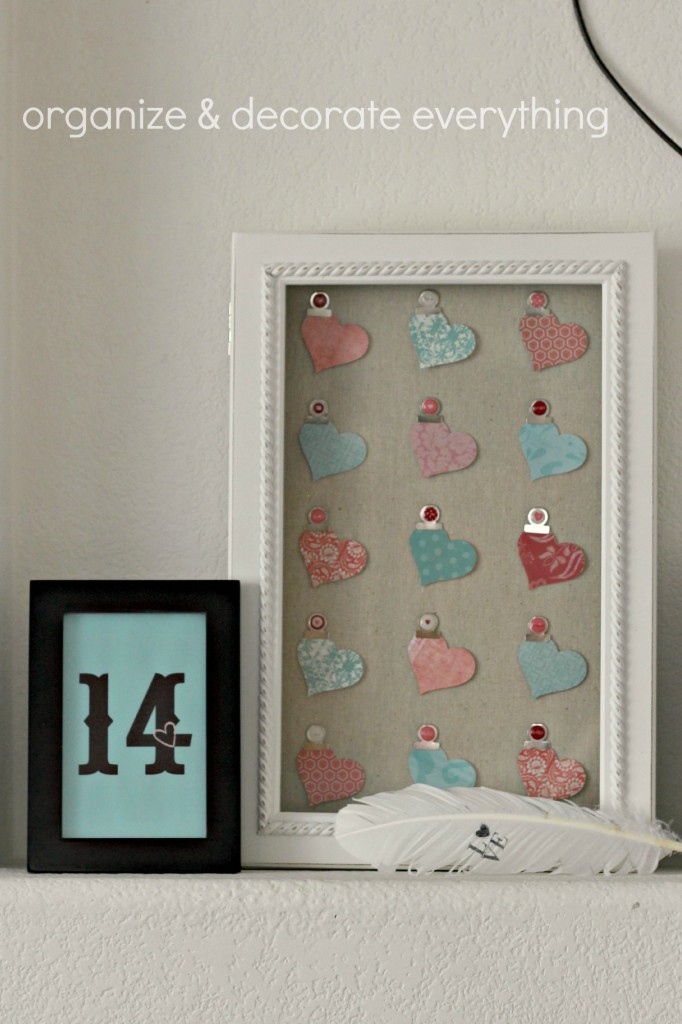
Here’s my last minute Love Mantel. Like I said in the last post I just wasn’t feeling the love this year. Not that there was anything particularly wrong, I think I was just tired and had too many other things going on. It just hit me yesterday that I really did want to decorate for Valentine’s Day so I pulled out the box of decorations and crafted a few things to bring the mantel together.
I shared my Hearts Specimen Art on The Cards We Drew earlier this week. You can see the tutorial there. I might be doing a lot more of these for different holidays. I really like the impact and how easy it is to create.
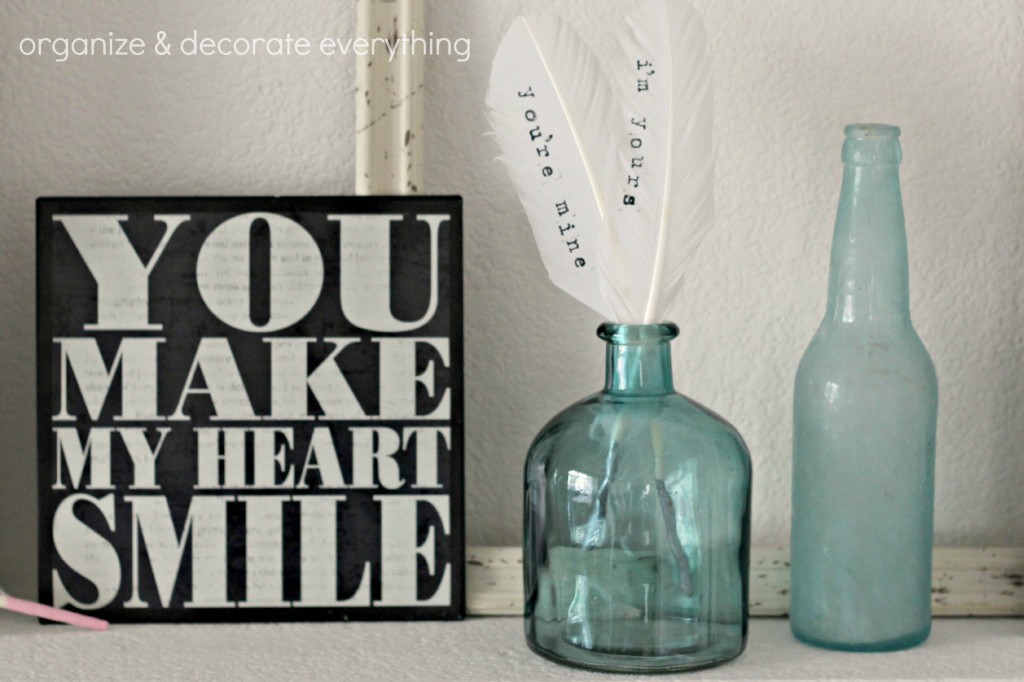
I made the Stamped Feathers last year and still love them. I love the saying on this sign. I bought it last year for only $2.
I also made the Bee Mine sign last year. It was a fun project to work on. If you go to the link you can check out more ideas using the same printable.
I didn’t think my kids really cared that I hadn’t decorated for Valentine’s Day but when they came home from school yesterday they were really excited to see the house decorated. I guess I need to quit slacking.
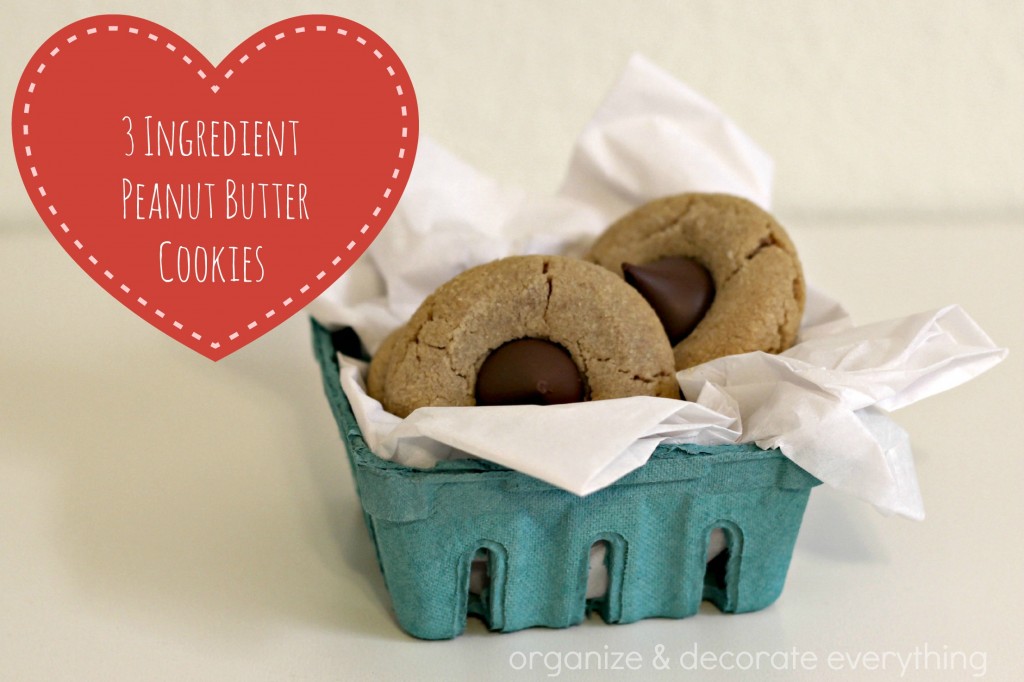
I have been making these cookies since I was in Jr. High. I would come home from school and try to get them baked before my brother and sister came home, probably because I wanted to sneak a couple without them knowing. Now my kids make them whenever they’re craving delicious peanut butter cookies. They’re super simple, soft, chewy, and naturally gluten free.
Ingredients:
1 cup peanut butter
1 cup sugar
1 egg
Whisk the egg, mix in sugar then add the peanut butter. Form into a ball and place on an ungreased cookie sheet. I like to bake them on a stone so they come out perfect on both sides. Press down using a fork or leave in a ball and place a hershey’s kiss in the center once it’s finished baking. Bake at 350 degrees for 8-10 minutes. Let cool a few minutes then transfer to a cooling rack. You can easily double or triple the recipe for more delicious cookies.
I was going to share these at Christmas but also thought they would make a perfect Valentine’s Day treat. I mean with the kiss in the middle it seems like they were made for Valentine’s day. You could even put a heart shaped chocolate candy in the center if you prefer. I guess I know what I’m making in 2 days.
I exercise in the morning while my kids are sleeping and then come home to get them ready for school. Most mornings I have plenty of time to fix them a good breakfast but some are just too rushed.
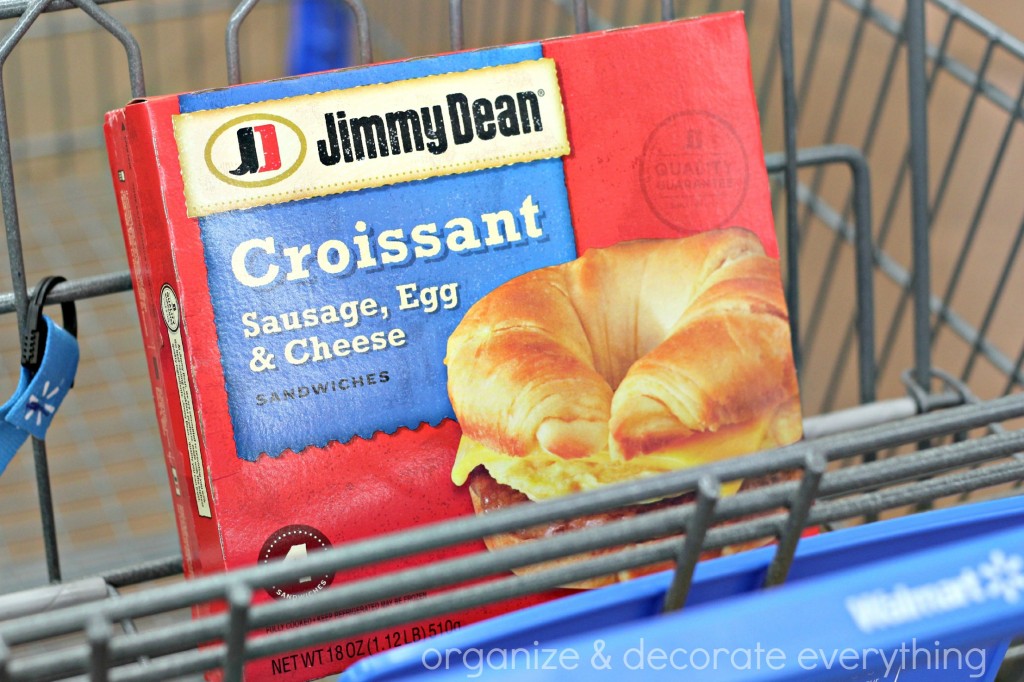
I like to have a few quick breakfasts on hand so my kids can still have a hot meal when I don’t have enough time to fix them one. We’ve always liked Jimmy Dean products and since they’re in the freezer section at Walmart it’s easy to grab a few and stock up for rushed mornings.
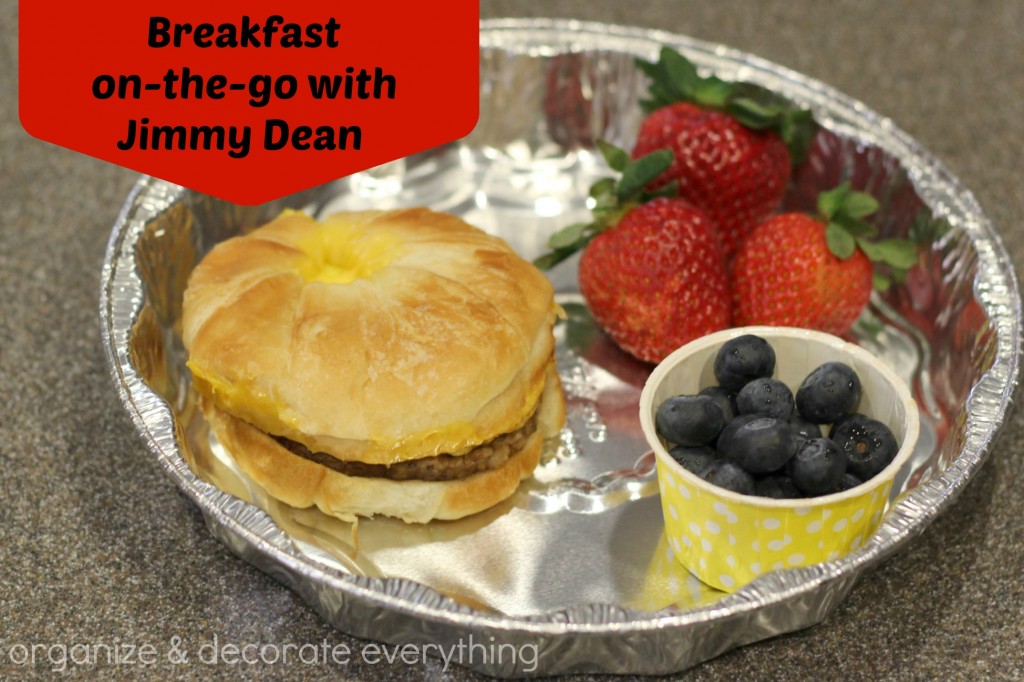
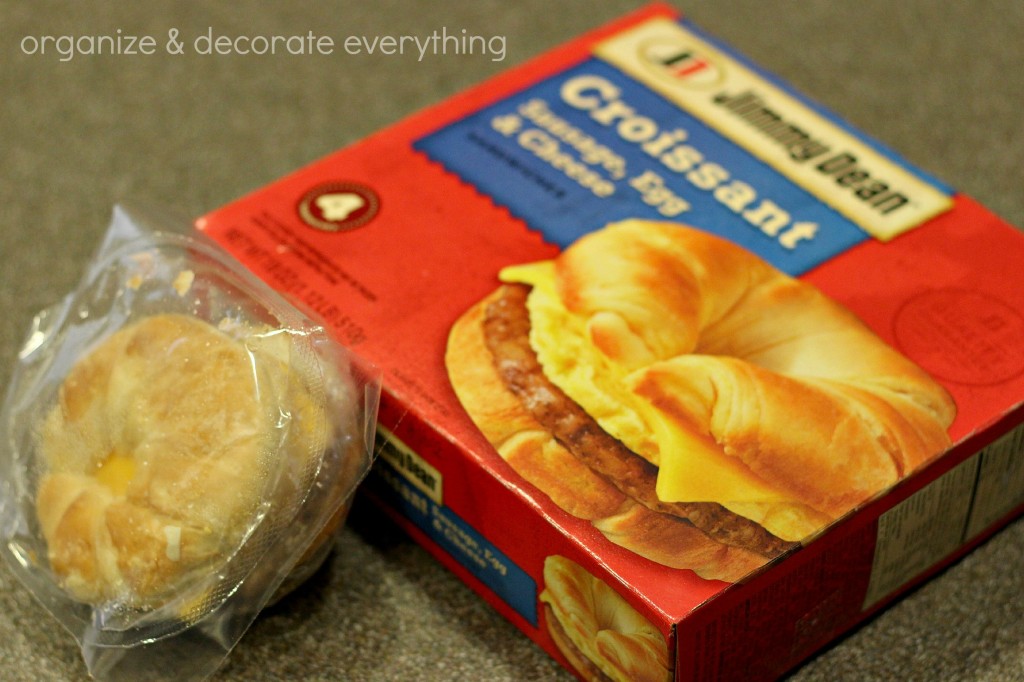
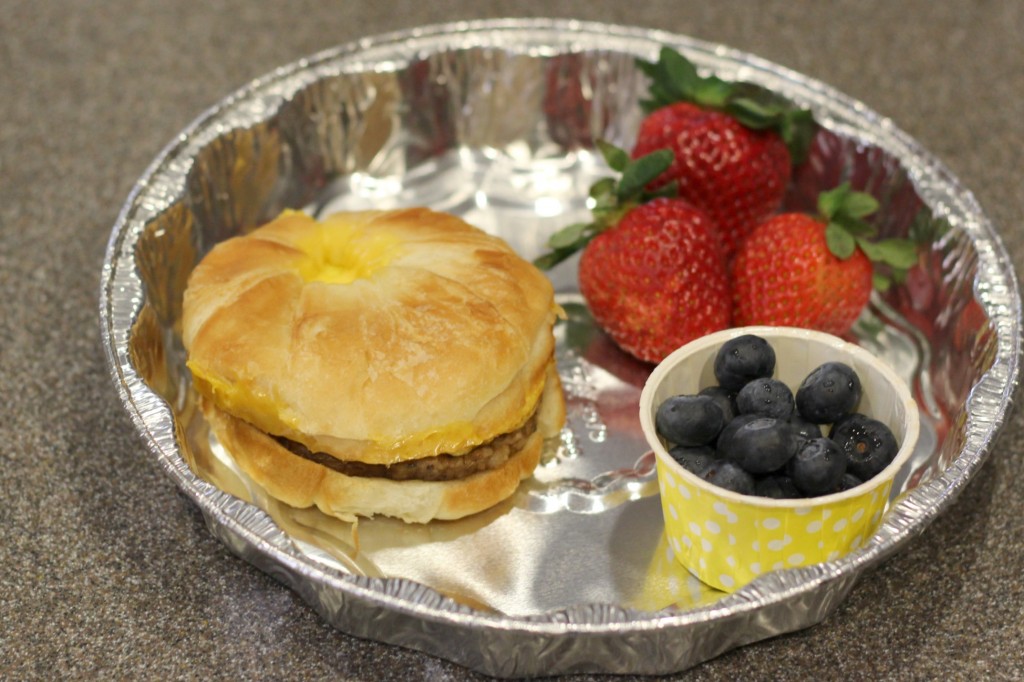
The Jimmy Dean Sausage, Egg & Cheese Croissant sandwich takes less than 2 minutes from open to ready-to-eat which is perfect for breakfasts on-the-go. Add some fruit and milk to the Croissant sandwich and you have a hot healthy breakfast that will hold you through till lunch.
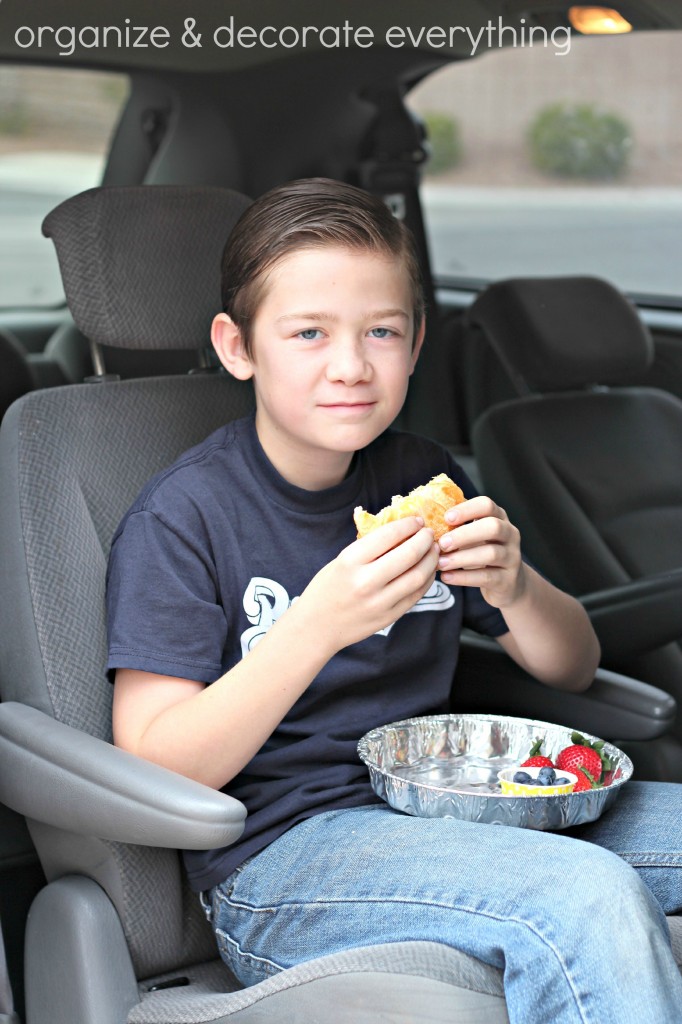
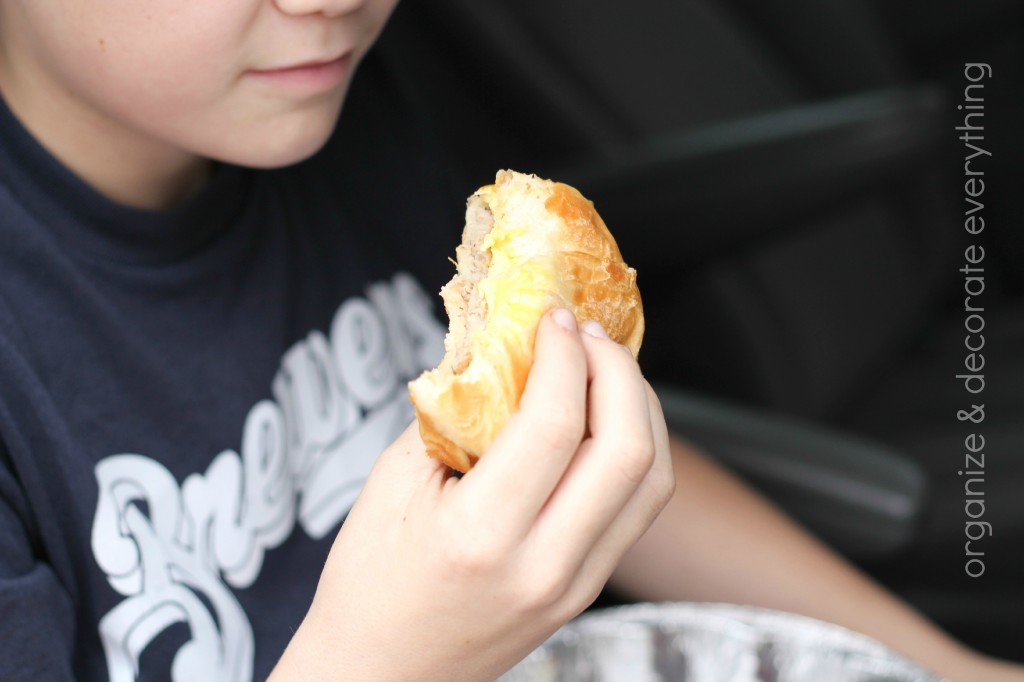
Ammon’s favorite breakfast food is scrambled eggs, when he was younger he called them mixed-up eggs and wanted them every morning. He was a little worried about how the eggs would taste in the Jimmy Dean Sausage, Egg & Cheese Croissant sandwich but was willing to give it a try. Well, he has now informed me that this is his favorite breakfast. He ran to the car before we were ready to leave so he could start eating his breakfast sandwich.
I like to use reusable pie plates and foil trays for meals on-the-go. They have sides so it keeps the food from getting spilled or making a mess in the car or on the kids clothes. I have to drive Ammon to school in the mornings and he has just enough time to finish his breakfast before we get there.
Jimmy Dean breakfast sandwiches are also the perfect breakfast for the whole family. We like to take weekend vacations and they can get costly if you are stopping at fast food places all the time. We can get breakfast ready and bring it along with us, saving us time and money by not stopping along the way.
What Jimmy Dean breakfast sandwich do you want to try?
I cook with chicken more than any other meat, so I really appreciate new chicken recipes. Melissa is here today sharing a delicious crock pot chicken recipe. I can’t wait to make it for my family.
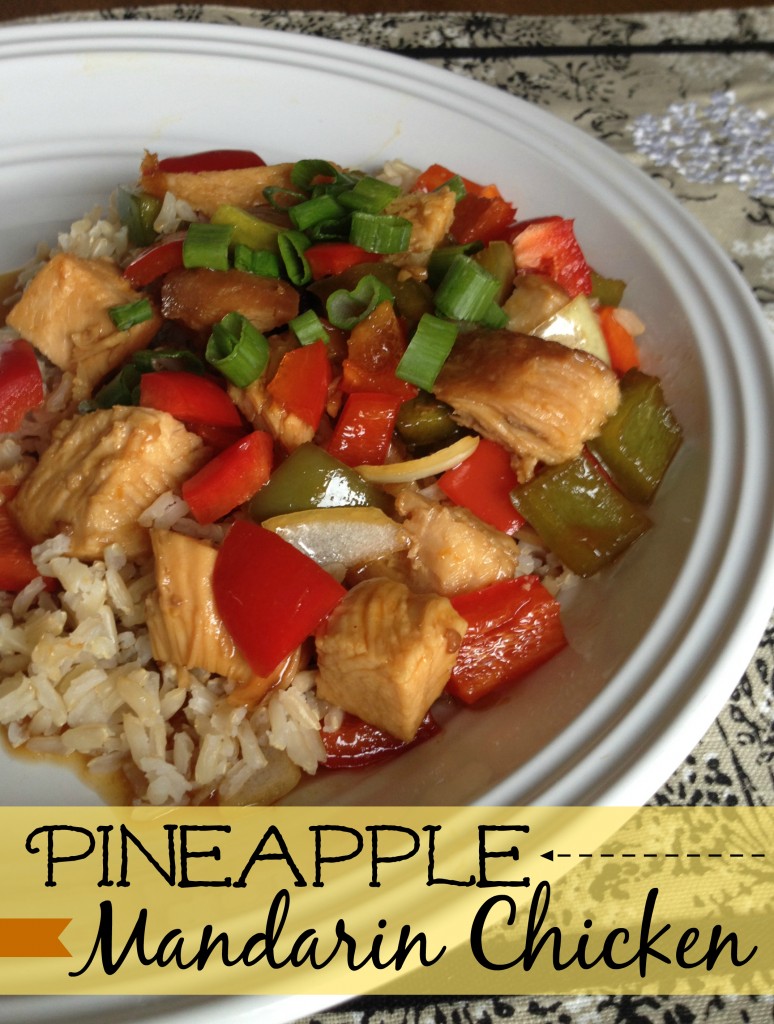
Hello, Organize and Decorate Everything readers! I am so excited to be back again to share a recipe with you! For this recipe you get to pull out your trusty crock pot for an easy dinner on a day when you don’t have a lot of time to prepare for mealtime. I love this one because there isn’t a lot of extra prep involved. You just throw those ingredients in and off you go. There are a few different variations on this meal and you can choose the one that you would like to use. You can either leave the chicken breasts whole and serve them with a salad and rice or you can take the chicken out of the crock pot, chop it up and throw it back in with some bell peppers for a little longer and serve over rice. It’s up to you, but both options are so delicious!
Pineapple Mandarin Chicken
(serves 4-6)
3-4 lbs boneless, skinless chicken breast
1 (20.5 oz) bottle Panda Express Mandarin Sauce
1 (18 oz) jar pineapple preserves (found by the jam and jelly in the store)
1 green bell pepper, chopped
1 red bell pepper, chopped
1 small yellow onion, chopped
salt and pepper (optional)
chopped green onions (optional)
4 cups prepared brown rice
Instructions:
Set your crock pot to low.
Sprinkle some salt and pepper on each chicken breast (there is sodium in the sauce so this is optional) and place the chicken into the crock pot.
Pour in mandarin sauce and pineapple preserves.
Cover and cook on low for 5-6 hours.
Remove chicken and cut into bite sized pieces. Return chicken to the crock pot and add the chopped bell peppers and onions.
Cover and cook for an additional hour.
Serve over rice.
Thanks for another awesome recipe Melissa! Who’s hungry now? Don’t forget to also check out My Mommy Style where Melissa blogs regularly.
I like pretty things, but sometimes I just need things organized and don’t worry about the pretty part. These spice labels are super fast and easy, the perfect project for when you don’t have much time but want to get something organized.
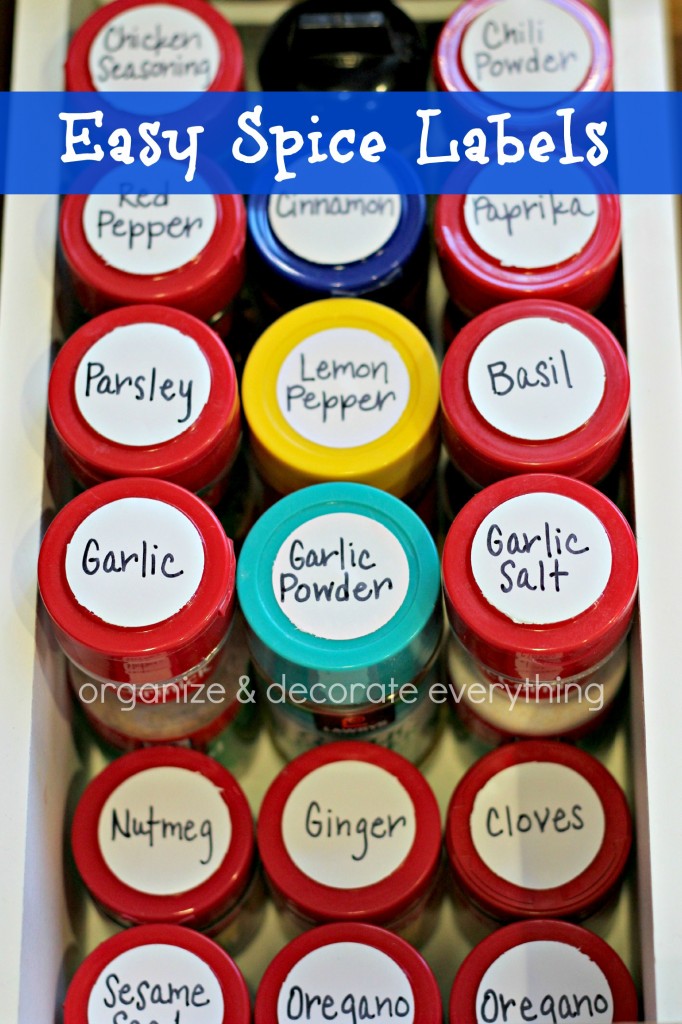
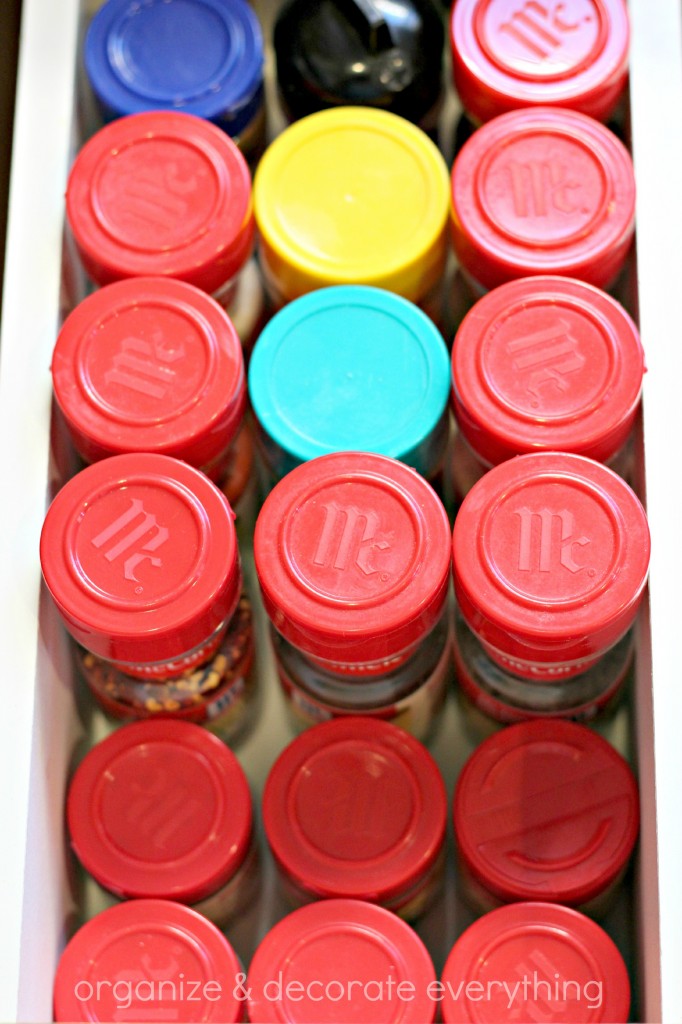
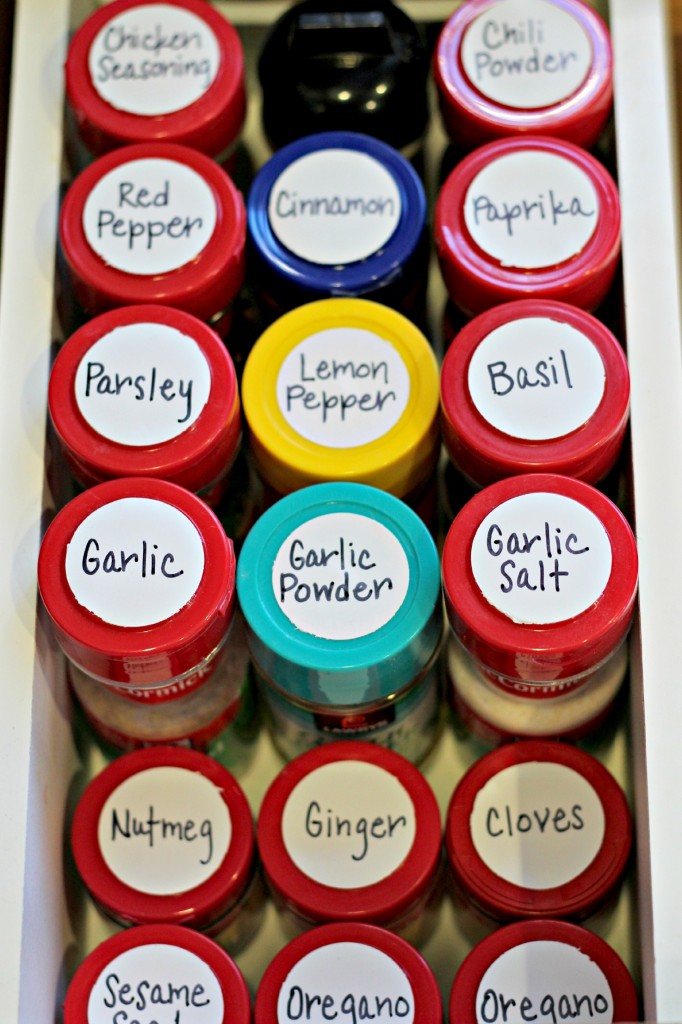
In my new house I have to keep my most used spices in a drawer, next to the stove. It makes it difficult to see what I need so I decided to make labels for the lids.
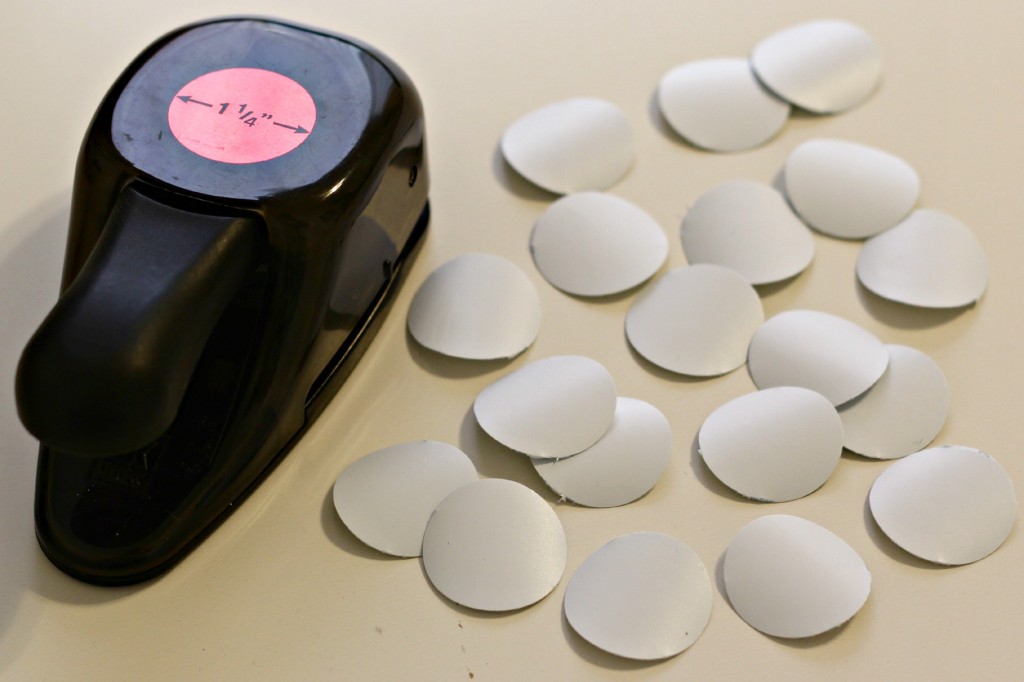
I used a 1 1/4″ circle punch to cut circles out of vinyl.
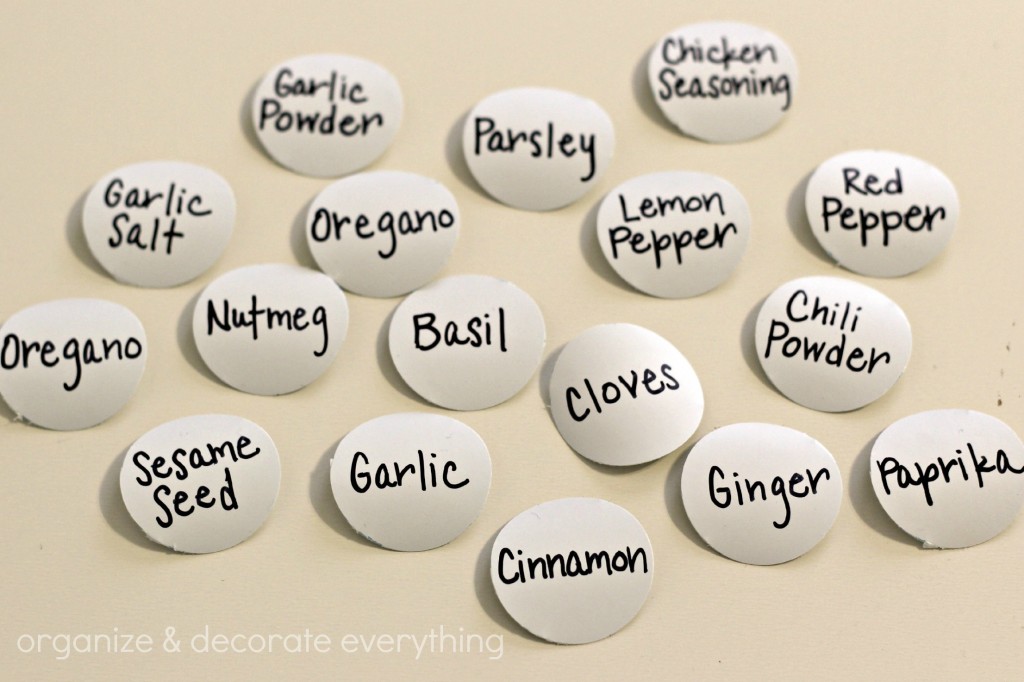
Then I wrote the spice names on the labels using a Sharpie. You need to use a sharpie so the ink doesn’t smear.
Simply peel off the back of the vinyl and adhere to the spice lid. This makes it so much easier to find what I need.
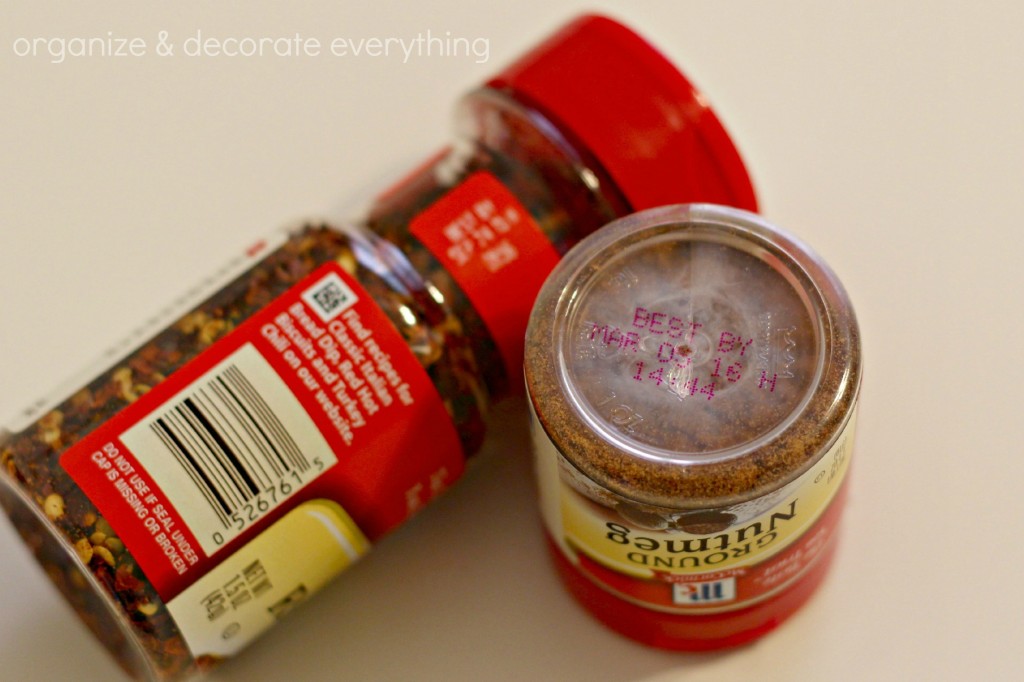
While you’re labeling your spices check the expiration dates on the bottles. The date is usually found on the bottom or side label of the bottle.
If you have a few minutes take that time to get your spices labeled.
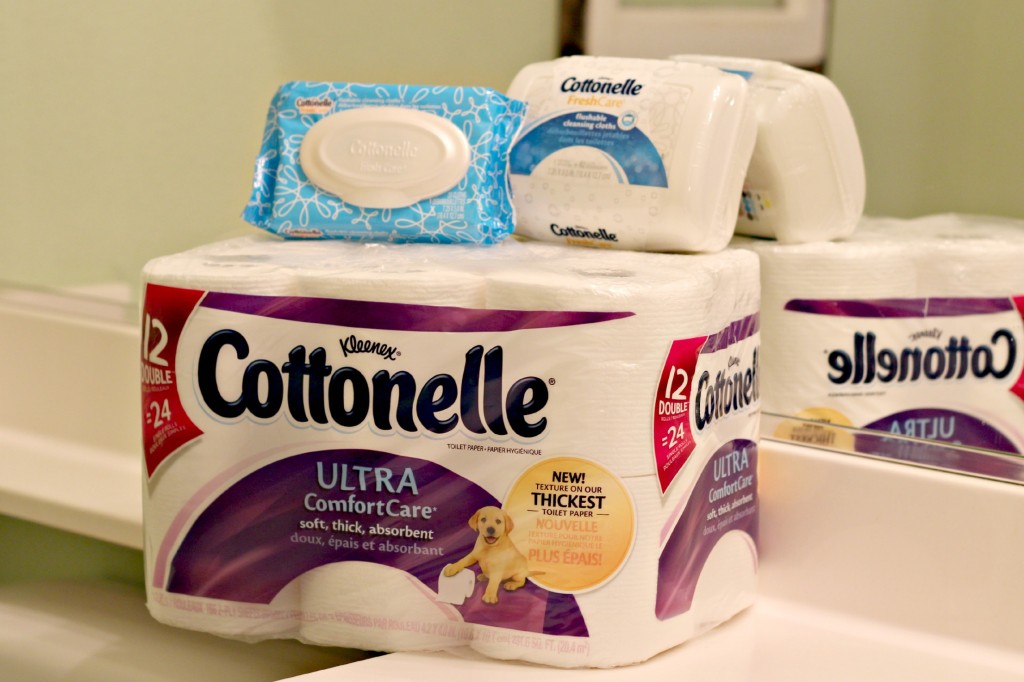
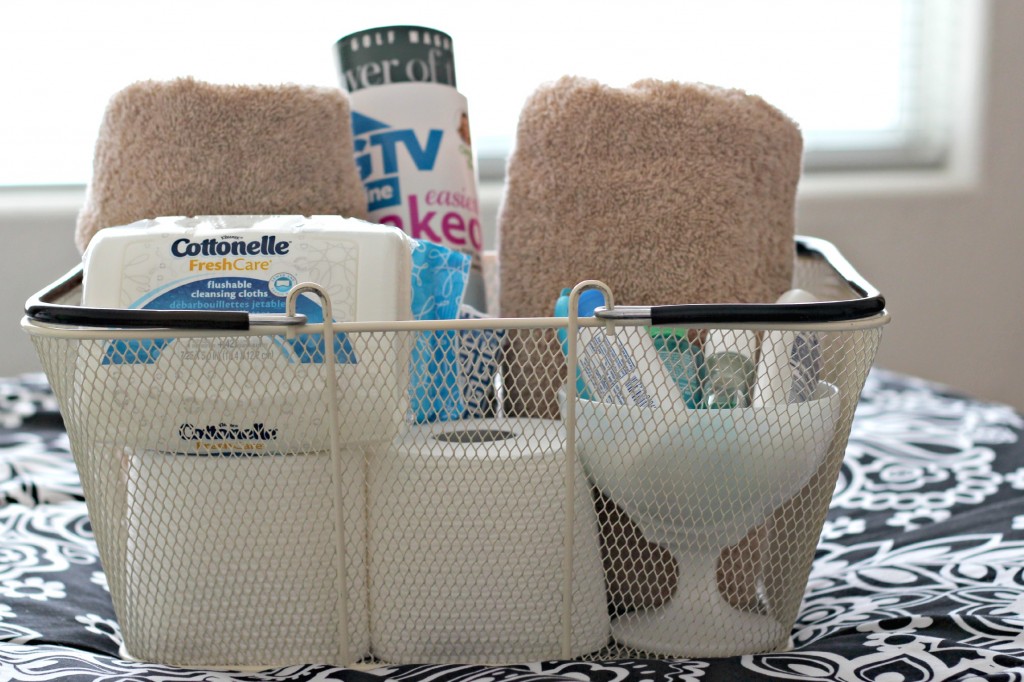
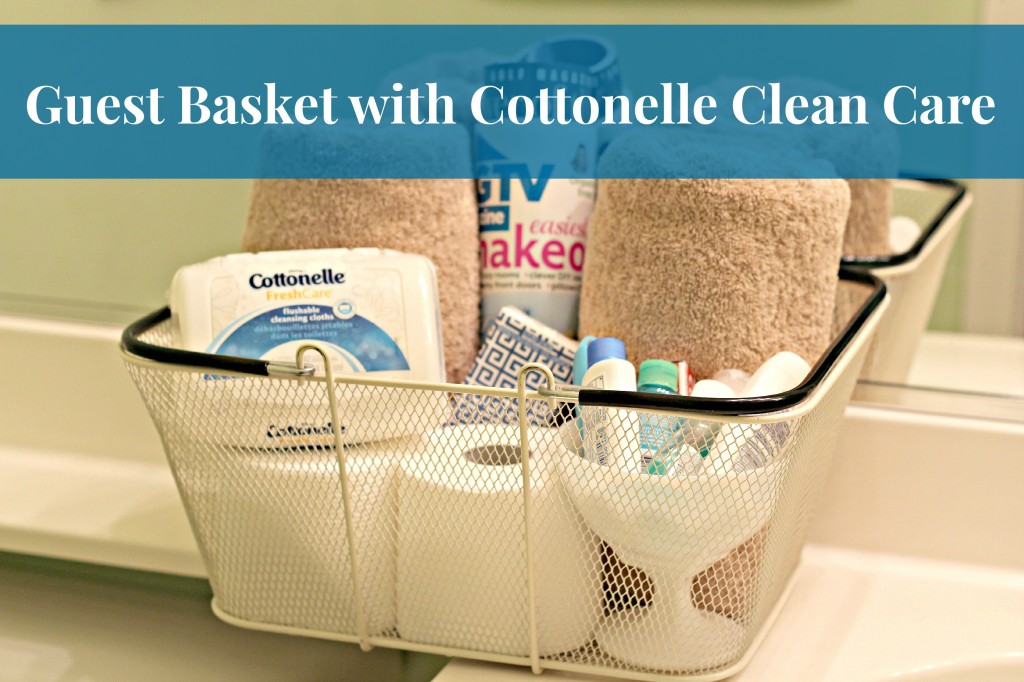
I really love having guests in my home and I really strive to make them feel extra welcome and comfortable so I started making a guest basket with all the essentials included in it. It’s easy to forget something when you’re traveling so having a basket filled with necessary items gives my guests what they need without having to ask for it.
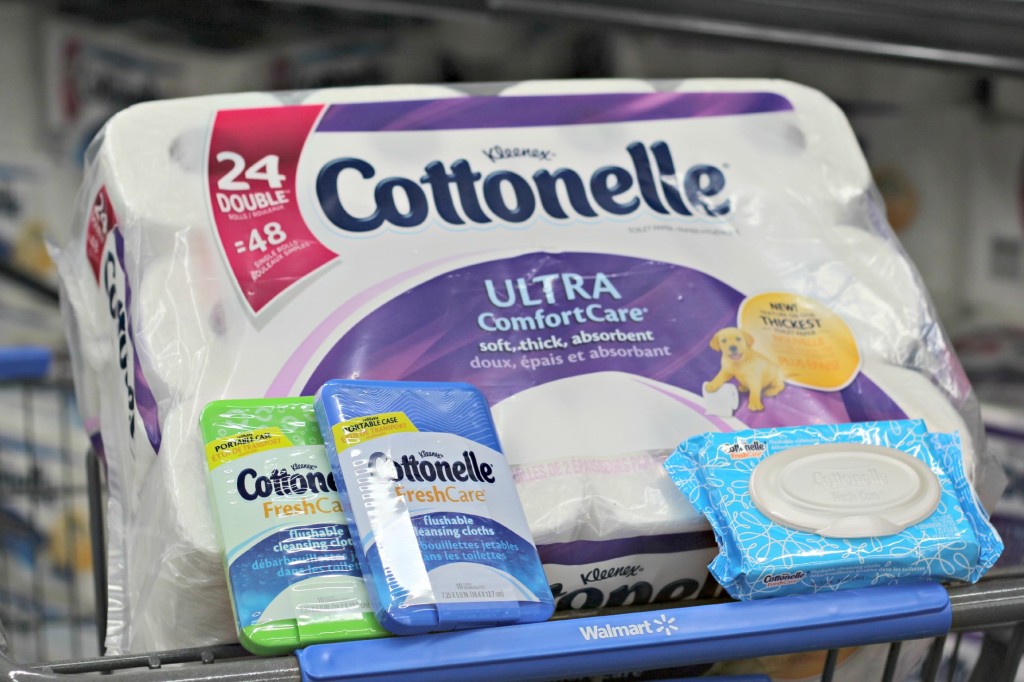
I make sure I have plenty of Cottonelle Clean Care toilet paper and Cottonelle Cleansing Cloths in my home. There are just some things you don’t want to run out of. It’s easy to stock up on my weekly trip to Walmart and I like to pick up some of the travel size containers too. They’re perfect for those quick gas station restroom trips. I mean seriously, who likes the toilet paper in gas station restrooms?
We ran out of cleansing cloths recently so now I buy a refill pack just to have on hand. The cleansing cloths are perfect for potty training and when you might be a little under the weather, they’re also perfect for camping. Just because you’re in the wilderness doesn’t mean you have to act uncivilized. You just feel better when you feel fresh and clean everywhere.
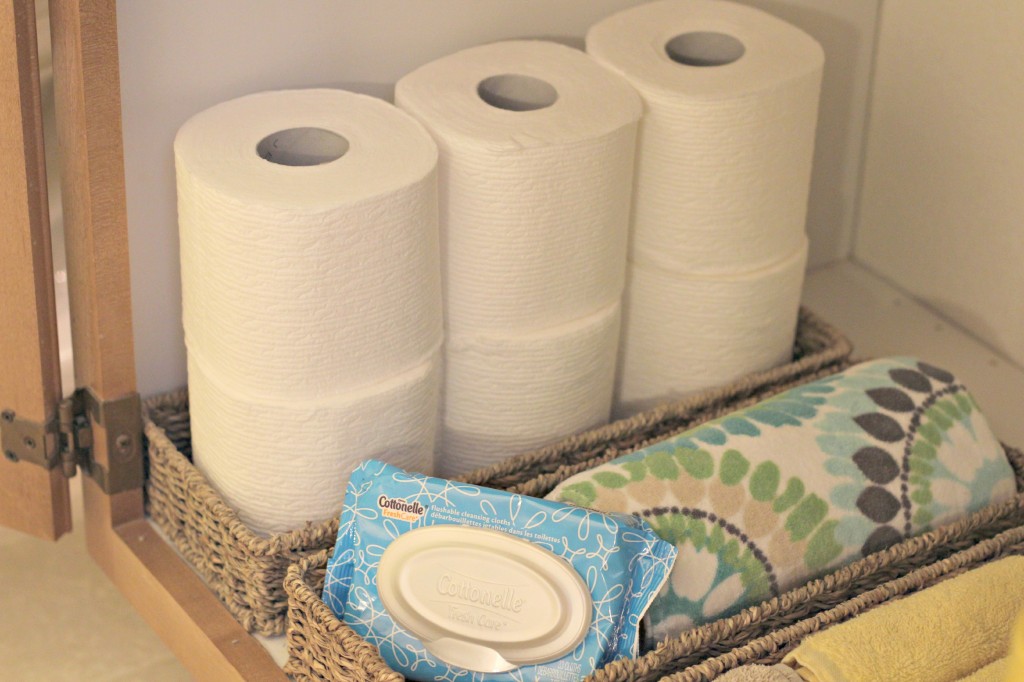
Like I said, I don’t like to run out of the essentials. I stock the guest bathroom with plenty of Cottonelle toilet paper and cleansing cloths.
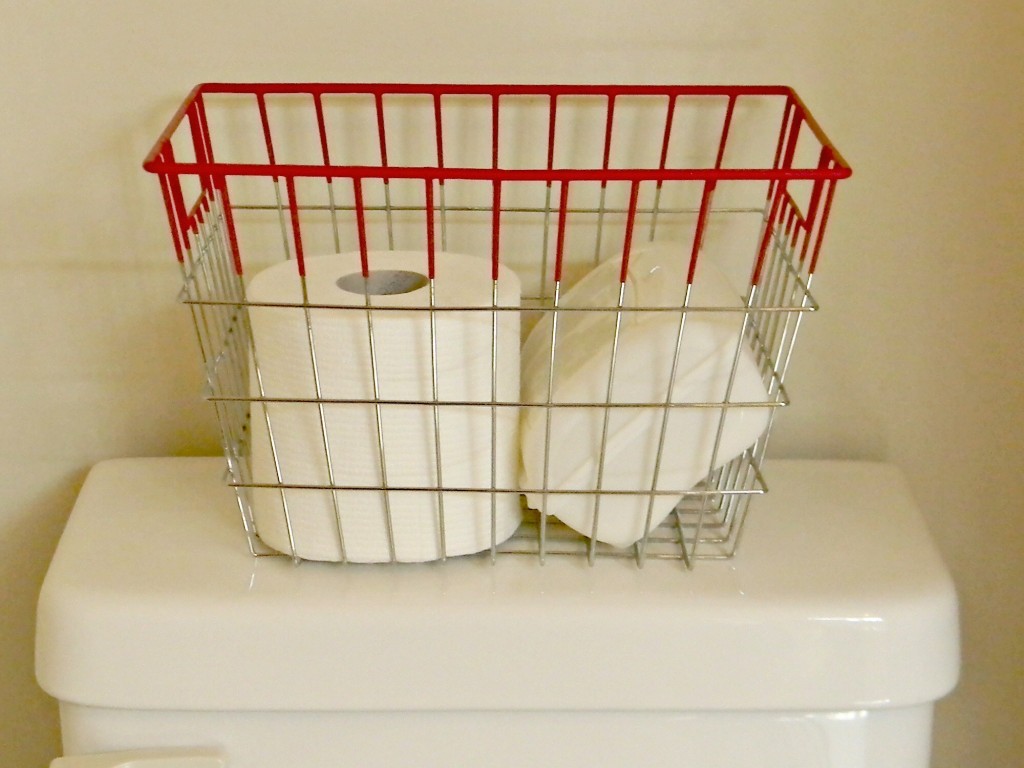
The kids bathroom is stocked and of course, I can’t forget our bathroom.
Have you tried Cottonelle Clean Care Routine yet? Now is the perfect time. Or you could always come and visit me. I have a basket waiting for you!
I don’t usually post on Sunday but I wanted to share some of our Chinese New Year celebration with you. I decorated the mantel using some things Lan Tu (our foreign exchange student) brought to us from China. This year is the year of the Horse.
This says Gong Xi Fa Cai or Gong Hei Fat Choi, depending on where you come from. It means Happy New Year! Next year I’ll let Ammon write the characters, his writing is much better than mine. He said I did pretty good except for the 3rd one.
Lan Tu brought us some great things from China, when he came to stay with us. I love this fan! We also have a silk scroll, silk scarves, some beautiful embroidery pictures.
And these colorful stamps I framed. He lives in Nanjing China and these things are from his area.
The tassels are from Ammon’s Chinese teachers and the lanterns are from a party store.
We sat the table using the silk scroll as a table runner. Everyone had strict instructions not to spill anything on it.
We made the paper lanterns last year using paper I already had. It was perfect!
Ammon was in the Chinese Immersion program at his school since kindergarten. They don’t offer the program where we live now so he is taking private Chinese lessons. I was a little worried how he would like taking lessons by himself but he is loving it and learning so much. Mei Ling gave Ammon enough red envelopes for our family. I filled them with chocolate coins instead of real coins. Tradition is that the parents fill the envelopes with money unless the children are older and have jobs, then they give money to the parents.
Ammon was very adamant that we have the right food at our dinner, so we had chicken, fish, green beans and oranges at the table. We also threw in fried rice and noodles because we love them.
I love how the Palazzo decorates for Chinese New Year every year. Do you celebrate Chinese New Year?