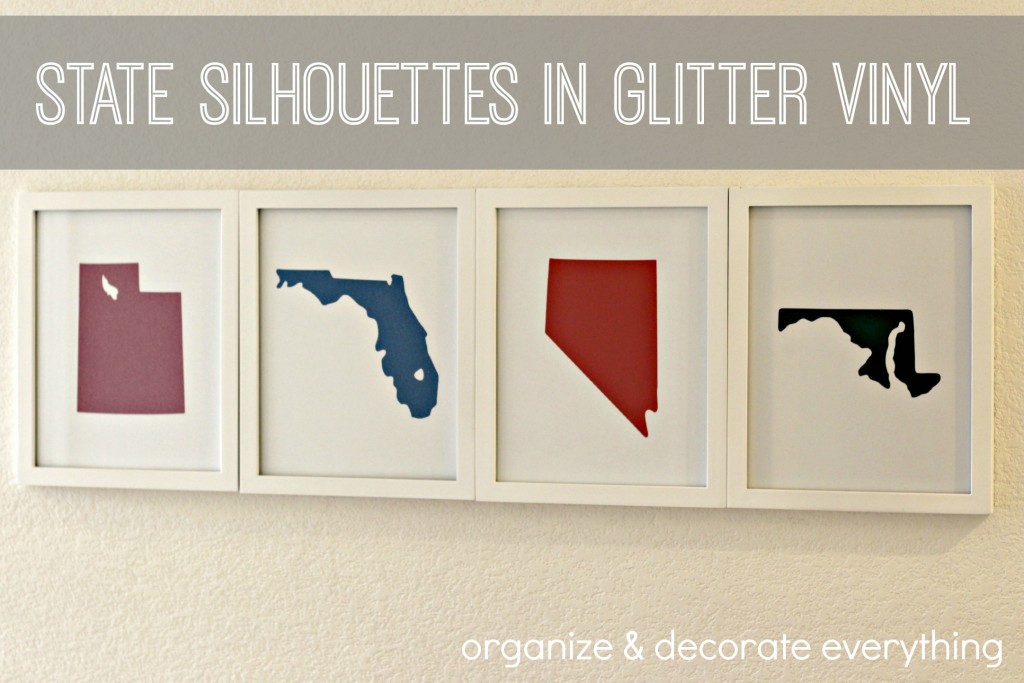
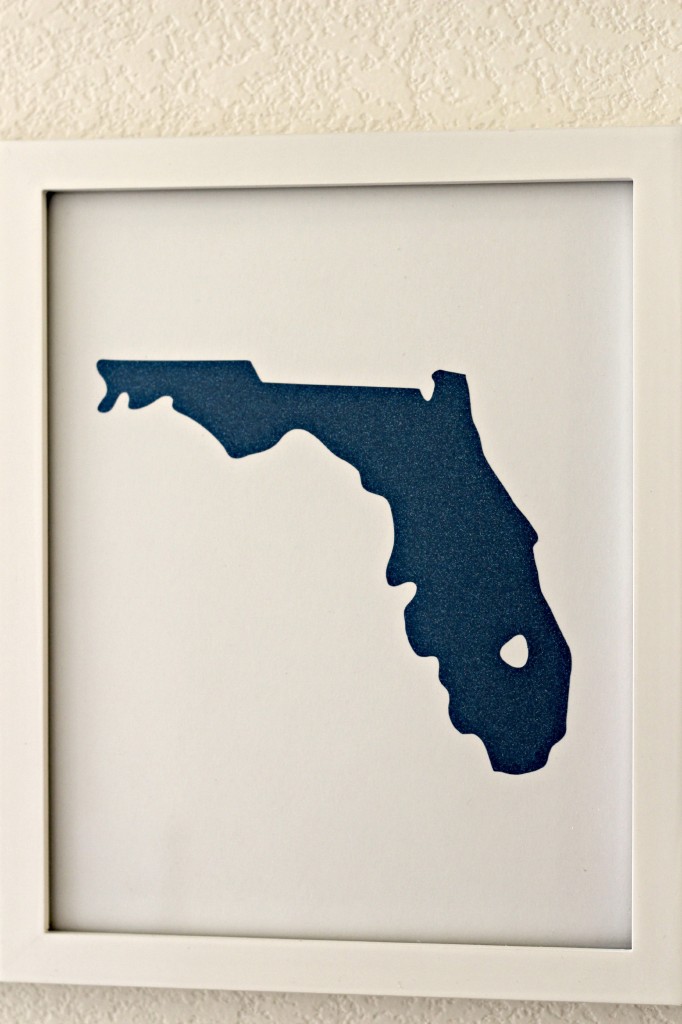
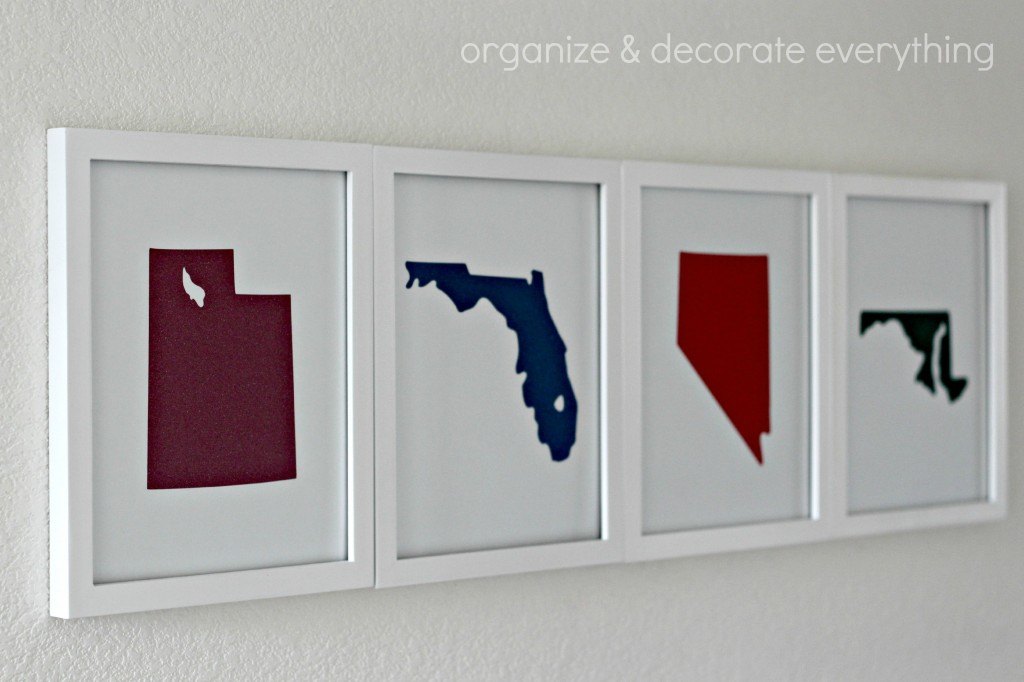
Can I just say, I am more than excited about how these turned out. I absolutely love them! I wanted to show in a fun way, where we have lived as a family. They’re on the wall across from the kids rooms so I wanted them to be simple and bold. The white frames and card stock keep them simple while the glitter vinyl adds just the right amount of boldness.
Supplies:
Frames
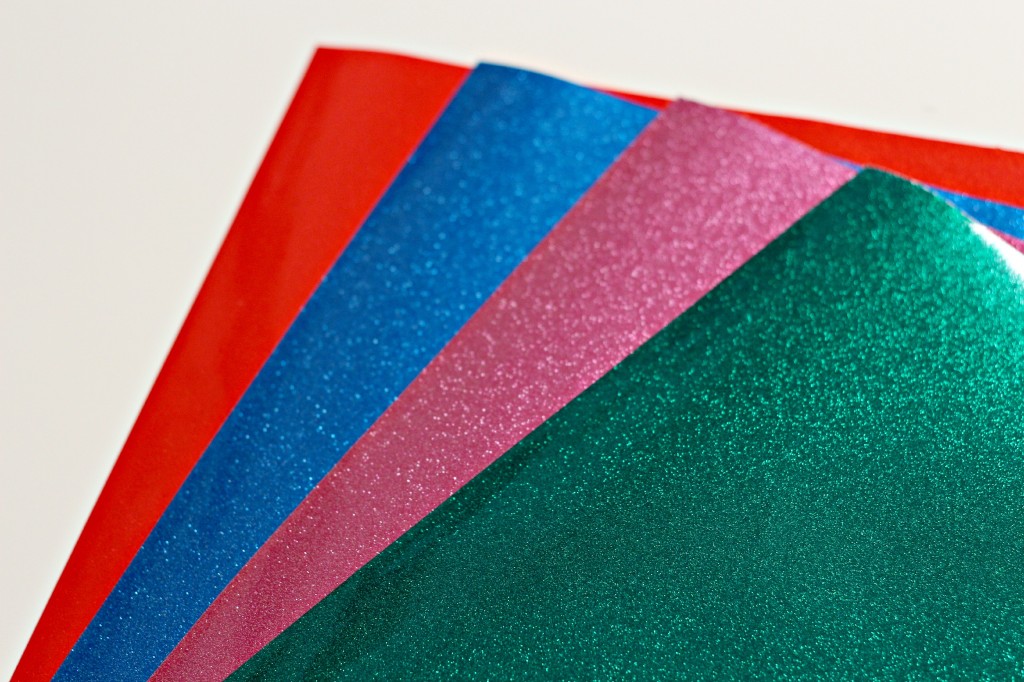
Glitter Vinyl
White Cardstock
Scissors
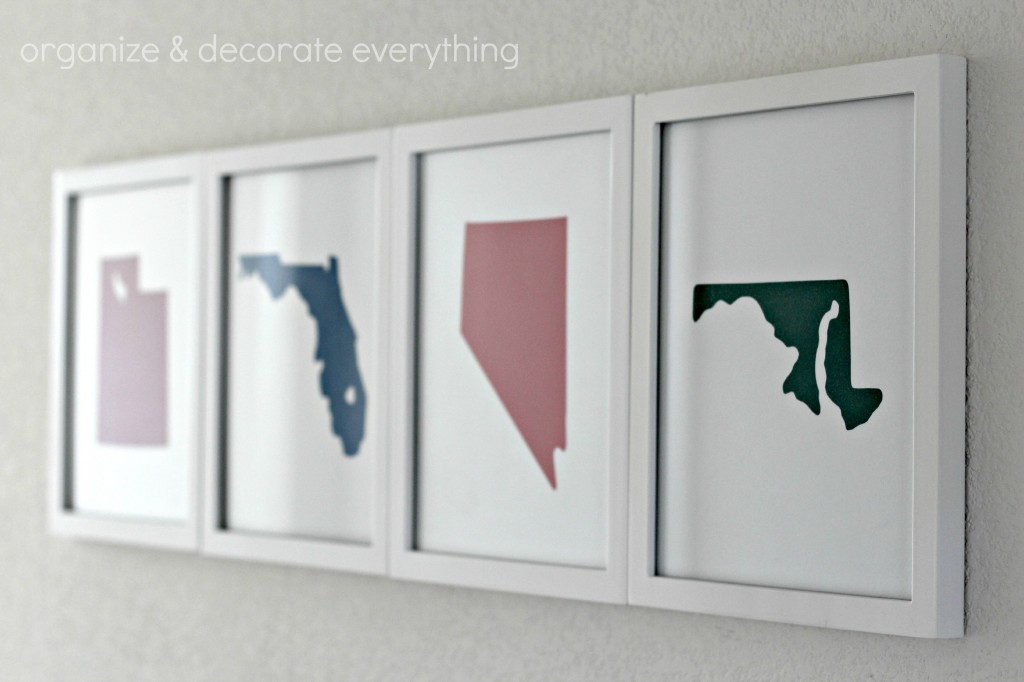
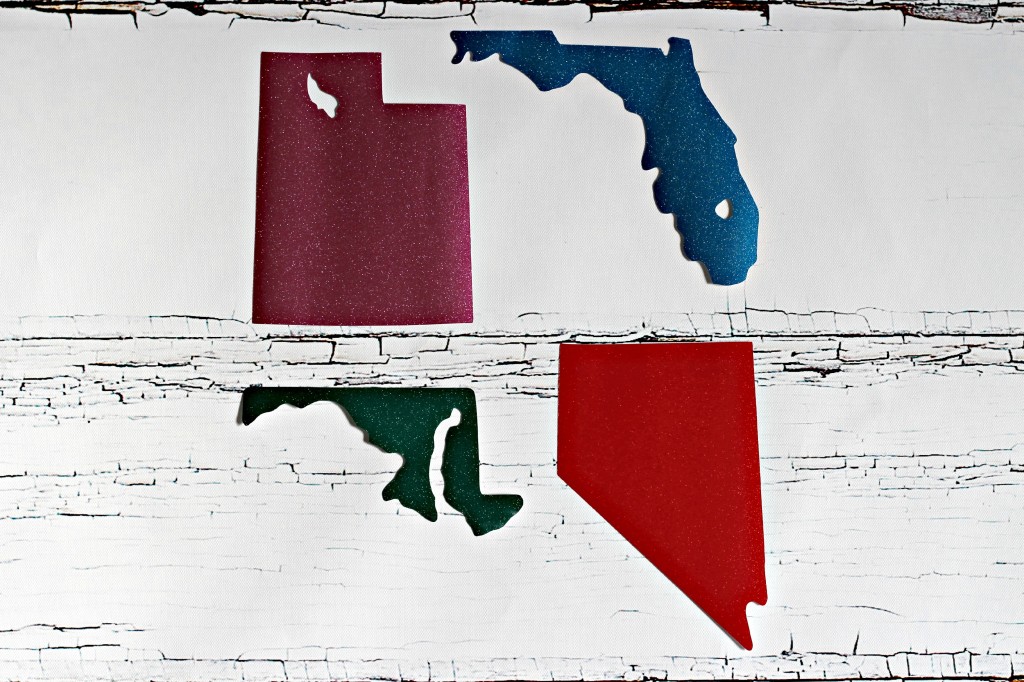
Glitter vinyl is hard to photograph but you can see the true colors pretty well here. They’re a lot brighter in real life than they are behind glass in a photo.
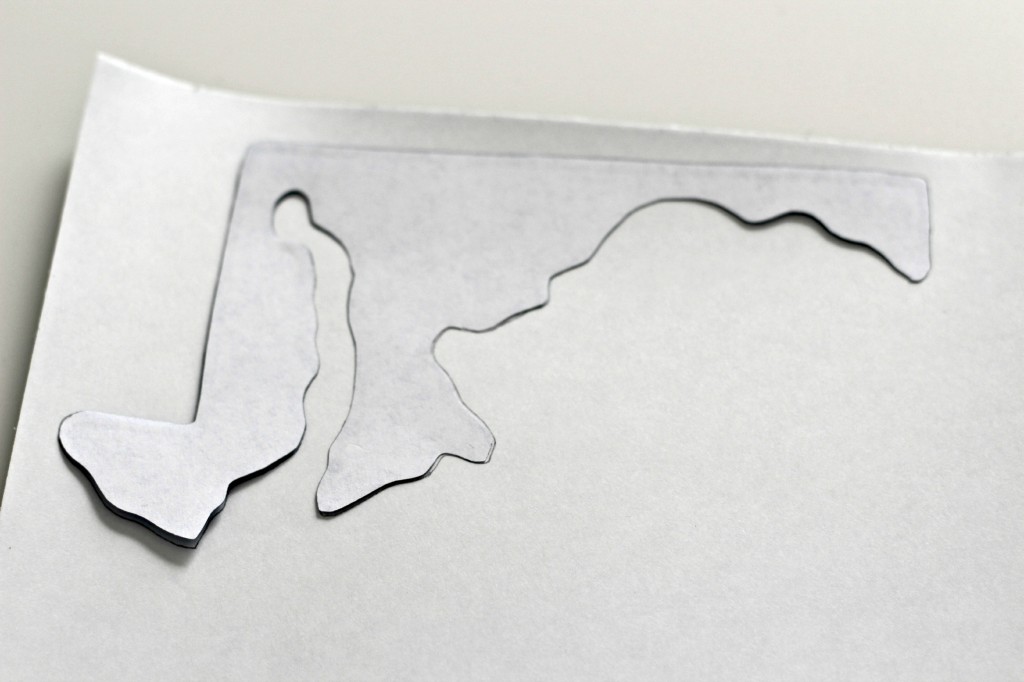
Cut your states using a cutting machine or they can easily be cut with scissors. I found an image, sized it, printed it, then cut it out. Before you trace the image onto the back of the vinyl, make sure to flip the image so it will be correct from the front.
Here they are cut out. Can you name the states we’ve lived in?
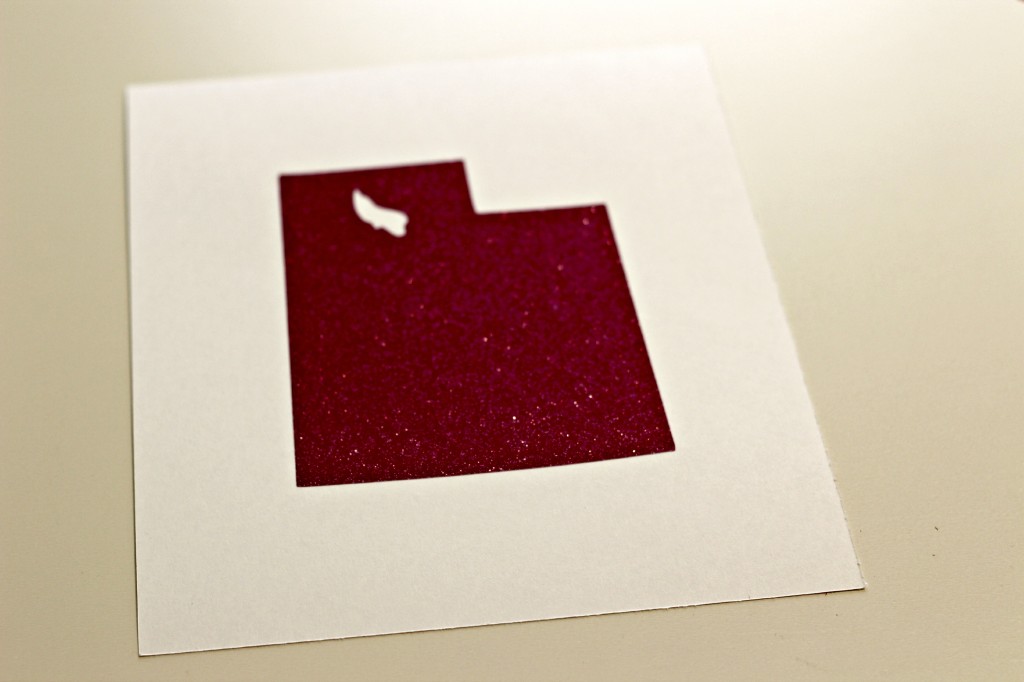
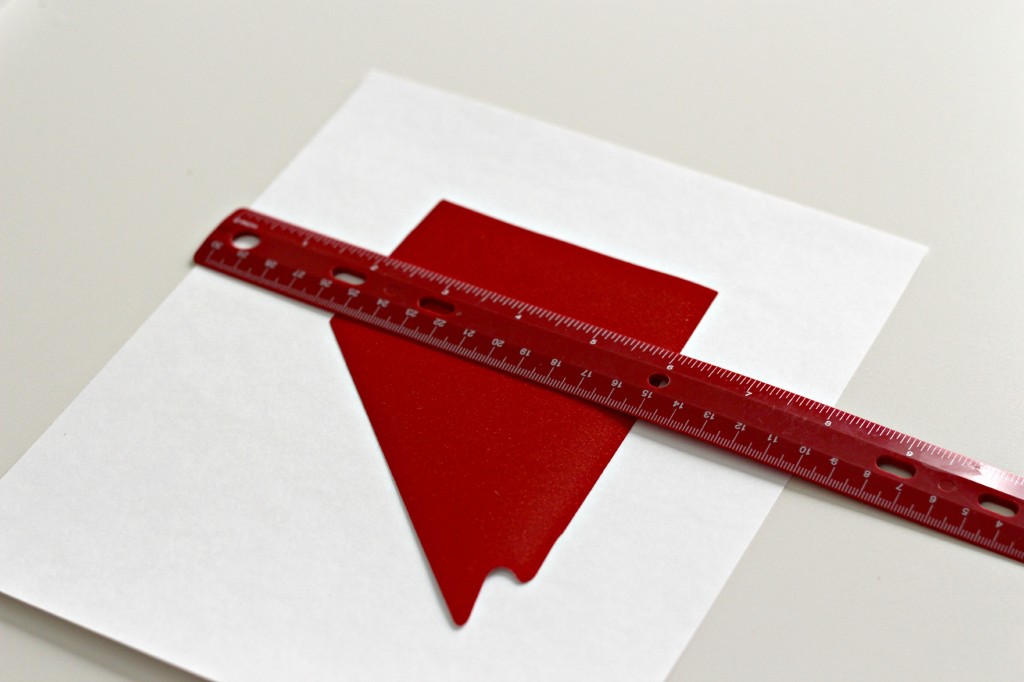 Cut the cardstock to fit the inside of the frame then center the state on each one by using a ruler.
Peel off the backing a little at a time and apply it to the paper. You can’t use the transfer paper on this project because it will stick to the cardstock.
Then pop it in the frame and you’re done.
I decided to hang the frames side by side and touching each other. I love the big impact they have for such a small cost. Stay tuned for another vinyl project coming next week.



I want to do something like this. We’ve lived so many places. It would be fun to see it on a wall in our house.
I love this idea! What a great way to display these. And I like the way you hung them with the frames touching each other. Did you use command strips to put them on the wall?
CUTE! What cartridges do you use for these?
This is such a great idea. It wouldn’t look as cute at my house with only one state. 🙂
What a fun idea! I love that you did them in the glitter vinyl too.