I will be sharing how I organize my fridge and freezer in this post. I know you’re going to get some great new organizing ideas that you will be able to use in your own home so make sure you visit all the blogs at the bottom of this post.
Let’s start with the freezer. My freezer is narrow and each shelf is pretty small but I still like to be able to divide them using baskets.
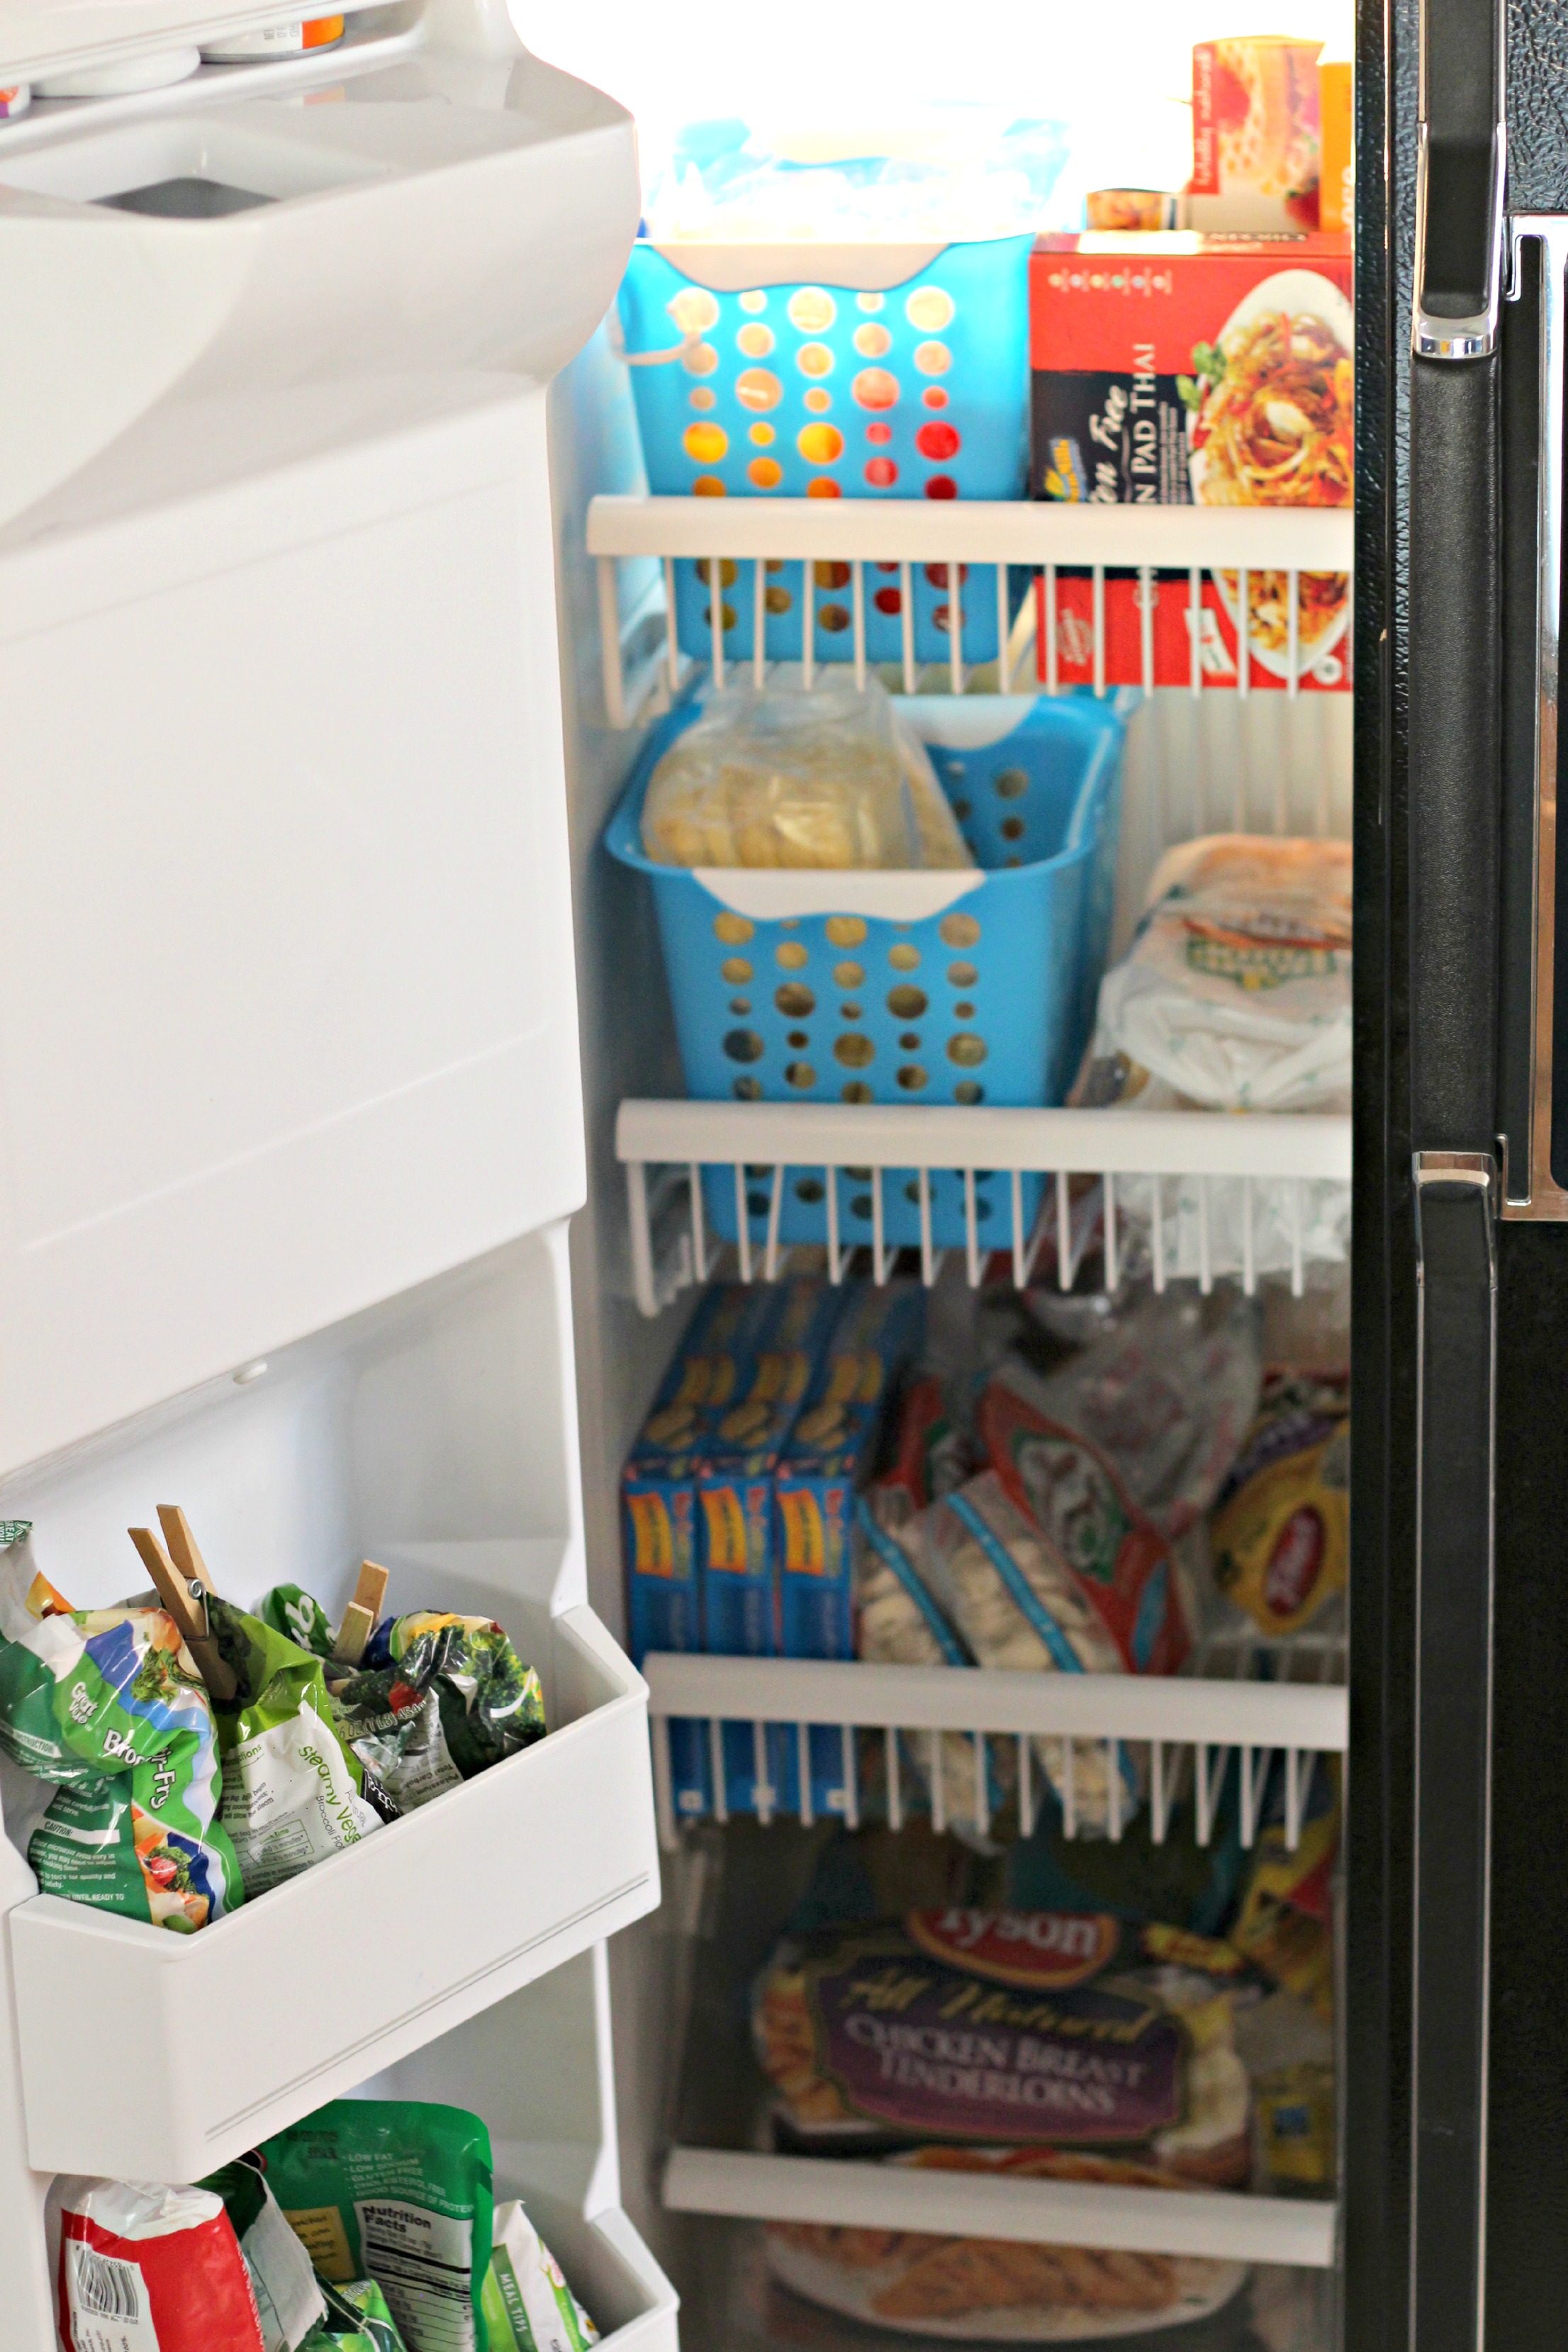
The baskets help me keep like items together and it’s easy to tell when I’m running low on something. The top shelf holds my gluten-free food and the kids popsicles. The next shelf holds breakfast foods and extra bread.

I attached scissors to the popsicle basket so the kids could easily cut open the packaging instead of ripping it open with their teeth.

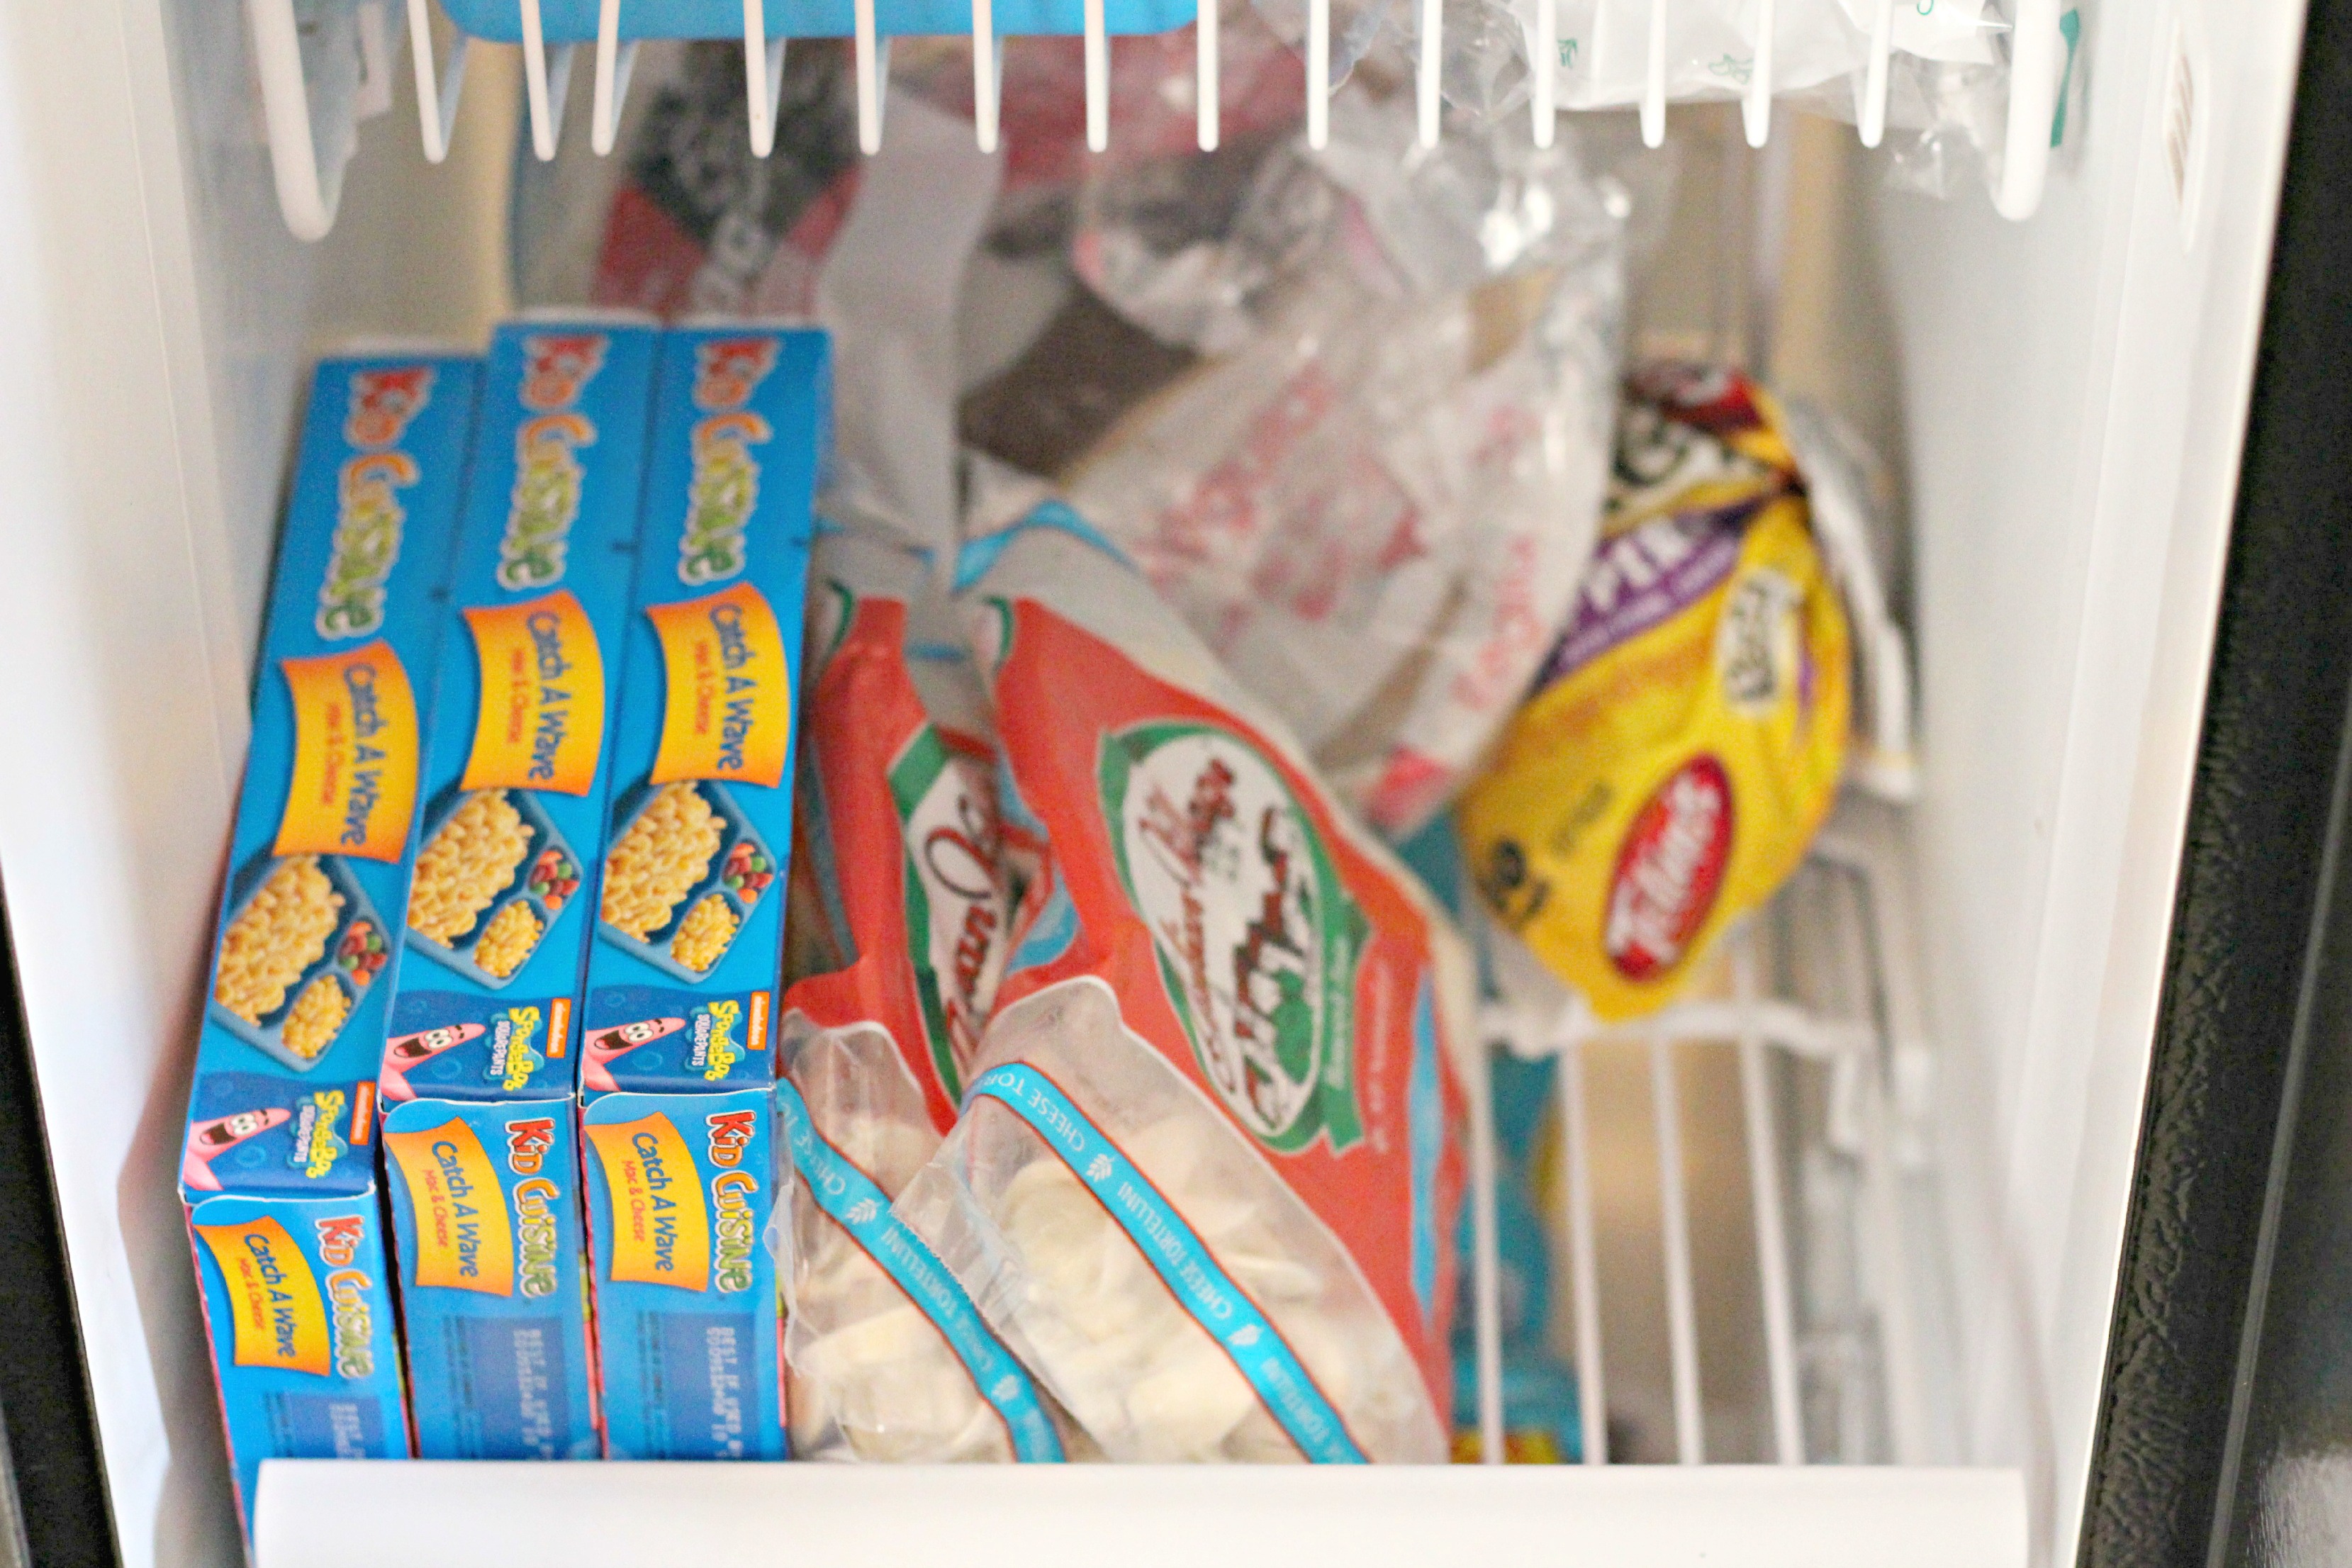
The next shelf holds frozen foods the kids can prepare.
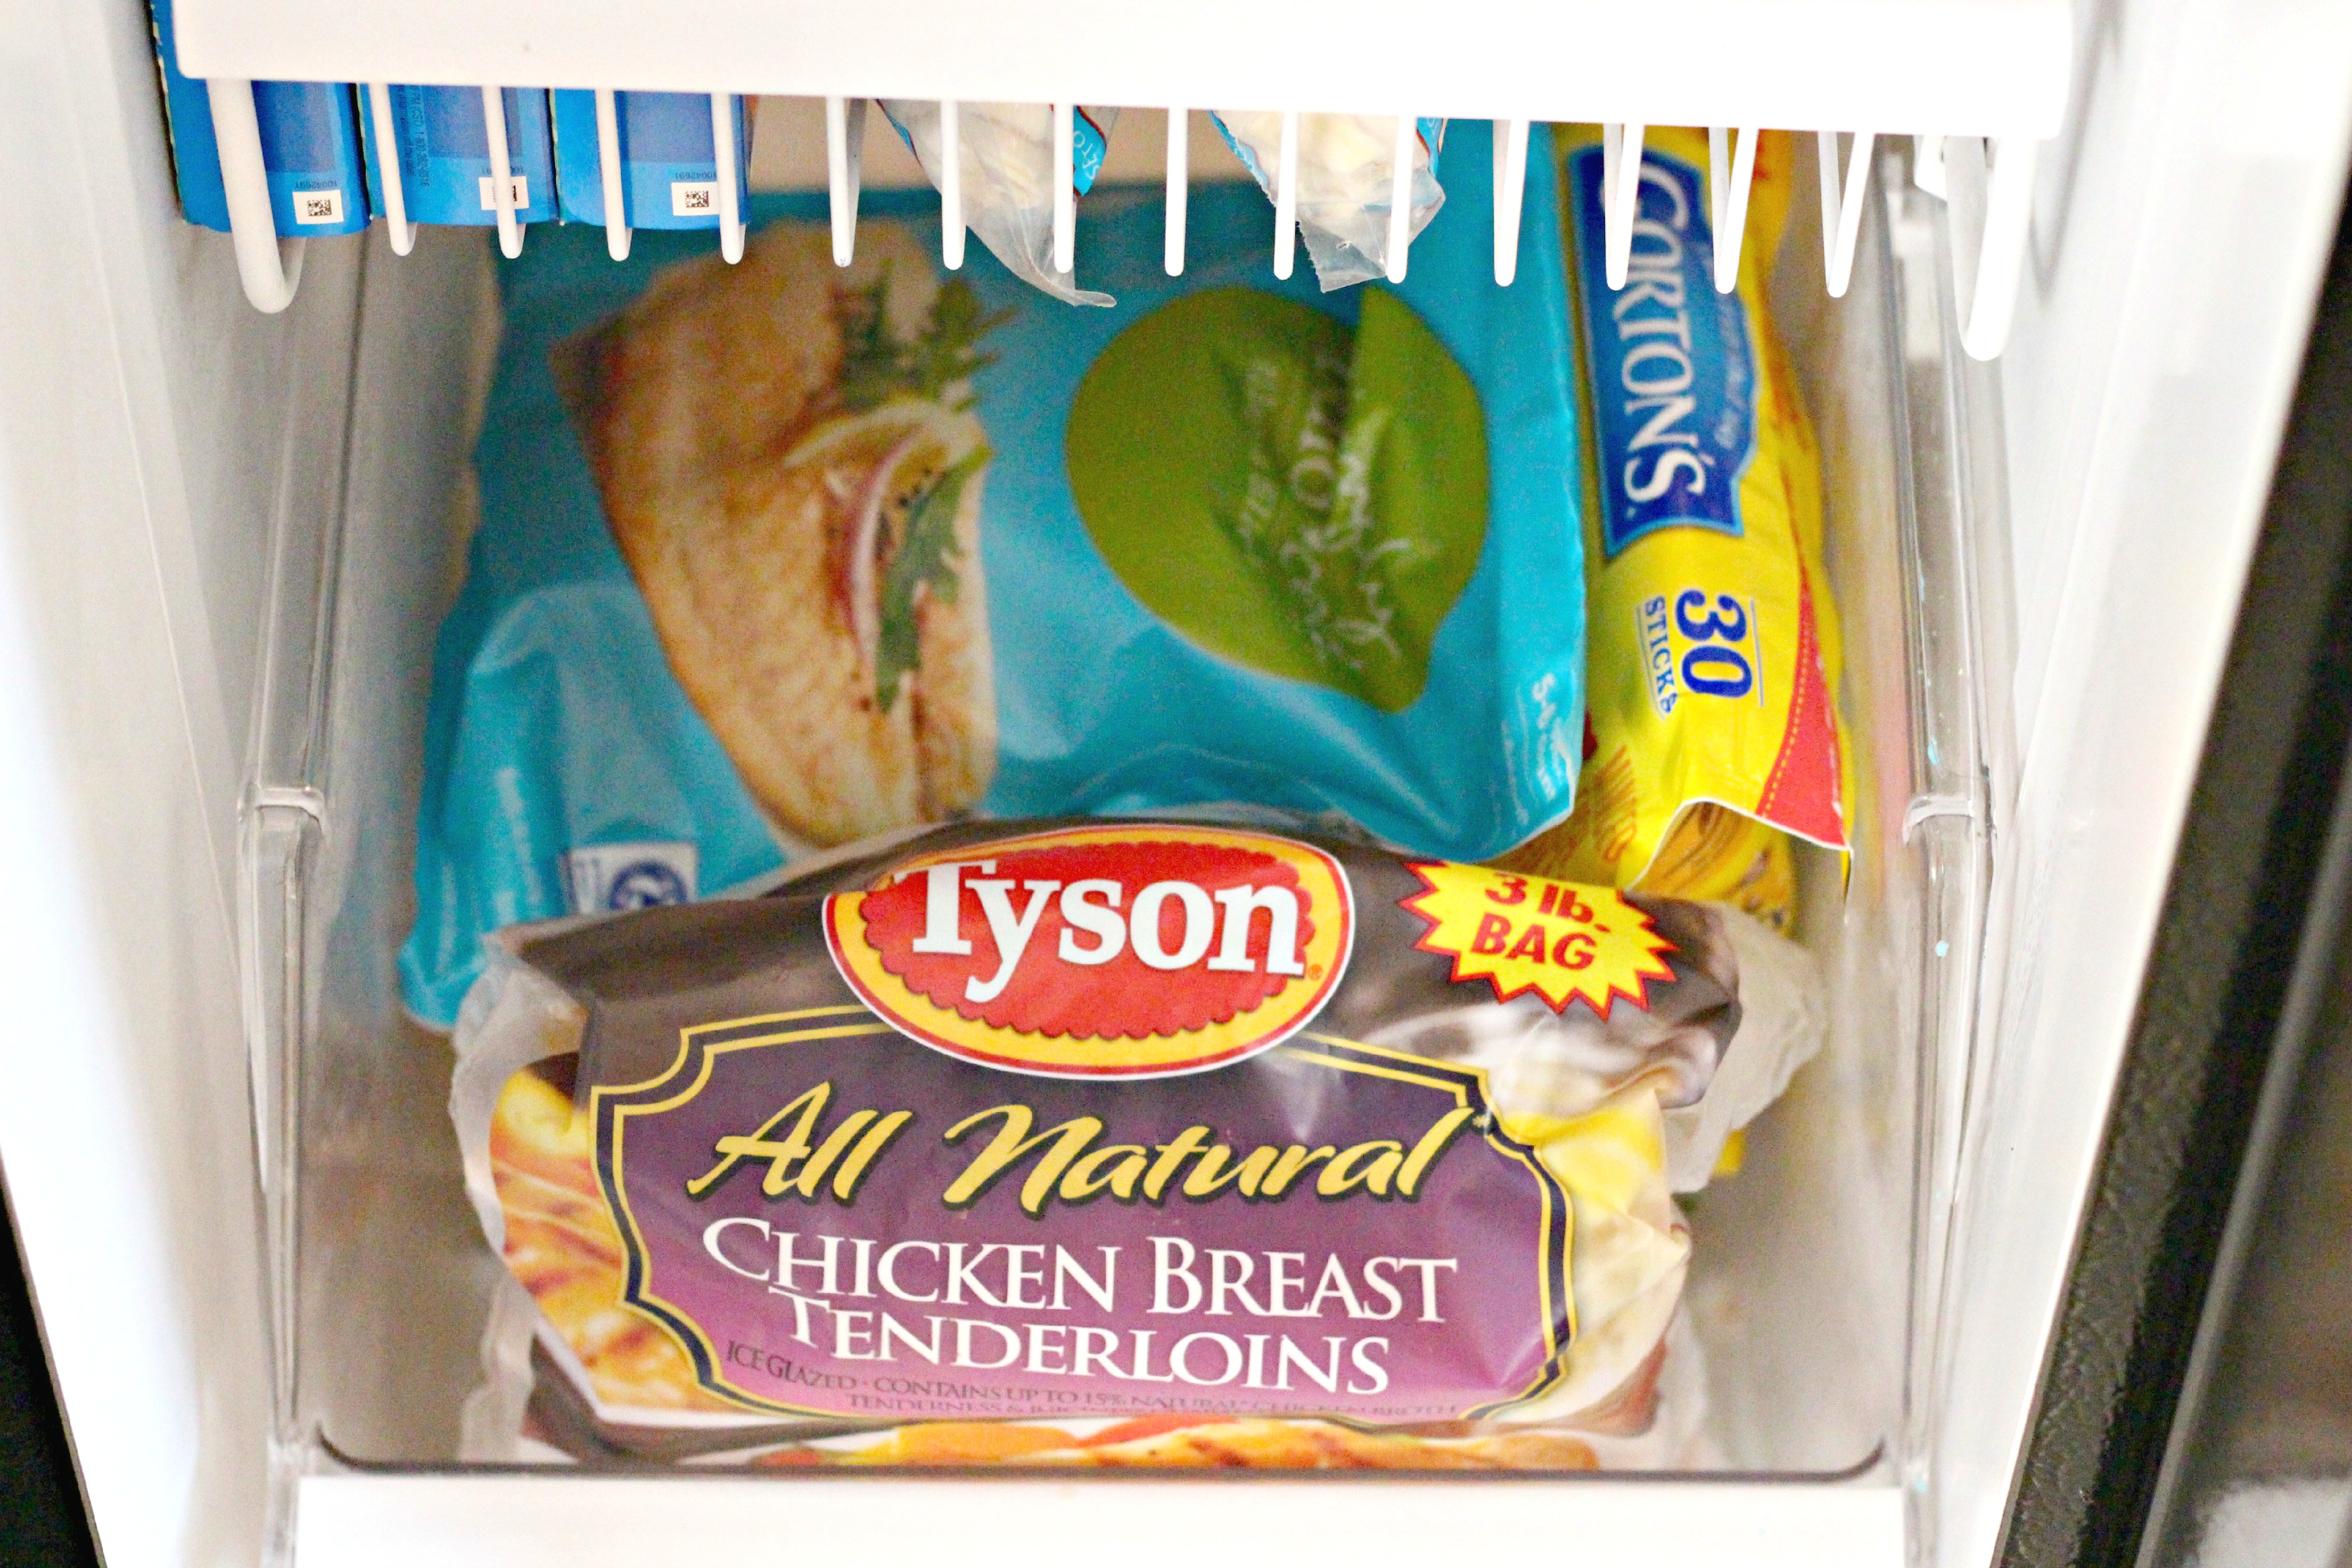
And the bottom shelf holds meat, chicken, fish.
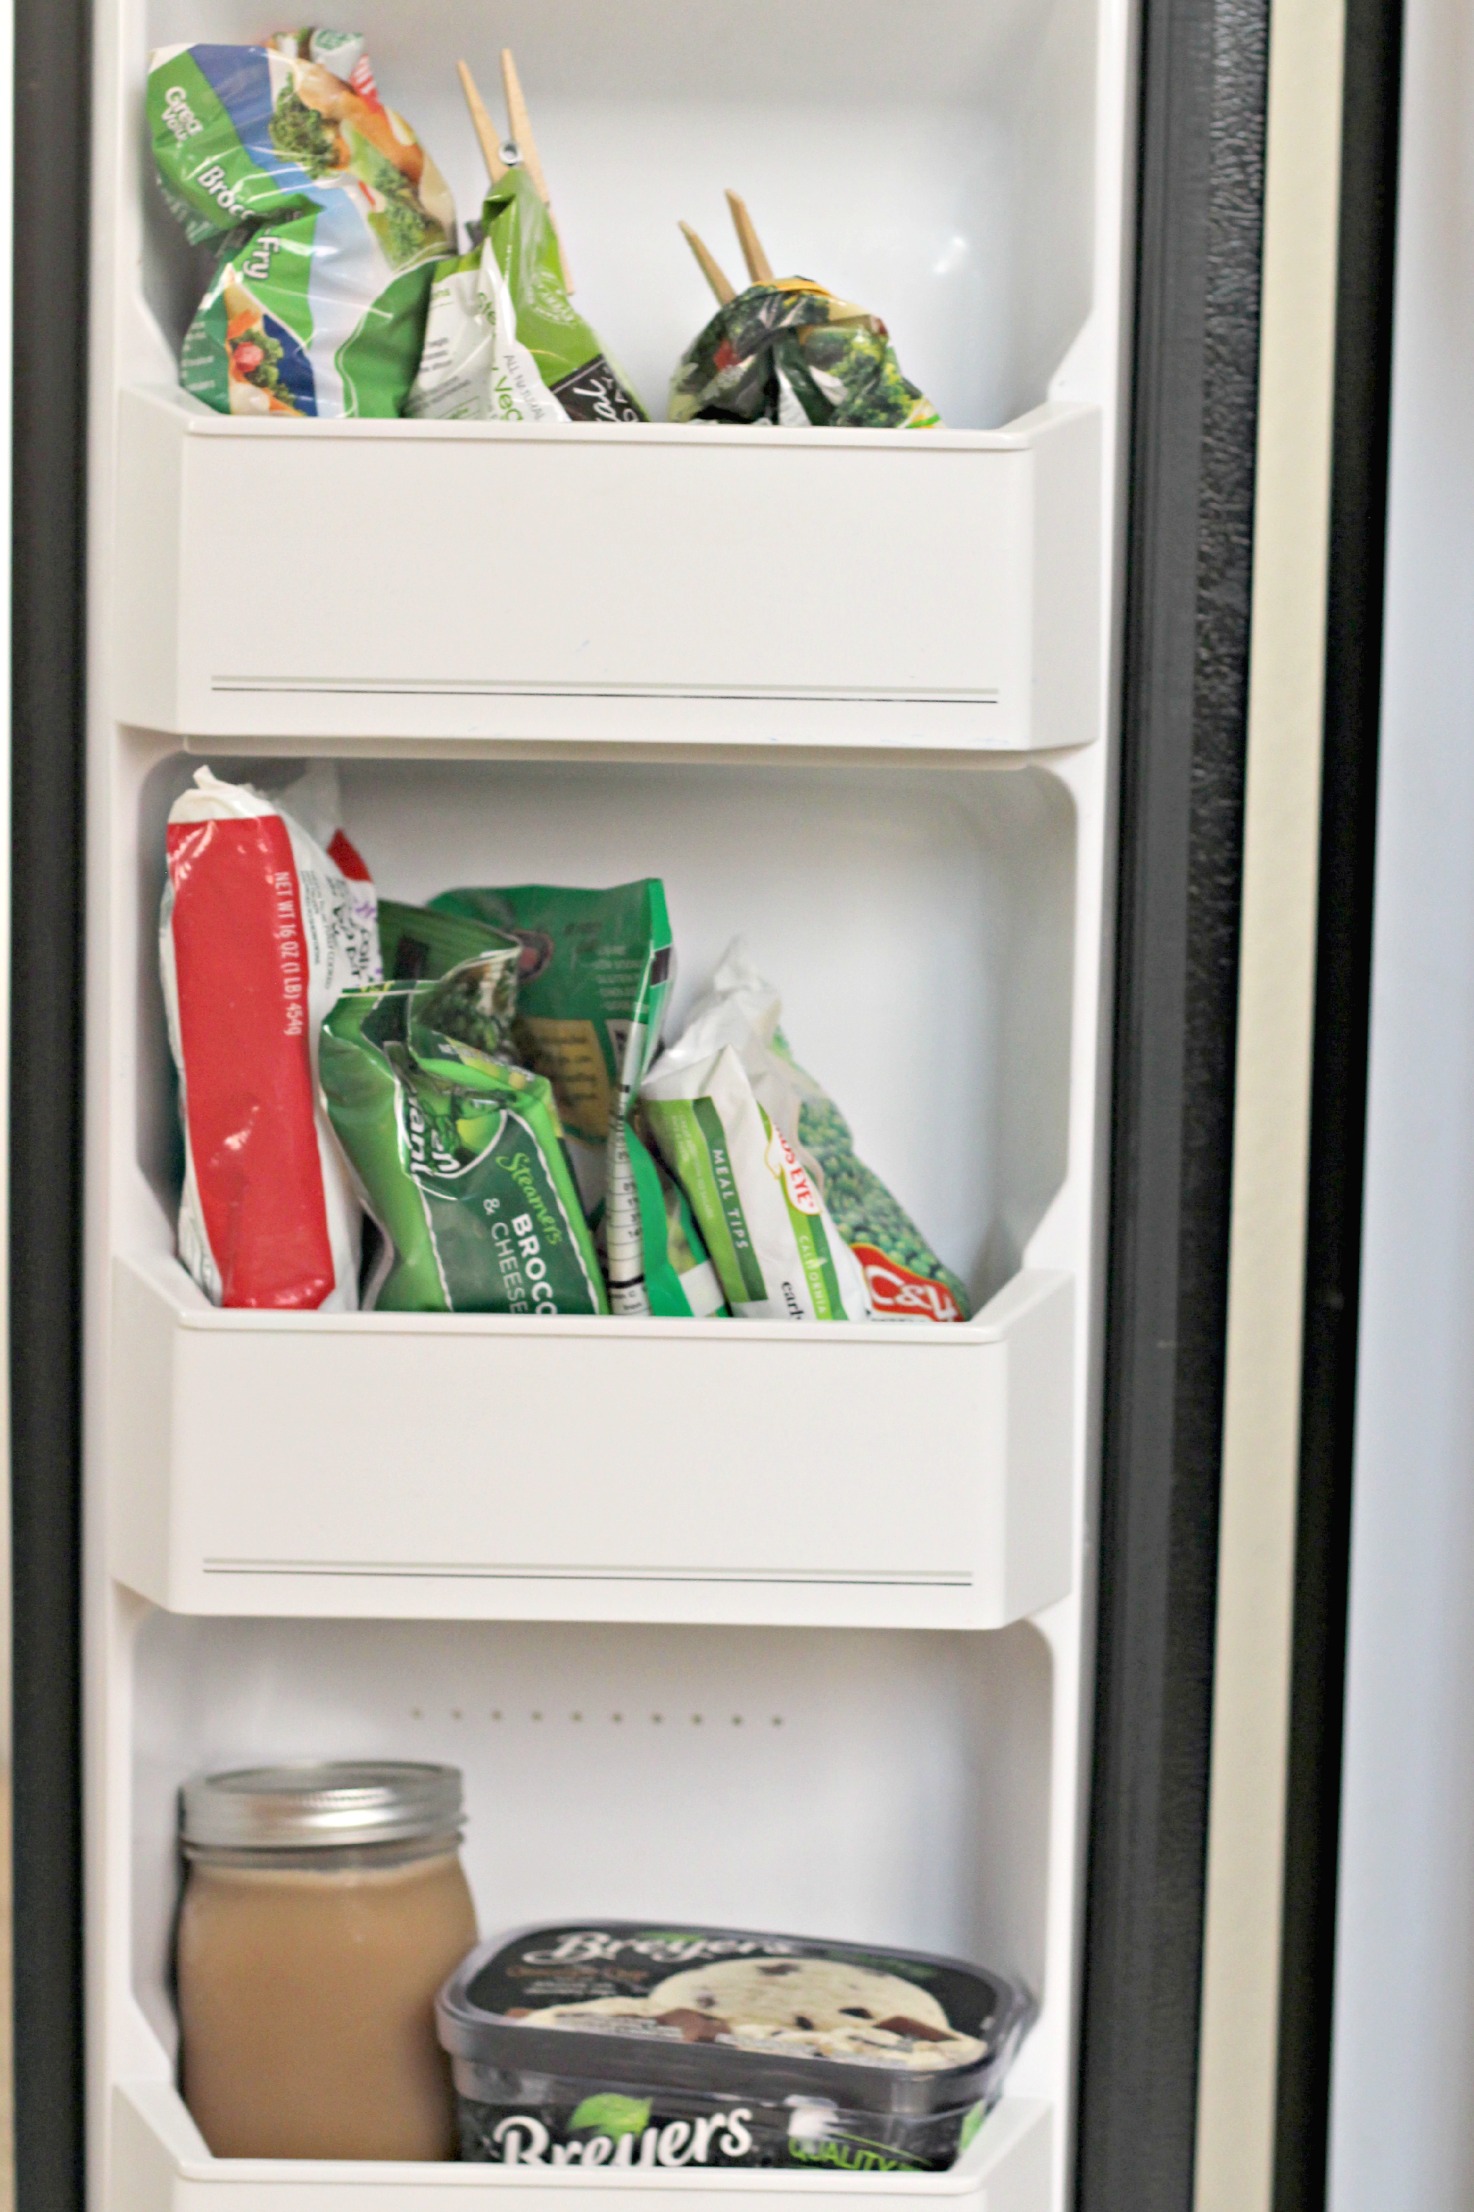
The top of the freezer door holds juices and frozen fruit.

And the bottom holds veggies and of course, ice cream. I clip the partially used bags closed with a clothespin. Not every freezer is cold enough to store ice cream in the door. Check it out in your own freezer to make sure.
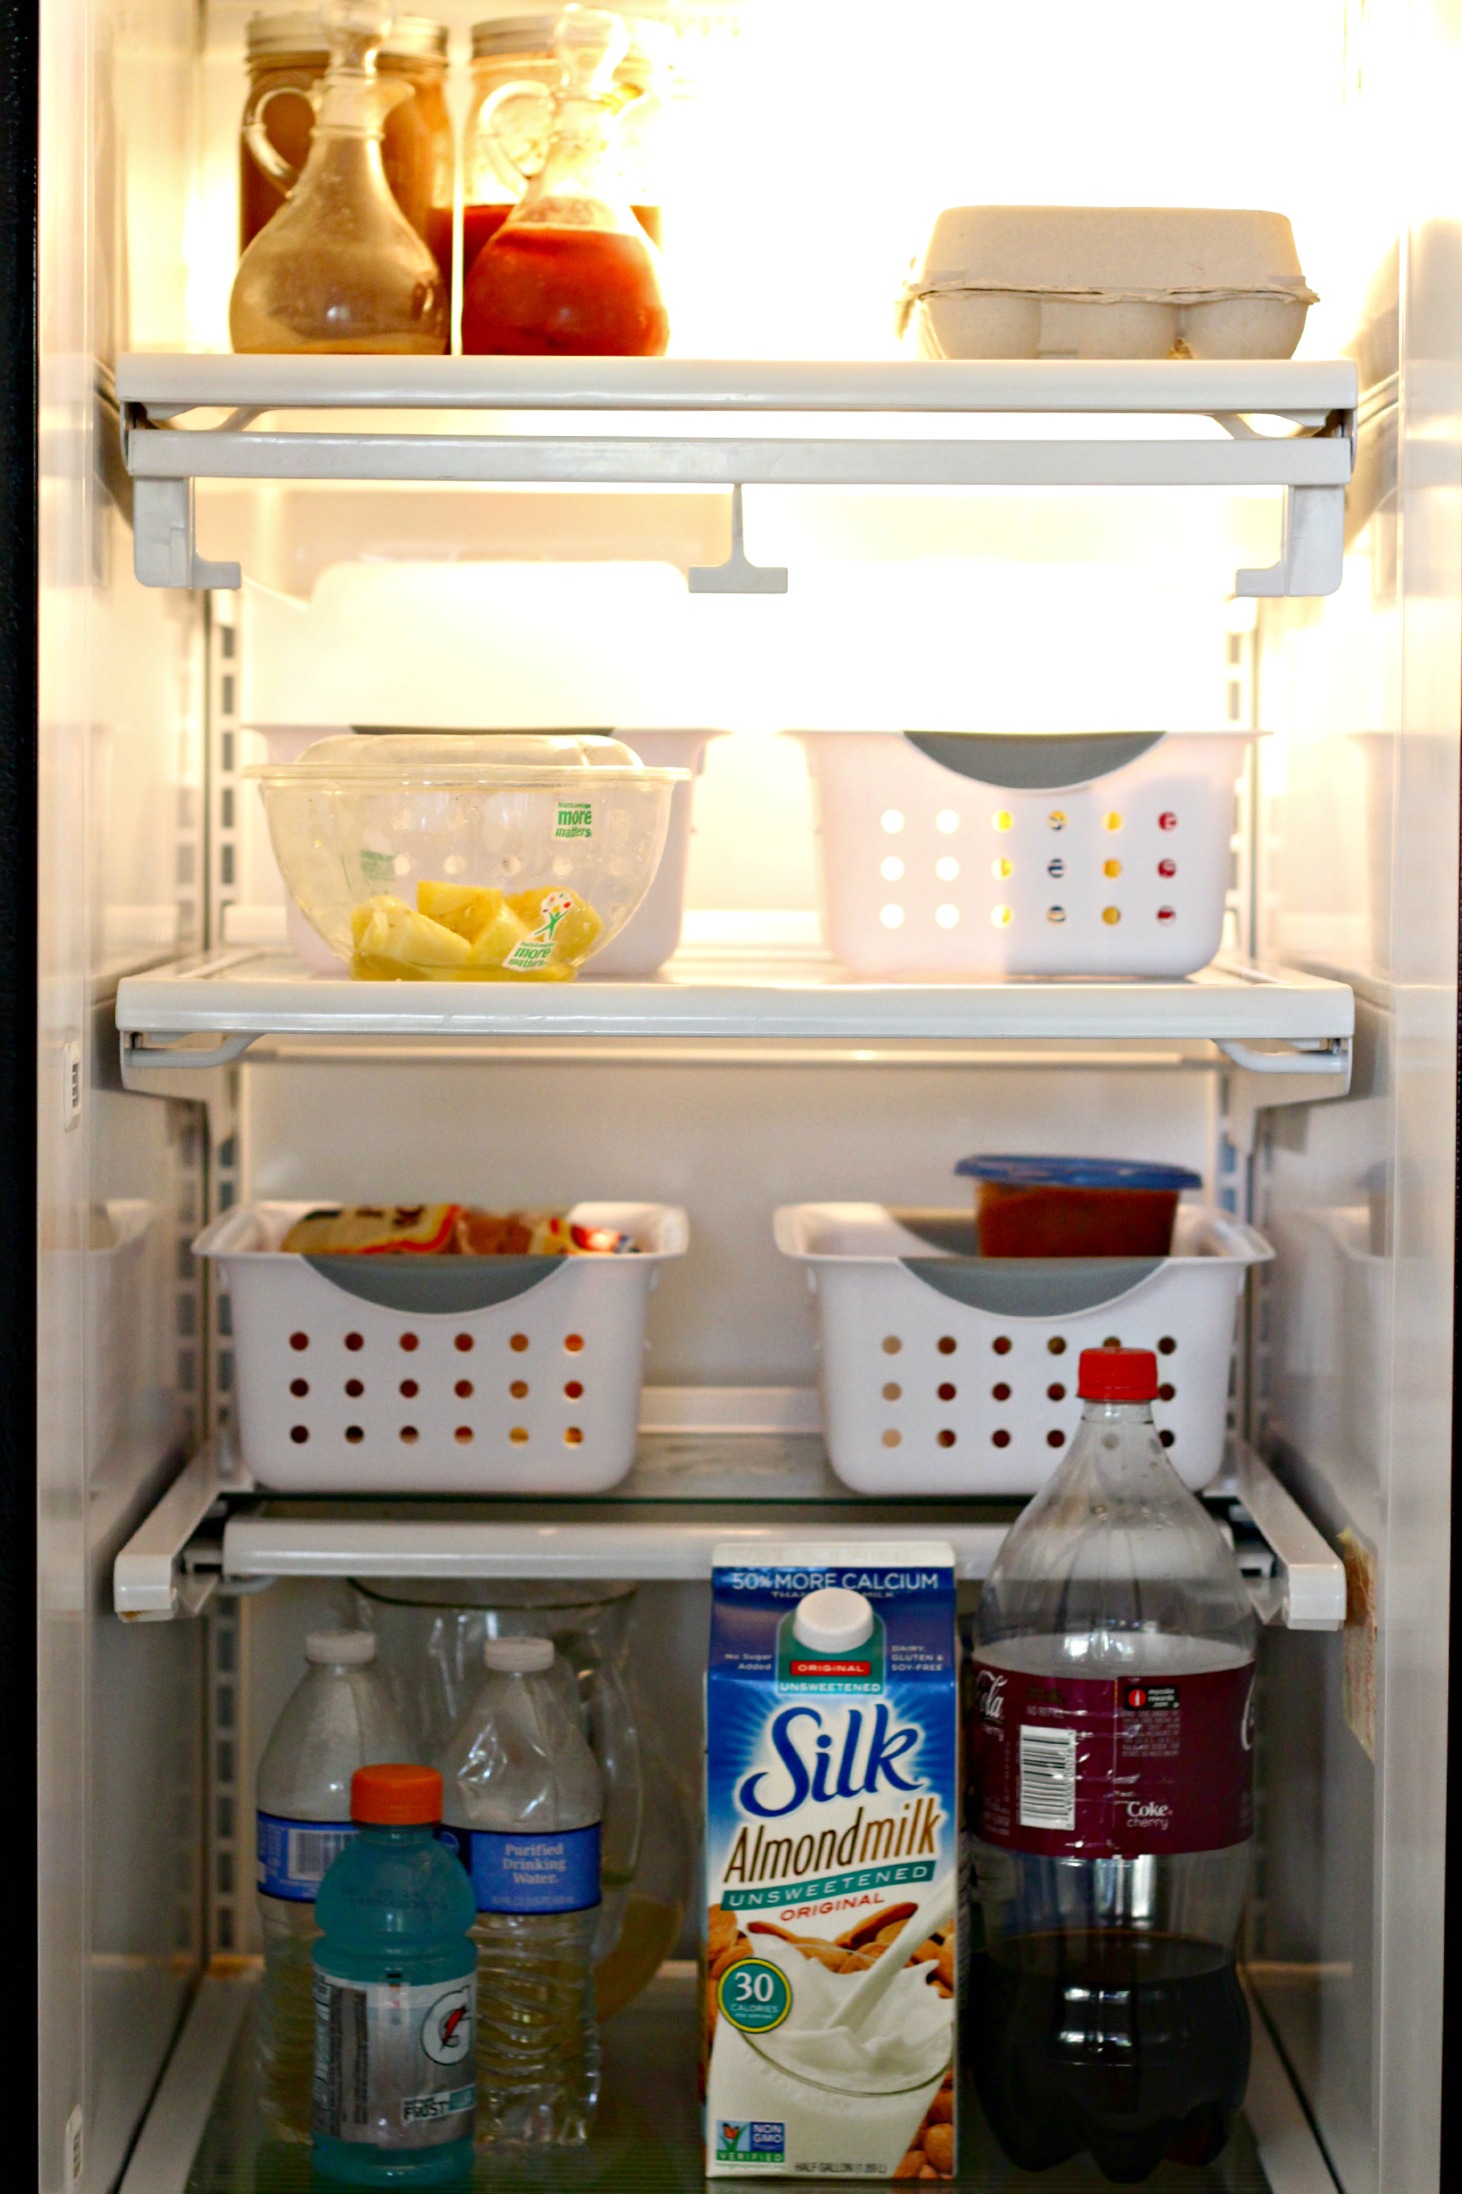
Now on to the fridge! I also like to use baskets in the fridge to keep certain foods together. It’s also a great way to separate lunch and snack foods for the kids. Umm, this was also the day before grocery shopping.
I have 3 drawers below. The top draw holds more of my gluten-free foods.
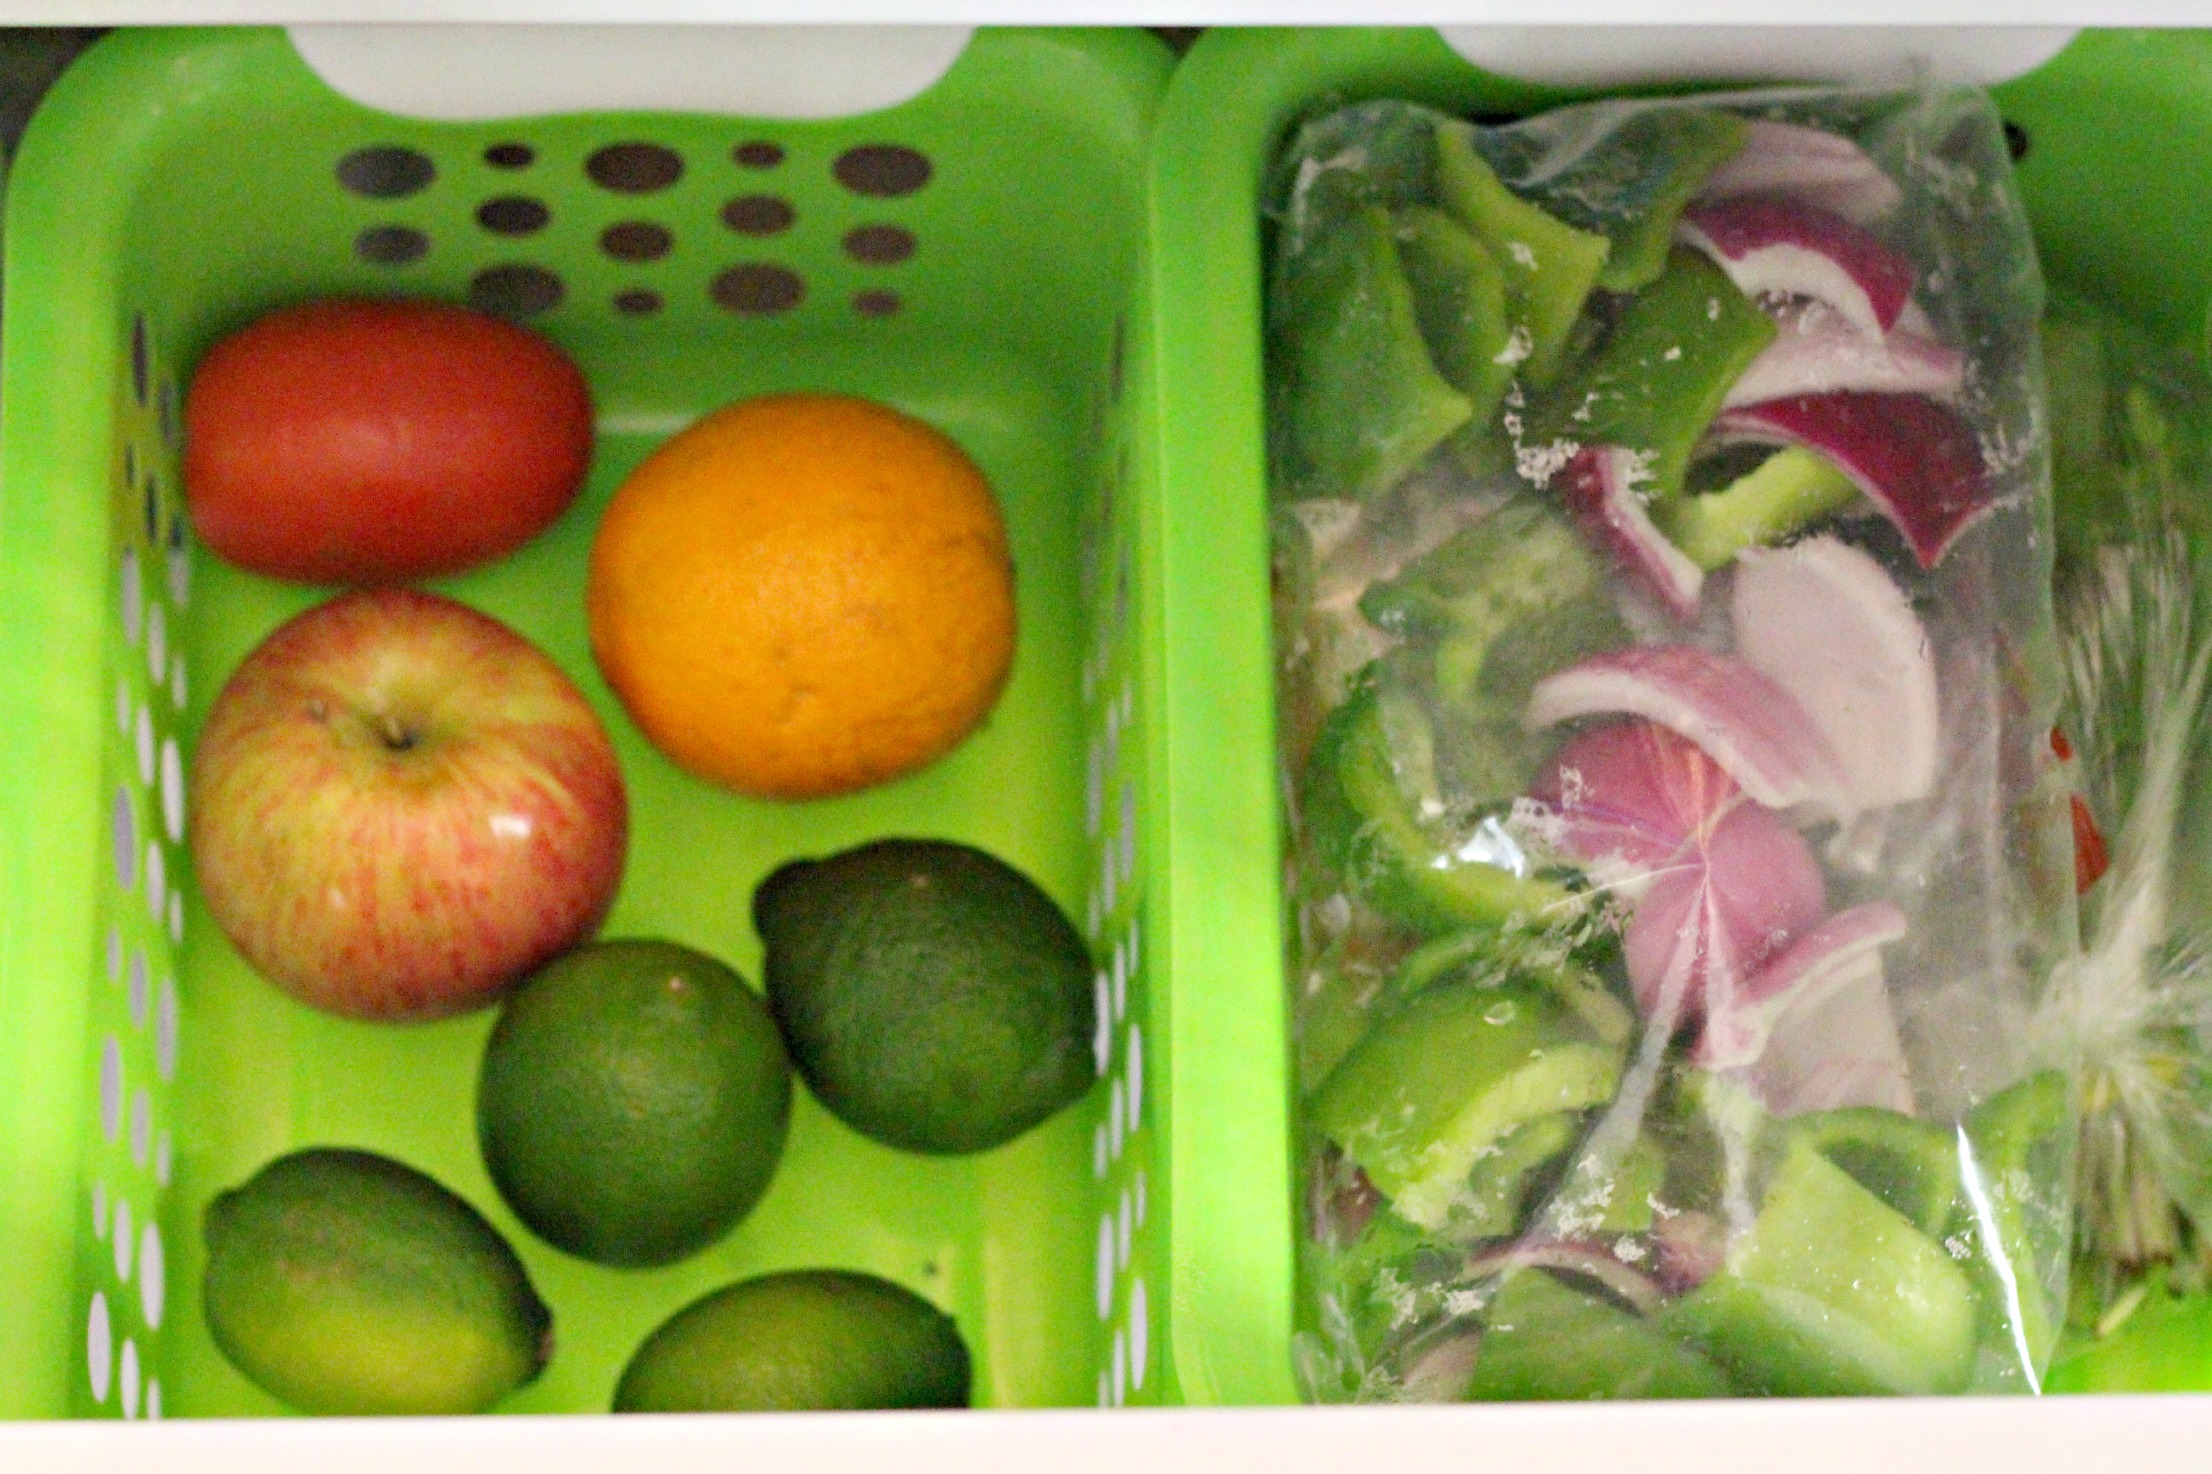
The middle drawer holds fruits and veggies.
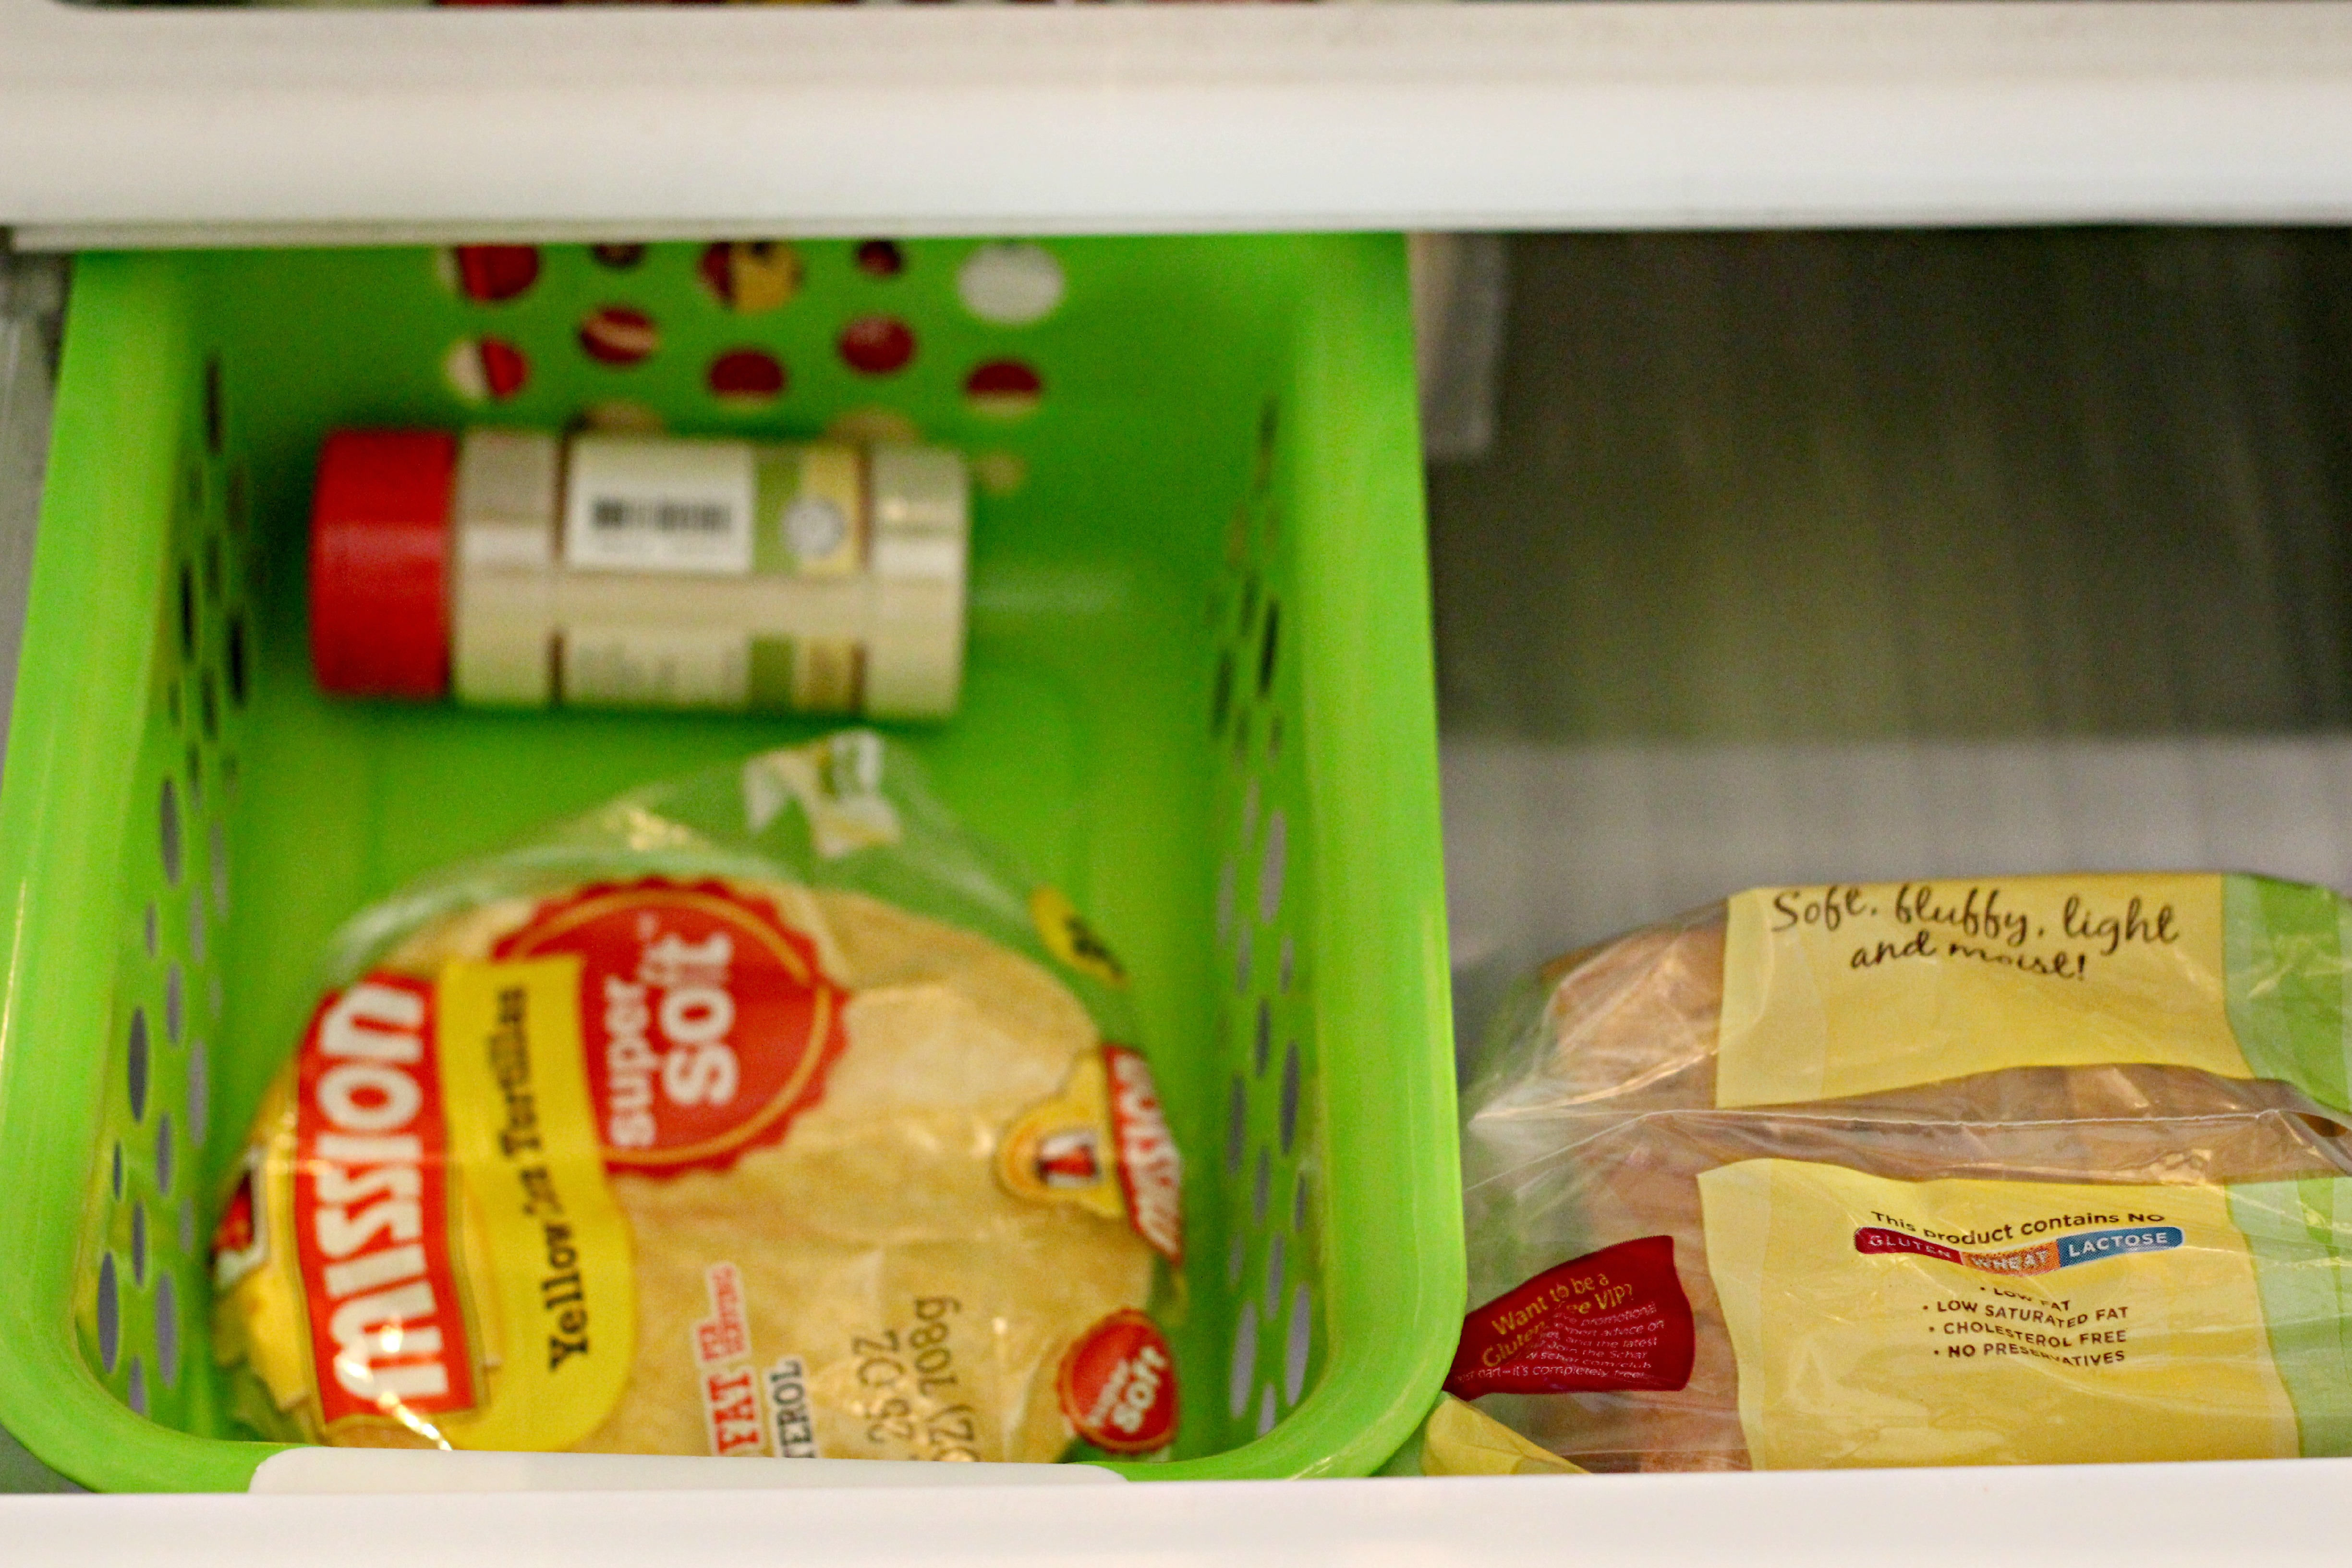
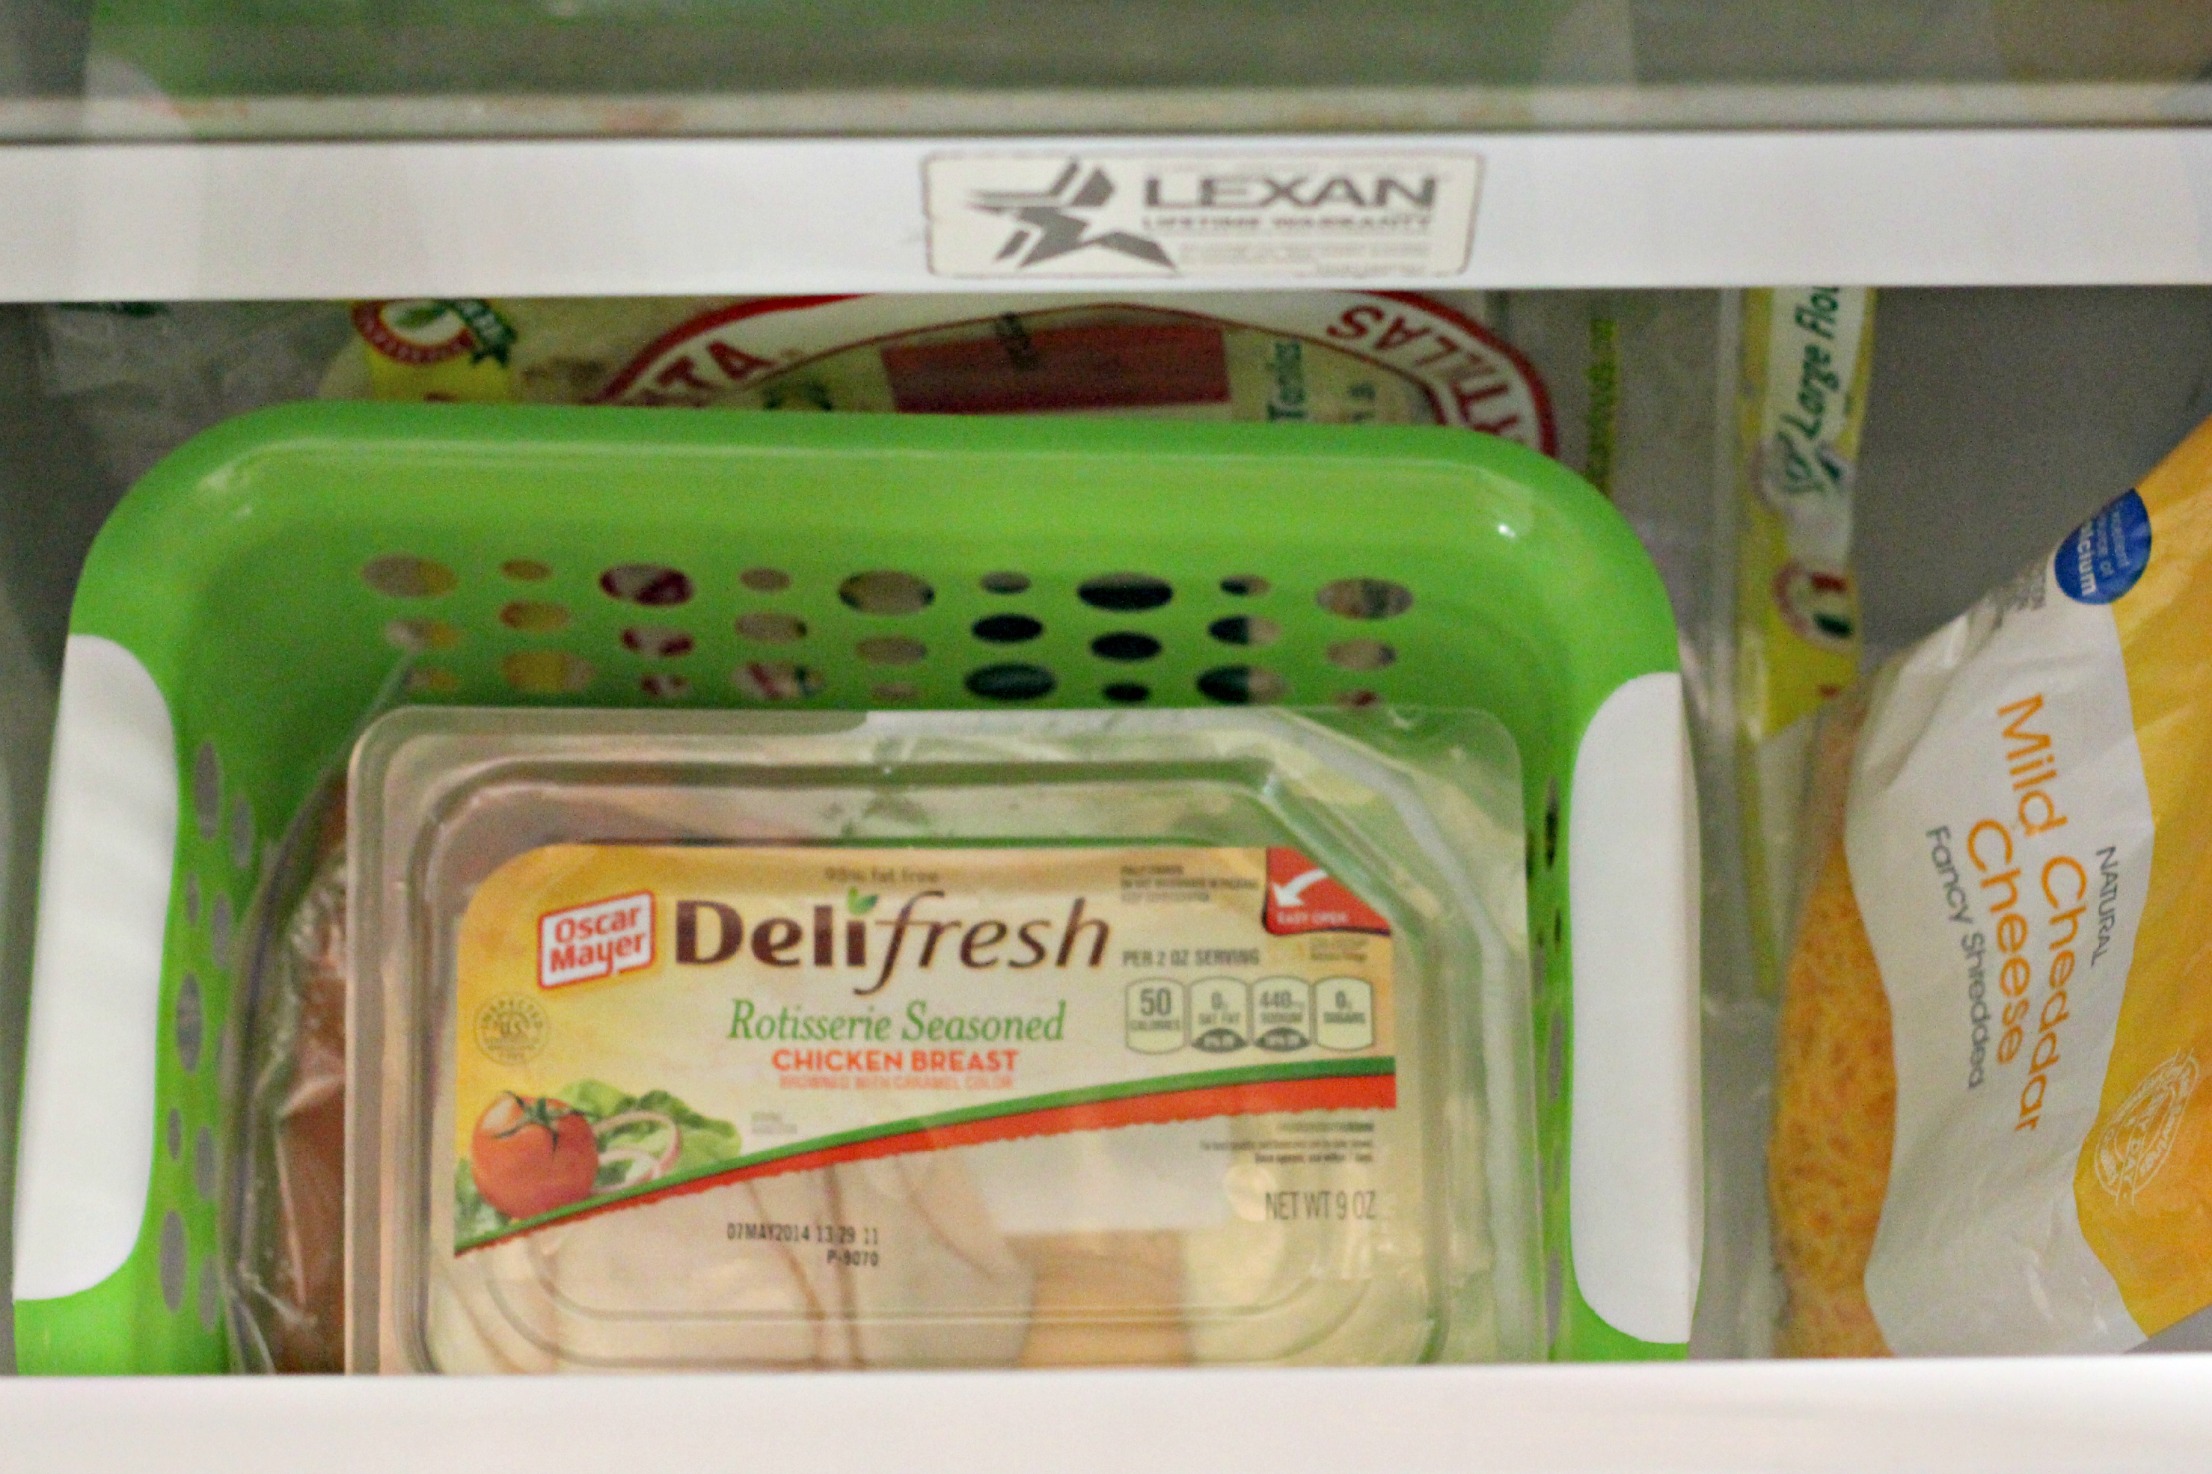
And the bottom drawer holds lunch meats and cheeses, also tortillas and flat breads.
I like to clean out my fridge once a week. By doing it once a week it never gets too bad and it only takes a few minutes. As I’m unloading the groceries, I throw out the expired food, toss any old leftovers, and quickly wipe up any spills on the shelves.

A couple times a year I clean the fridge using a vinegar and water solution. You can also use baking soda on stubborn stains. Take a few minutes to clean and organize your fridge and freezer this week.