Join me for my Craft Room Tour 2018. It’s full of inexpensive storage and creative decorative ideas. Then continue to the bottom of this post for links to more inspiring craft rooms by some of my favorite bloggers.
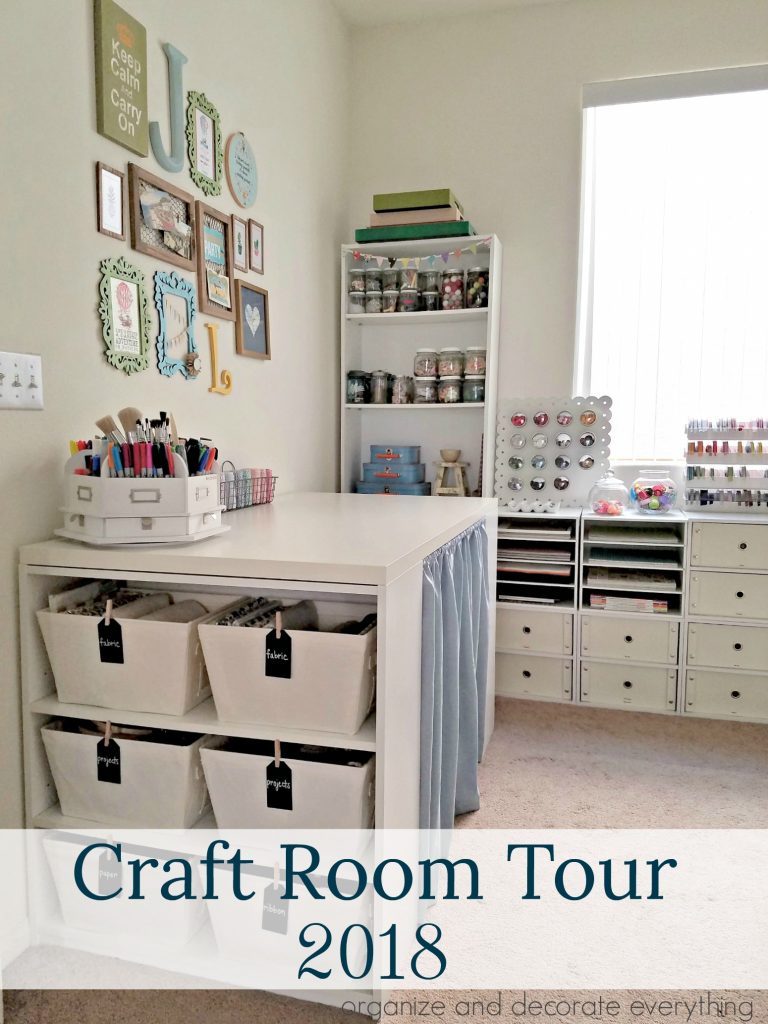
My craft room has changed a bit since I shared it with you a couple of years ago. My daughter came home from college for the Summer and we had to make a sleeping space for her. The most logical place was the craft room but I didn’t want to give up my creative space so I came up with a solution that worked for all of us. Let’s take a little tour of my craft room/guest room.
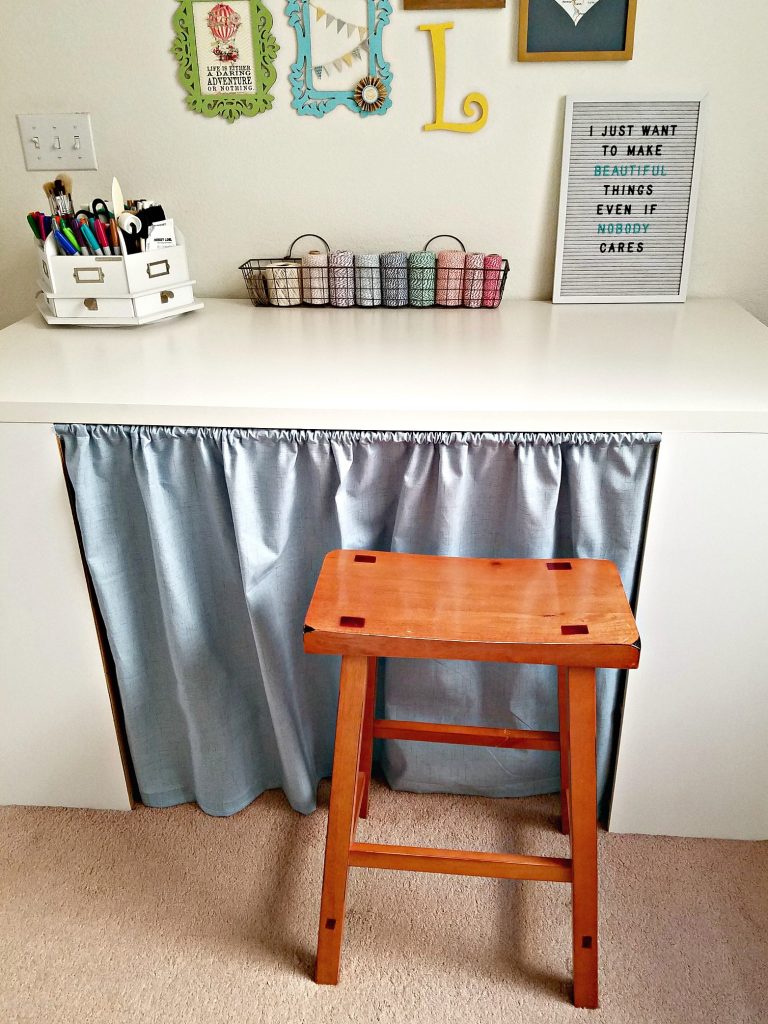
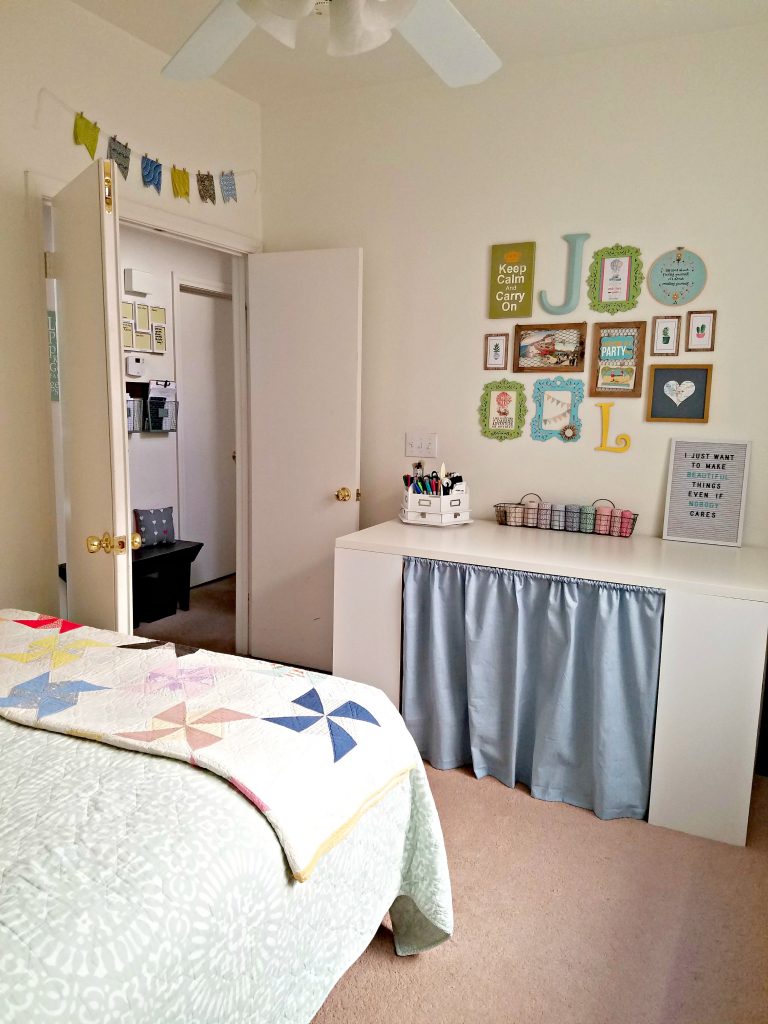
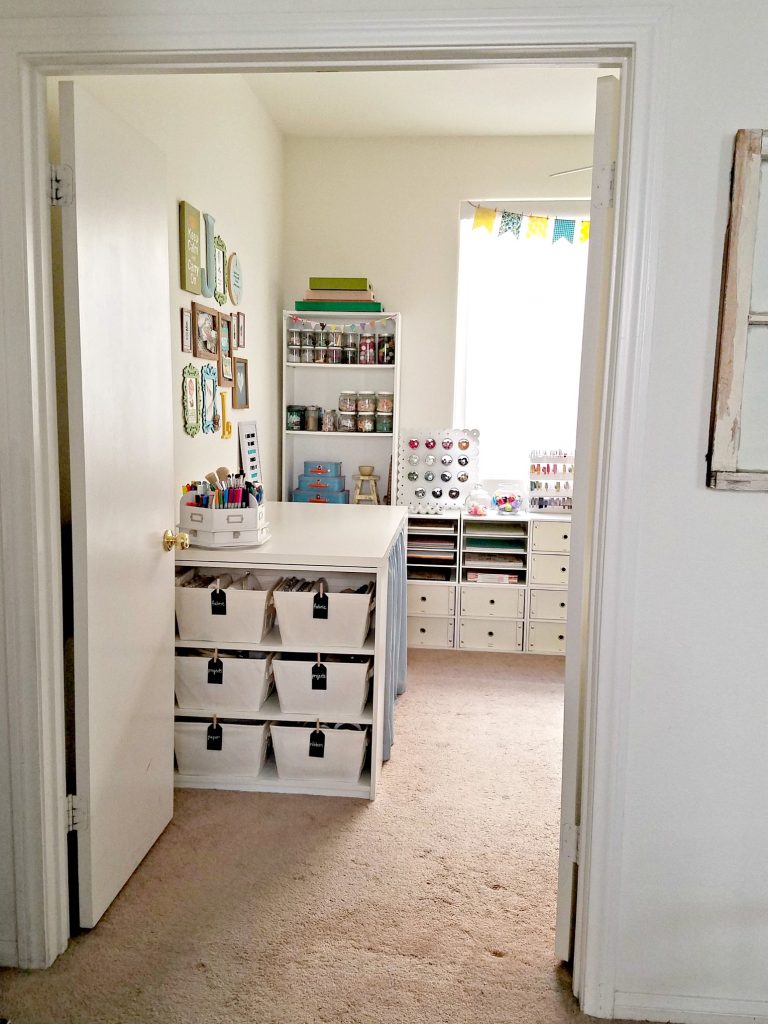
The craft table is the first thing you see when you come in and it’s where I spend most of my time in this room. You can check out how I made the craft table in this post. I just recently added the table skirt to hide the extra storage. This has been the perfect inexpensive table because it’s easy to reconfigure to fit the space I need it to. I was going share under the curtain but this post is already stuffed with photos so you can click on the link above to see the before shots.
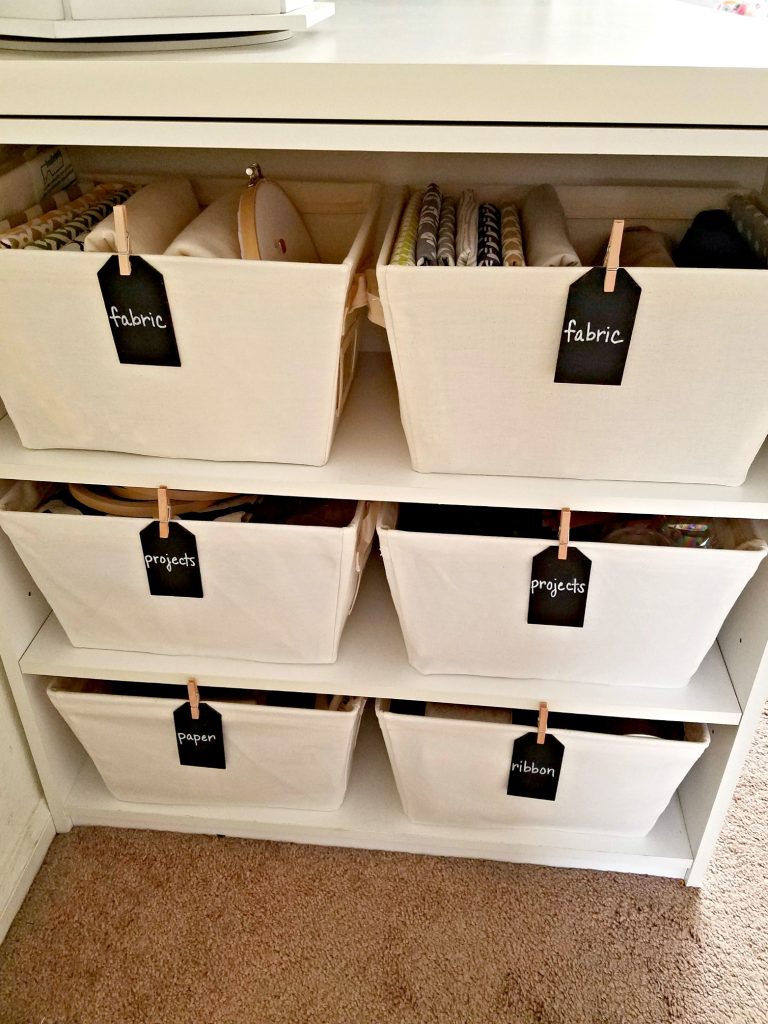
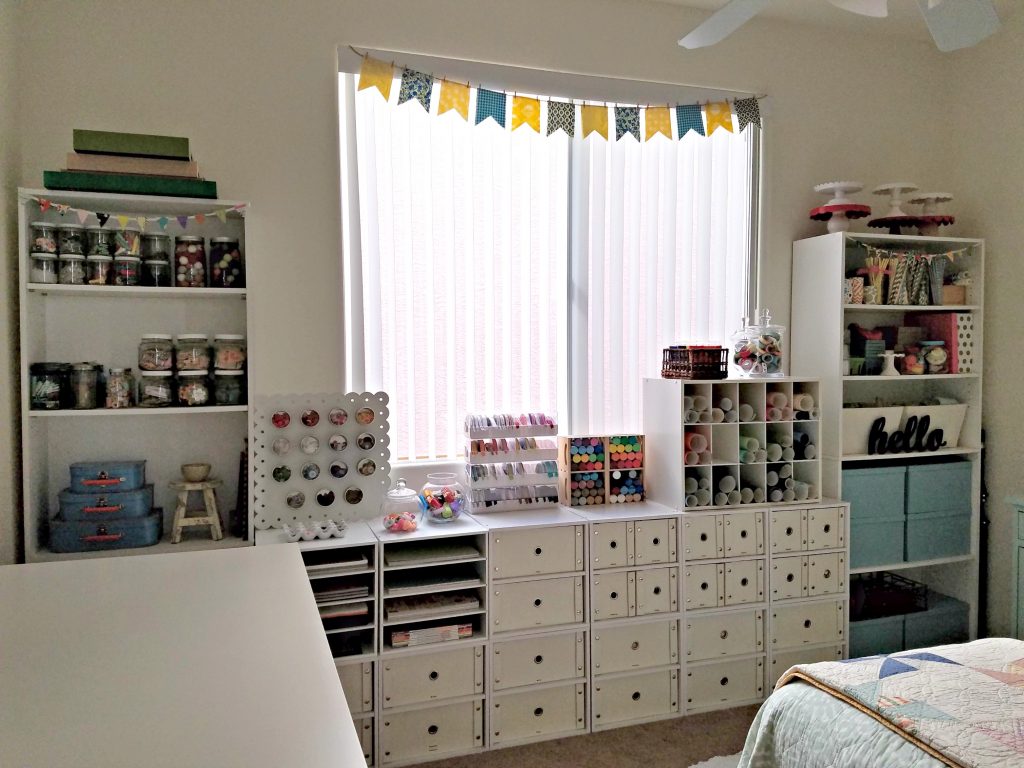
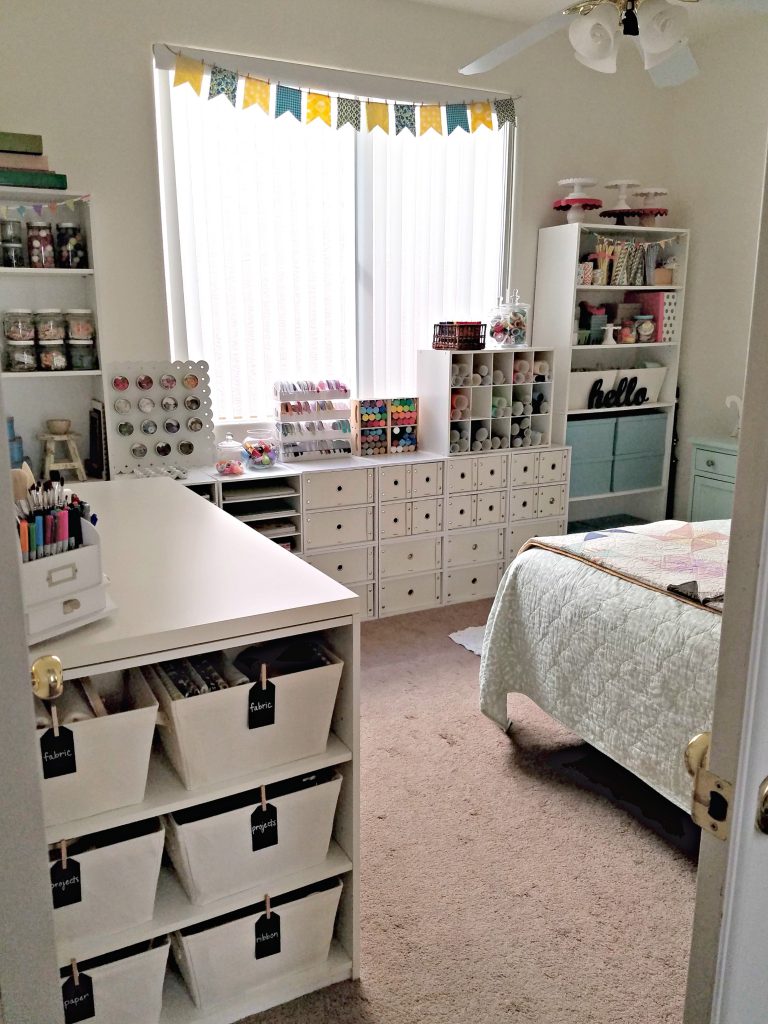
I added bins to the first bookcase to divide and contain the supplies. Then I added chalkboard tags to label the bins and so I could change the contents up if I needed to. These are just inexpensive bins from Walmart.
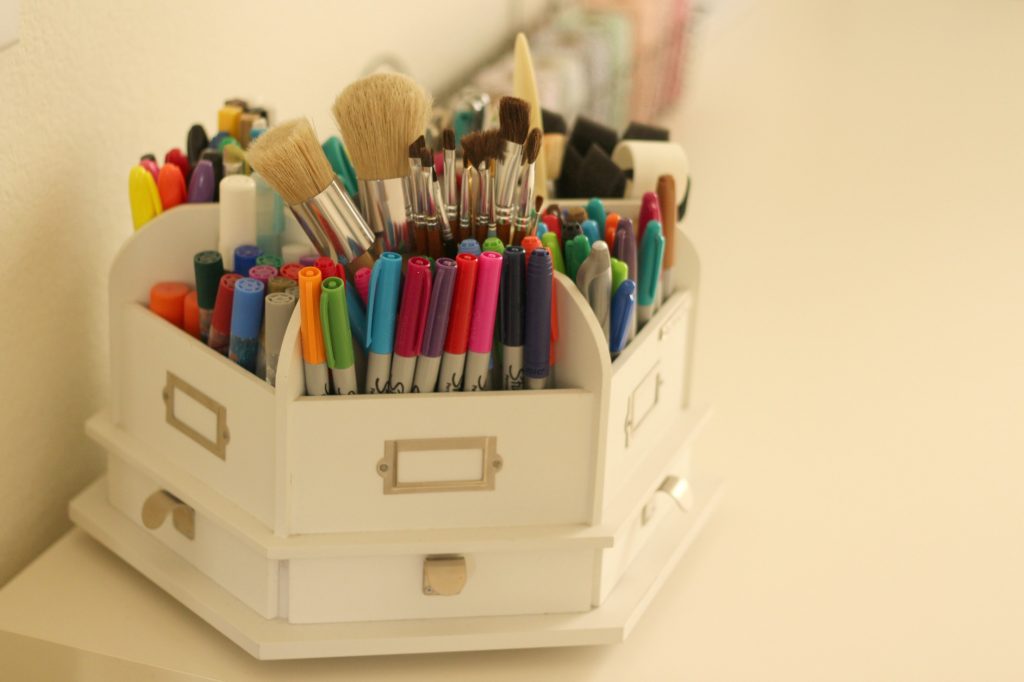
I try to keep the top of the table clear so I can spread out my projects, but I keep this caddie on top for easy access to all of my pens, brushes, and other little supplies. The bakers twine is kept in a basket on the top too.
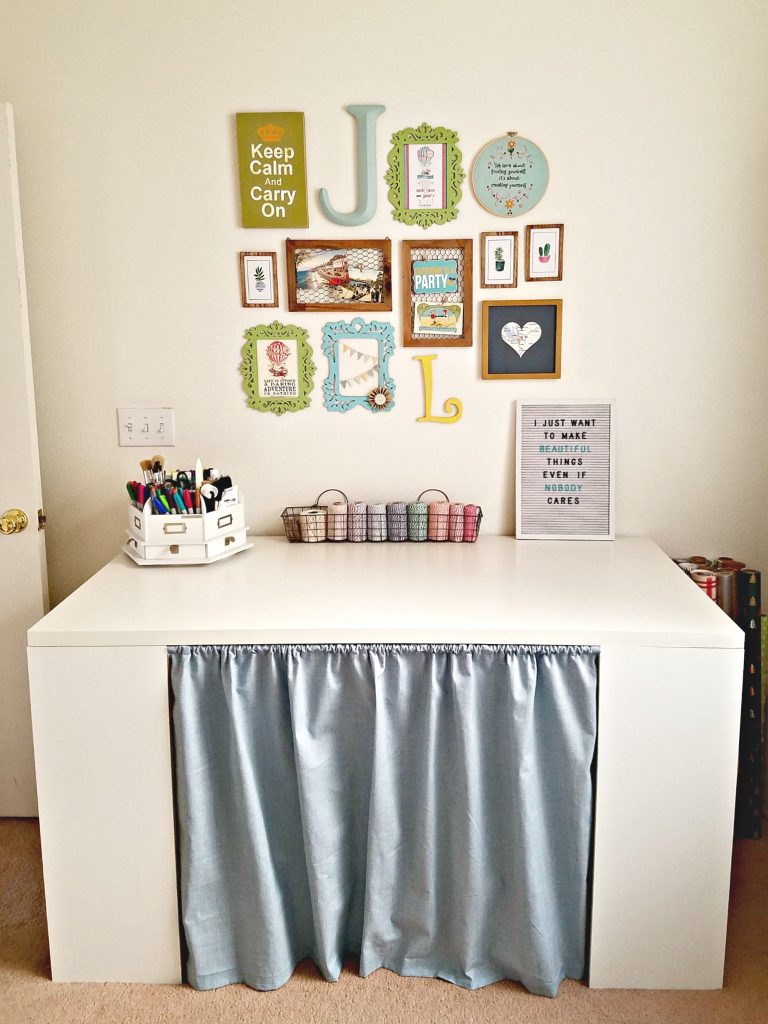
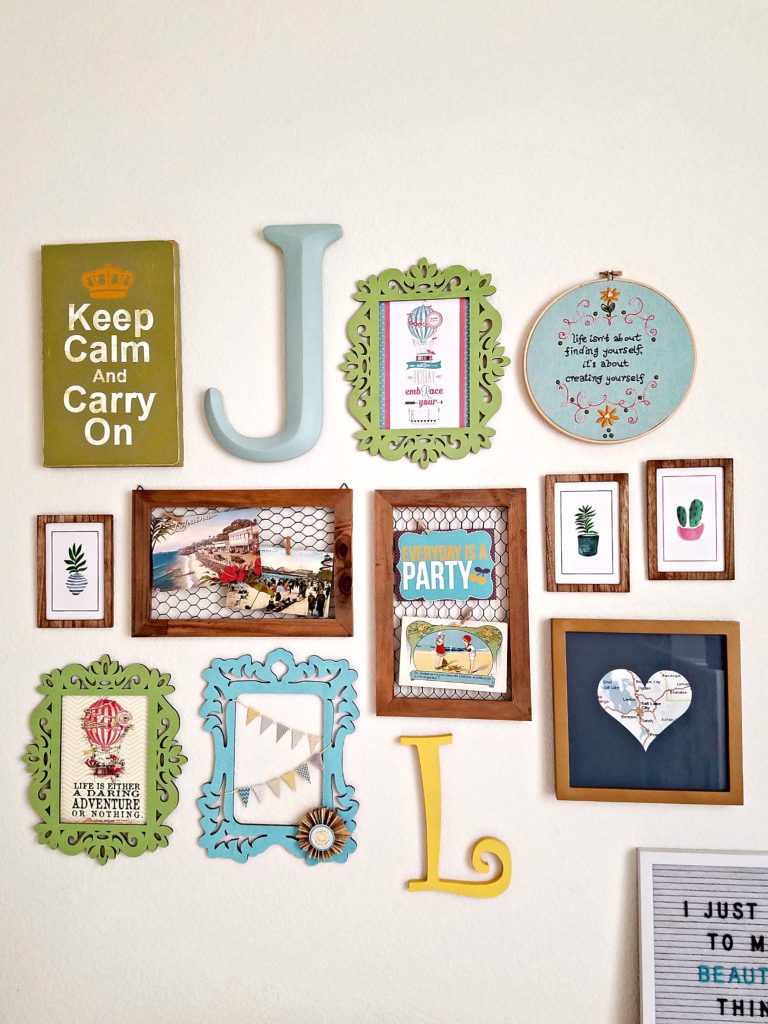
The galley wall is made up of fun and easy projects, a gift from my daughter, a gift from my mom, and post cards from my favorite vacation. It brings me joy to look up and see it while I’m crafting and creating.
The stool is easy to pull out from under the table and use when I’m crafting. To be honest I like to stand a lot of the time when I’m creating and the stool never comes out, but I like to know it’s available. I also store the sewing machine, Cricut machine, die cut machine, and a few other large items under the table. The shelves hold everything so they’re easy to get to.
Now let’s move on to the shelves and cabinets. When I had to make room for a bed I moved everything around to accommodate it, so this whole wall became the craft storage. All of the home decor items were moved up to shelves and bins in the master closet.
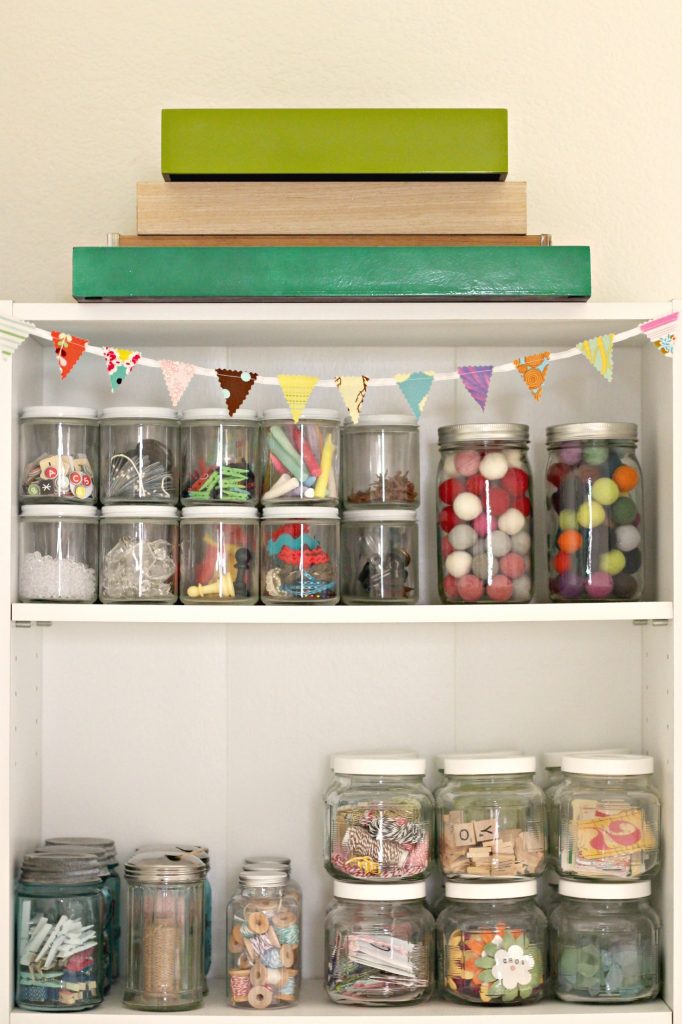
I love storing small items in jars. Craft items are so pretty and colorful that I hate hiding them away plus it’s easy to see where everything is. Use different sizes of jars for different things.
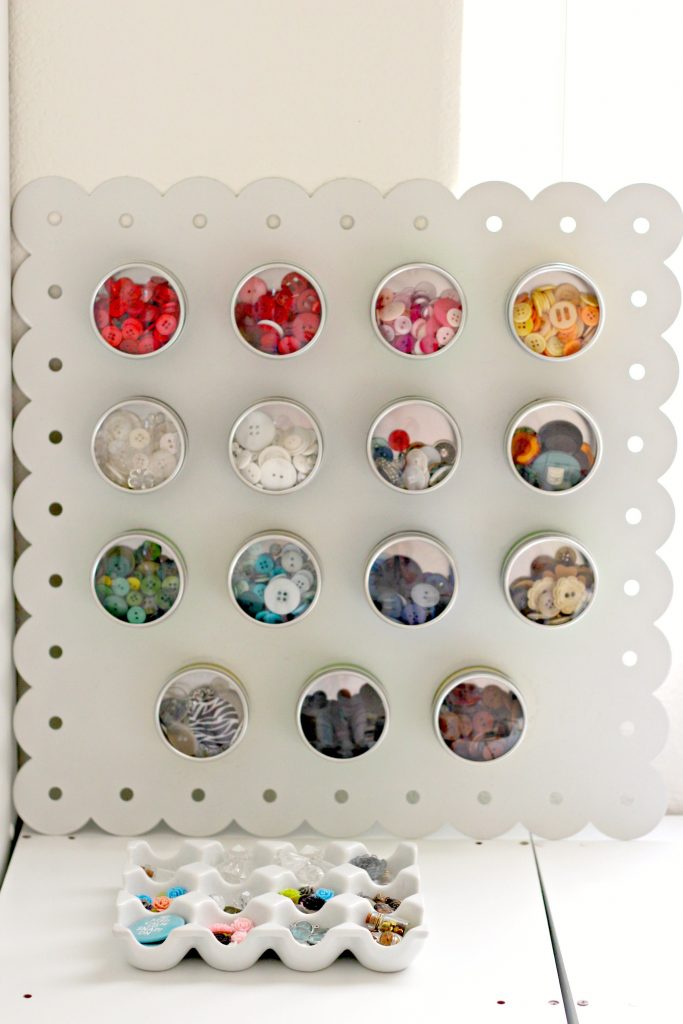
The buttons are easy to access from tins on a magnetic board. And egg crates are fun for little items.
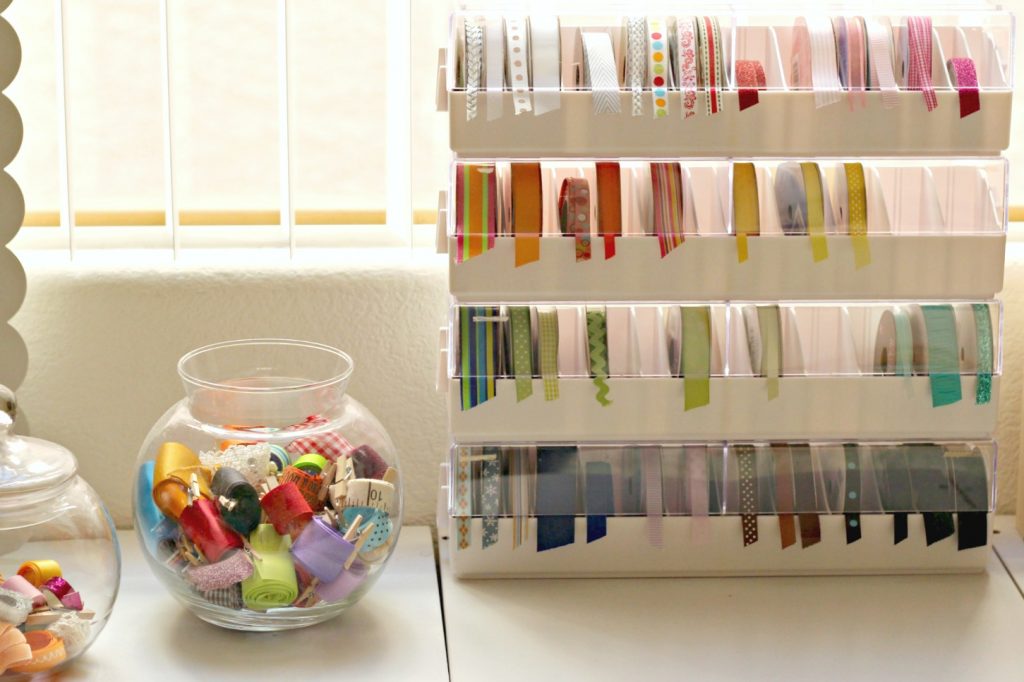
Ribbon is stored in several different ways with large ribbon rolls in a bin. I love how much color it adds to the space and how easy it is to see exactly what I want.
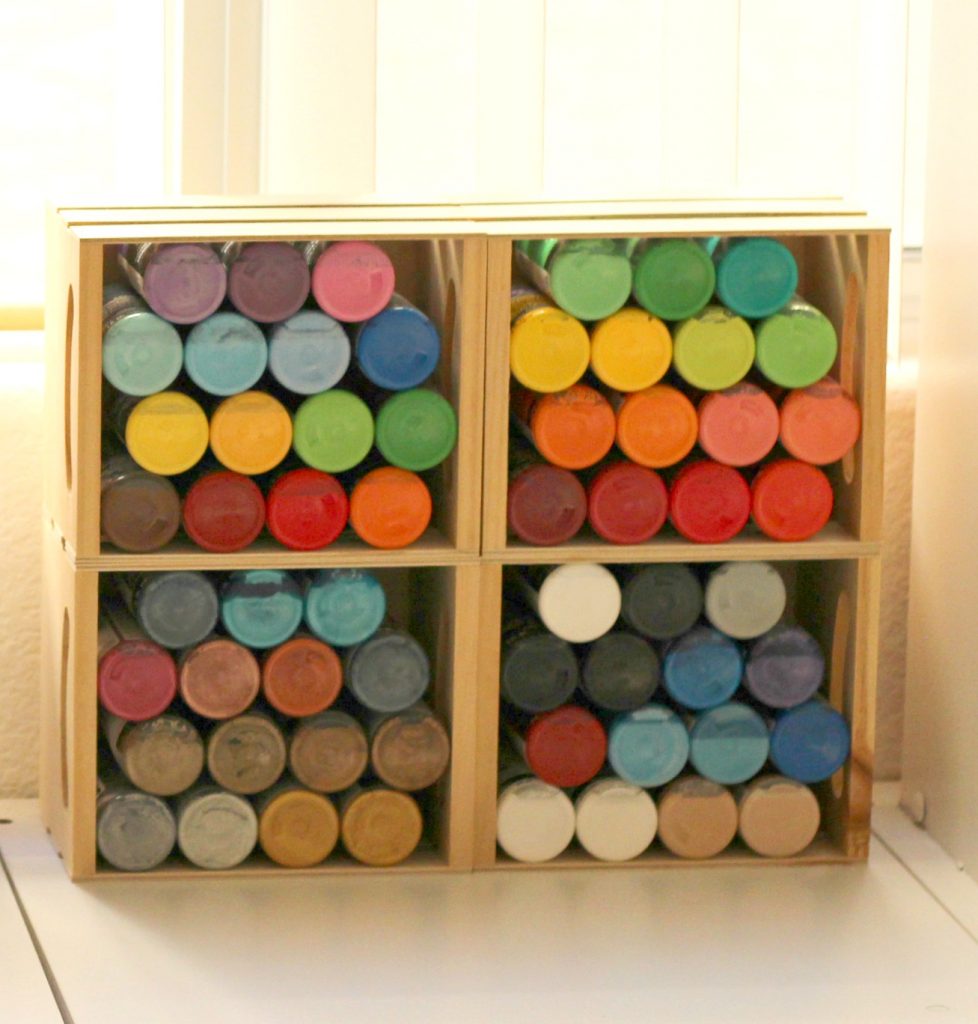
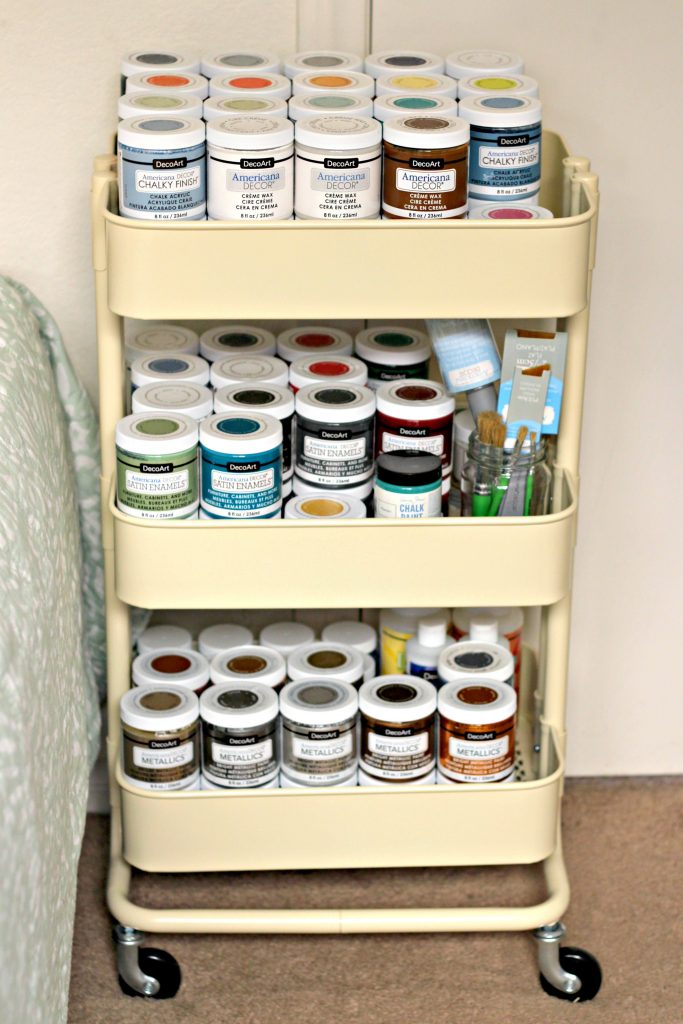
Next is the paint storage. I have a lot of paint thanks to the wonderful people at DecoArt. I have some of the paint I use often on top of the cabinets.
Some more in a cabinet drawer.
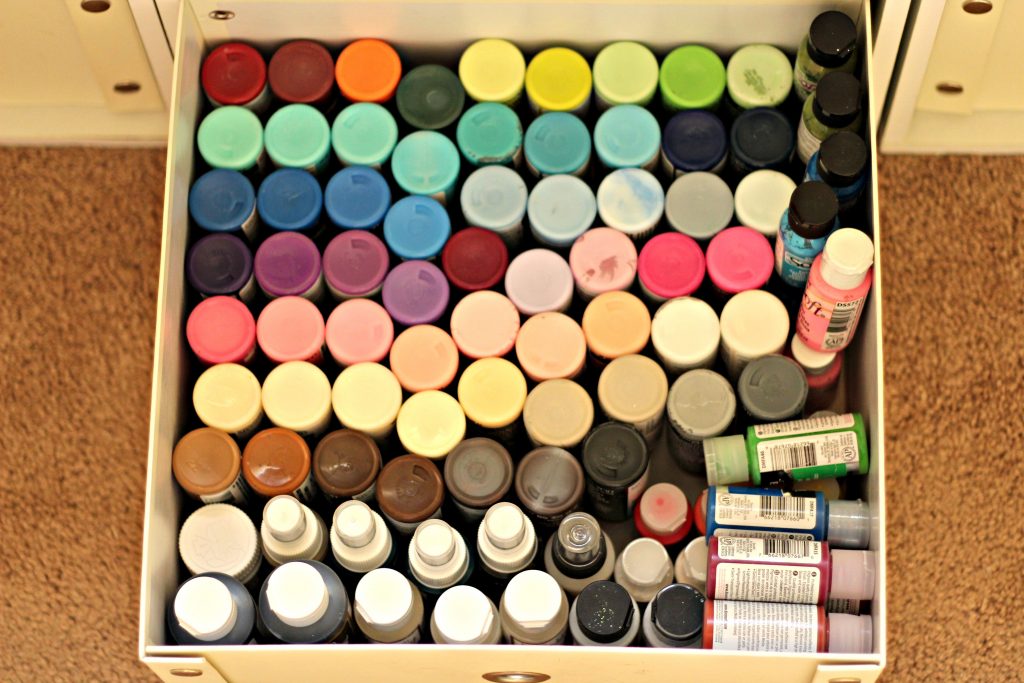
And even more in this wheeled cart. The great thing about having a room that’s pretty small is that I’ve had to declutter and have only kept supplies I really need and work with often.
The vinyl is stored in a shoe cabinet with more paint and washi tape stored in glass jars on top of the cabinet.
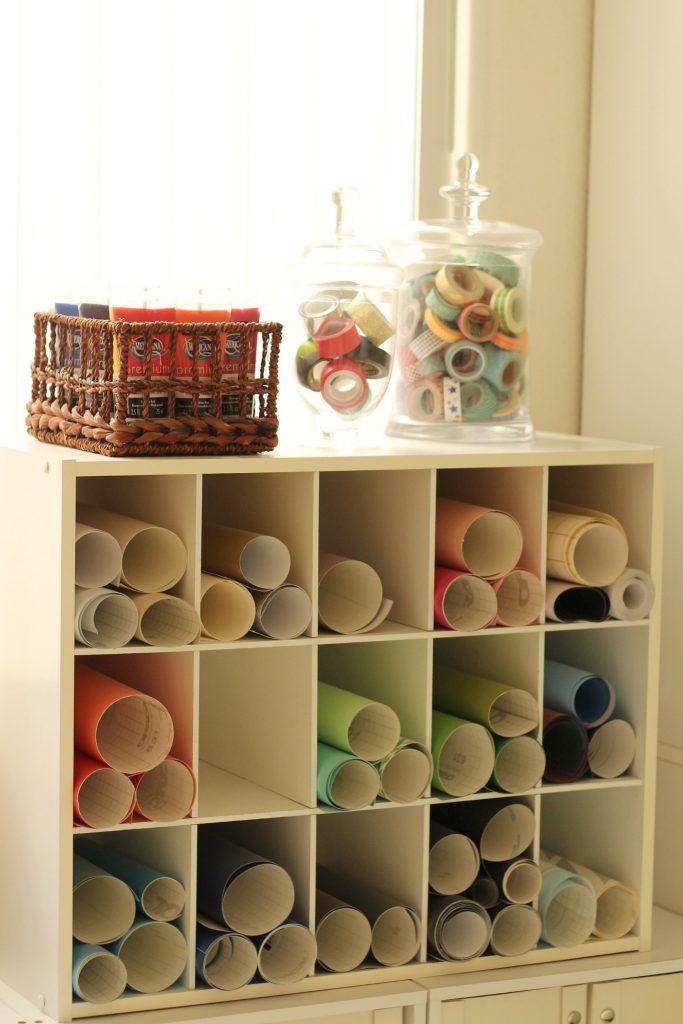
I bought these cubbies several years ago, a few at a time so I could afford them. I wish I would have bought a few more but I’m thankful for the ones I do have. You’d be surprised how much stuff fits in each one.
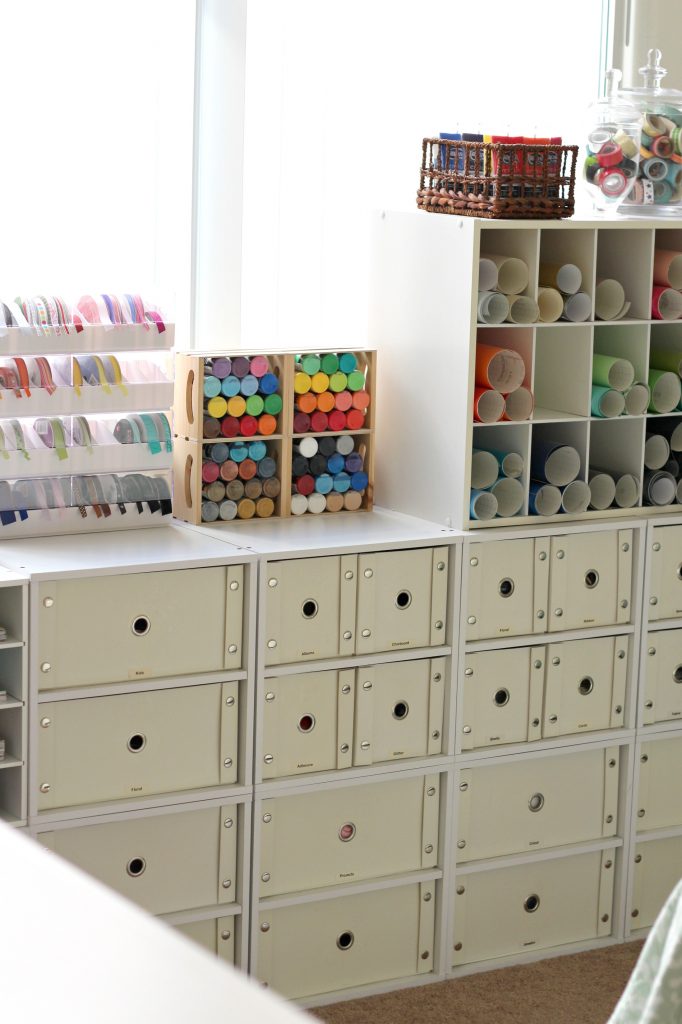
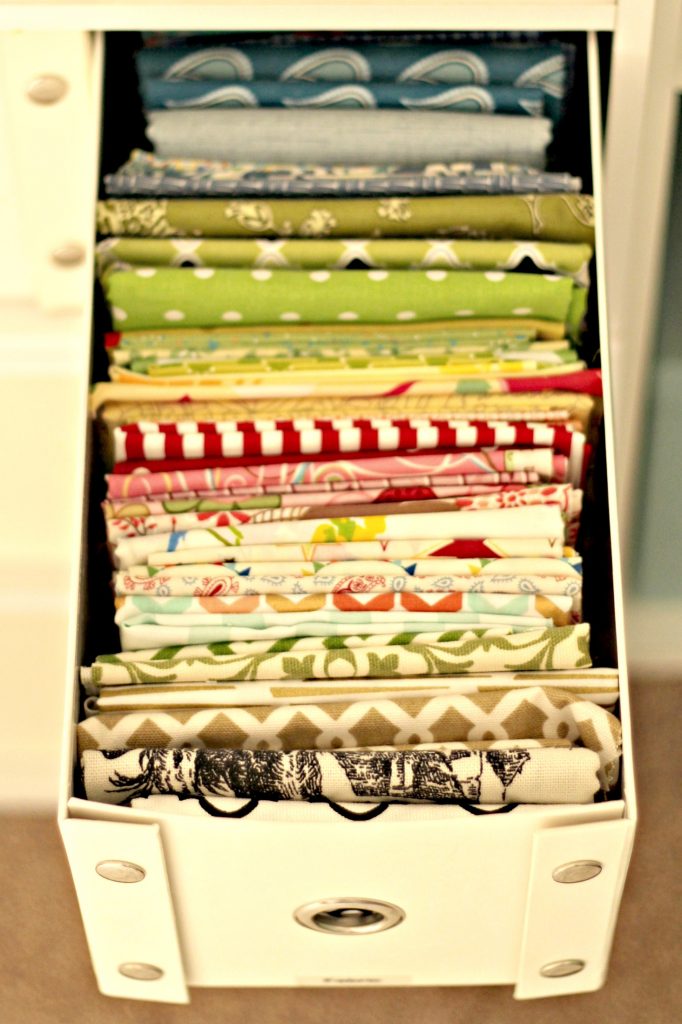
I’ll share how I organize a couple of them so you can see how much room there is. One of the small drawers holds fabric fat quarters and other small pieces of fabric.
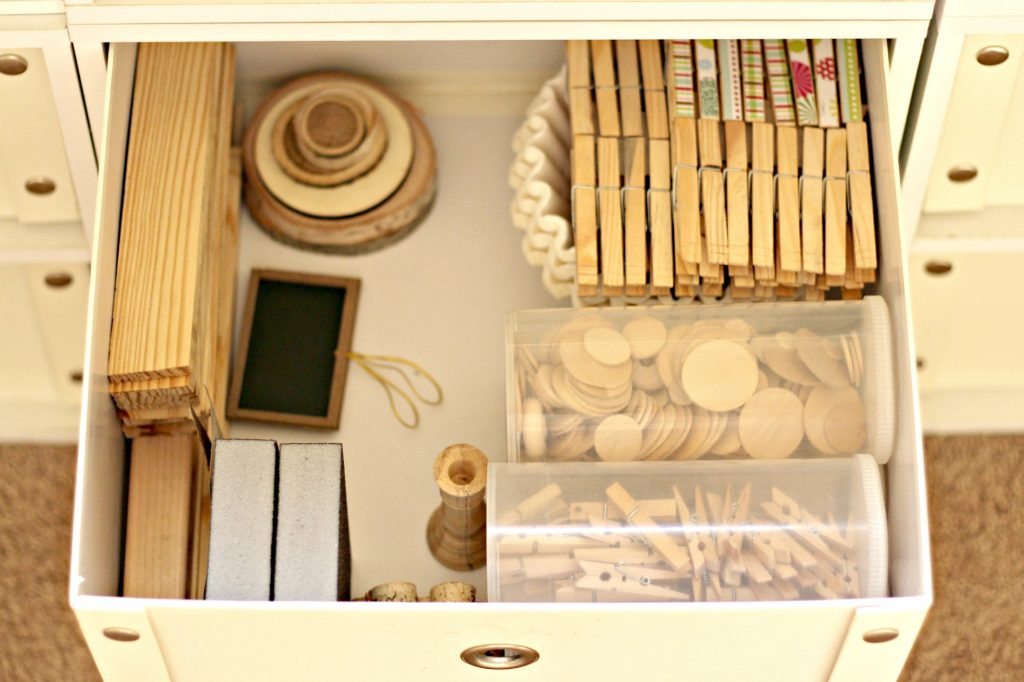
And one of the large drawers holds small wood pieces. This drawer was totally full but after decluttering this is what is left. I love decluttered and organized drawers even if no one can see inside them.
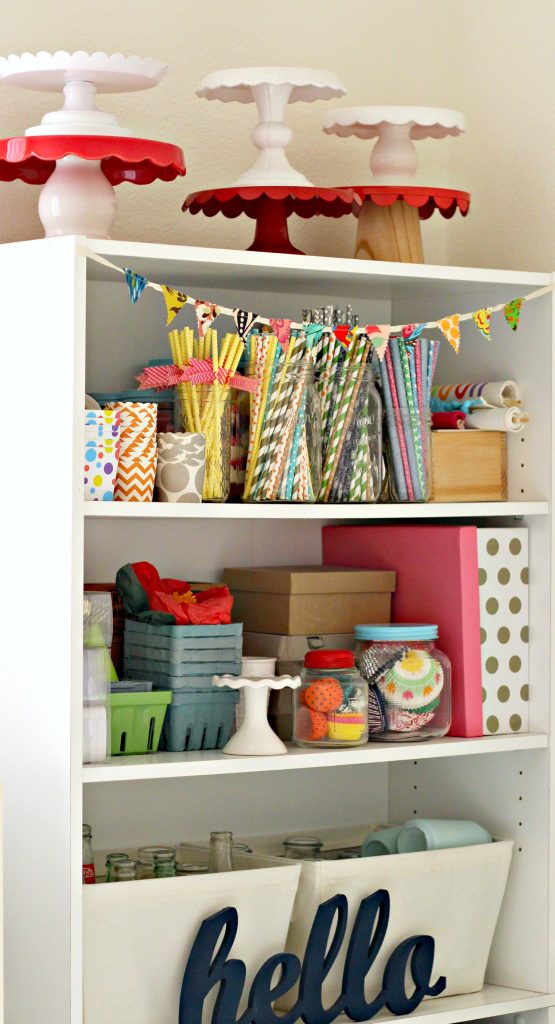
This area stores party supplies.
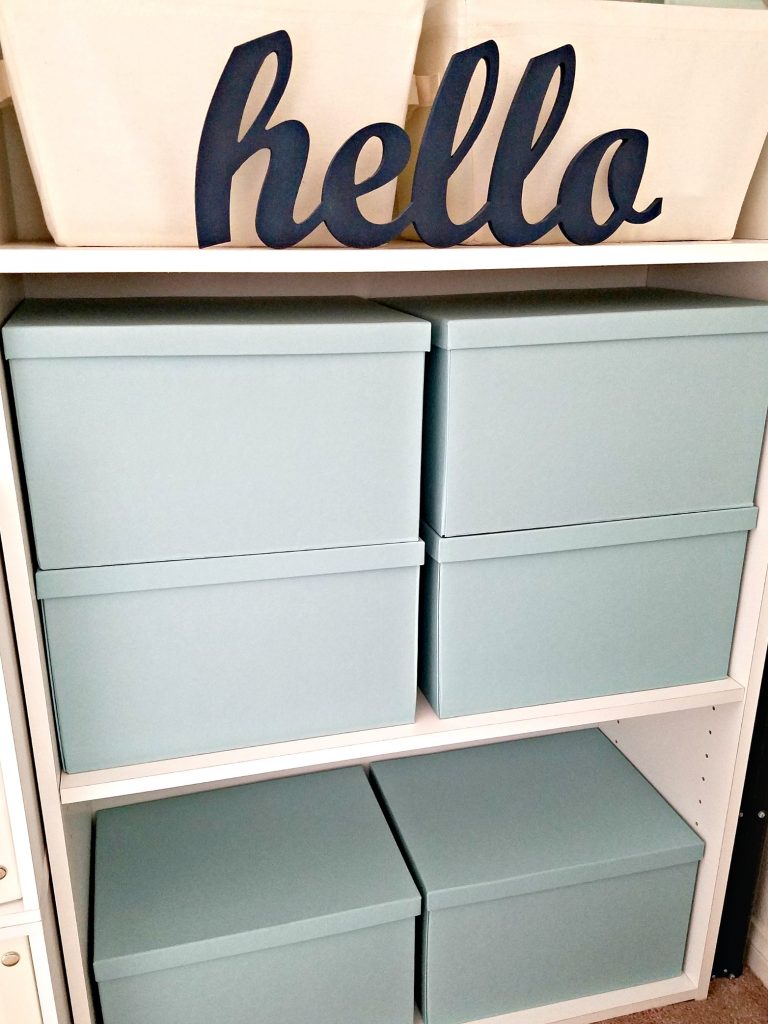
And the lower shelves hold storage boxes full of my daughter’s things she wasn’t able to take with her. Hidden storage is always best in this case.
Should we move on to the sleeping area? Can I just start by saying this is the most comfortable bed in the whole house. It’s a good thing it’s a queen or I would be trading it for my king right now. The cabinet is empty so guests can use it. You can check out how I made the simple frame headboard in this post. I really love this area and think it’s a pretty comfortable spot for guests.
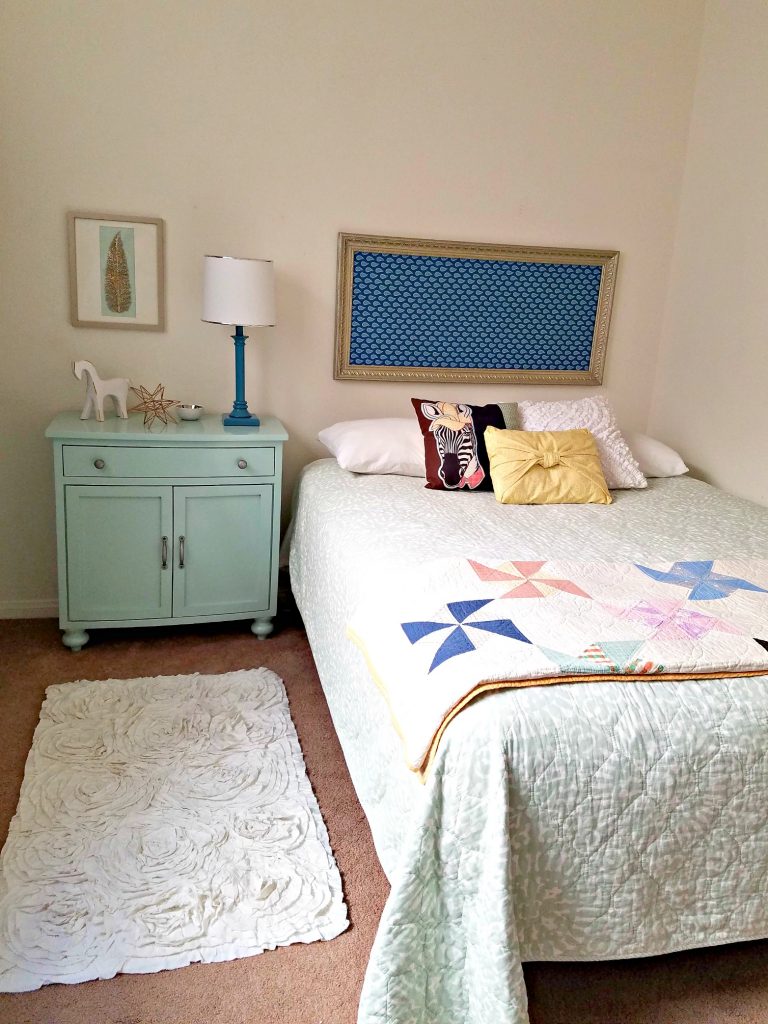
There’s about 4 feet between the bed and the row of cabinets and about 3 1/2 feet between the bed and craft table so there’s plenty of room to move around. I usually only have one of the doors open but I can open the other one if I need to bring more light in while I’m working on and photographing projects.
Having the craft room as also the guest room helps me keep it clean and tidy. I would hate for guests to be sleeping in a messy craft room. I really love this room and how it functions.
Bye for now. I hope you enjoyed the tour. If you have any questions I would be happy to answer them. Now continue to more Craft Room Tours brought to you by The Country Chic Cottage. 


Lovely! It must have been so fun for you to fiddle and get all those sweet little supplies looking just right. The room itself looks very cozy. Lucky guests!
Loved everything about ur your room, especially that you left breathing space in storage. Maybe hang your twine holder slightly above your desk to clear off even more work surface. Can you come do my room? Please
oh my! That room is to die for! I have so much envy right now but also so many ideas so thank you for sharing!!
Where did you get the ribbon holder? I like that the plastics holds it together.
Would love to stay here as a guest. I’m drawn to the button storage as I collect buttons and don’t always know how to display them. It will definitely be a project for down the road
Yes! Where did you get the ribbon organiser? The cover system is so much more practical!