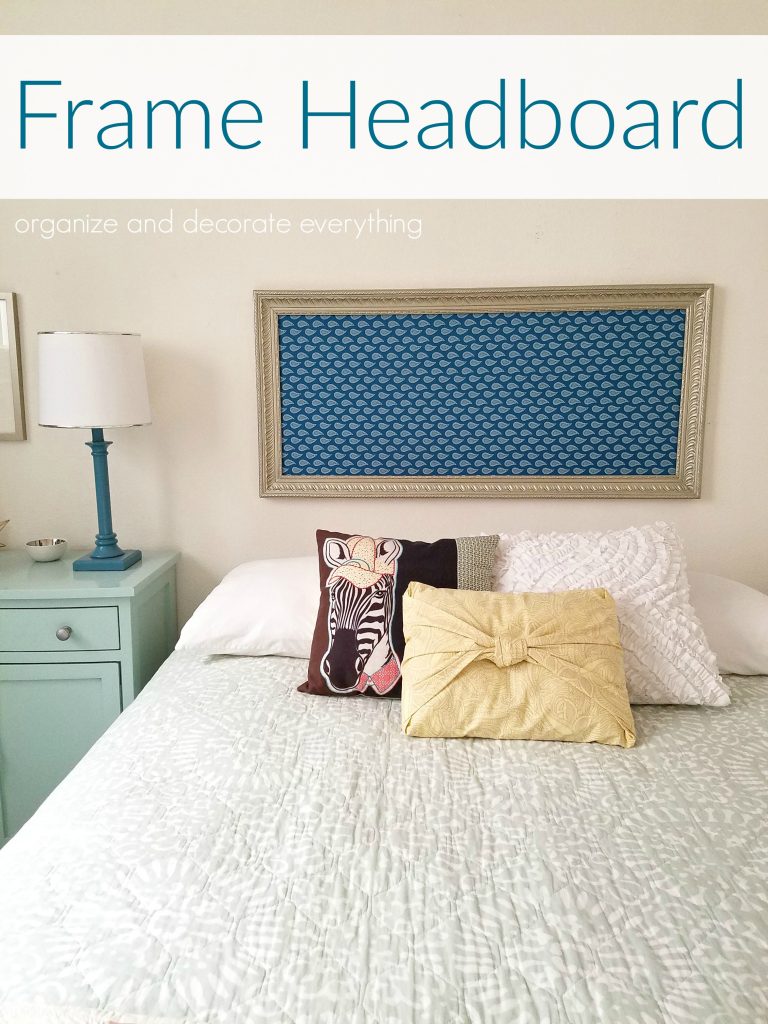
Make a DIY Frame Headboard in less than a half hour with only a few supplies.
Supplies:
large frame (mine came from the thrift store)
fabric
spray paint
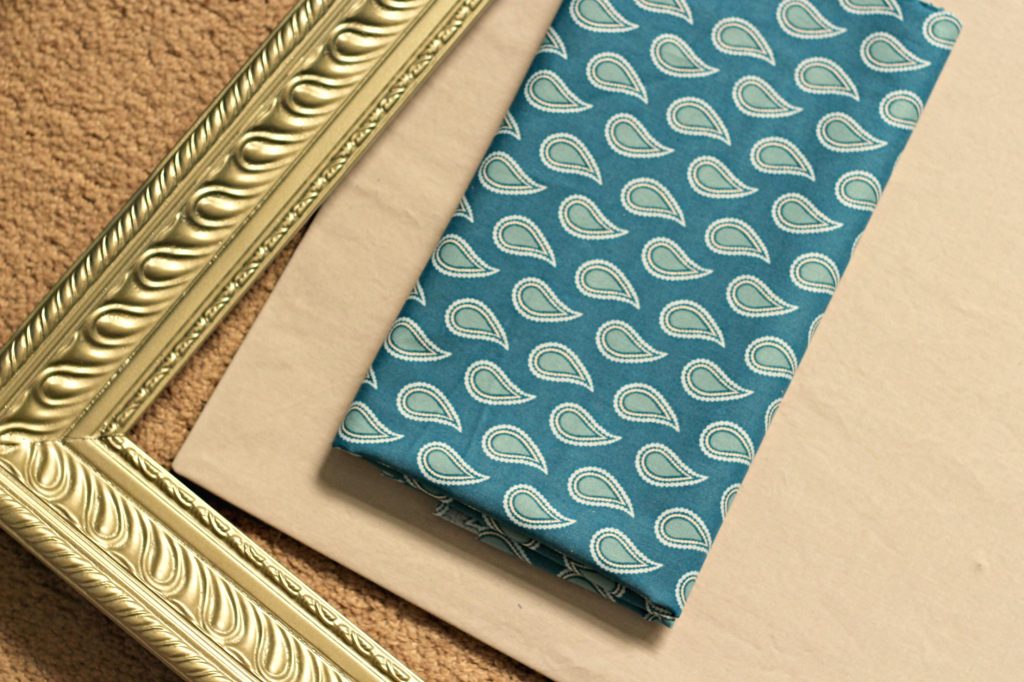
This is actually the frame’s third life. It was originally brown and I updated it about 6 years ago by painting it blue and attaching clips to the center to hang pictures from. I loved the look of it but when we moved it didn’t really fit anywhere. I stored it away for a couple years then updated it again as a DIY headboard. I knew I didn’t have money for a new headboard so this is a good, inexpensive alternative.
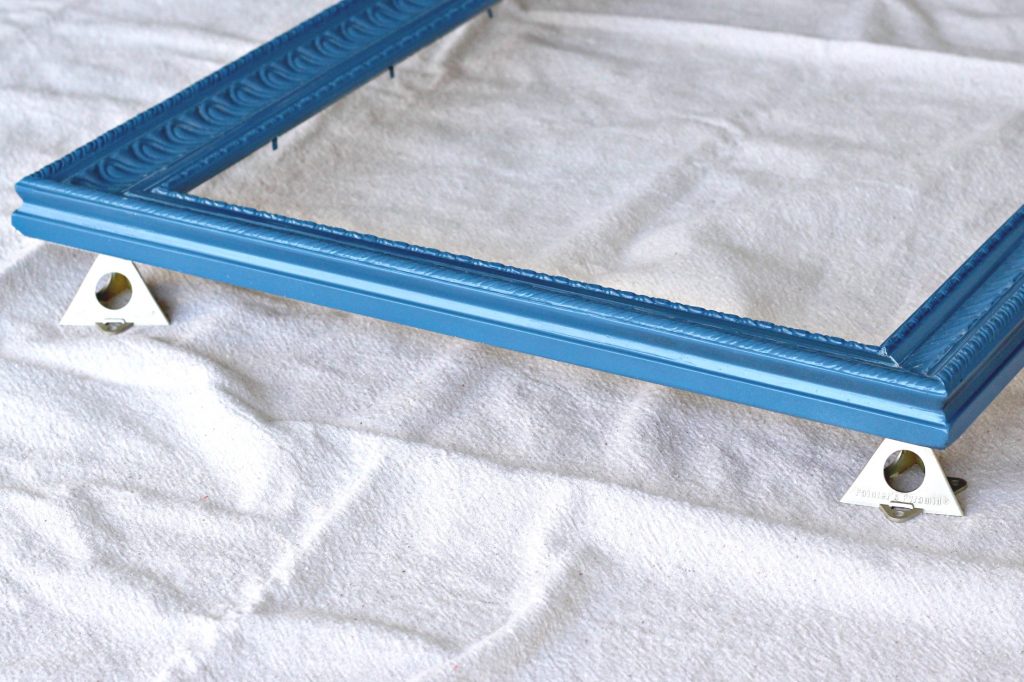
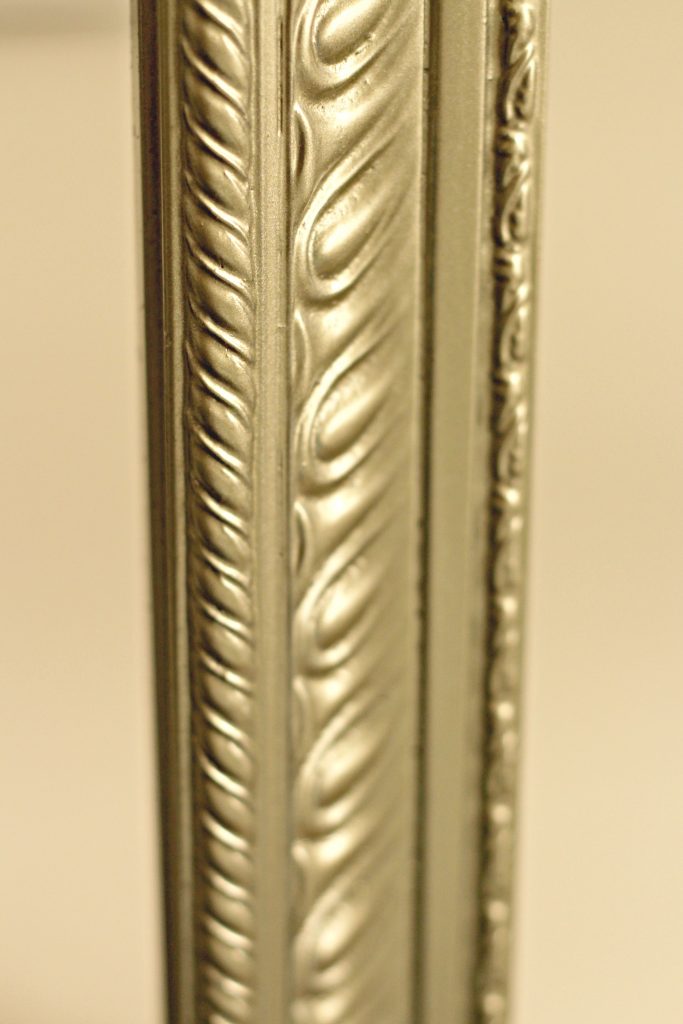
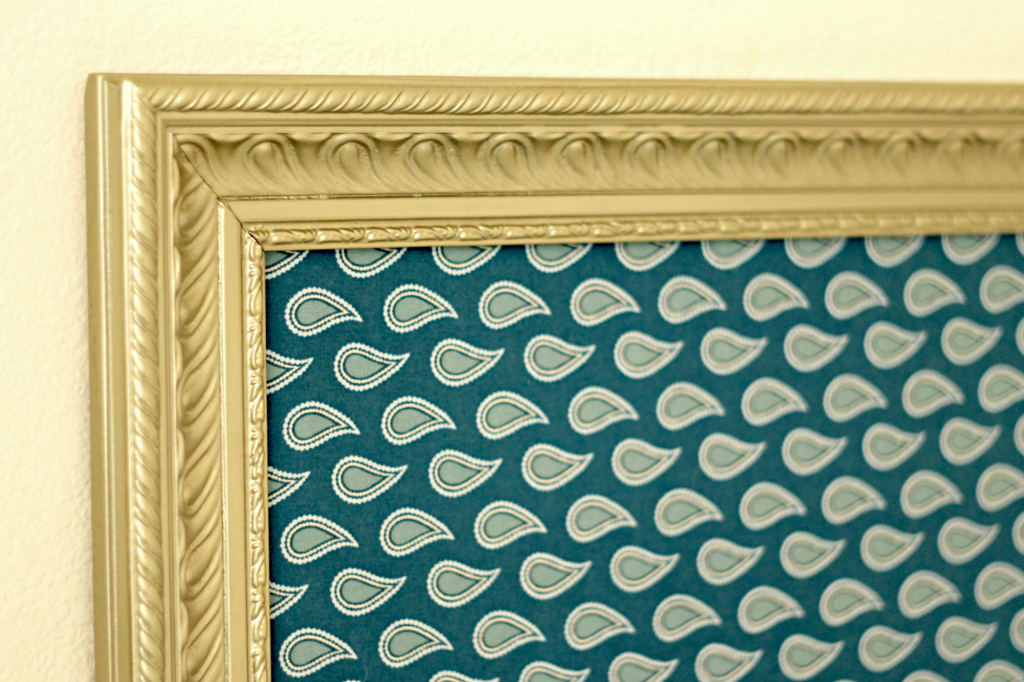
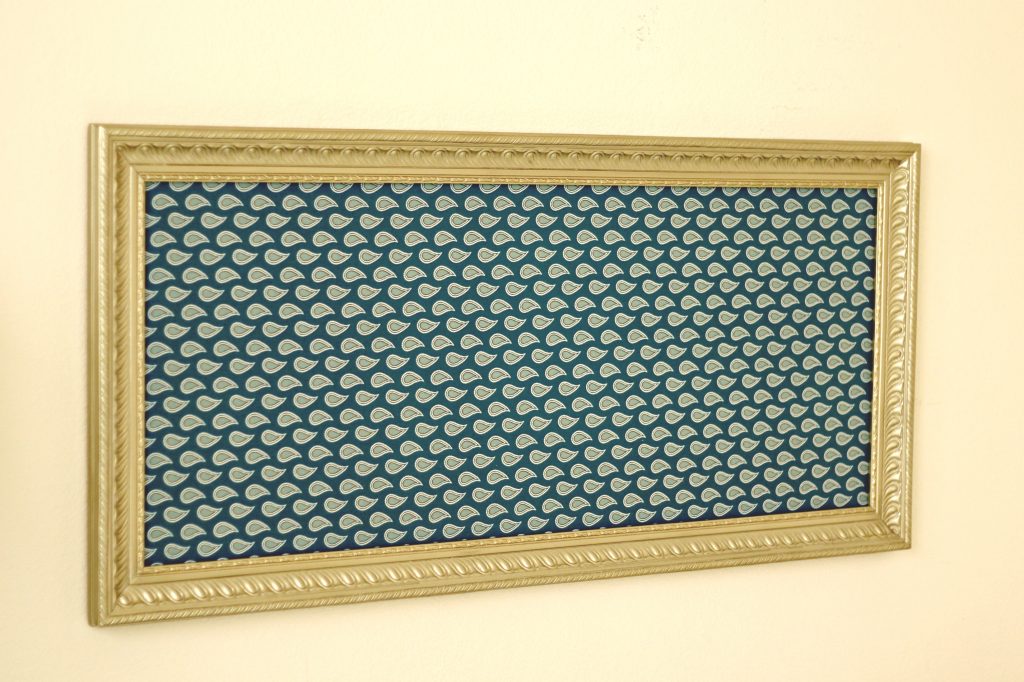
I found this frame about 6 years ago at a thrift store for about $8. The details are gorgeous and the new color brings them out even more. Champagne Nouveau by Krylon is one of my favorite metallic colors right now. It’s close to gold but I like the tone of it better.
Since this bed is in the craft room/guest room I wanted to make sure the fabric would match the other side of the room too. I’ll be showing more of the room next week, but I’m just focusing on the bed area right now.
I cut the fabric 2″ larger than the backer board on every side. I didn’t even take the gray fabric off, I just hot glued the new fabric over it. Lay the fabric down with the wrong side up then center the backer board on top of it.Wrap the fabric around to the back and hot glue the fabric in place.
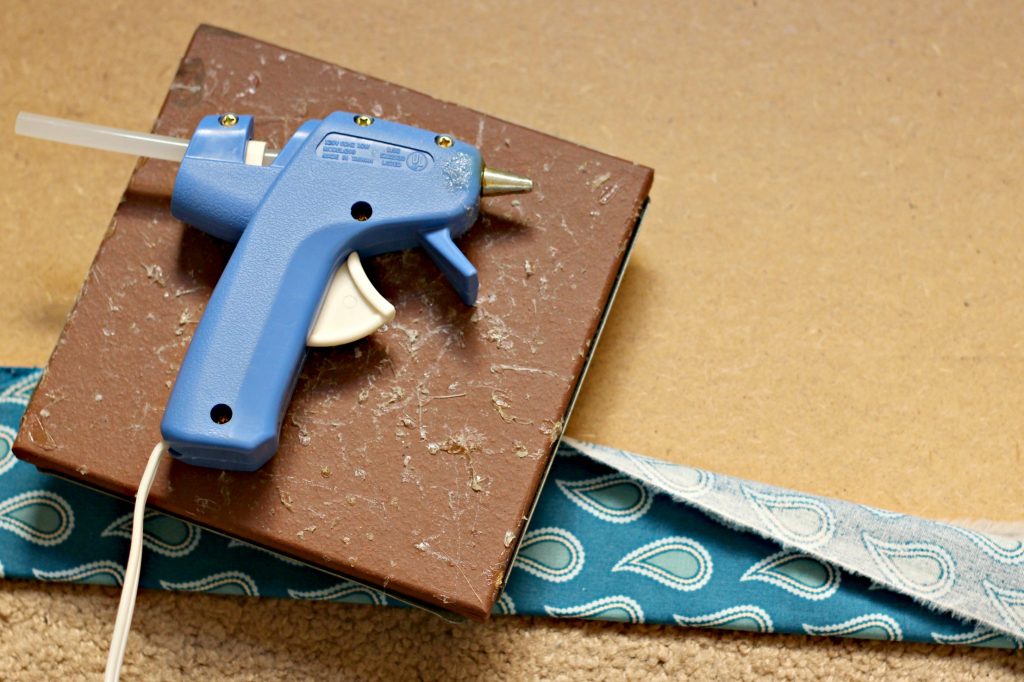
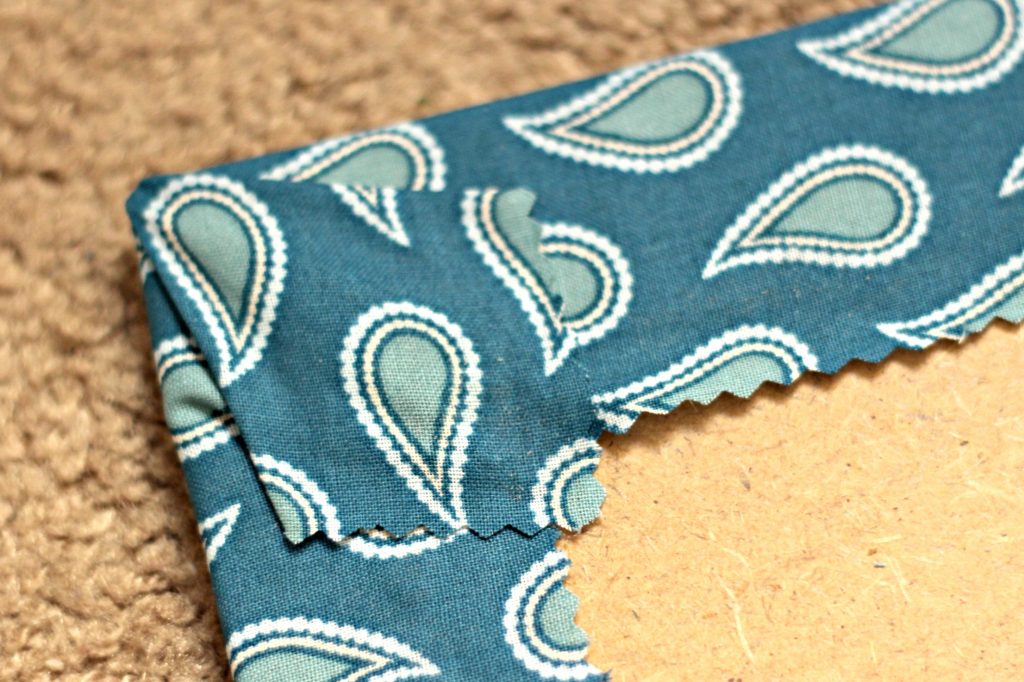
Fold the corners in and glue the extra fabric in place.
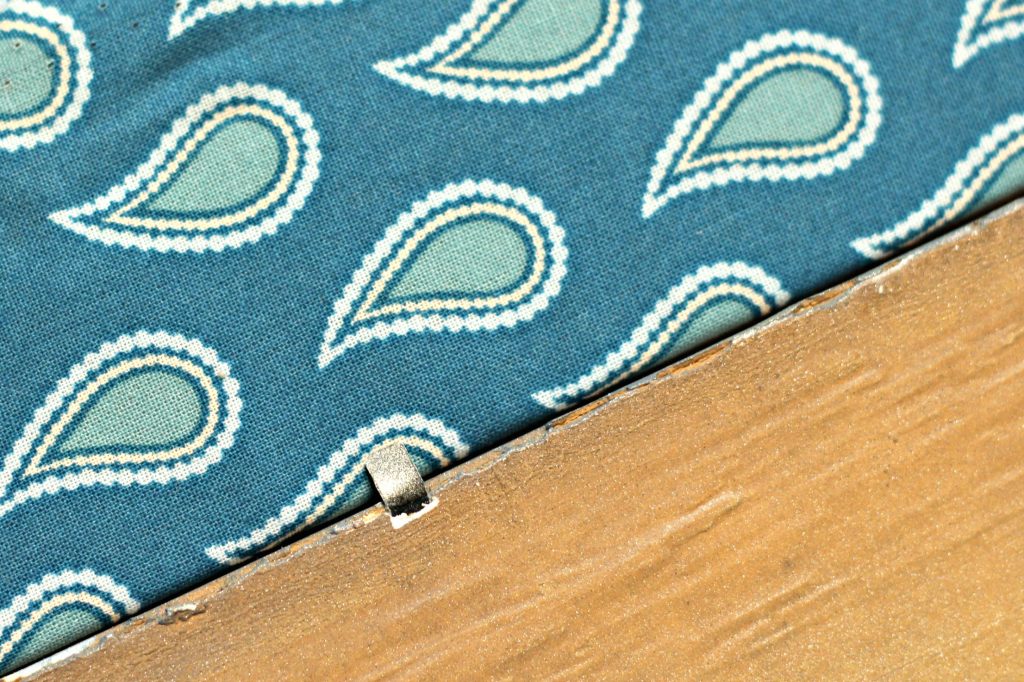
Insert the fabric panel into the frame and secure it in place using the glazing points. A lot of old frames have lost some of the points so you might need to buy new ones.
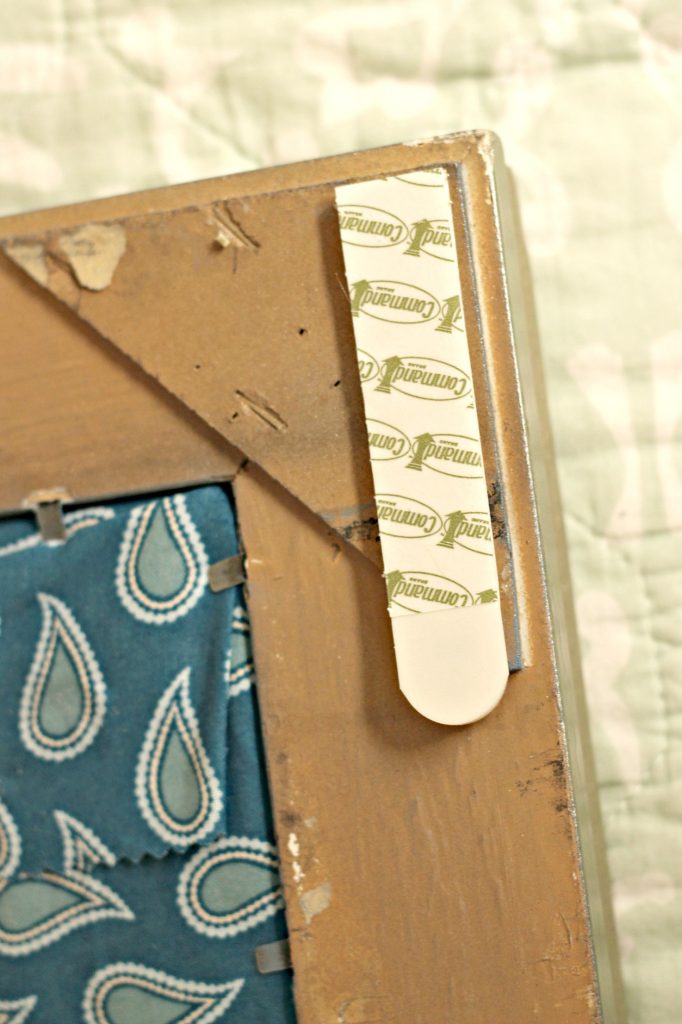
You could cover the back of the frame in brown paper for a nice finish but since I might change the fabric in the future again, I decided not too. I used command hooks to hang the large frame headboard since we’re in a rental. I applied 3 across the top and 3 across the bottom just to make sure it would be secure.
Hubby helped me pick out the fabric and I really love how it looks with the frame. I didn’t add any batting to it but you could if you want it to look upholstered.
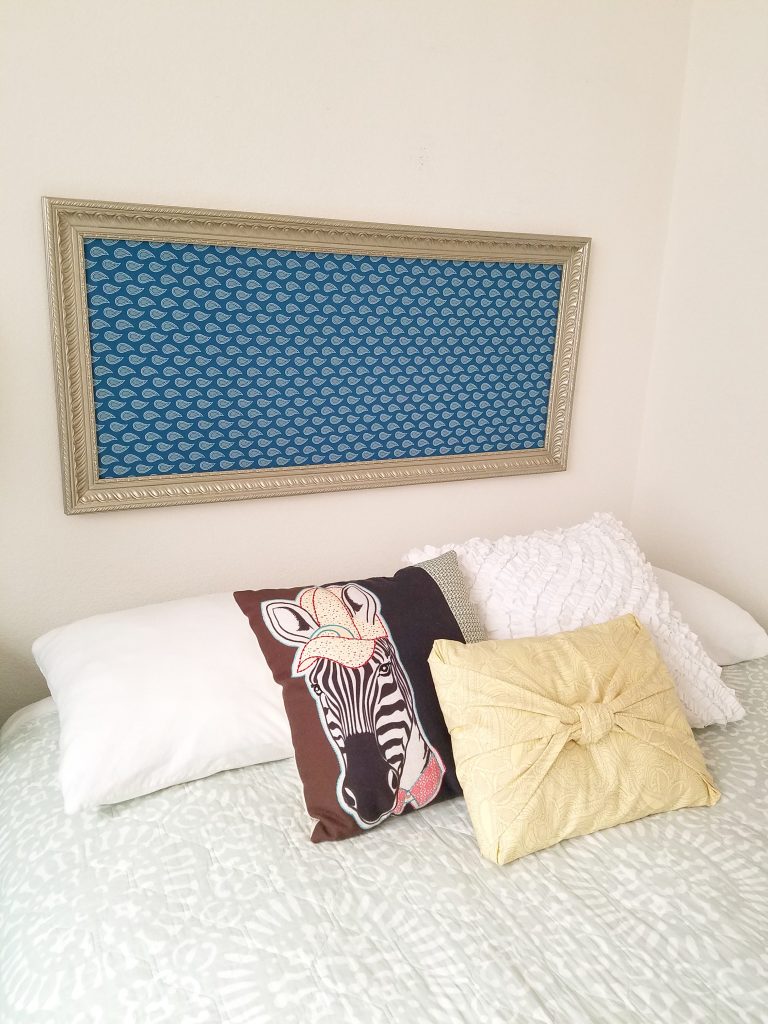
The bed is a queen size and the frame is about 10 inches smaller than the bed so I centered it over the bed with 5″ on each side.
My daughter was away at college then came home for the Summer so this was her room for a while, it’s now the guest room. Sometimes I’ll sleep in this bed when hubby is out of town because it’s the most comfortable bed in the house.
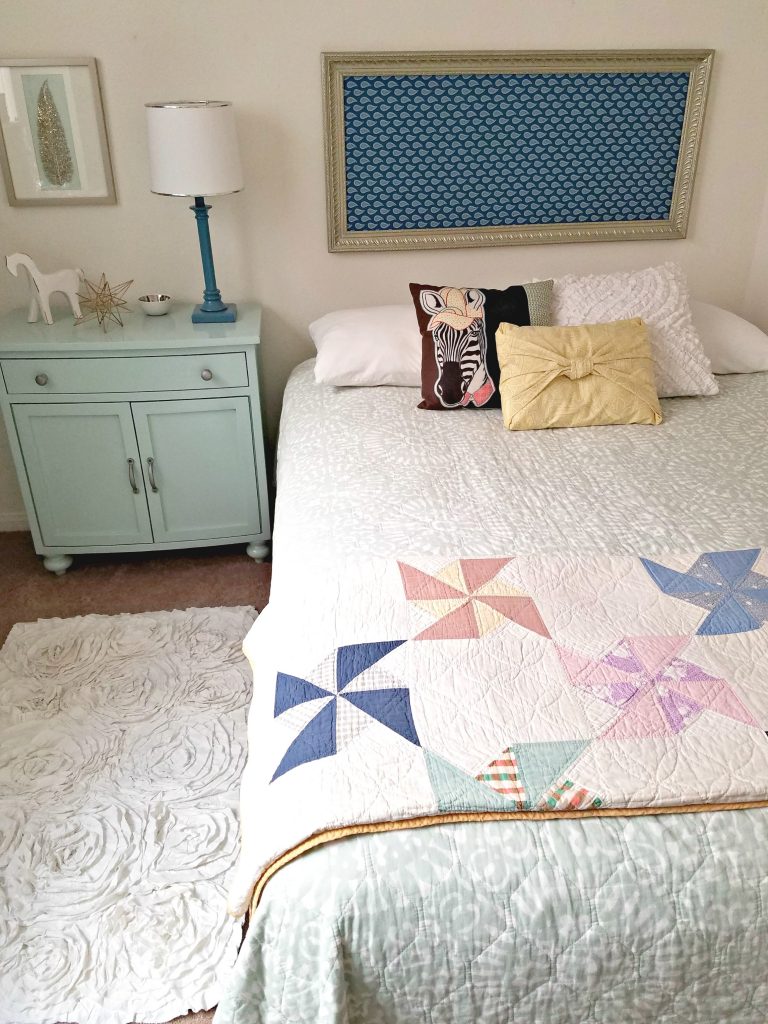
Everything in this room was bought on a budget. The little dresser/nightstand was the most expensive piece. I got it at Home Goods about a year ago and it has a lot of storage. The bed was given to us from a friend who had it in her guest room where it was rarely used. The pillows are from around the house. The bedspread was on clearance at Target for $18. My grandma made the comforter when I was a child, it’s one of my most cherished possessions. The rug was on sale at Ross. The lamp was previously in my room and I made the feather art. It’s not perfect but I’m really happy with this space and how welcoming it feels. I can’t wait to share the rest of the room with you next week.


Hi! Great work! I was wondering if you use foam under the fabric to make it cushy. Thank you!