
Make this Greetings Card Holder with painted clothespins to hold your Christmas cards and photos.
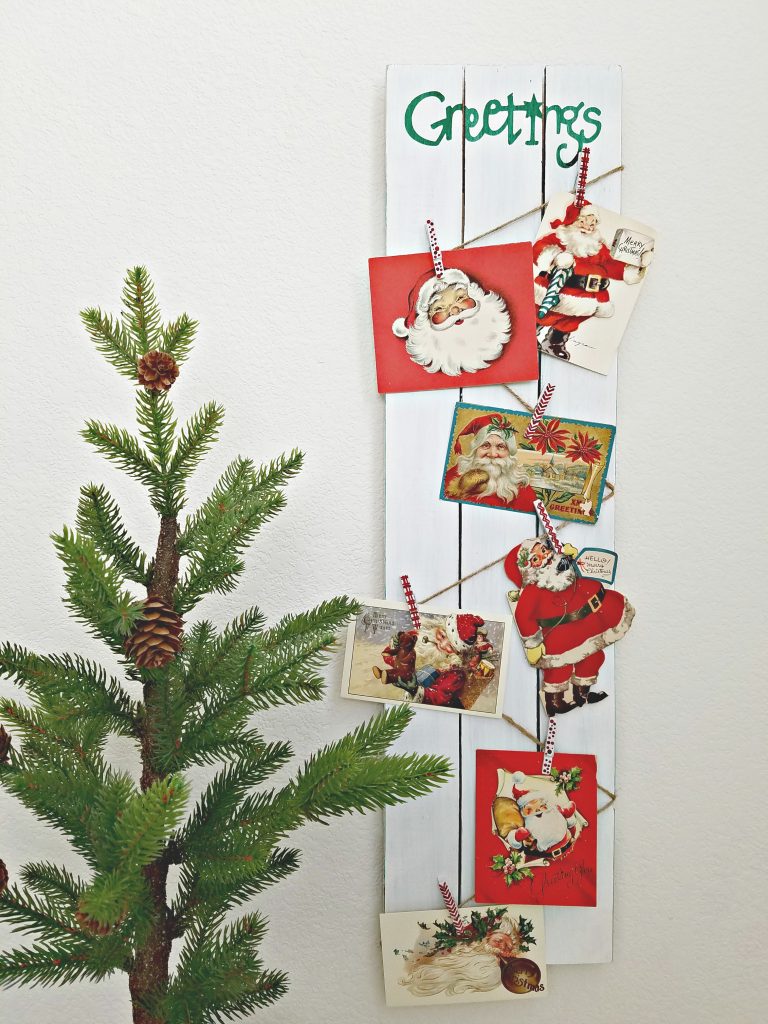
Greetings Card Holder
Every Christmas I try to decide where we’re going to hang all the thoughtful Christmas cards and photos we receive. I’m sure you’ve had that problem too. This Greetings Card Holder is the perfect solution you can use year after year. If you feel like you need more room you can make a larger one. Or I’m thinking of making 2 more and hanging them all next to each other. I like the look of several hanging together. I share how to make your own slat board in this post.
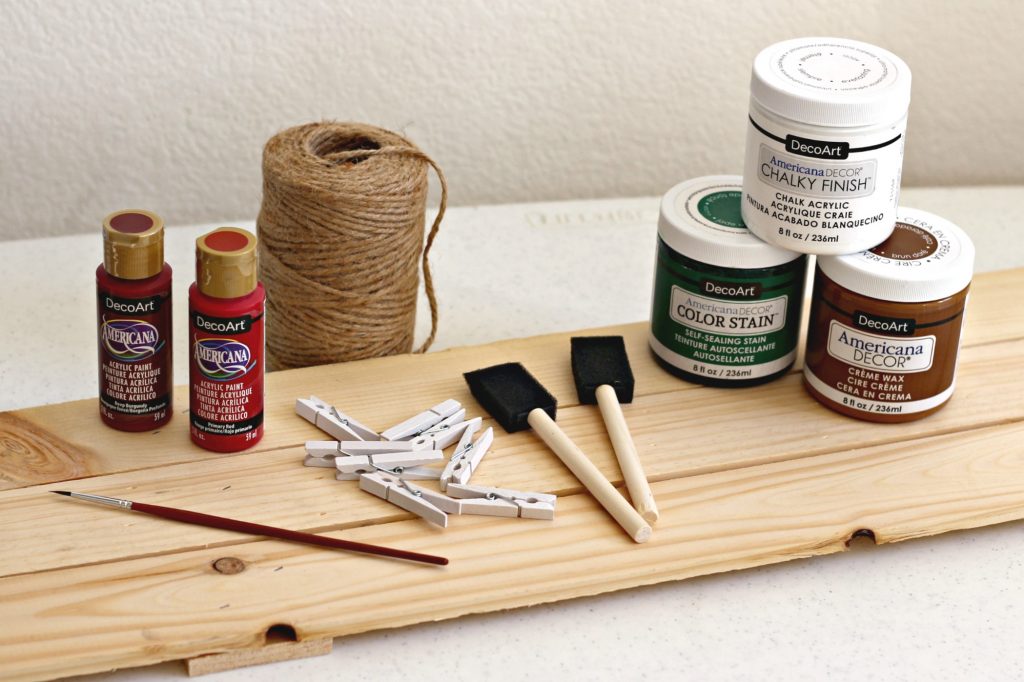
Supplies needed:
large slat board sign (purchased at any craft store or make your own)
twine
small clothespins
paint (green, white, and 2 different reds)
stencil
sponge brush
small paint brush
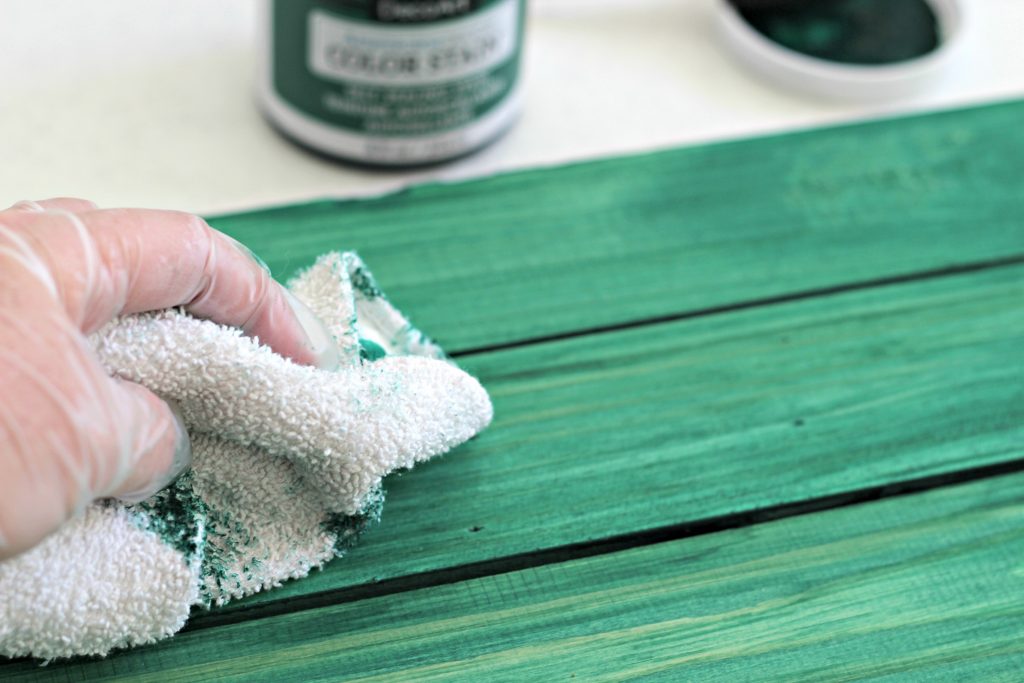
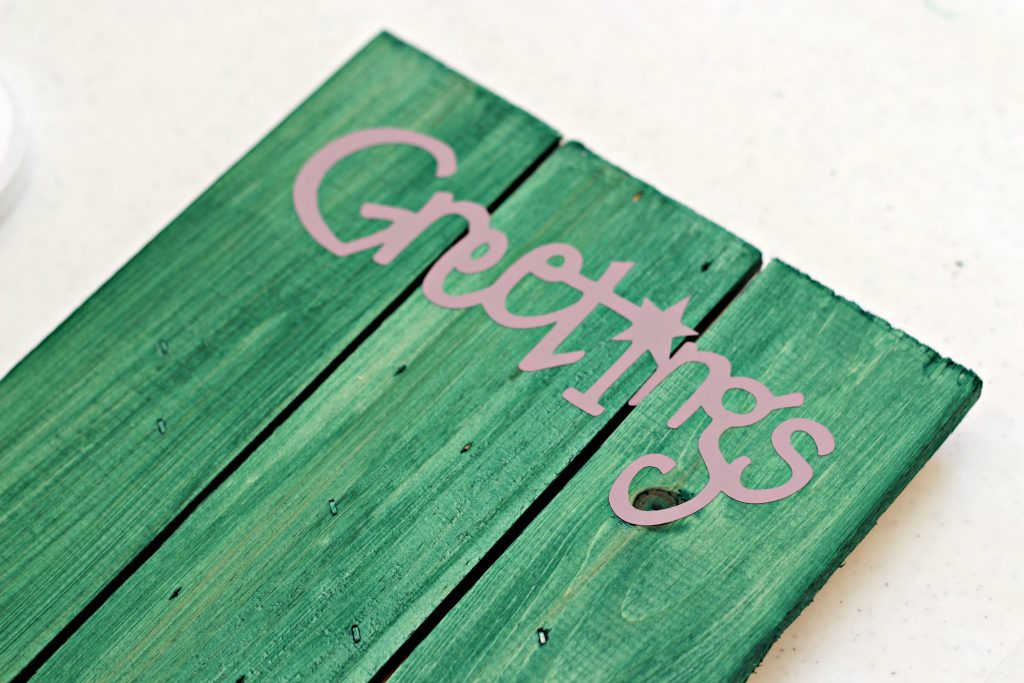
Use a sponge brush to apply the green color stain, then wipe it off with a clean cloth. I use gloves because it can get pretty messy. If you don’t have a color stain you can make your own by mixing paint with water. I usually like a 50/50 ratio. Let the paint/stain completely dry.
Apply the stencil to the top of the board. I used a Cricut to make mine out of vinyl but you could also cut your own from vinyl. I’ve also printed from a computer and used a craft knife to cut out the words. You can also use a store bought stencil. There are may options.
Paint over the stain and stencil with white paint. Paint carefully around the stencil so the paint doesn’t bleed under it. When I’m applying paint over a stencil I start on top of the stencil and paint away from it.
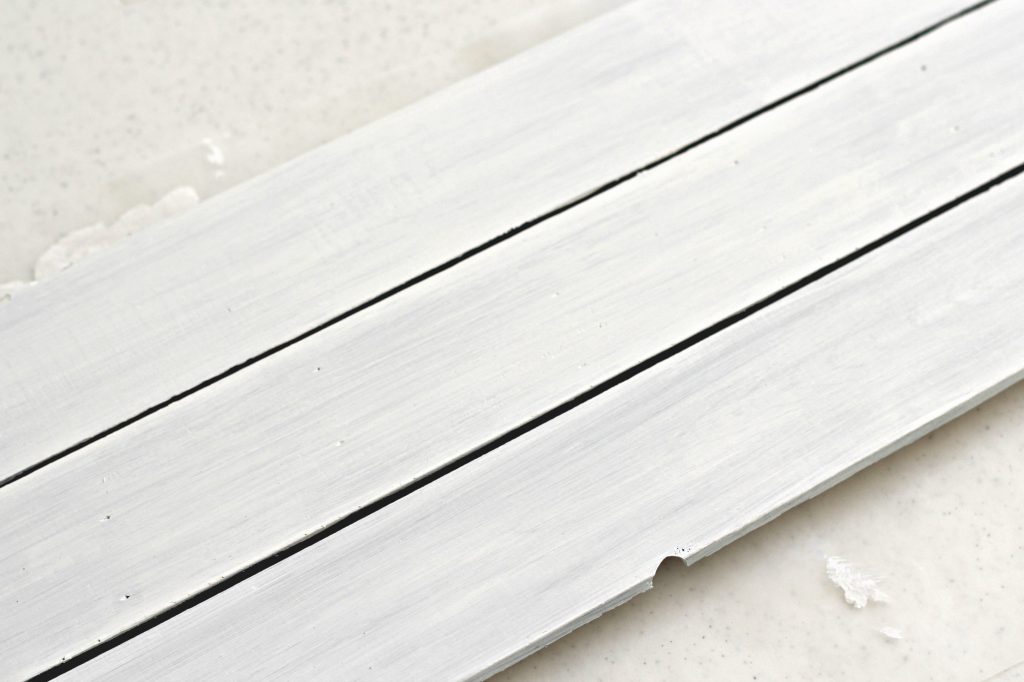
Carefully peel off the stencil right away then let the paint dry completely.
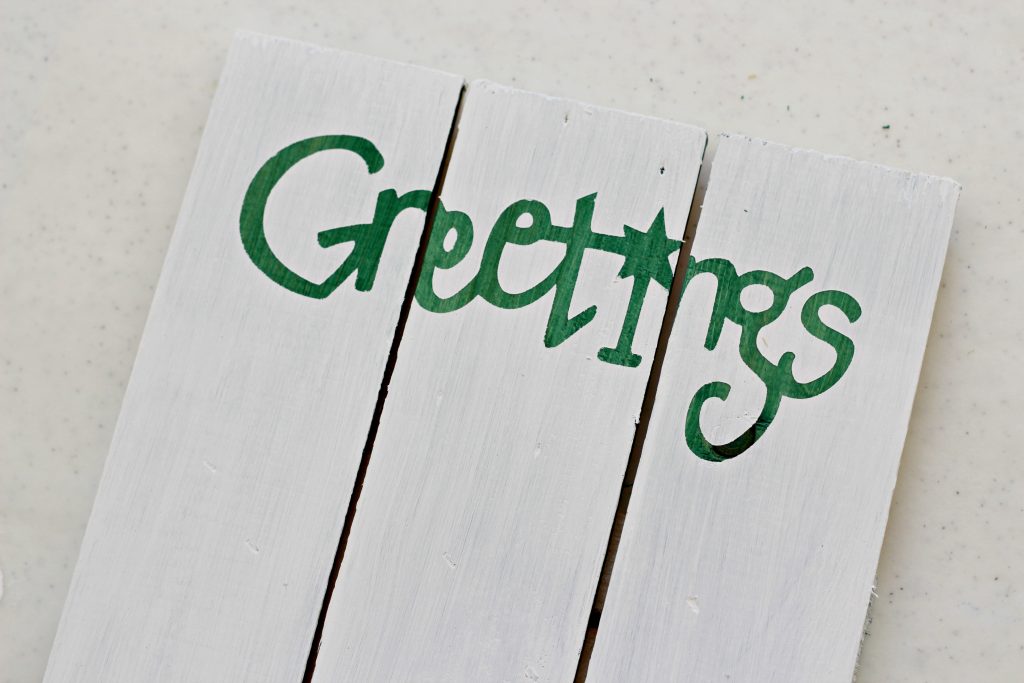
Once the paint is completely dry, sand the edges and surface to distress the card holder a bit. The more you sand the more distressed it looks. Wipe down with a micro fiber cloth once you have it sanded. If you don’t want green as the under color you can choose a different color. I love just a natural walnut stain for most projects.

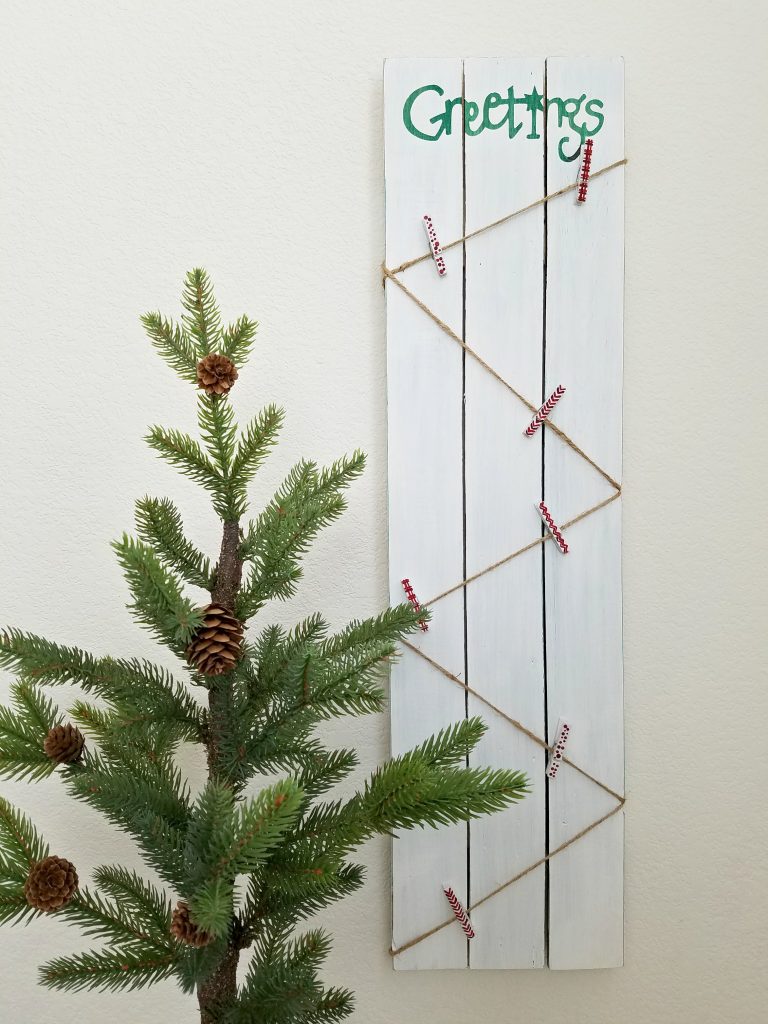
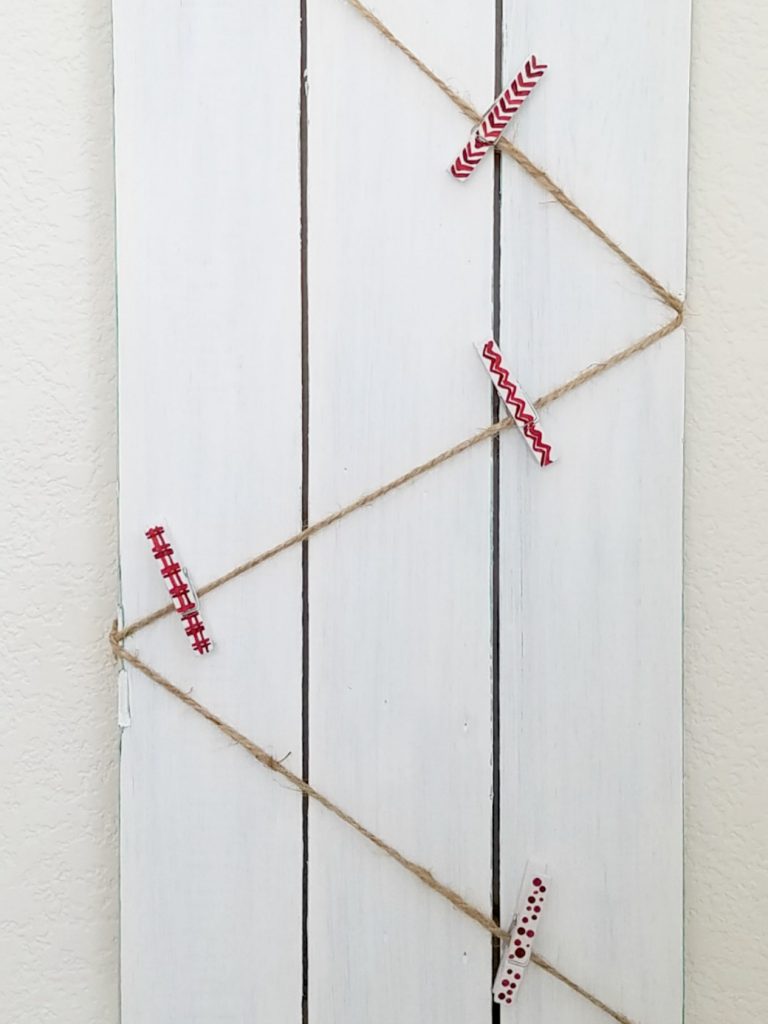
Crisscross the twine across the front of the board, first going down then coming back up the board.
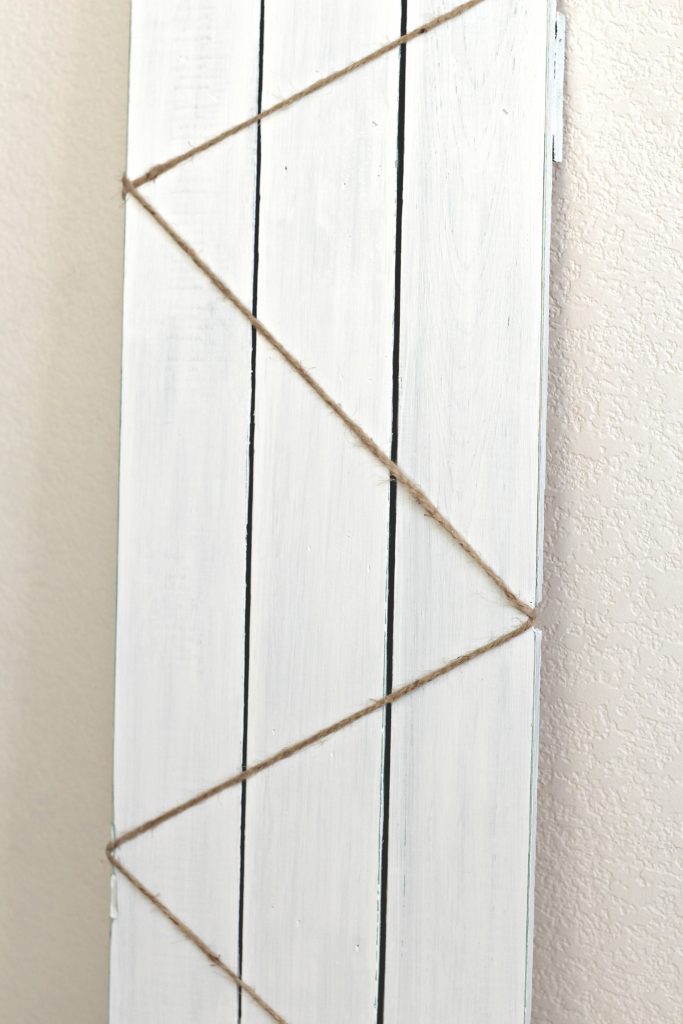
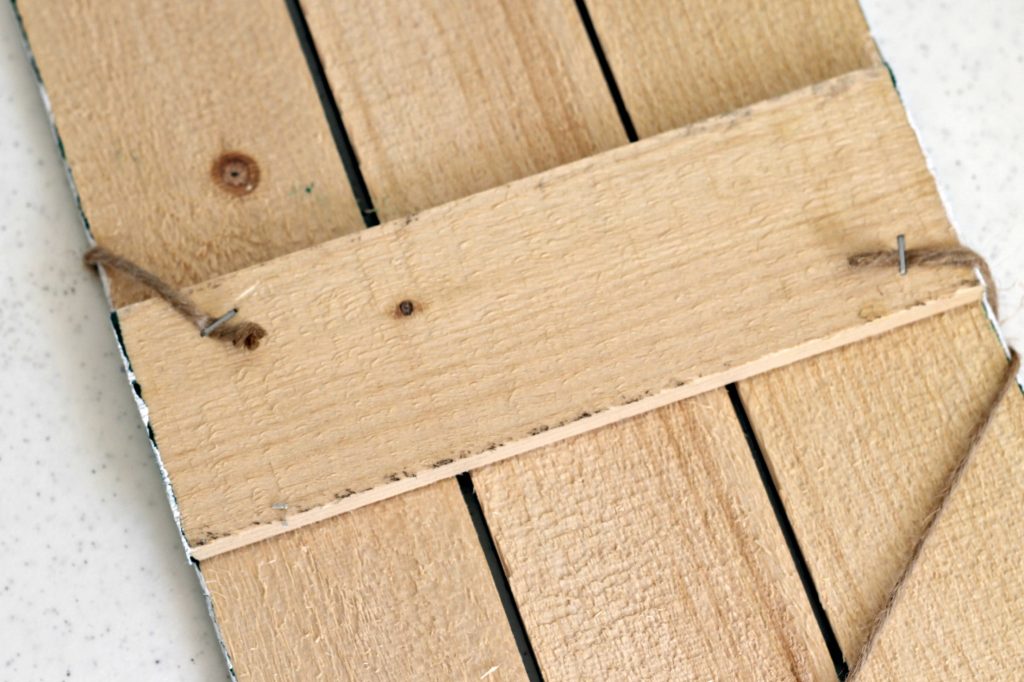
This is how the back looks. Staple the ends of the twine to the back of the board to hold it in place. I spaced the twine how I wanted it before stapling.
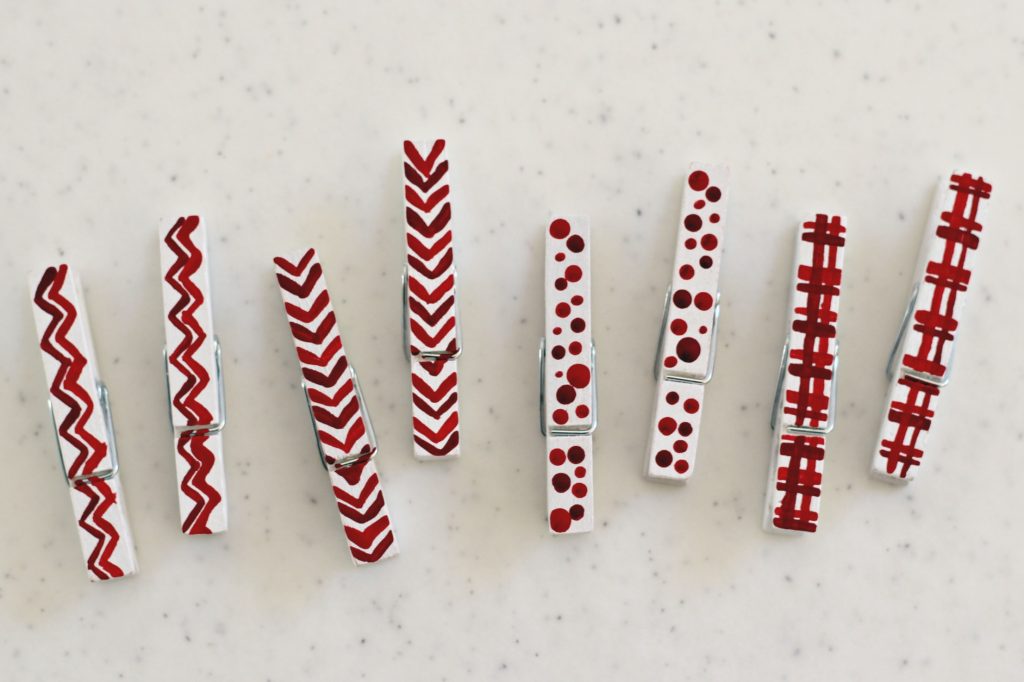
Now it’s time to paint the clothespins. You could paint them a solid color but I thought it would be fun to paint some patterns on them.
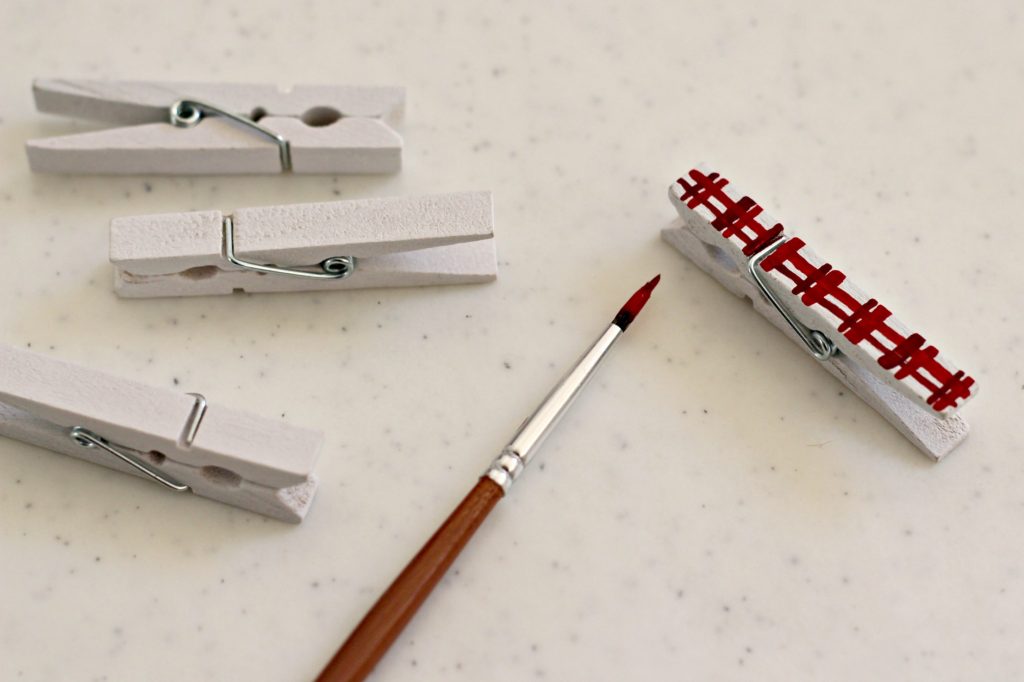
Use a thin tipped brush for small details. If you don’t want to paint them you could also use colored permanent markers or watercolor markers.
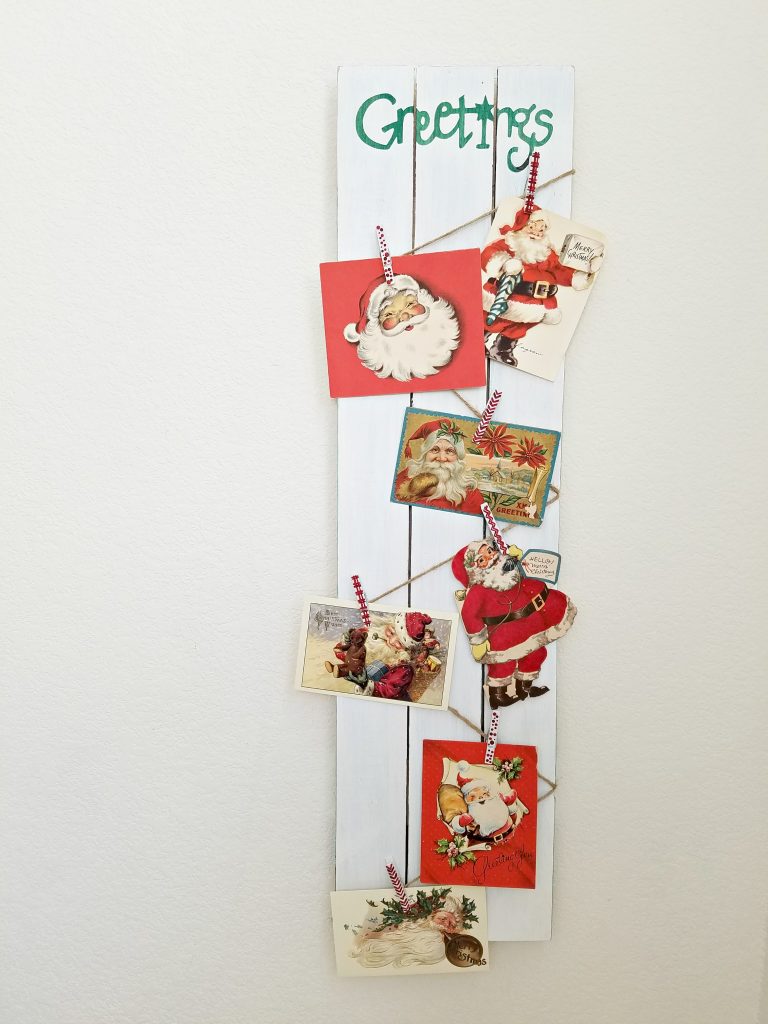
Once the clothespins are dry attach them to the twine. You could put a top coat of mod podge on to seal them if you like but I don’t think it’s necessary. The card holder looks cute even without any cards or photos.
Attach the cards and photos to the holder as you get them. I have a small vintage Christmas card collection that looks really cute displayed on it for now.
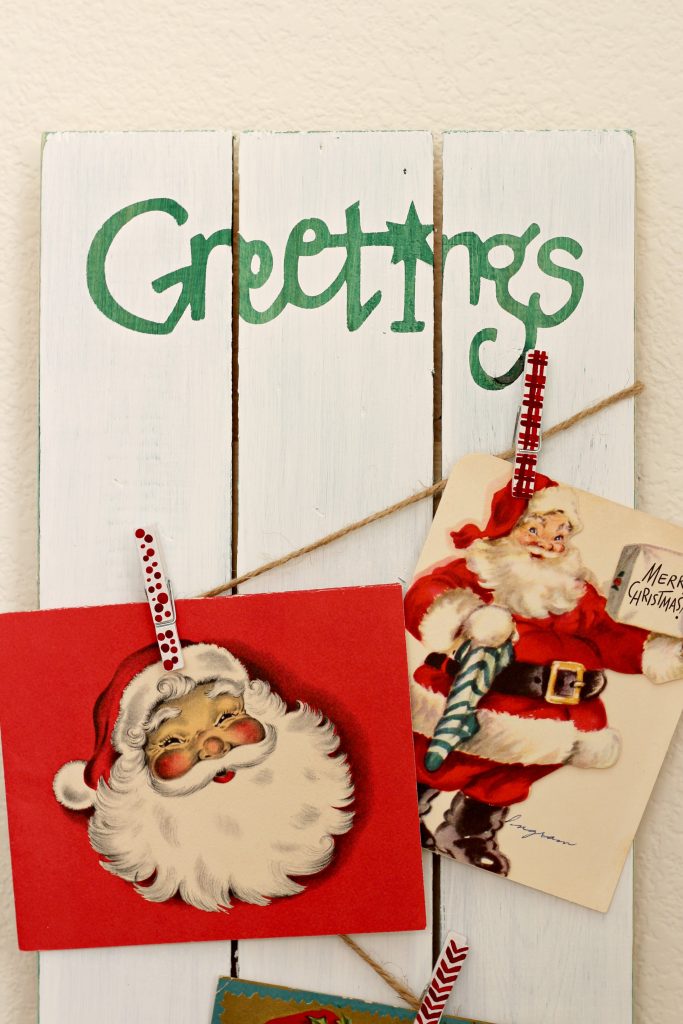
I just need to wait for the Christmas cards to start coming in.
Pin it for later: Greetings Card Holder

You might also like these posts:
Noel Christmas Porch
Pine and Berry Christmas Porch


