Spooky Spider Wreath for Halloween
I’m lucky to have as many craft supplies as I do, so I’m trying to be grateful by using them for projects instead of buying new things. I’m excited to share with you ideas on how to use supplies you might already have to create new seasonal decor for your home.
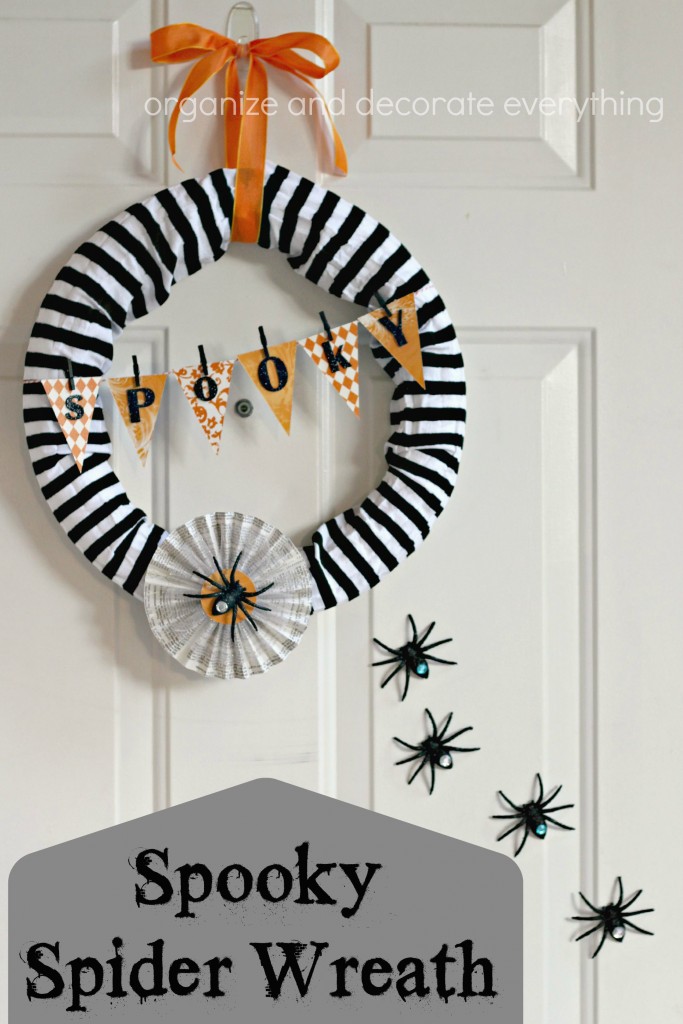
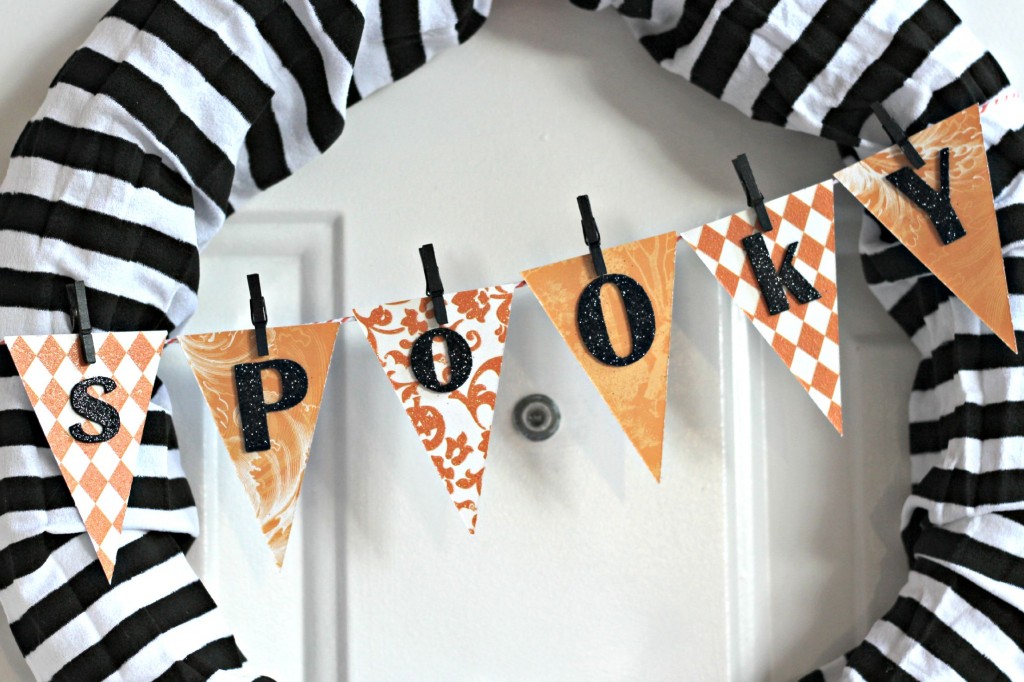
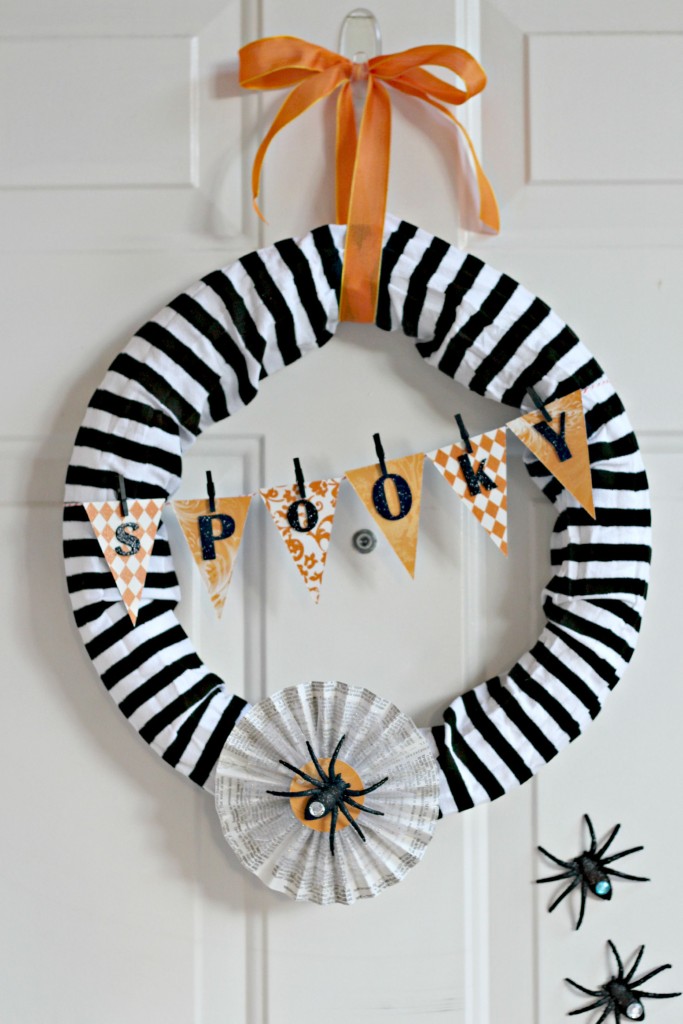
It was time for me to create a new Halloween wreath and I couldn’t be more happy with how this Spooky Spider Wreath turned out.
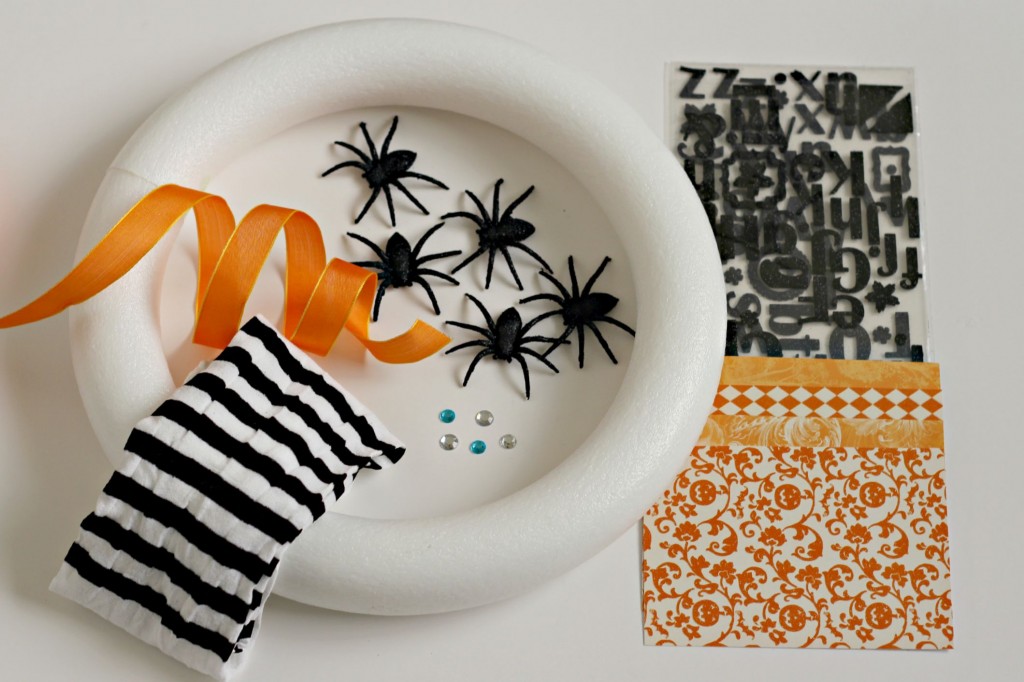
Supplies Needed:
Foam wreath (I took apart an old wreath)
Halloween tights (was supposed to be used for a costume but didn’t work out)
Plastic spiders
Bakers twine
Mini clothes pins
Halloween scrapbook paper
Gems
Paper medallion (from an old project)
Glitter letters
Ribbon
Hot glue gun
1 5/8″ circle punch
This might look like a lot of supplies but I would guess that if you’re even a part-time crafter you have a lot of these supplies already on hand.
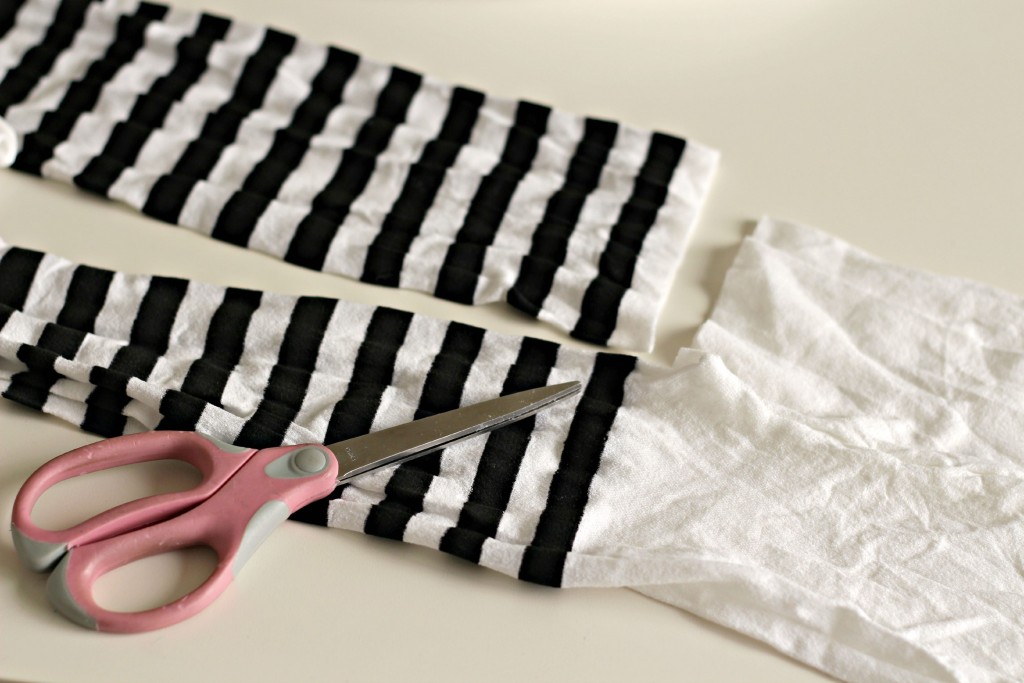
Start by cutting the legs off the tights. Aren’t these the cutest tights? I’m sorry I couldn’t use them for what I had intended but I’m glad I could get some use out of them.
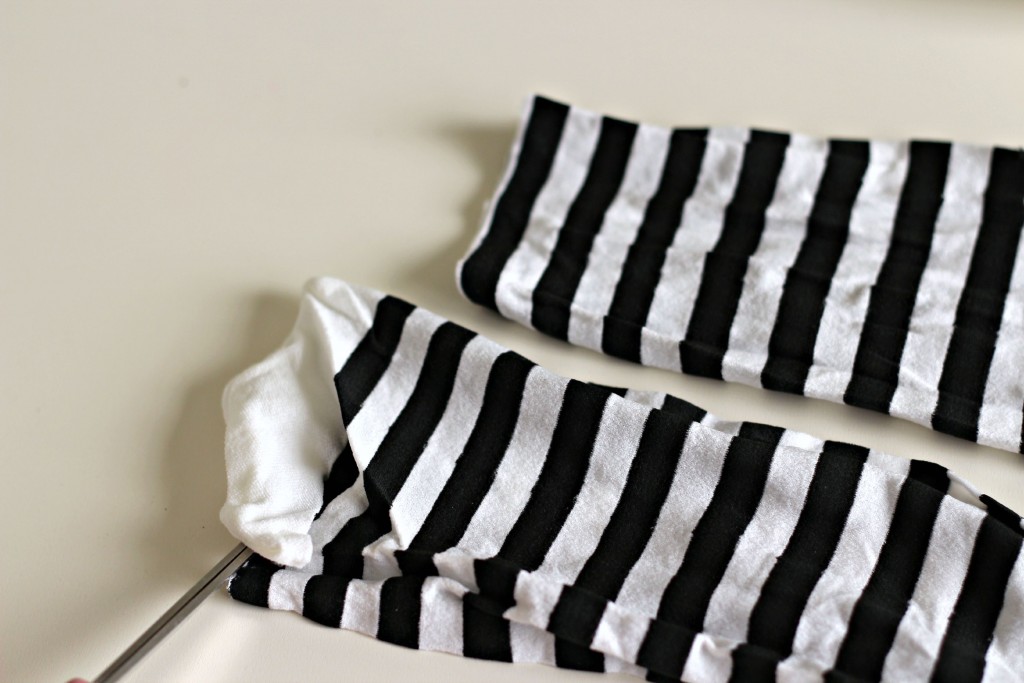
Next cut the toes off the tights so you have 2 tubes of fabric. If you don’t have costume tights you can usually find them at a dollar store this time of year. Or you can always use fabric or ribbon instead of tights.
Cut a slit in the foam wreath using a serrated knife. I used an old knife I keep in the garage with our tools so I wouldn’t ruin a kitchen knife.
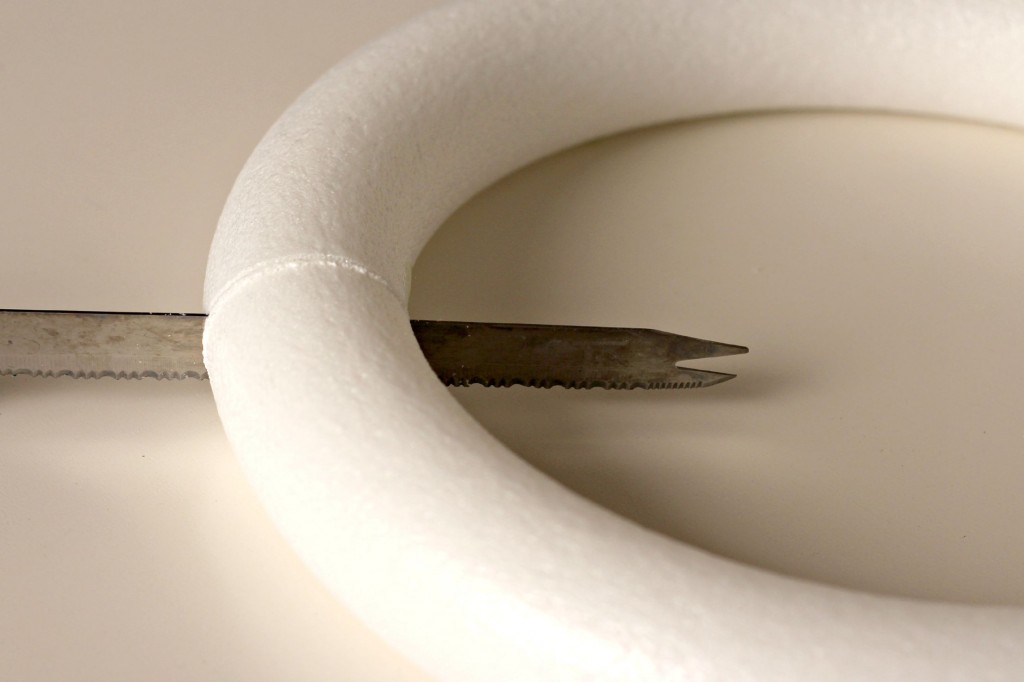
Slide the tights over the foam wreath, then distribute the tights evenly around the wreath form. Then hot glue the ends of the wreath back together. Hold in place until it cools so you have a strong hold.
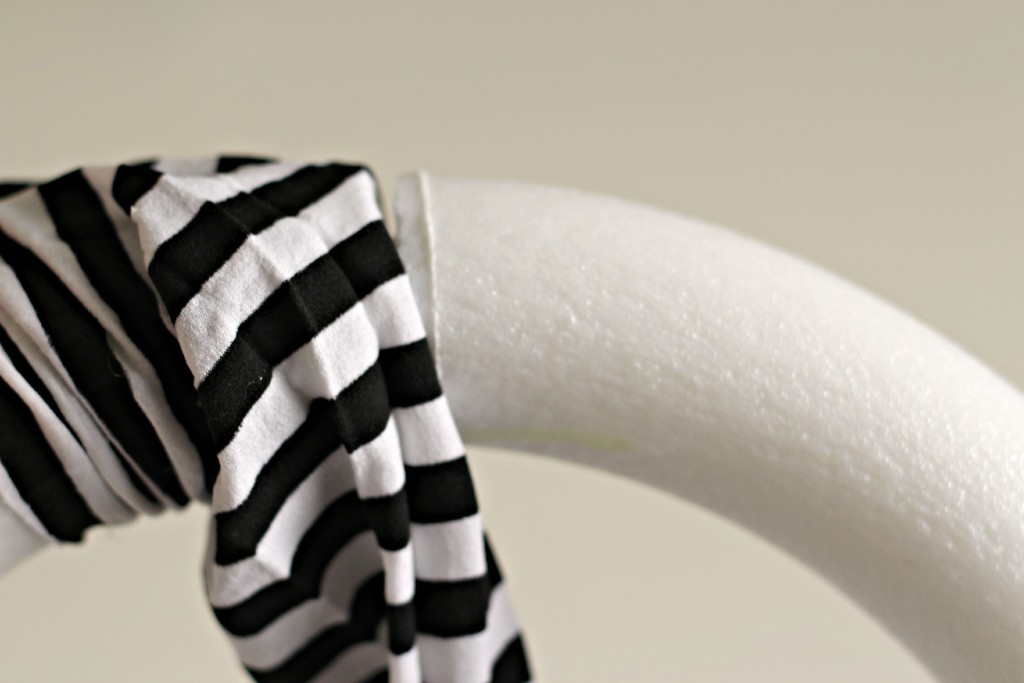
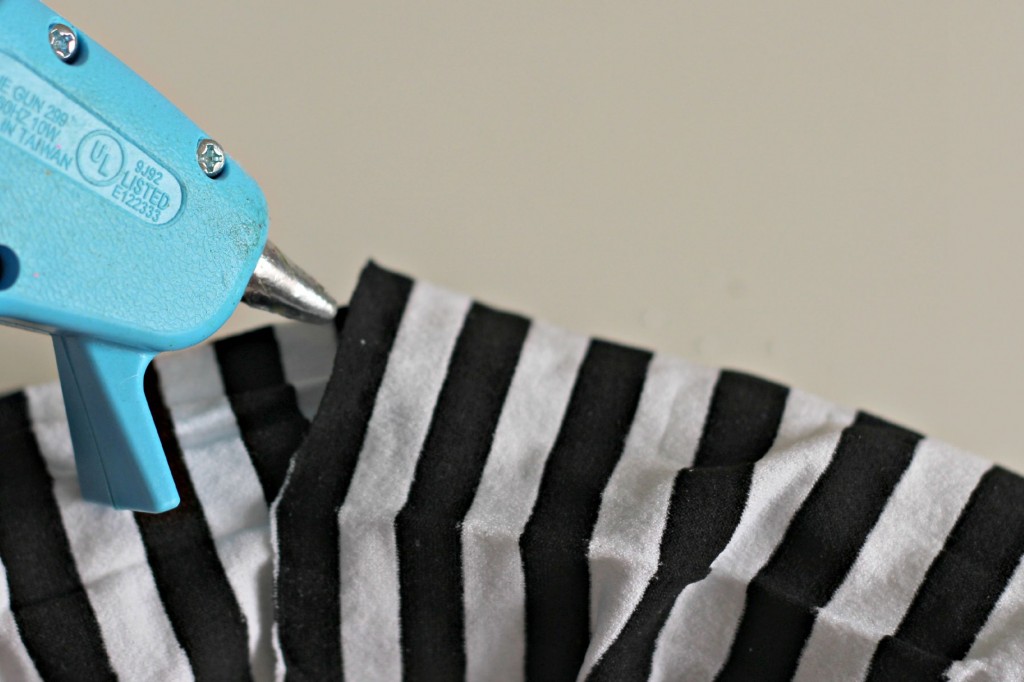
Use a small amount of hot glue to secure the tights together and to hold them in place. You can also use hot glue to secure ribbon or fabric to the wreath. Make sure to glue it in a few places so it stays secure.
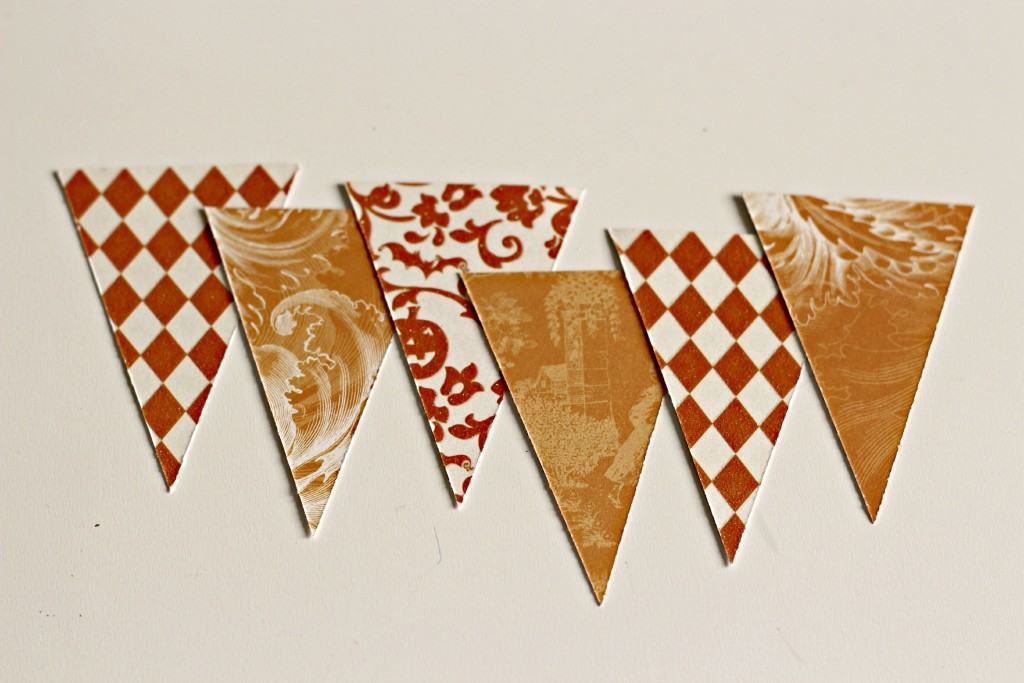
Now it’s time to make the banner. I used decorative paper with different designs and varying degrees of orange and white to add variety and a pop of color. Cut banner rectangles 2″ wide x 3″ long. Make a mark in the center of one of the 2″ sides, cut from the center to the outside of the other side of the paper to form a triangle. I used a paper cutter to make it easier.
Spell out any word you would like on the paper flags to make the banner. I used some left over glitter scrapbook letters to make the word Spooky. You could also choose from these words: Halloween, welcome, boo, haunted, beware, trick or treat, hocus pocus, scary, creepy, October. Or think of your own.
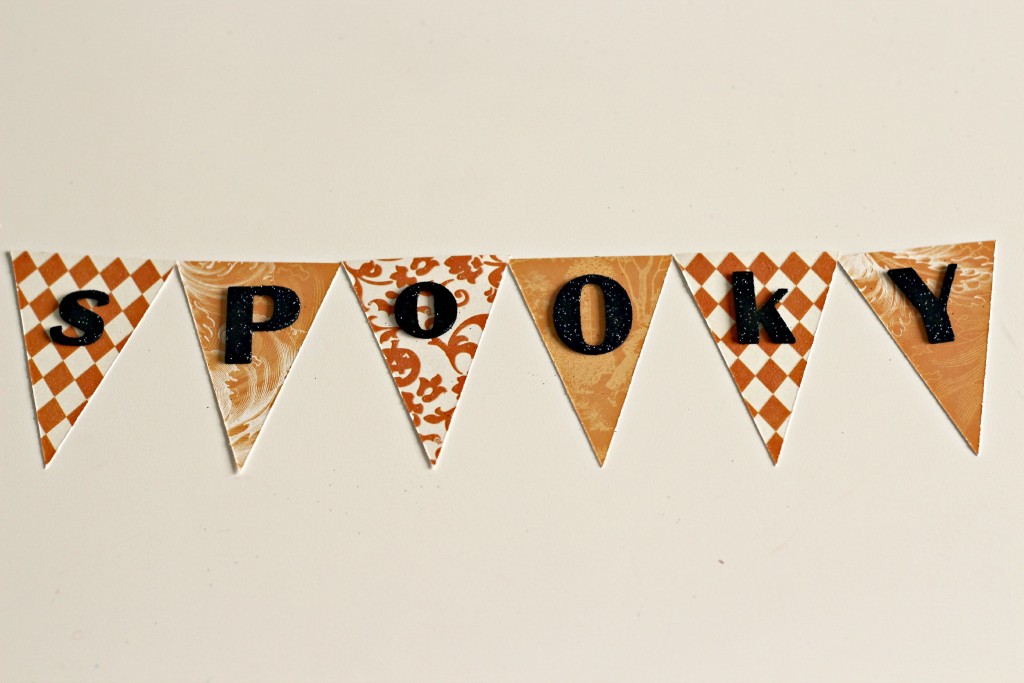
String the bakers twine across the wreath form and tie in place. Secure the banner pieces to the twine using mini clothespins. These were already painted black but you could also paint your own and even add glitter. Because it is the start of glitter season after all, at least at my house.
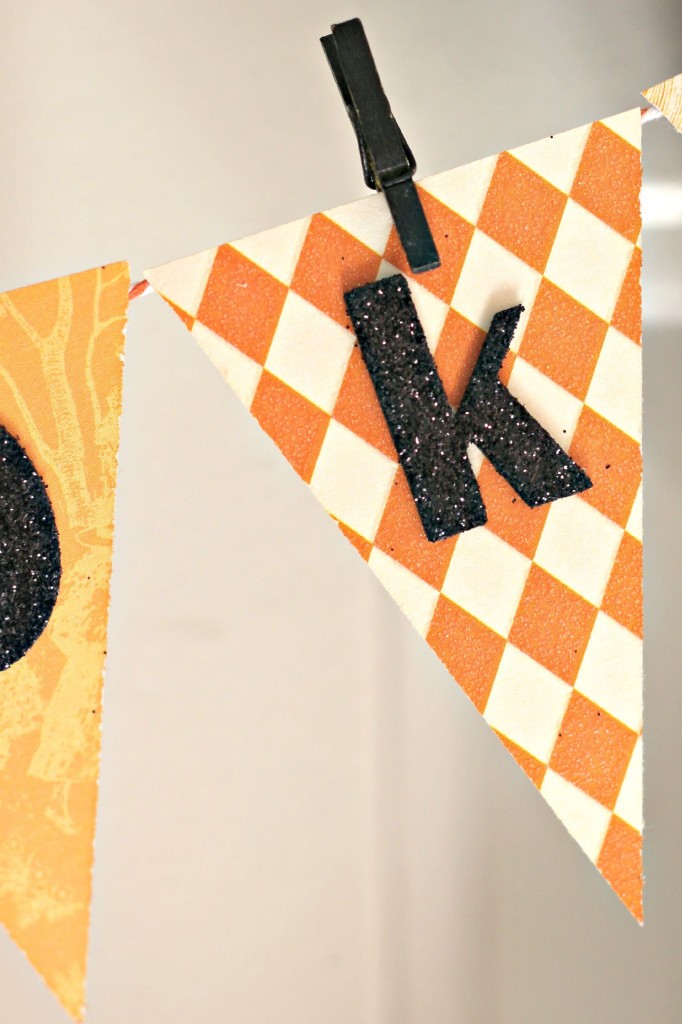
I used the same style of letters but used upper and lower case. You can even mix and match letter styles if you don’t have enough letters of the same style.
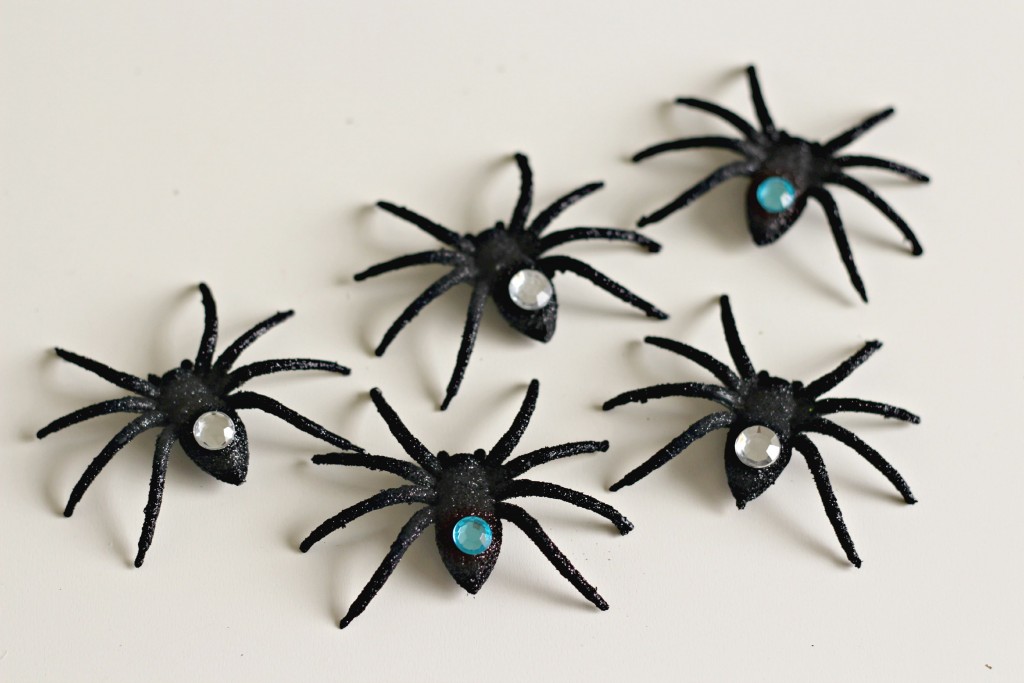
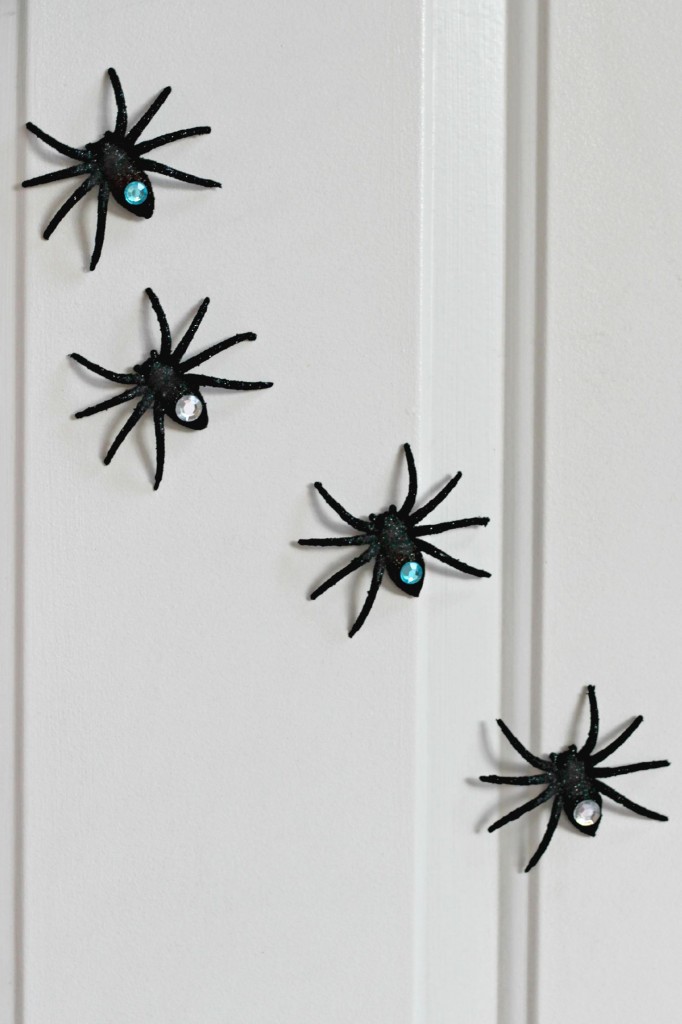
Attach gems to the backs of the spiders using e6000 glue.
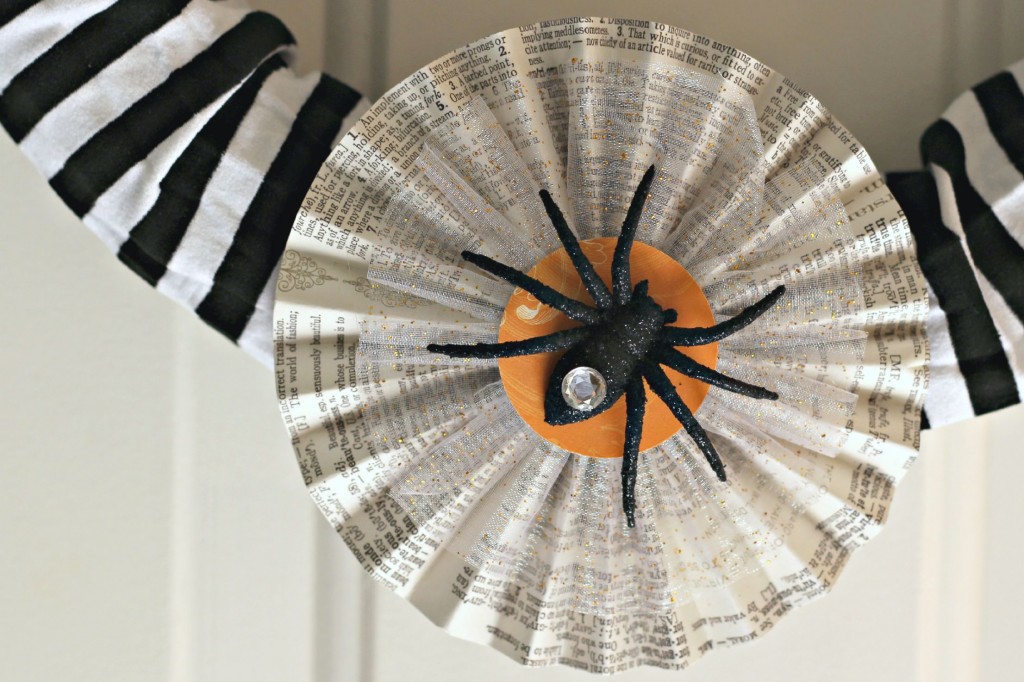
I found this medallion from an old project and decided it would be perfect for the wreath. I used a 1 5/8″ circle punch to make the orange dot and attached it to the center of the medallion then added the spider to the top. All of the sudden it’s pretty and spooky.
I attached the rest of the spiders to the door using glue dots. Spiders give me the creeps but extra large gemmed spiders are kind of cute.
There you have it! A Spooky Spider Wreath using supplies I already had. What can you make with supplies you already have?
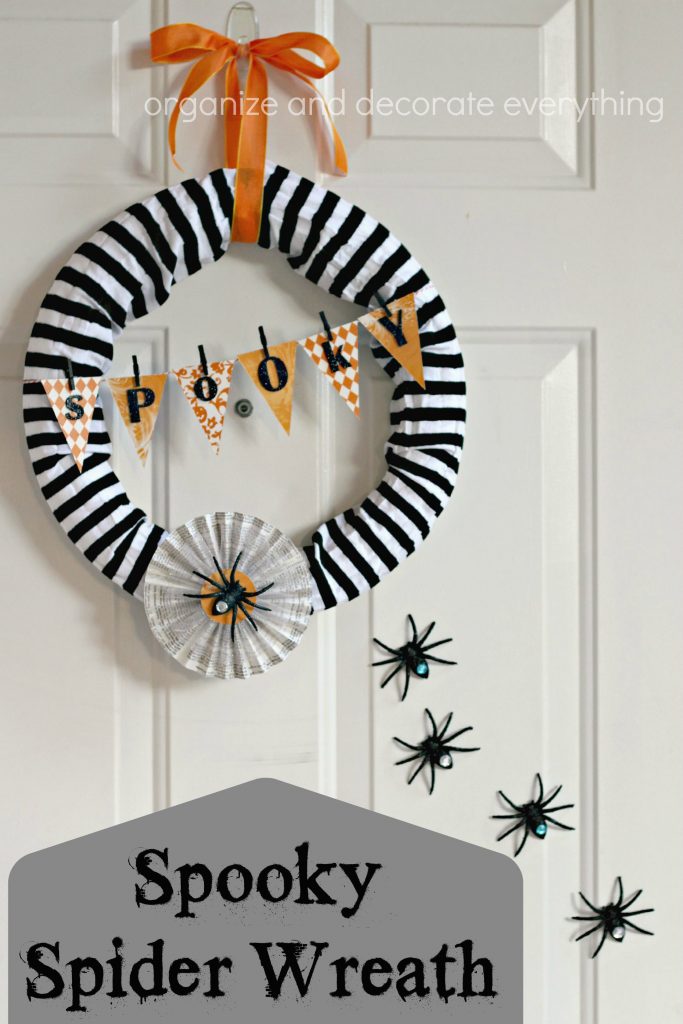
Pin it for Later: Spooky Spider Wreath
You might also like these Halloween projects:
Halloween Spook Banner
Halloween Silhouettes


Such a cute wreath! Thanks for posting.