Pretty DIY Glitter Necklaces that are easy to make to add to your Spring wardrobe.
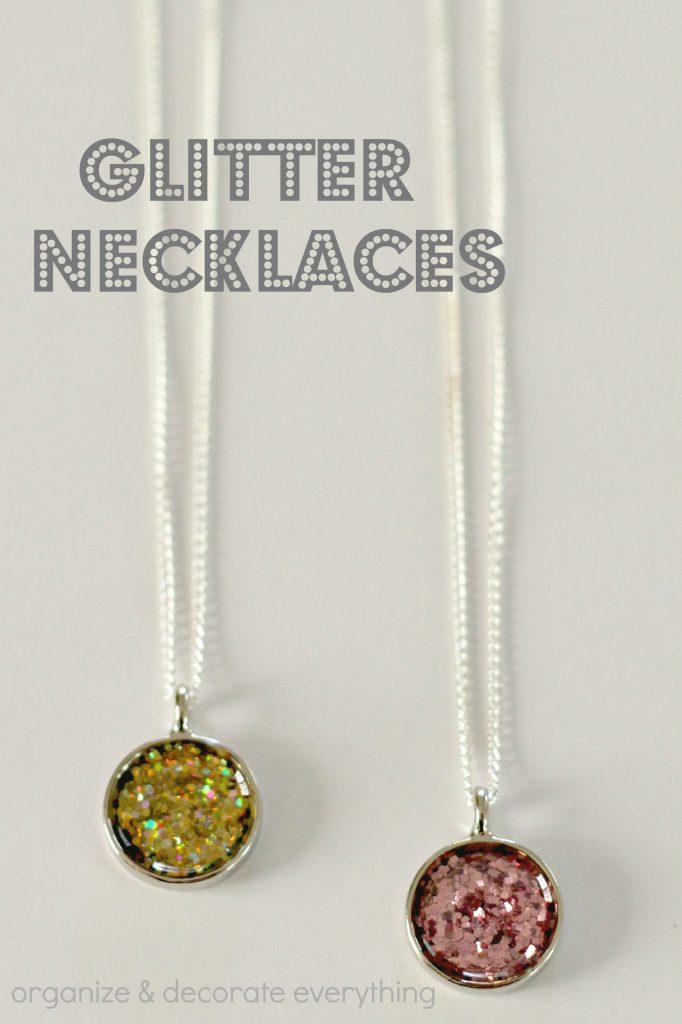
It was one of those days when I just felt like going through my jewelry supply stash and making something glittery to wear. I have a pretty good jewelry stash even though I donated a lot of it this week. I found 2 of these round frame pendant trays and decided to make 2 glitter necklaces. They would make a pretty gift too.
Supplies needed:
Glossy Accents dimensional glaze (craft store or on-line)
Glitter (any kind but mine is a little chunky)
Round Frame Pendant Trays (craft store or on-line)
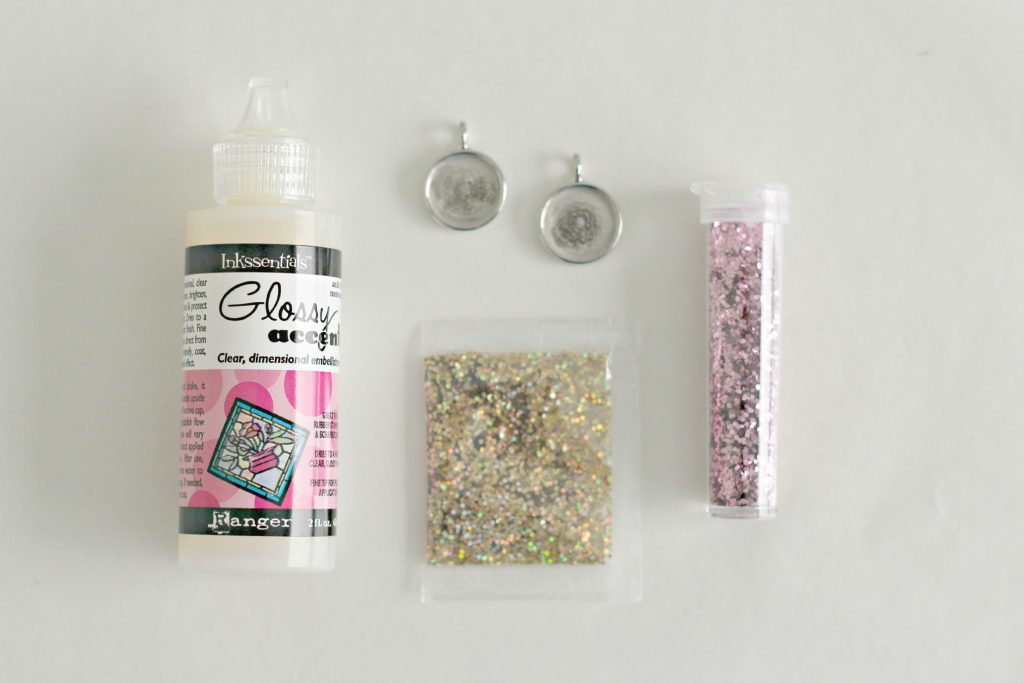
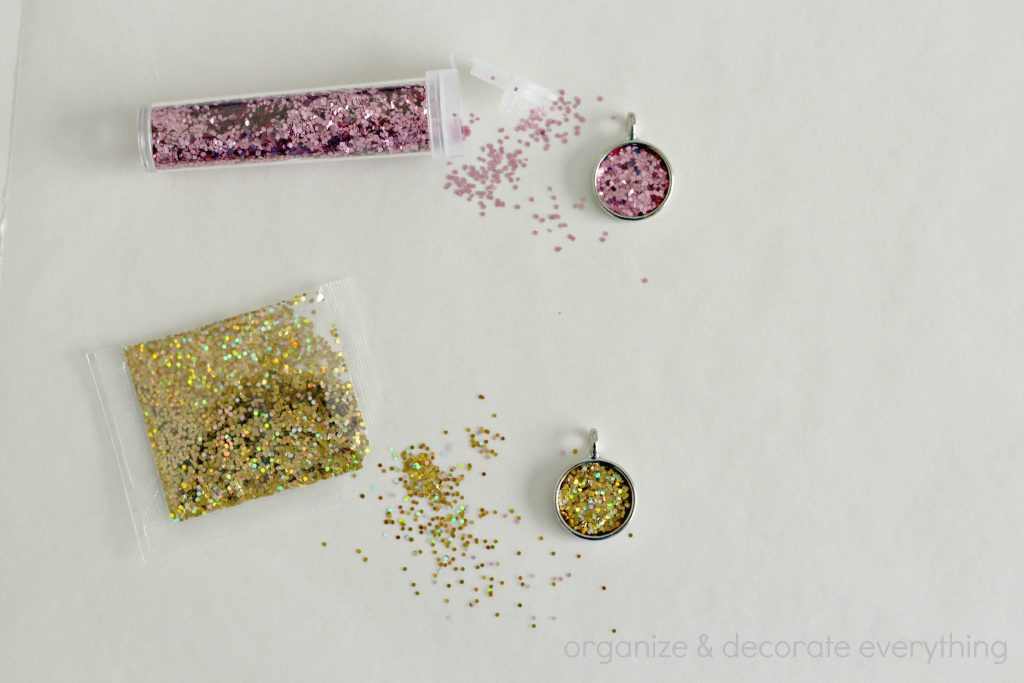
Fill the pendants just a little under half way with glitter. Any size of glitter will work. Glossy Accents glaze magnifies it a bit so the glitter will end up looking larger than it really is.
Do not shake the bottle of Glossy Accents or you will get bubbles in your project. Start by holding the bottle upside down and letting it flow to the tip. Fill the pendant slowly until it looks like it will overflow. You want it to be as full as possible because it will shrink as it dries, it will also clear as it dries. Even with going slowly and not shaking the bottle you might still get a few air bubbles. You can see one at the top in the photo below. It’s easy to pop by gently sticking a toothpick in the center of the bubble. You can also gently push down any floating pieces of glitter using the toothpick.
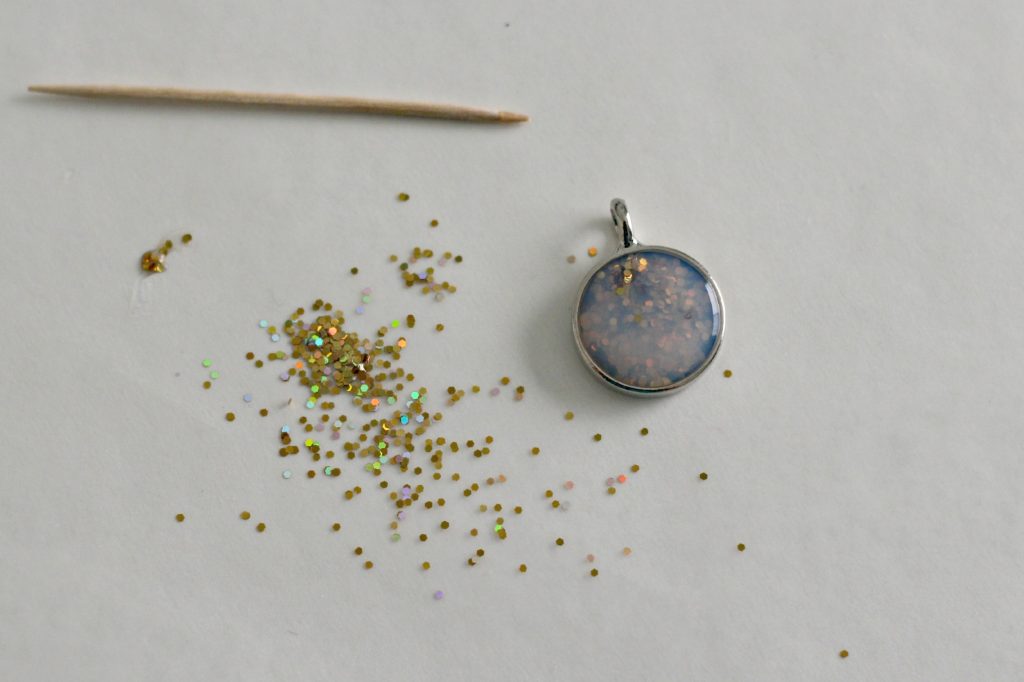
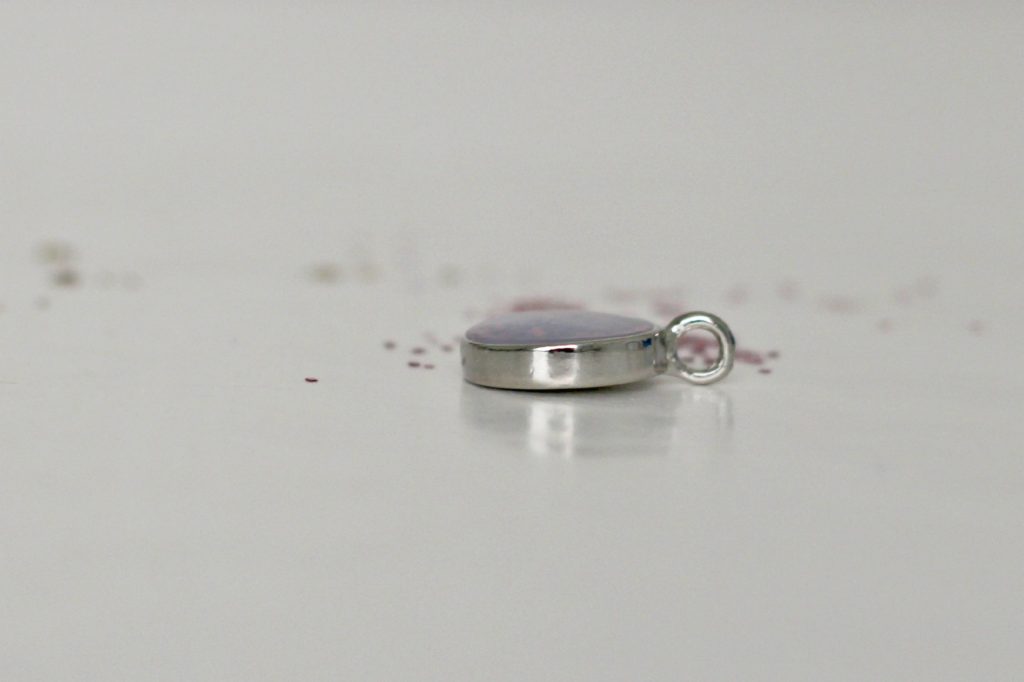
I forgot the take a side picture to show how high to fill the pendant. This is after it has already started to shrink about a half hour later. Watch for bubbles to form about 1/2-1 hour, after that try not to disturb the pendant until it’s fully dry.
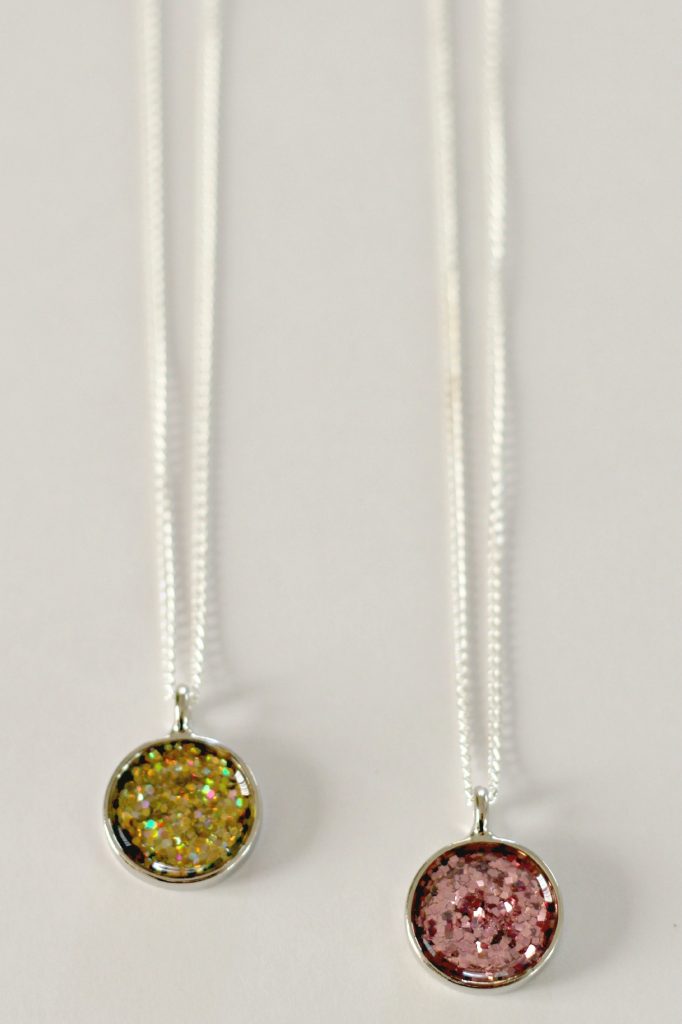
Once they’re fully dry, they’ll look like the photo below, only better. It’s hard to see how sparkly they are in the picture. You know how everything always looks better in real life.
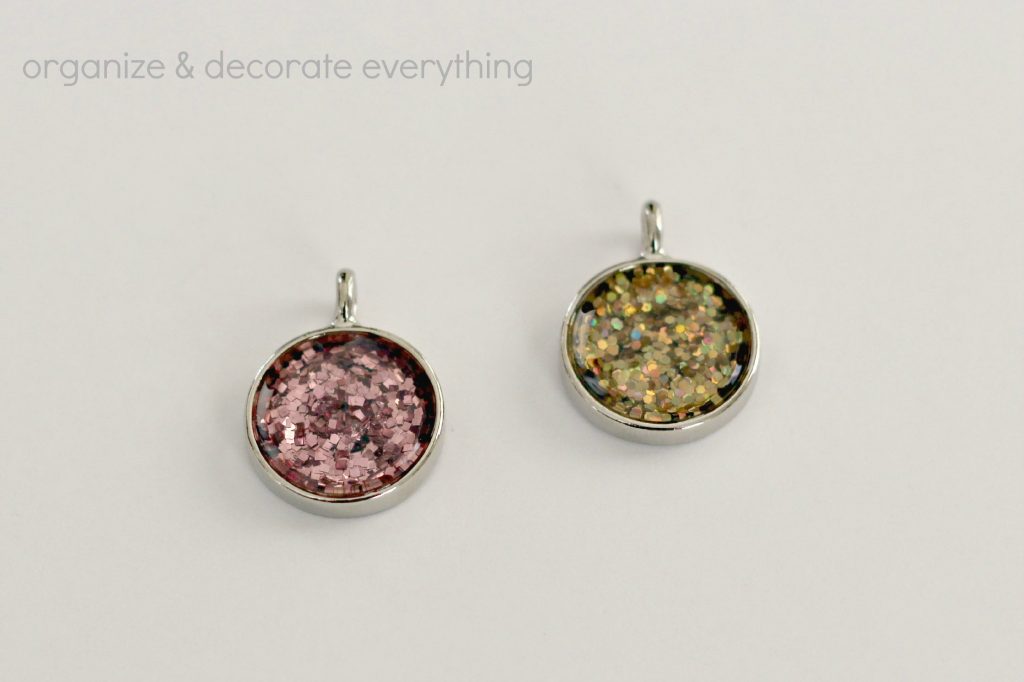
You can put them on a chain at this point or you can make your own. I had everything I needed to make my own so I gave it a try.
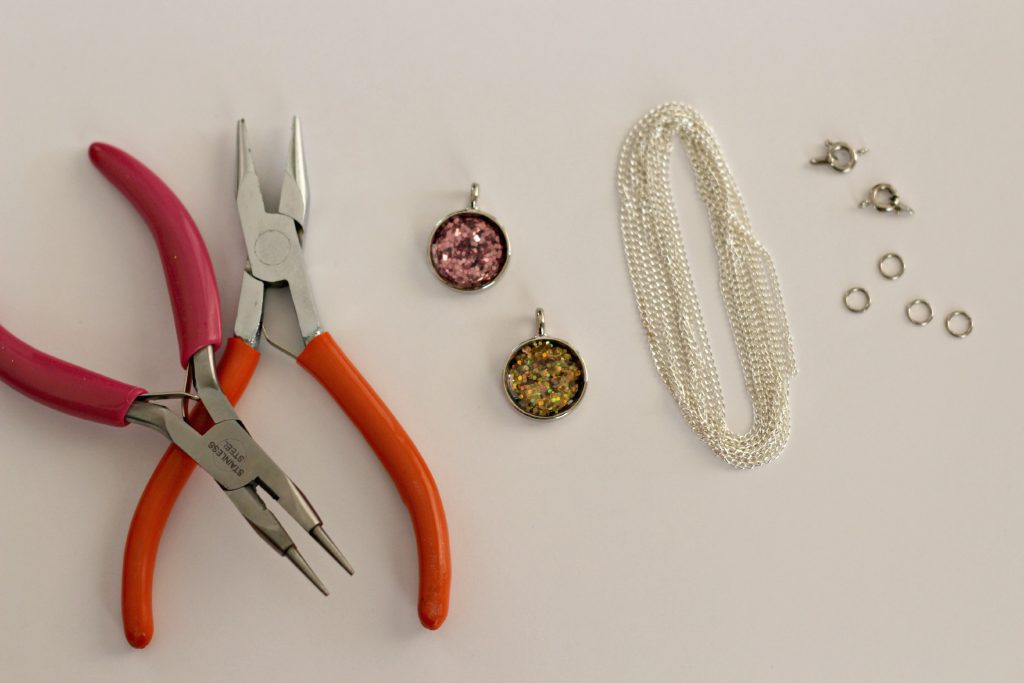
You will need:
Pliers
Chain
Jump Rings
Jewelry Clasps
Wire Cutters
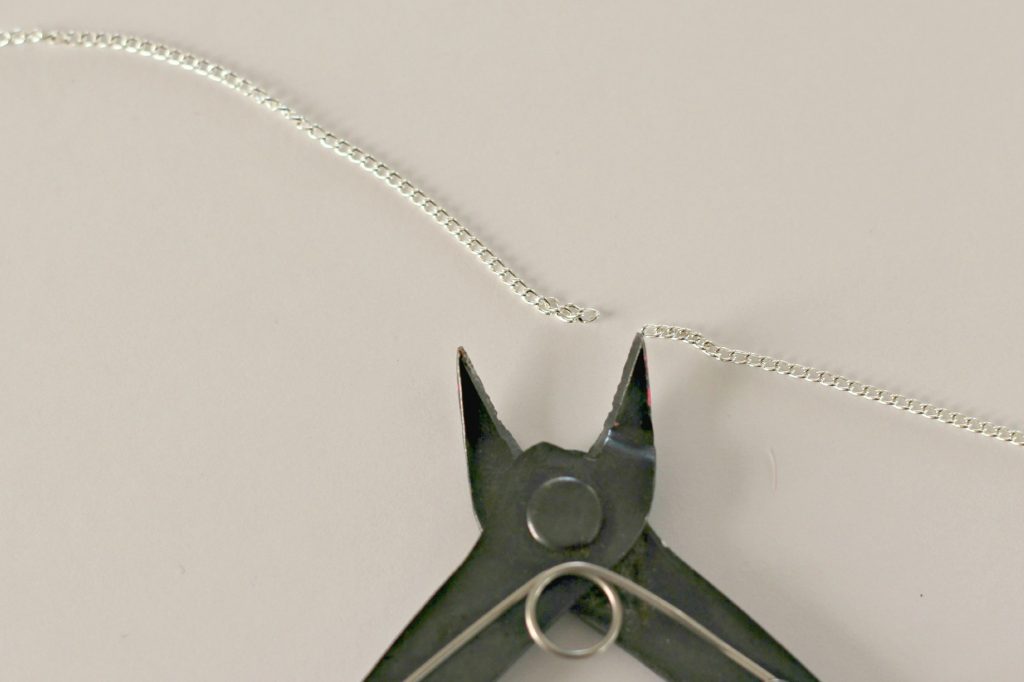
Cut the chain using wire cutters, you will lose a link doing this. Whoa, I think I need new cutters! I cut my chain 18″ but you decide on the length that’s best for you.
This chain is pretty thin so it was a little hard to get the jump ring on. Use 2 pliers to twist the jump ring open, never pull it open or it will lose it’s shape. Twist it to close.
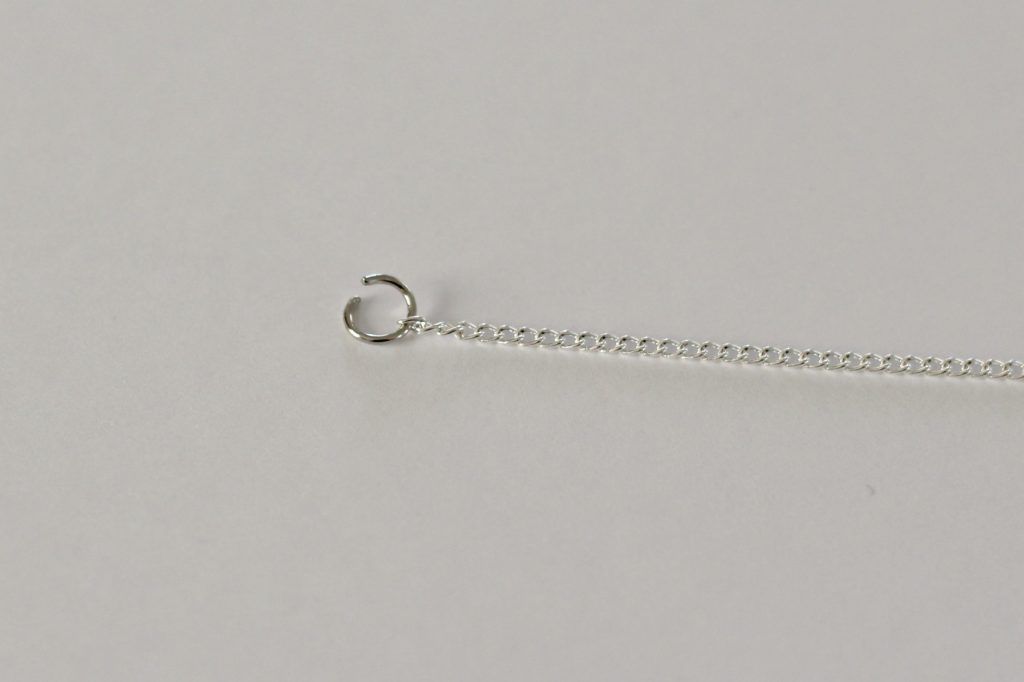
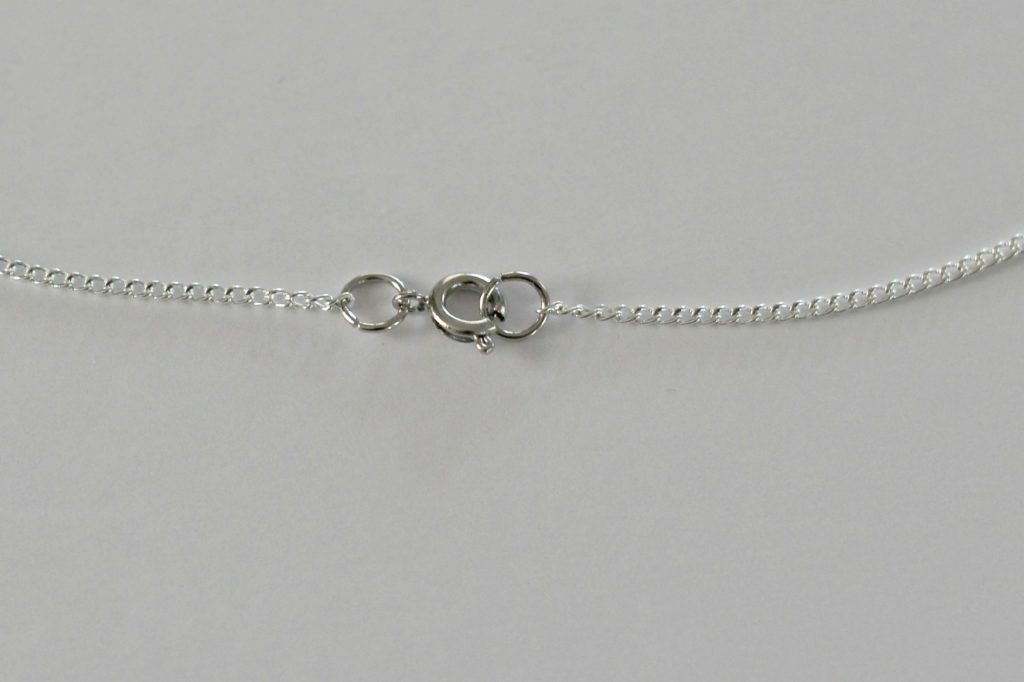
Do the same thing on the other end, but don’t forget to add the clasp. Then close the jump ring.
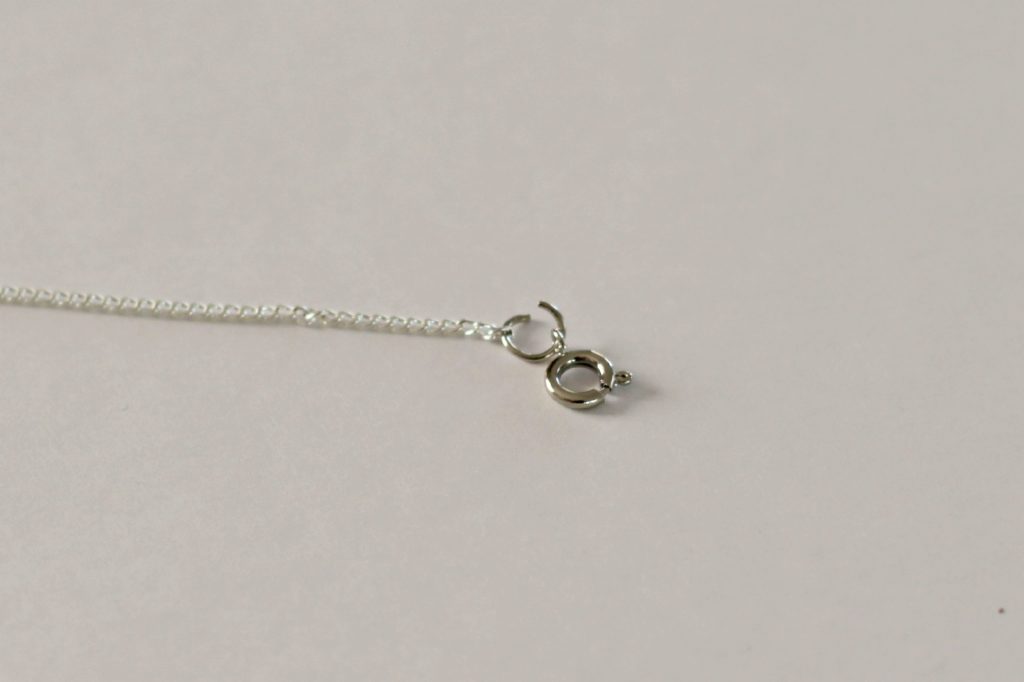
This was my first time making my own necklace chain and it was so easy. I like making my own so I can make it any length I want.
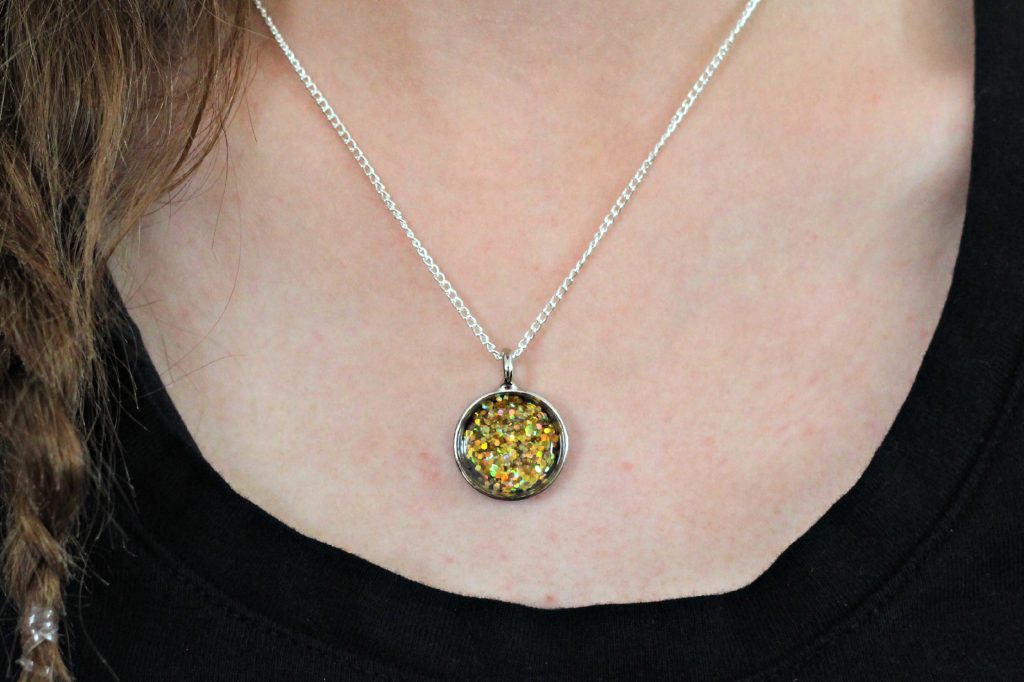
Emilee’s wearing the gold glitter necklace.
And I’m wearing the pink glitter. Sorry the picture is so blurry, it’s in the mirror and I couldn’t get it to focus.
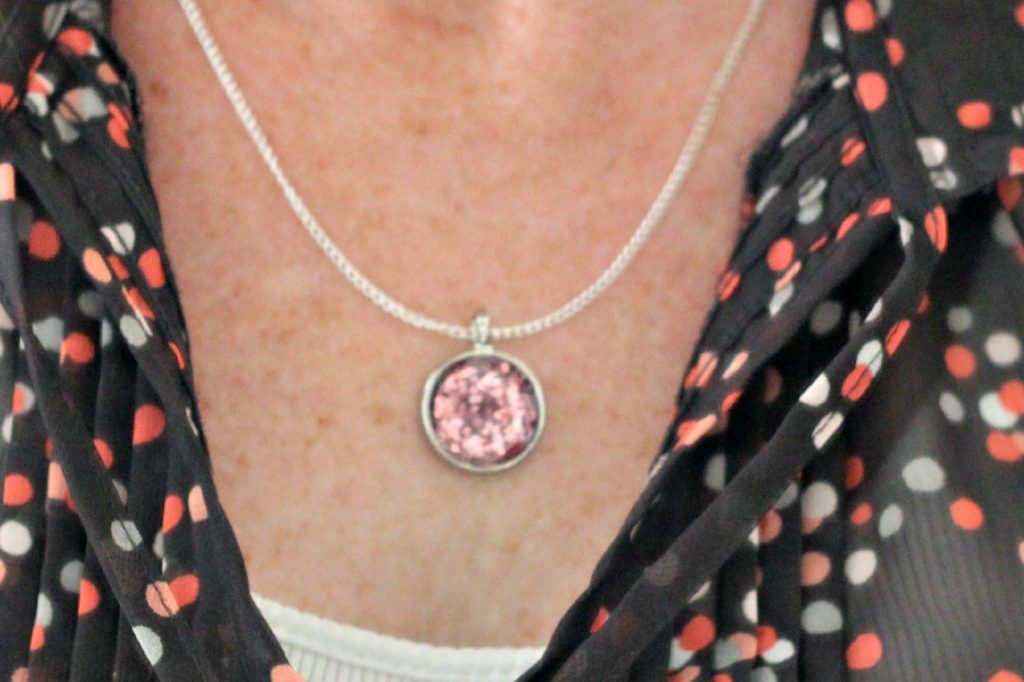
I think I need to make a ring and earrings now. I have so much glitter that I should probably start using it for more projects.
Pin it for Later:

You might also like:
Tangle Free Necklaces During Travel
Metal and Leather Earrings


So cute! I love the glitter! I think I need to make some of these in the near future. Thanks for the idea!
I love glitter! This would be such a fun project. Thanks for sharing!
This is such a fun project. I need to get me some of the glossy accents. Pinned.
This is perfect for my daughter. I’ll add it to her “things to make” list.
What a cute and easy project! Jewelry making is always intimidating to me but I guess it shouldn’t be!