Make Custom Made Envelope Liners using coordinating scrapbook paper. They are easy to make and take your notes up a notch.
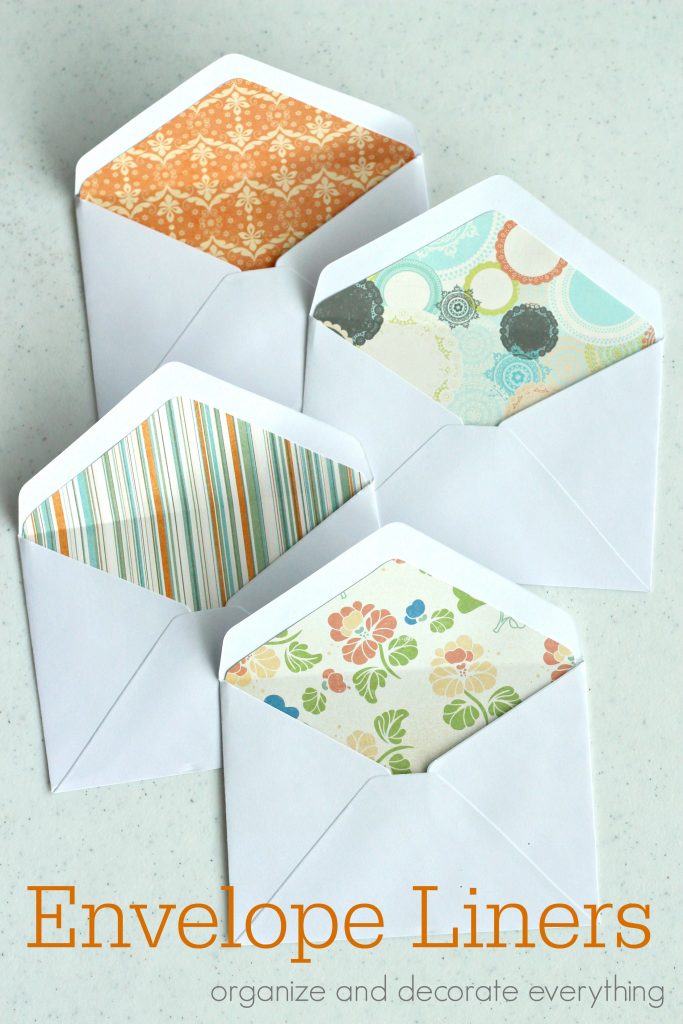
I love little details. I saw some envelopes in a cute shop that had pretty liners in them but they were a little costly. Since I have a big supply of scrapbook paper I thought this would be a great way to use some of it.
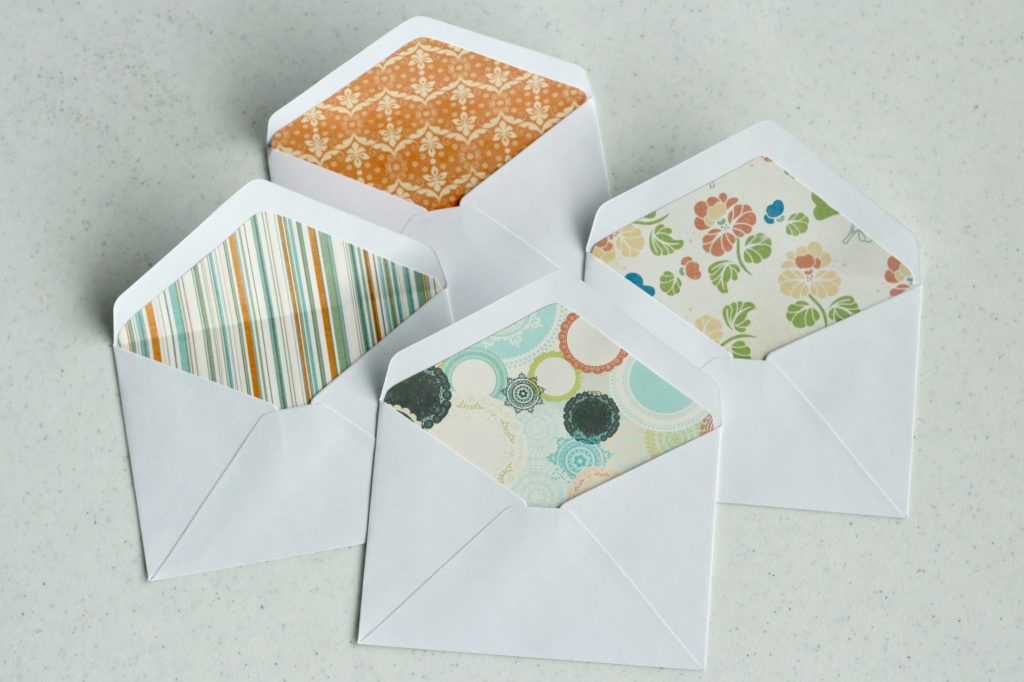
The supplies are few and simple: Custom Made Envelope Liners
envelopes
patterned scrapbook paper
glue stick
scissors
pencil
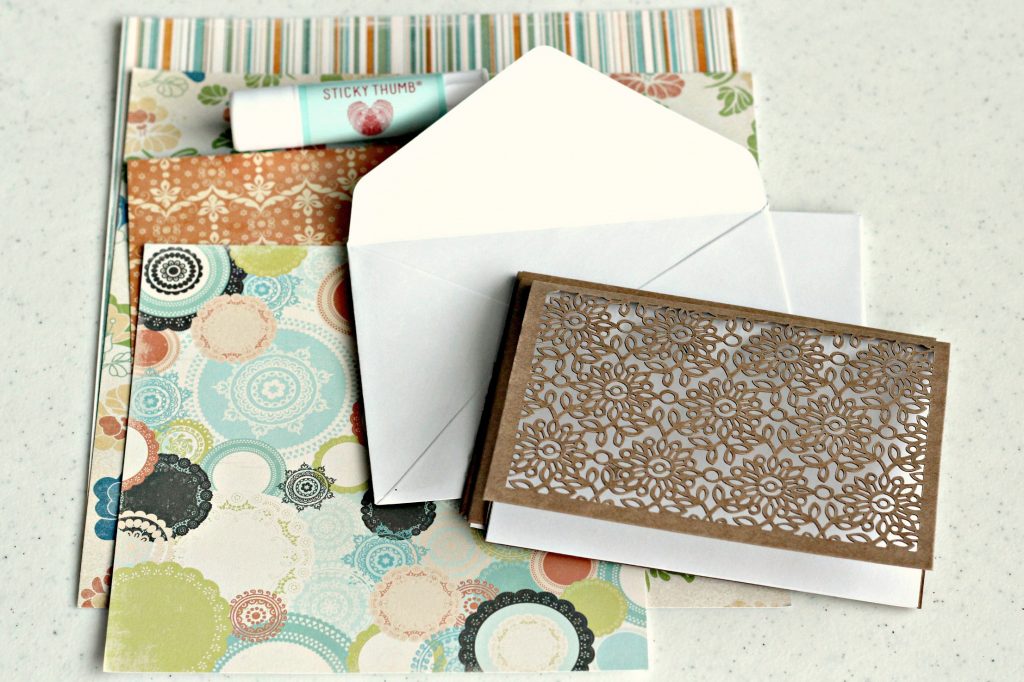
The liners are simple to make but add a lot of detail and style to your cards and envelopes. It’s a fun little surprise when the recipient opens the envelope. They can be easily customized depending on the envelopes and papers you use. Regular weight paper works best for the liners but I also used cardstock and it worked fine.
Start by tracing the envelope on the back side of the patterned paper. The paper doesn’t need to cover the whole inside of the envelope it just needs to cover the whole area that shows. Make sure it doesn’t cover the glue that seals the envelope.
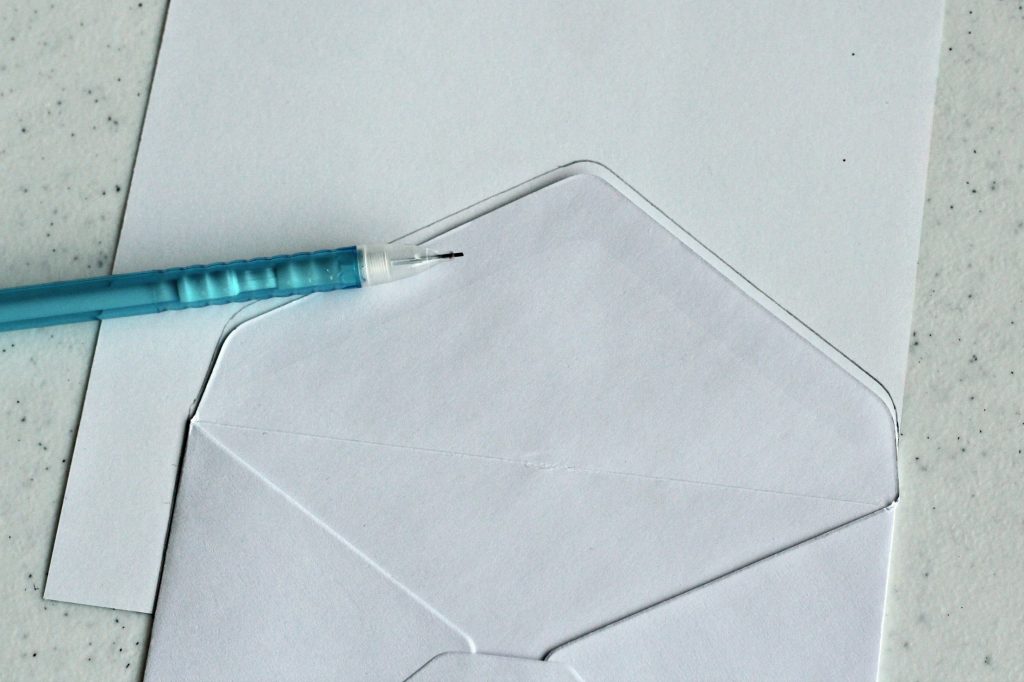
Cut out the first patterned paper liner then use it as a template for the rest of the liners.
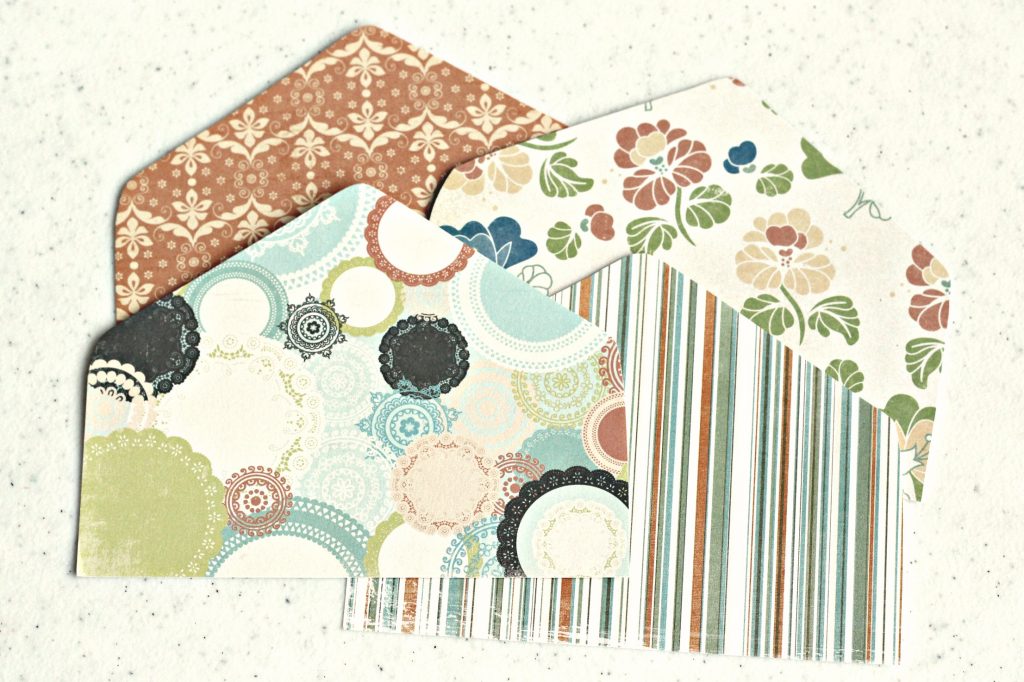
Make sure the liner fits before you glue it into place. And make sure to leave the glue area exposed. Glue the bottom of the liner in place first.
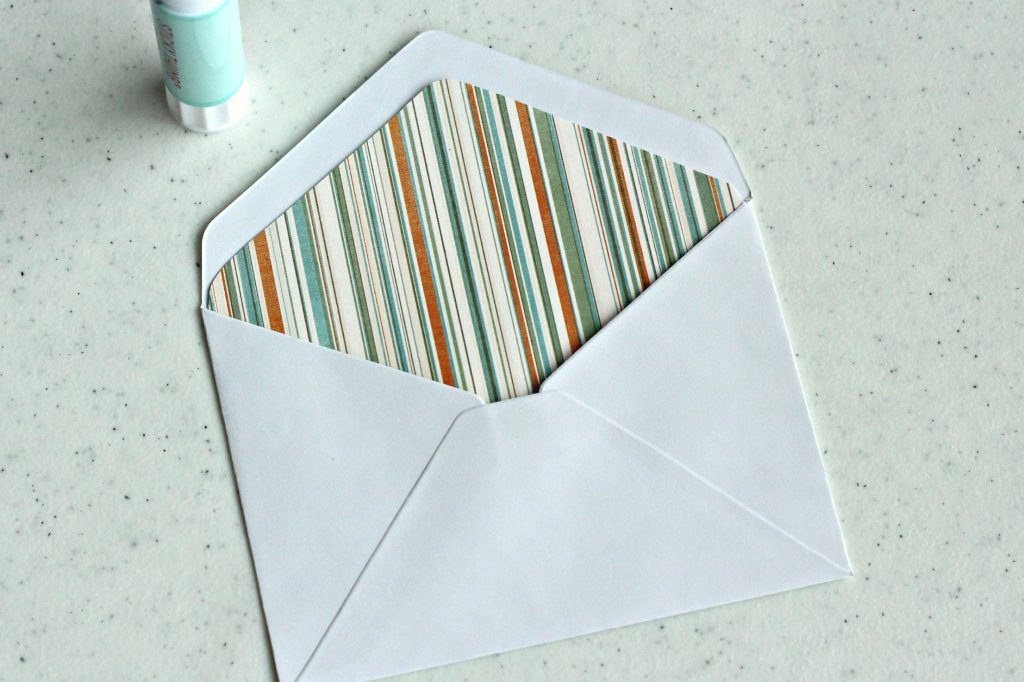
Then glue the top of the liner in place. Add a generous amount of glue so it stays secure.
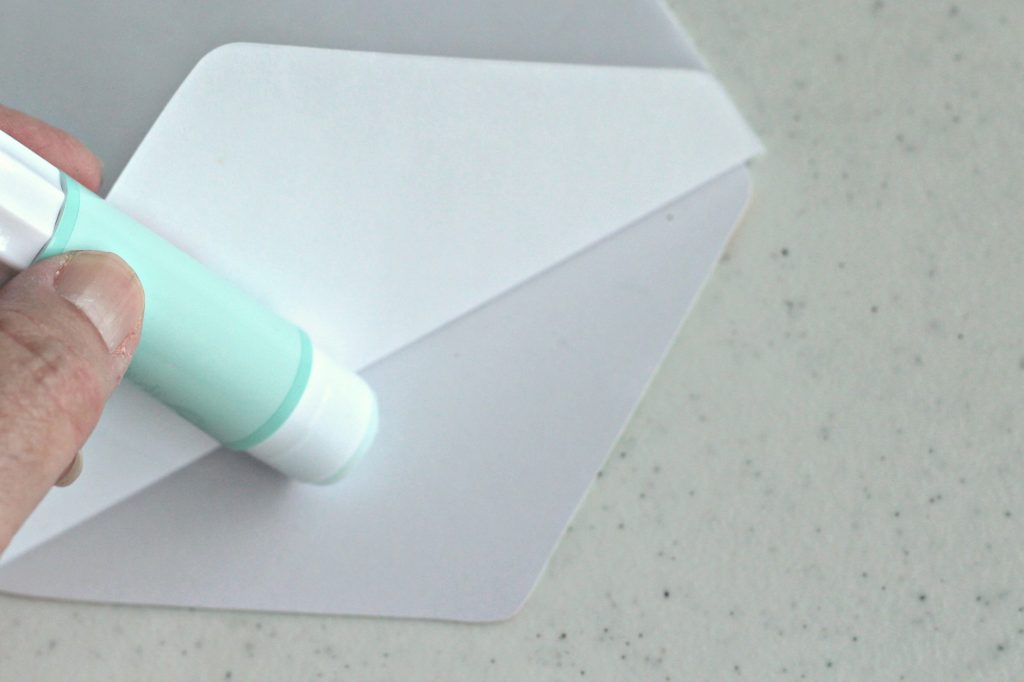
Crease the liner on the envelope fold. The regular weight paper is easy to fold but you might need to use a bone folder to make the crease on the cardstock paper straight.
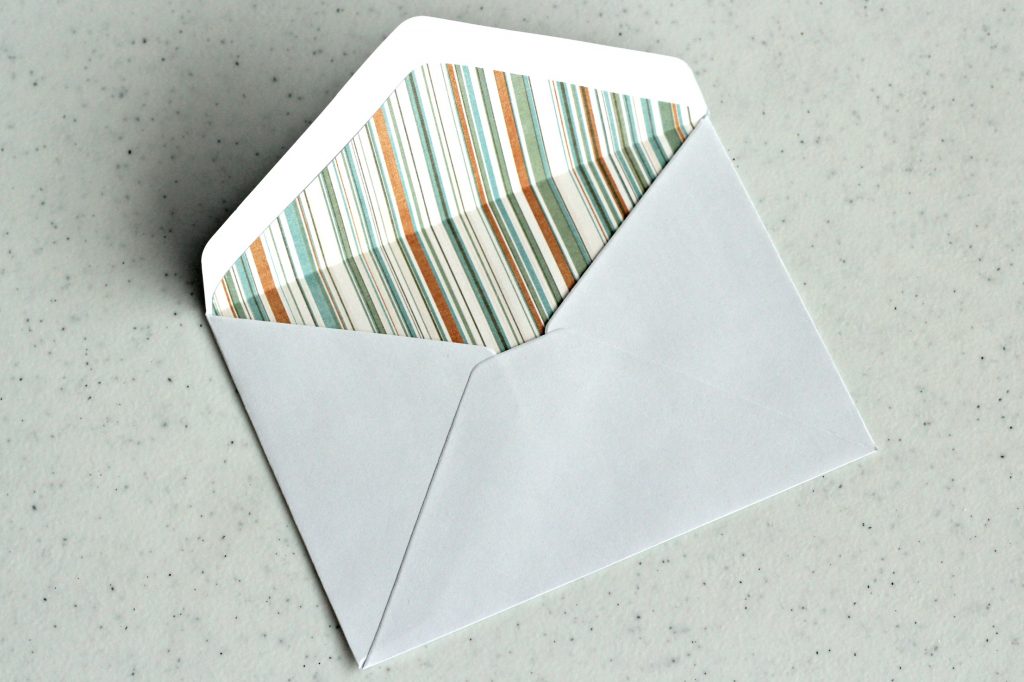
Be creative with the papers you use as liners. You could use comics for a child’s card or newspaper for dad’s card. What about maps for a going away card or a personalized drawing for a family member. Origami paper works really well and comes in beautiful patterns. The possibilities are endless but I’m glad I was able to use some of my scrapbook paper stash.
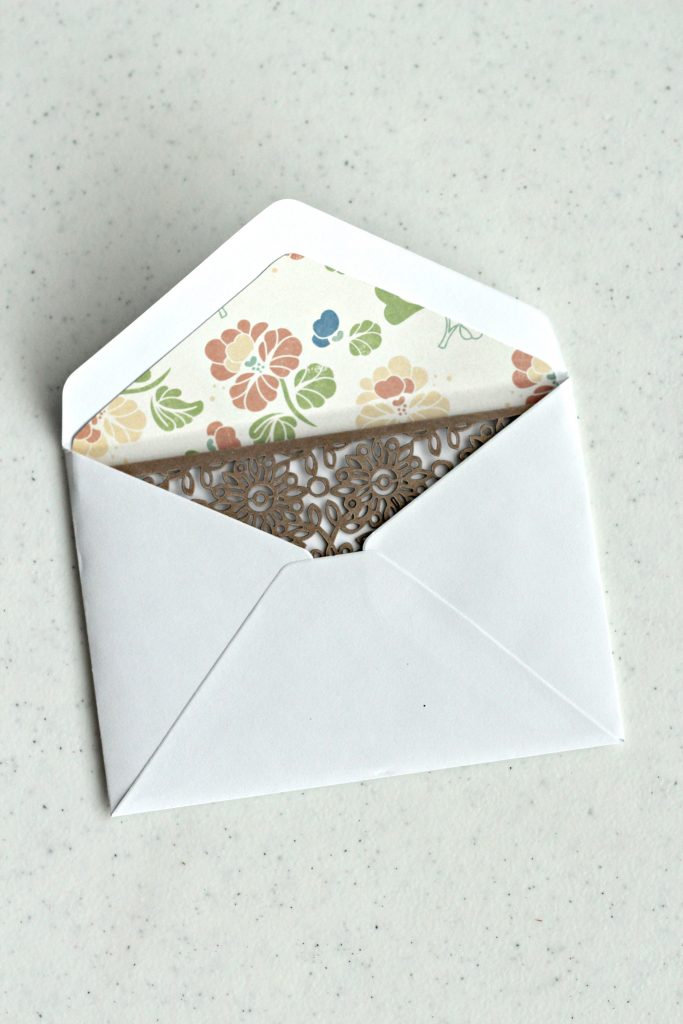
Pin it for Later: Custom Made Envelope Liners

You Might Also Like These Posts:
