
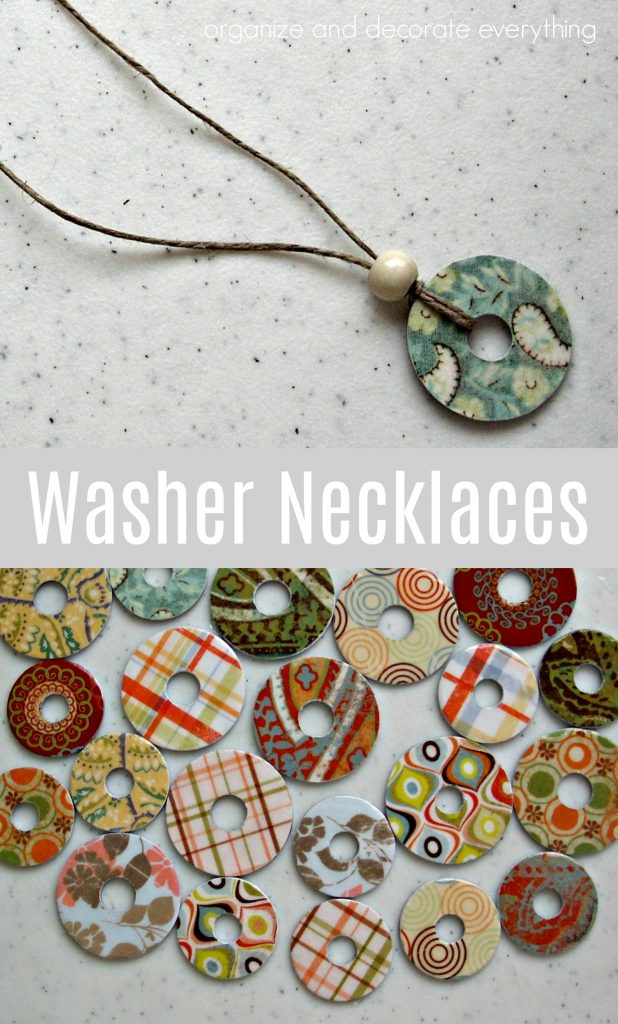
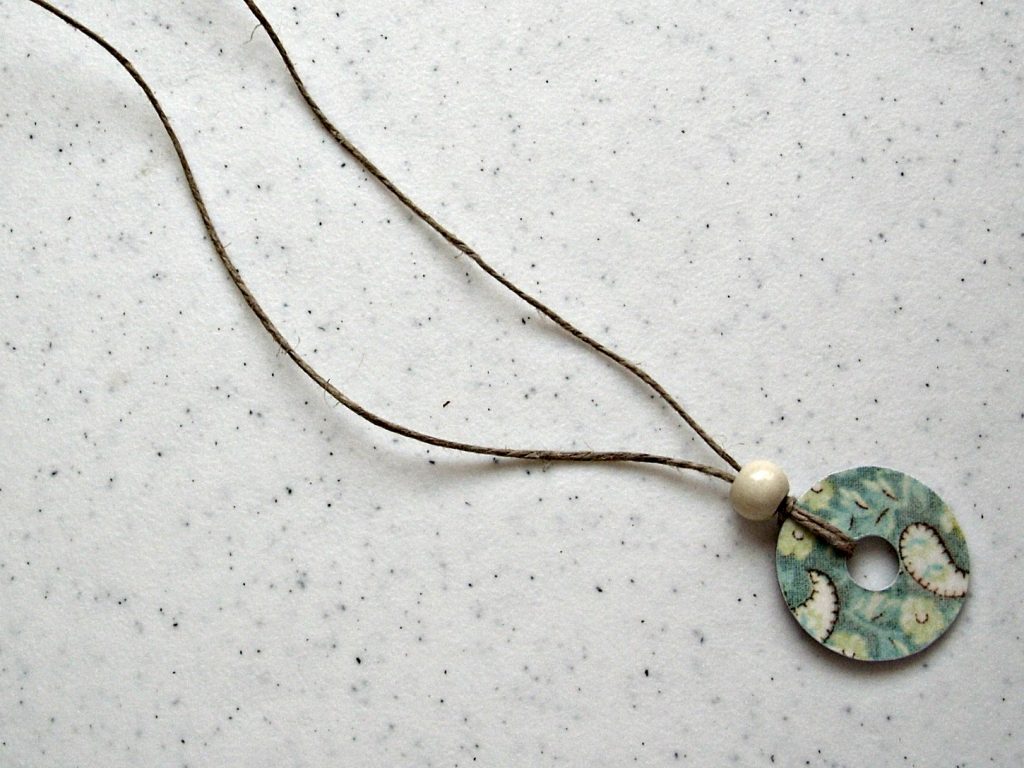
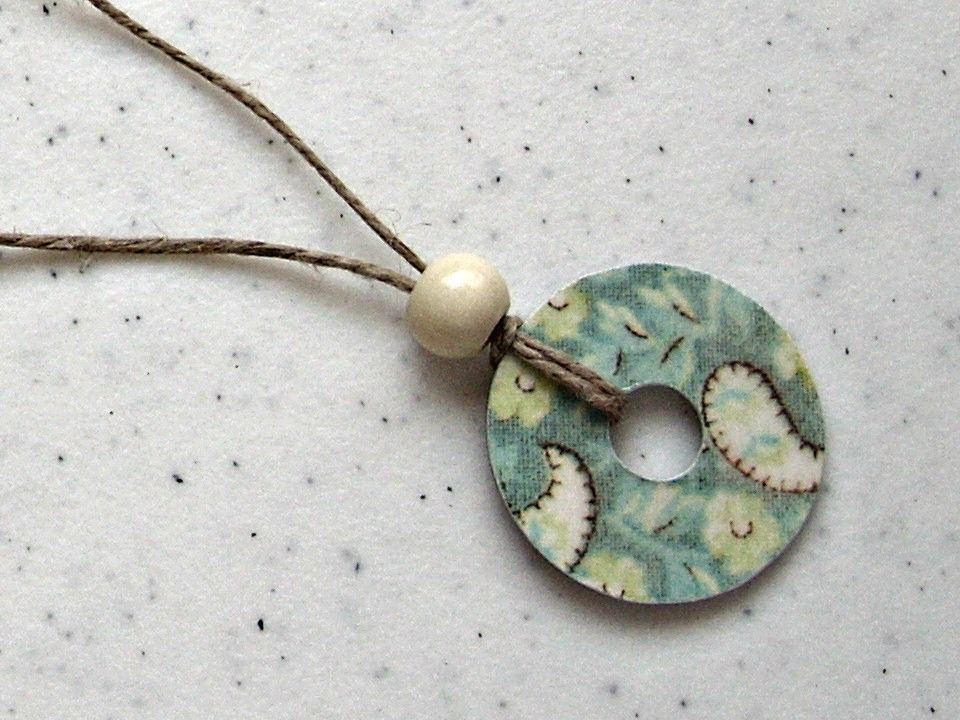
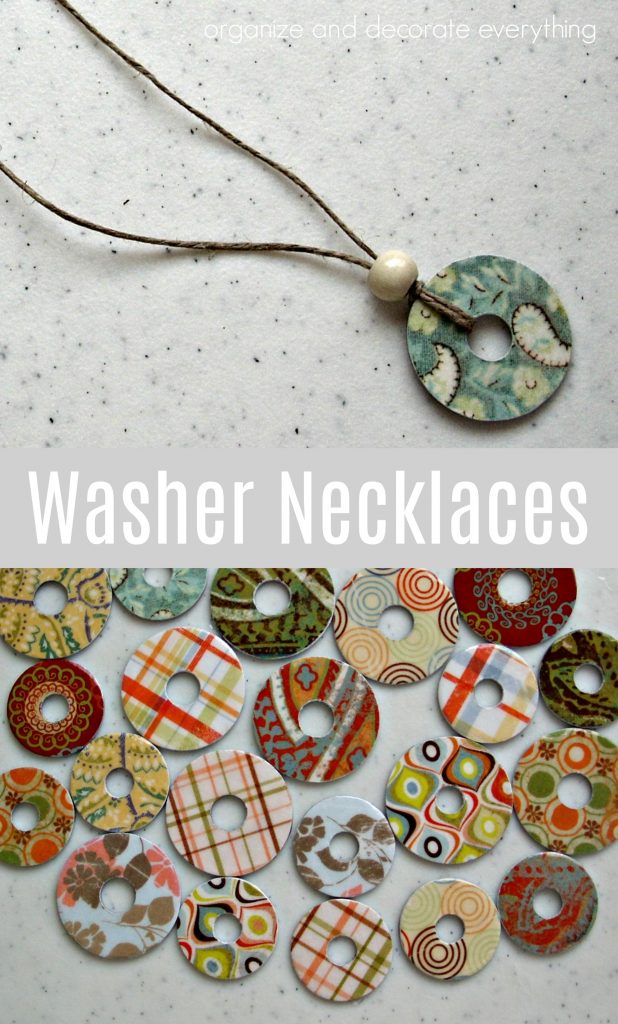
Make these Scrapbook Covered Washer Necklaces for yourself or gifts for others.
There may be affiliate links added to this post to help you find the products you need. No added cost will be added to your purchase. Thank you for your support.
I’ve seen these around so I’m sure many of you already know how to make them. I discovered the easiest and prettiest way to make these Washer Necklaces so I wanted to share the process with you. They’re super easy, inexpensive and you can make several to go with every outfit you own. Just choose different scrapbook paper for variety. I’ve taught many people how to make them and it’s always been a lot of fun.
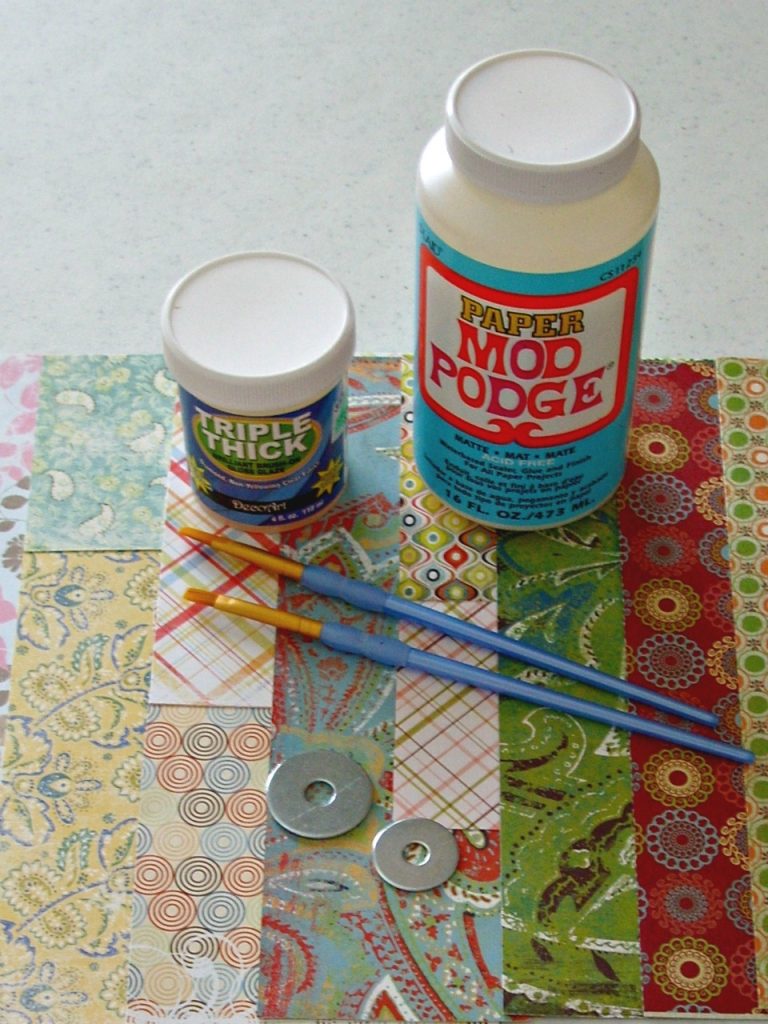
Supplies needed:
Washers (1″ and 1 1/4″)
Mod Podge
Paint brush
Scrapbook paper
Pencil
Scissors
Sandpaper
Wood beads
Hemp
Gloss Glaze
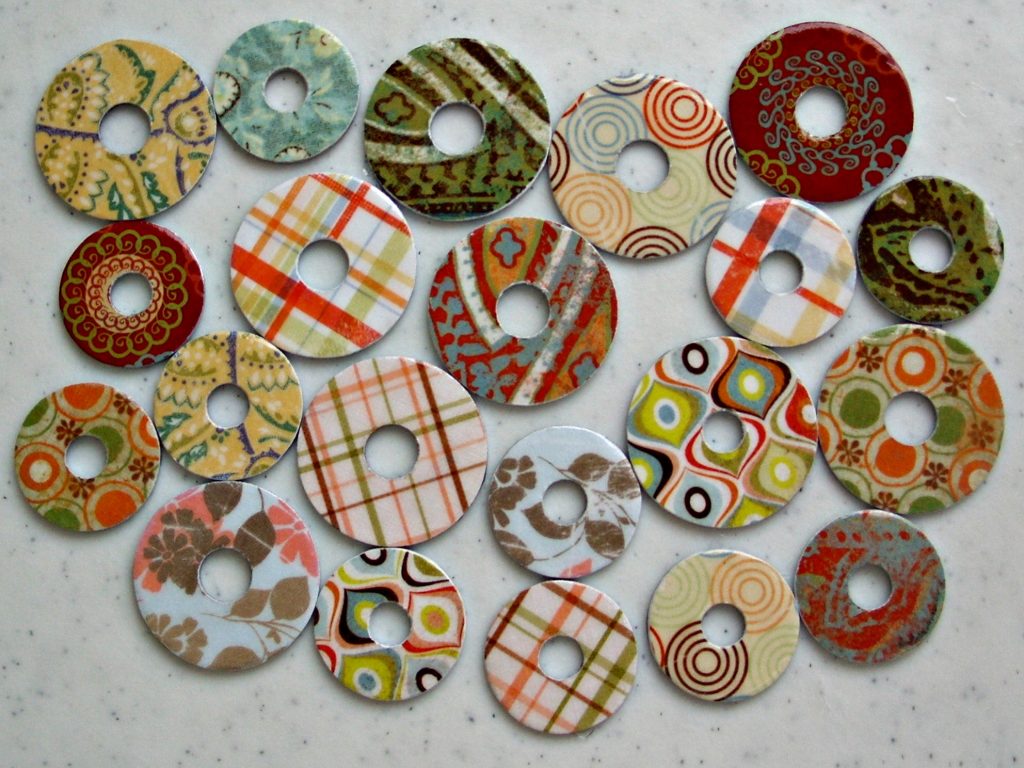
Choose the paper you want for your necklace (I make a variety at one time). Trace the outline of the washer on the scrapbook paper where you want it then cut it out. It’s okay if it doesn’t fit perfectly, you’ll take care of that later. Just make sure all of the front of the washer is covered by the paper. It’s better to have too much than not enough. Mod Podge the paper onto the front of the washer (I just leave the back of the washer natural). If you want you can cover the back of the washer but it isn’t necessary. Press down and smooth the paper to make sure it’s really sticking good to the outside and middle of the washer. Let it sit for about 10 minutes.
Use medium grit sandpaper to sand around the outside of the washer and around the hole in the middle. To sand the middle, take a small piece of sandpaper and roll it up, insert it in the hole and twist it back and forth to take off the excess paper. Be careful because you are sanding paper, but on thick paper you will have to sand harder. It smooths it out really nicely and makes the paper a perfect fit.
Once it’s the way you like it, apply the gloss glaze to the top. I love this stuff, but it smells really strong so use it in a well ventilated place. When you apply the gloss glaze make sure it creates a dome over the top of the washer because it will shrink a little as it dries. It leaves a beautiful glossy finish.
Let the necklaces set for 24 hours before you add the cord, leather or hemp for the necklace. To make the necklace, cut your cord to desired length. Mine were cut to about 24″. Fold in half. Insert through hole and bring it back through its self to hold onto the washer. Add a bead or two to the top of the washer.
To make the clasp in the back. Thread a round bead to one end and tie it on. You can add a drop of super glue or nail polish if you’re worried about it coming undone. Make a loop in the other end big enough for the bead to pass through and tie it in a knot. That’s it! You’re done and you have a beautiful and unique necklace for about 20 cents!
Pin it for later: Washer Necklaces
You might also like:
Glitter Necklaces
Metal and Leather Earrings







So cute, I can’t wait to try it myself!
I did this earlier this summer and they are adorable. So so so cute. And each one is different. My teenaged nieces go nuts over them. Thanks for sharing!!
Fabulous! Can’t believe they’re so easy!!
These are fantastic! Thanks for sharing how to make them!
Love this! A great craft idea for my daughter and me. Thanks for sharing.
Great project! Thanks for explaining it step by step, these will be so fun to make with all the little leftover scraps of paper.
How can this be so cute and yet so easy! I love it – thanks for sharing.
These are gorgeous! I love them! I added your blog address to a post about washer necklaces on my craft blog. I need to find some cute paper like you found. http://somedaycrafts.blogspot.com/2009/07/more-washers.html
Too cute!!!! These would make a great, cheap Christmas present.
Those are beautiful!! I have got to make some of those, especially since hubs is a carpenter…lol
Love these. I make gifts every year for my sisters and I’m thinking this may be the one for this year!
Thanks for sharing!
I need help! I saw this and just had to go make these for the holidays!! BUT, I got a little too gung ho and did too many for my first batch…:( I need to know a few things, please…
1. Do you cut the paper big enough to cover front , sides and back? I did only front and barely sides and it is not looking too good.
2. What do you use to make the hole in the middle? I used a pencil to poke through. ???
3. I have never done the Mod Podge thing before….do you just paint coat after coat of it and then how do you dry yours ? Just laying on paper or something? And the same question for the triple thick stuff…how do you hold it when you are painting it on? do you hold it? I just laid it on wax paper and tried to paint it on…really messy and it all stuck to it:(
Mine just do not look like yours right now. I will have to try again. My backs look very ugly. You said you leave yours natural. Could you define that for me? 🙂
I am looking forward to hearing from you:) Thank you so much for your help. I really love the idea of these and hope that I can do some more and do it right this time:)
Thank you,
Leah Hall
drfhall@aol.com
I picked some 4 leaf clovers the other day and made these. Love them!
Do you sand it before putting the paper on to help it stick to the washer? Or sand it afterward?
Love ❤️ Love your pendants where do you get the triple glaze
Put different paper on the other side, and it can be reversible.
I really like your creative way of designing such an easy and inexpensive type of jewelry! I like using scrapbook paper because it gives you so many choices of colors. “I must pick up some washers very soon”!
Love this necklace. Going to give it a try.