
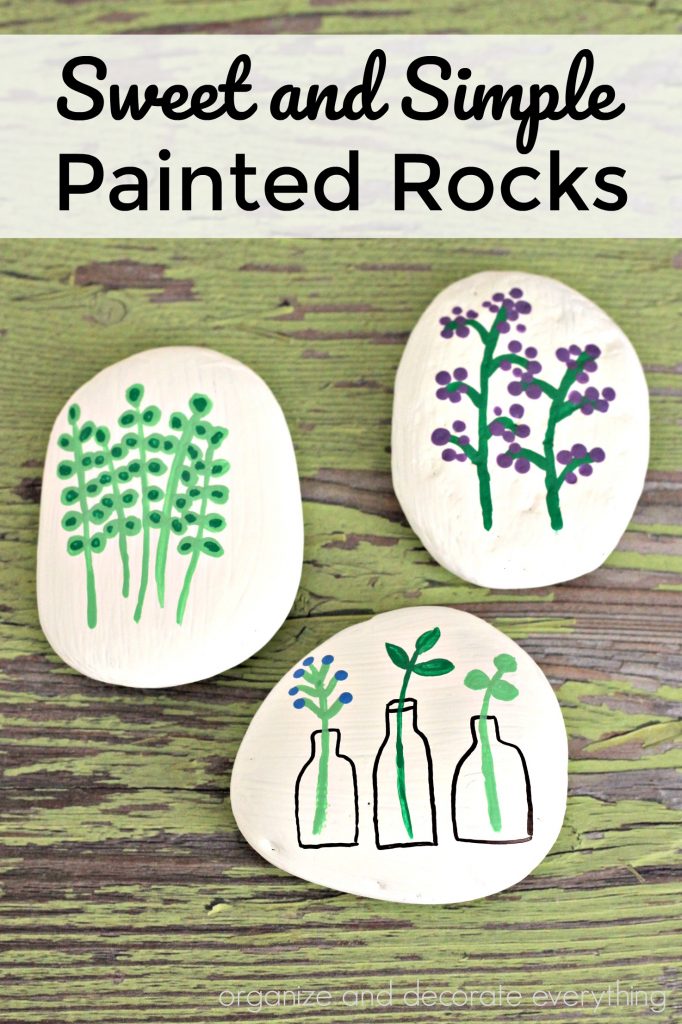
Make these sweet and simple painted rocks to add to your Summer home decor. They’re a fun and easy craft to do with kids too.
It’s been a while since I’ve taken time to craft, so when the opportunity came up to participate in a Painted Rocks challenge I jumped at the chance. Surely I could find 15 minutes to be creative. Well, it just so happened that this quick craft project got me back into the crafting spirit again. Taking time to be creative really does bring on more creativity.
I’m sharing how to make these sweet and simple painted rocks that are perfect to add to your Spring and Summer home decor. Now I want to paint rocks for every holiday and season. Watch for Fall or Halloween painted rocks next. Let’s get started on these cuties!
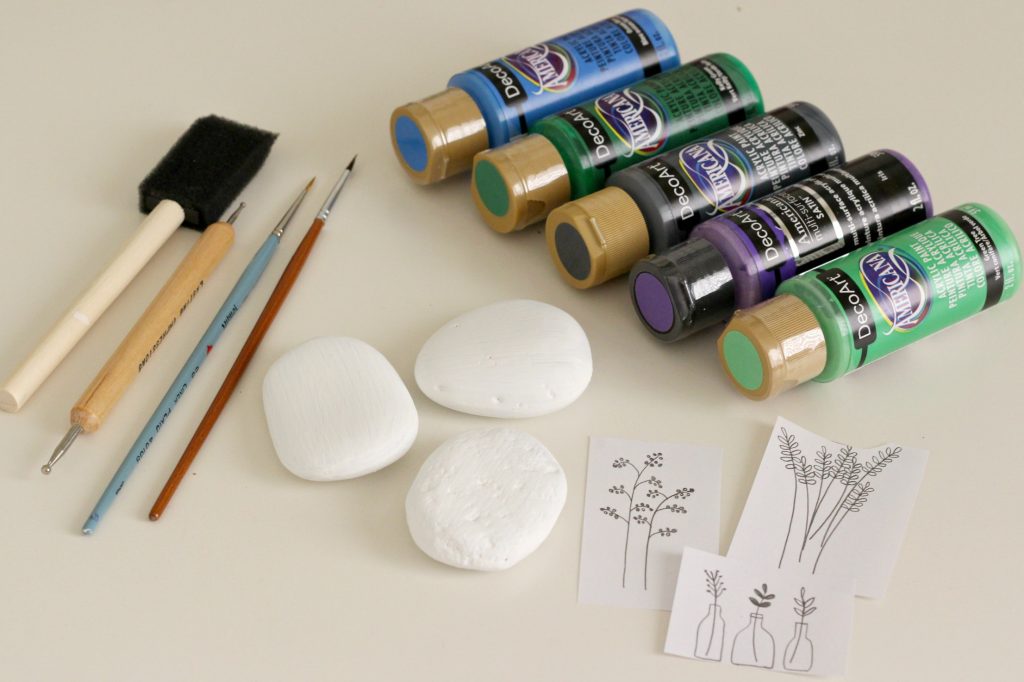
Sweet and Simple Painted Rocks supplies:
rocks (you’ll want them to be pretty smooth and have a flat surface area)
paint brushes (thin ones)
sponge brush (to paint the rock surface)
paint (selection of colors) I usually use DecoArt
tool to make dots or toothpicks
sketches or an idea of what you want to paint
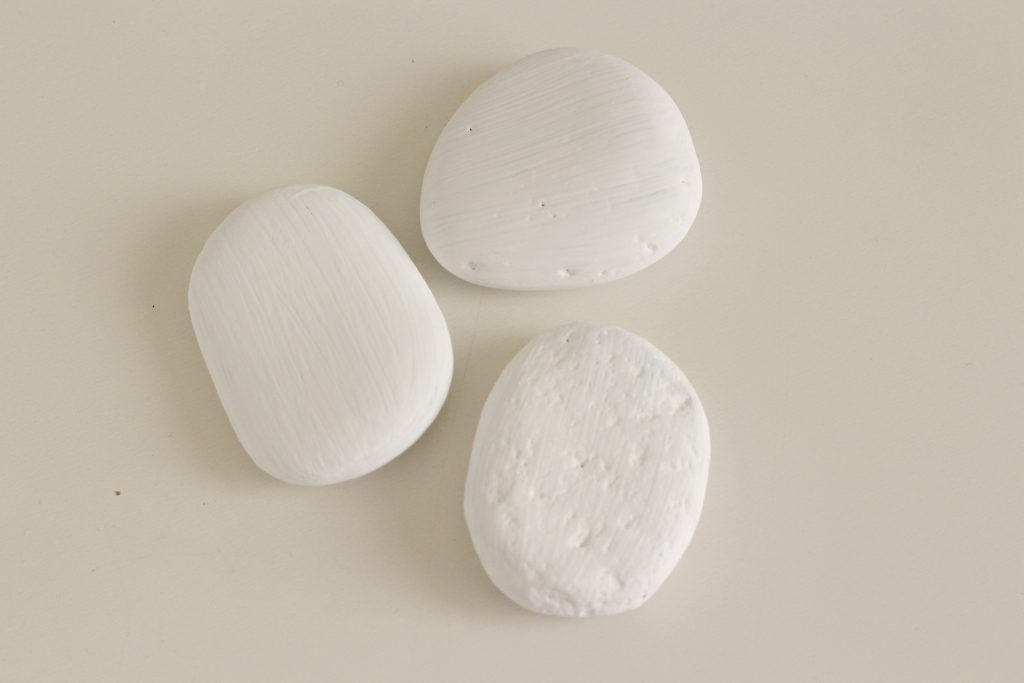
Paint the rocks white or whatever base coat you like. I used 2 coats of paint and let them dry thoroughly between each coat and before painting the design. The 15 minutes of crafting doesn’t include drying time.
I just found out you can purchase smooth rocks to paint on Amazon so if you don’t have any smooth rocks locally you can order them.
As you can probably tell by the pictures I’m a little rusty when it comes to painting but I’m still pleased with how they turned out. I think my pencil sketches are much better than the painted version. You could also use paint markers if you don’t feel comfortable with a paint brush.
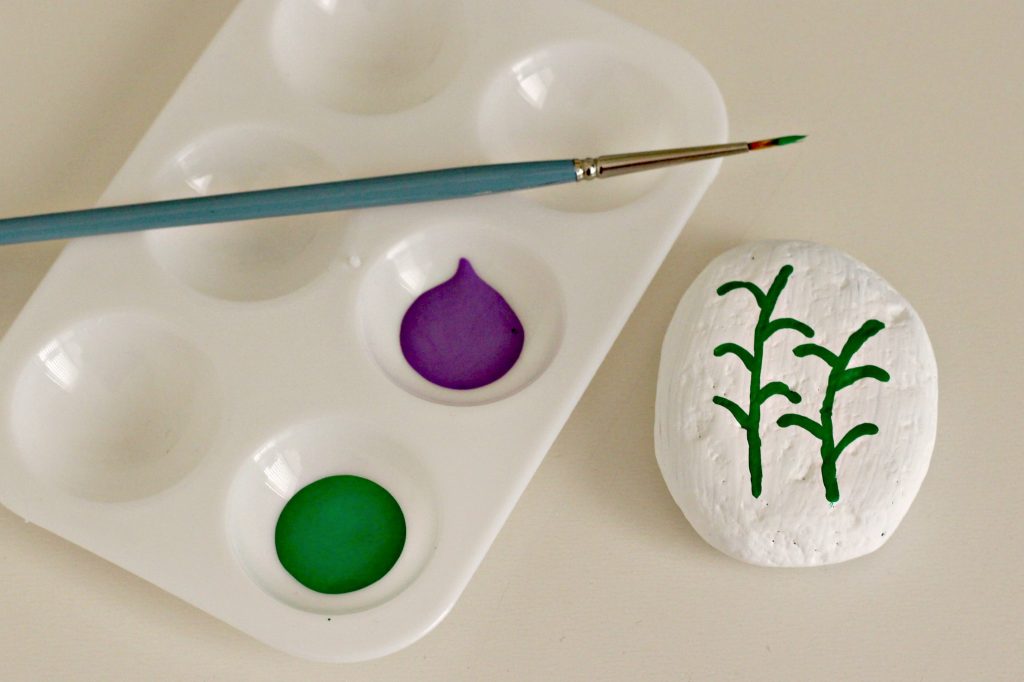
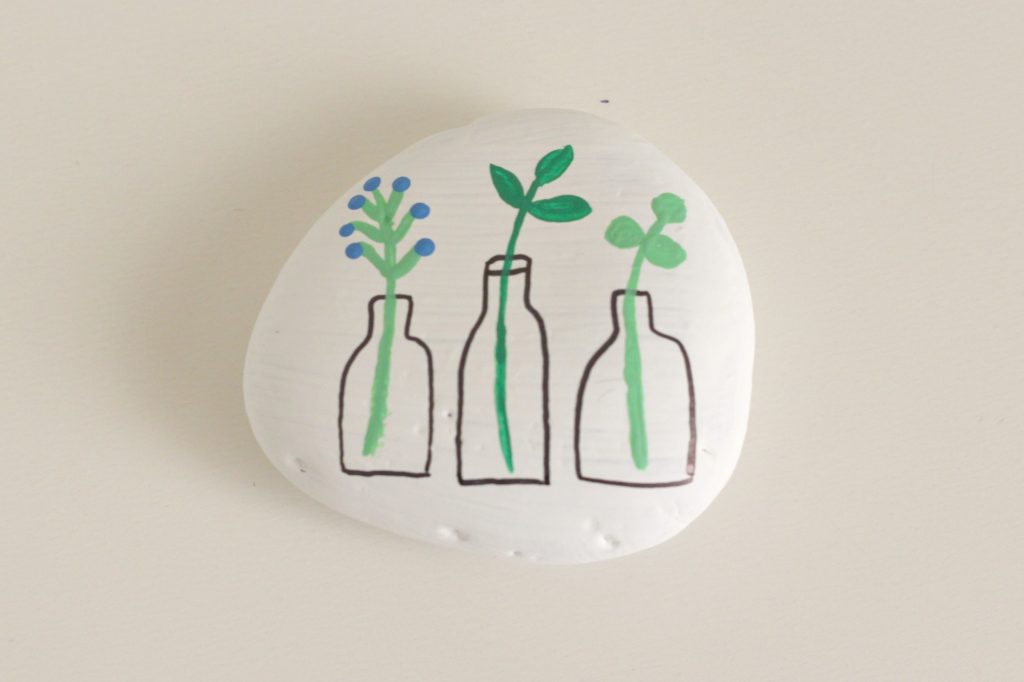
For this first rock, paint the stems using a thin paint brush. For really thin lines I’ve also used a toothpick instead of a paint brush. You can also draw the design on with a pencil before you start painting. Or just wing it like I did!
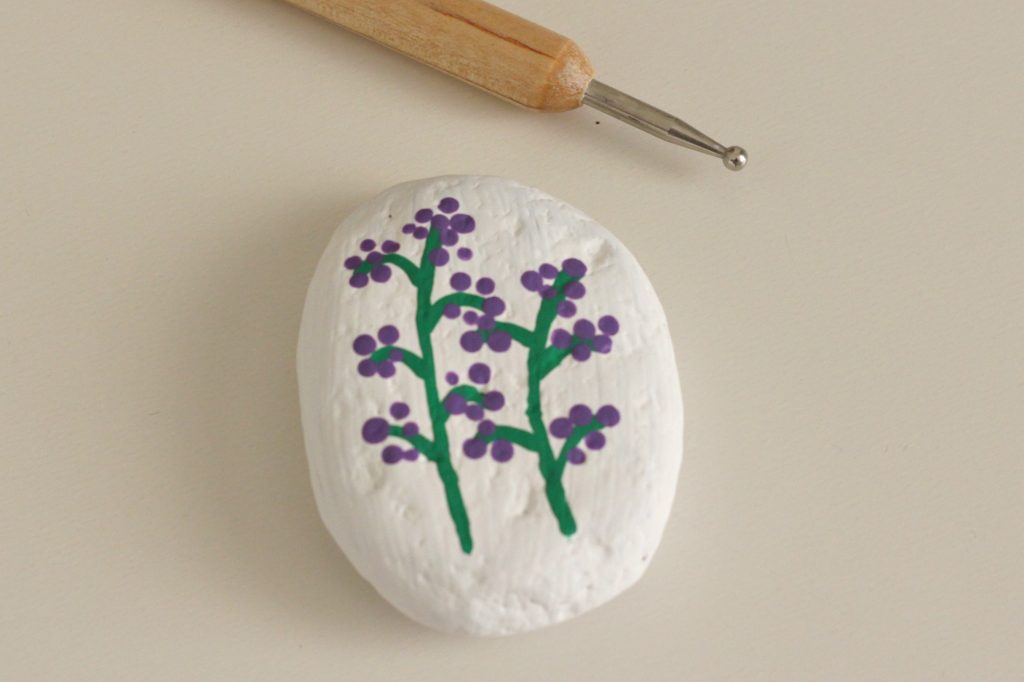
Use the dot tool to create the dots for the flowers. You can also use a toothpick. Flatten the tip of the toothpick out slightly if you want a little larger dots. It works just as well as the tool.
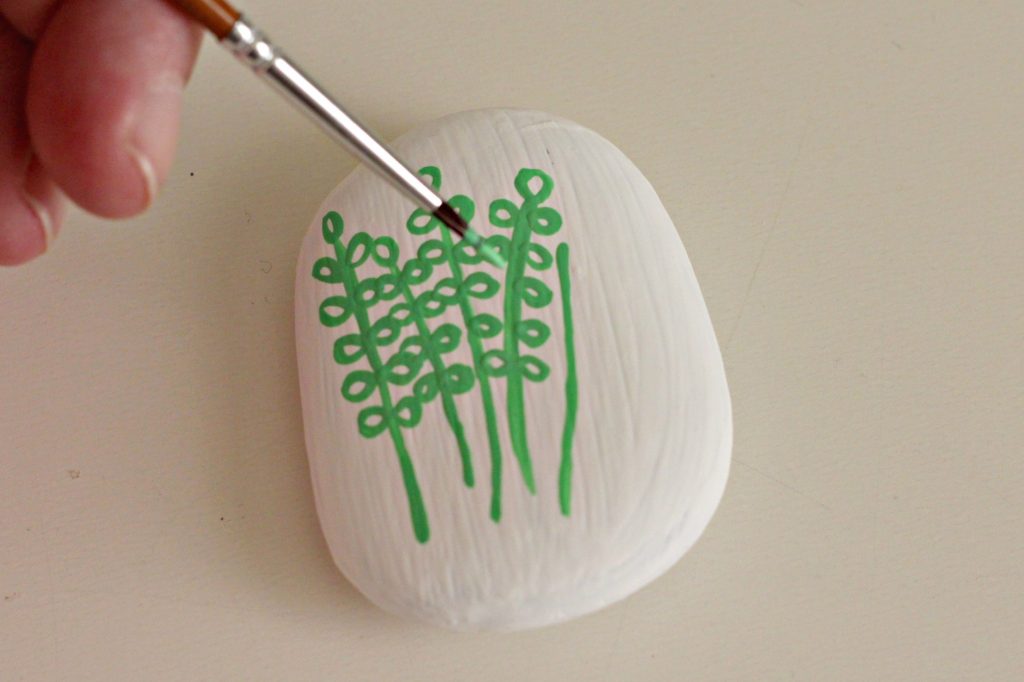
I used a lighter green for these stems and started out just outlining the leaves but then decided to paint the inside.
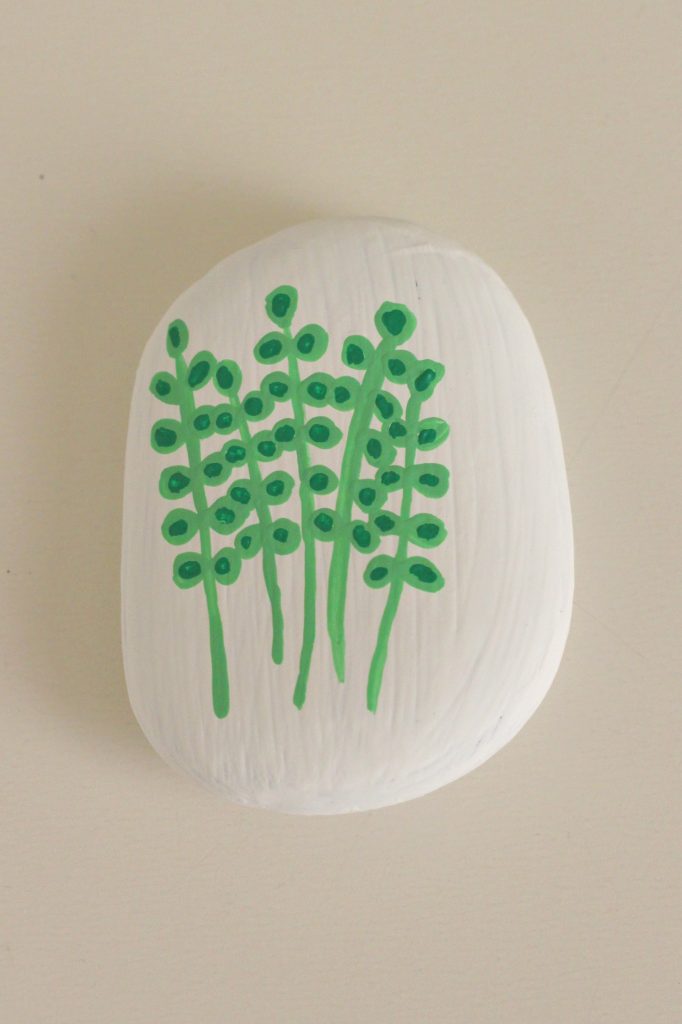
Painting the inside of the leaves gives it a whole different look. The inside is the same darker green used on the other flowers. I think it has a modern feel now.
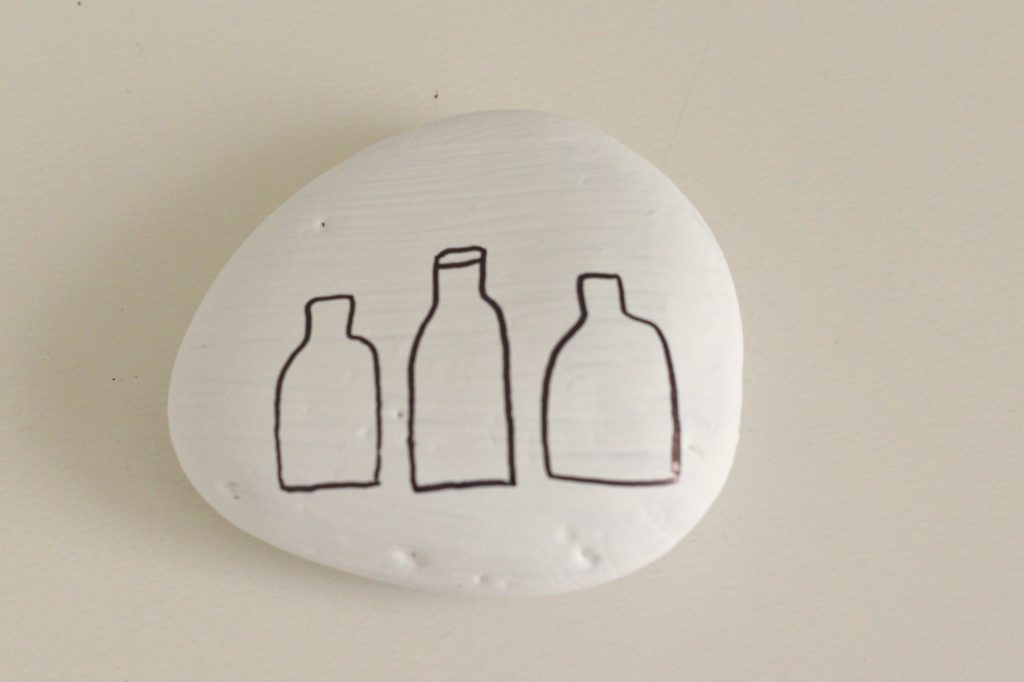
I might have cheated a little on these vases. Use a black sharpie to draw the vases if your painting skills still need a little work like mine. Aren’t they cute though?
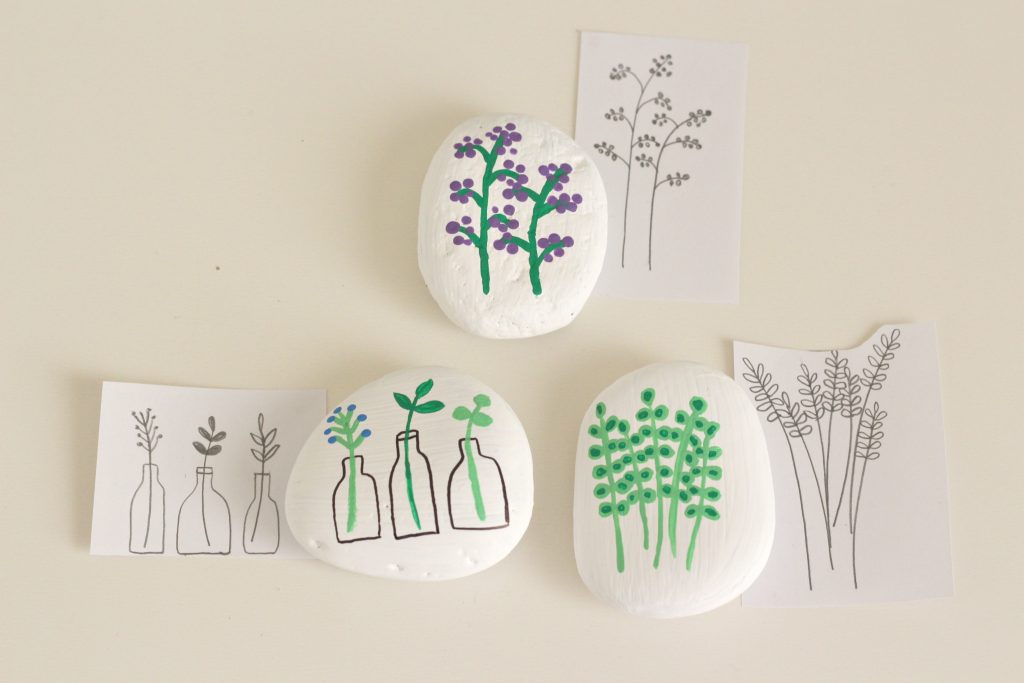
The rocks can all be painted in 15 minutes because they’re so simple. I really love the simplicity of them, but I think I’ll add more detail to my next batch.
These are the sketches I made before painting on the rocks. Like I said my sketches are a little better. I obviously need to paint more often but I’m still happy with how they turned out. Wouldn’t these make cute embroidery pieces? That might be my next craft project.
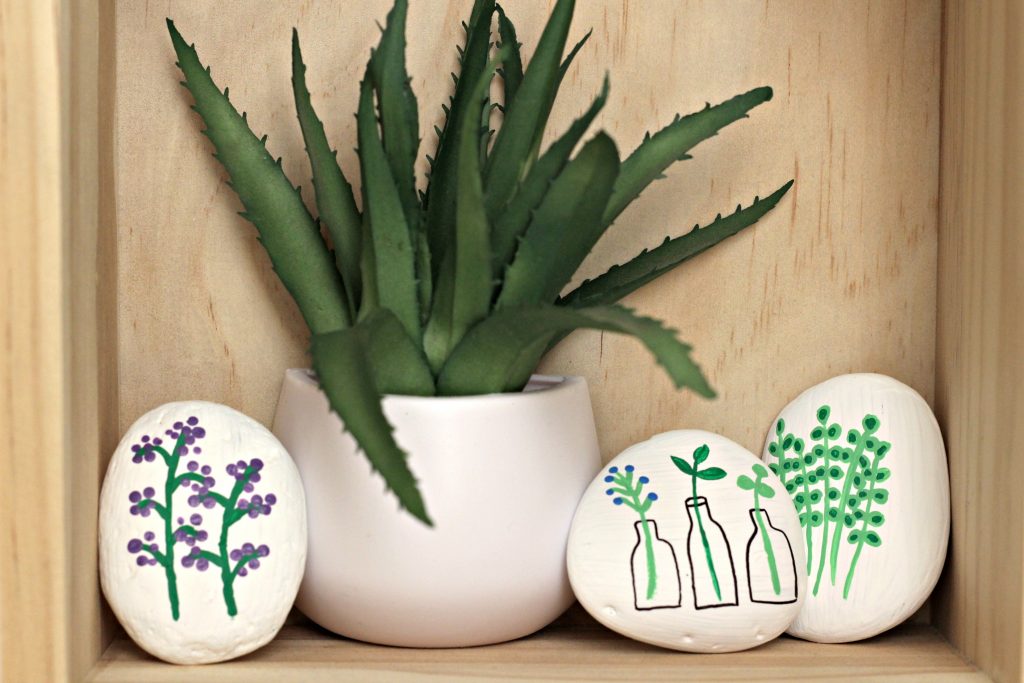
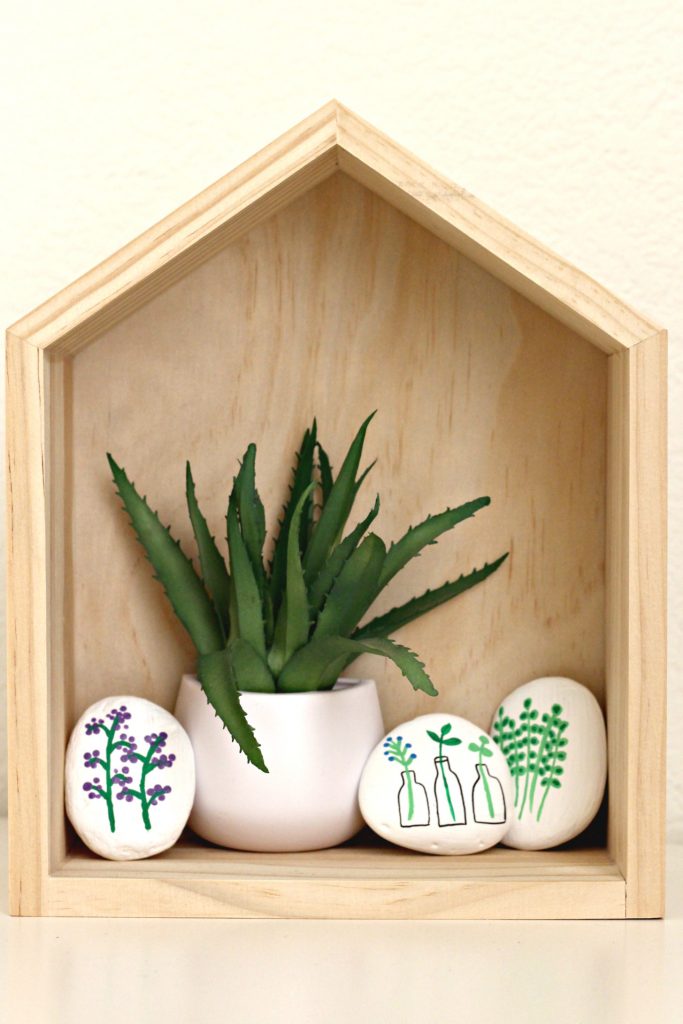
How cute is this little display? Are you ready to try your hand at rock painting? It’s always fun to try a new craft especially if it’s simple and not time consuming.
Pin it for later: Sweet and Simple Painted Rocks
You might also like these posts:
20 Fabric Craft Projects
Dollar Store Crafts


