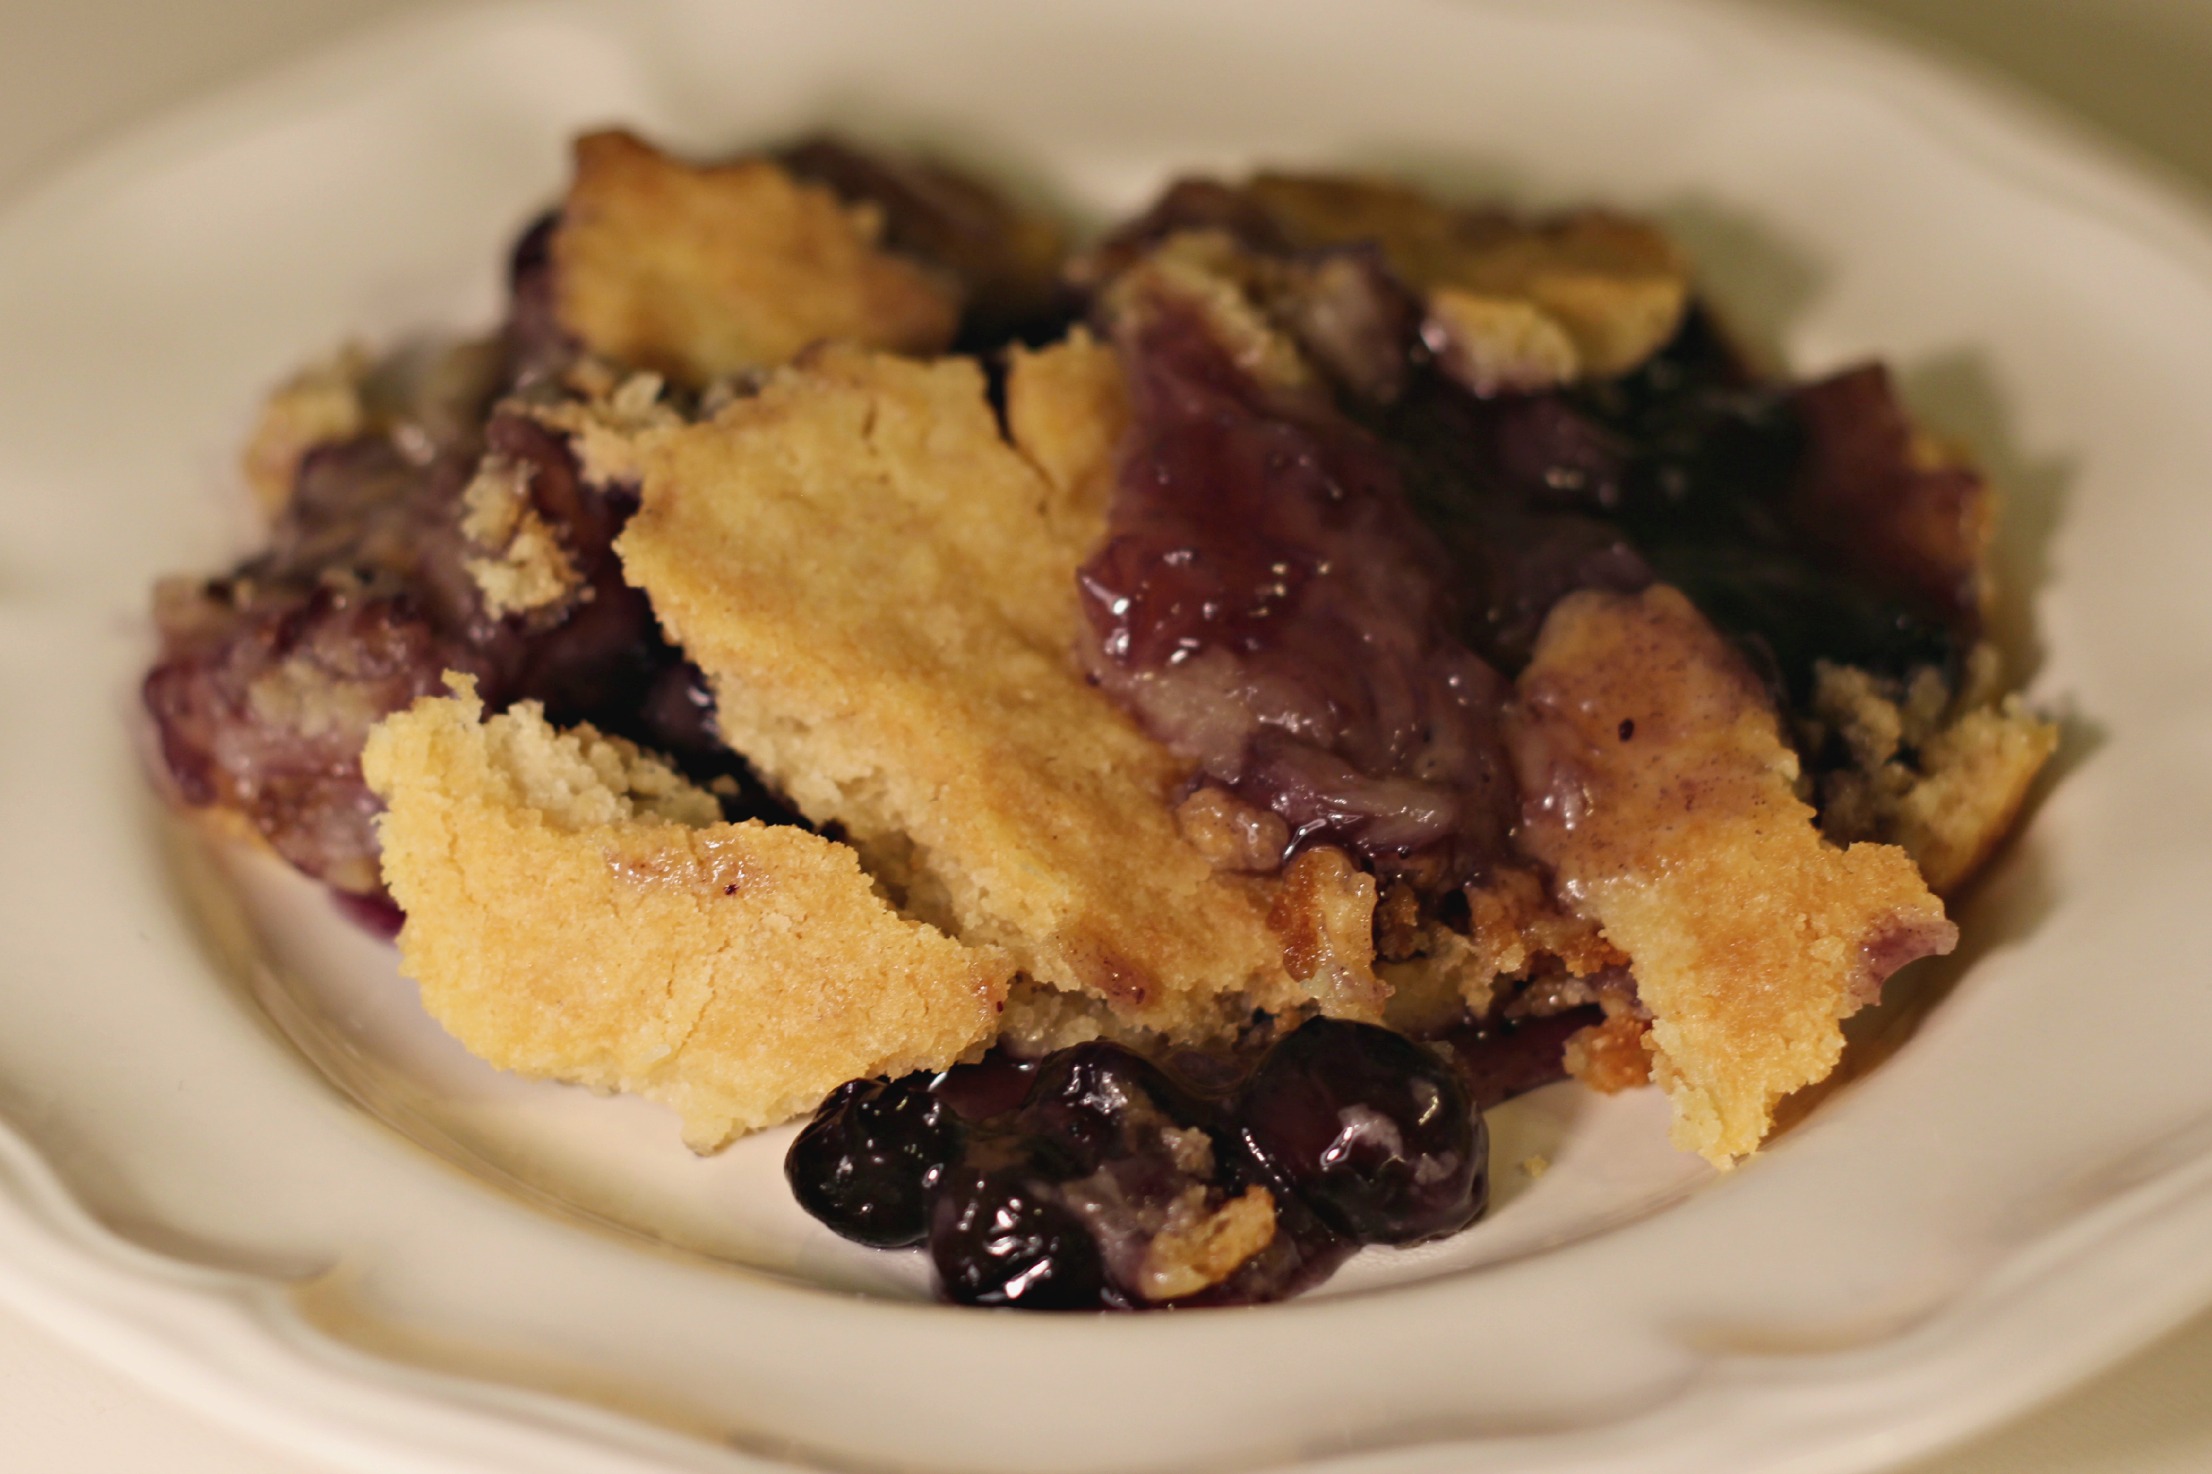
Have you tried Dump Cake? Not an appealing name, but the taste makes up for it. I love Dump Cake but haven’t eaten it for a few years because of having Celiacs. I decided it was time I tried making a gluten-free version. I’m always a little hesitant adapting recipes to make them gluten-free because they don’t always turn out. I’m happy to say this one did!
Ingredients:
1 large can crushed pineapple (including juice)
1 large can Wilderness Blueberry pie filling
1 box gluten-free yellow cake mix (keep dry)
1 stick of butter or margarine
Optional:
1 cup chopped nuts
1 cup coconut
In an ungreased 9″x13″ pan, layer ingredients in order. Do not mix the ingredients together, just dump them on top of each other (hence the name). Instead of placing pats of butter on top, I melt mine so I can pour it on and cover the whole top of the dry cake mix. If you’d like, add optional ingredients at this time.
Bake at 350 degrees for 1 hour. Let cool for 10 minutes then serve. It’s delicious with ice cream or whipped topping.
You can substitute blueberry for your favorite pie filling flavor.
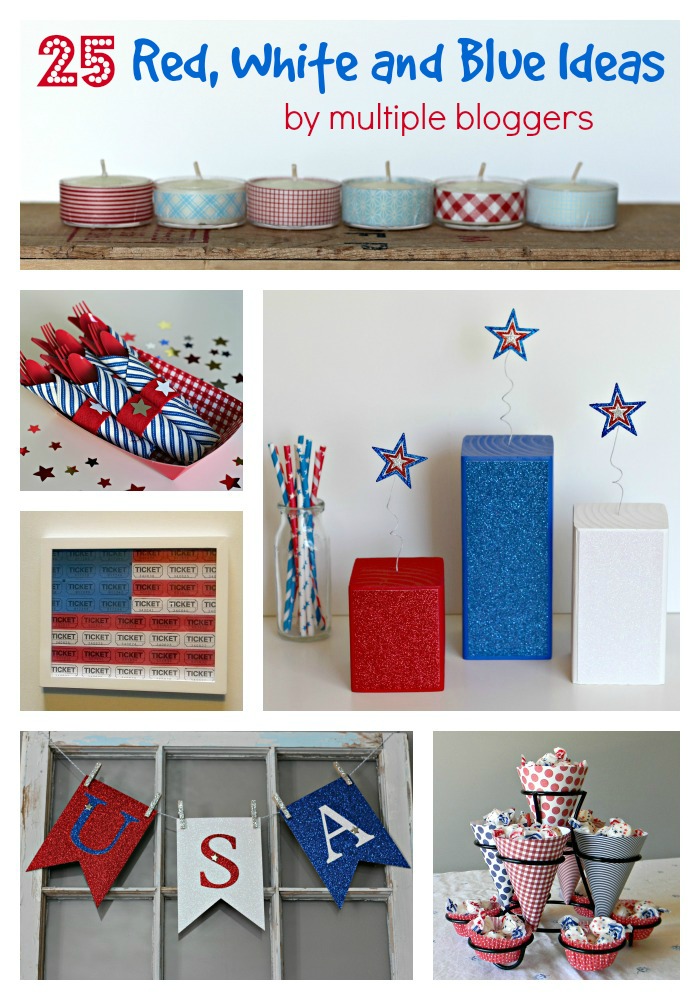
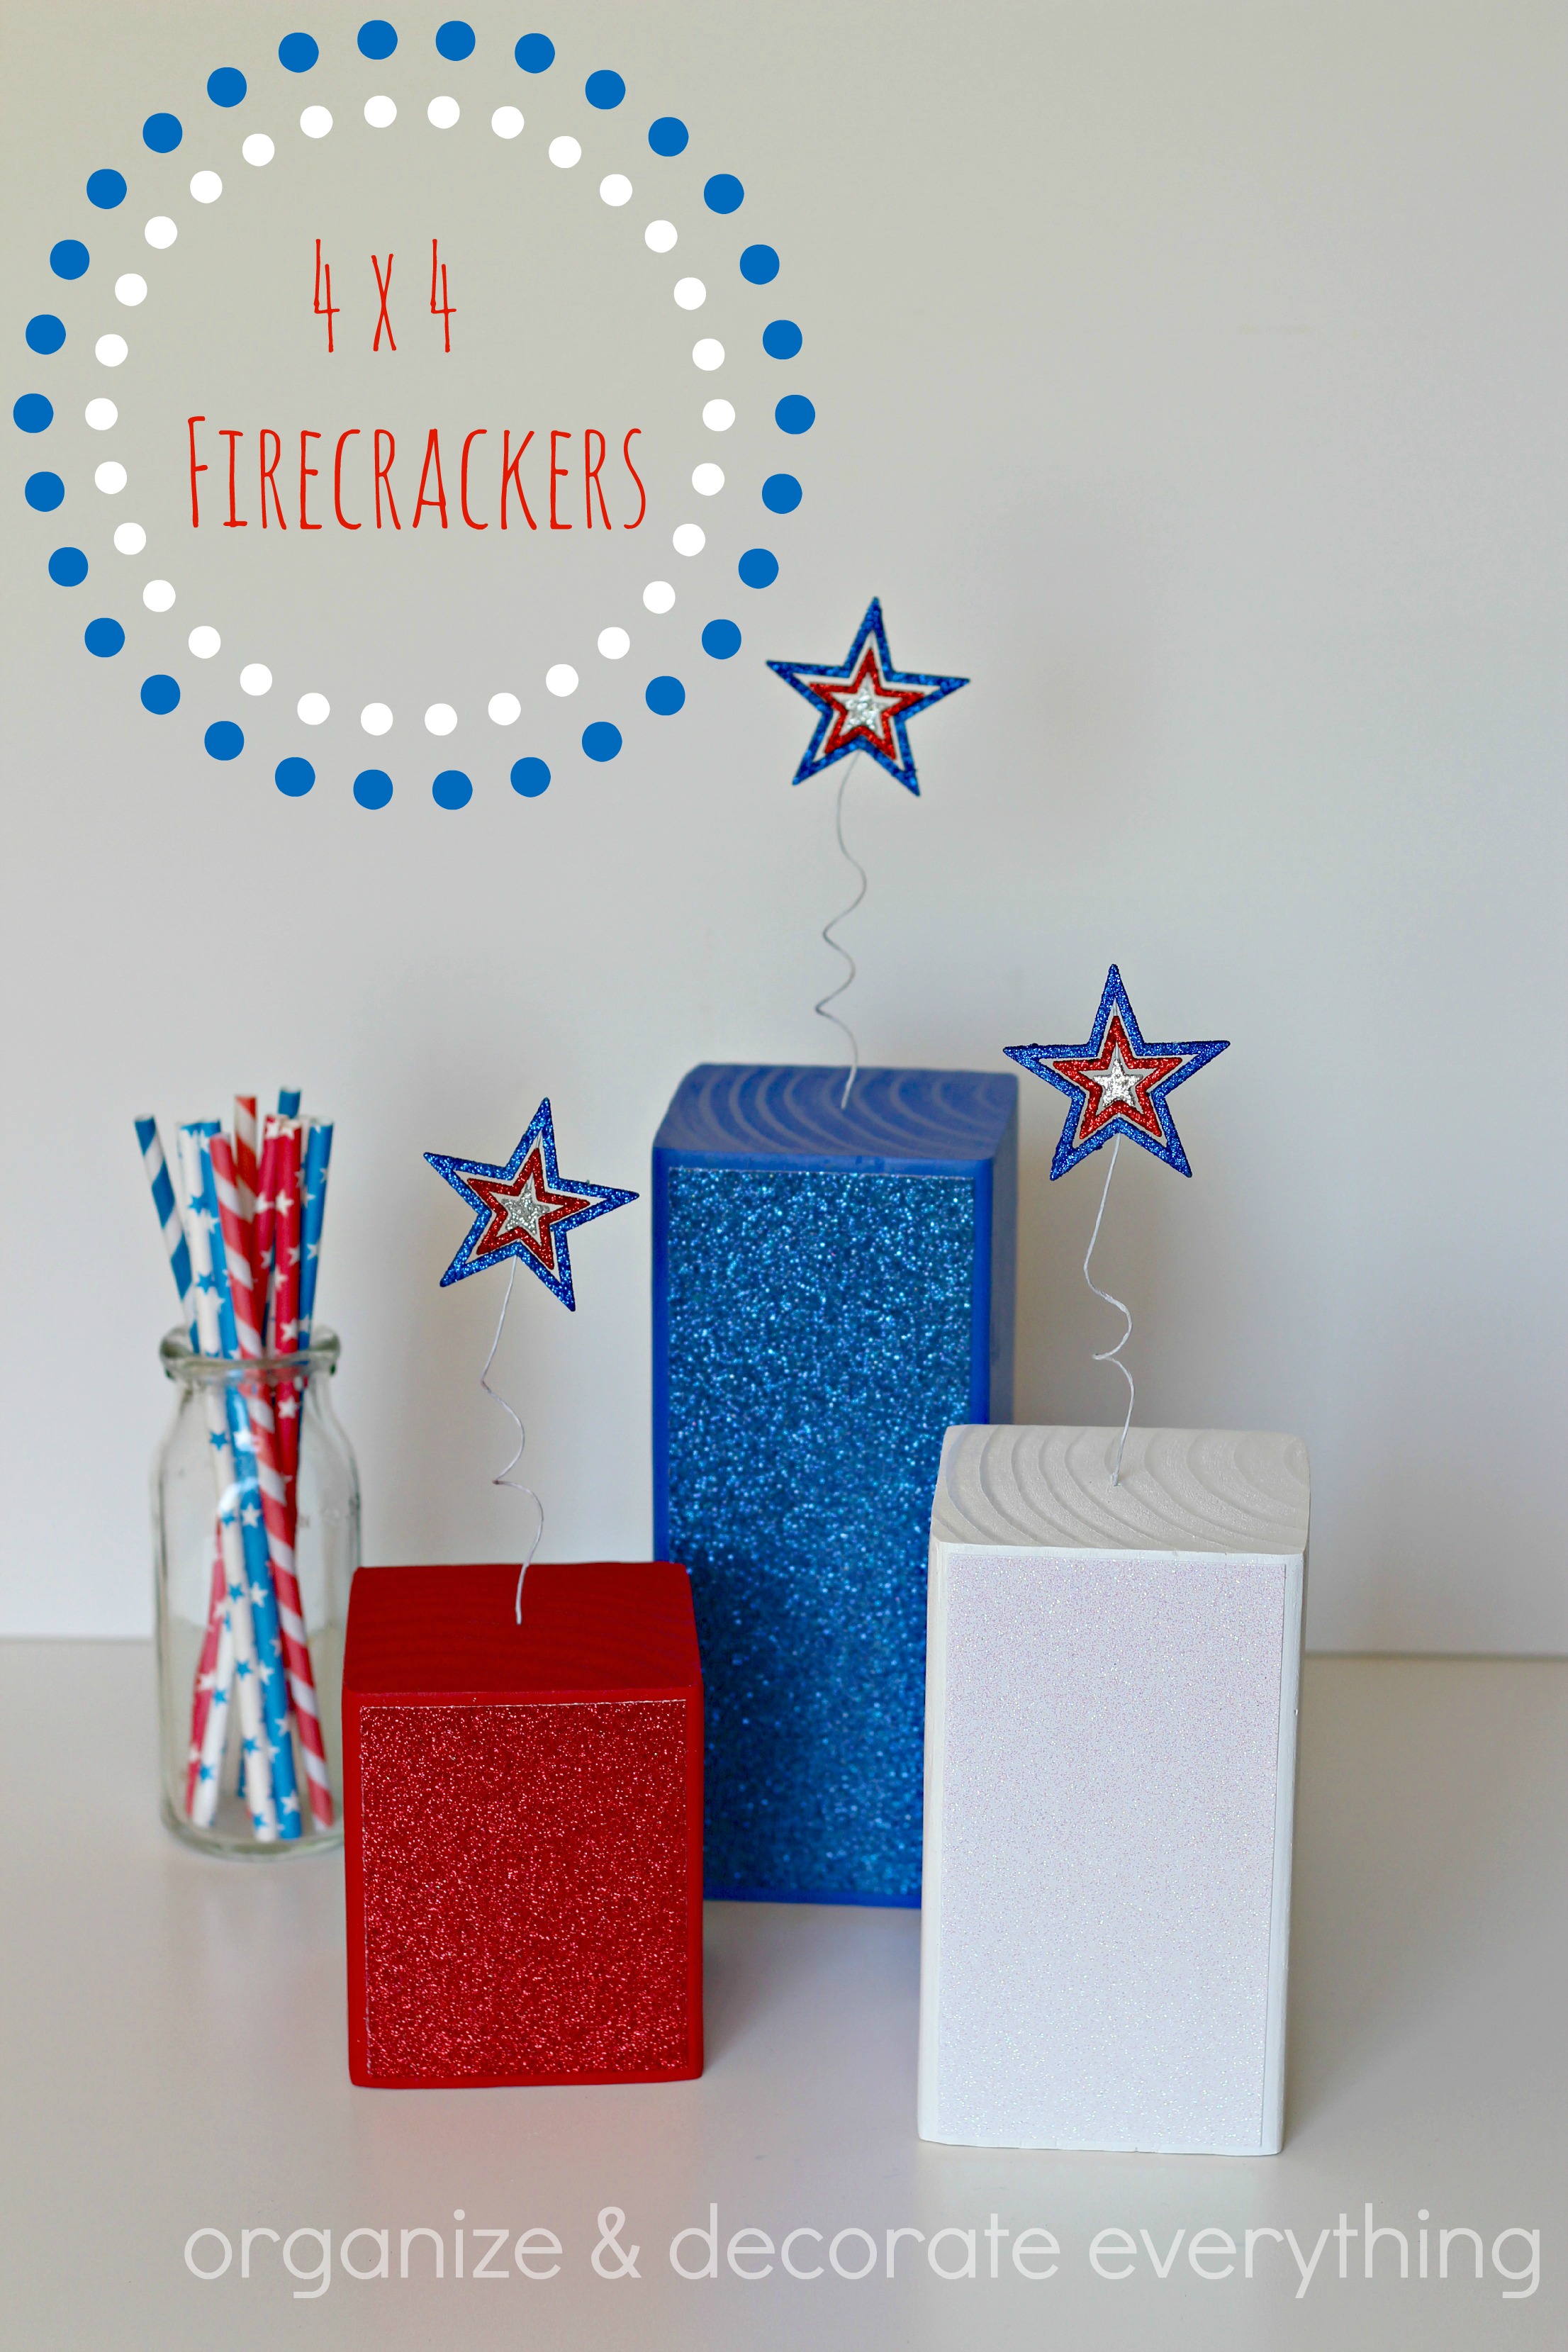
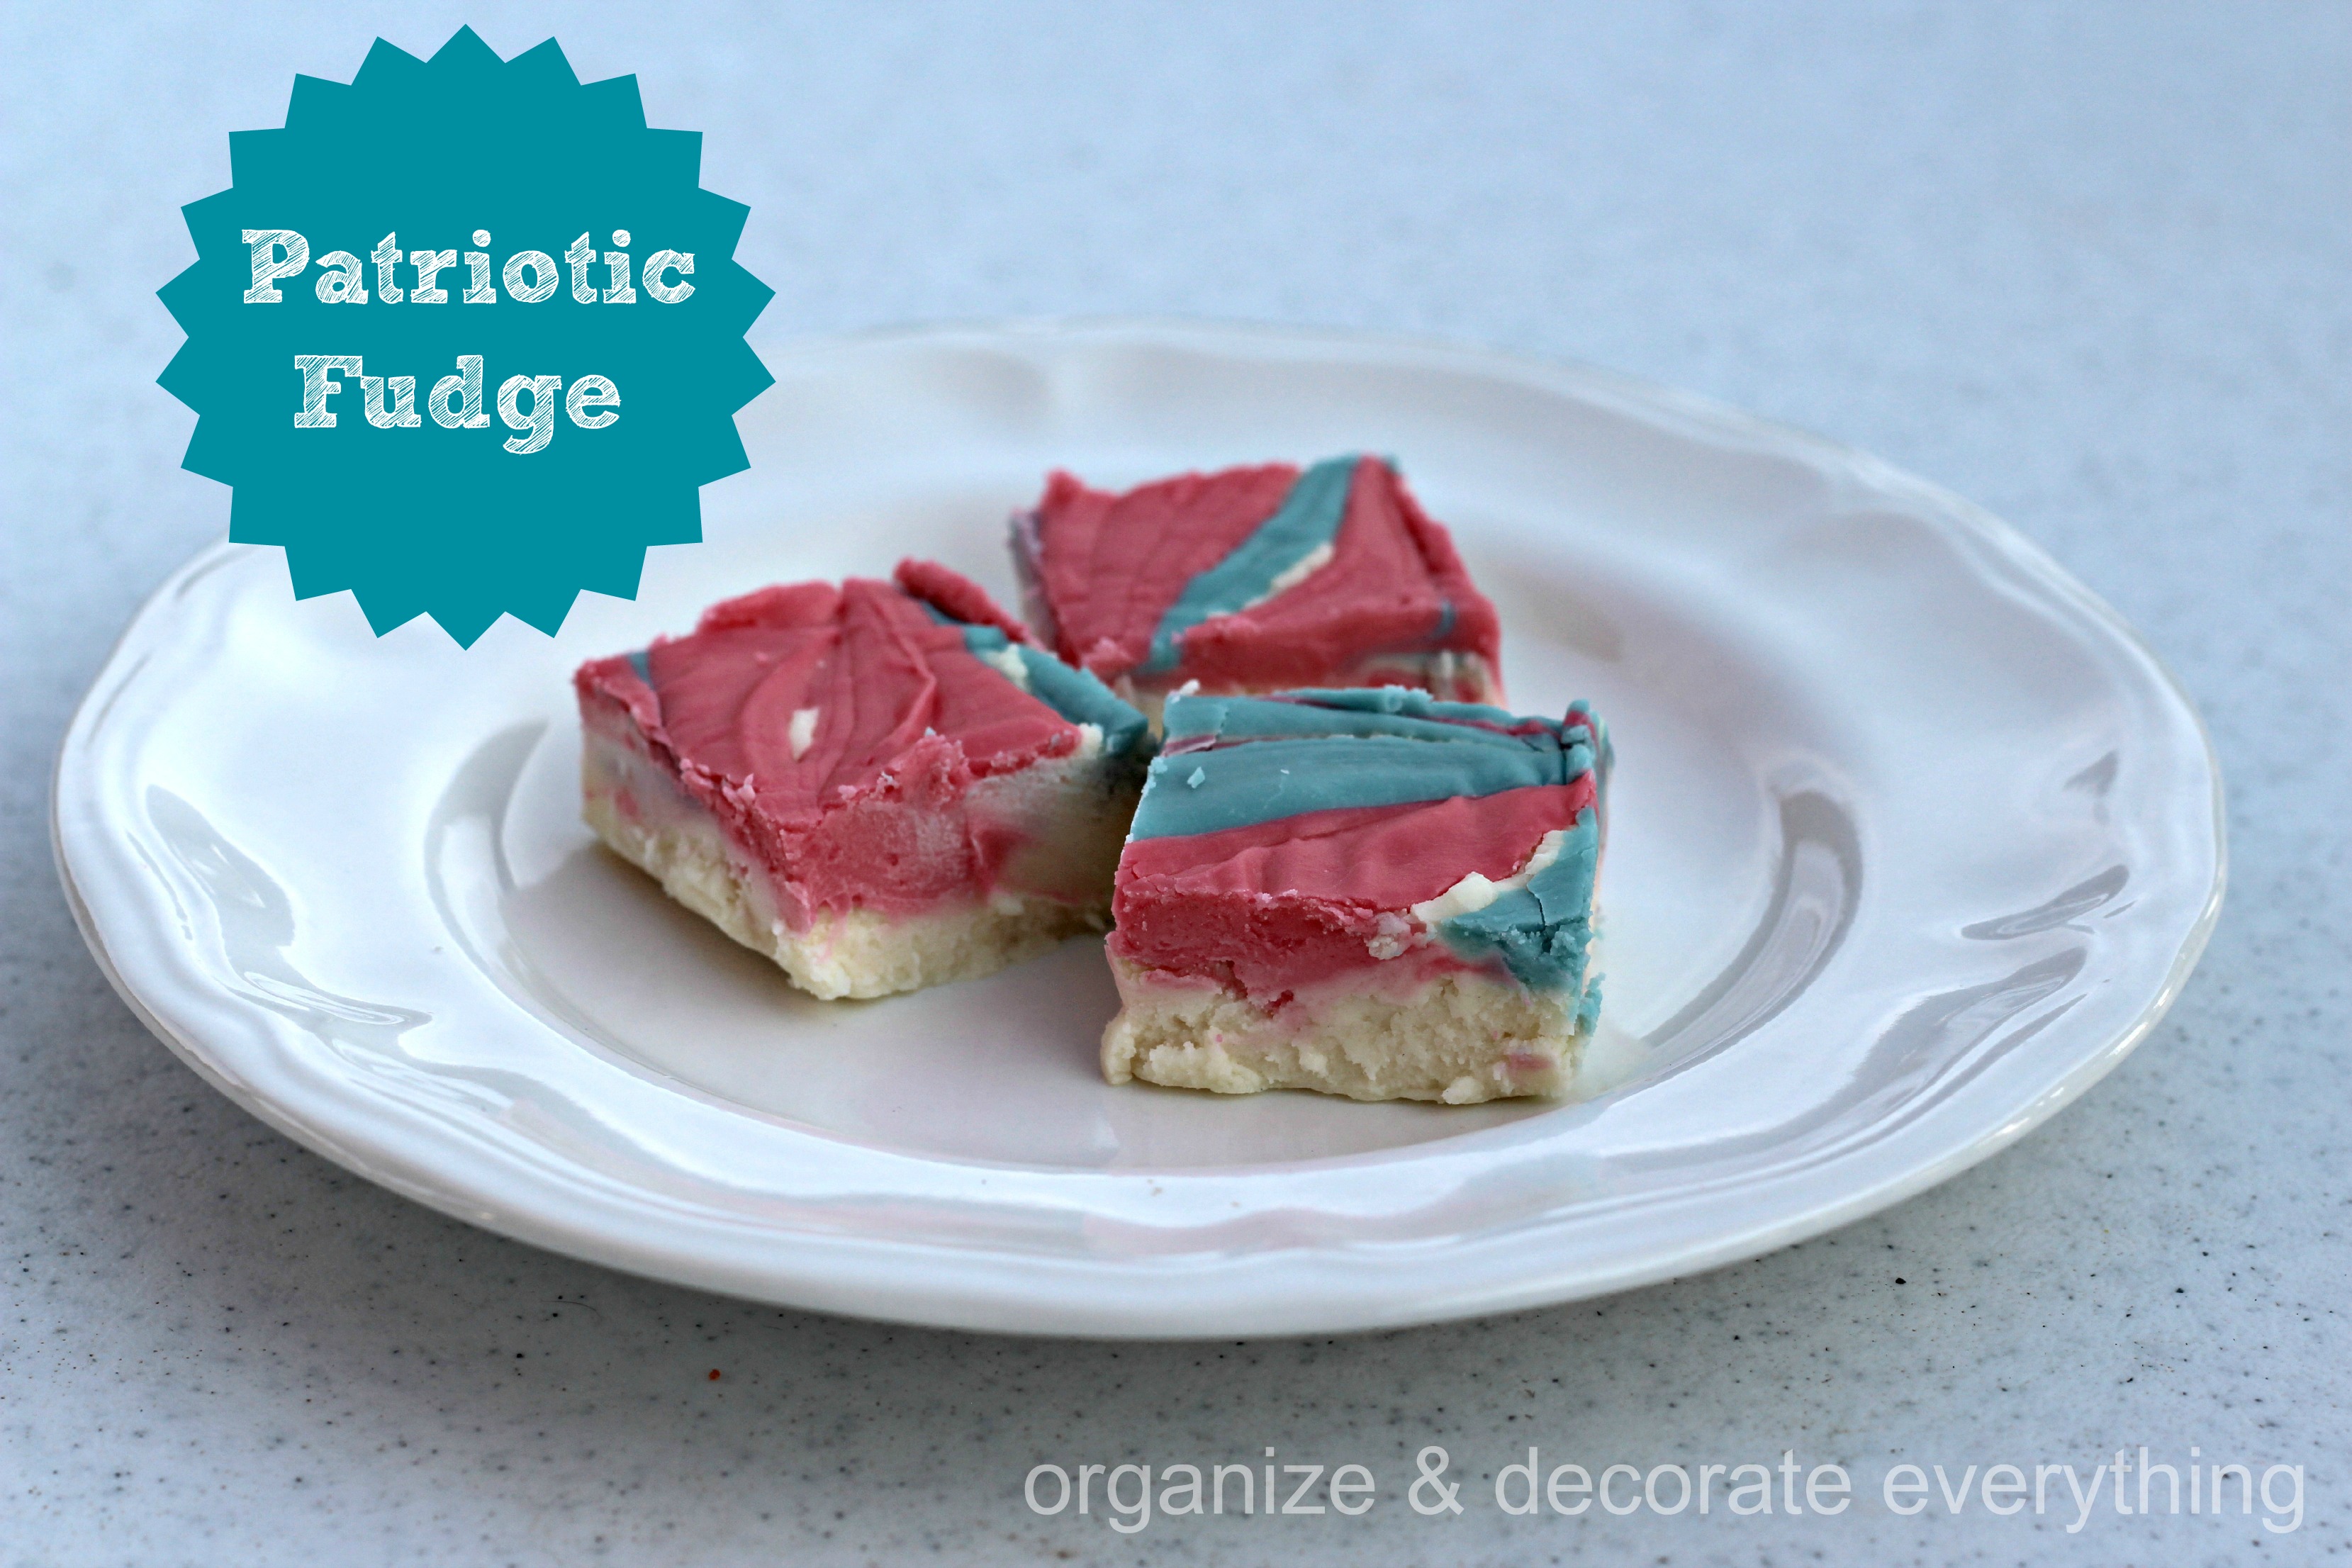
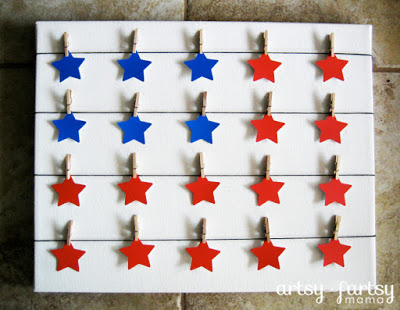
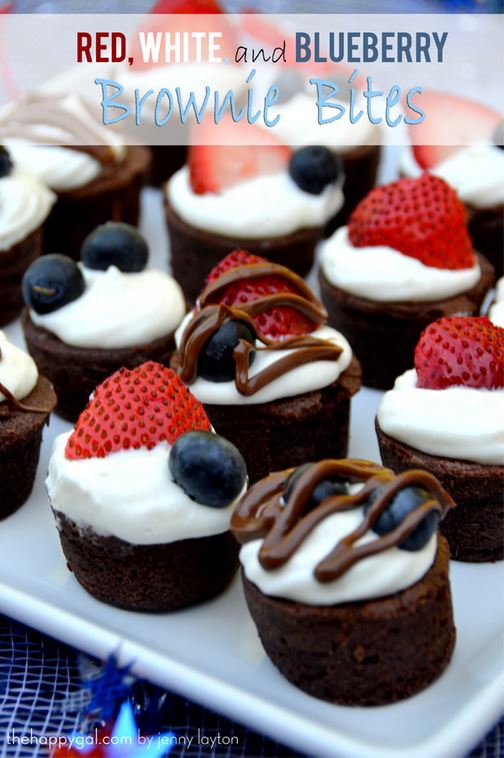
The 4th of July or Independence Day happens to be my favorite holiday. My favorite celebration was on the lawn of the National Mall in Washington DC. I don’t know if anything will ever compare to seeing fireworks on the Mall and hearing patriotic music playing in the background, but even just celebrating with a backyard barbecue with friends and family is pretty awesome.
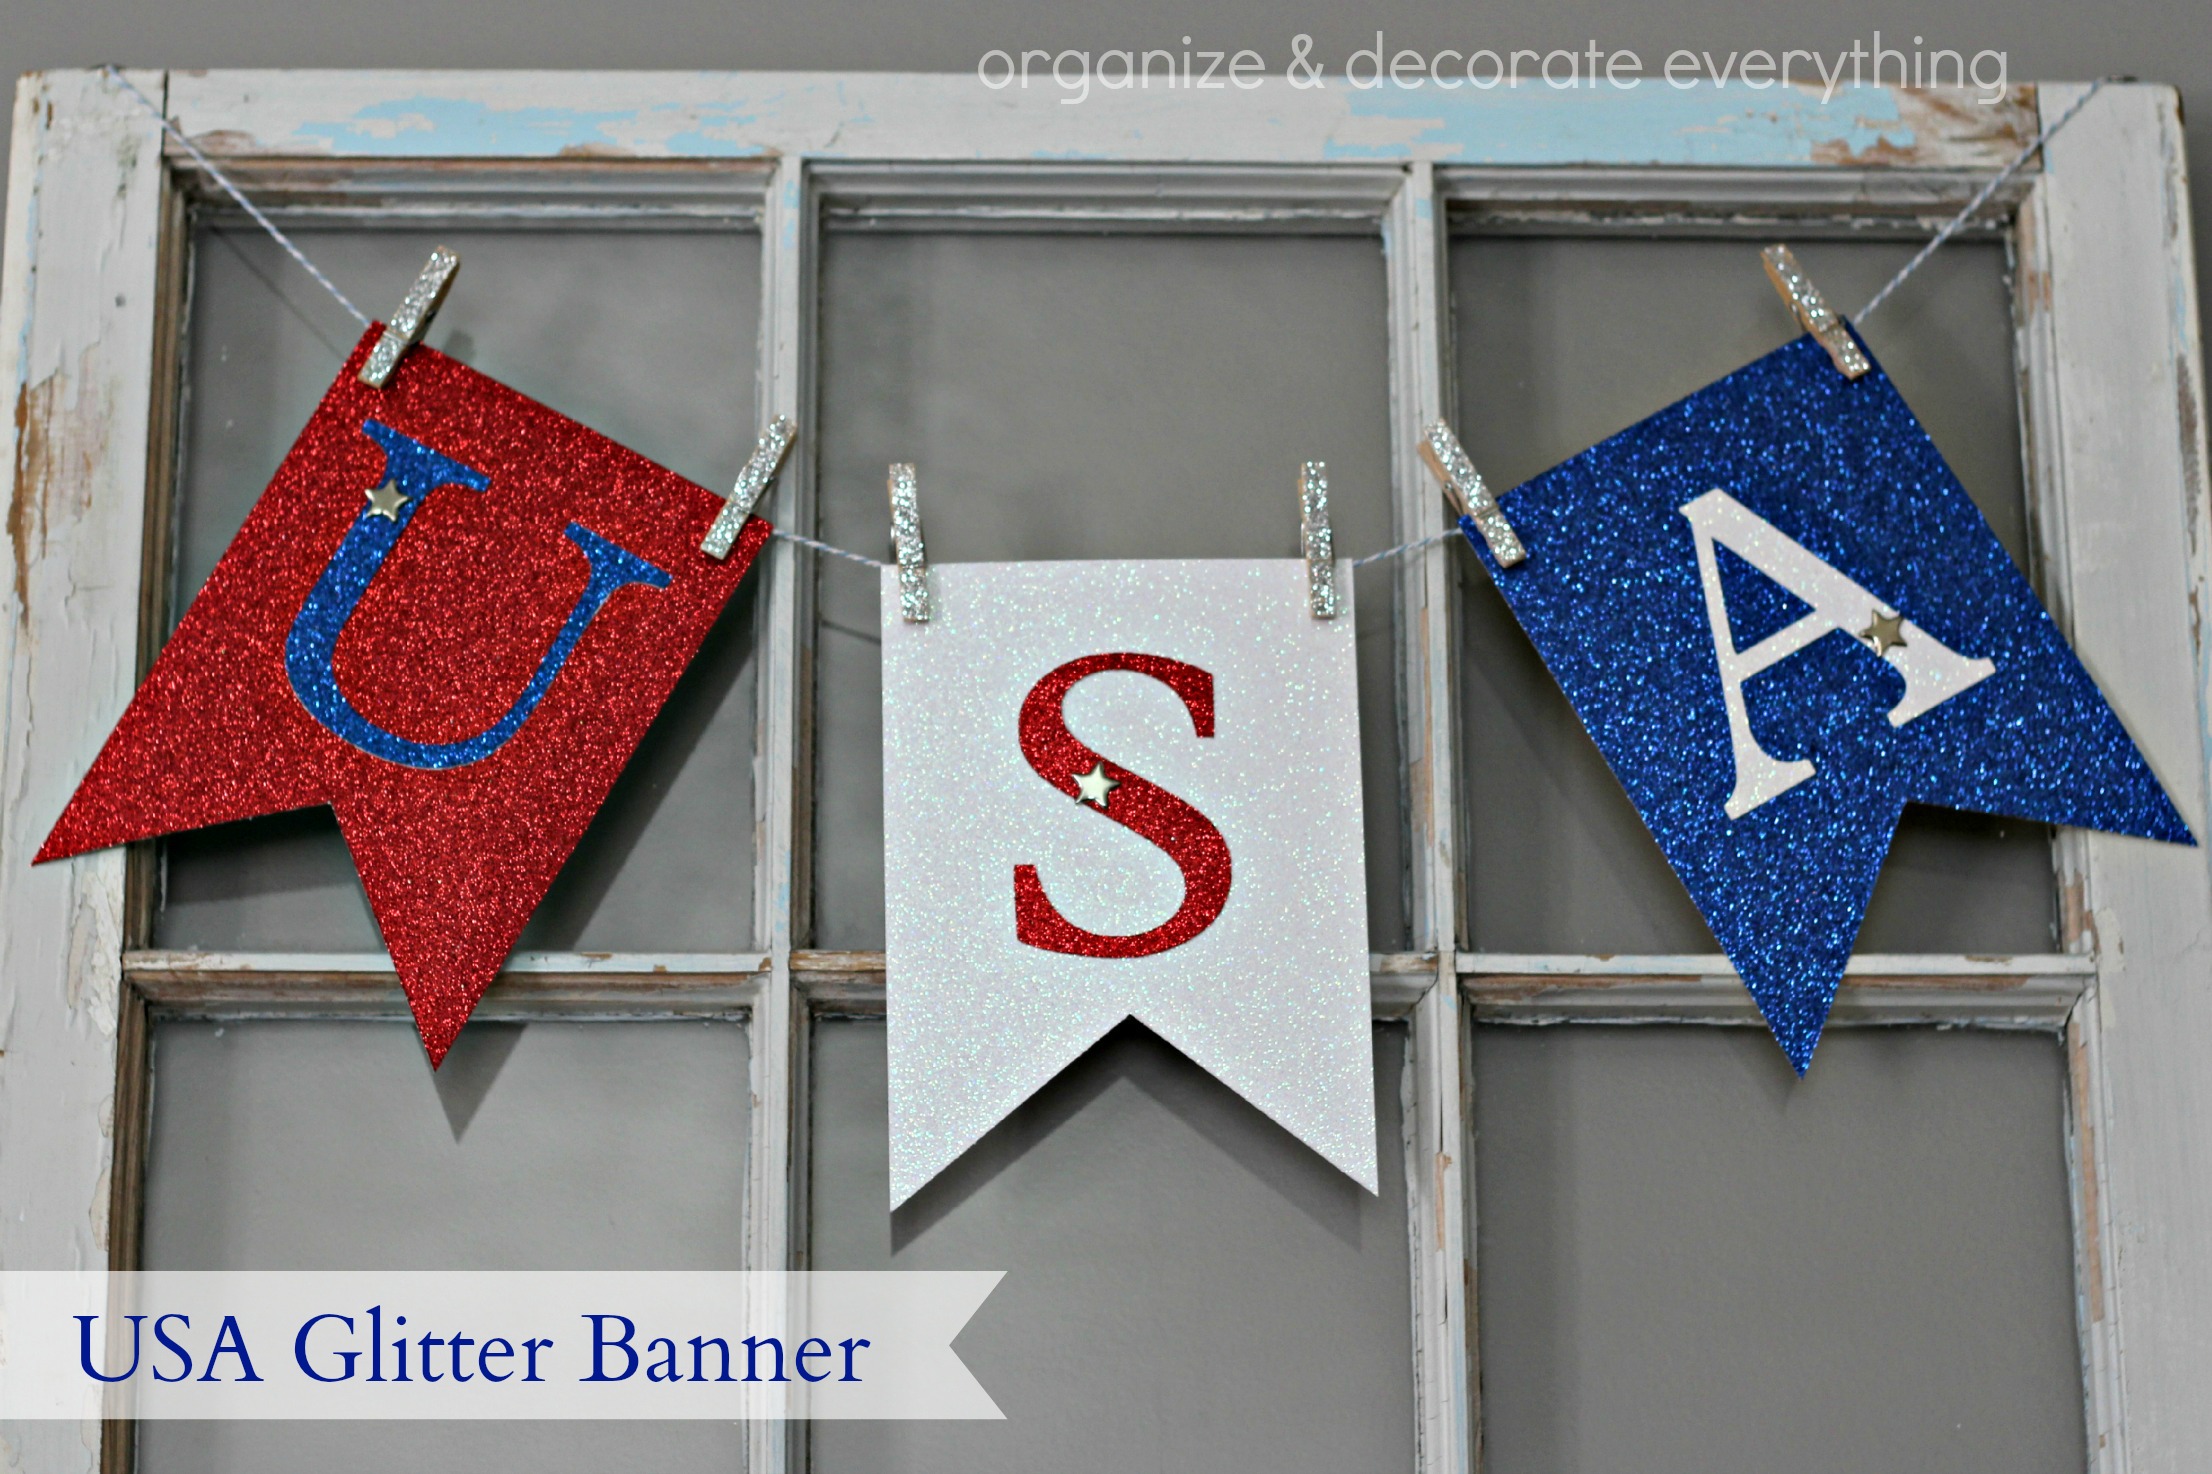
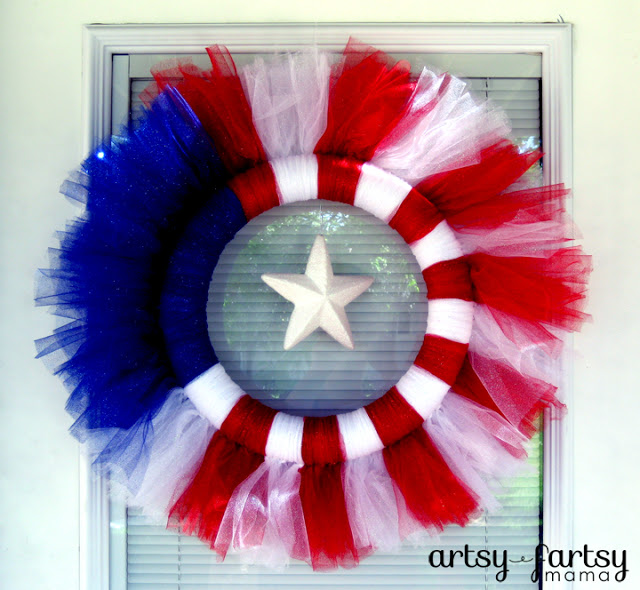
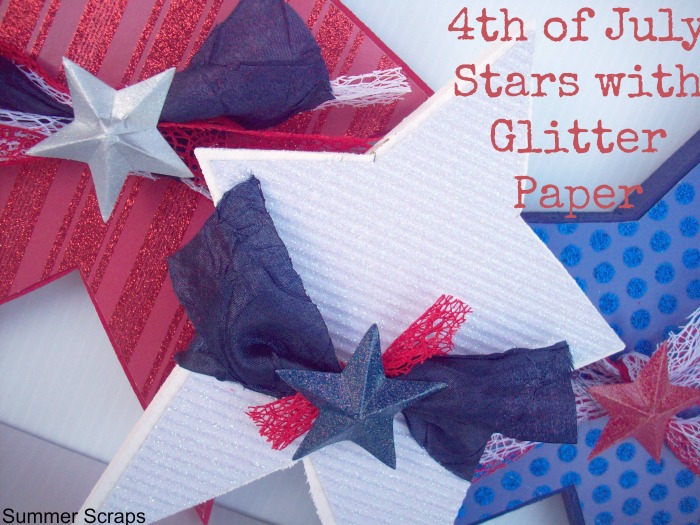
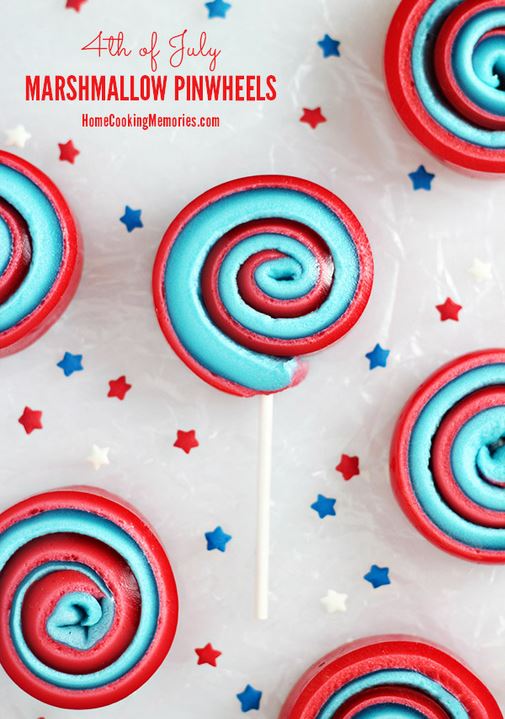
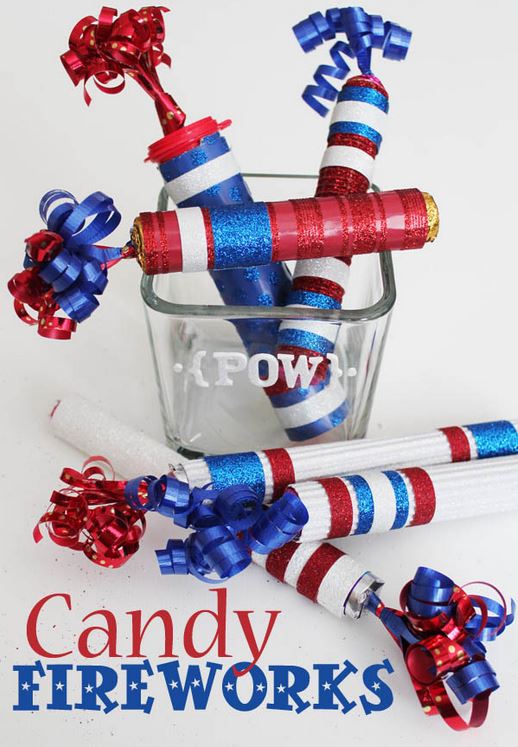
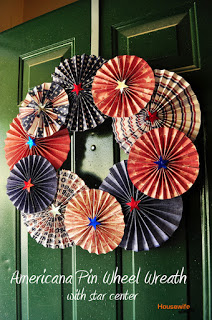
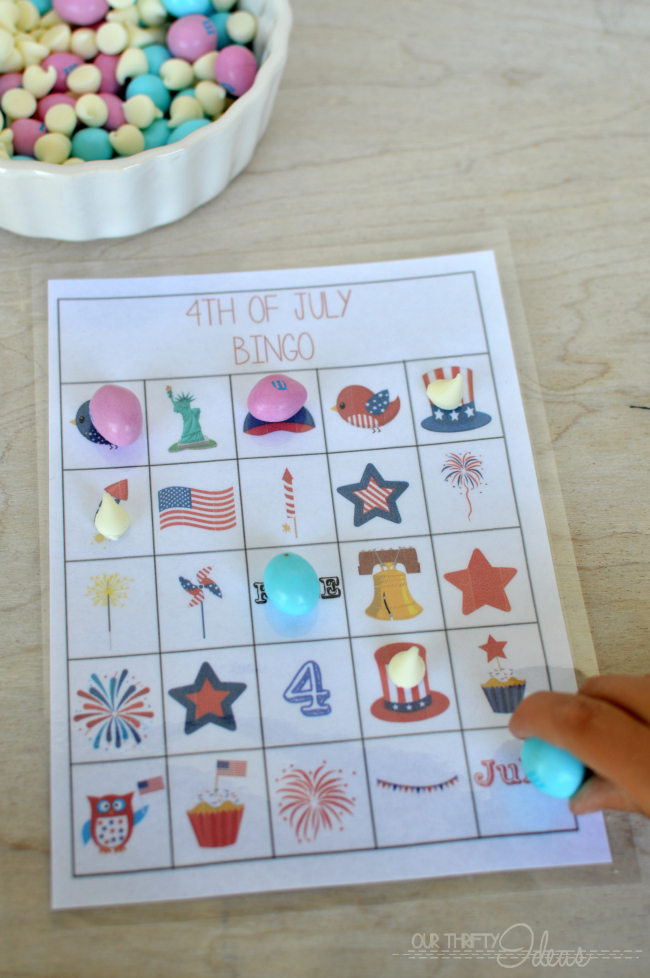
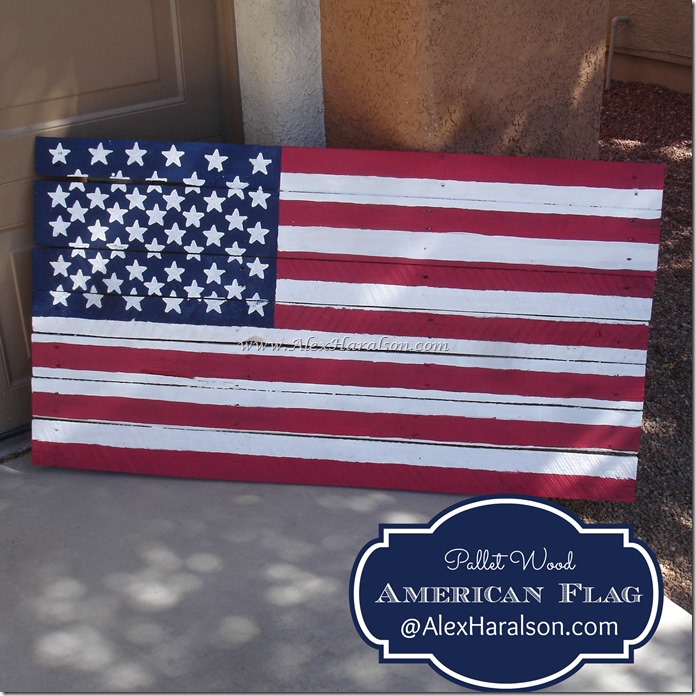
Here are some awesome red, white, and blue ideas: craft projects, recipes, party ideas, games, and decorations to help you celebrate in style. Check out all these great ideas from some of my favorite blogging friends. If you’d like more creative ideas check out my 4th of July Pinterest Board with over 80 more projects and ideas.
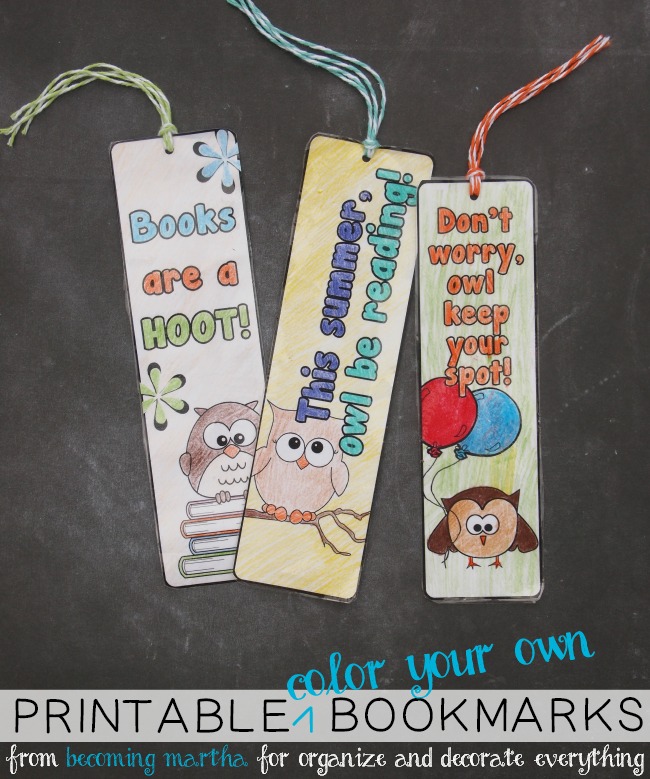
Sarah is here this month sharing some cute printable bookmarks for your kids Summer reading. Do you want to know the best part? The kids color the bookmarks themselves so it also gives them a fun little activity. She’s sharing 2 different sets, one here and one on her blog. Find out all the info below.
Hi everyone! Happy June – Summer is finally here!
I’m back again this month with a bit of a different spin on the monthly printable. I created these bookmark sets that you can print off and have your kids use to keep up on their reading this summer, but I couldn’t decide which set I liked best. So I thought, why not have one set available over here at Organize & Decorate Everything, and the other available back at my site, Becoming Martha?
I love them so much because your children can color them in themselves (or you can… not gonna lie, I love me some coloring time!) and then add a few touches to make them very cute. Plus, if you keep reading, I’ll tell you my little trick for what I call “faux laminating”.
If you want to make these, the first thing you will need to do is download the set you would like – or both! You can find the owl bookmark set here, and the Hawaiian Luau bookmark set is available by visiting Becoming Martha.
I recommend printing them onto a white cardstock, but if you only have colored cardstock, print on white paper and back with a colored cardstock.
Now, here’s my clever little trick for “laminating” small things like this. I really don’t want to buy a laminator because I would just laminate everything. Seriously… I would laminate EV-erything. Darlings, that’s a money pit I don’t want to head into. Instead, I use a common, everyday item that you probably already have, and if not, it costs $1 at any Dollar Store. Ready for it?
Packing tape.
I have been “laminating” with packing tape since I was in Junior High (I used it to make my penpal envelopes virtually indestructable!) and it works perfectly for these little bookmarks. The tape is just slightly wider than the bookmarks, and you can place a piece of tape on top, a piece underneath, and trim the edges. Voila! Instant protection! (I also use packing tape as a protection over anything that might be prone to tearing – like the washi tape on these DIY Ribbon Wands even!)
I also used a mini hole punch and some adorable bakers twine (view the other bookmark post if you want some info on the best twine in town and how to score a discount on said twine) to create little tassels at the top, and then stuck them in a book. That’s all there is to it!
Make sure you head over to my blog to grab the other set, and save them for a rainy day or a relaxing activity on the patio!
I hope you all are kicking off summer in an awesome way, and I’ll see you again next month with another fabulous printable!
Thanks Sarah! I don’t know about all of you but I can’t wait for July’s printable.
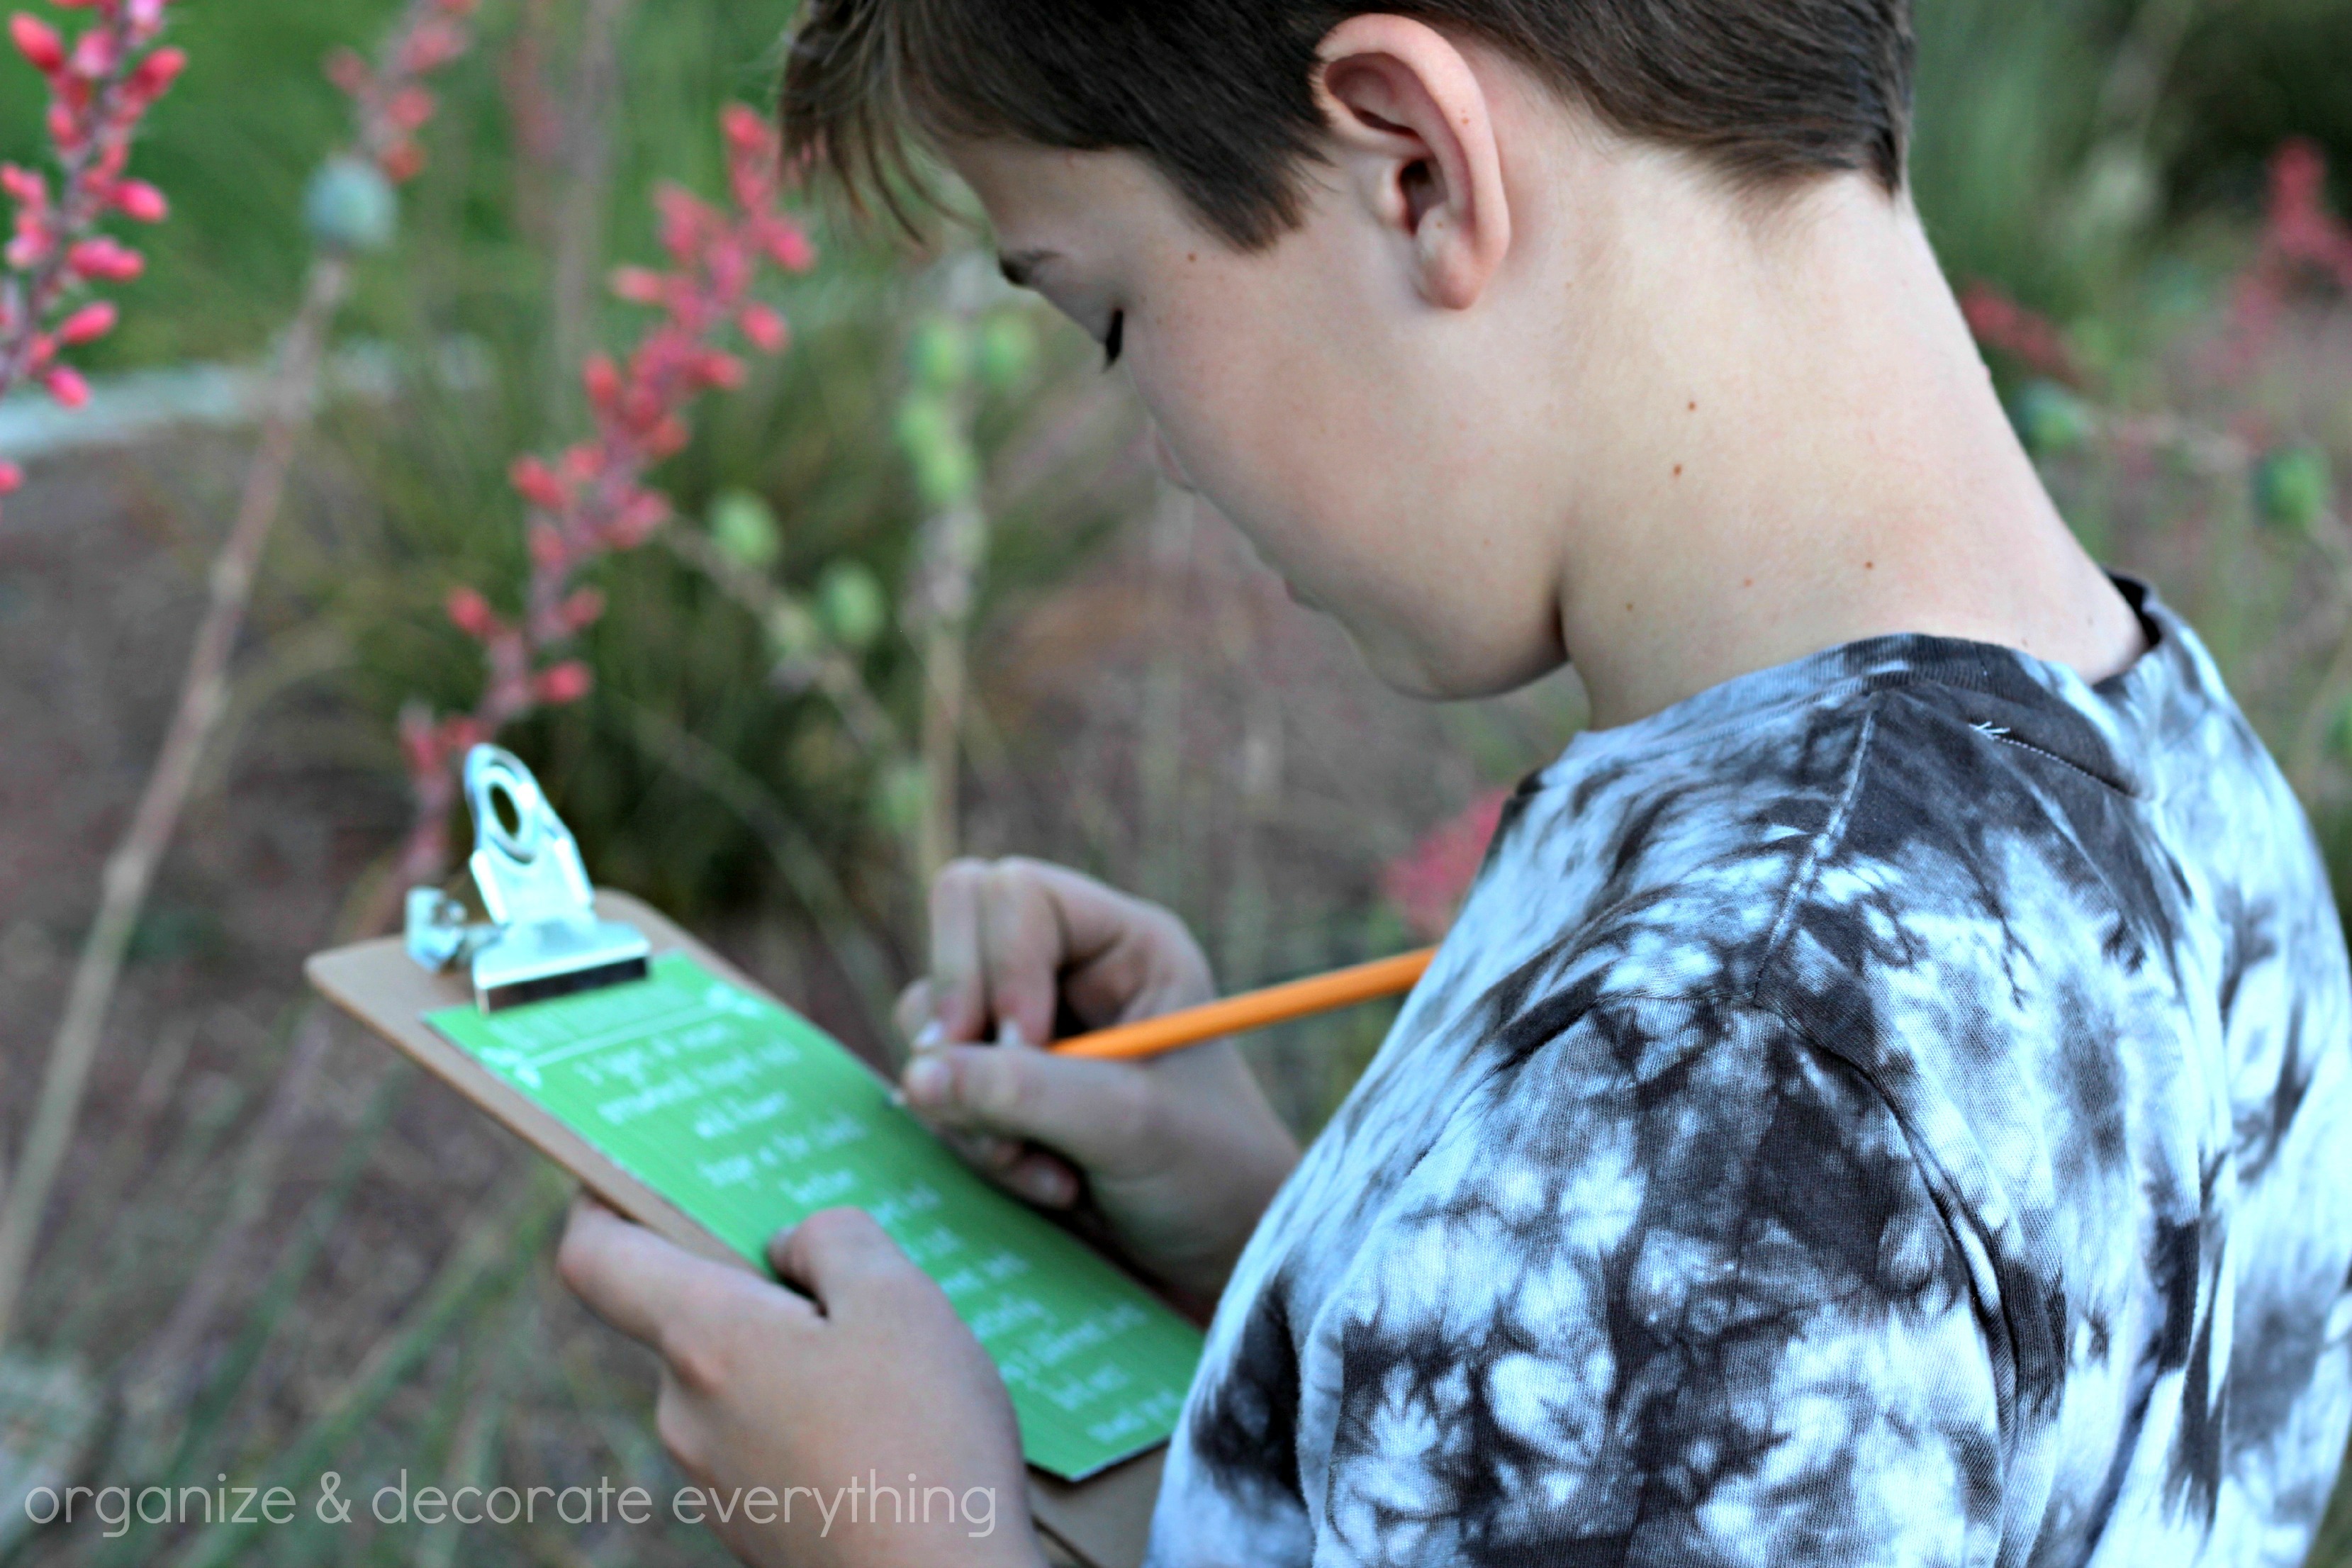
We’re going camping soon and since scavenger hunts are so fun I thought I’d make a printable for our little nature hunt. I knew the boys would get a kick out of the animal scat so I just had to add it. The kids just mark off the things they find on the list. The printable could also be attached to a paper bag and they can collect some of the items and place them in the bag since all little kids love collecting things. We can’t wait to use the printable, I think hubby and I might even join in the fun.
If you would like to use this printable for yourself, just click the link below the photo. Printables are for personal use ONLY and are available to subscribers of Organize & Decorate Everything. SUBSCRIBE NOW to get full access to all printables.
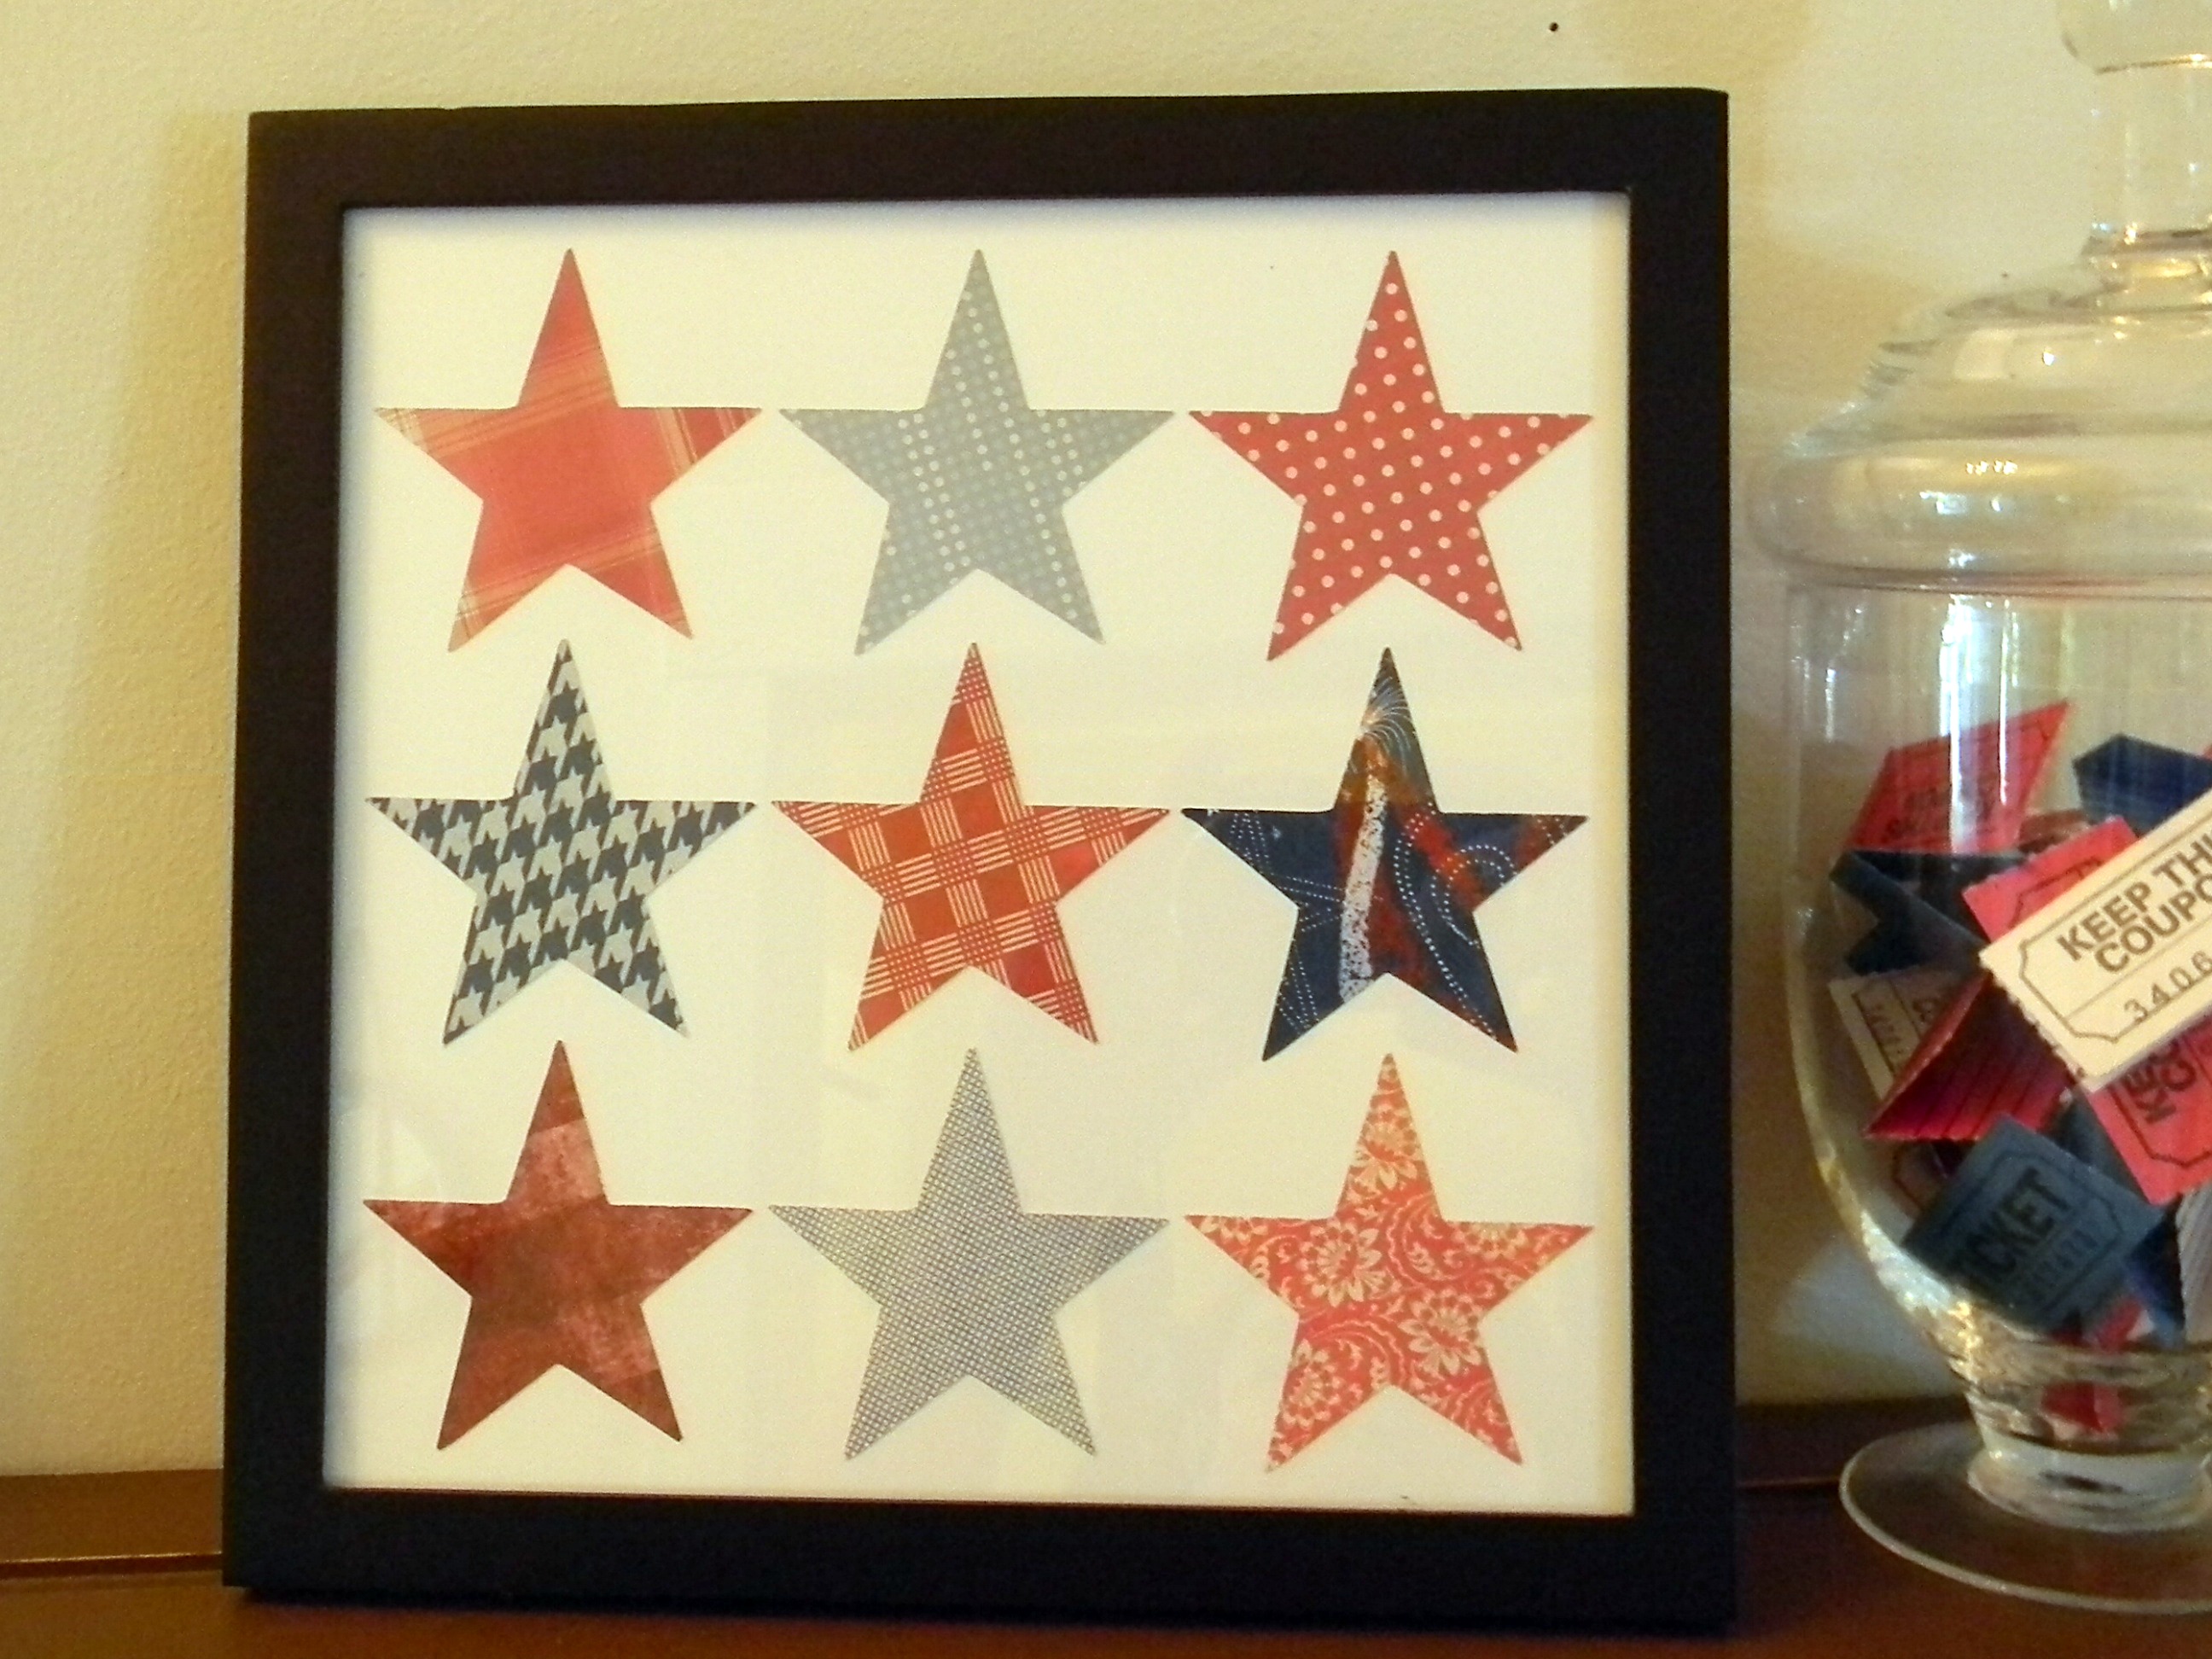
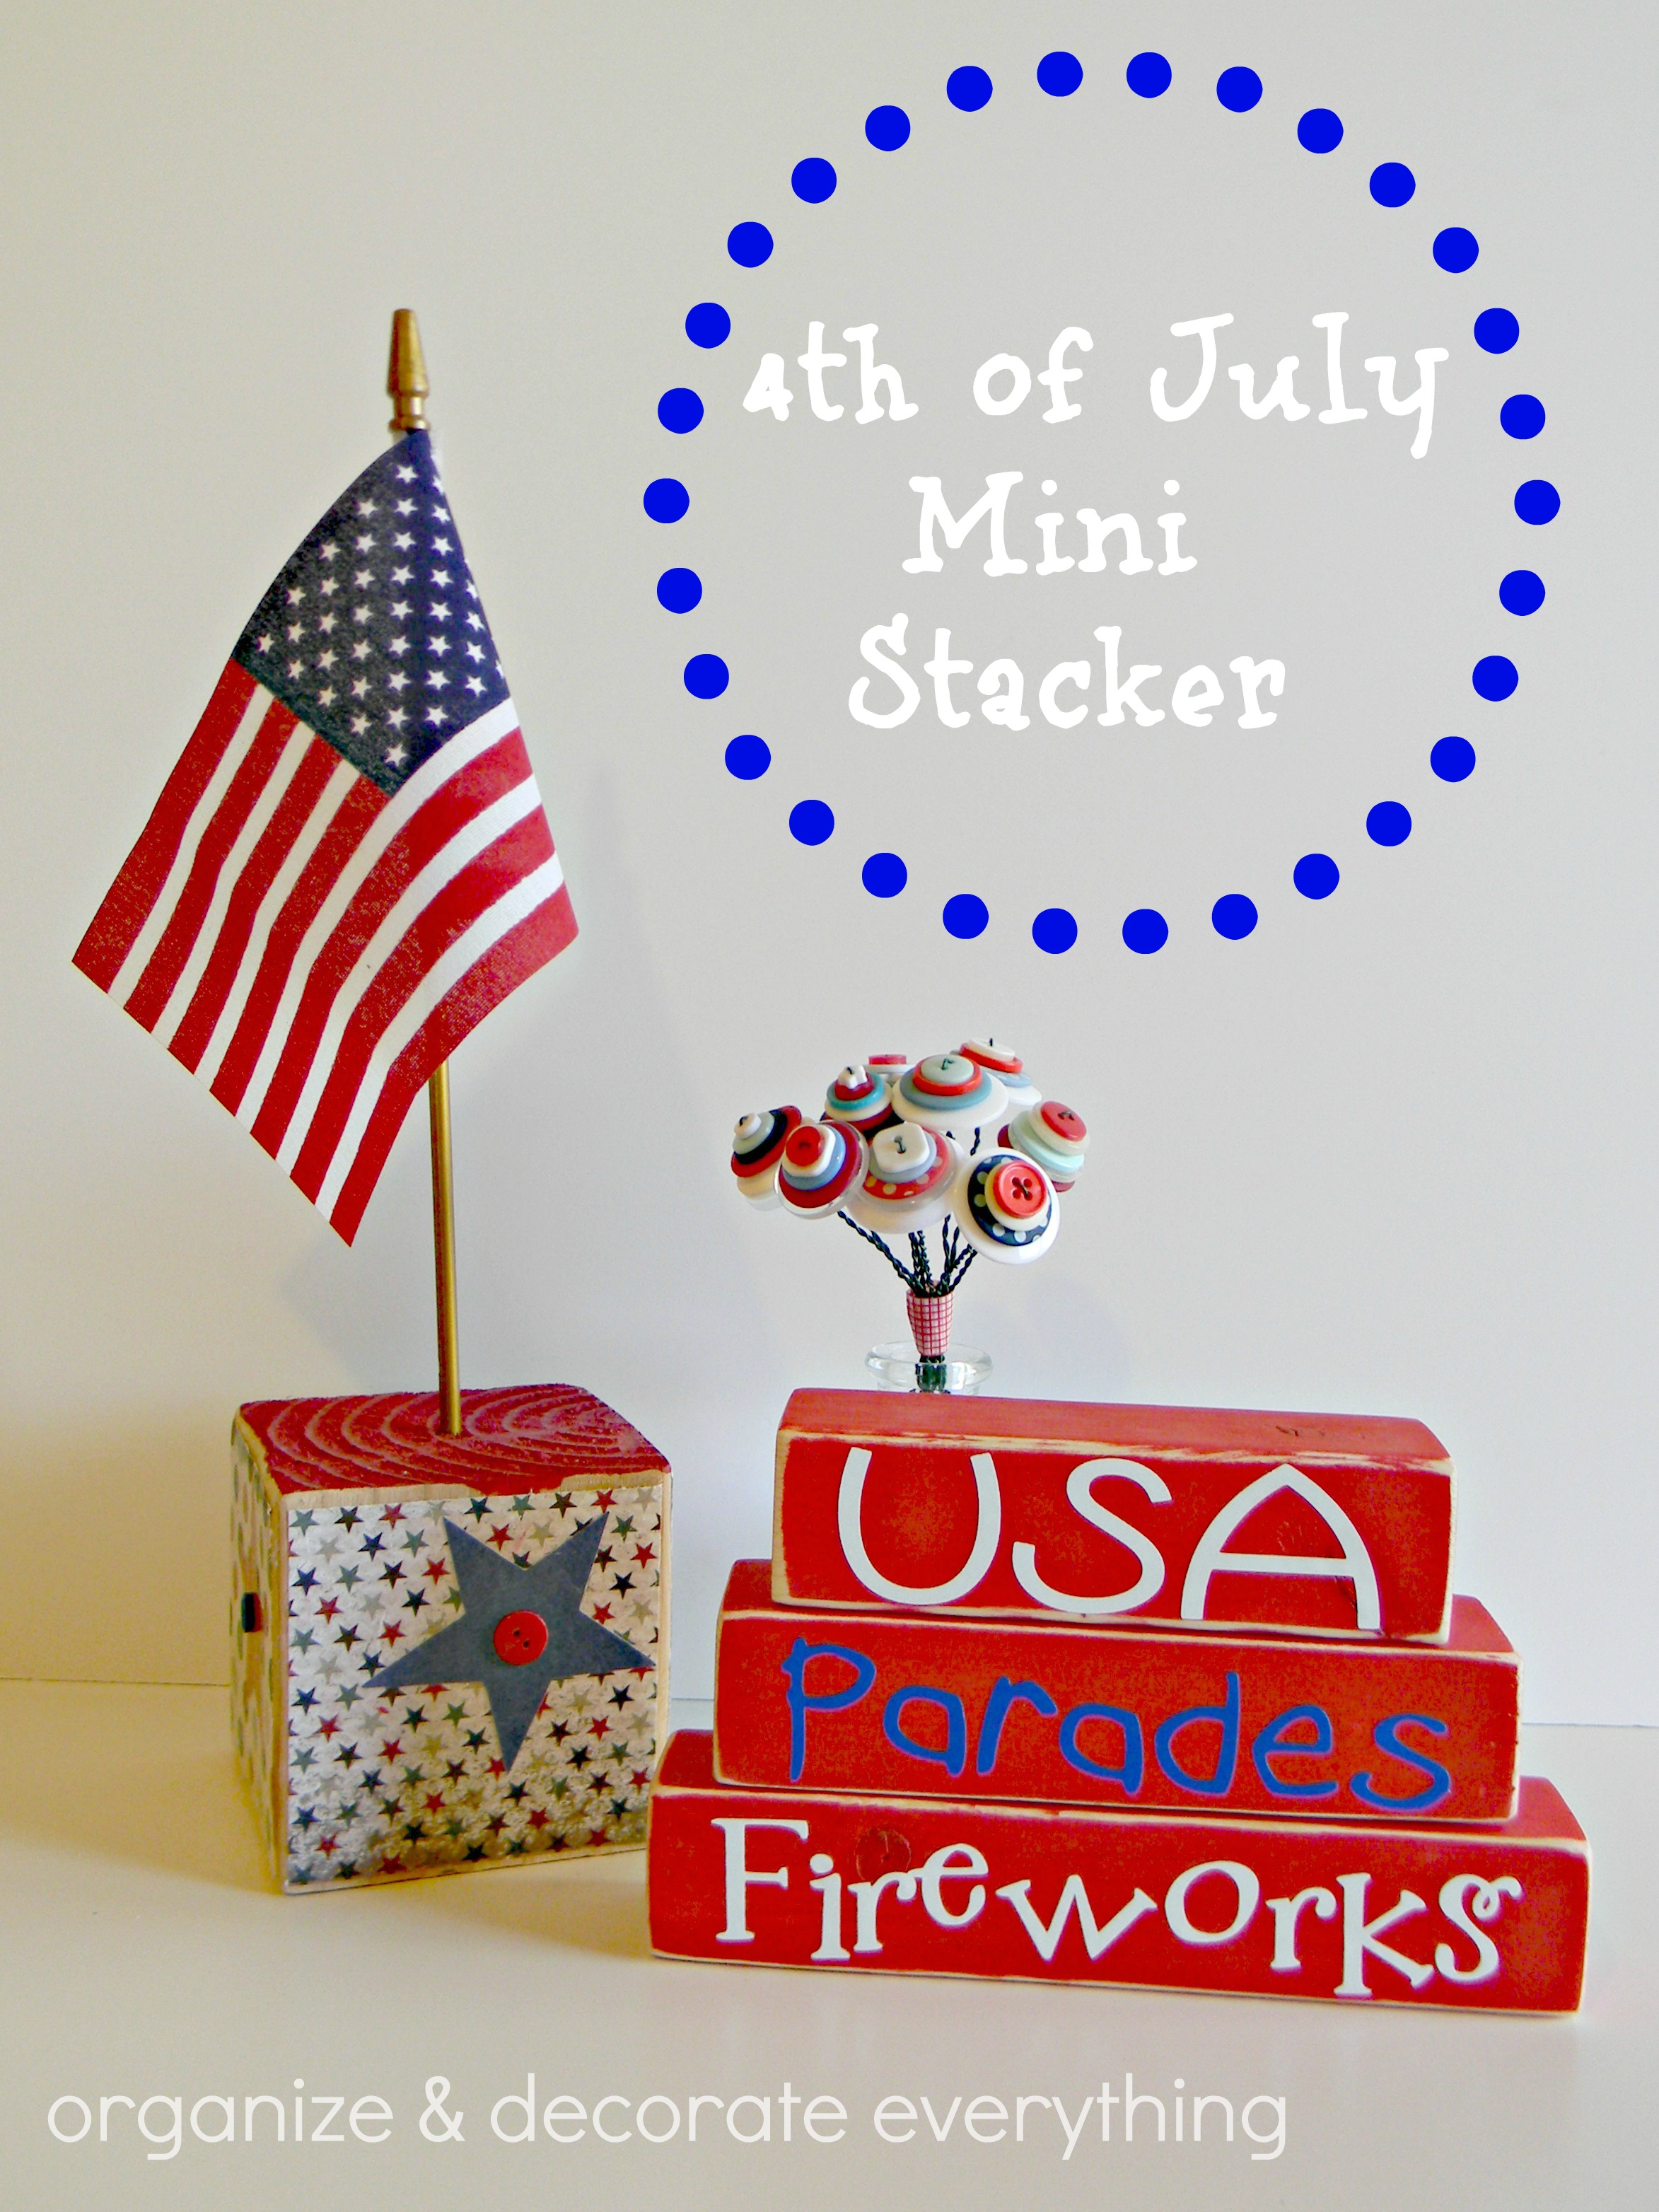
I love the 4th of July and I love decorating for it! I made some cute 4th of July printables to get me started. I printed the Stars and Stripes print at 5″x7″ and the 4th print at 4″x6″. I added washi tape to the mat of the 4th print to give it some added color. The mat was removed from the frame of the Stars and Stripes print. I’m sharing these 2 prints so you can get started on your holiday decorating too.
If you would like to use these printables for yourself, just click the link below each photo. Printables are for personal use ONLY and are available to subscribers of Organize & Decorate Everything. SUBSCRIBE NOW to get full access to all printables.
Visit my Printables Party Pinterest board for more awesome printables.
Summer brings us all outside and enjoying the great weather. Our family loves entertaining, relaxing, and eating outside on our patio, as I’m sure yours does too. I was on Studio 5 in Salt Lake City yesterday sharing some great ideas to perk-up your patio for Summer. Of course they’re all very inexpensive ideas so you can revamp your whole space for a few dollars per project. You can watch the whole segment below.
I love sipping refreshing drinks on a hot Summer day. I have been experimenting with making new drink recipes and this Citrus Cooler is my newest one. It’s a bit tart but very refreshing. This is Hubby’s favorite so far.
Ingredients:
2 cups cold water
1 12 oz. can frozen orange juice concentrate (thawed)
1 cup frozen grapefruit juice concentrate (thawed)
1 liter sparkling water, chilled
orange slices for garnish
In large pitcher mix cold water, orange juice concentrate, grapefruit juice concentrate, and sparkling water.
Serve over crushed ice. Garnish with an orange slice.
As most of you know we moved to another state and are now renting a home. Ugh, renting is hard! You can’t paint the walls, you can’t put holes in the walls, you can’t even tear walls down. Okay, that last one is a bit extreme but you get my point, there’s not a lot you can do to the walls. I wasn’t going to let that stop me from giving a wall in the boy’s room a little personality. I might be a little more in love with this Arrow wall than my boys are.
Since they are in a very small room, we are renting, and the furniture is not going to be moved I taped off where the dresser sits so I could save myself some time (and I might just be a little lazy). Anyway, the dresser is never going to be moved while we live here, so it’s all good.
I wanted the vinyl arrows on the wall in a cool pattern. It would have been easier to just space them out evenly but I wanted a really big impact on this wall so I worked out a few different patterns with sticky notes until I got just the right look.
The Arrow decals are from Cozy Wall Art. I was contacted by this company a few months ago so I looked through their products and was impressed with their selection. The only problem was that I had something very specific in mind and I wasn’t finding it through any of the vinyl companies. I talked to Cozy Wall Art about what I had in mind and guess what? Their designer came up with the perfect arrow design for me, exactly what I was looking for. If you’re looking for some awesome Arrow decals, they’ve now got you covered.
I’m not going to go into much detail on how to apply the decals. It’s pretty straight forward and installation instructions are included with your vinyl. You will want to start with a clean wall though and if you have lovely textured walls, like I do, make sure to use the squeegee to burnish the decal to the wall. Since my walls are super textured I also used my finger to rub the decal into the grooves of the wall. Ugh, textured walls!
I used a small level on the bottom of the arrow points as I went along to make sure the arrows were straight. I usually eyeball most of my stuff but I wanted to make sure they were level before I went on to the next row. My arrows are 4″ tall and 2 3/4″ wide. When you order they would be the 4″ arrows.
I started next to the closet door and worked right on the wall. Each row is spaced 10″. The arrows in groups are 1″ apart and the space between each group is 8″. It was easy once I got started, I just followed the pattern I had laid out with the sticky notes.
I love how it turned out and what’s even better is that the boys love it. Both of the boys are big into scouts and arrows have significant meaning to them, plus they’re just awesome. Don’t mind the over crowded dresser, Ammon loves all these things so I just gave up.
Here’s a little before and after action. What a huge difference a few decals can make! It went from rental drab to “this wall is so awesome, it doesn’t matter that we are renting”. Okay, yeah.
I hope the boys don’t mind this wall being duplicated when we get a house because it’s happening. Oh, and their room has even been clean for 3 days since I took this picture. I’m sure it’s because of the awesome wall! Yeah, that’s it.
It’s the 1st Thursday of the month which means it’s time for Melissa to share another delicious recipe with us. If you’re trying to start the day better with a nutritious breakfast you’ll want to try this oatmeal recipe. I need to make this in the morning, maybe I wouldn’t want a snack at 9 am if I ate something more substantial for breakfast. Here’s Melissa:
Lately I have been trying to get a good start on the day by eating a filling, healthy, colorful breakfast. Now, when I say colorful I’m talking about fruit and veggies–not Froot Loops. Let’s be honest though, for a long time sugary cereals were my go-to, quick breakfast. They’re convenient and they taste good It’s hard to say no, but I was finding myself STARVING an hour after eating a bowl (or two) of sugar loaded cereal. Well, there’s no surprise that I wasn’t feeling fulfilled on a sugary breakfast, there are no nutrients in that overly processed junk. I decided it was time to change my morning habits and to make the time to prepare a delicious breakfast. At first it was a little bit of a sacrifice, I had to wake up a little earlier and I was getting a few more dishes dirty, but it has been worth it! I feel so much better after a great breakfast and I feel like I can tackle the day. Here is one of my favorite breakfast recipes.
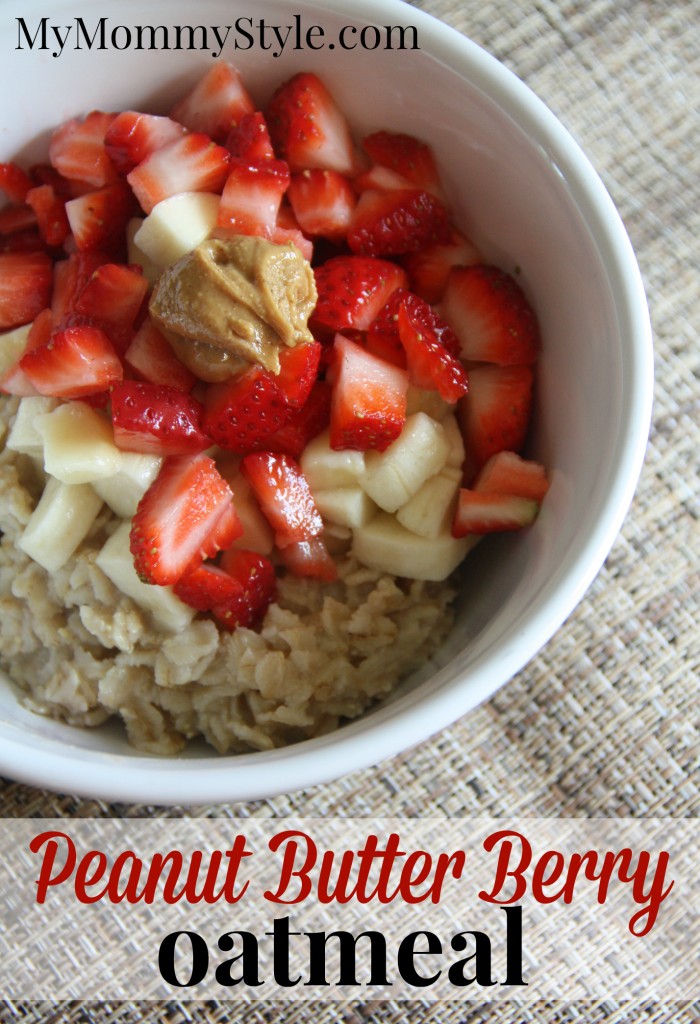
Peanut Butter Berry Oatmeal
1 cup cooked oatmeal
1 tablespoon all natural peanut butter
1/2 cup diced banana
5 large strawberries, diced
1. Cook oatmeal according to package directions. Add oatmeal to a bowl.
2. Stir in the peanut butter.
3. Top with diced banana and strawberries.
That’s it! A super easy and filling breakfast. If you’re looking for more healthy breakfast ideas check out this breakfast burrito or this spinach protein shake. Or check out MyMommyStyle.com for more recipes for any meal.
Thanks Melissa! Who’s eating a better breakfast tomorrow?
Today I’m sharing Summer decorating ideas I used in my home. I don’t buy many new items from year to year but I do move them around and use them in different ways. One of the easiest ways to decorate for any season is to fill a bowl with things that remind you of that season.
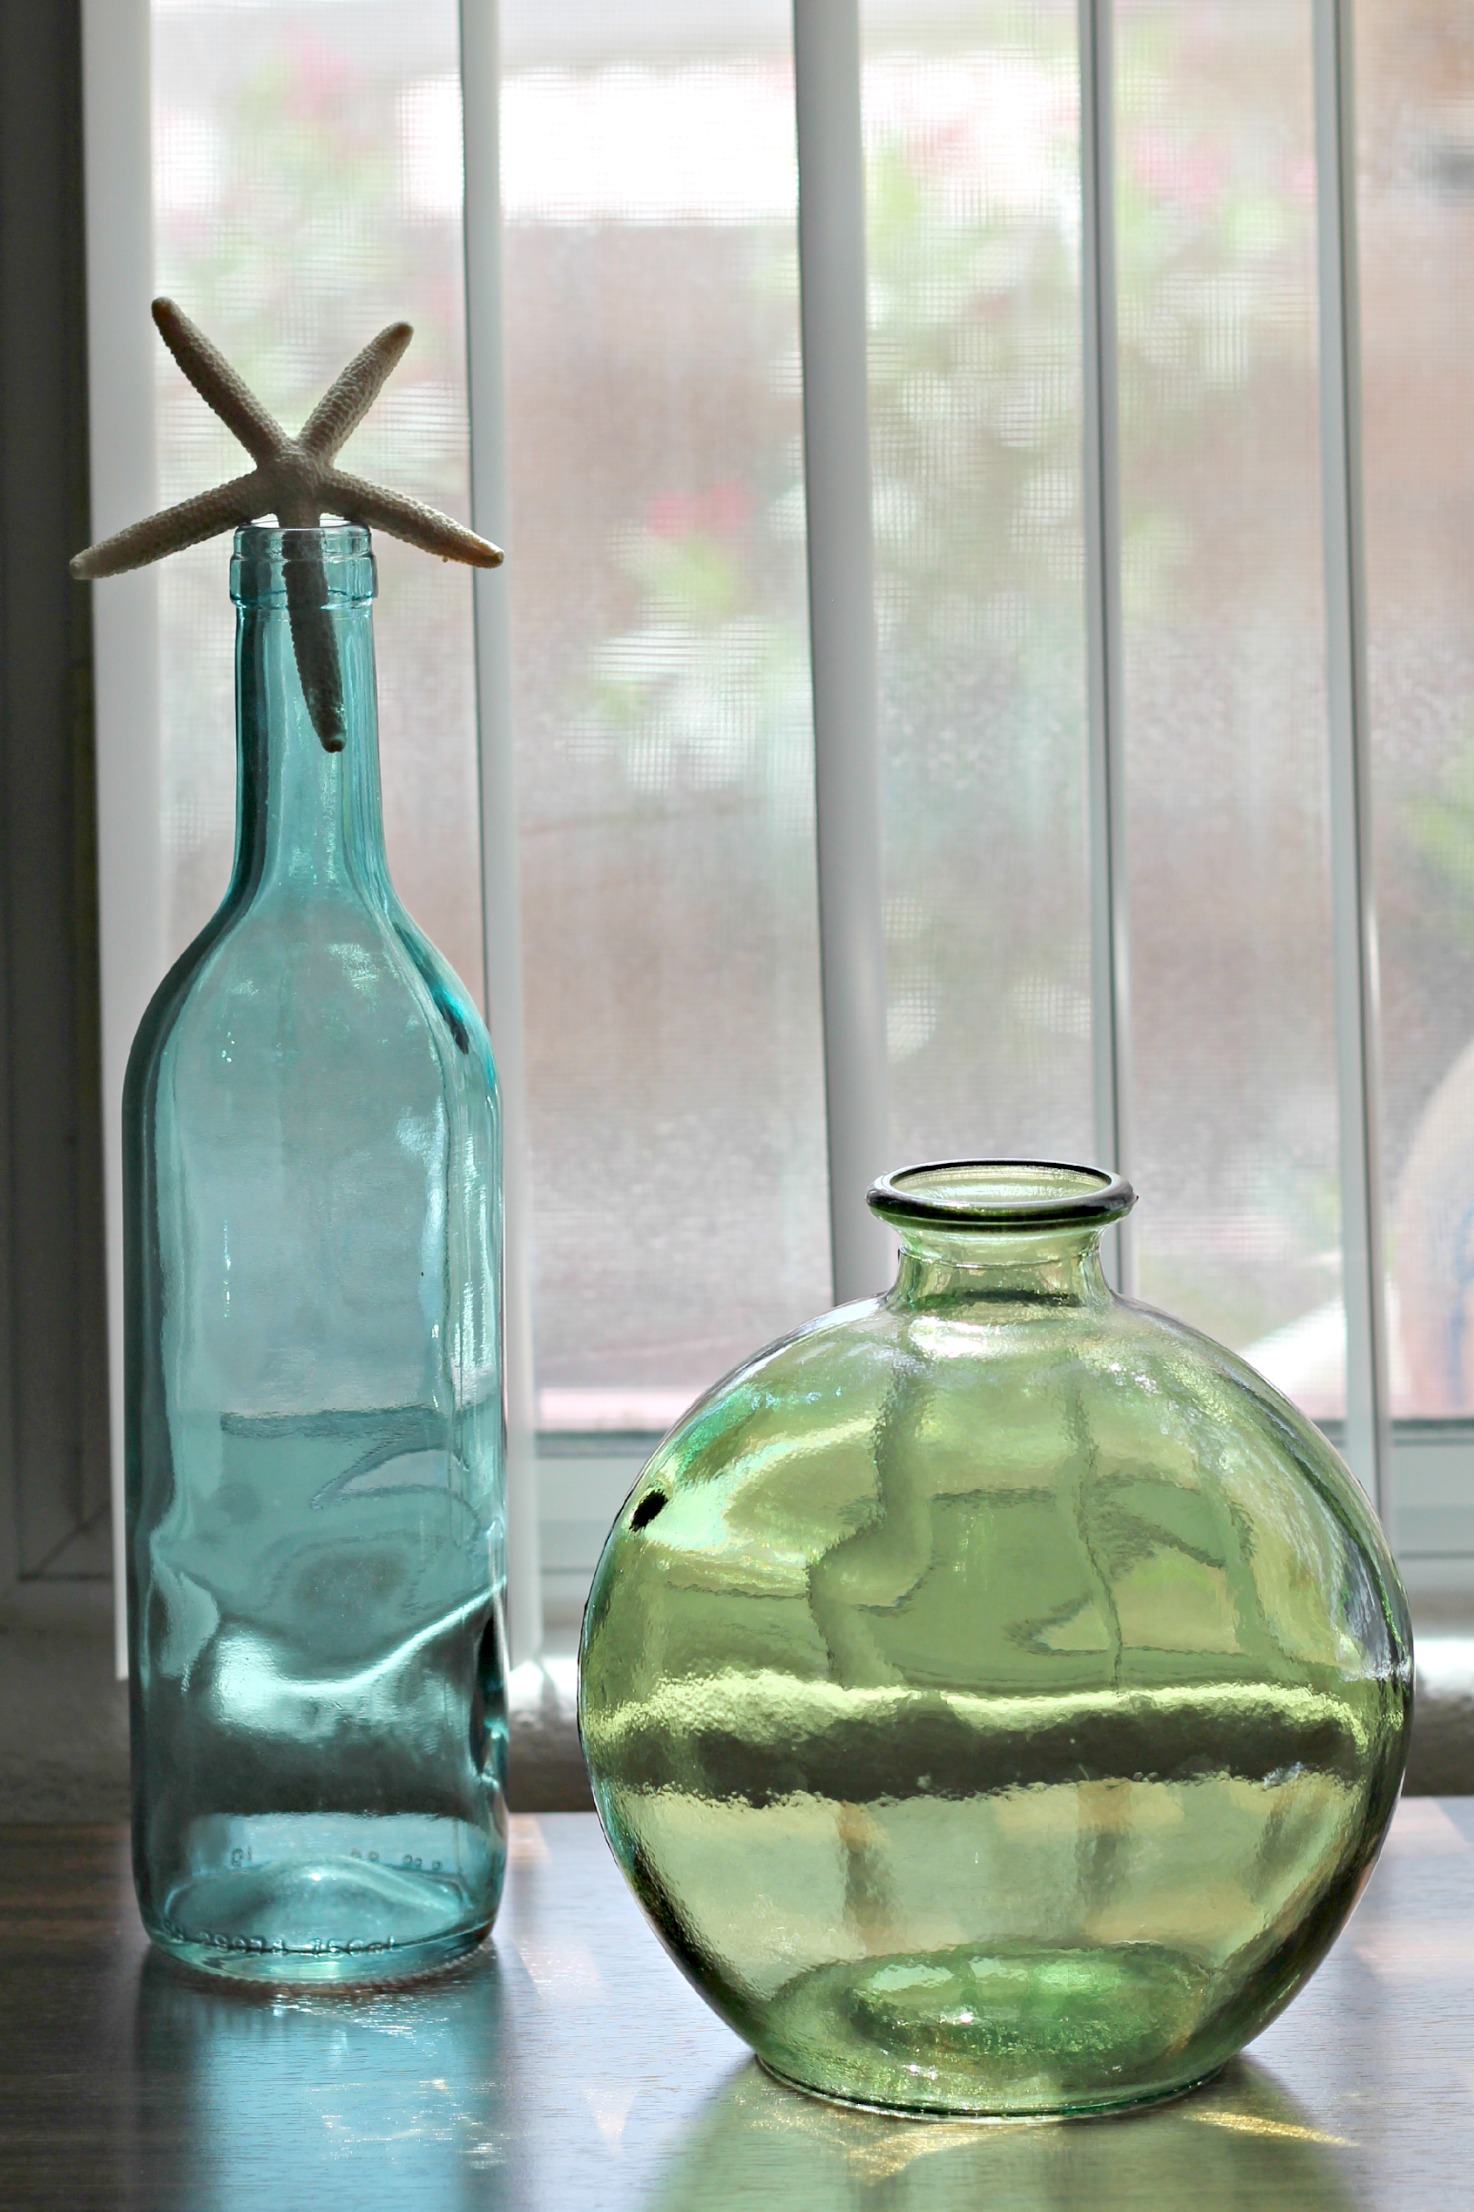
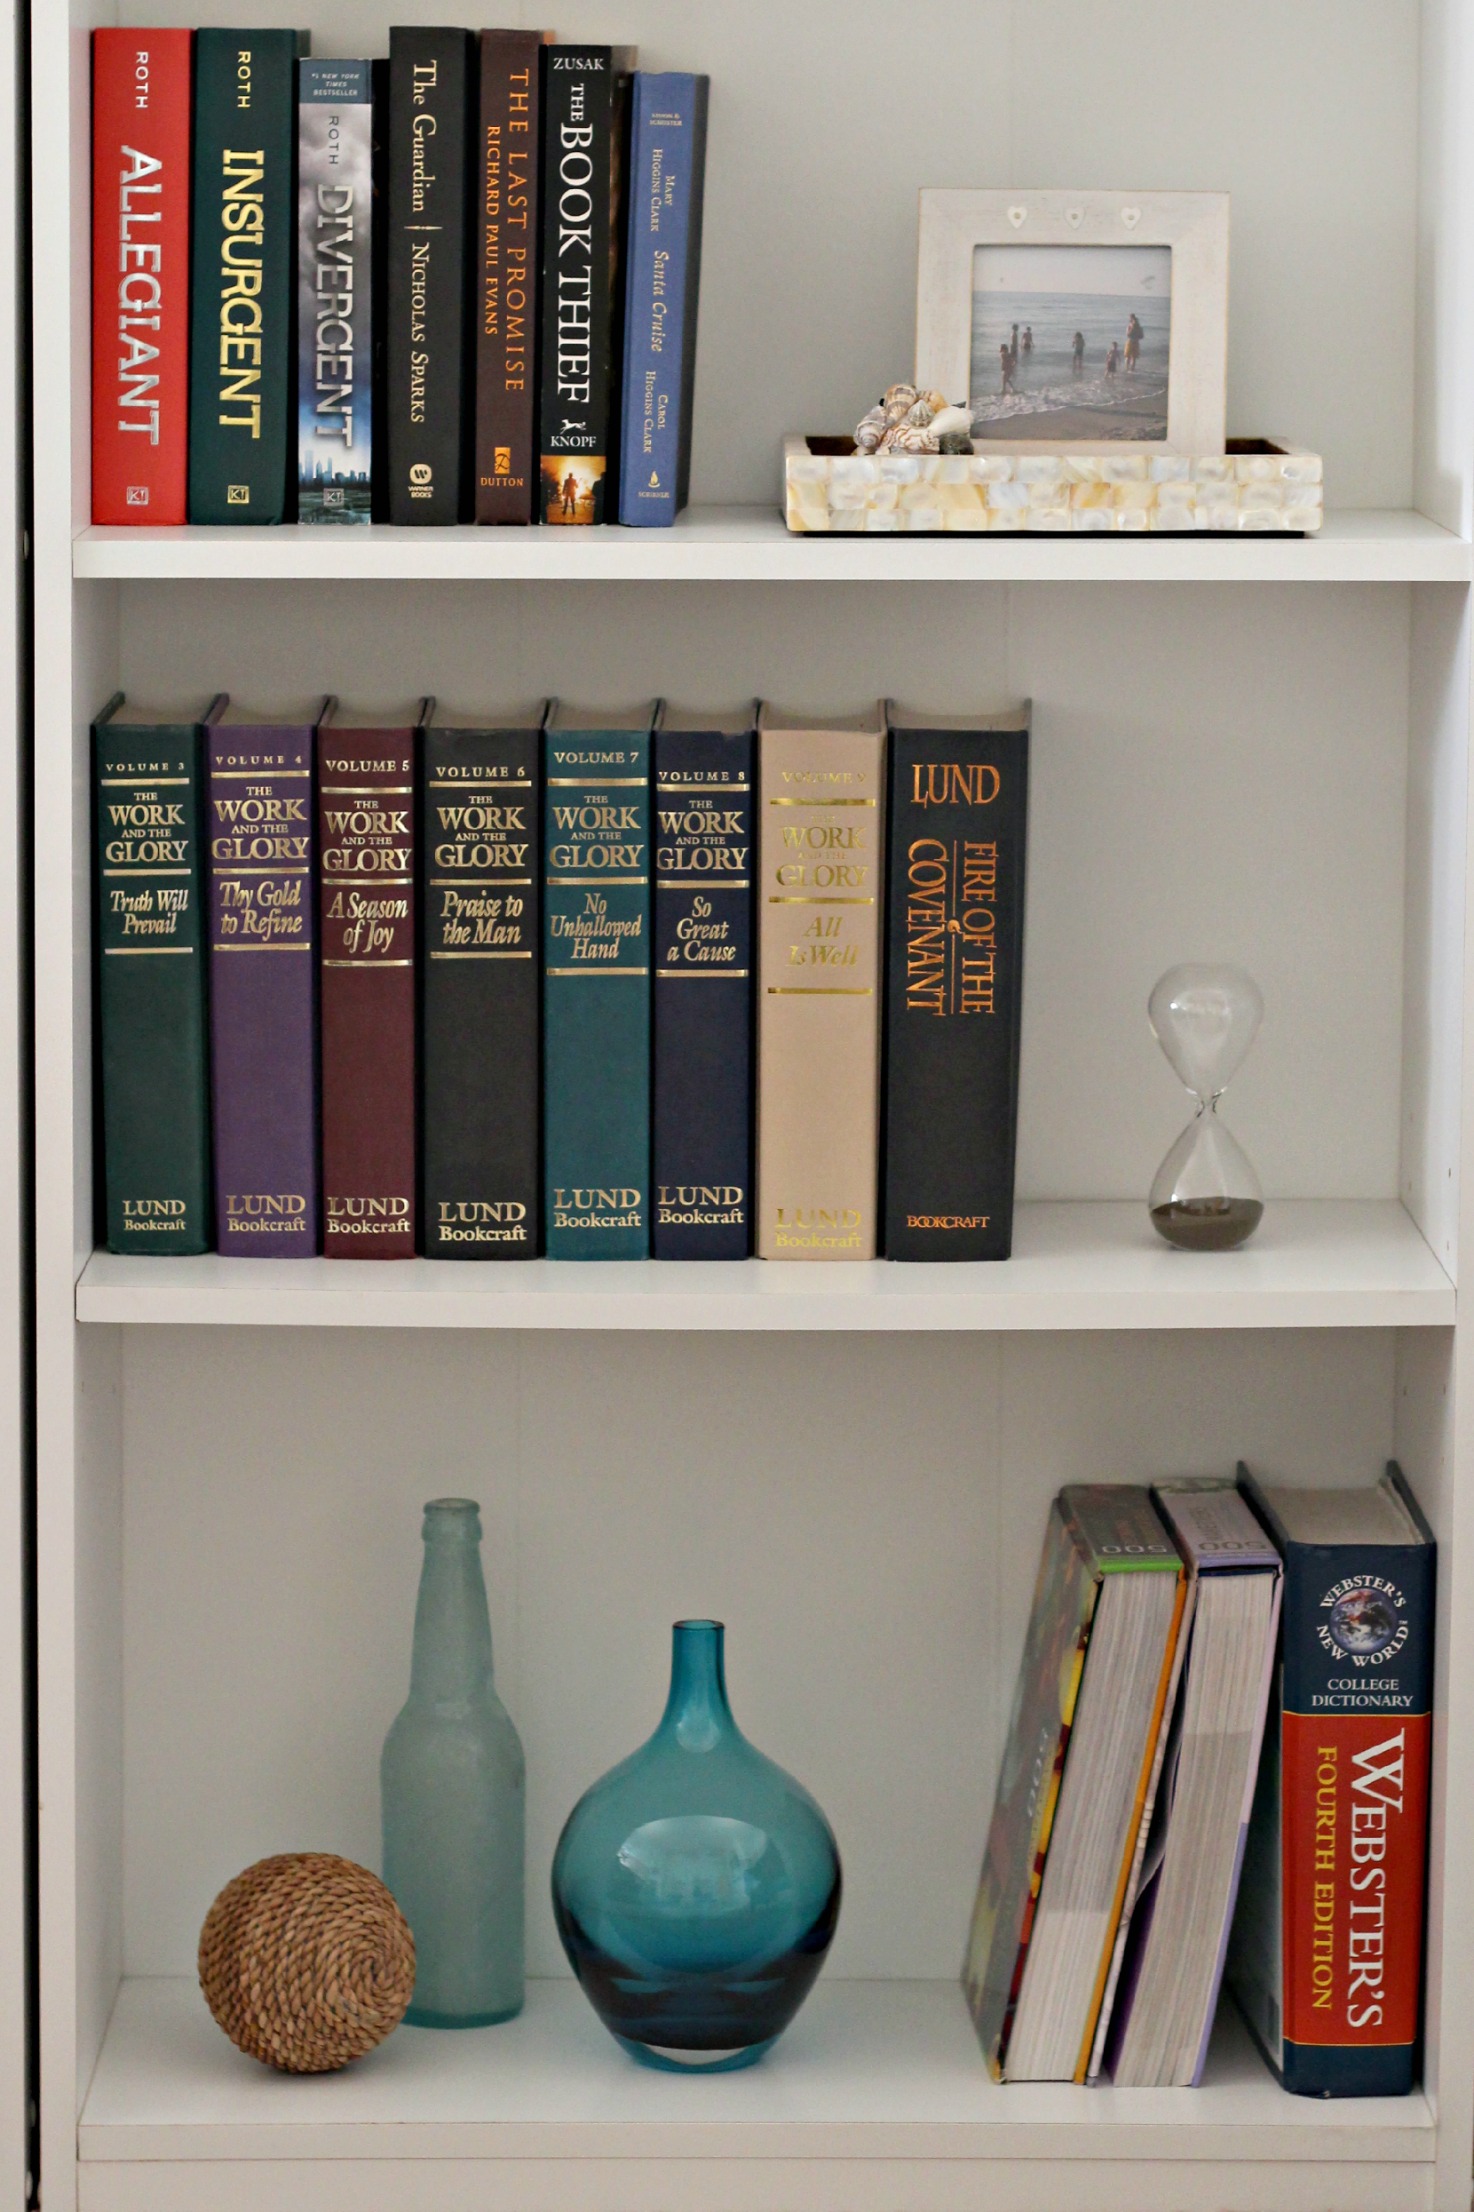
Another one of my favorite items for Summer decorating is clear colored glass. Green and blue glass are my favorites. A sea star was added to one of the bottles.
I’m pretty sure a white elephant is perfect for any season.
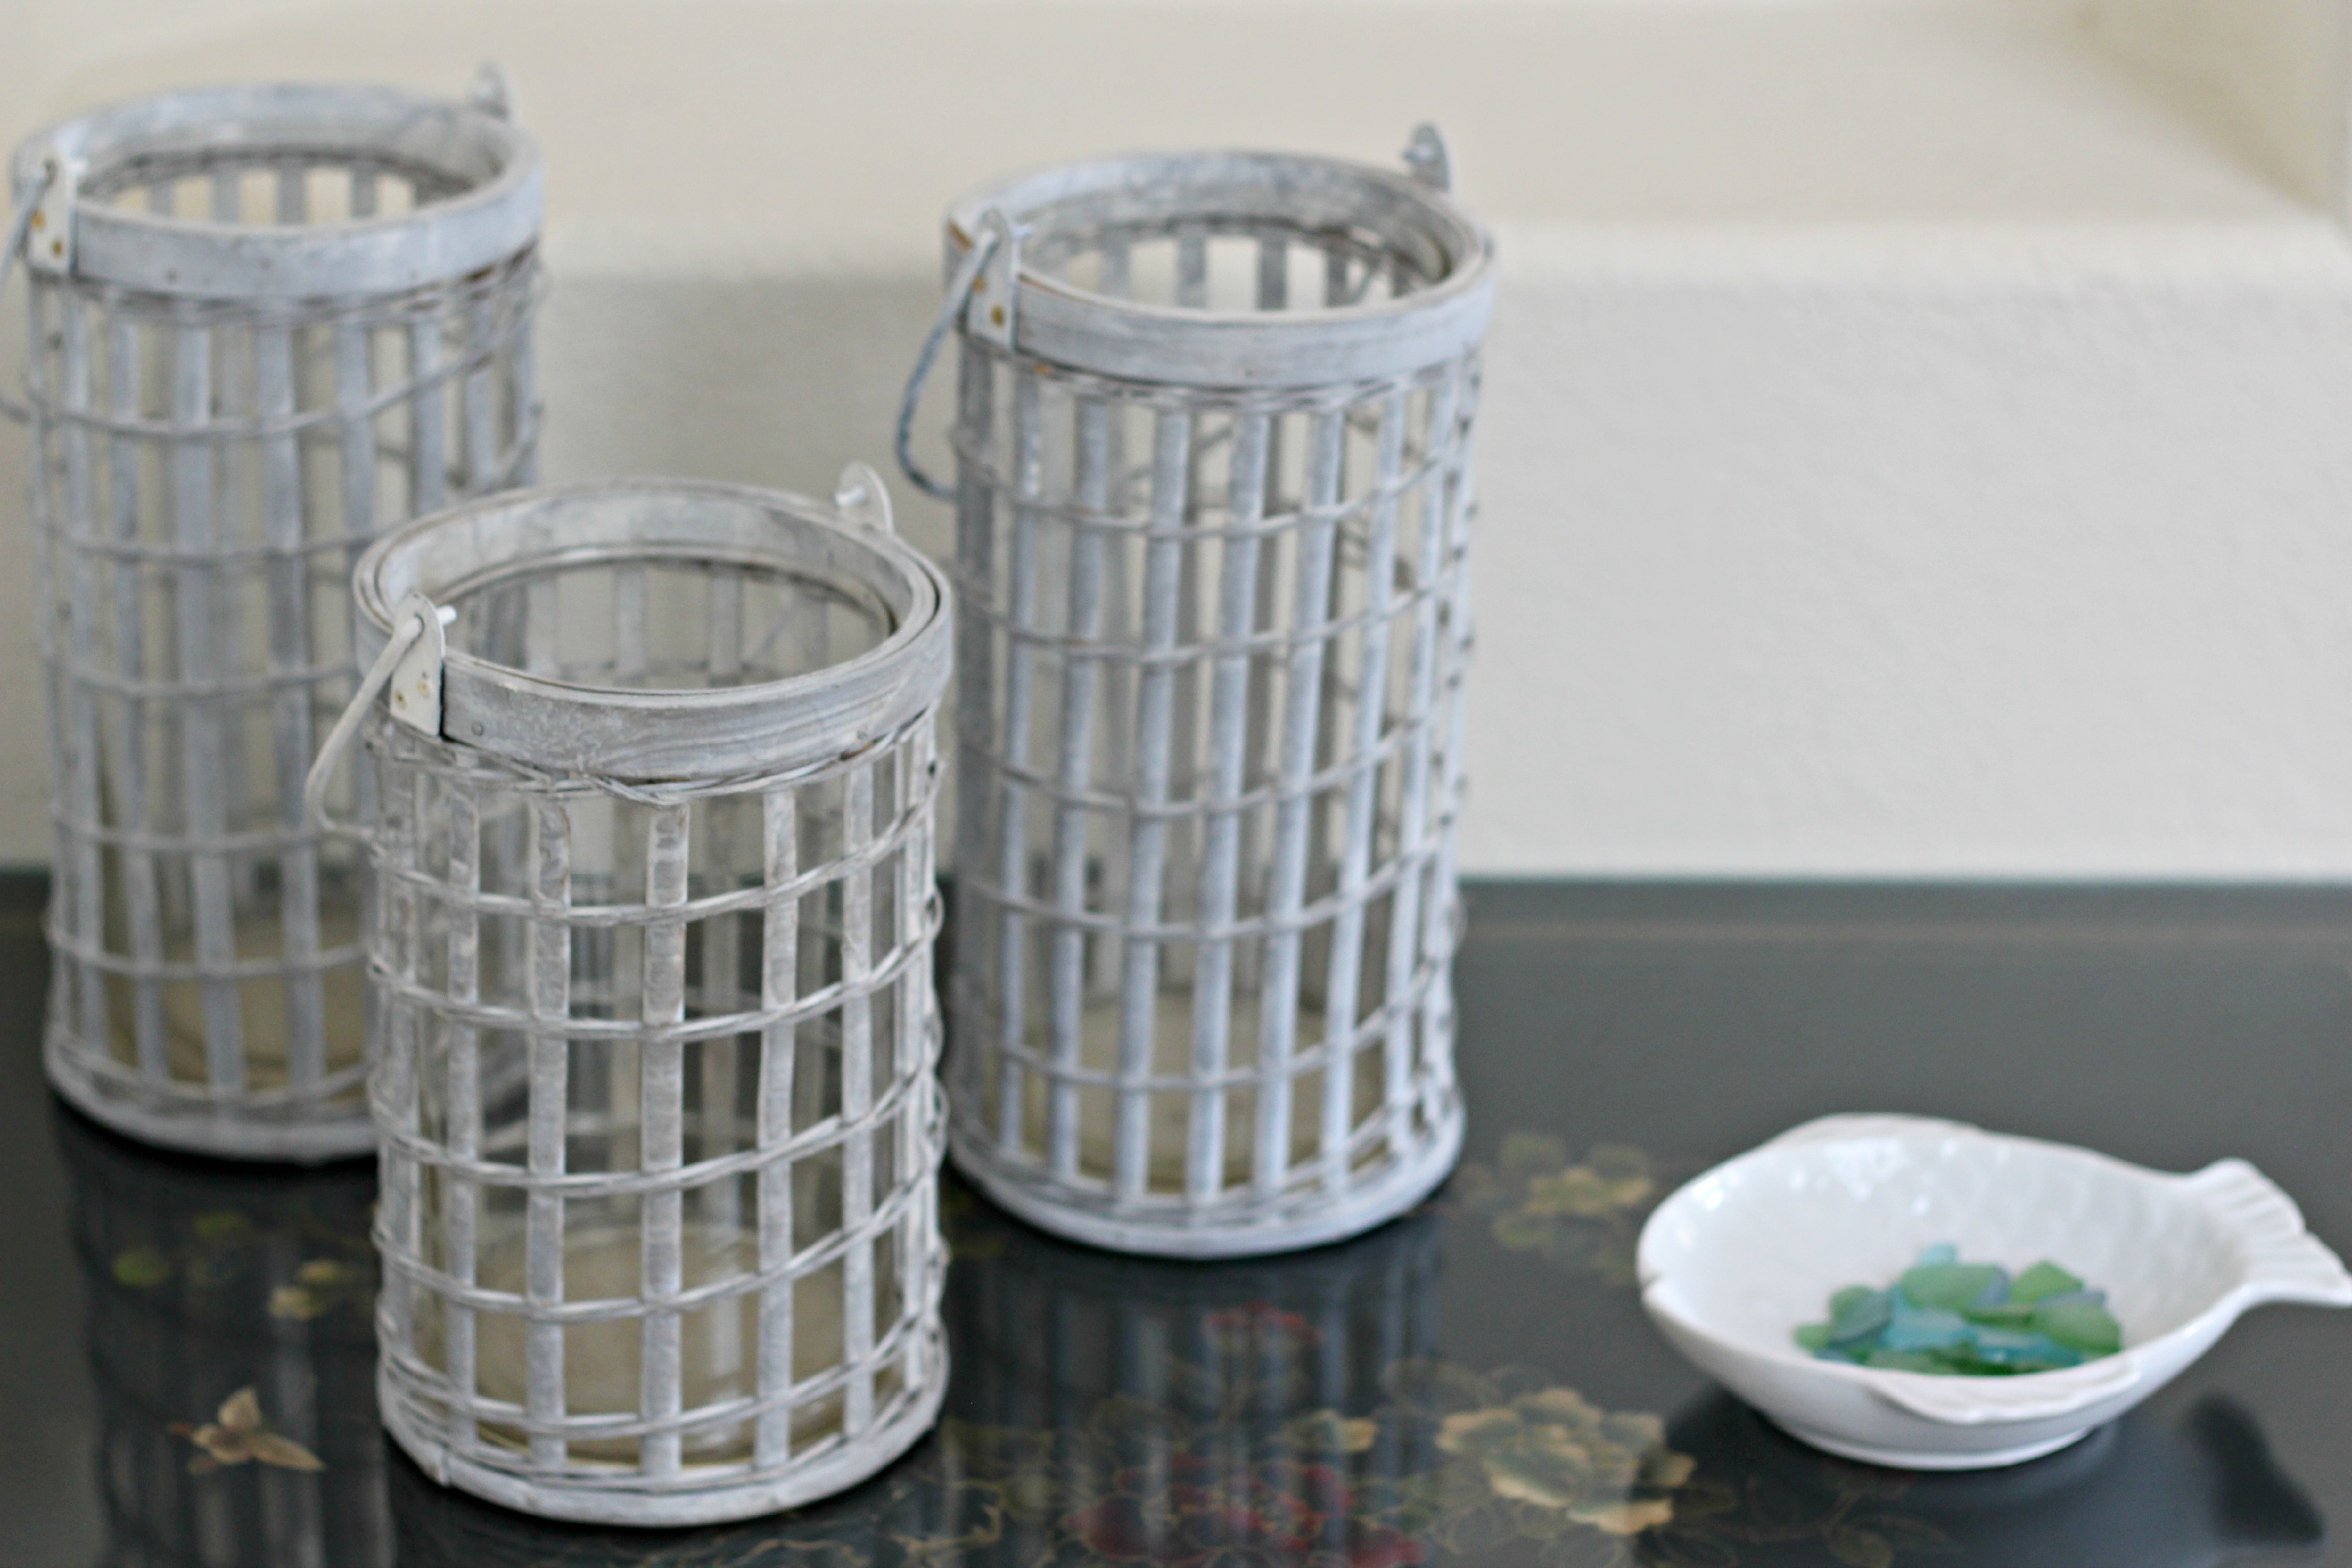
These lanterns are usually used outside but I sat them on the cabinet in my entry this year. The fish bowl is filled with sea glass from California, Florida, and Hawaii.
This table in my living room isn’t too Summer-y but I love the white vase and the book has an ocean theme to it.
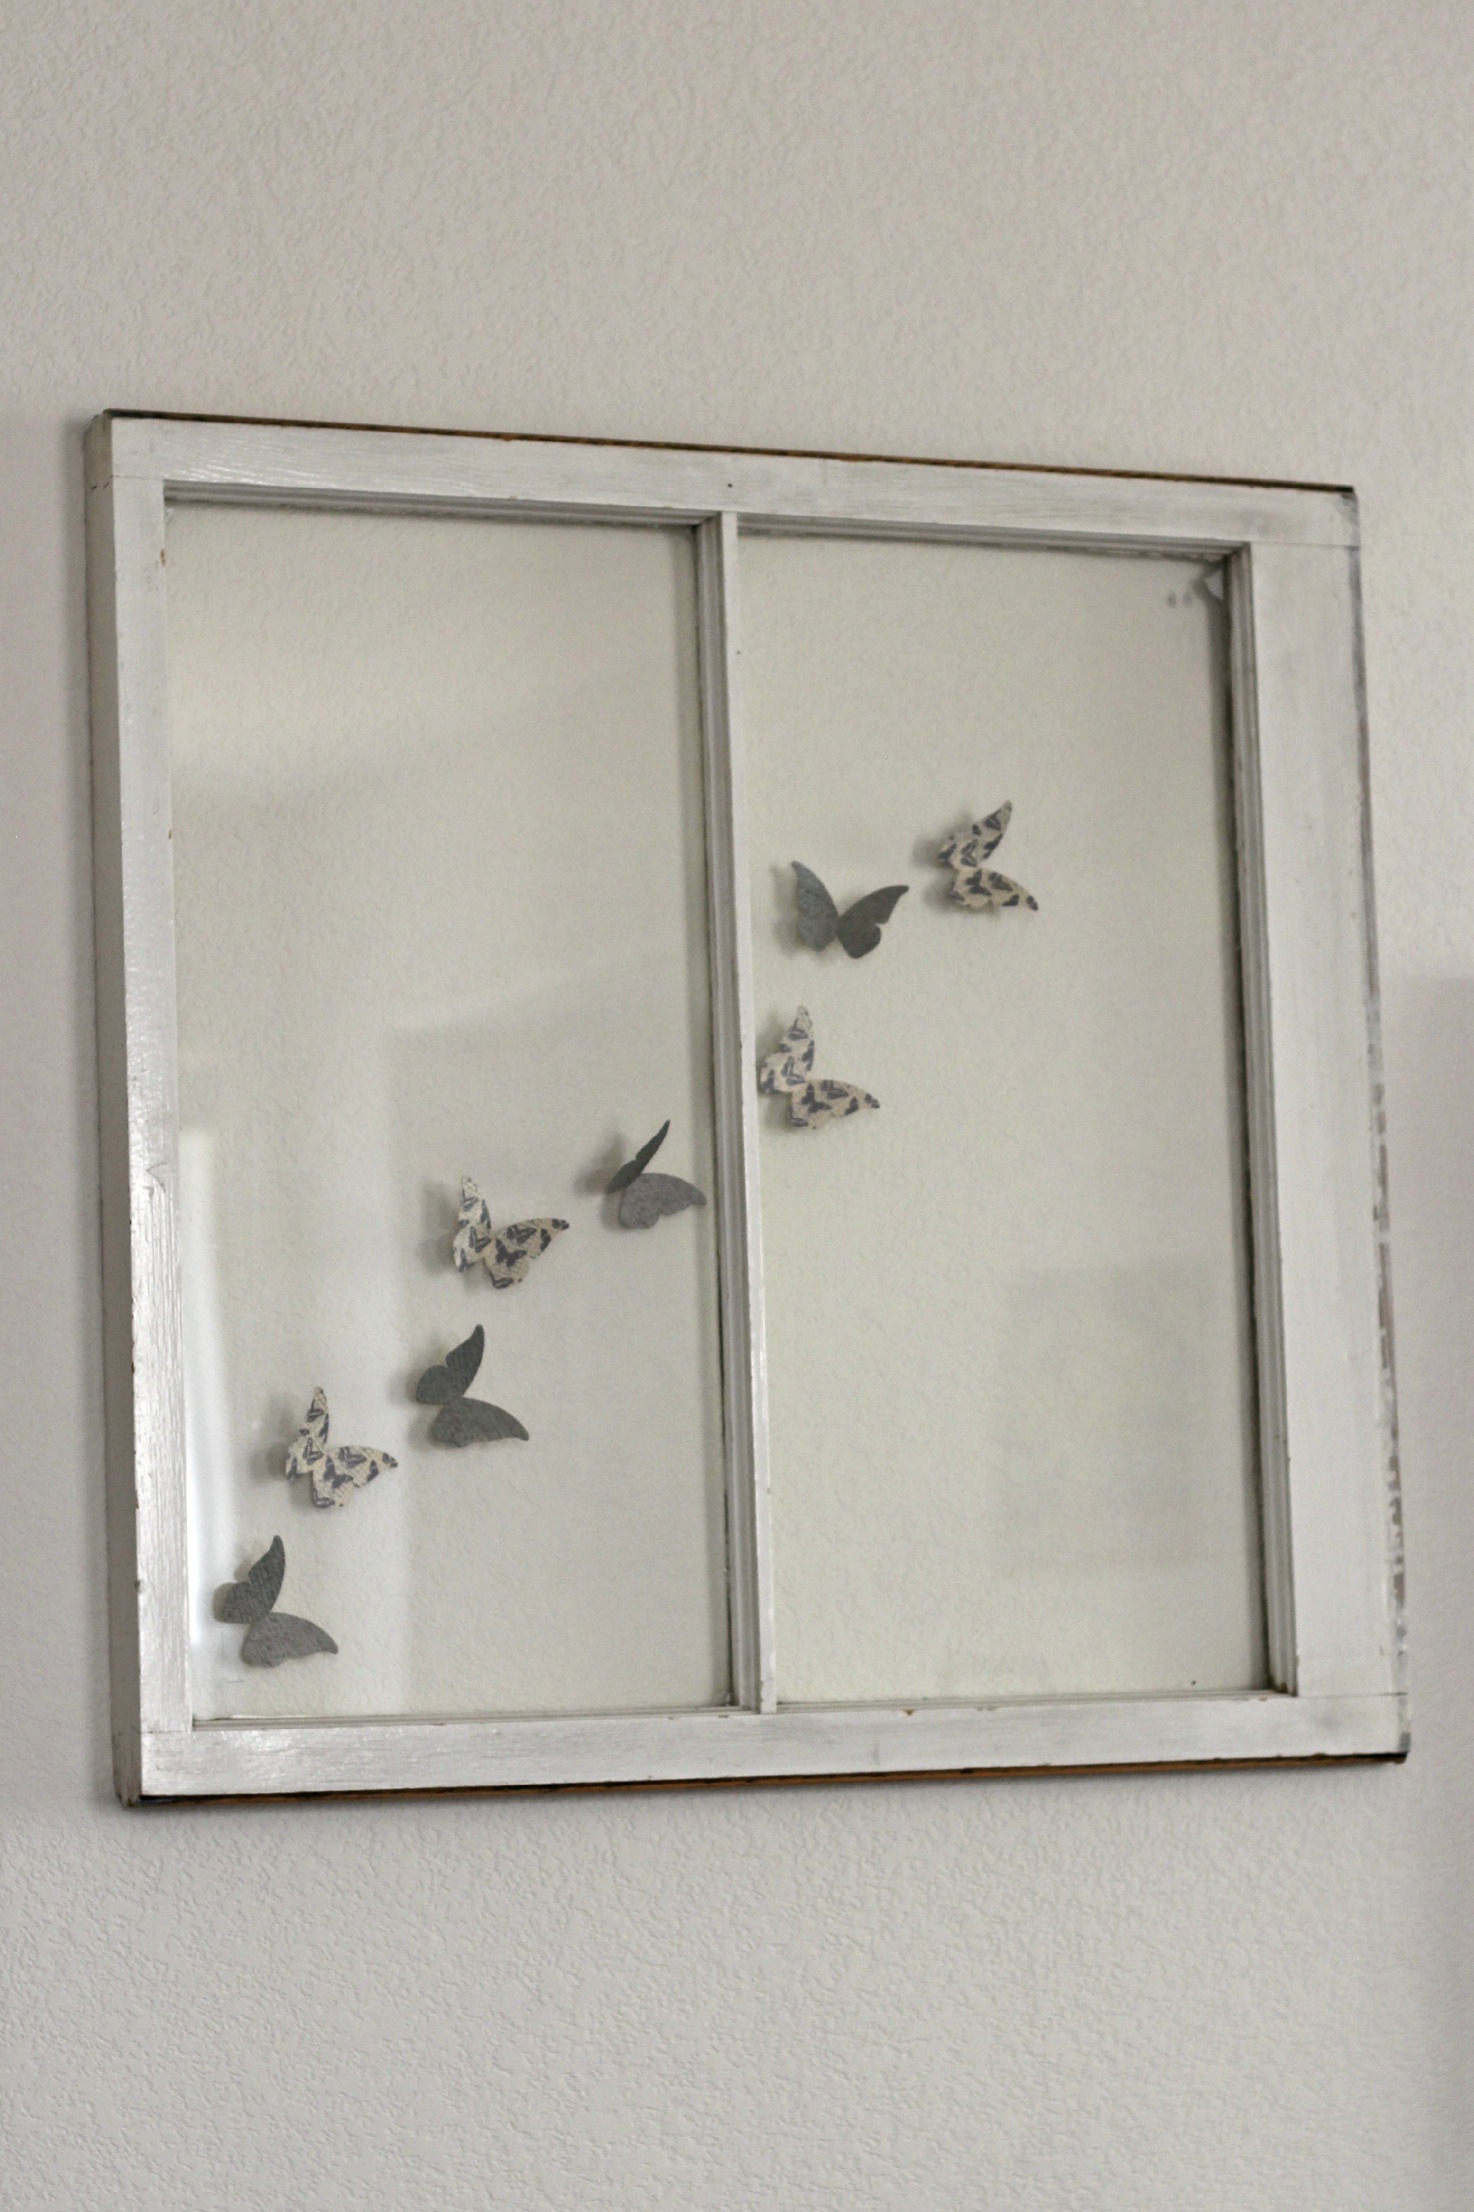
The windows in the living room are often kept empty but I also like adding something to them every once in a while.
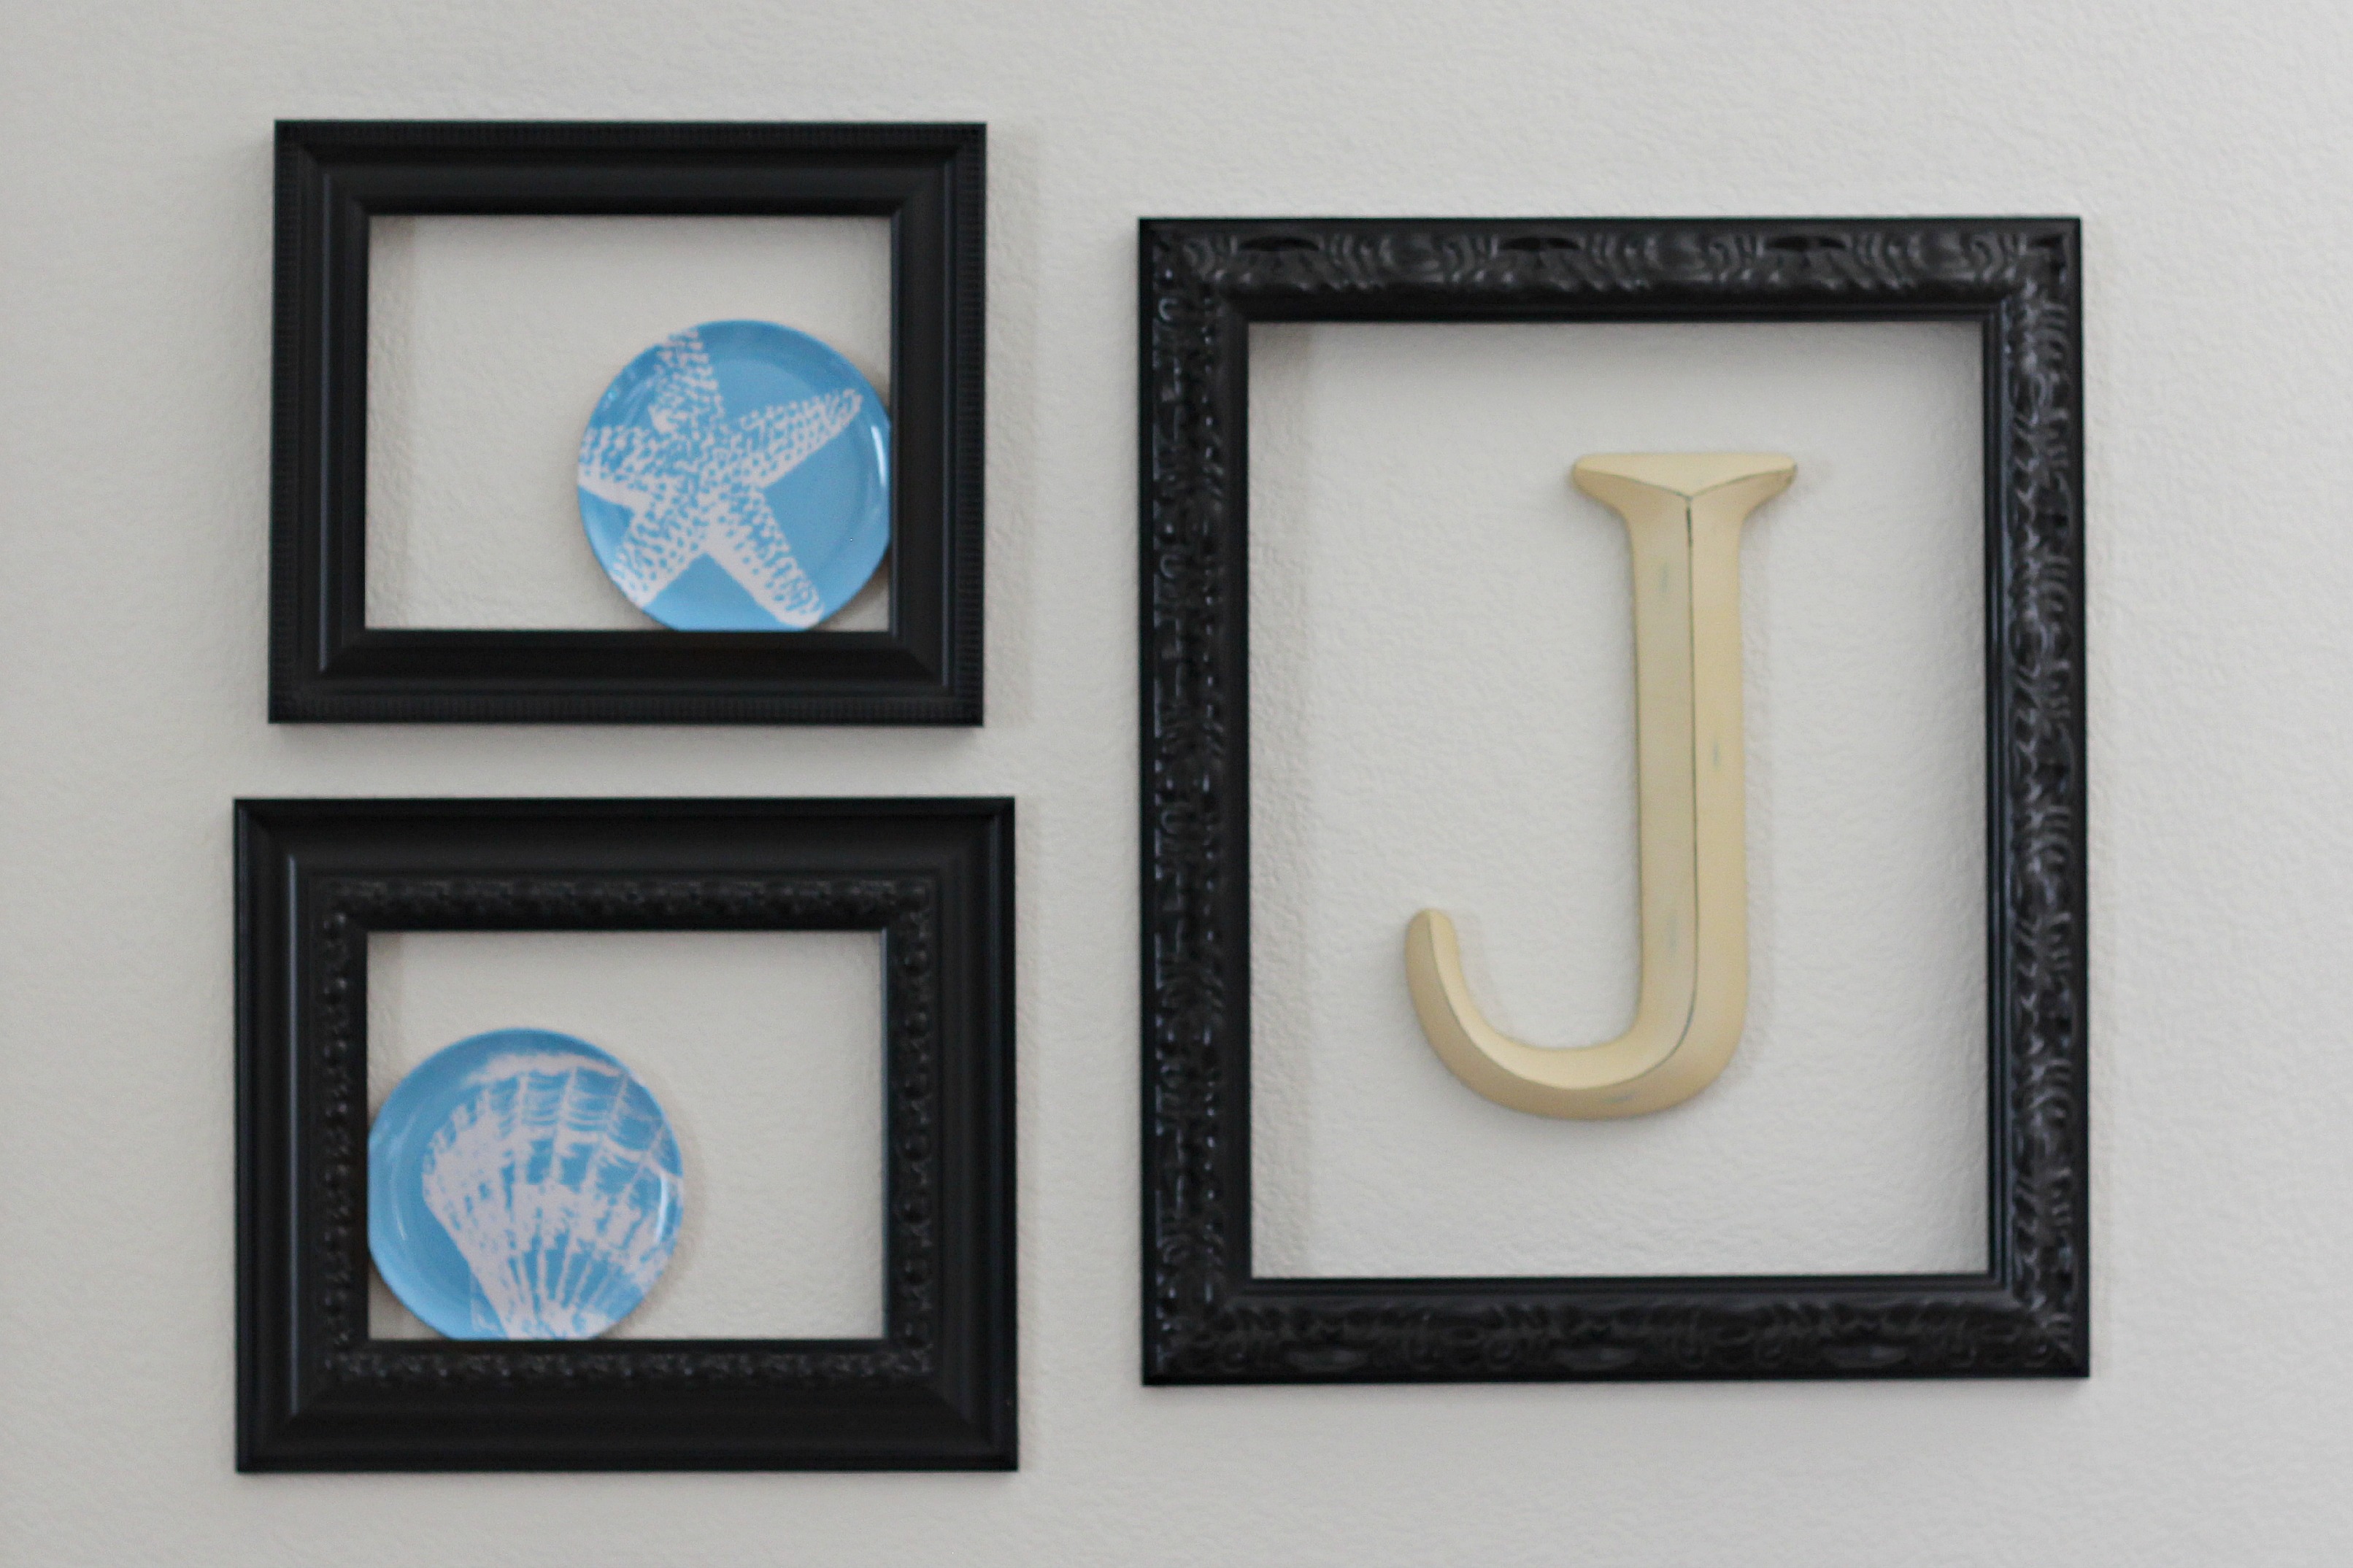
I added a couple Summer dessert plates to the black frames. I like changing the frames out every season or holiday.
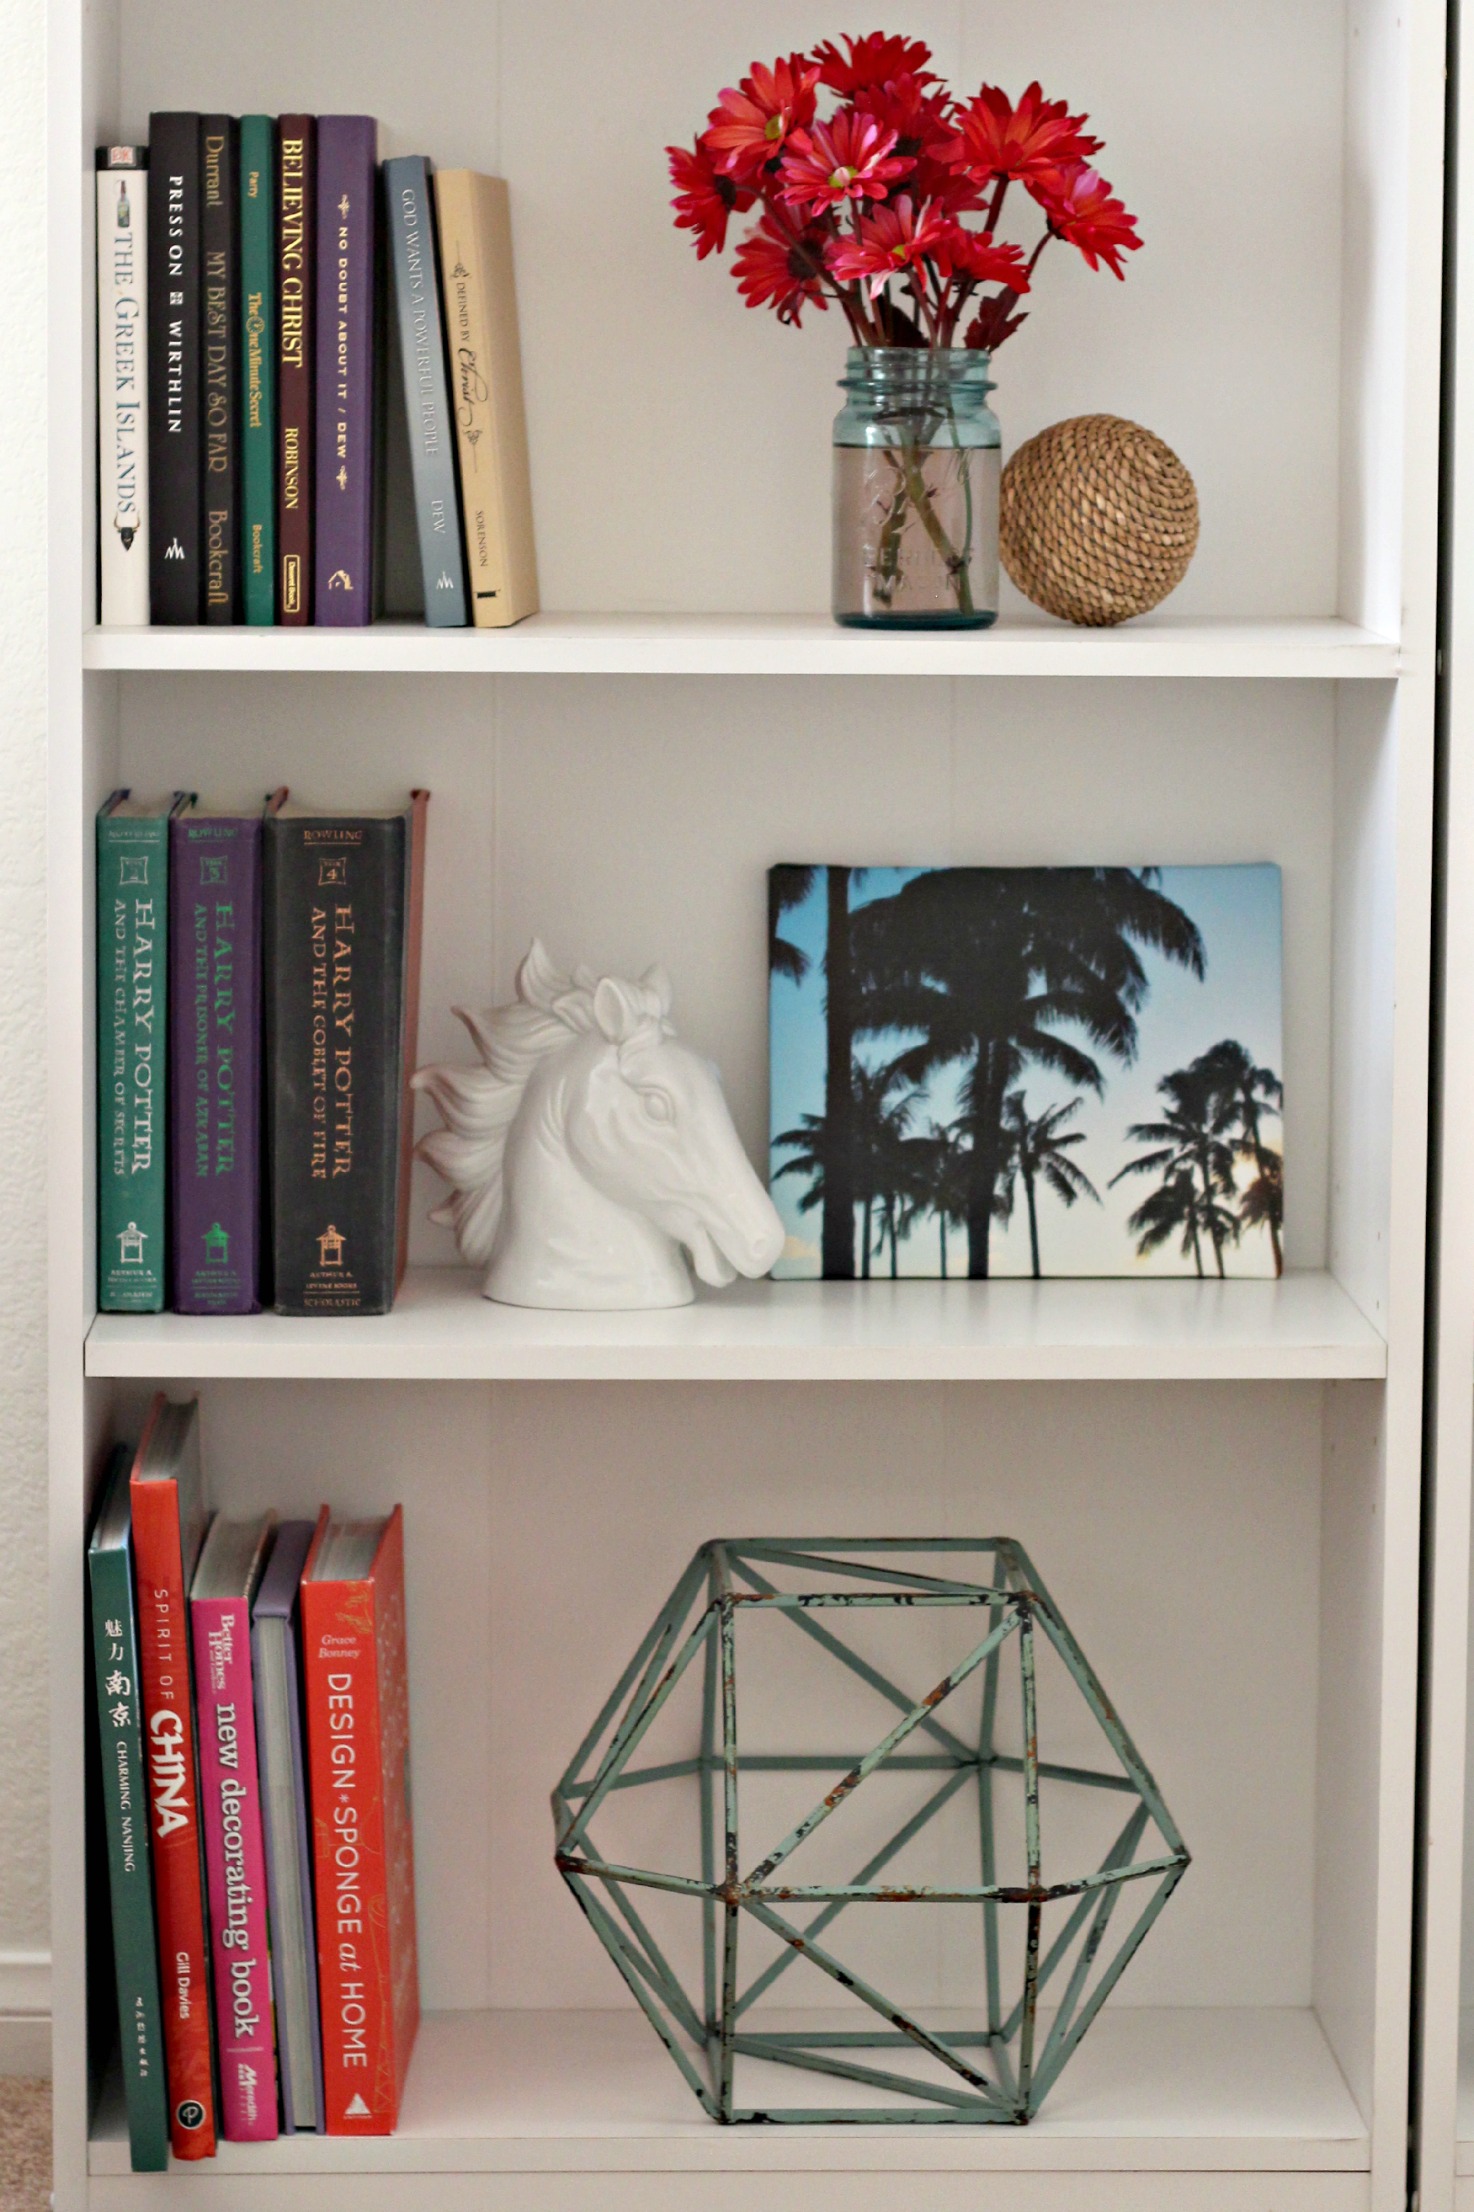
Decorating the bookcases is almost as much fun as decorating the mantel. Let’s take a closer look.
I bought the whale last year and am still in love with it, plus it holds up the books very well. The little blue bowl holds a few rocks from vacations.
I really like fresh flowers so I put some in a blue mason jar and added them to the book case. Everyone needs a horse head bookend, right? I added a picture I took in Hawaii and an abstract piece that was originally bought for the boys room. Maybe they’ll get it back at some point.
The double fish bowl is really for the kitchen but I love how unique it is. The glass case is full of beach-y items.
My favorite picture of my kids and some of their cousins on the beach in Florida sits in a small wood and shell tray. More blue glass pieces and a rope ball are on the bottom shelf.