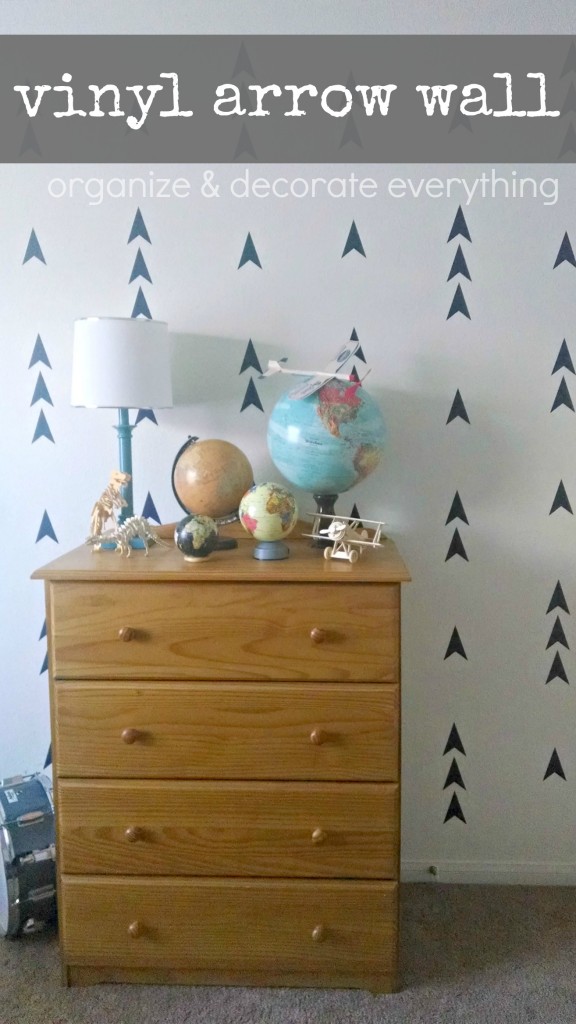
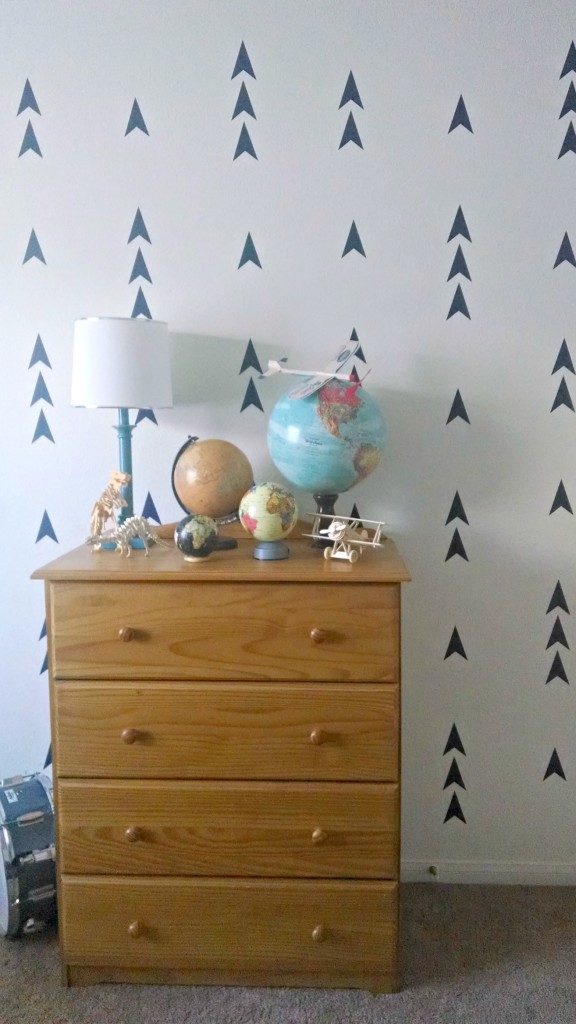
As most of you know we moved to another state and are now renting a home. Ugh, renting is hard! You can’t paint the walls, you can’t put holes in the walls, you can’t even tear walls down. Okay, that last one is a bit extreme but you get my point, there’s not a lot you can do to the walls. I wasn’t going to let that stop me from giving a wall in the boy’s room a little personality. I might be a little more in love with this Arrow wall than my boys are.
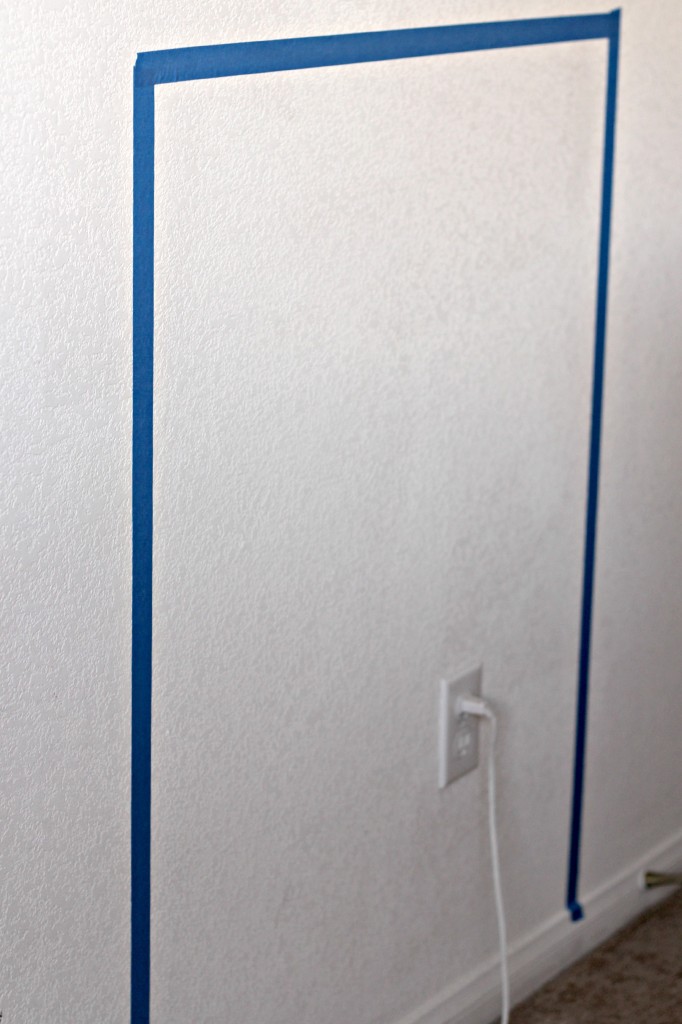
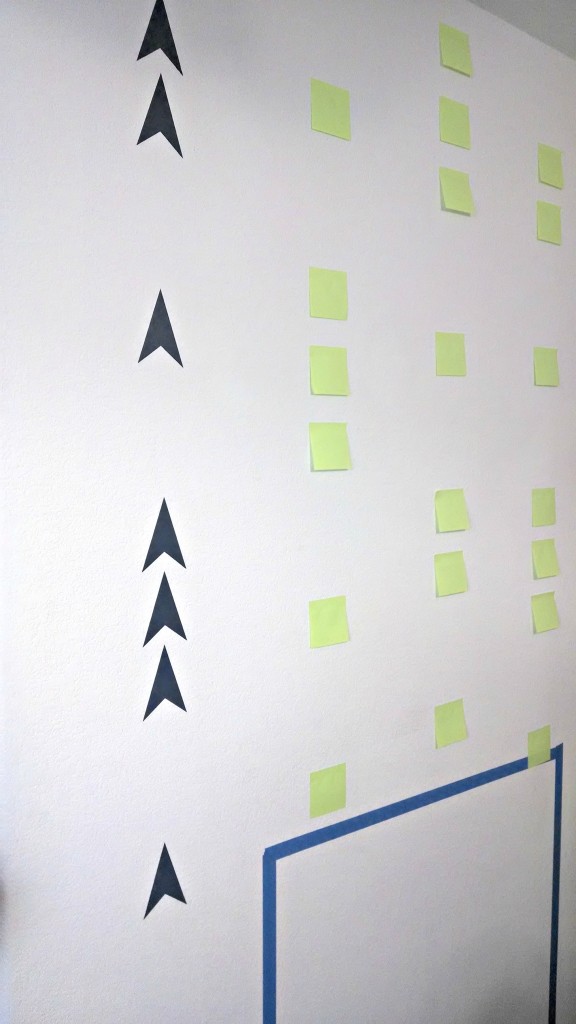
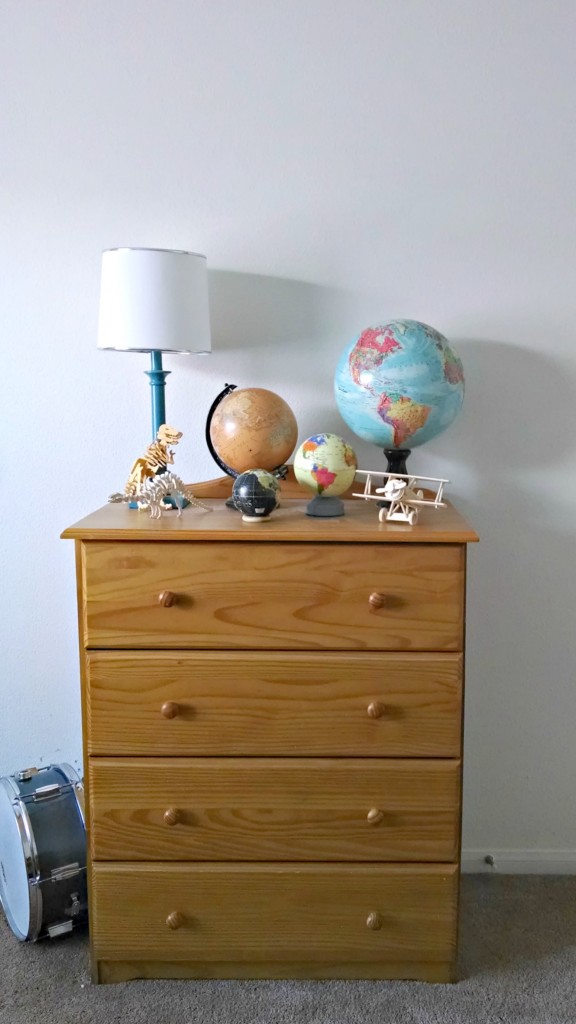
Since they are in a very small room, we are renting, and the furniture is not going to be moved I taped off where the dresser sits so I could save myself some time (and I might just be a little lazy). Anyway, the dresser is never going to be moved while we live here, so it’s all good.
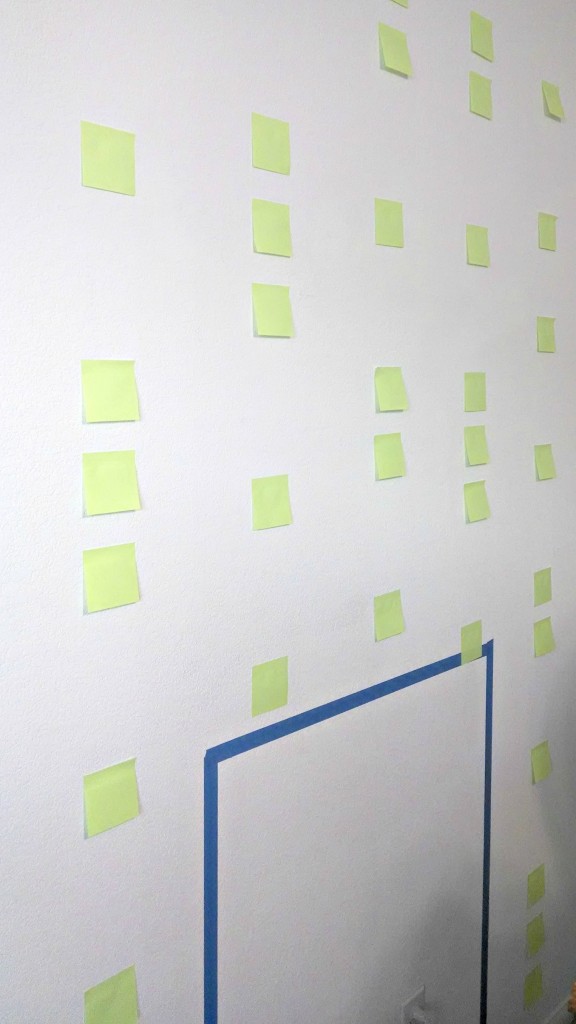
I wanted the vinyl arrows on the wall in a cool pattern. It would have been easier to just space them out evenly but I wanted a really big impact on this wall so I worked out a few different patterns with sticky notes until I got just the right look.
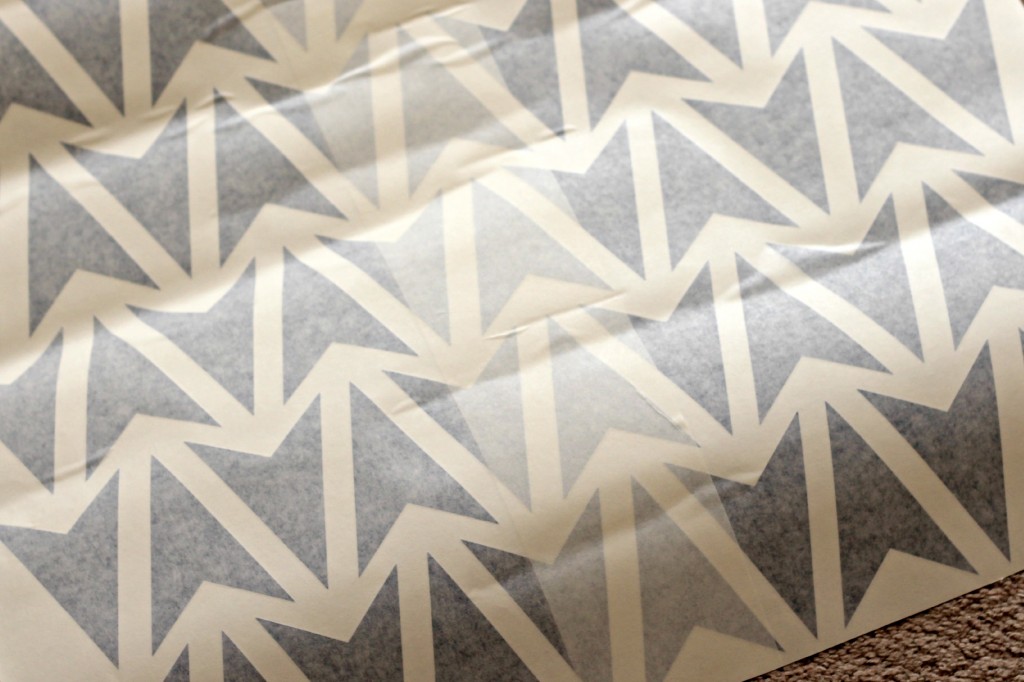
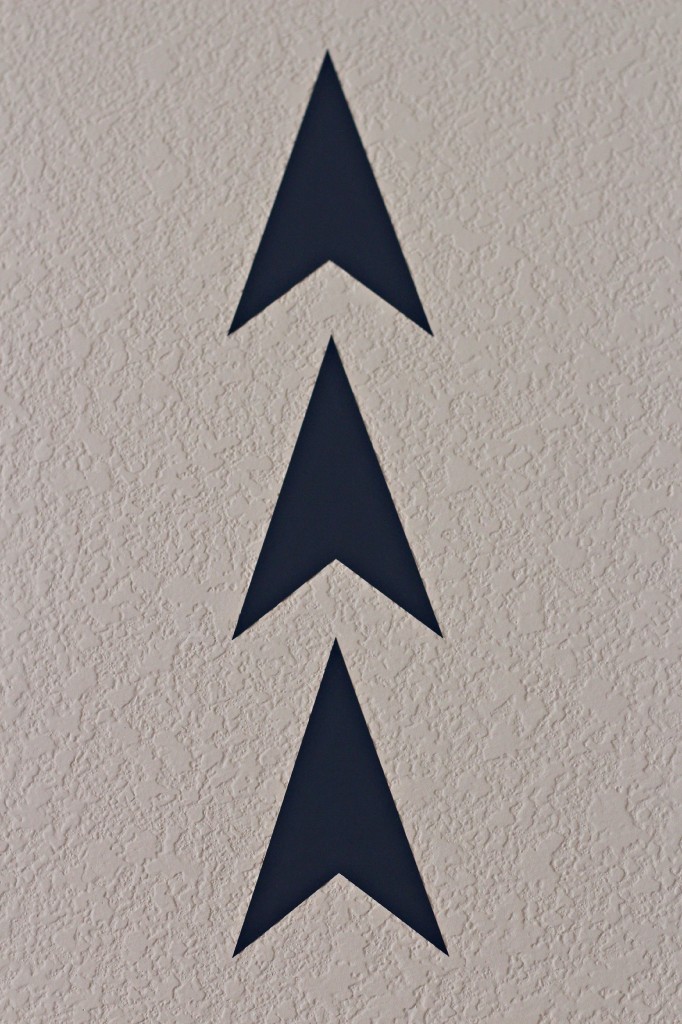
The Arrow decals are from Cozy Wall Art. I was contacted by this company a few months ago so I looked through their products and was impressed with their selection. The only problem was that I had something very specific in mind and I wasn’t finding it through any of the vinyl companies. I talked to Cozy Wall Art about what I had in mind and guess what? Their designer came up with the perfect arrow design for me, exactly what I was looking for. If you’re looking for some awesome Arrow decals, they’ve now got you covered.
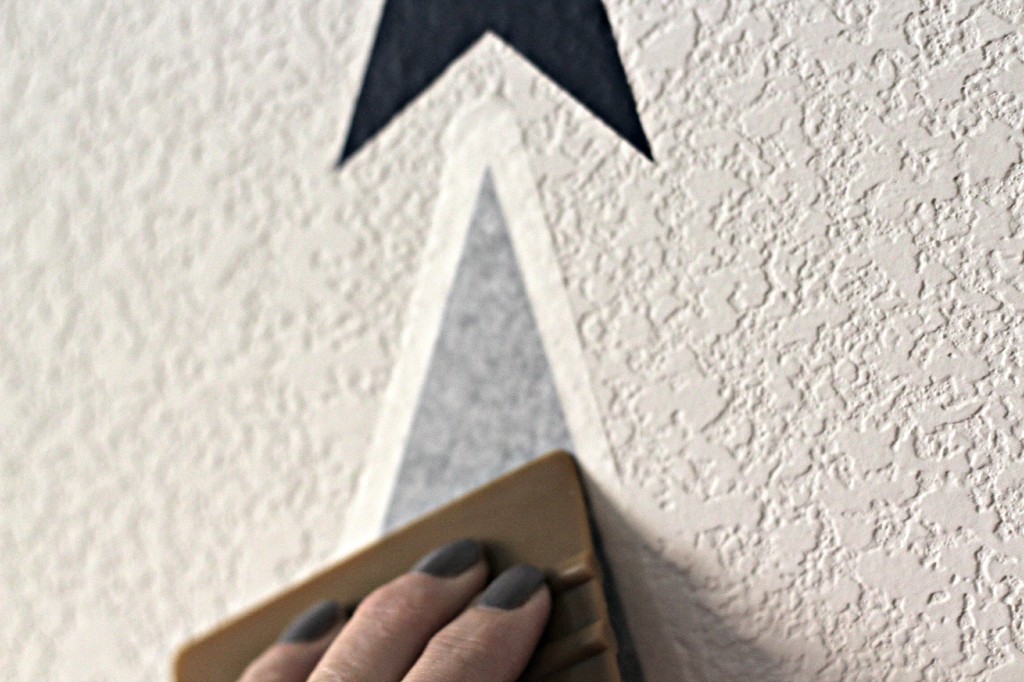
I’m not going to go into much detail on how to apply the decals. It’s pretty straight forward and installation instructions are included with your vinyl. You will want to start with a clean wall though and if you have lovely textured walls, like I do, make sure to use the squeegee to burnish the decal to the wall. Since my walls are super textured I also used my finger to rub the decal into the grooves of the wall. Ugh, textured walls!
I used a small level on the bottom of the arrow points as I went along to make sure the arrows were straight. I usually eyeball most of my stuff but I wanted to make sure they were level before I went on to the next row. My arrows are 4″ tall and 2 3/4″ wide. When you order they would be the 4″ arrows.
I started next to the closet door and worked right on the wall. Each row is spaced 10″. The arrows in groups are 1″ apart and the space between each group is 8″. It was easy once I got started, I just followed the pattern I had laid out with the sticky notes.
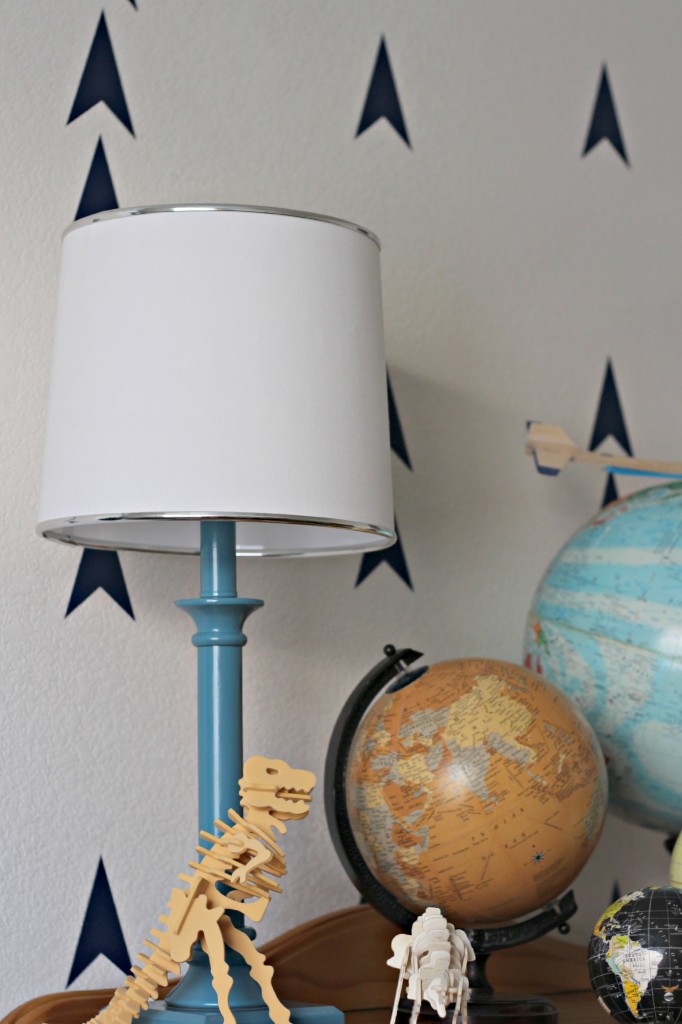
I love how it turned out and what’s even better is that the boys love it. Both of the boys are big into scouts and arrows have significant meaning to them, plus they’re just awesome. Don’t mind the over crowded dresser, Ammon loves all these things so I just gave up.
Here’s a little before and after action. What a huge difference a few decals can make! It went from rental drab to “this wall is so awesome, it doesn’t matter that we are renting”. Okay, yeah.
I hope the boys don’t mind this wall being duplicated when we get a house because it’s happening. Oh, and their room has even been clean for 3 days since I took this picture. I’m sure it’s because of the awesome wall! Yeah, that’s it.



Oh my gosh, this is SO FREAKIN CUTE!!
LOVE this so much!
LOVE this so much!
I love your creativity! I can’t believe what a difference those cute arrows make on that wall! It’s awesome! Thanks for the fabulous idea!
I love this. So creative and fun!
Seriously!! This is awesome! I really need to do something like this in my boys room. They would love it!