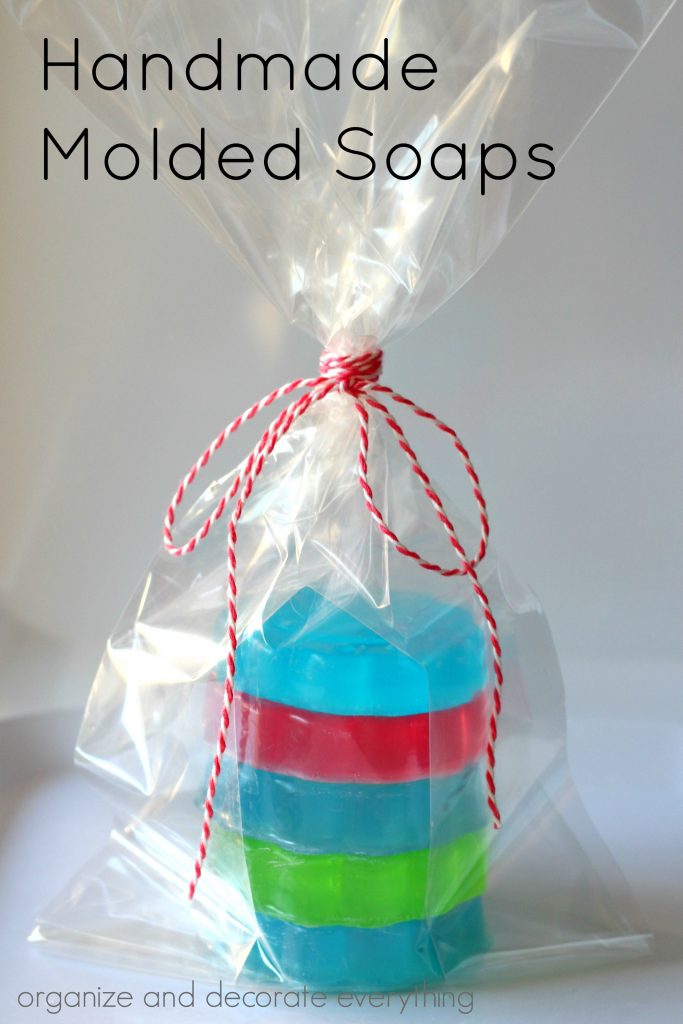
Handmade Molded Soaps take about 30 minutes to make from start to finish and make a lovely gift.
In my church I’m over activities for girls ages 7-10. We meet together twice a month and spend an hour together learning new skills, crafting, playing games, and eating treats. Last week I taught them an easy way to make Handmade Molded Soaps. Now the girls have learned a new skill and how to make another handmade gift. It was a fun and easy process so I thought I would share it with you.
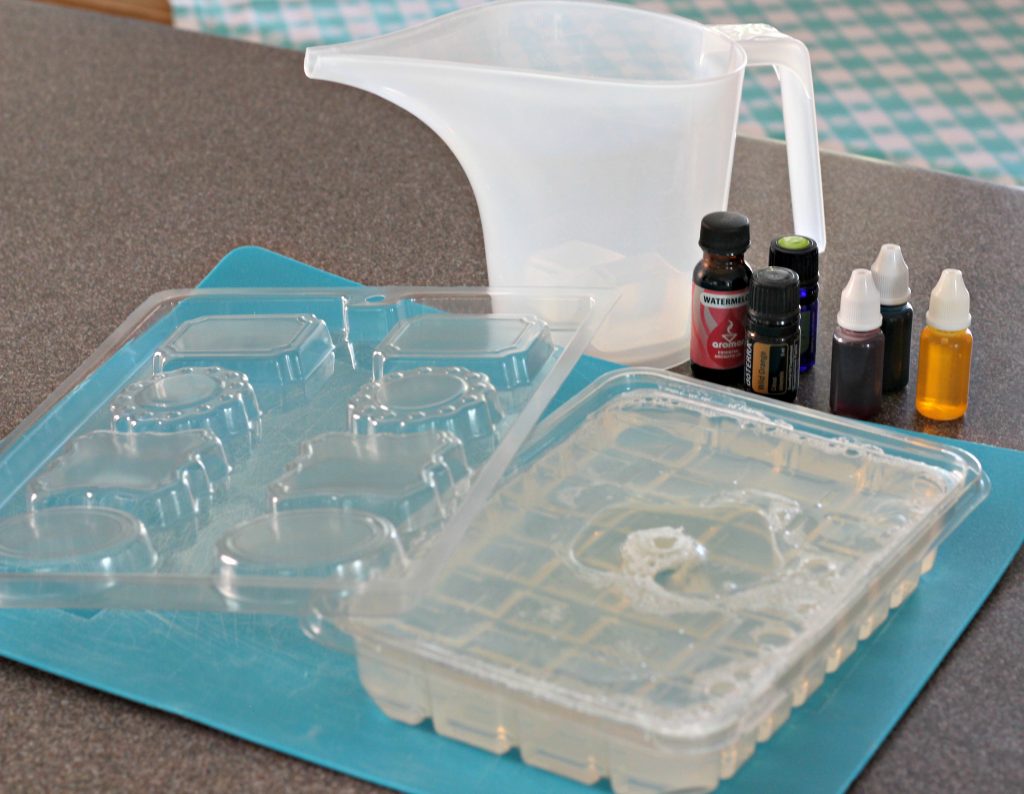
Supplies needed:
transparent soap (craft store)
funnel measuring cup (soap making area of craft store)
soap color dyes (soap making area of craft store)
soap scents (I used essential oils)
soap molds (plastic candy molds were a bit cheaper than soap molds)
soap fillers (shaped clips, jewelry findings, resin flowers, etc)
I was going to link to Amazon for some of the soap supplies but the products were actually cheaper at my local craft store, especially with a coupon.
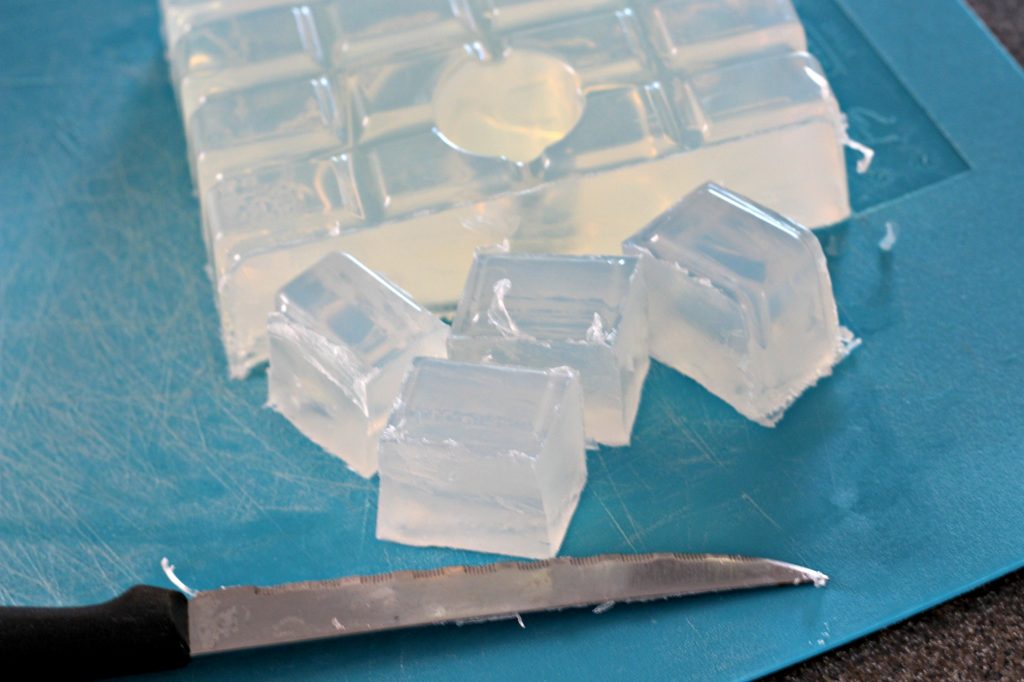
The great thing about making soap is that the clean up is super easy. Haha! I’m using the transparent soap because we wanted to add little trinkets to the soap but you can also purchase opaque soap to start with. Remove the soap from the container and use a sharp knife to cut off how many cubes you will need. With the molds we used it averaged about 1 1/2 cubes per mold.
Place the soap cubes in the measuring cup and heat in the microwave for 20 seconds. Continuing heating at 10-15 second intervals until the soap is completely melted. I use a funnel measuring cup because it’s easier to pour the soap mixture into the molds.
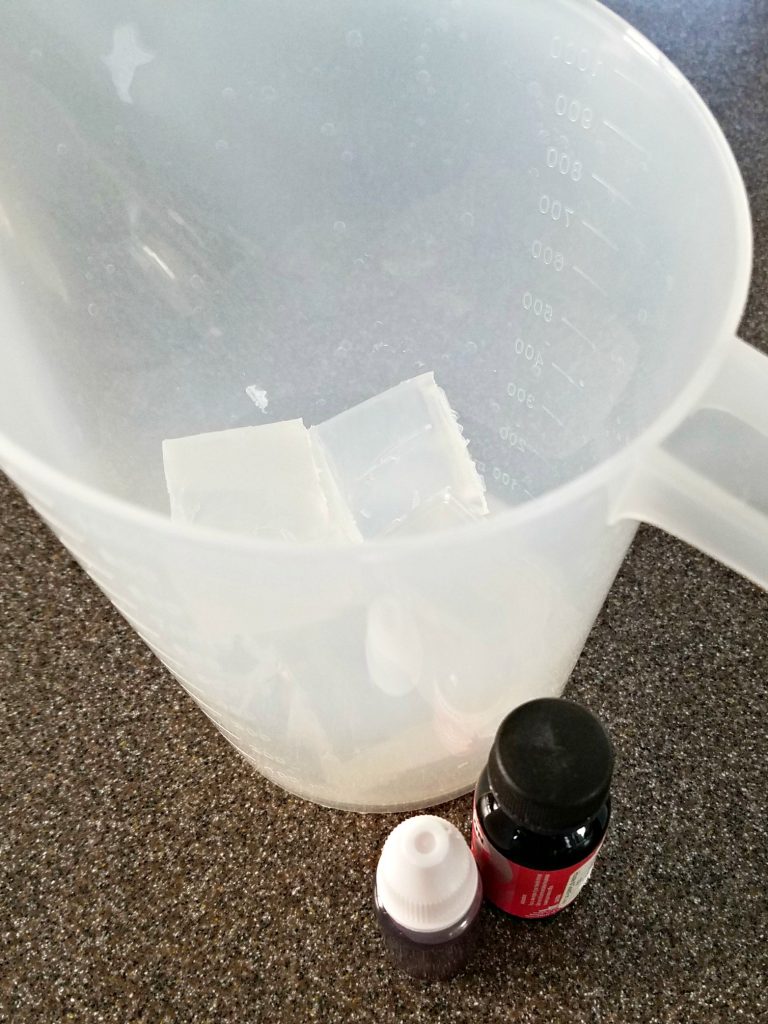
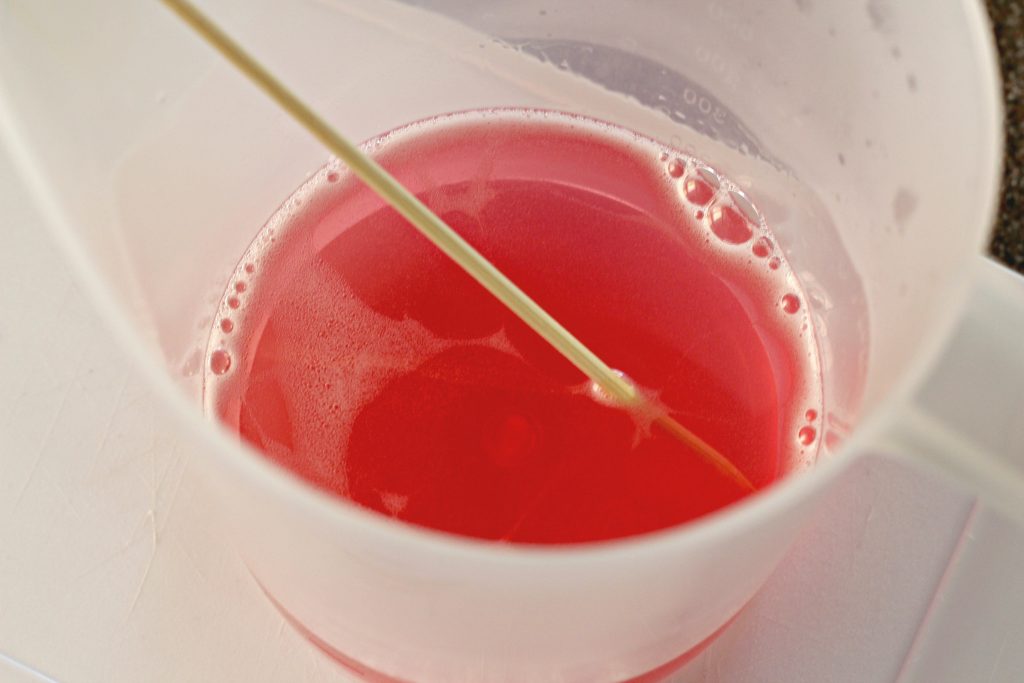
Add a couple drops of coloring and scent to the soap mixture. Add more drops of color until you get the desired color.
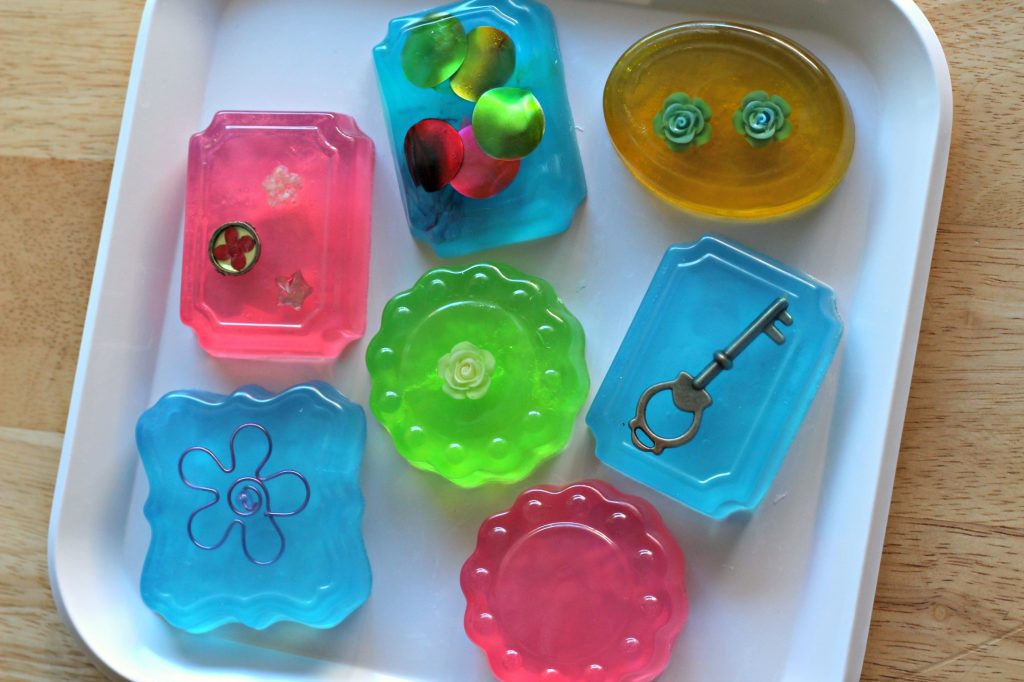
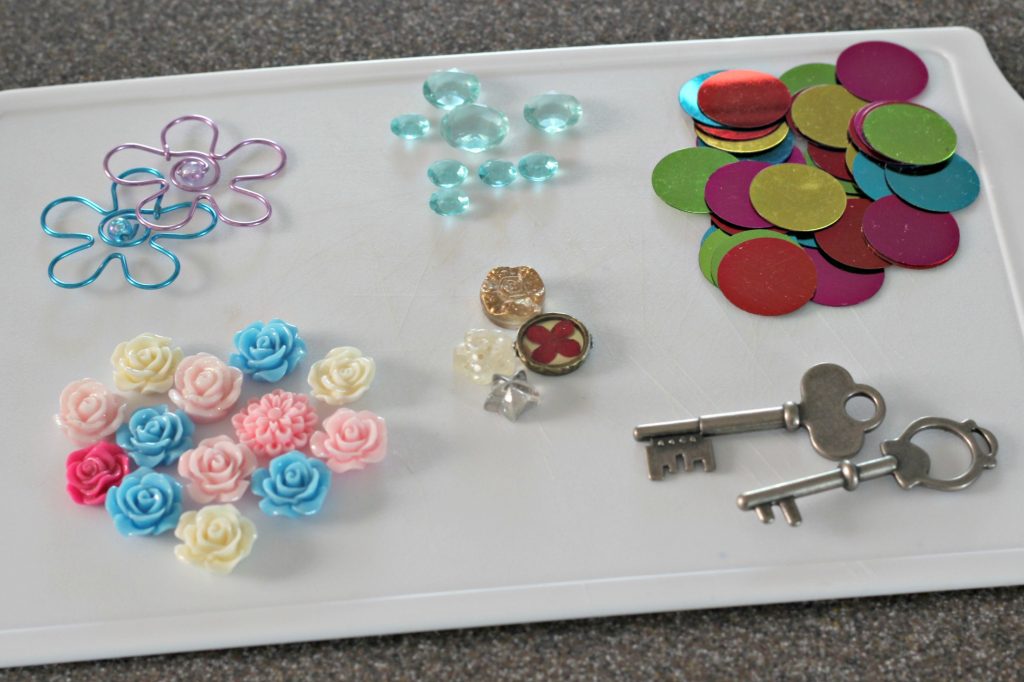
Here are some of the things I used to add to the soaps. I just raided my craft room to see what might work. The large colored disks were a good idea but they melted a little with the heat of the soap so it didn’t work out too well. If I were making these for kids I would include little animals or even Legos.
Place the trinkets in the molds the way you want them. Some of my ideas turned out better than others, but it was fun experimenting.
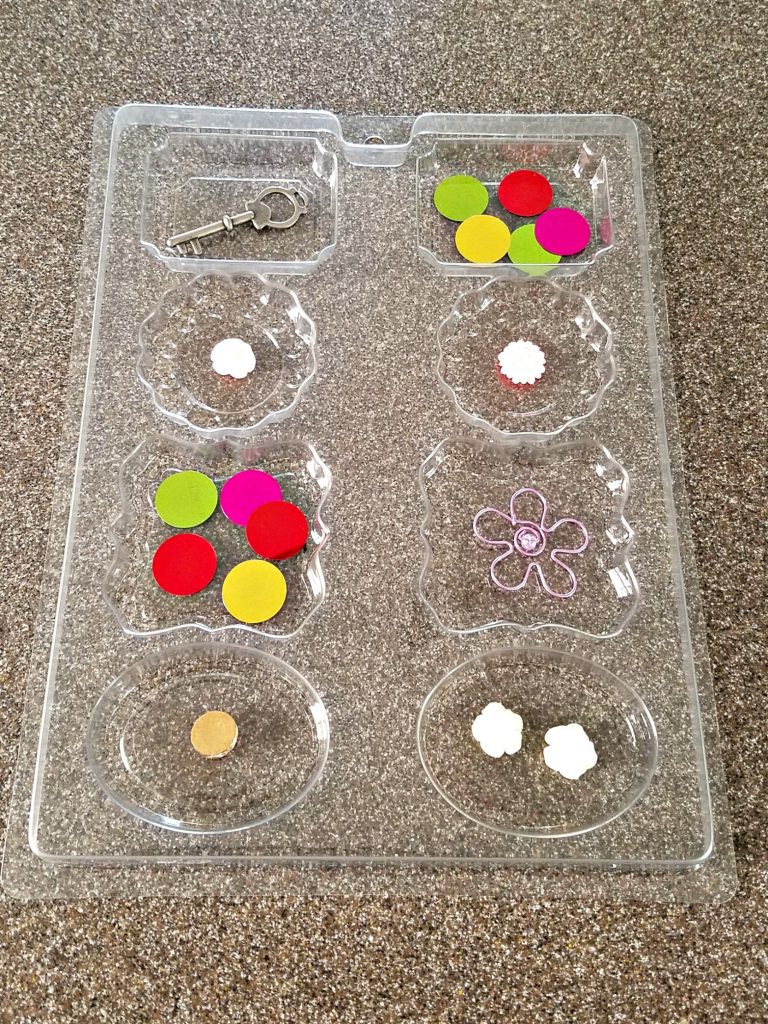
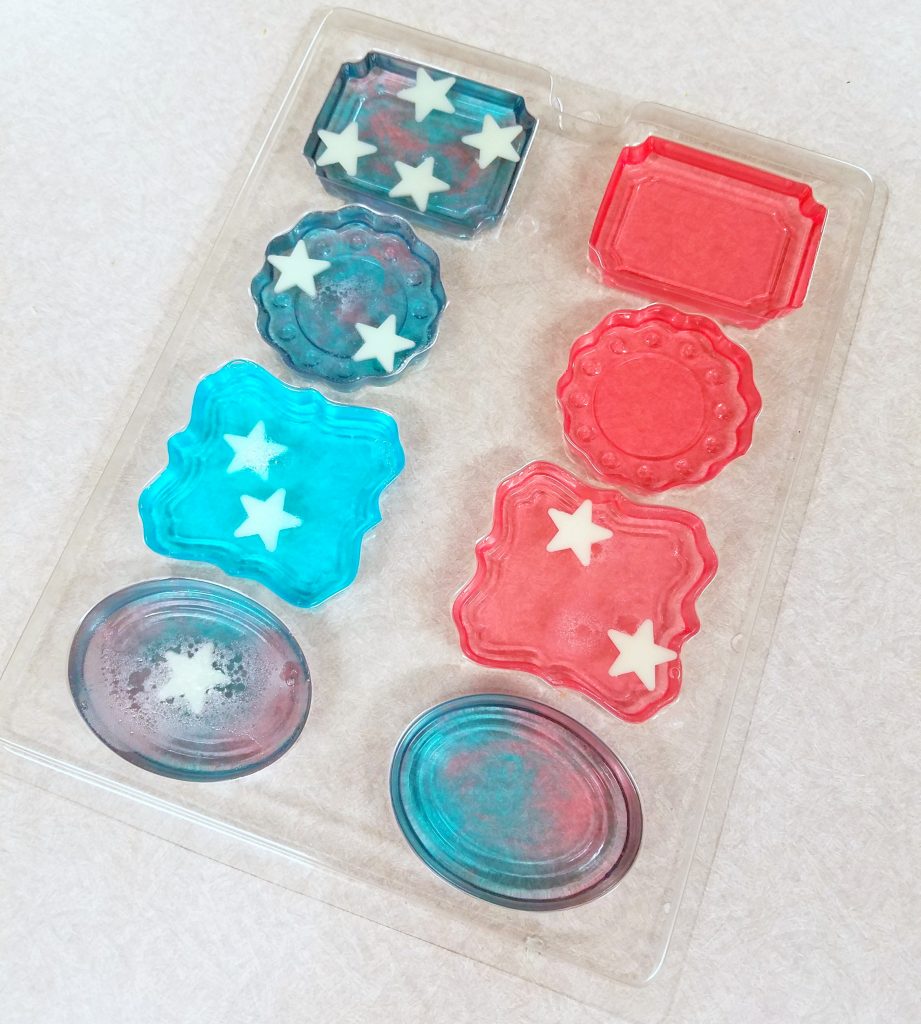
I provided glow in the dark stars for the girls to use so they placed them where they wanted. Pour the soap mixture into the molds. You can use a wood skewer to move them into place but don’t wait or the soap will start to set up.
Have the mold set out at room temperature for 10 minutes then place it in the freezer for 20 minutes. There are so many molds to choose from, make sure to look in the soap area and candy area of the craft store.
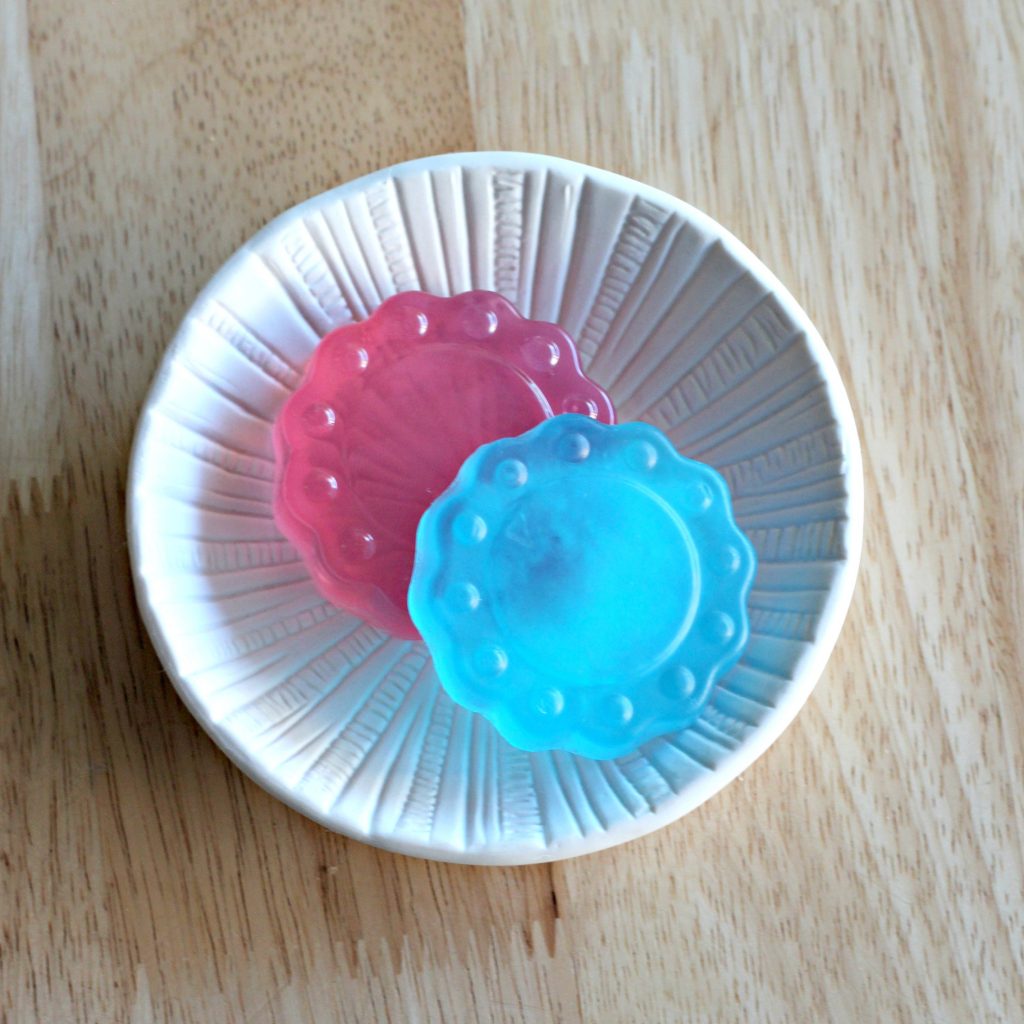
Turn the mold upside down and gently push the soap out. Now they’re ready to be used and they smell so good. The pink is watermelon, the blue is lavender, and the green and yellow are wild orange. I just used scents I already had.
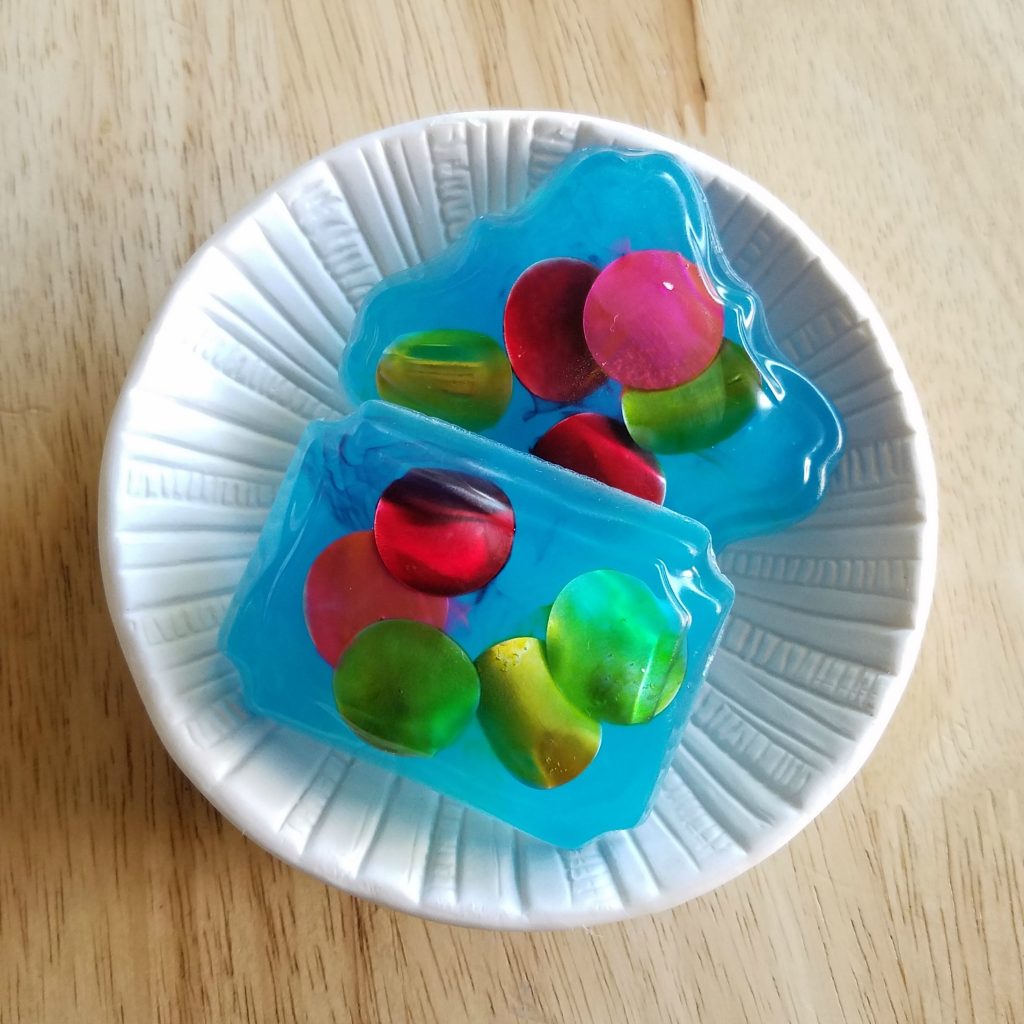
As you can see the color disks melted a little and also misshaped the mold a little. Bummer, but I like experimenting and they still look pretty cool.
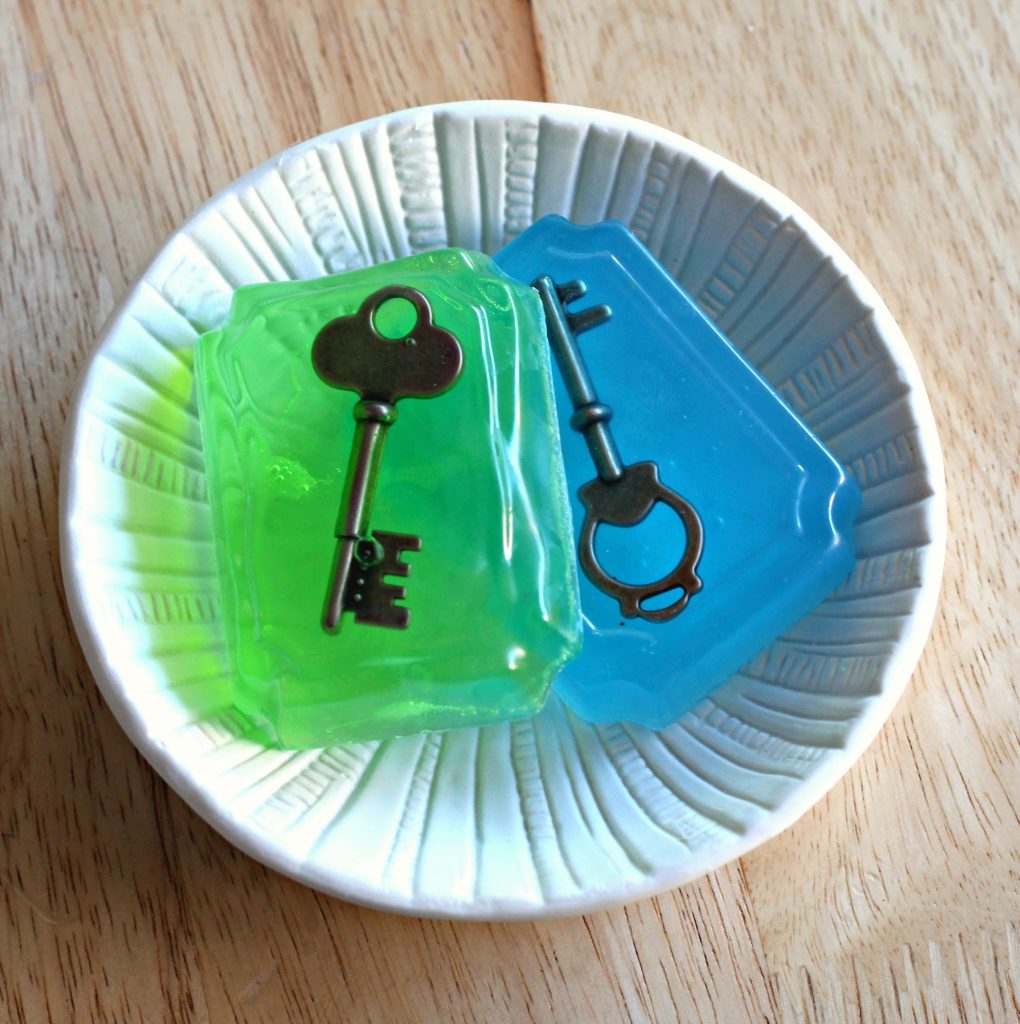
I think the keys are my favorite.
I didn’t want to waste the soap so I added the remaining of the colors together to make this last mold.
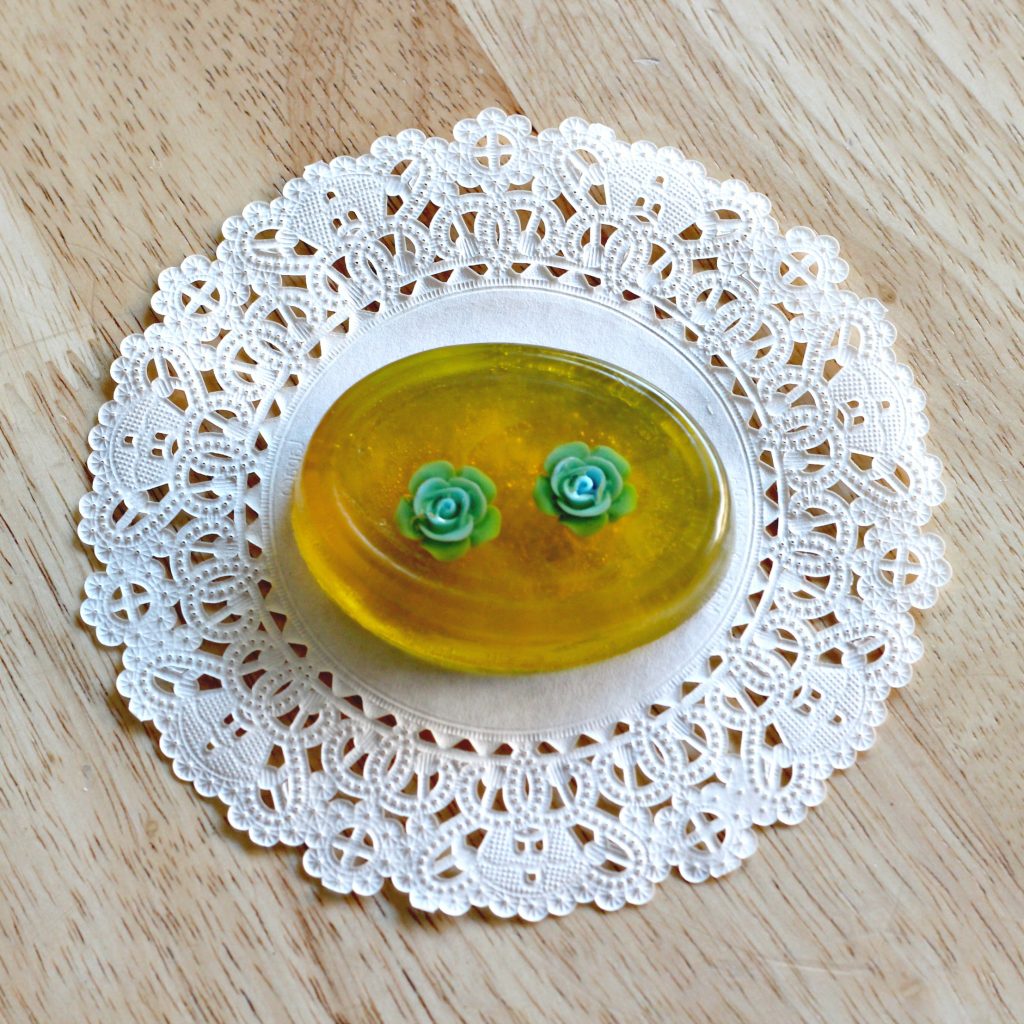
The soaps would be a great gift for Mother’s Day and it would be fun for the kids to make. Place them in a clear bag or on a soap dish for gift giving.
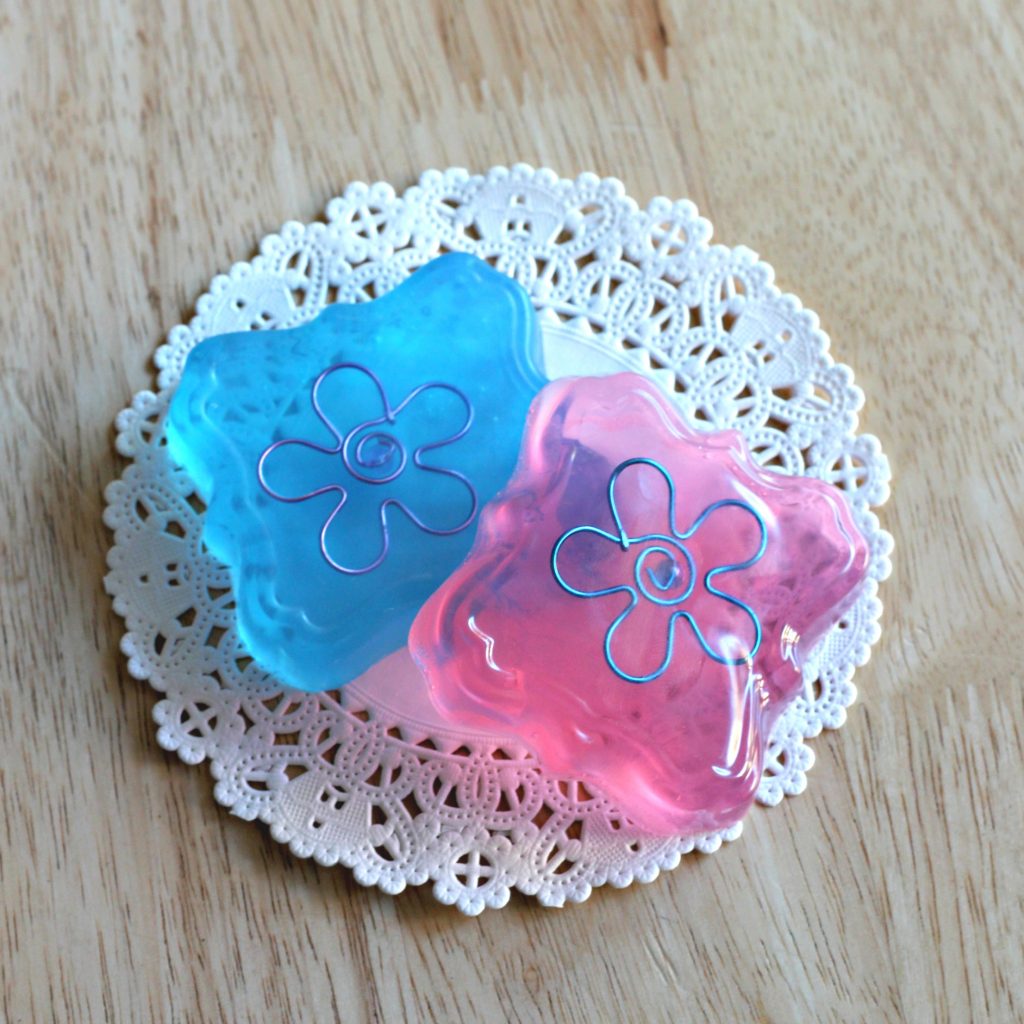
Pin it for Later:

You might also like:
Mother’s Day Gift Ideas


