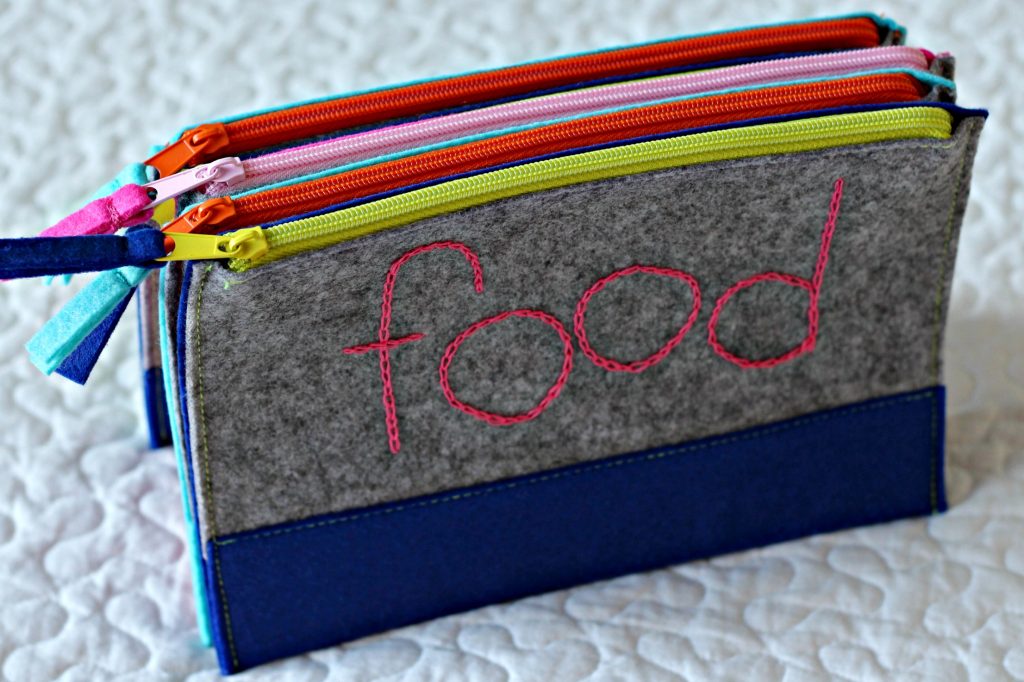
Embroidery Felt Pouches can be personalized and used for many different purposes.
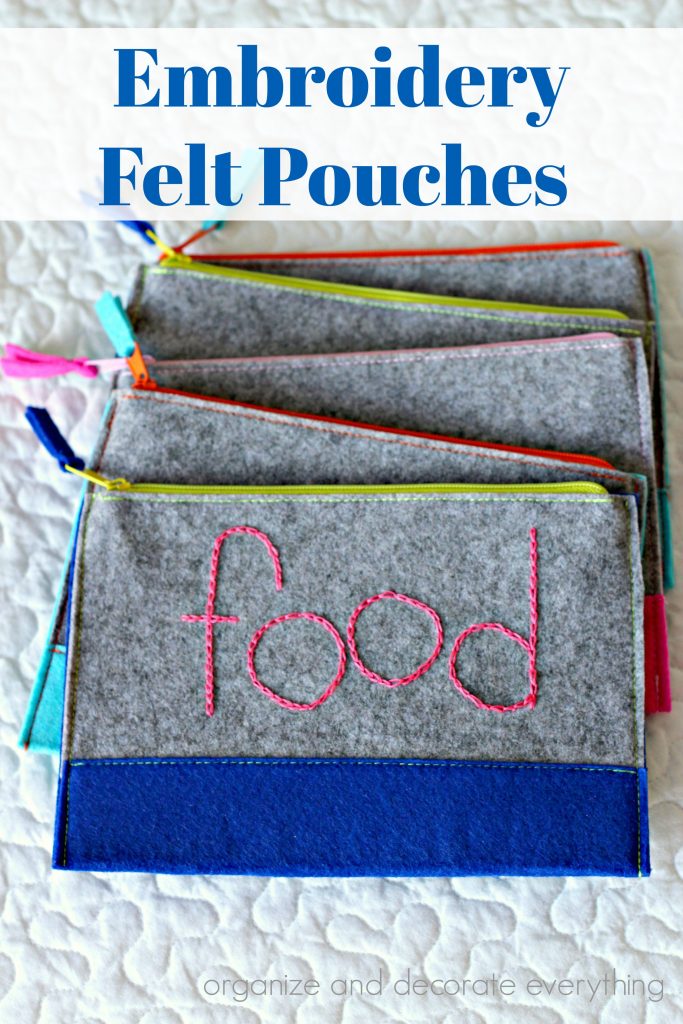
Embroidery Felt Pouches
I found these zipper pouches at Target for $1. Amazon has some but they are a little pricier. I have also seen them at several craft stores and sometimes they carry them at office supply stores. There are many different possible uses but I wanted them for the Cash Envelope System I’ve used for years.
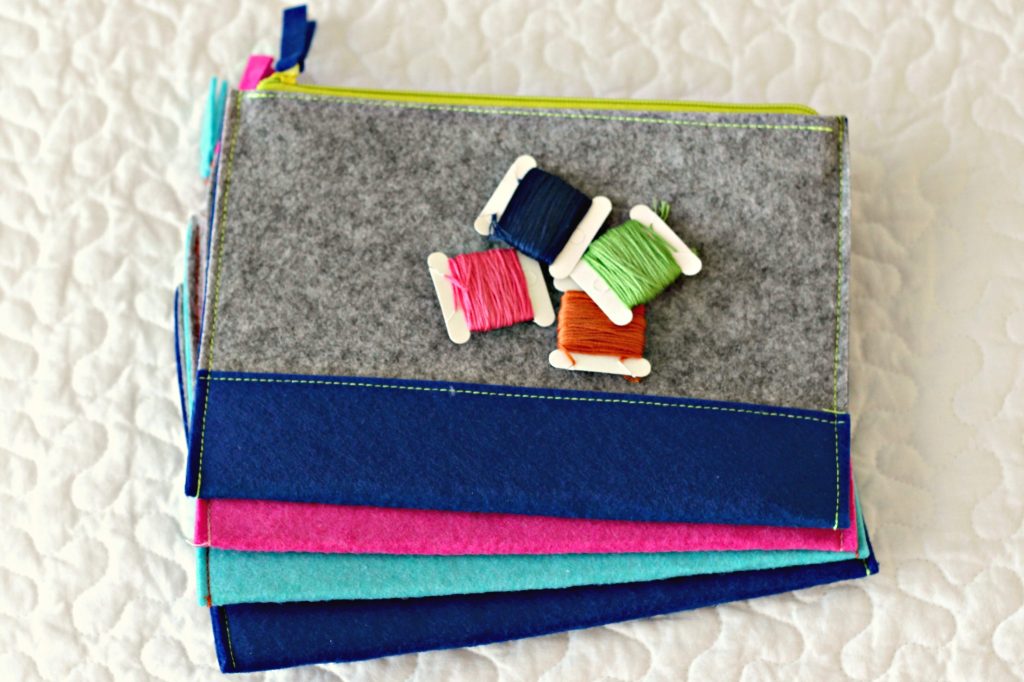
The only supplies you need to make the Embroidery Felt Pouches are the pouches, embroidery floss, and a chalk pencil. It’s been at least 25 years since I’ve embroidered but I feel like it’s something I should get back into. I really enjoy it and I think they turned out pretty good.
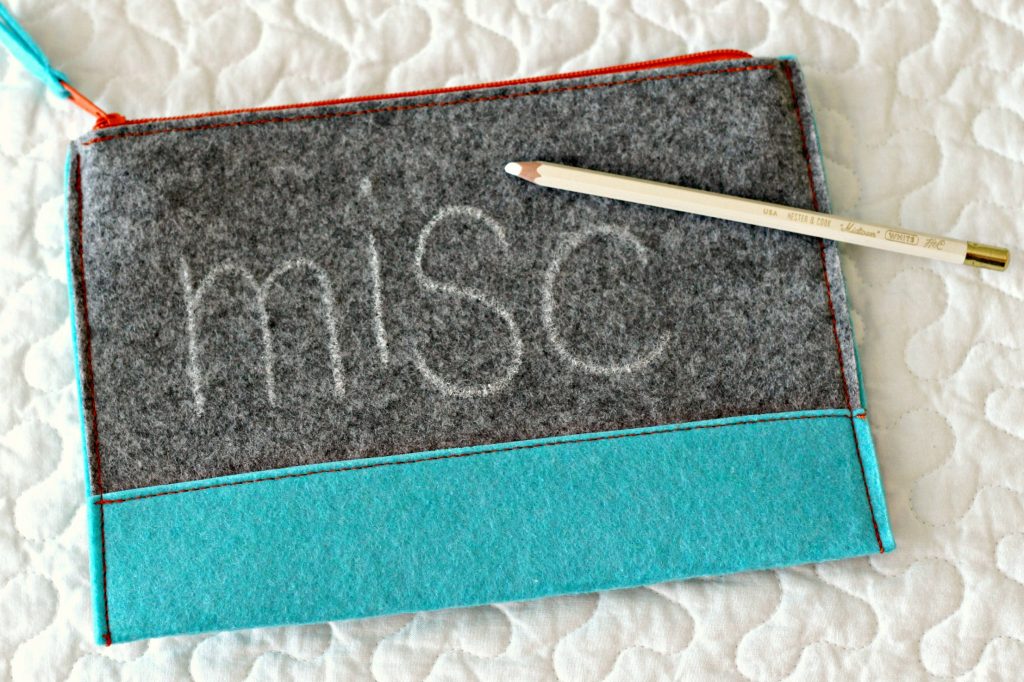
Use a chalk pencil to draw what you want to embroider. The chalk pencil shows up well on felt and wipes off easily. Sometimes a little too easily so be careful while handling it.
I’m working with 2 main stitches after being out of practice for so long, the chain stitch and stem stitch. In 7th grade sewing class I learned how to embroider. I really like sewing but am intimidated by the machine so when we spent a couple weeks on hand sewing and stitching I was hooked. I like the handmade look of stitching so I don’t worry about it being perfect and I was surprised how easy and relaxing I found it after all these years.
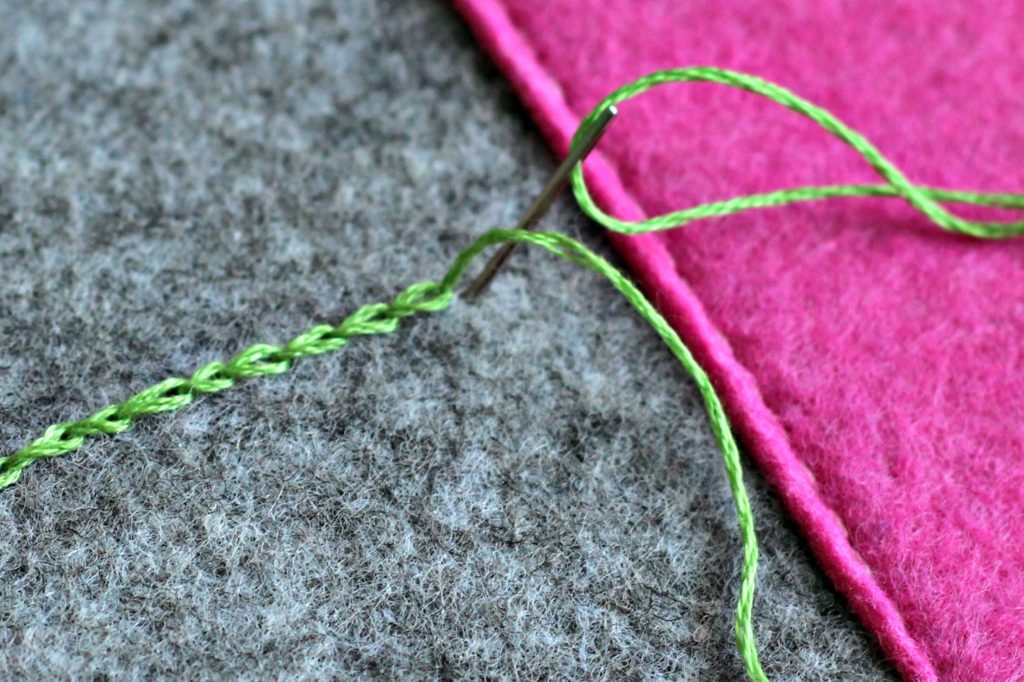
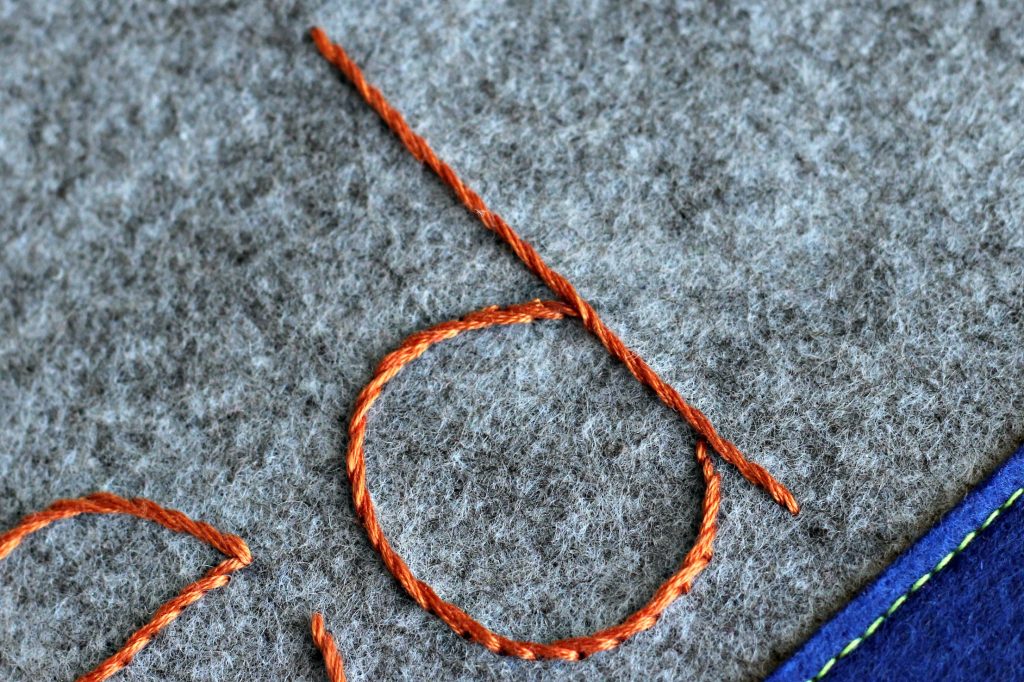
The Chain Stitch is still one of my favorite stitches. It’s like a series of connected loops. To start the stitch bring the floss up from the back and put the needle back down through the fabric close to where it came up, you will have a little loop. Bring the needle up through the fabric inside the loop a short distance from your starting point. Then pull the thread to make the first loop.
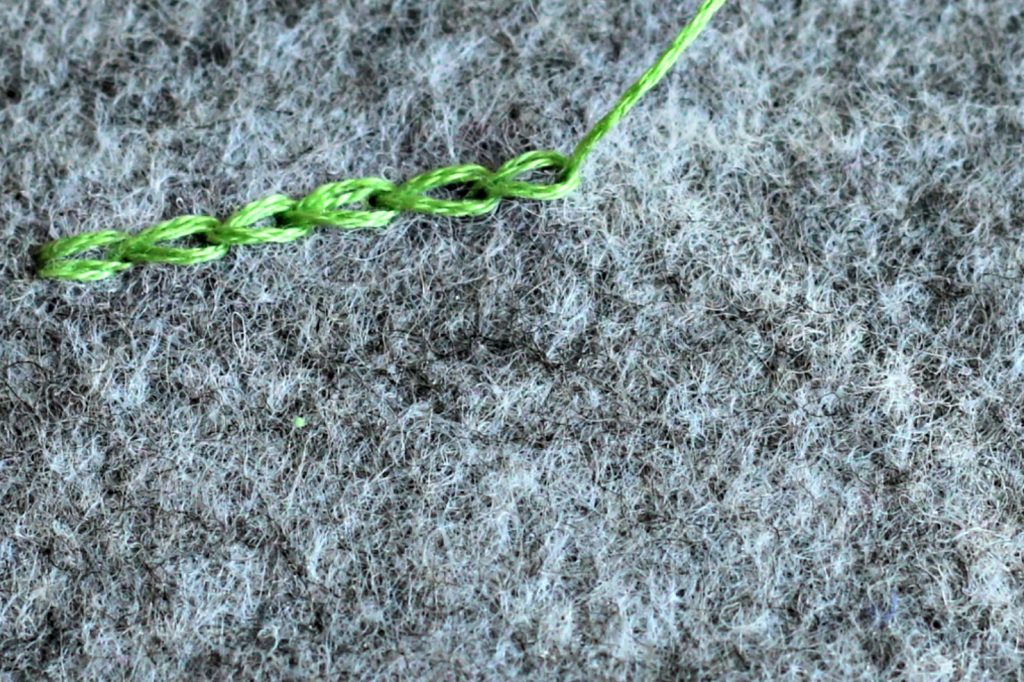
After the initial loop begin the next stitch inside the loop next to the exit stitch. Bring the needle up through the fabric a short distance then place the thread over the needle from left to right, like shown below. Try to keep your stitches consistent in size but don’t stress over it.
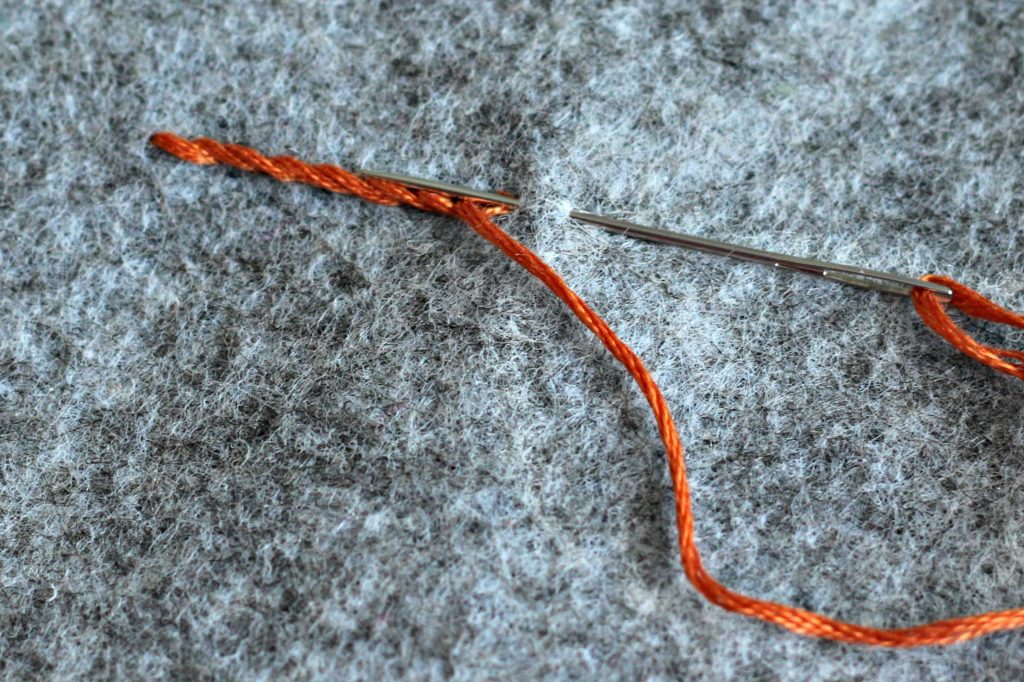
The chain stitch is really quick and easy once you get going. Your stitches could look different from someone else’s depending on the thread tension, stitch size, and how close your entrance and exit points are. This is the loop before the thread is pulled.
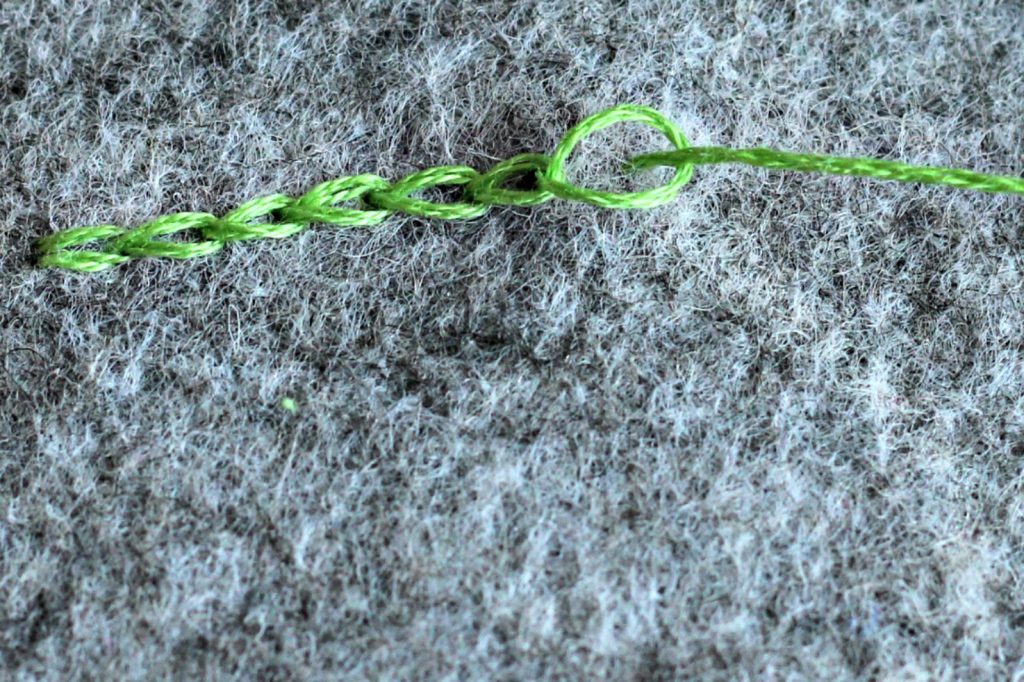
And this is after and ready for the next stitch.
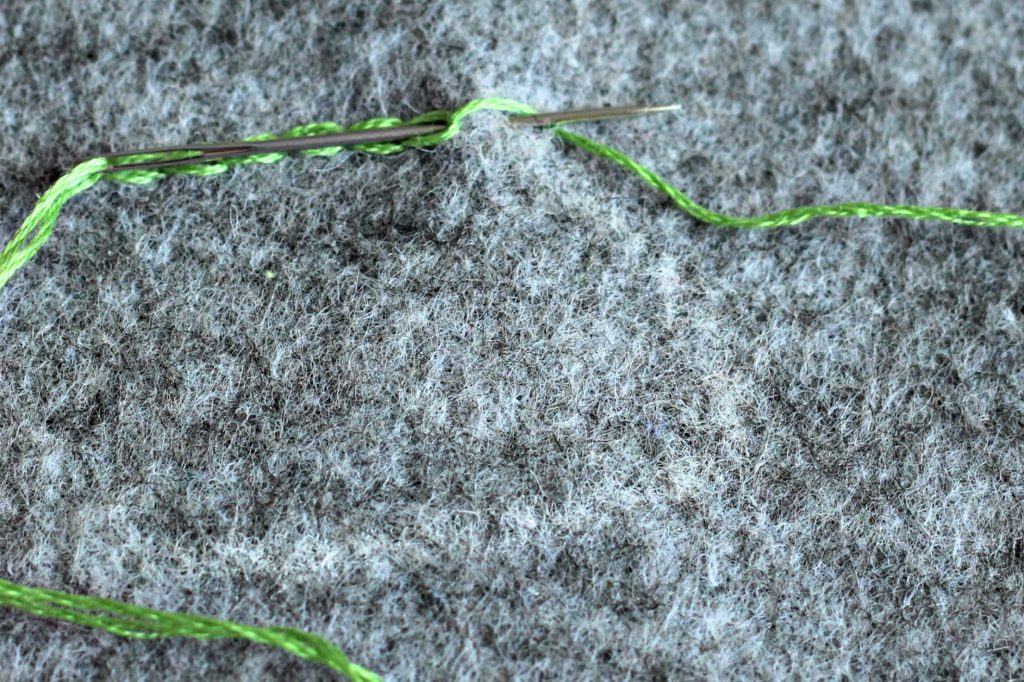
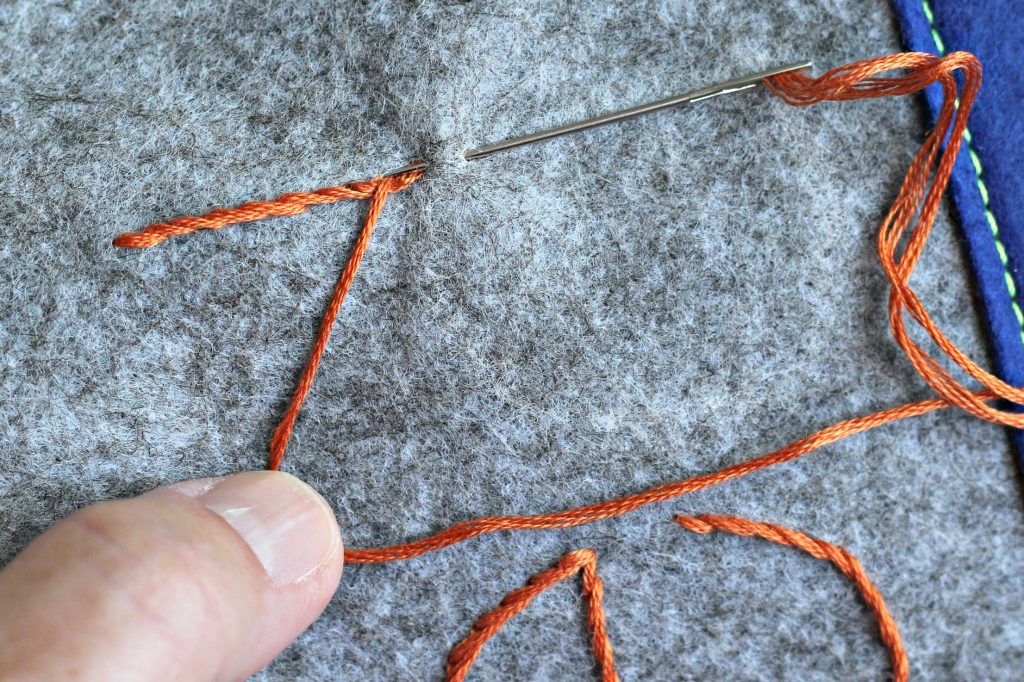
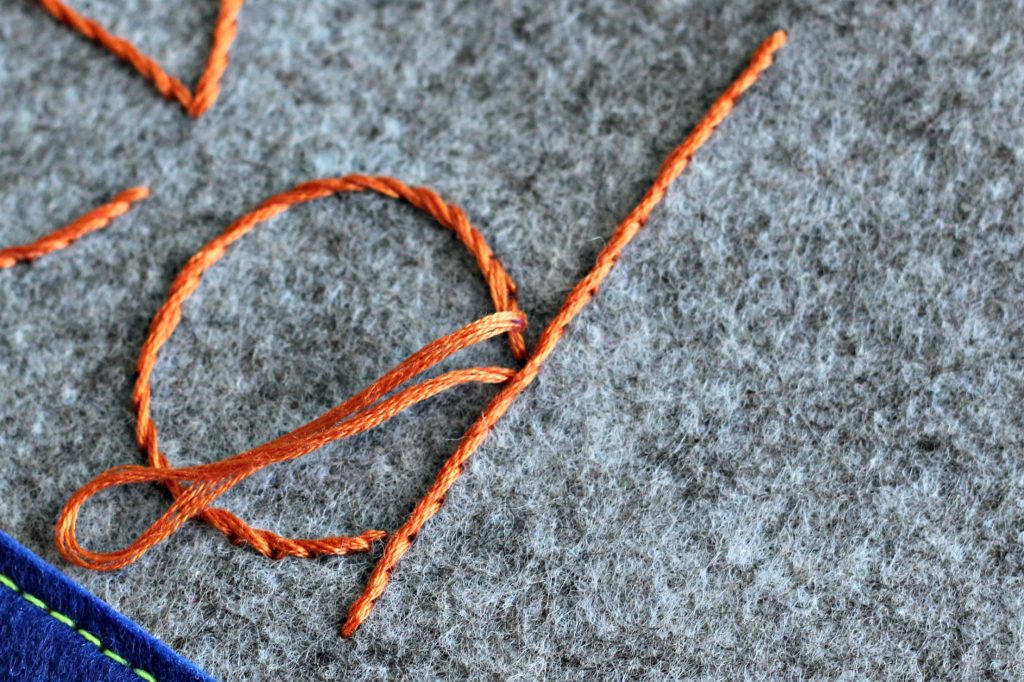
The chain stitch is easy to end by placing the needle down through the fabric at the end of the last loop then tie it off on the back side using a simple knot.
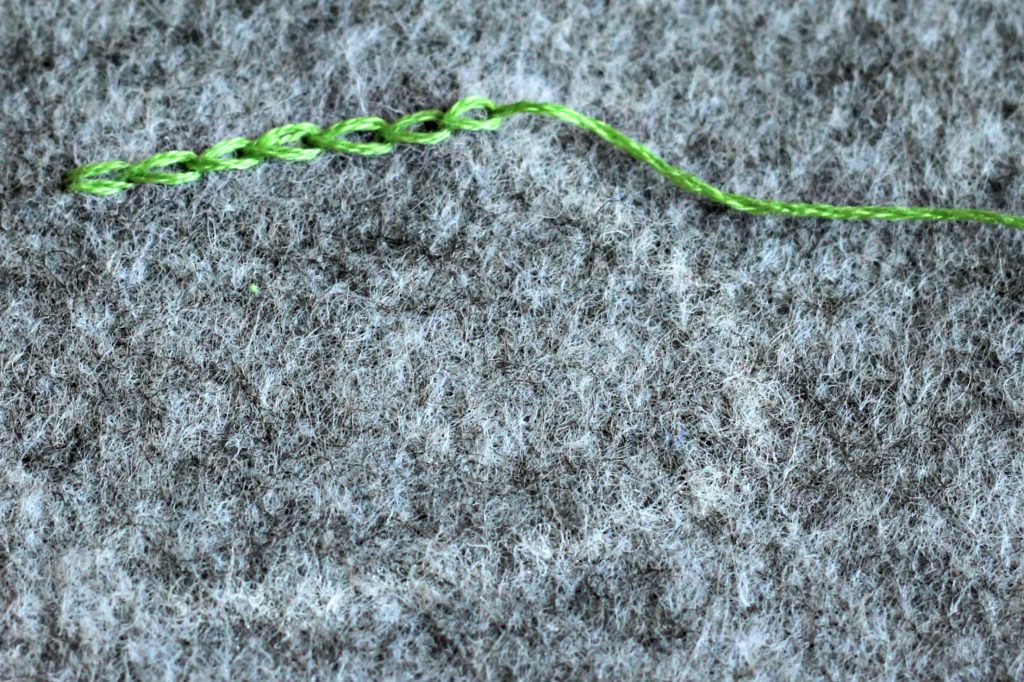
It’s not perfect but I like the process and how it’s turning out. Floss usually comes with 6 strands but I divided it and used 3 strands for this stitching.

The Stem Stitch is next. It reminds me of twisted rope and is a really easy stitch. I feel like it’s ideal for curved letters or objects. Start this stitch by coming from the back then go back down through the fabric a short distance from where you came up. Place the needle back down through the fabric half way of the first stitch. Make sure the floss stays at the bottom of the stitch as shown below.
I find my stitches are much more consistent if I go down and up through the fabric in one motion.
Ending the stitch is very easy. Just go down through the fabric and instead of coming back up tie it off on the back. On fabric that has more of a grain you would simply bring the floss back through some of the stitches on the back side to finish it off and there would be no need to tie it.
Use all 6 strands of the floss for this stitch to make it thicker.
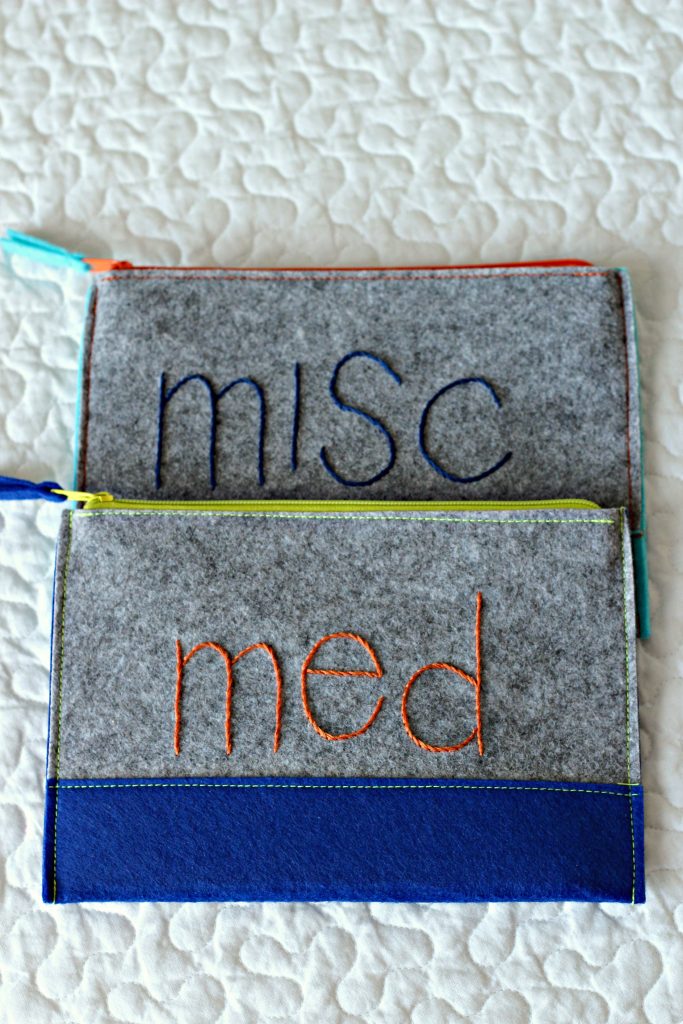
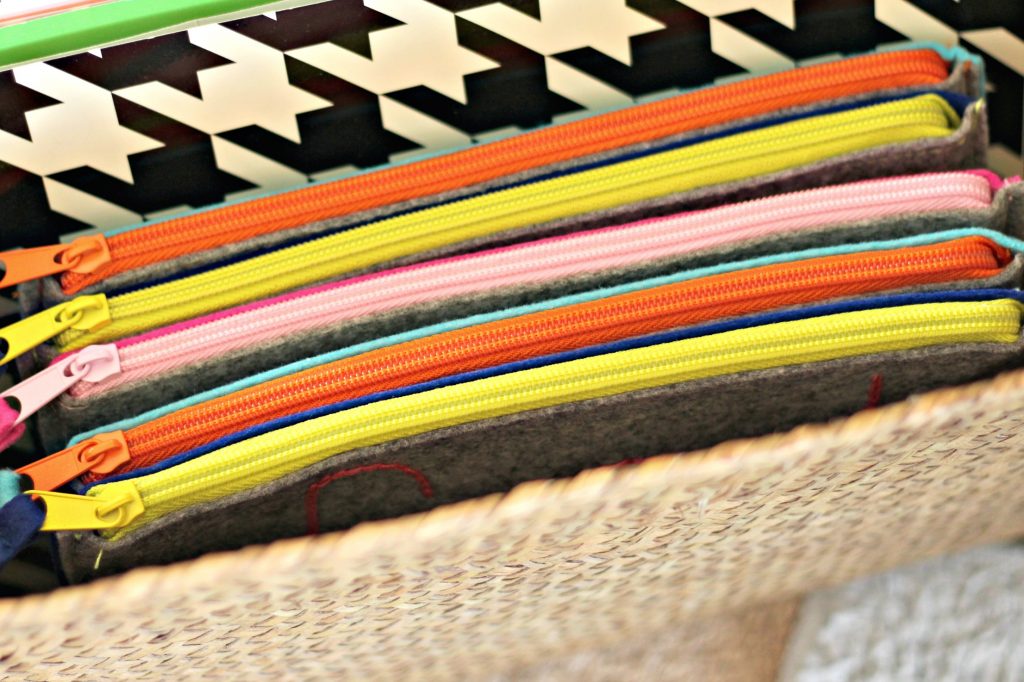
Here are the pouches in the chain stitch.
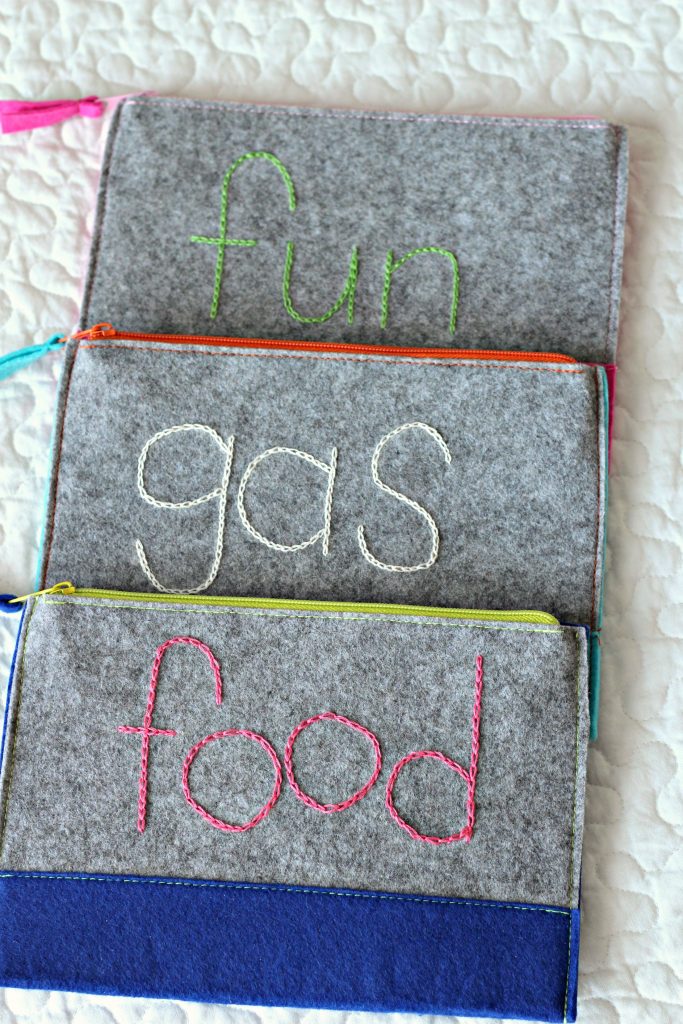
And here are the pouches in the stem stitch.
This is a fun project and I’m glad I had the idea of stitching the pouches. Embroidery is a very affordable craft. You can use about any type of fabric you like and floss is very inexpensive.
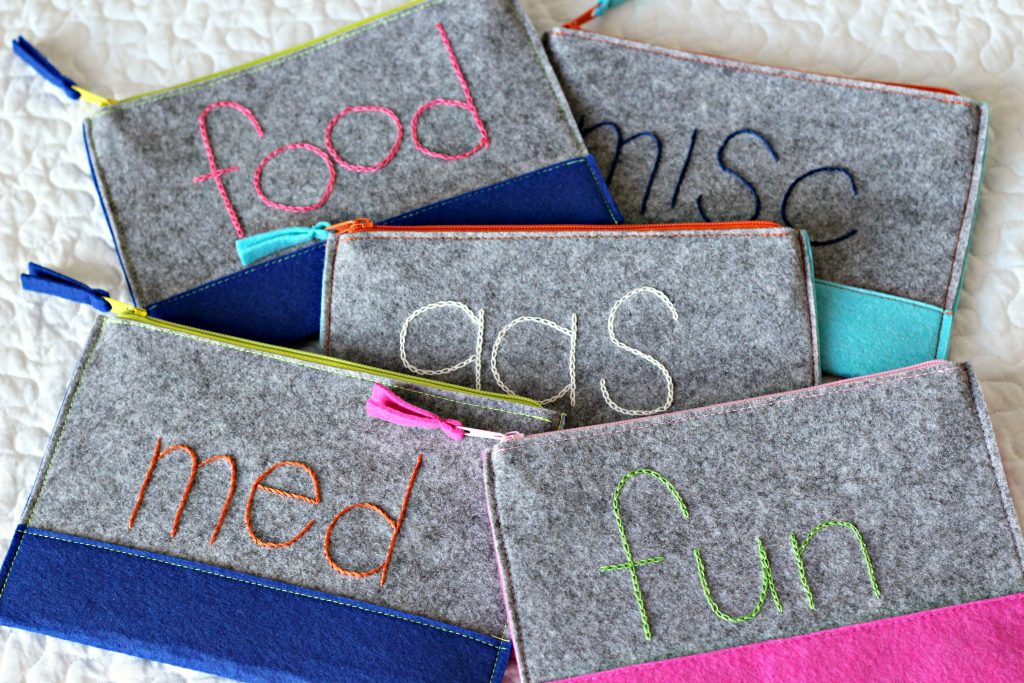
These are working really well as my Cash Envelopes and they won’t wear out.
Pin it for later: Embroidery Felt Pouches
You might also like this post: