
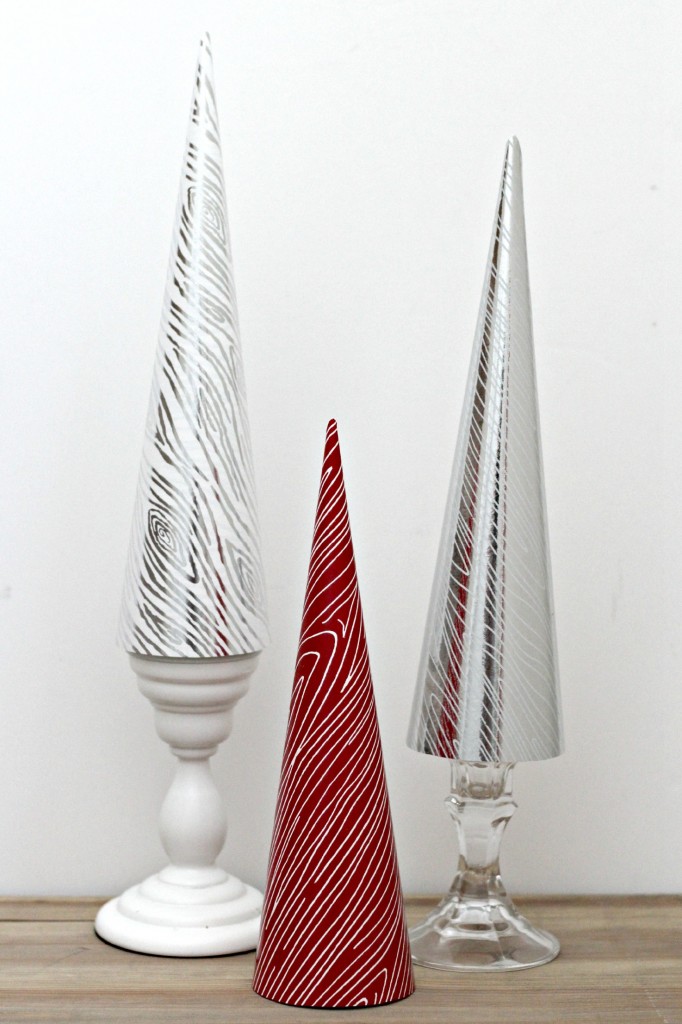
Make Cone Shaped Christmas Trees in minutes using wrapping paper and foam cones. You can change the paper every year for a totally new look. Customize them to match your wrapping paper for the season. I love how they turned out.
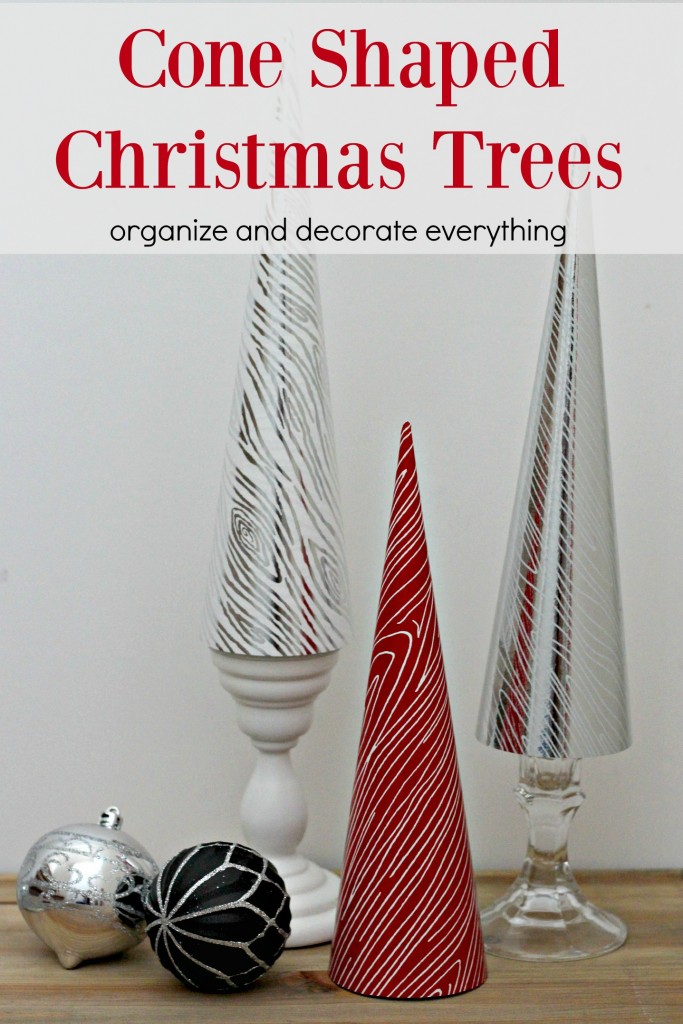
Cone Shaped Christmas Trees
You know how I like using things I already have. I know a lot of you are the same way. There’s nothing wrong with saving money and being thrifty but I know some people can make you feel like you have to spend money to have the newest and the trendiest decor items. It is possible to make beautiful things and not spend a lot of time or money.
I’ve had these cones for a long time meaning to make some kind of tree or forest but never got around to it. Now is the time! This wrapping paper is my all time favorite. Whenever I see wood grain (faux bois) wrapping paper I try to snatch it up. I saw some last year that I didn’t purchase and I’m still sad over it, especially since it was black and I would’ve loved to use it for Christmas and even Winter.
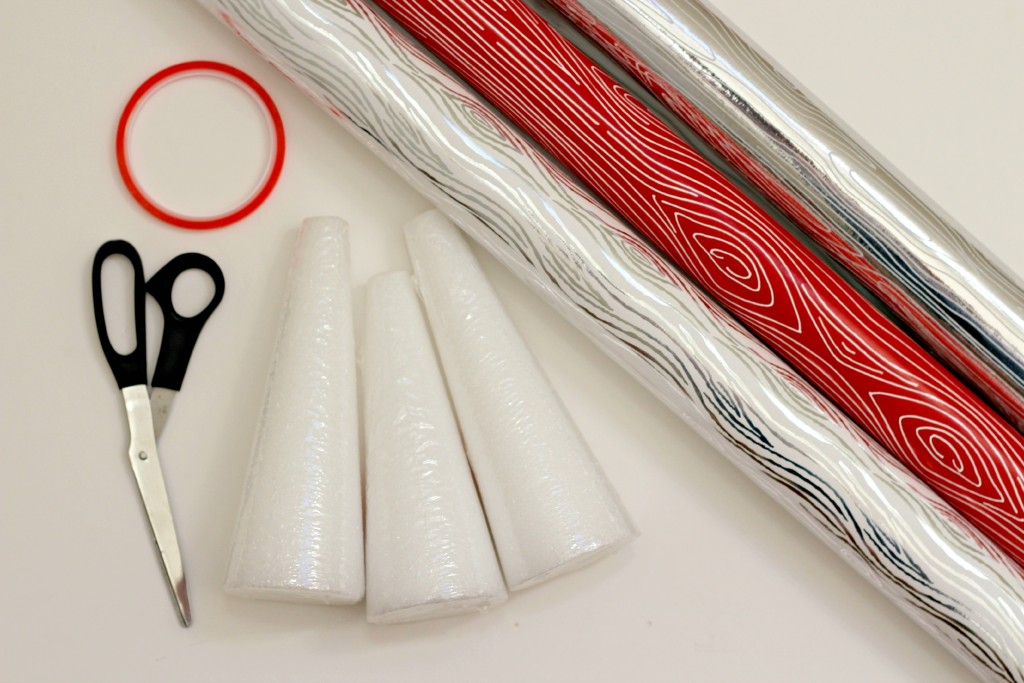
Supplies needed:
Wrapping paper (any kind)
Foam cones (Dollar Tree)
Double sided tape
Scissors
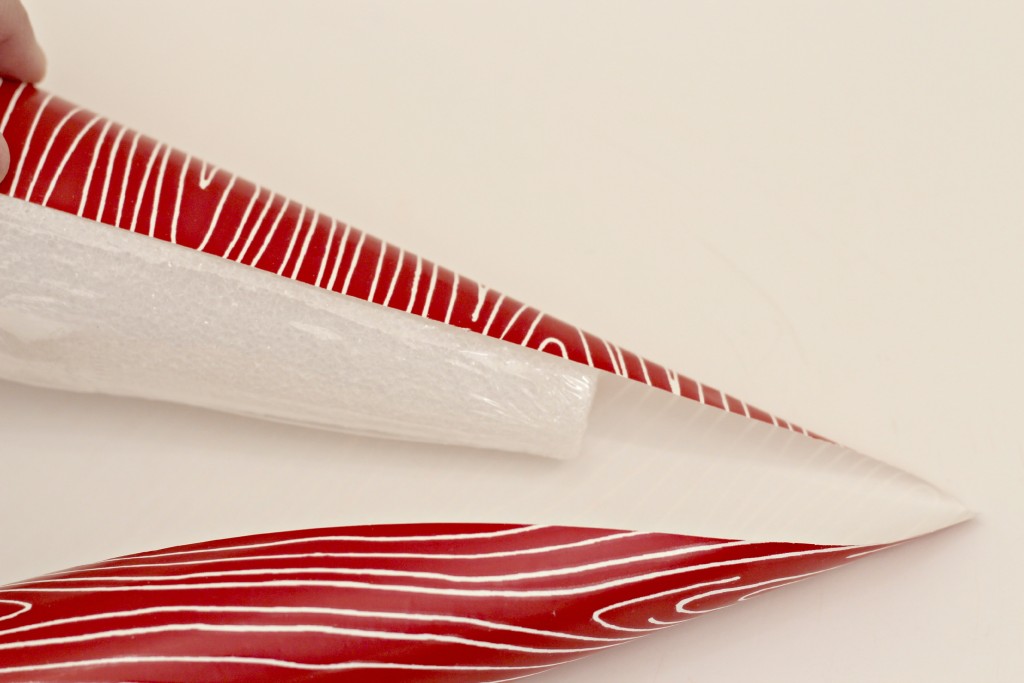
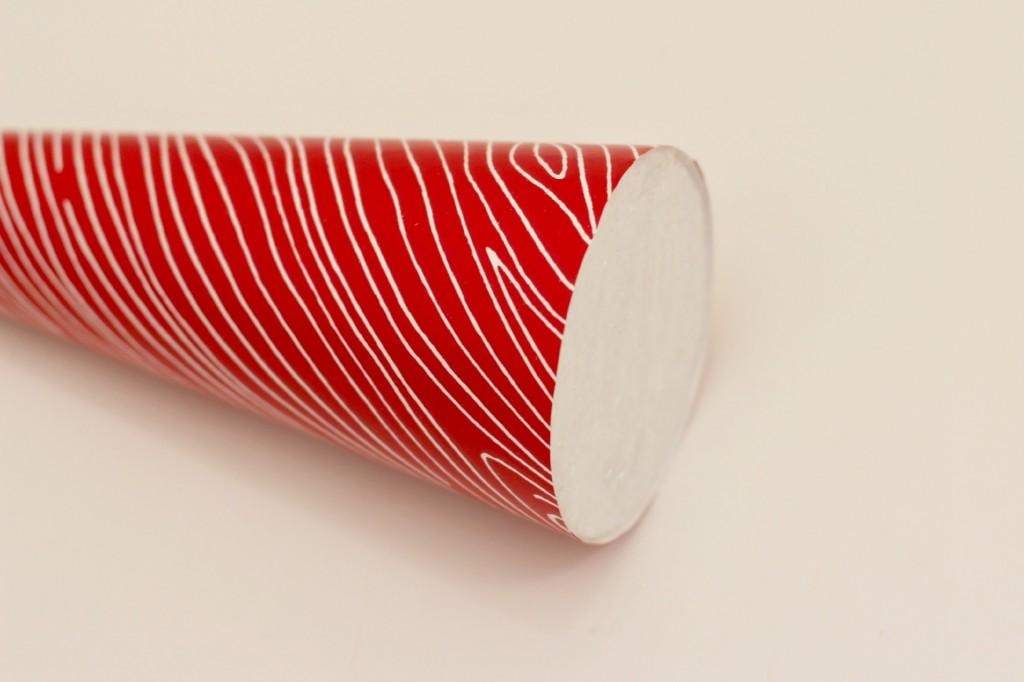
I placed the cone on the back side of the wrapping paper and used it to decide how big I needed to cut the paper, then cut it a few inches bigger than needed. Better to be safe than sorry, especially with the first tree. The tape sticks better to the plastic than the foam so I left the plastic on. Using double sided tape makes putting these trees together in minutes a breeze.

Place the cone on the paper toward a corner then stick the paper to the double sided tape and start rolling the paper around the cone. Because these cones don’t come to a point I had to move them a few inches from the corner to get the end result I wanted. It’s easy to practice on the paper exactly how you want it to look before you add the tape.
Wrap the paper all around the cone keeping it tight. Place a piece of double sided tape along the edge of the paper and secure it to the other end of the cut paper to complete the tree.

Cut off any excess paper if you need too. I usually trim it to make the end as neat as possible.
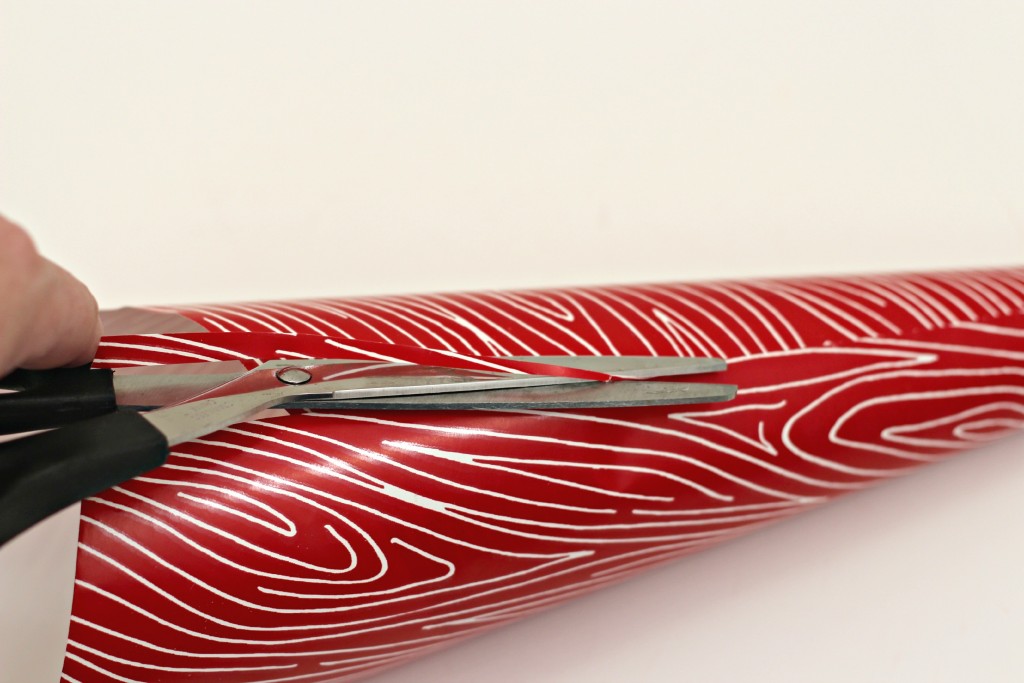
Then cut the excess paper off the bottom of the tree using the cone as a guide. It’s as a simple as that! They only take a few minutes to make and you can use any paper you like to match your theme or decor.
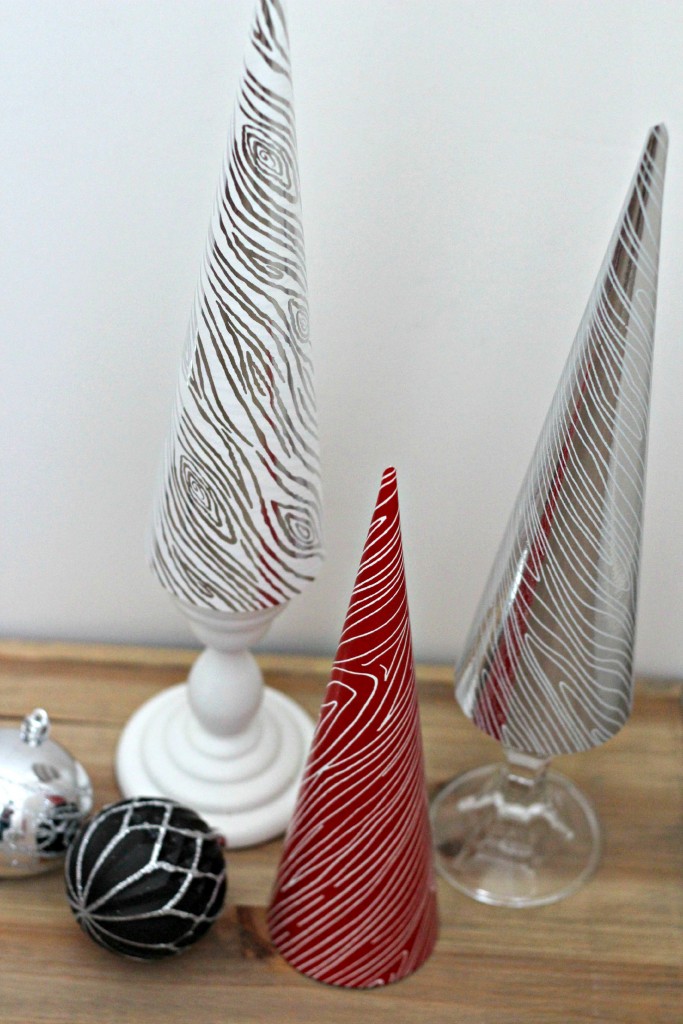
Grab some candle holders to place the trees on to give them a height difference. Doesn’t the faux bois paper look so awesome? And guess what? Since it’s just paper I can take it off and make a new forest using different paper next Christmas or this Winter.
It’s a fast craft that you can add even last minute to your Christmas decorating.
Pin it for later: Cone Shaped Christmas Trees

More posts you might like:
Wood Slice Chalkboard Ornaments
Holiday Mason Jar Luminary


