
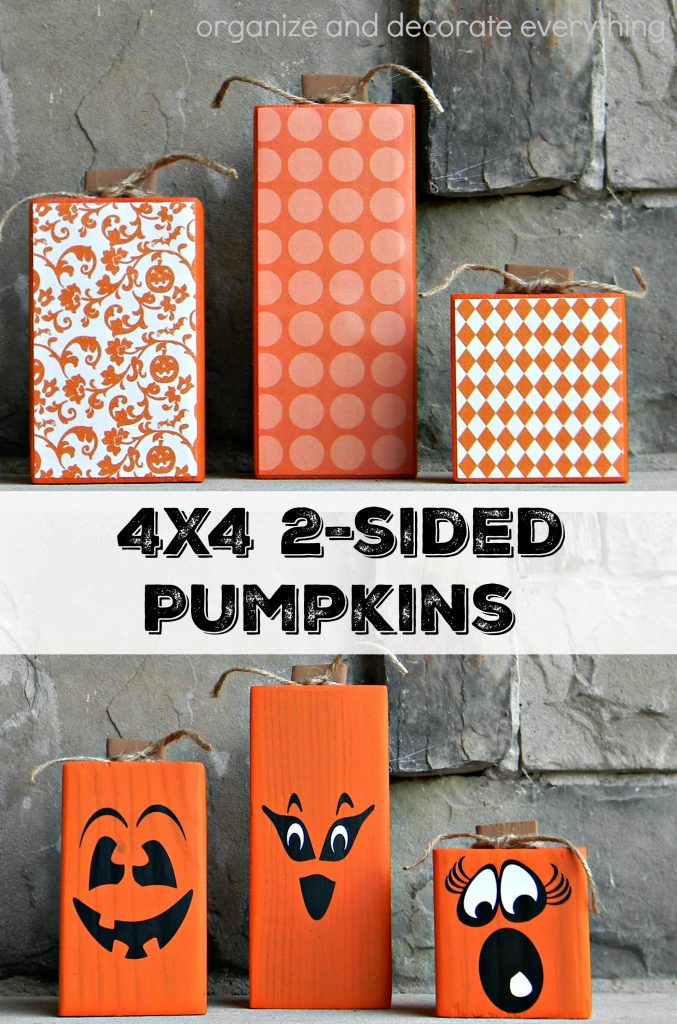
What’s better than decorations that can be used for more than one holiday? I love decorating for holidays but I also don’t like storing a lot of stuff. It’s easy to make these blocks into fun Fall pumpkins and Halloween jack-o-lanterns by putting vinyl faces on one side of the blocks and decorative scrapbook paper on the opposite side. These 4×4 2-Sided Pumpkins are the perfect decorations for both Halloween and Thanksgiving. You can easily display them from September through November during the whole Fall season.

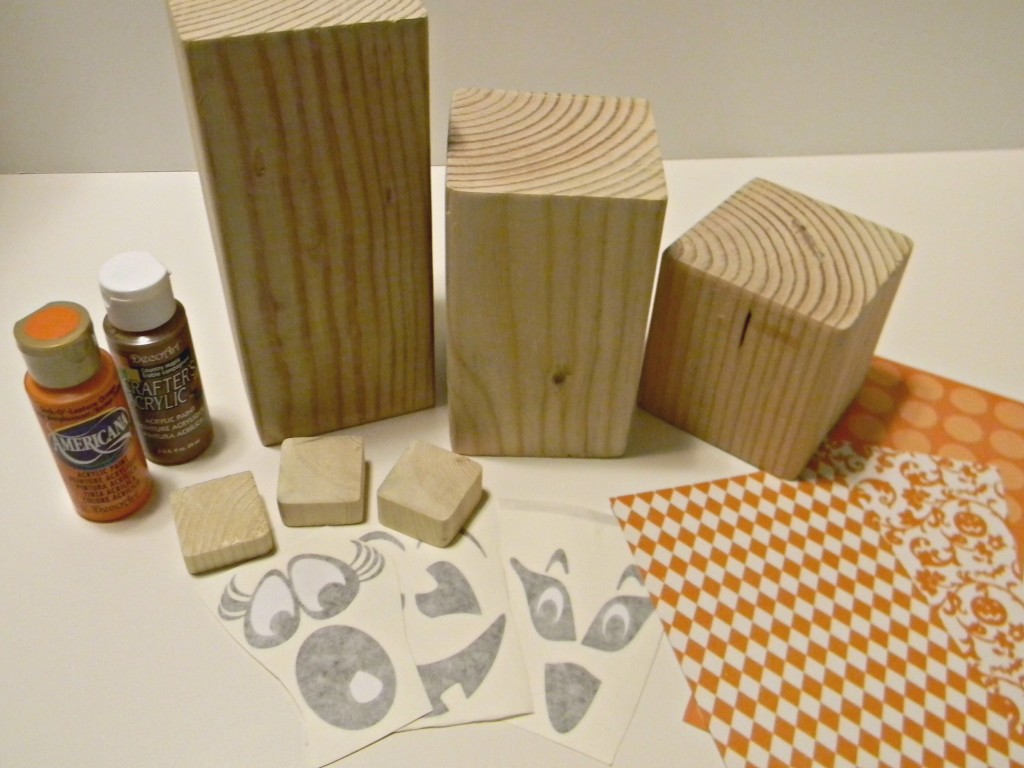
Supplies needed:
4×4 board cut to 4″, 6″ and 8″
3 vinyl jack-o-lantern faces
small blocks of wood for stems
scrapbook paper
mod podge
wood glue
twine, raffia or fabric strips
orange and brown paint
sponge brush
sand paper
Use a saw to cut the 4×4 to the sizes you want, mine are 4″, 6″ and 8″. You can easily use a miter saw to cut the pieces if you don’t have an electric saw. Or you can ask to have the 4×4 cut to size at your local lumber yard. They will usually do 3 cuts for free and after that it’s just a small fee.
Use a scrap piece of wood for the stems and cut them to about 1/2″ slices. Sand all the wood pieces so there are no sharp corners or raw edges. I chose Americana Jack-O-Lantern Orange and DecoArt Country Maple for my pumpkin colors. Mostly because that’s what I had in my paint drawer, but I really like these colors and think they’re perfect for the pumpkins. Use paint colors you have on hand or that match your decorative paper colors.
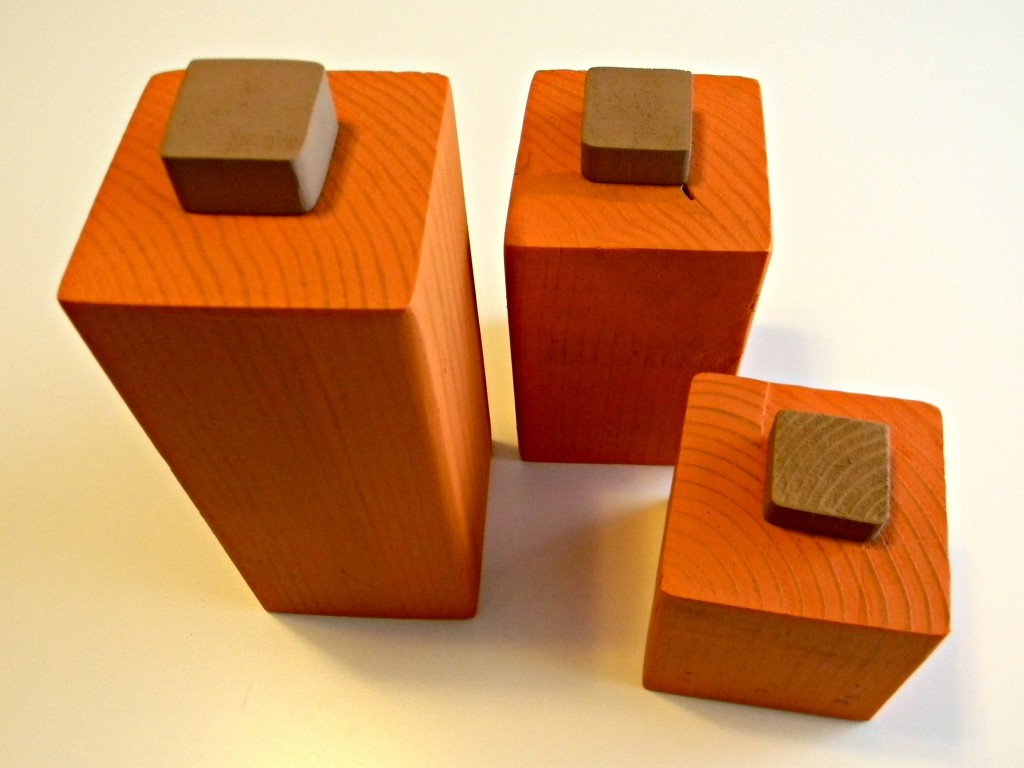
Paint all the pieces using a sponge brush. I only painted them with one coat of paint because I wanted the wood grain to show through. Use 2 coats of paint for full coverage.
You can cut the vinyl faces yourself using scissors or use a personal cutting machine such as the Cricut. I have also seen jack-o-lantern stickers at craft stores that can be used. These are my kind of jack-o-lanterns, anything that doesn’t have to be carved I’m good with. Aren’t the faces so funny and cute? You can even paint them on if you don’t want to use vinyl.

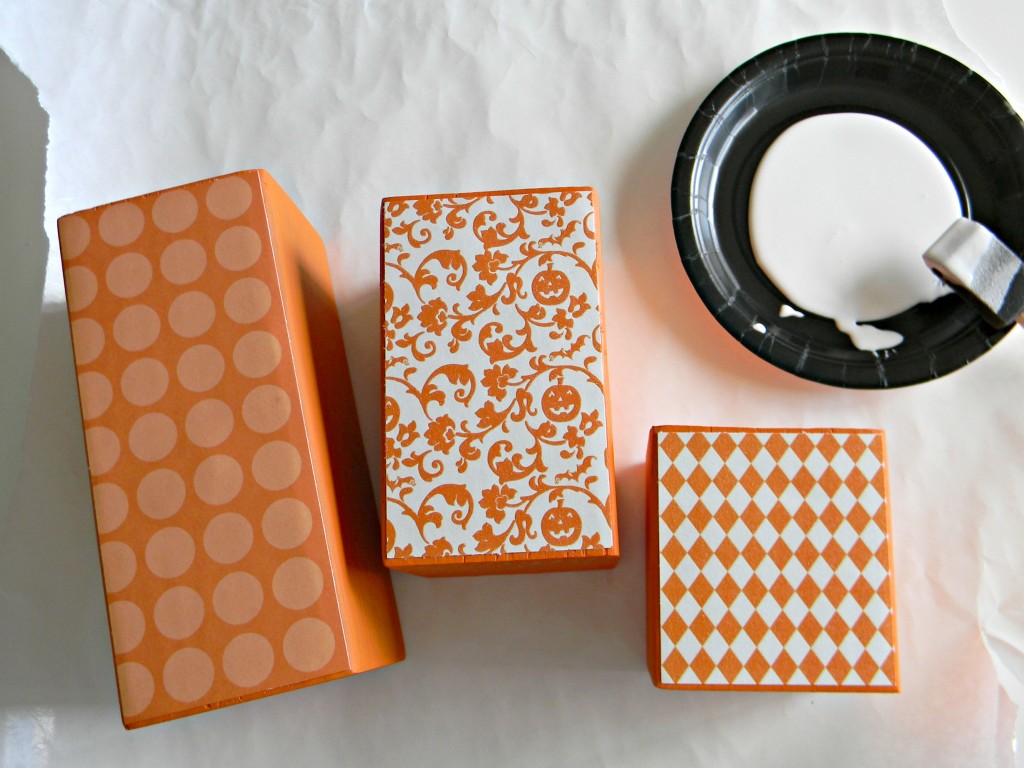
Apply scrapbook paper to the other side so you can display the pumpkins during Fall and Thanksgiving also. Just cut the paper to size and apply to the wood with mod podge. Wait for it to dry then apply a coat of mod podge over the top to seal and protect the paper.
Attach the stems to the pumpkins using wood glue and let dry for about an hour. Wrap some simple twine or raffia around the stems to represent the vines. You could also use wire and even add faux leaves if you like.
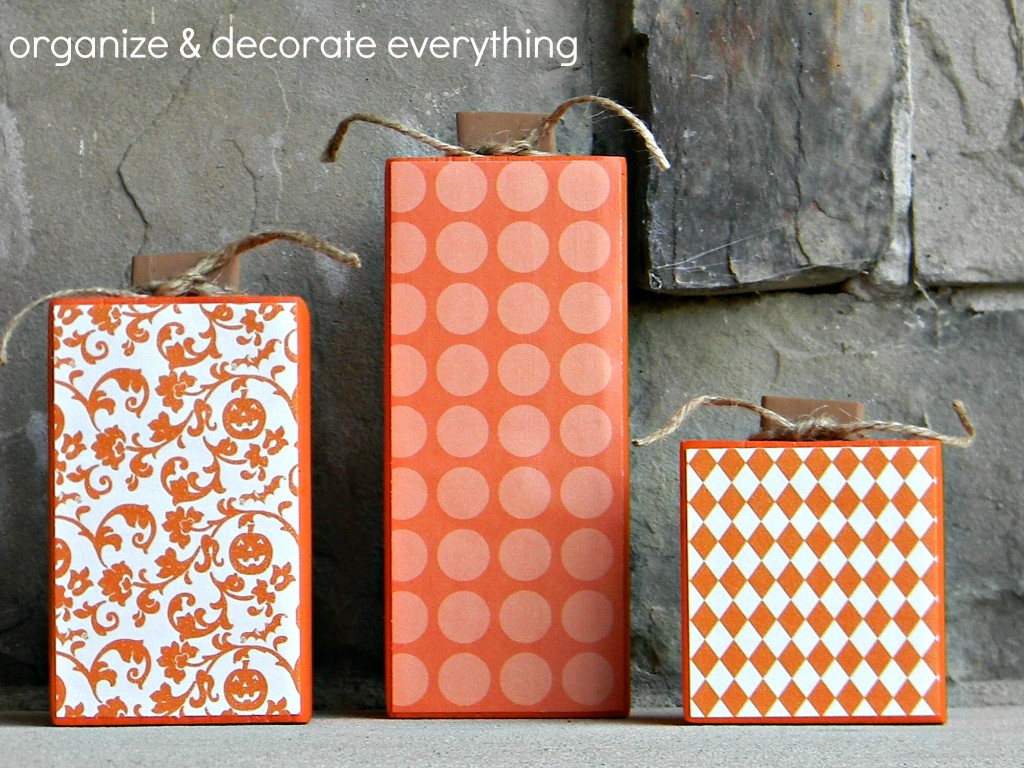
I love cute and simple projects like this one that come together quickly! I’m thinking of making a few more to line the table for Thanksgiving or to display on the mantel.

Is this a project you would do? Give it a try and let me know how they turned out.
Pin it for Later: 4×4 2 Sided Pumpkins
You might also like these creative posts:
Candy Filled Pumpkins
Halloween Sour Cream Containers


