The kids have been on Spring Break and now they’re Off Track for a couple more weeks. We’ve been trying to do things to keep busy. The weather hasn’t been cooperating, so today we made pin wheels.
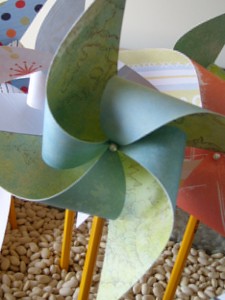
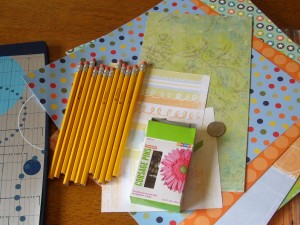
We gathered the supplies we needed, then got busy creating.
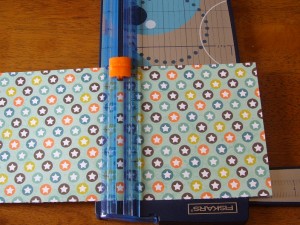
You can cut the paper any size you like as long as it’s square. We cut ours 6 x 6.
Use a ruler and draw two lines from corner to corner.
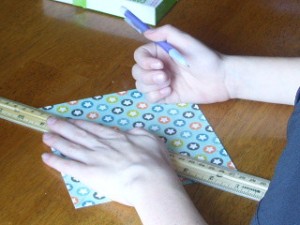
Like this, then trace around a quarter for the center of the pinwheel.
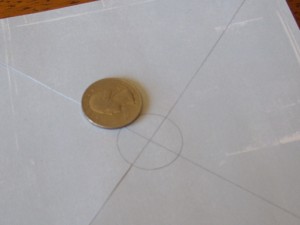
Ammon’s showing you how.
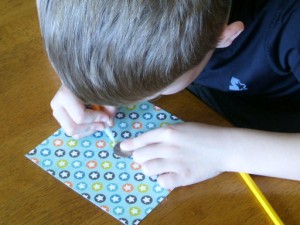
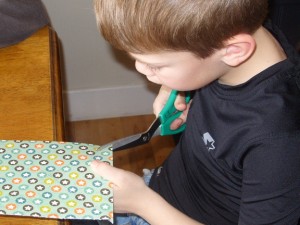
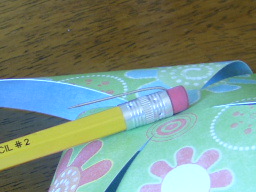
Cut all 4 lines to the circle. Don’t cross the circle. Erase the lines, because if you cut like my 6 year old they might show when you put the pin wheel together.
Use a floral pin to make the pin wheel. Start at one of the points of a triangle and push the pin through the paper.
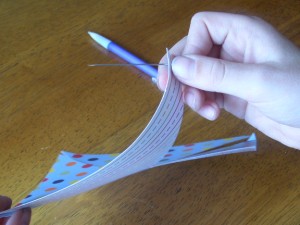
Take the second triangle and push the pin through in the same place going in the same direction.
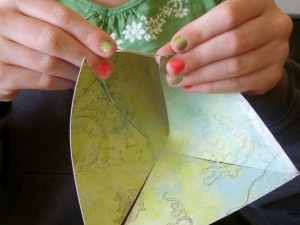
And then the third.
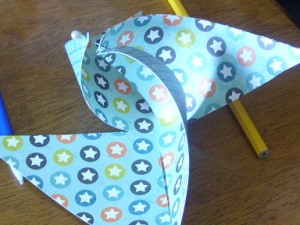
And forth. Then push the pin through the center to form the pin wheel. As you can see, it’s much more appealing if you use 2 sided paper.
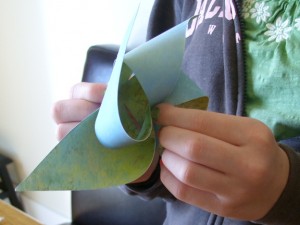
Push the pin through the pencil eraser.
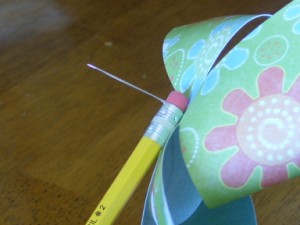
Then bend it down so the pin doesn’t stick the kids.
Ta-Da! Ammon’s pin wheels.
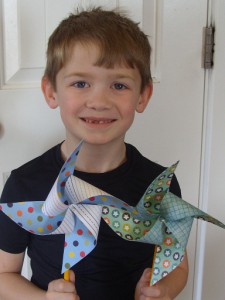
Zach’s pin wheels.
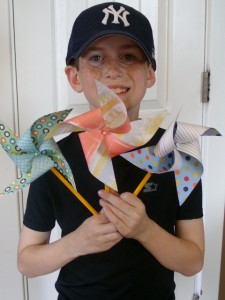
Emilee’s pin wheels.

We decided to use them as a centerpiece for a while. Pretty cute, huh?
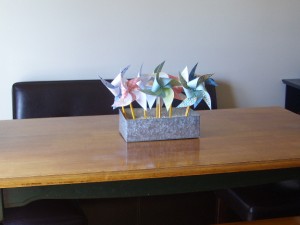
I found this galvanized metal box downstairs. It had a lid on it, so I just sat it aside and used the bottom. I filled the box with dried white beans to hold the pin wheels up.
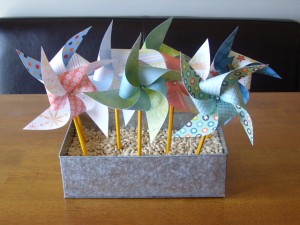
Didn’t the kids do a great job? Okay, we are so ready for nice weather to come our way. At least the pin wheels brighten the table.
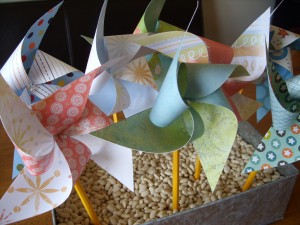
These were really fun and easy to make with the kids. Do you think your kids would like to make some too?


Your pinwheels look great! Here are some pinwheel patterns if you are interested in doing this again another day.
http://allsorts.typepad.com/allsorts/2006/04/pinspinners.html
Oh, and your kids may enjoy making these paper houses, while at home. 🙂
http://allsorts.typepad.com/allsorts/2010/04/just-something-im-sharing.html
The pinwheels are beautiful! I love the paper choices. Perfect as a spring centerpiece!
How much fun! They remind me of summer….love it~
these are adorable! love them~
How Fun! The kids just look so proud too! Thanks for sharing!
Dena
So so sweet!!!!
Great idea! I have kids on holiday too, so I think that will keep us busy this afternoon 😉
Those are really cute. I just got some pretty paper so I’ll have to do them – my 7 yr old is a huge pinwheel fan. Thanks for linking up to Craftastic Monday!
What a great idea! Thanks for it, I’m going to make these with my boys!
Those are so fun! I love that star paper – what a great idea to make with scrapbook paper. I’d love if you linked this up to my Scrappy Saturdays: http://myscrappygifts.blogspot.com/2010/04/8th-scrappy-saturdays.html
Very cute! I wish I could get mine to sit still long enough to do a craft with me (*sigh) It’s such a cute centerpiece. I think they would also make really cute “bows” for wrapped gifts. Thanks for linking up to Shop The House Sunday!
So fun! What a great project for this windy weather here in OK! Thanks for sharing with Made it Monday! Jules
Those are so pretty and fun! My kids love pinwheels, but I make them call them whirlygigs because that sounds funnier coming from their 2 and 4 year old mouths. 😛 I’ve been meaning to get some floral pins anyway, we’ll have to whip up a few one of these days. Thanks!
That’s great!! Thanks for the tutorial.
You guys make it look so easy! They all turned out wonderfully!
Jeanine
Cute pinwheels and cute kids! 🙂
Super cute! I saw some mini-pinwheels as cupcake picks once and I’ve always loved it 🙂
That is adorable! I would love for you to come over and link up to check me out saturday http://www.iamonly1woman.blogspot.com
I just love pinwheels and your project is just perfect and looked like the kids has a great time. ♥
I’m visiting for Get Your Craft on Thursdays. I’d love for you to come by for a visit when you have a moment. ♥
Have a lovely day…
Hugs,
Stephanie ♥
These are really fun looking! I like how you bent down the pin. I’ve seen them made with push pins and always thought those would be fun but so dangerous to have around my little one. I wonder if I could put a bit of tape around the end to make it even safer. Would it still work, hmmm….
I might need to make these with my kids after school today! Great idea and made with things I know I already have! Thank you so much for linking up at my party. I’ll do it again next Friday. I’ll be looking forward to your party next week. I’ve been reorganizing my classroom now and I have book organization to post about.
Becca
Great pinwheels. Love tthem
Thanks for joining Get Your Craft on Thursday. Please join me next week for another great party!
I love these! They are so fun and springy! Thanks for sharing at ‘Look at me, I’m SO Crafty!’ at Fun to Craft.