
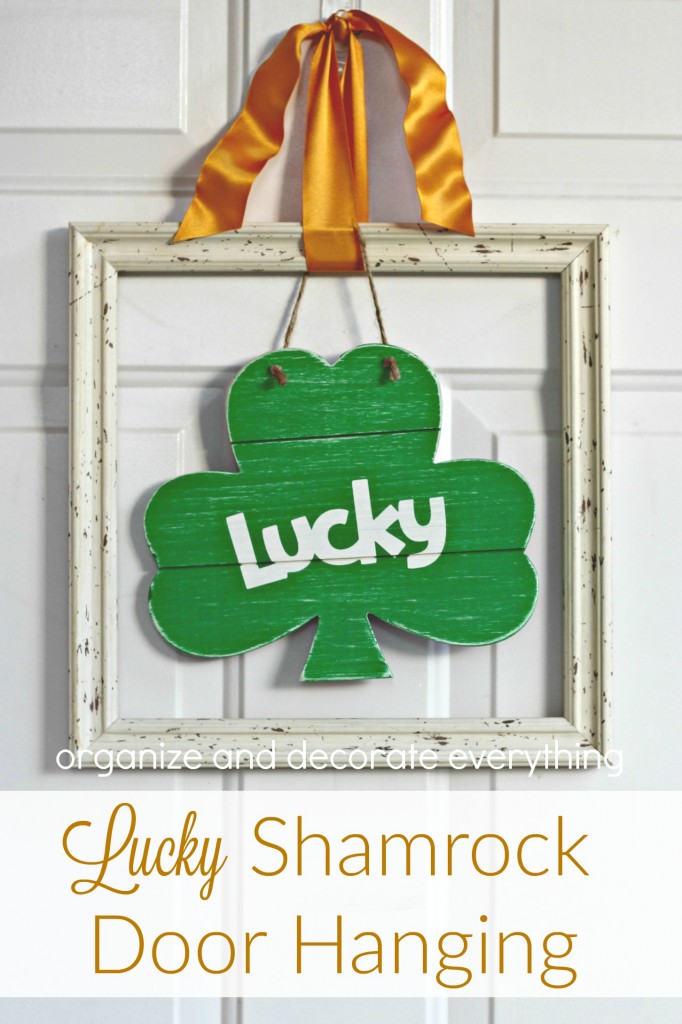
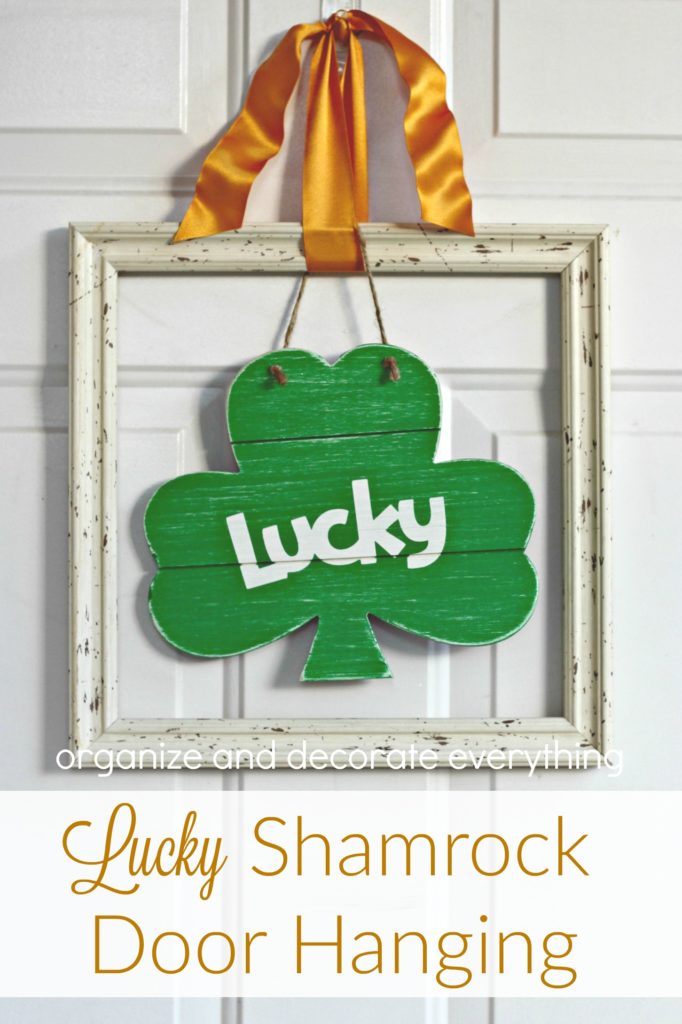
You don’t need to spend a lot of money for a St. Patrick’s day decorations. Make this Lucky Shamrock Door Hanging to celebrate the holiday and welcome guests to your home.
I had a really big wood shamrock that broke in our last move. I’m still sad about it so I was really happy when I found this raw wood shamrock. I found it at Target but there are similar ones available at several craft stores. It’s only about half the size of the broken one but was the perfect size once I framed it.
I’ve been deliberate in using supplies I already have. The only thing I bought for this project was the shamrock and it was only $3.
Here’s the supplies you will need for the Lucky Shamrock Door Hanging:
Wood Shamrock (at Target)
White paint (DecoArt Warm White)
Green paint (DecorArt Media Fluid Acrylic Yellow Green Light)
Sponge brush
Sand paper (fine)
Twine
Ribbon
Frame, Wreath, or Hoop
Cutting machine to make “Lucky”
Remember that you can use any color variations you like, this is just an example of what I used so you can see the results.

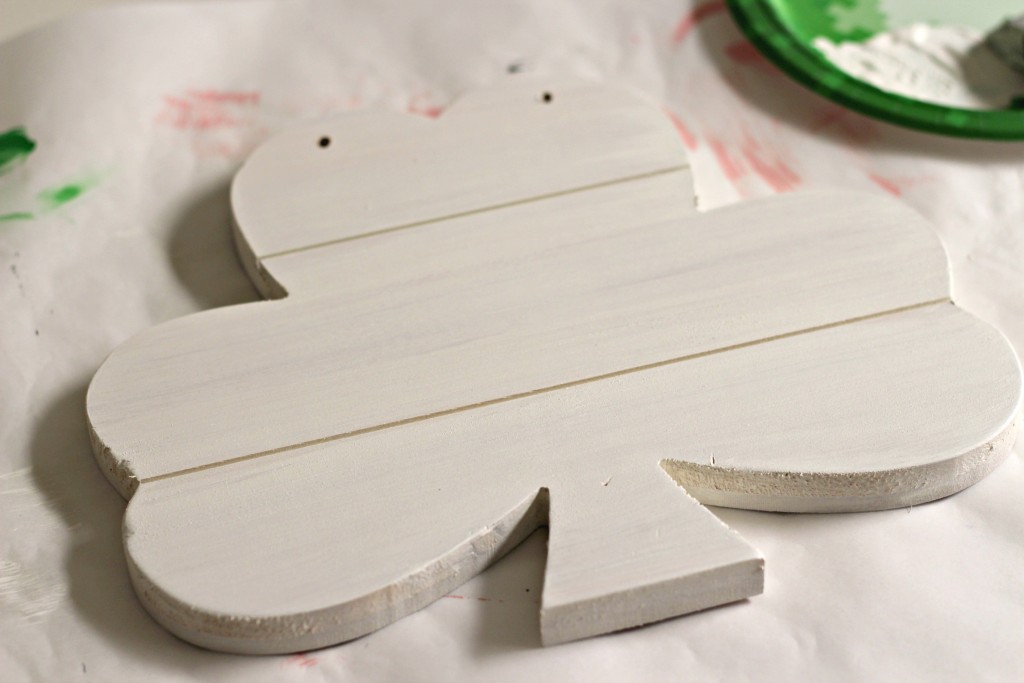
Paint the sides and top of the shamrock with 2 coats of white paint. Make sure to get down in the crevices. Let dry for at least 1/2 hour. I did the dishes and cleaned the kitchen while I waited. You want to make sure the vinyl isn’t going to rip off the paint when you take it off. It’s happened to me before!
I used Cricut Craft Room to make the Lucky lettering. You can use any cutting machine or write it yourself then transfer it to vinyl. I used a scrap piece of vinyl because it doesn’t matter what color it is since you’re just using it as a stencil. Position it in the center of the shamrock. I tilted it a bit. Make sure to push the edges down really well so there isn’t any bleeding under the stencil.

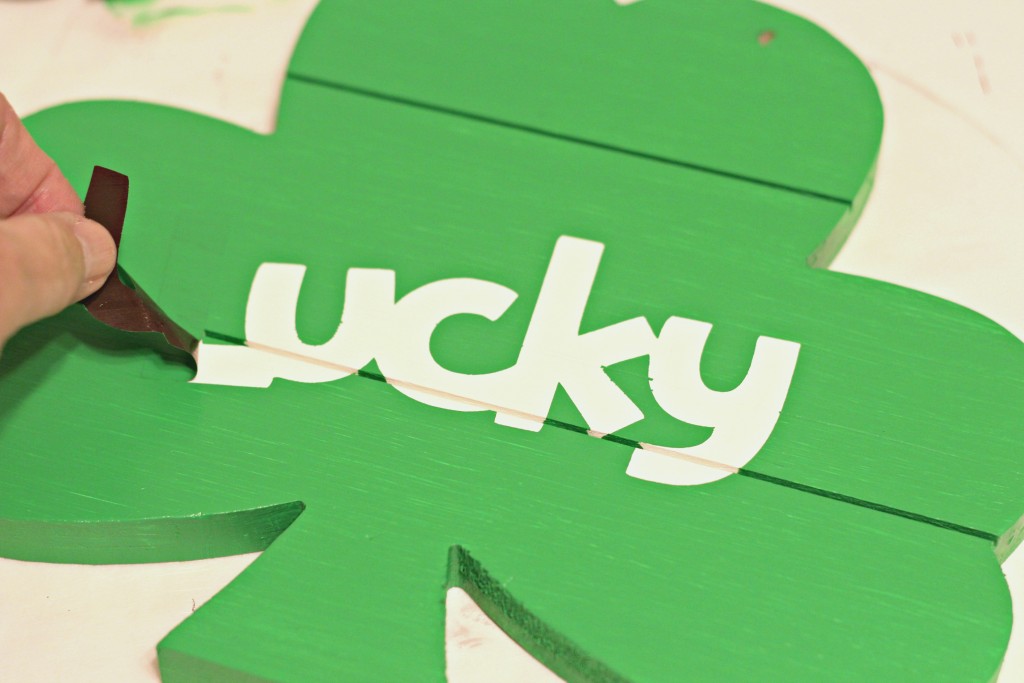
The green paint is not wood paint but it was the only green I had. I love the color and it worked really well. Paint 2 coats of green over the whole shamrock and let dry at least 1/2 hour to an hour. Use a small paint brush to get the green paint in the crevice. You have to eyeball the lettering a little so you paint the right areas in the crevice. Remove the stencil.
Well, that turned out pretty great! I love the white and green together.
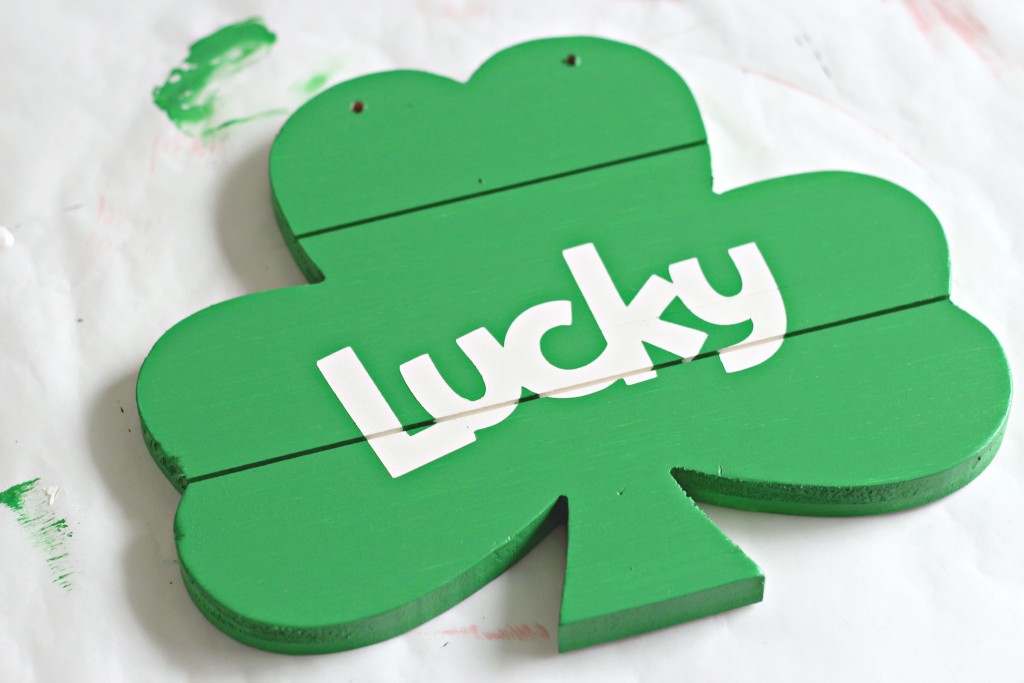
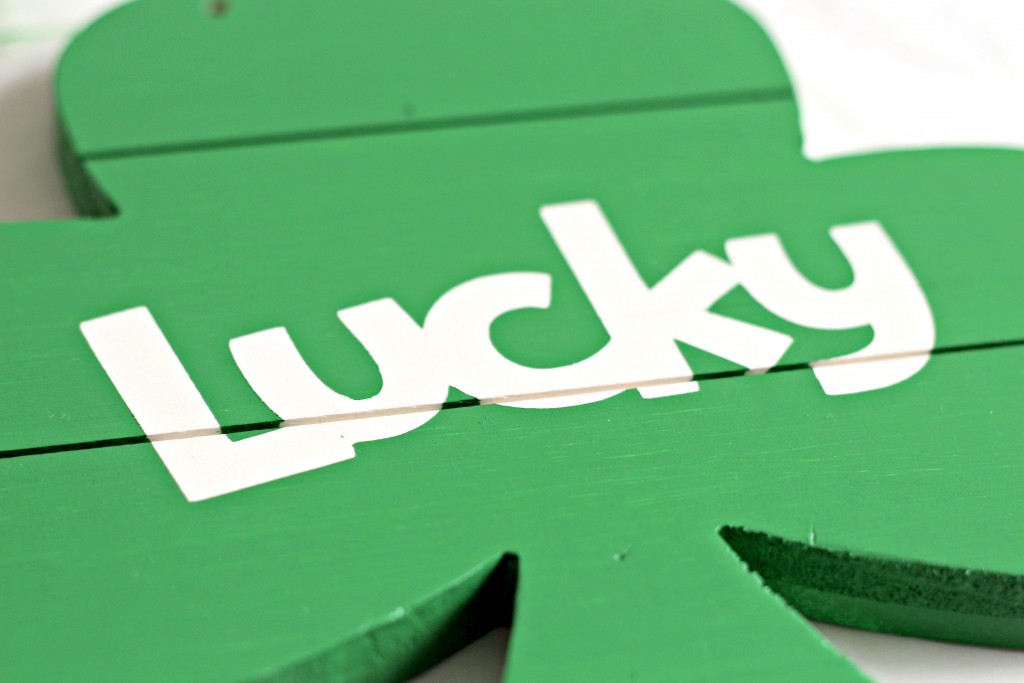
Here’s a close up of the lettering. I did a pretty good job using the small brush in the crevice. Just eyeball where the letter should be and leave that area white.
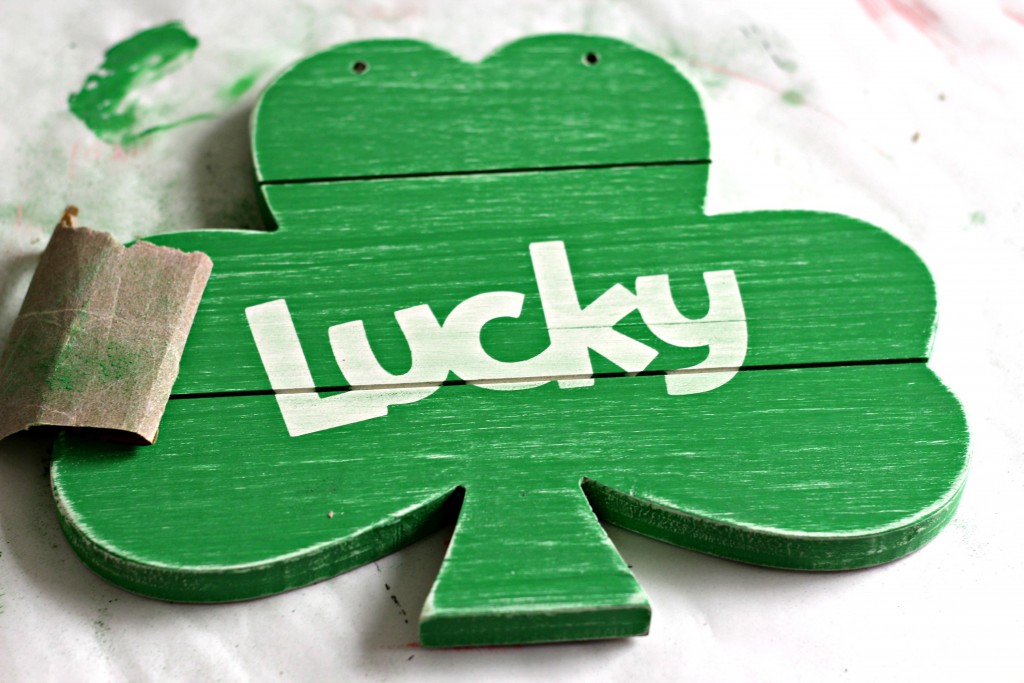
You can leave it like this or make it a little rustic by sanding the surface. I let it dry a little longer than usual to make sure it’s super dry before I sand. Sand the sides, top, and edges of the shamrock. Smooth off the rough edges. Then wipe down with a cloth to get all the dust off.
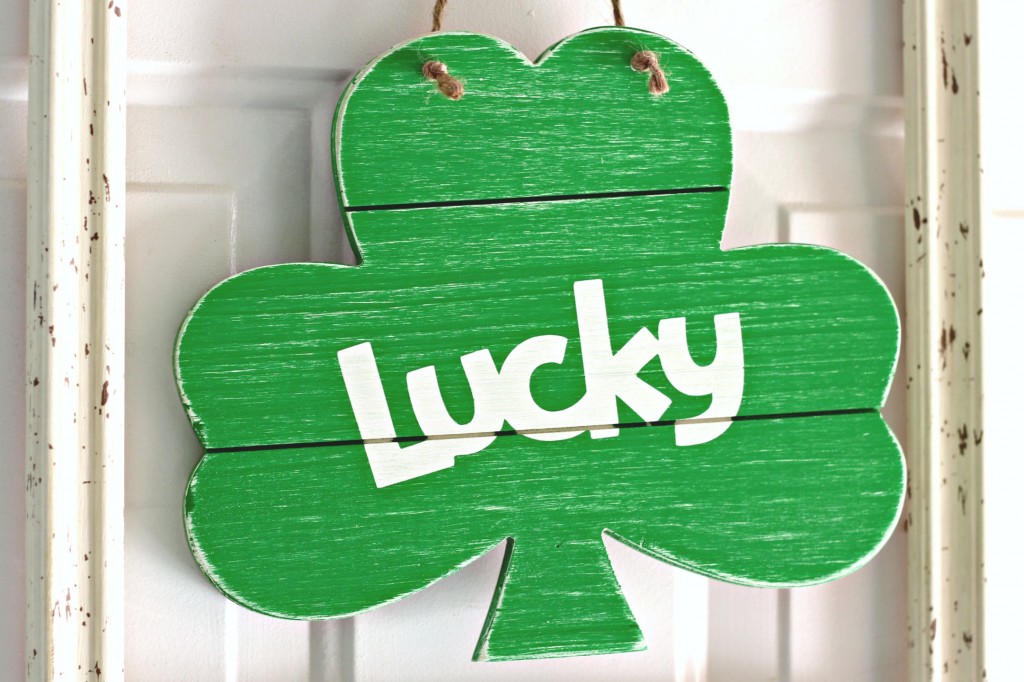
Tie the twine onto the shamrock through the holes.

I also tied it onto the frame at the same time. I used a frame for this project but you could also use a wreath or hoop if you like. I’m sure next year it will be reused and probably be on a wreath. A simple grapevine wreath would work really well.
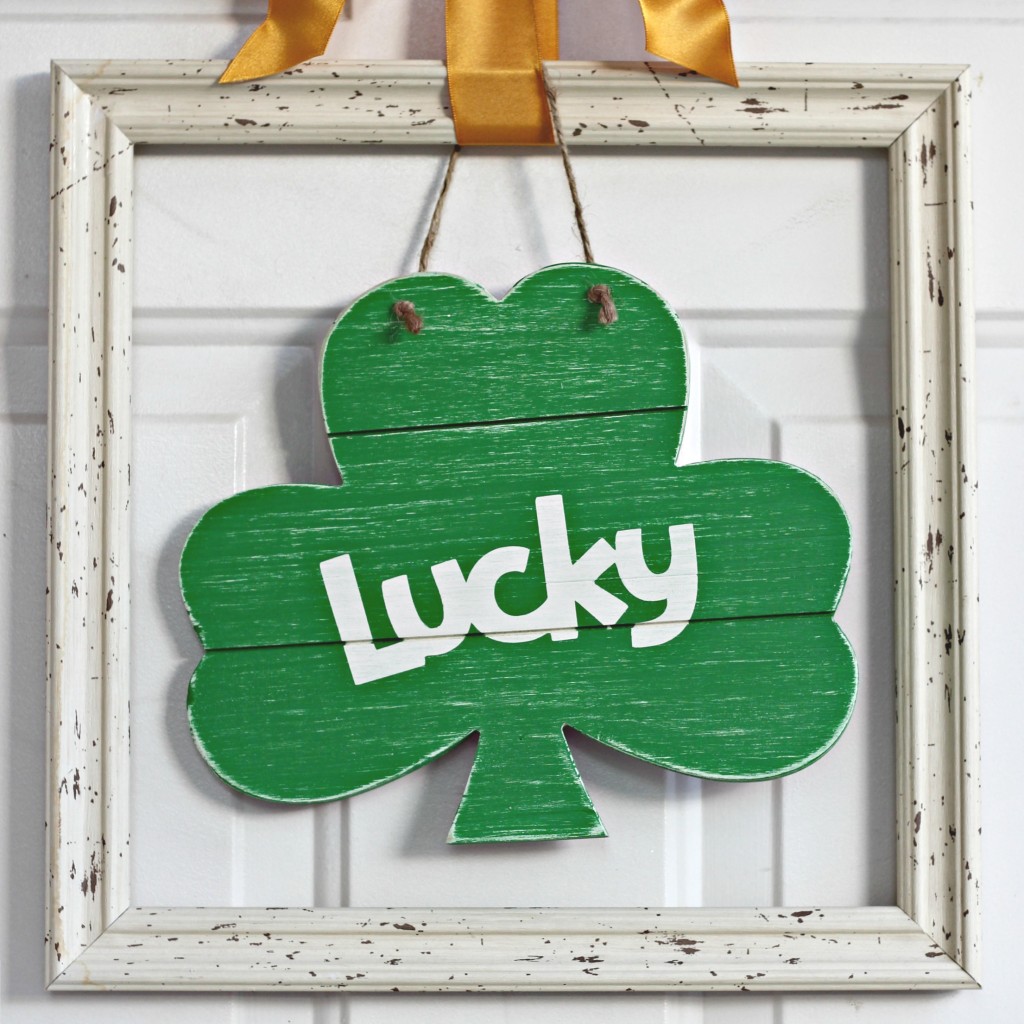
Tie a ribbon on it for hanging and you’re good to go. Not bad for only $3.
Pin it for later: Lucky Shamrock Door Hanging
You might also like these posts:
St. Patrick’s Day Confetti Bags
Lucky Printable


