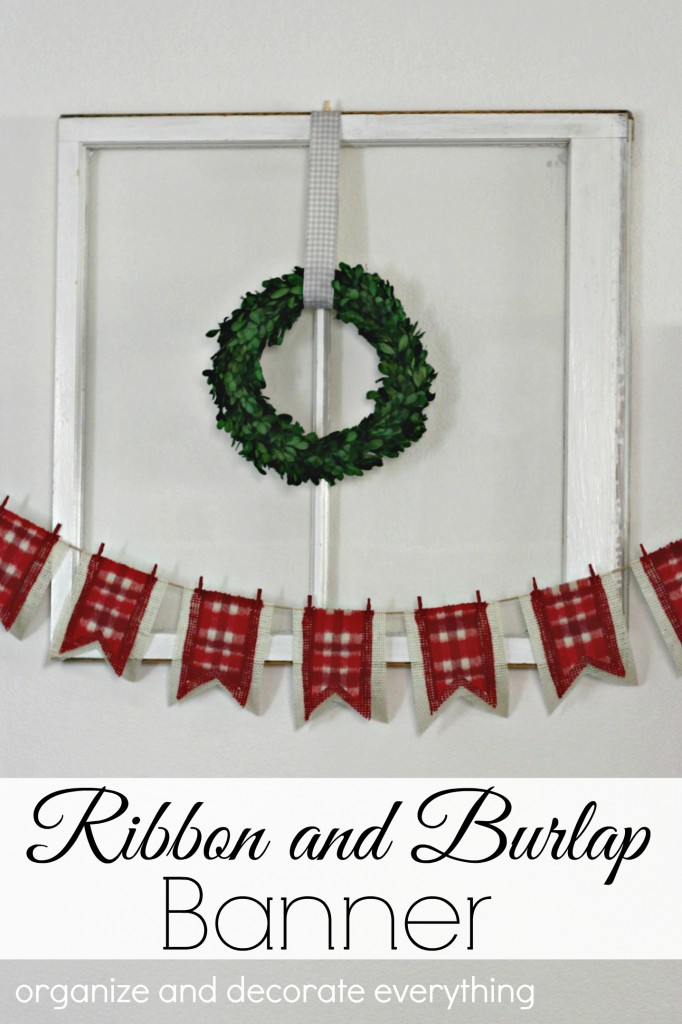
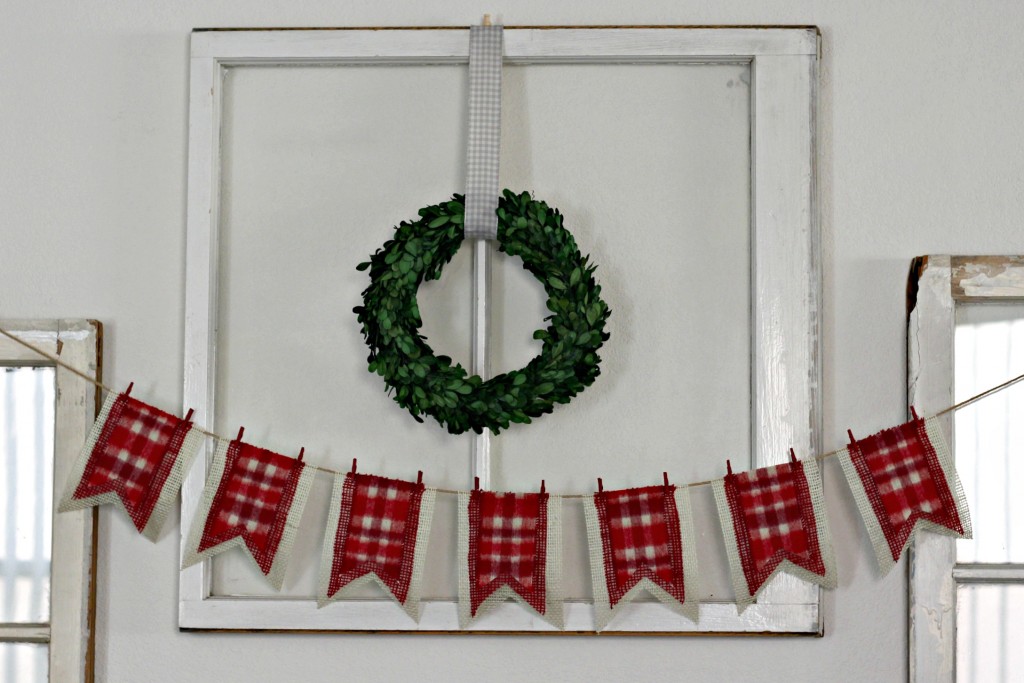
Banners are a great way to add color, texture, and design to any space especially during holidays and special celebrations. This Ribbon and Burlap Christmas Banner is easy to make with only a few supplies and can be customized by simply changing the ribbon. This banner can easily be made to fit your colors and theme by the ribbon and burlap colors you choose.
This post is part of the 31 days of Christmas Ideas series. Click over to the main page to see all of the 31 Christmas posts (they will be added daily).
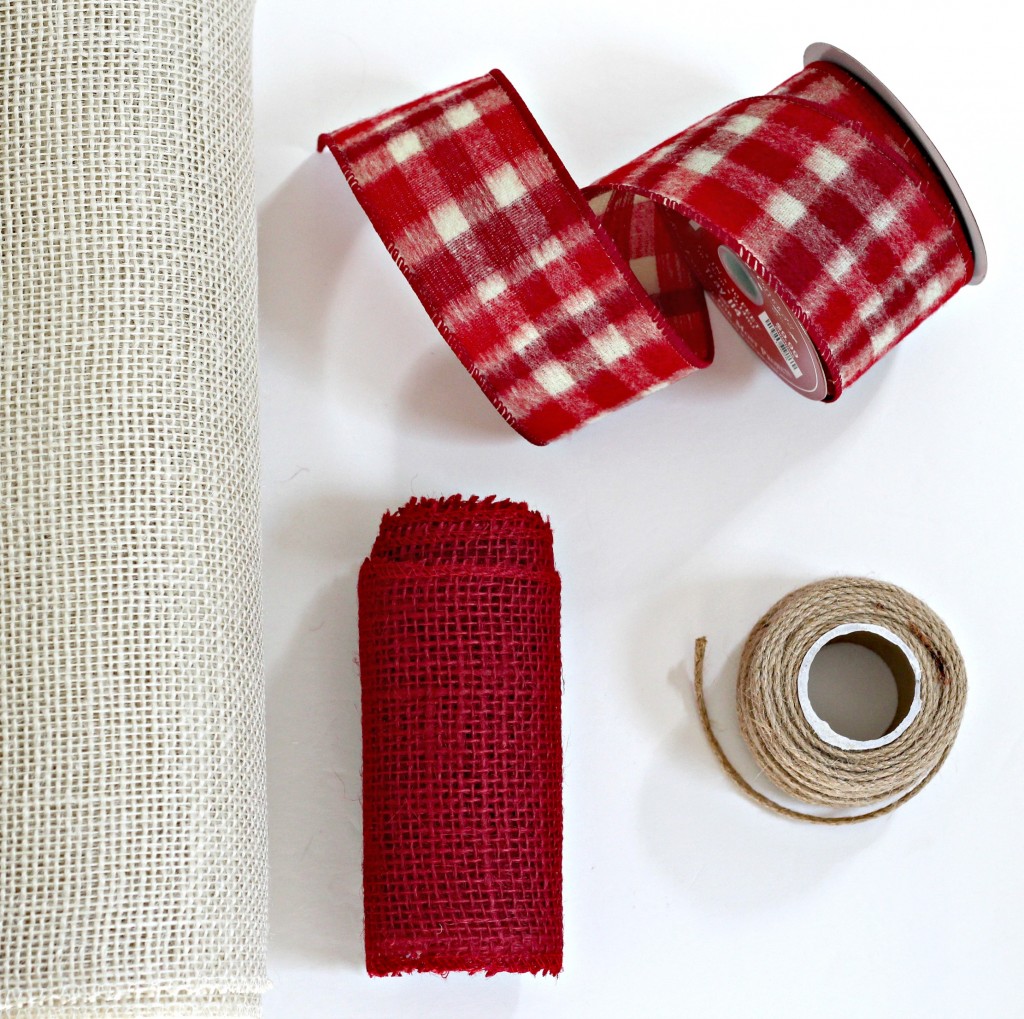
Supplies needed:
natural burlap
red burlap
wide ribbon
jute twine
mini clothespins
hot glue gun
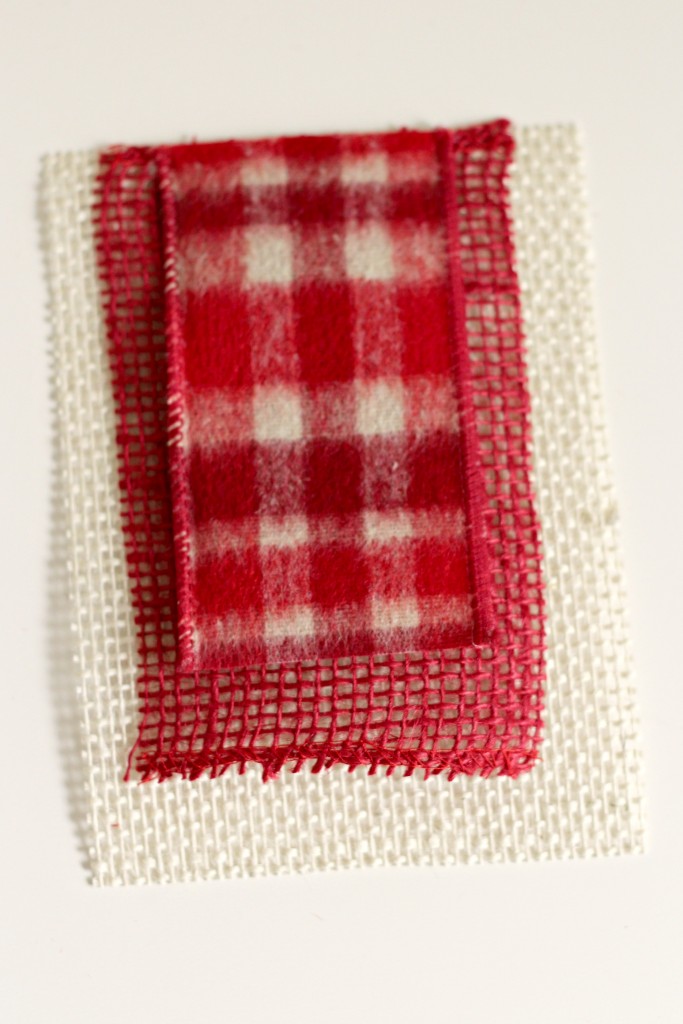
Start by cutting as many pieces of the burlap and ribbon as you want for your banner. I cut 7 pieces for mine. The ribbon pieces are 2 1/2″ x 4 1/2, the red burlap is 3 1/2″ x 5 1/4″, and the natural burlap is 4 1/2″ x 6 1/4″.
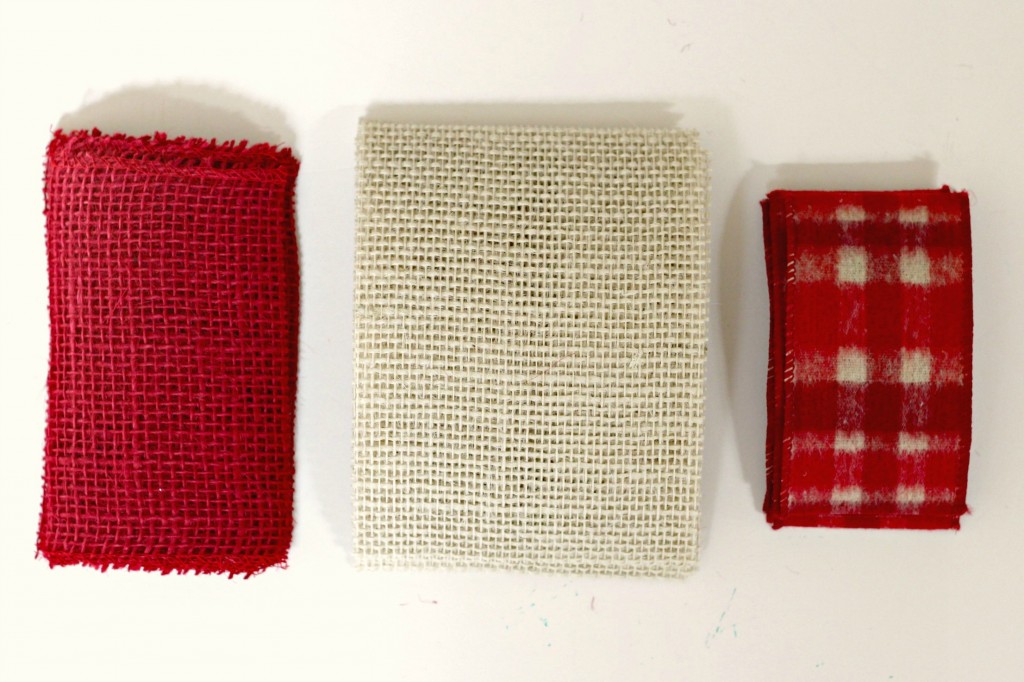
Layer the pieces with the largest on the bottom and the smallest on top. Apply hot glue across the back top of the ribbon and adhere it to the red burlap, then adhere the red burlap to the bottom piece of burlap.
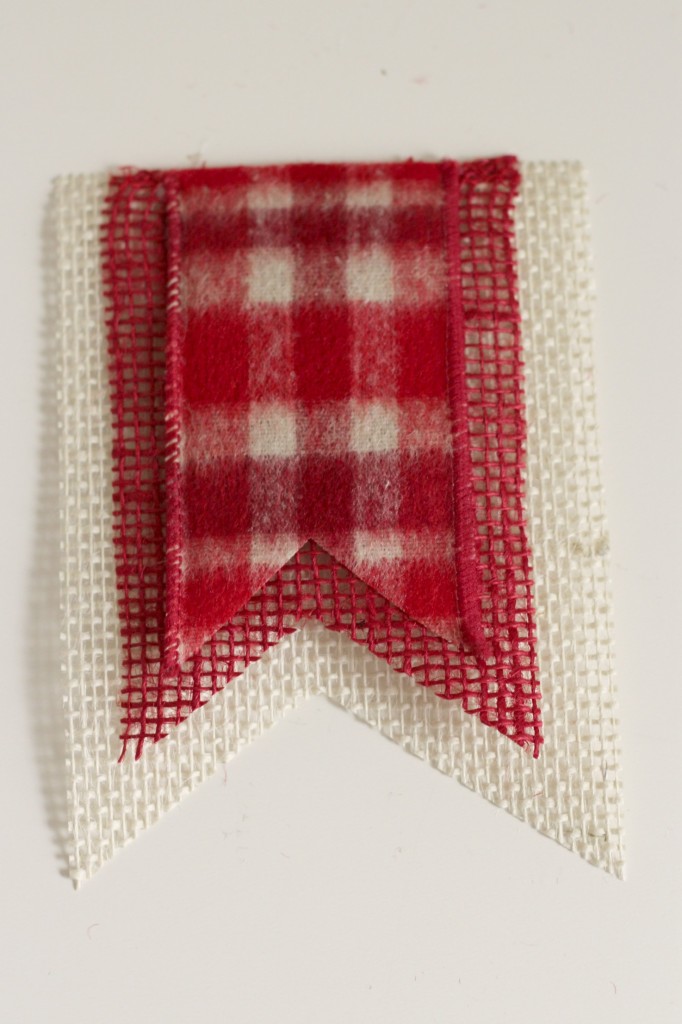
Cut the notches on each piece (as seen below). After the first one I cut the notch in the ribbon before attaching it to the burlap. It serves as a good guide for the burlap pieces. Put a small dot of hot glue right above the notch to keep all the pieces together.
Attach the flags to rope. You can fold the flags over the top of the twine and glue into place.
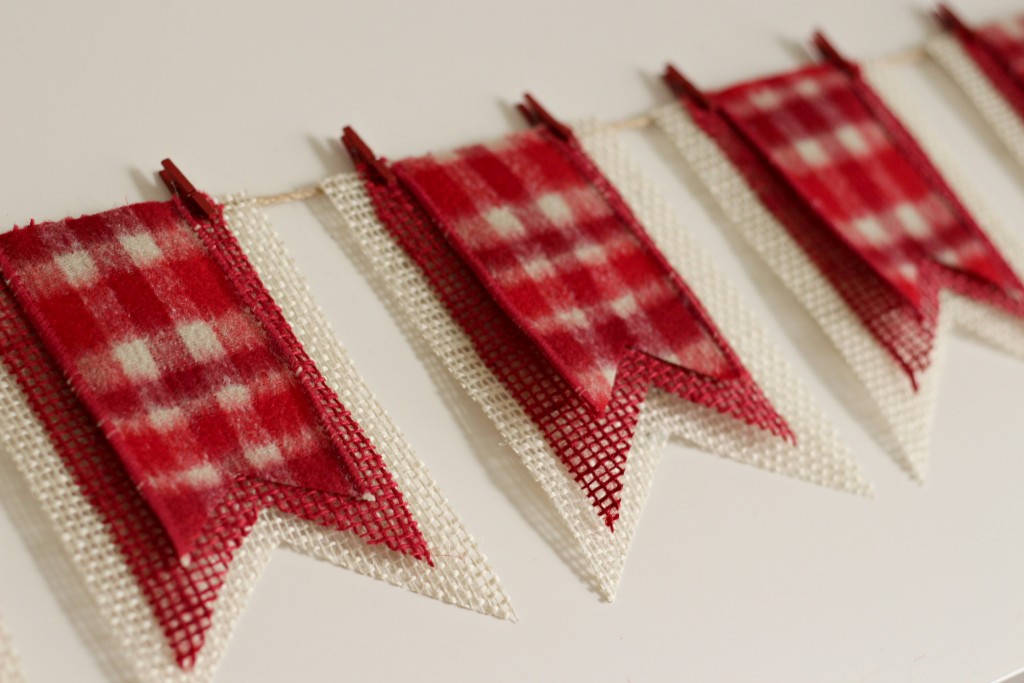
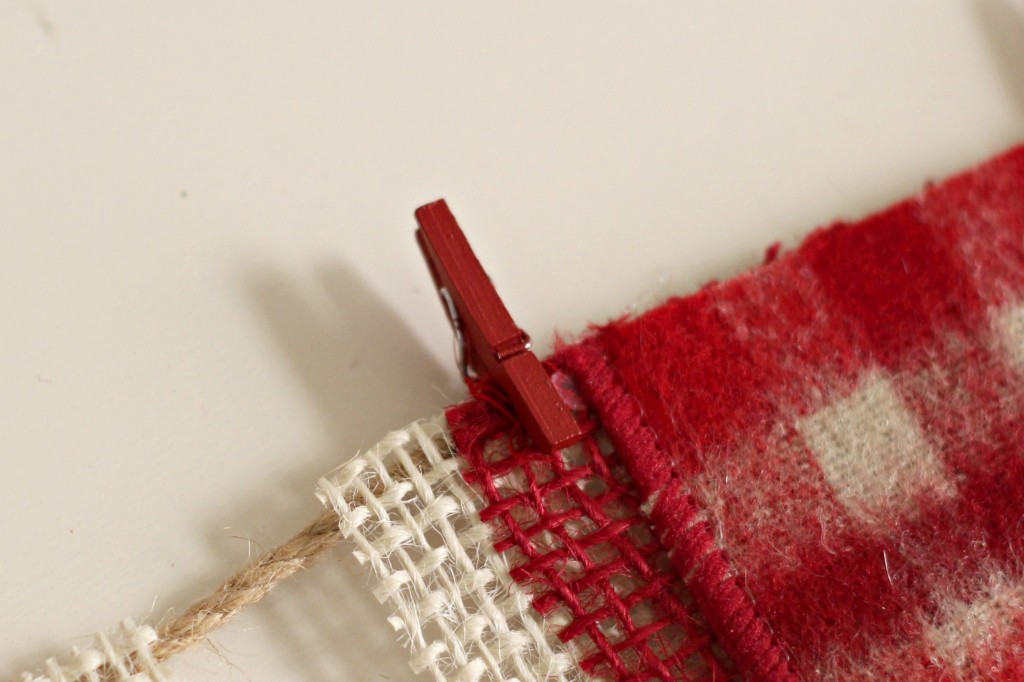
Or attach them with mini cloths pins like I did. I actually have a collection of different colored mini clothes pins. They’re so cute and I love to use them for different banners throughout the year.
I’ll probably make a few more banners before Christmas to hang throughout the house. Are you a banner lover?
Please join me tomorrow for the next 31 Days of Christmas Ideas post.


