I needed some inexpensive art for the upstairs loft area. I don’t spend much time up there, so I haven’t put a lot of work into it. It’s mostly the kids area to watch TV, do homework, practice piano and entertain their friends. But it’s time I start trying to get it decorated up there.
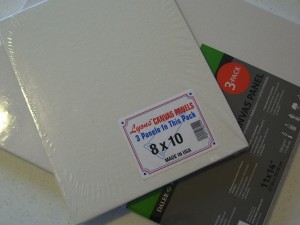
I bought these canvas panels at Wal-Mart. They come in a pack of three.
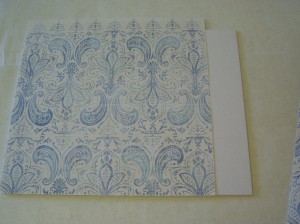
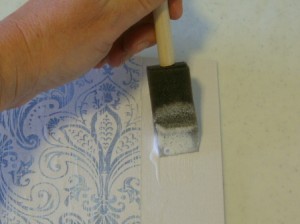
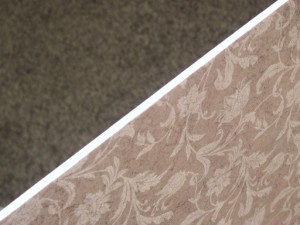
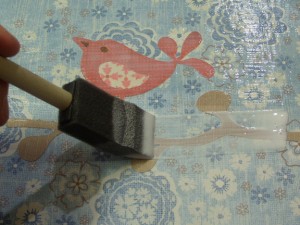
I picked out the coordinating paper I wanted, then mod-podged it on the canvas.
I had to piece the paper together for the bigger panel. I just made sure I lined up the pattern on the paper. I trimmed it and then mod-podged it right next to the other piece. I don’t like to overlap the papers, I think it looks better flush.
After the paper had dried for about 20 minutes, I sanded off the excess paper.
I like to sand the paper rather than cut, because I think it gives the project a better finished edge.
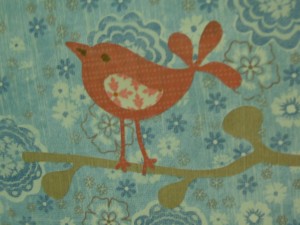
I mod-podged all the pieces then I cut the branch and the bird out with my Cricut machine. I forgot to take a separate picture, but it was from the Home Decor Cartridge. Then I let it dry again for about 20 minutes.
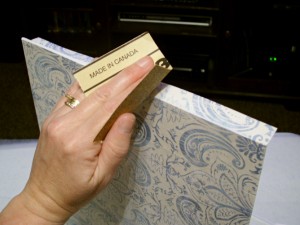
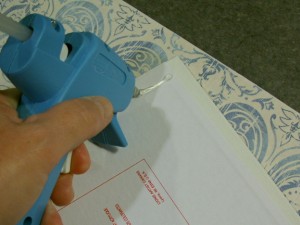
I attached the two canvas panels together with hot glue.
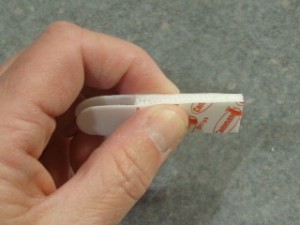
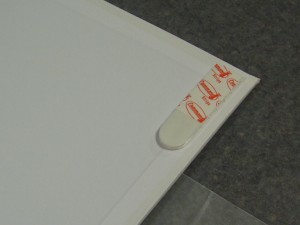
Now it was time to hang them. Do you remember how to use these Command picture hangers? Just stick the 2 pieces together.
Then stick them on the back of the picture.
Measure and stick them on the wall. (Follow the instructions on the package.) No nails or nail holes anywhere.
Isn’t the little bird so cute?
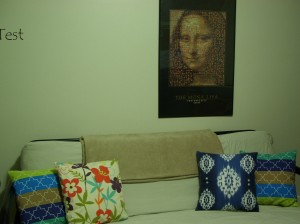
This is the before. I don’t know why the Mona Lisa is off center or why there’s a big empty space next to her. I told you I don’t go up there much.
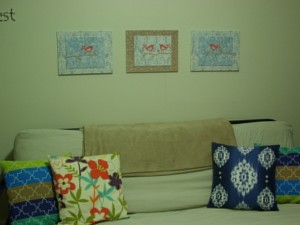
And here’s the after. Much better! I think I might want to add a large piece of trim, to make a frame, around all the pictures and maybe paint the inside a different color. The pictures seem to be a little small over the futon. What do you think?
The total cost for all three completed canvas panels- $9. Here’s some more pictures, just for fun.


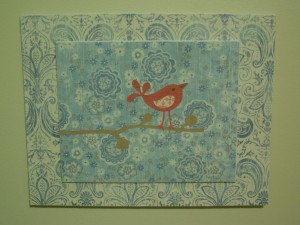
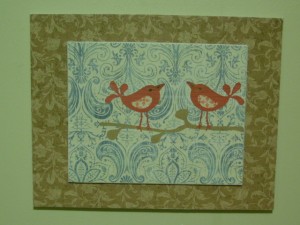
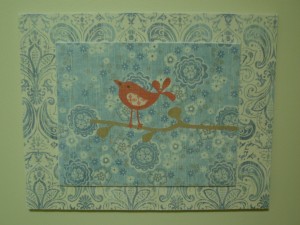


I love them! Those little birdies are adorable. And I have a ton of those unframed canvases. I might try this for my hallway. Thanks for the idea!
thank you for the step-by-step and photos for inspiration!
I have all these supplies in my house already and have been wanting to do this type of project. you just gave me a kick in the pants!! 🙂
I will be making some for my home and probably some for our rental cottages which need some decorating. Thank you!
What a great idea! I will have to keep Wal-Mart in mind next time I need 9 10×10 canvases 😛
Those are so darling. And you know that nobody is going to have the same thing as you. Love it.
Brooke
Oh, wow! So cute! I don’t have a Cricut, but I could figure something out. Thanks for sharing the sanding tip. I always trace whatever I’m decoupaging and then cut it with a straight edge and an exacto knife. Your way seem much easier.
really cute idea!
I’m doing this in my bedroom! Thanks for the great idea. Looking forward to your party on Wednesday!
Becca
HI there,
I came over from Home is where my heart is! Love this project, what a GREAT idea! I might have to try my hand at this!
Kristi
They are beautiful! I soooo need a Cricut.
Those came out really cute!
-FringeGirl
Darling! Fun idea too. I might just make something like this for bathroom. I hope you will link up at my Bring In the spring party!
Those are cute! Love the birds. I’ll have to look into those command picture hangers. Great tip about the sand paper too. I’d love if you linked up to my Scrappy Saturdays: http://myscrappygifts.blogspot.com/2010/04/10th-scrappy-saturdays.html
Wow! Love it! These are super cute!
I love how you layered them, they look great!
Cute – I like the layering and the patterns you used. Dropping by from BNOTP, #7.
Allison
Wow, that really brightened up that room! Love it!
I added this post to my Monday Creative Moms linky. 🙂
Those look fabulous and thrifty! Thanks for linking up to Craftastic Monday:)
Those are so cute!! I love the little birds!
Adorable! I have just discovered the joys of modge podge and this looks like it’s right yup my alley! (:
Very cute! It fills up the space nicely and I love the whimsical birdie 🙂 How on earth do you keep all these linky parties straight?!?
Very super cute! Thanks for the idea for inexpensive art!
Great job!!! This gives me a similar idea for my daughter’s room. I’m excited to try it out.
That turned out really cute. I love the paper and the bird! Thanks for sharing at ‘Look at me, I’m SO Crafty!’ at Fun to Craft.
Those are great! very cute!
They turned out so cute!
So pretty! Yes i think a frame would make them pop out more, they seem a little high but of course I don’t see the whole room. Great project!
I love this idea, limitless possiblilties. Great job!
Hi Leanne! I always love seeing your projects! I’d like to personally invite you to submit some projects to be featured on BCD! I’ve turned blue Cricket into a feature blog and want to feature the best designers out there! Check out how to submit by clicking my “Be Featured” button just under my header to find out how to submit! I hope to see some of your amazing stuff soon!
Becca
Wow! Great wall art! You did a beautiful job. I would have never thought to put the little birds over the pattern. Truely amazing. Thanks for sharing how you did it!
I found your blog on New Friend Friday. Newest follower now!
These are adorable! I love DIY wall art and you have done a fabulous job! Super cute! Thanks so much for joining the Sunday Showcase Party! I greatly appreciate it! Hope you are enjoying your weekend! ~ Stephanie Lynn
Those are wonderful! I have a weakness for anything with birds and branches, and the patterns on the papers you chose are beautiful. Thanks for the inspiration!
Those are so adorable! I love the way they turned out. The birds are so cute. 🙂
THanks for linking up to my party.
Traci
Darling! Those turned out so cute!!!
These are so stinkin’ cute!!! Great idea!
Turned out great! The birds are so cute!
Thanks for linking!
~Liz
Loving the lil birdies!