I first shared this easy No Sew Pillow Cover on my blog over 4 years ago. I had actually made the first one 5 years before that on a whim to add a decorative pillow to my bed. It has now been pinned over 100,000 times and shared thousands of times on facebook and other social channels. Do you know why it has been so popular? Because it is the easiest way to update your pillows to quickly change the look of any room. Plus, there’s no sewing or gluing involved.
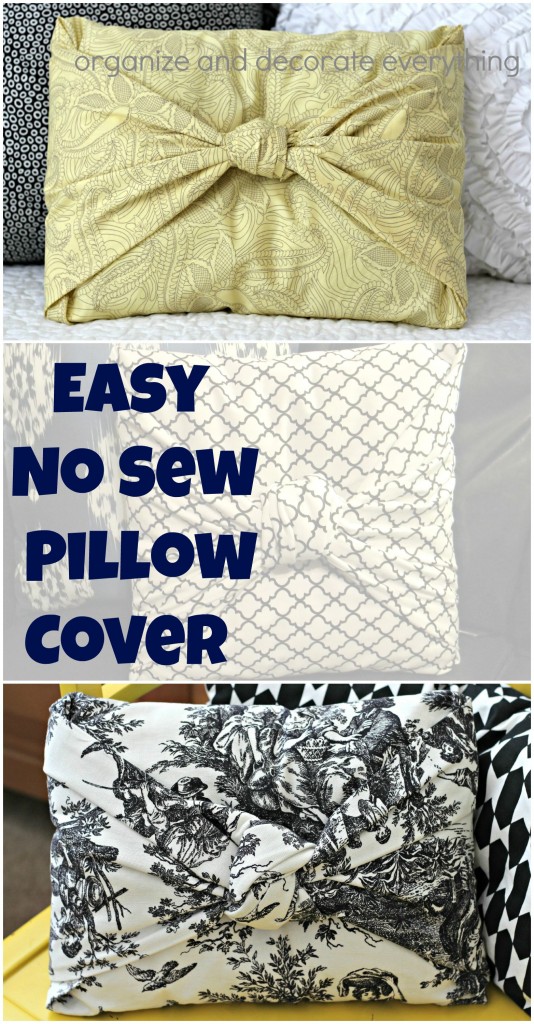
I’m sharing the instructions again because even after all these years I still get questions every week. Below is the original pillow I made for my bed, but didn’t blog about. This cover will work on most shapes and sizes of pillows, you will just need the right amount of fabric per pillow.
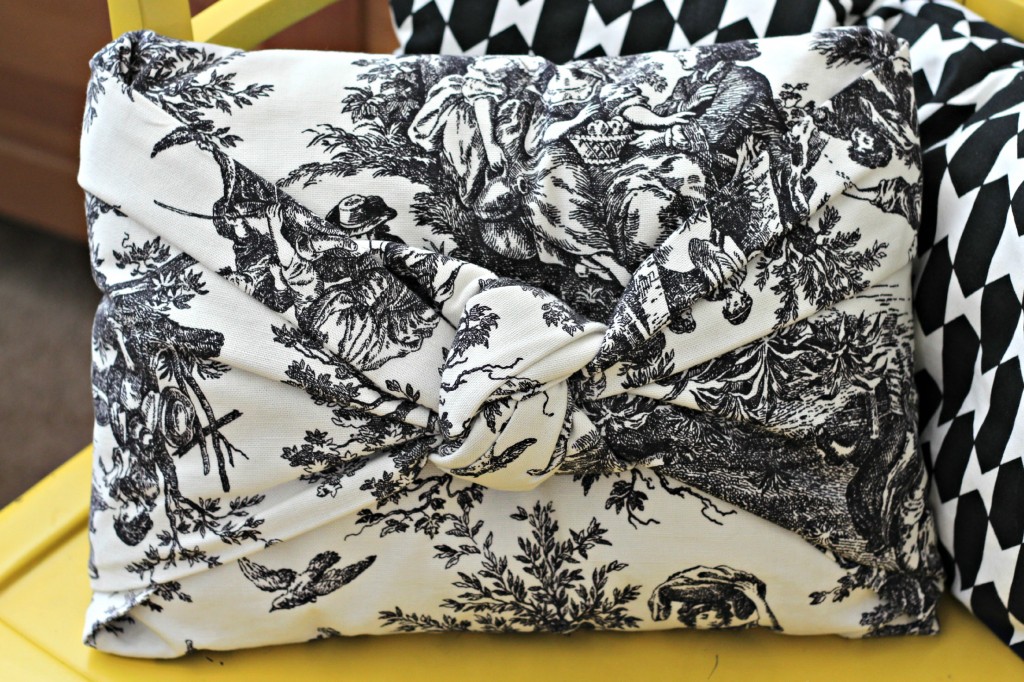
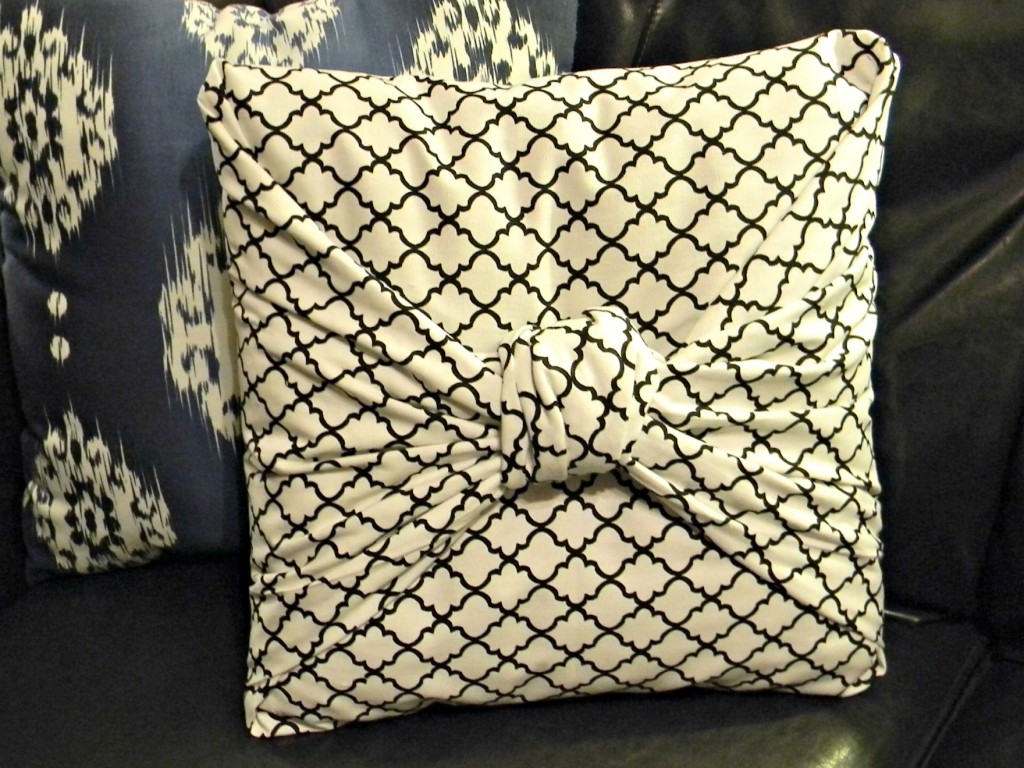
The pillow below is the one from the original post. As you can see it is square instead of rectangle and the knot is slightly different. I’m just showing you that there are a couple options even in this simple cover. I’ve also been asked where I purchased the fabric below. I purchased it a Hobby Lobby and they still carry it. The fabric above was purchased at Hancock Fabric, but it’s pretty easy to find toile fabric anywhere.
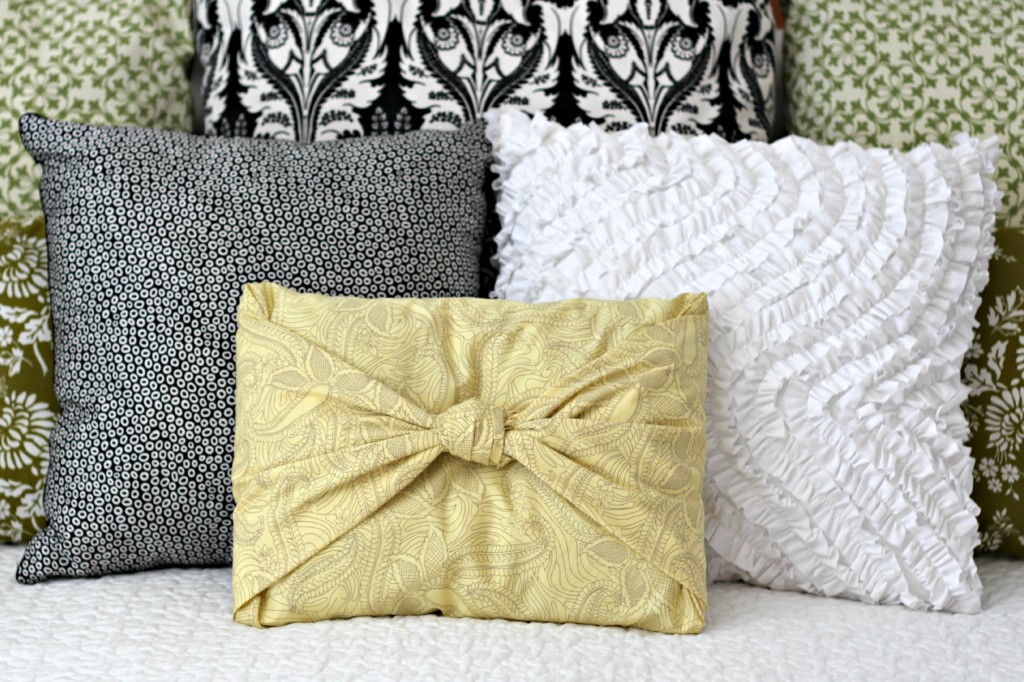
I decided it was time to change up the little rectangle pillow in my bedroom but since I decided to do it on a whim I just used some fabric I already had. I purchased this fabric at Walmart a couple years ago for another project. Hmm, I have no idea what that project was now. I guess it’s a new pillow!
Now let’s get down to the instructions:
There is not and exact measurement for the fabric because pillows come in all shapes and sizes but this is the formula I use. The fabric needs to be 3 times as long (wide) as the pillow plus 4-6 inches and twice as tall plus 2-3 inches.
I use pinking shears to cut the fabric so it doesn’t fray. Lay out the fabric wrong side up and place the pillow in the center of the fabric. Fold the bottom half of the fabric to the center of the pillow, then fold the top down to the center. The fabric will overlap an inch of so. Make sure the raw edge is in the center of the pillow so it will be hidden when it’s tied.
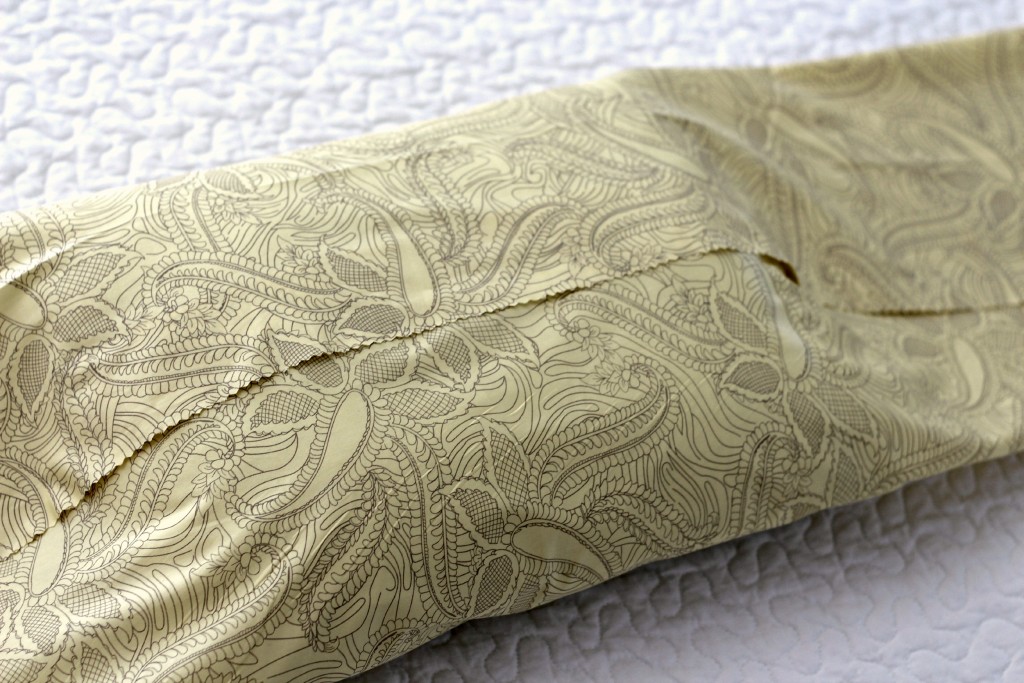
Fold both ends of the fabric as shown in the picture. Some have had a hard time making this look neat. Think of wrapping a package and make the folds crisp to have a professional looking end result.
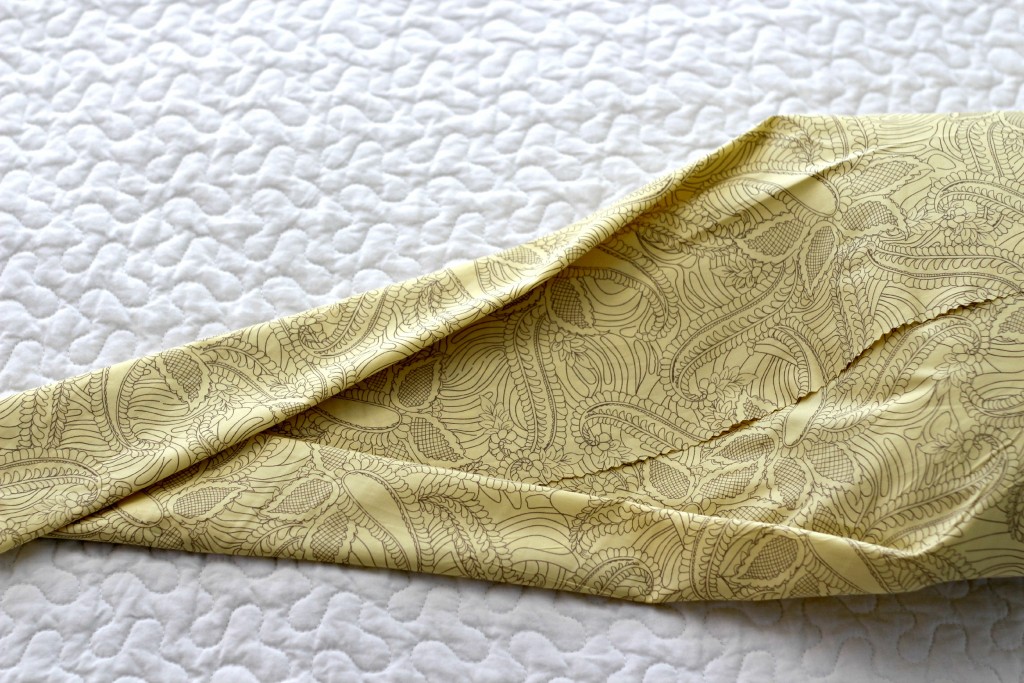
Bring the left side over the top of the pillow. Then the right side.
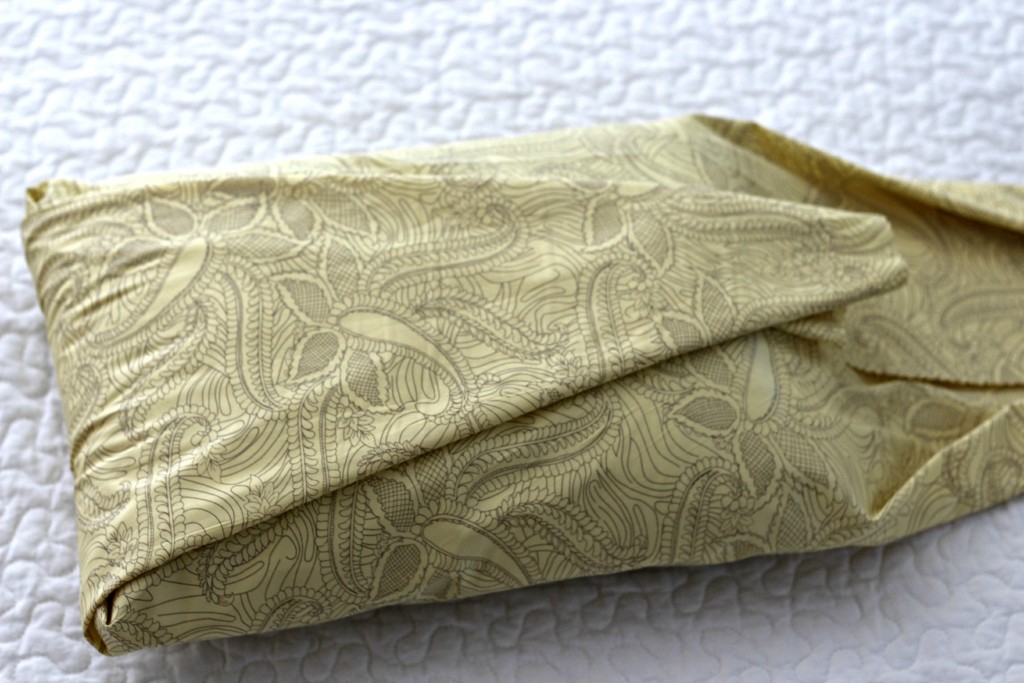
Now tie the ends together. Place the right side over the left side, as shown.
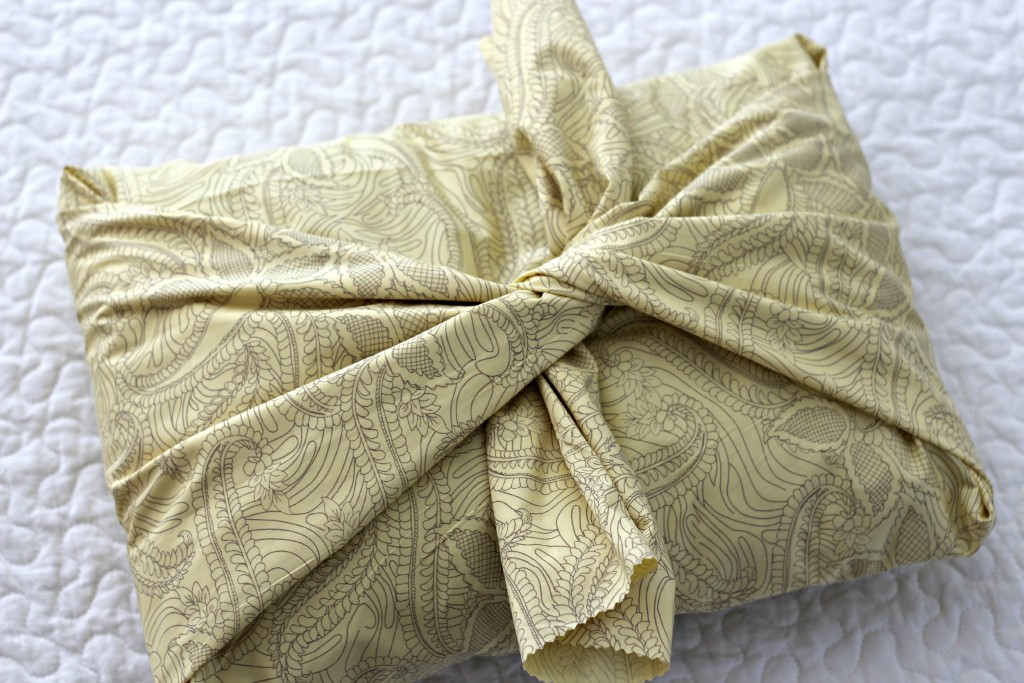
Then bring the bottom up and over the top. It’s like a square knot, which is right over left, then left over right.
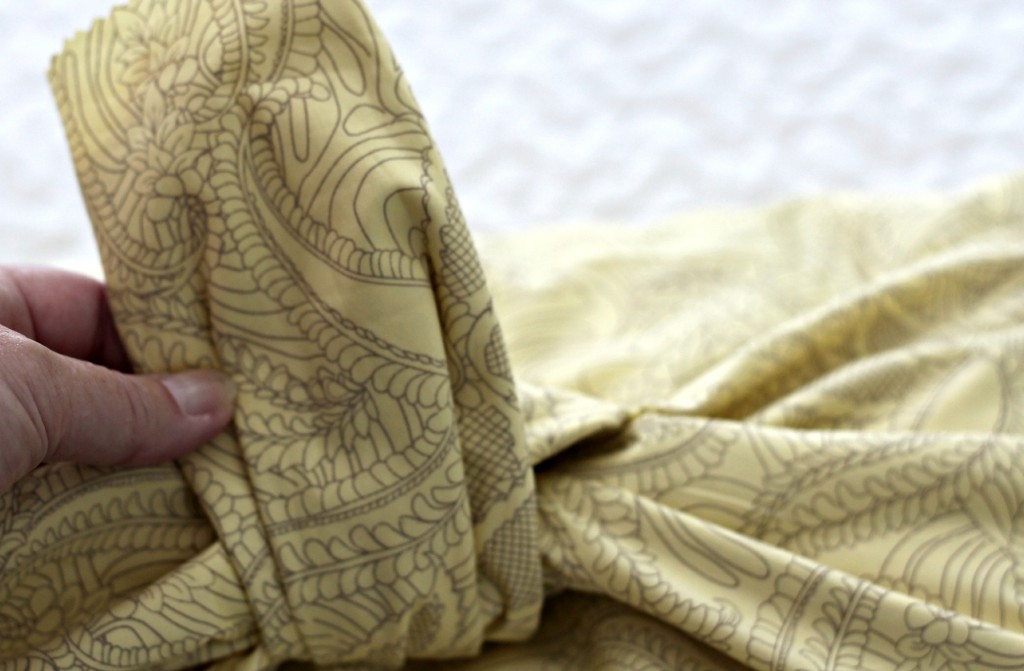
Tuck the ends of the knot under the sides of the fabric, as so.
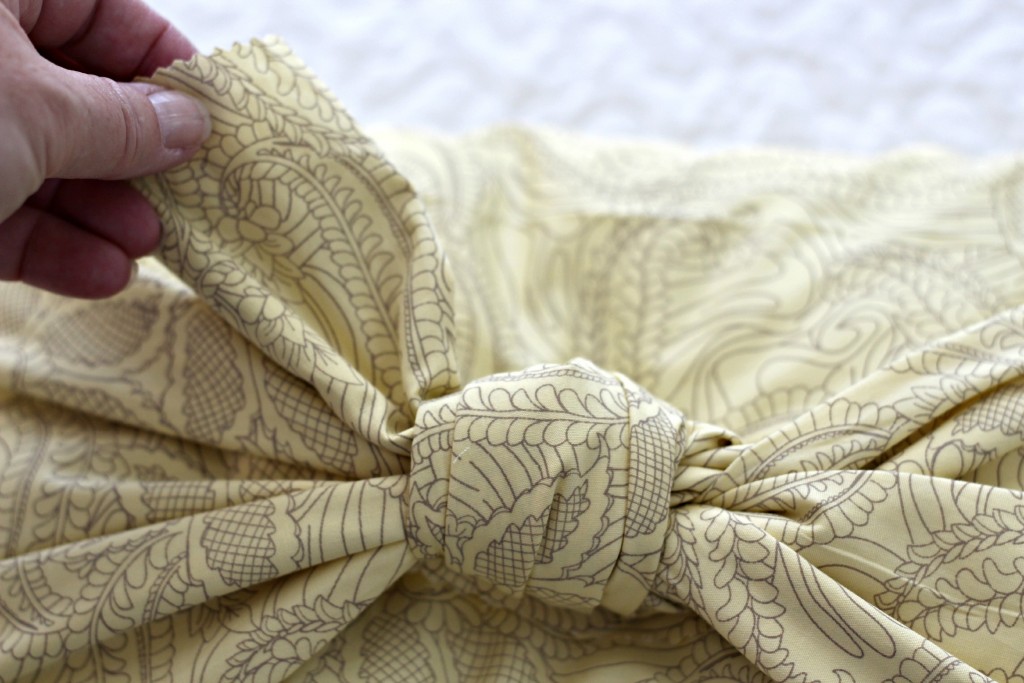
Ta-Da! You now have a beautiful pillow without any sewing. I used a thinner fabric for this pillow since it’s what I had handy. I actually prefer a little thinker fabric because it holds it’s shape a little better. Thin fabric is a little easier to work with for the first time though.
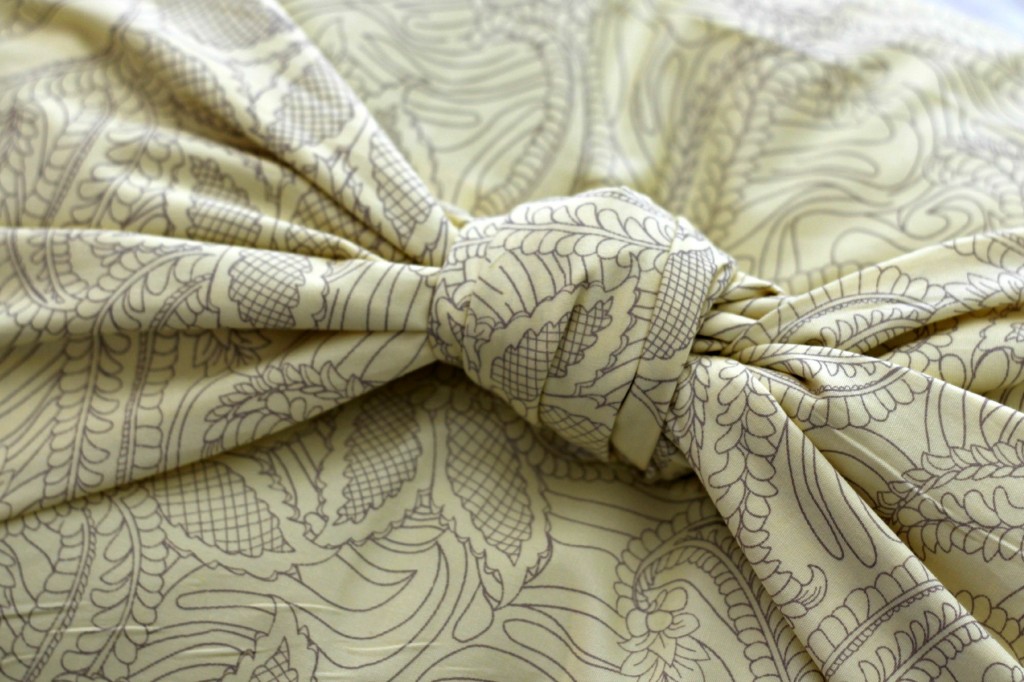
It looks great on the bed and I love the knot. The pillow is another thing I’m doing to update the bedroom. Watch for more updates to follow. A little at a time, right?!
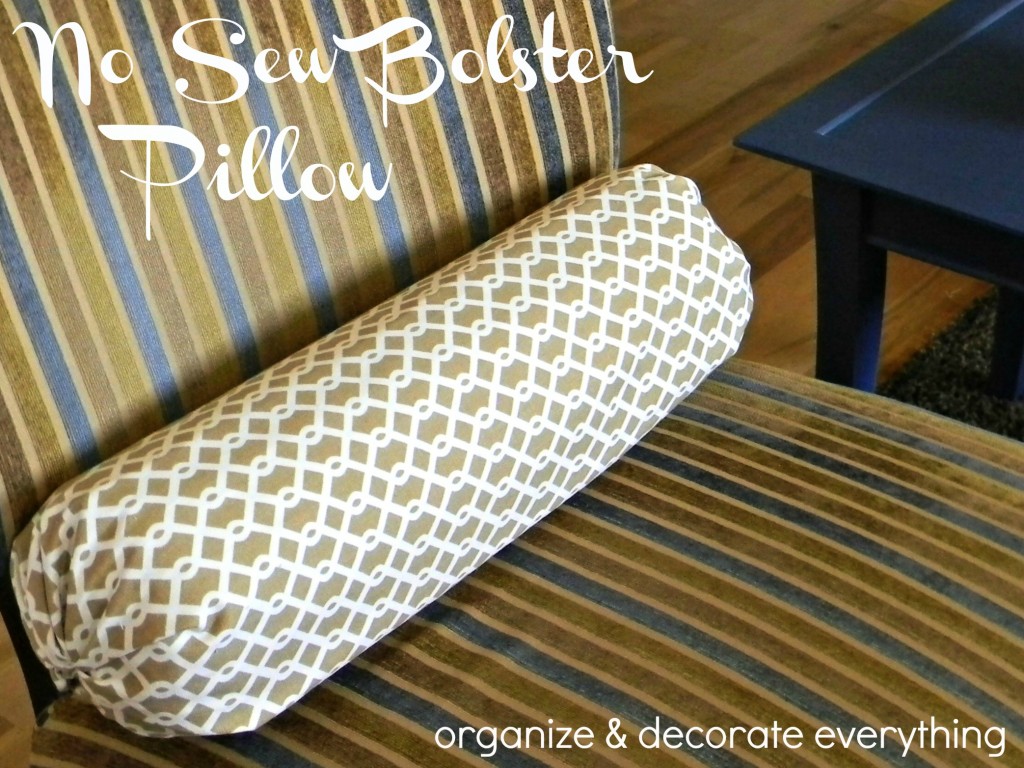
If you like this post you might also like this No Sew Bolster Pillow.


I was so glad to find your post. I had seen this type of pillow done many years ago but could not remember how it was done. I recently was gifted a beautiful stash of home decor fabrics and pillows in greens. The flip side of my comforter is white, I plan to cover some of my existing pillows with the new fabrics. It will refresh the look from a spruce green to creamy white and paler greens. I am very excited to have found your post. A beautiful knot is a timeless look. Thanks so much!