
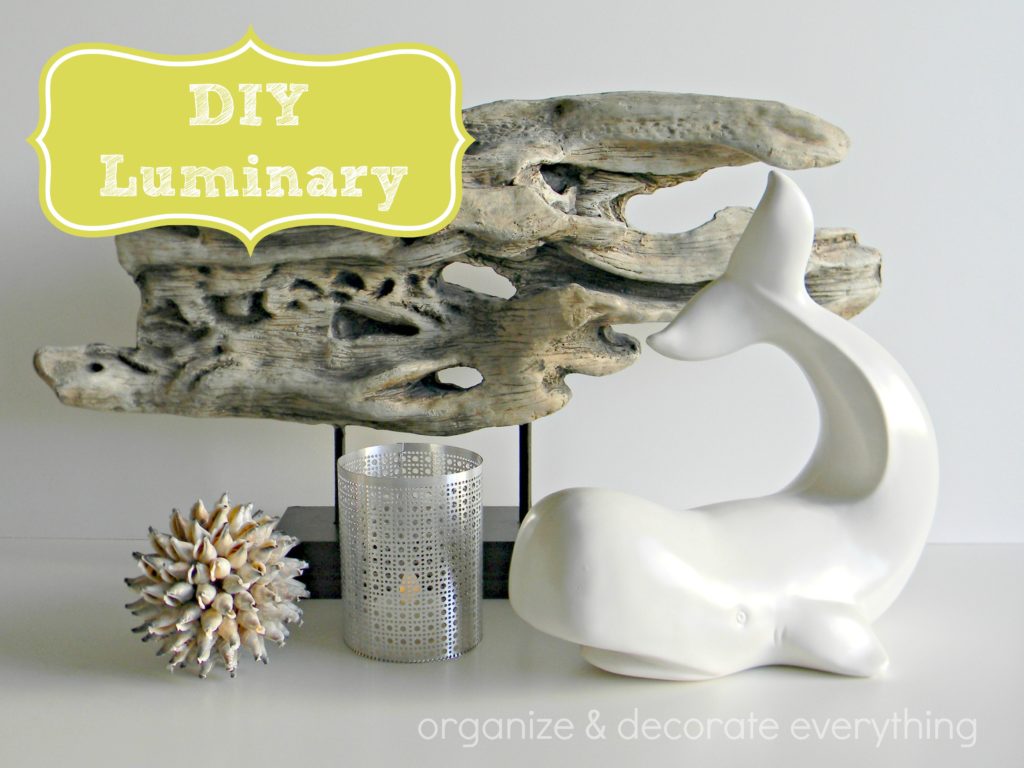
Make your own DIY Luminary using decorative sheet metal, wire and a simple wood base.
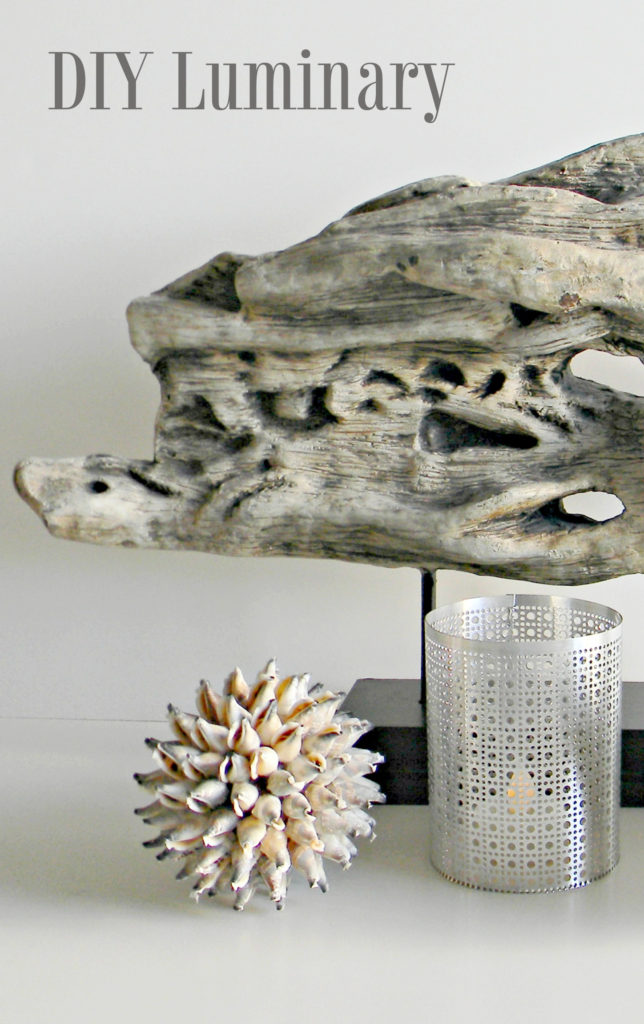
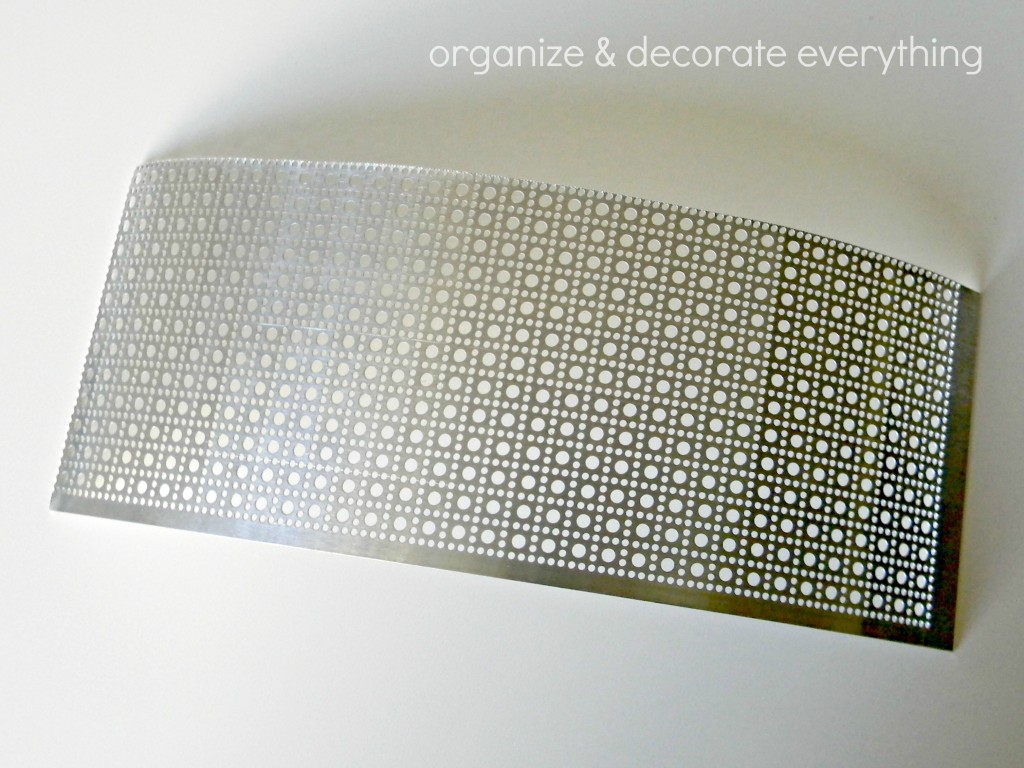
I made a Jewelry Organizer out of decorative sheet metal and had a little left over so instead of wasting it I decided to find another use for it. Since the sheet metal was so pretty a candle holder or luminary came to mind. I only had enough leftover to make one, but I would like to buy more metal to make a couple more luminaries. It turned out so pretty.
Supplies needed for DIY Luminary:
Decorative Sheet Metal
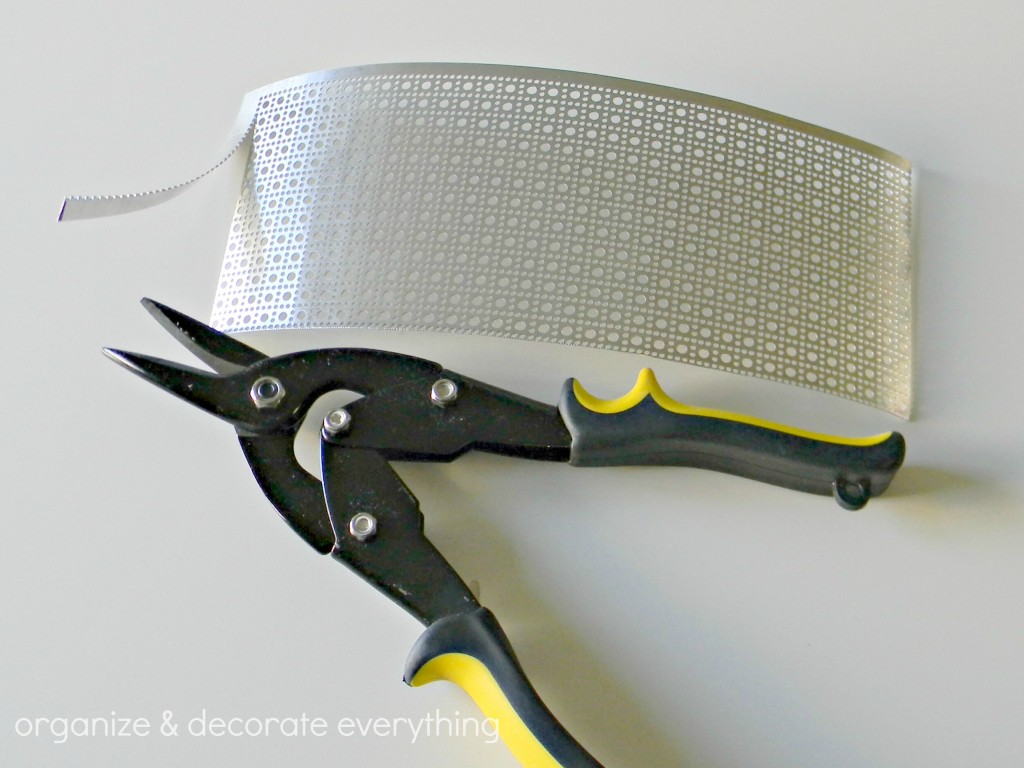
Tin Snips
26 Gauge Wire
Wood Base
Wire Cutters
Tea Light or Small Candle
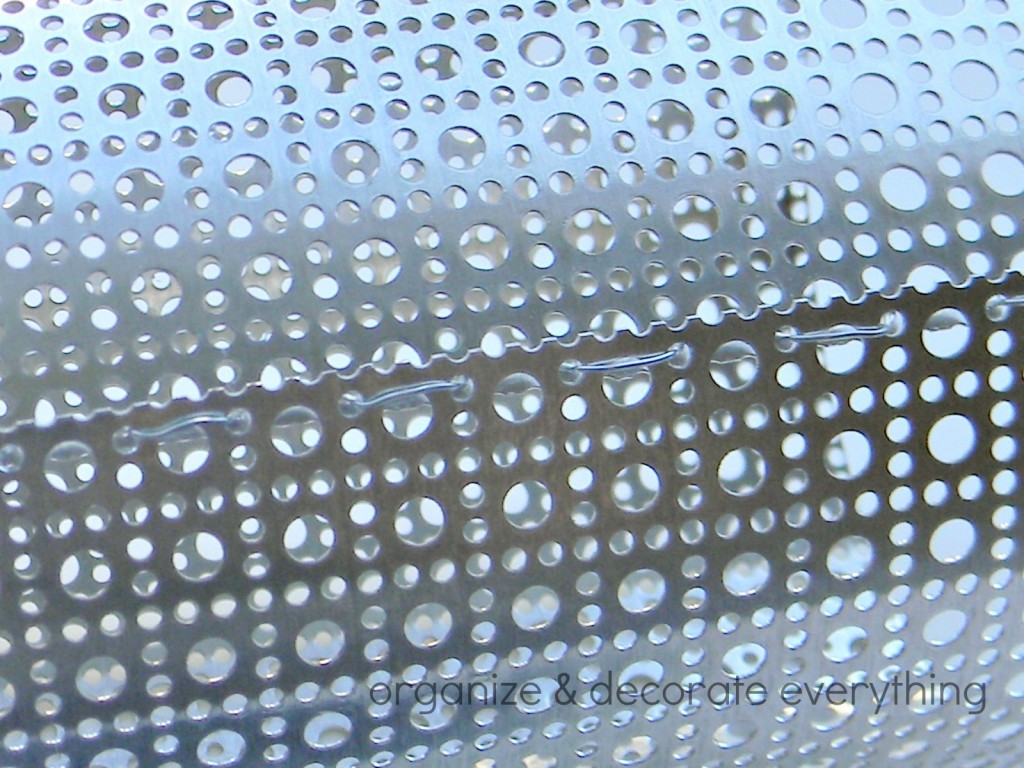
Cut the trim off the other side of the sheet metal using aviation tin snips. I left the trim along the top for a pretty finished look. You could probably leave the trim on the one side but I was worried it would stick out where it was attached with the wire.
I formed a circle with the metal and used 26 gauge wire to secure the ends together. It’s easier to form the circle if you use a jar or something round to help form it. Make sure not to crease the metal.
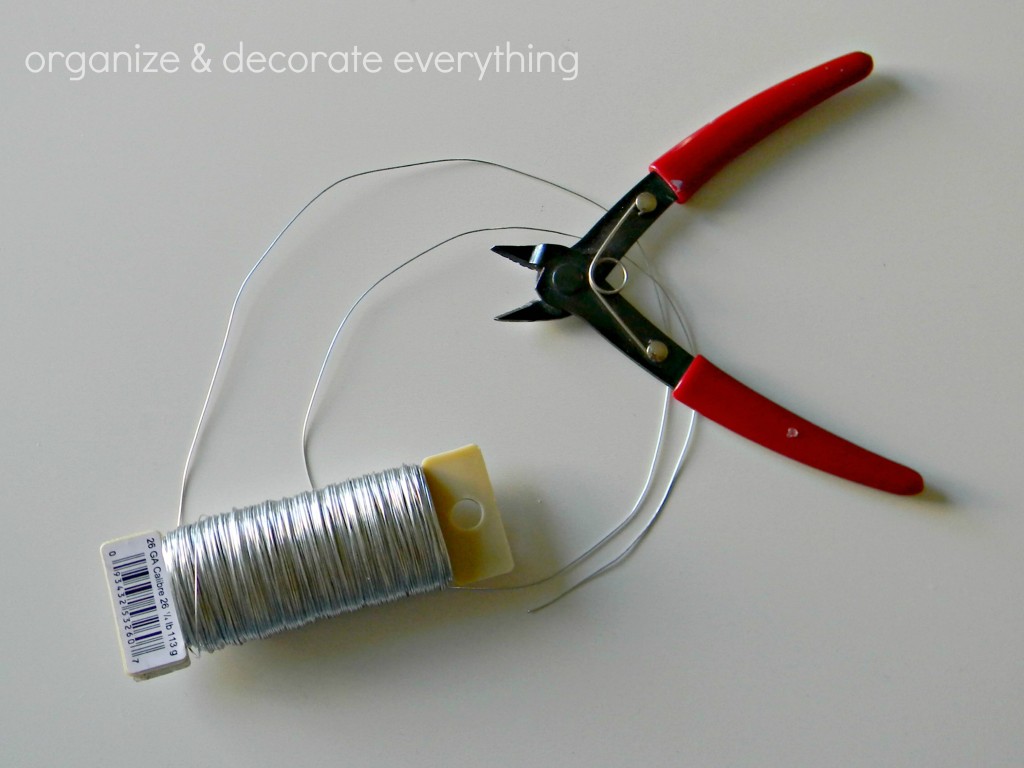
Weave the wire through the small holes and pull it as straight as you can. It’s easier if you do the stitches one at a time. Secure the ends by wrapping it back around the wire and tucking it to the inside of the circle.
This is where I really lucked out. I had some wood circles leftover that I had used for cupcake stands. It just so happened to be the perfect size to use as the base of the luminary. When I make more of them I’ll make sure this part is intentional. I was going to paint the base but then decided I liked how the raw wood looked against the metal. I might stain it later though.
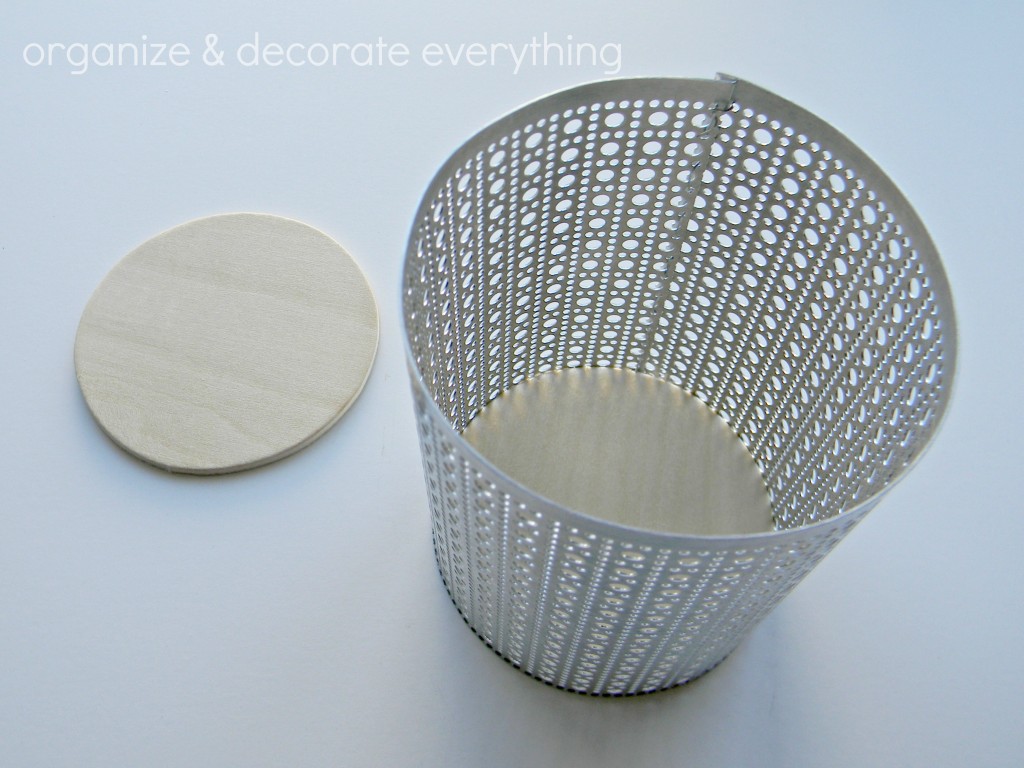
This is how it looks from the bottom. I just slid it into place and it fit snugly.

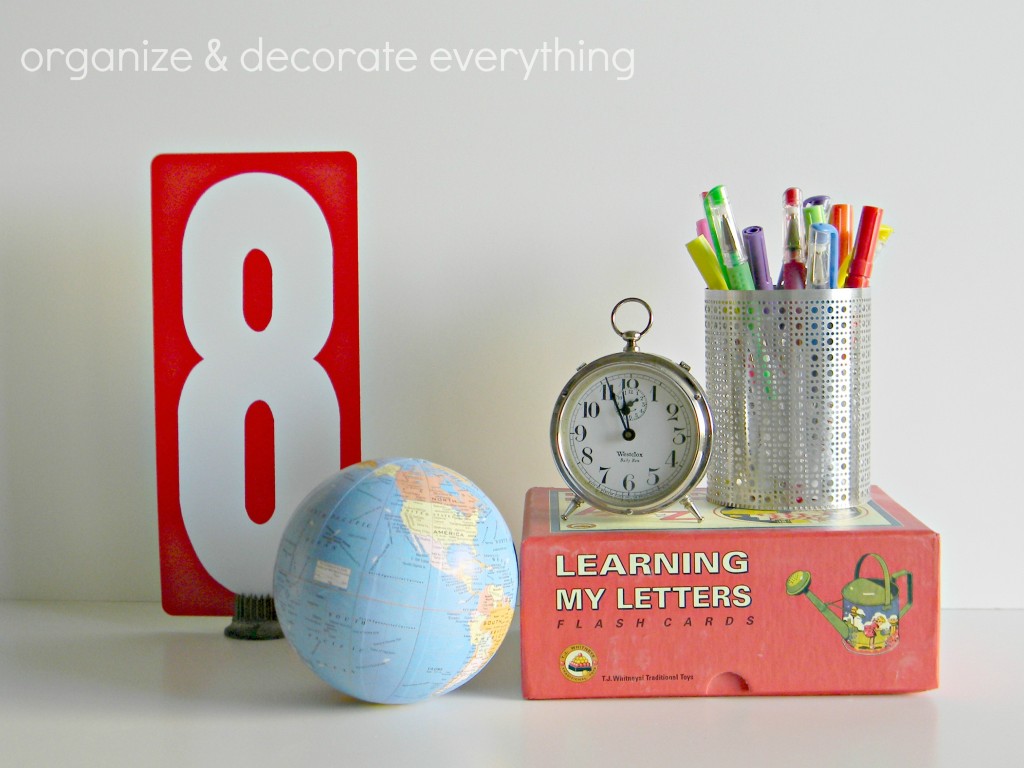
Then I placed a battery powered tea light inside. I also discovered it fits perfectly in most candle holders. Another bonus! When I make more I think I’ll make them different heights to add interest. Here’s a little sneak peek at some of the things I’ll be using on my mantel soon.
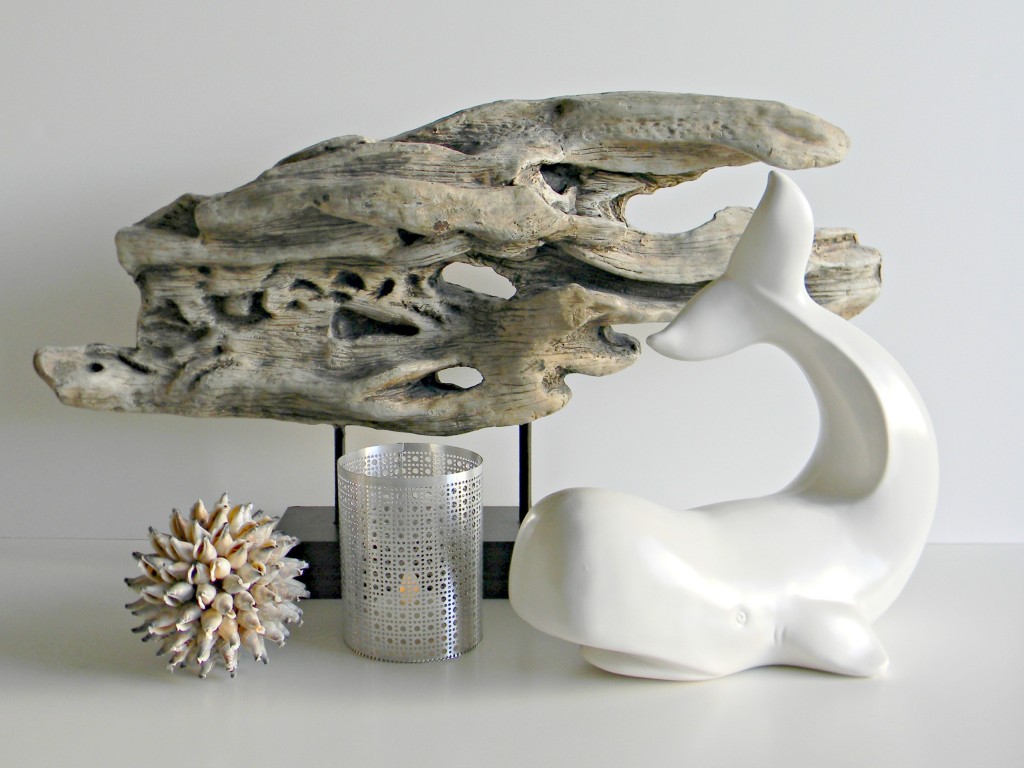
Then I got an idea for another way to use it. This would be so cute as a back-to-school mantel. I’m definitely making more of these luminaries, maybe using different decorative metal pattern sheets.
The best part about this project is that I used things I already had on hand and didn’t have to spend a penny. I love projects like that, don’t you?
Pin it for later: DIY Luminary
You might also like these posts:
Glitter Candle Holders
Dollar Store Crafts


