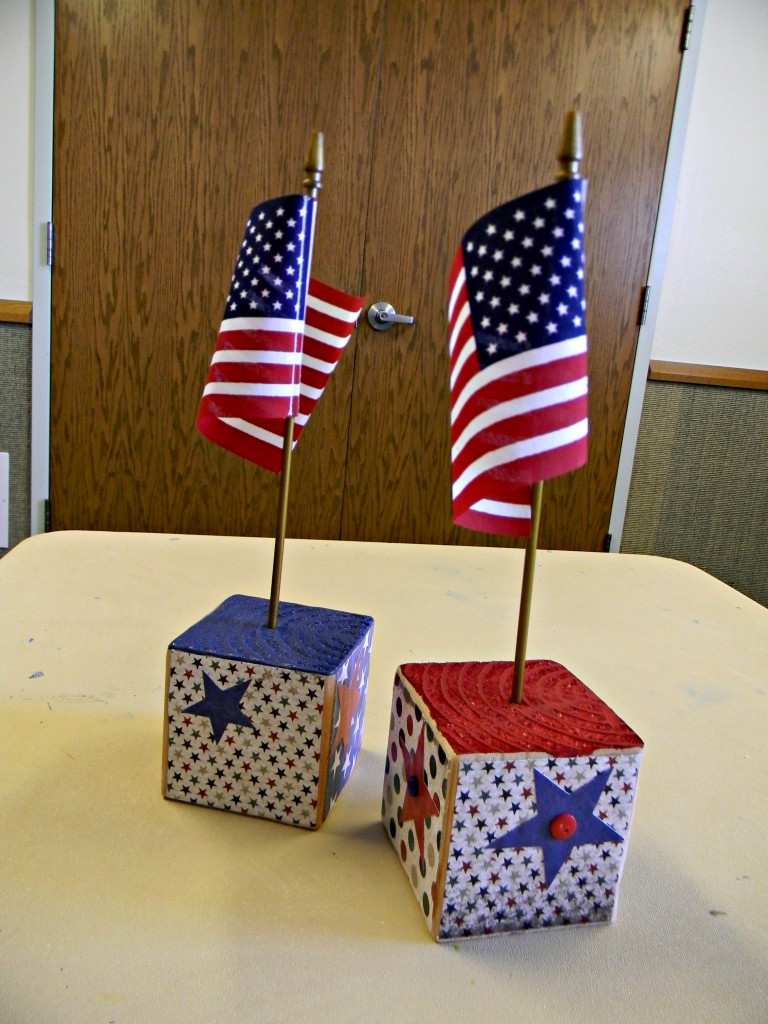
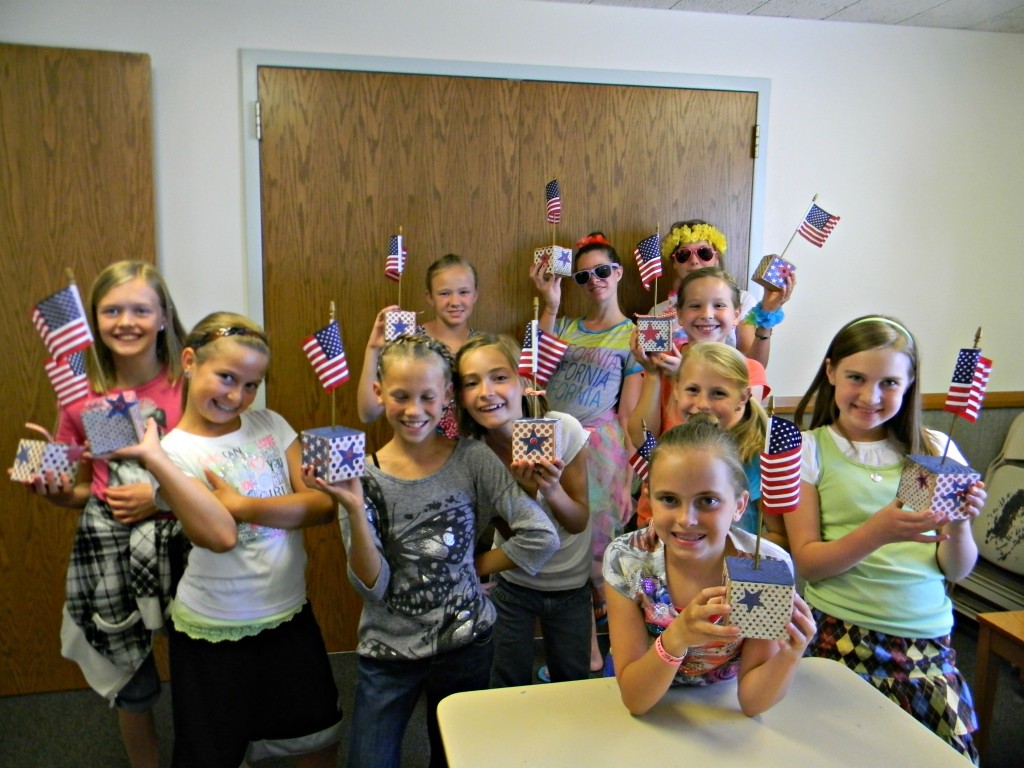
I’m in Activity Days at Church, which means I teach classes to the 10 and 11 year old girls during the week. Anything from service projects to cooking, scriptures to crafts, sports to life lessons. We made 4th of July blocks this week. Didn’t they turn out cute?
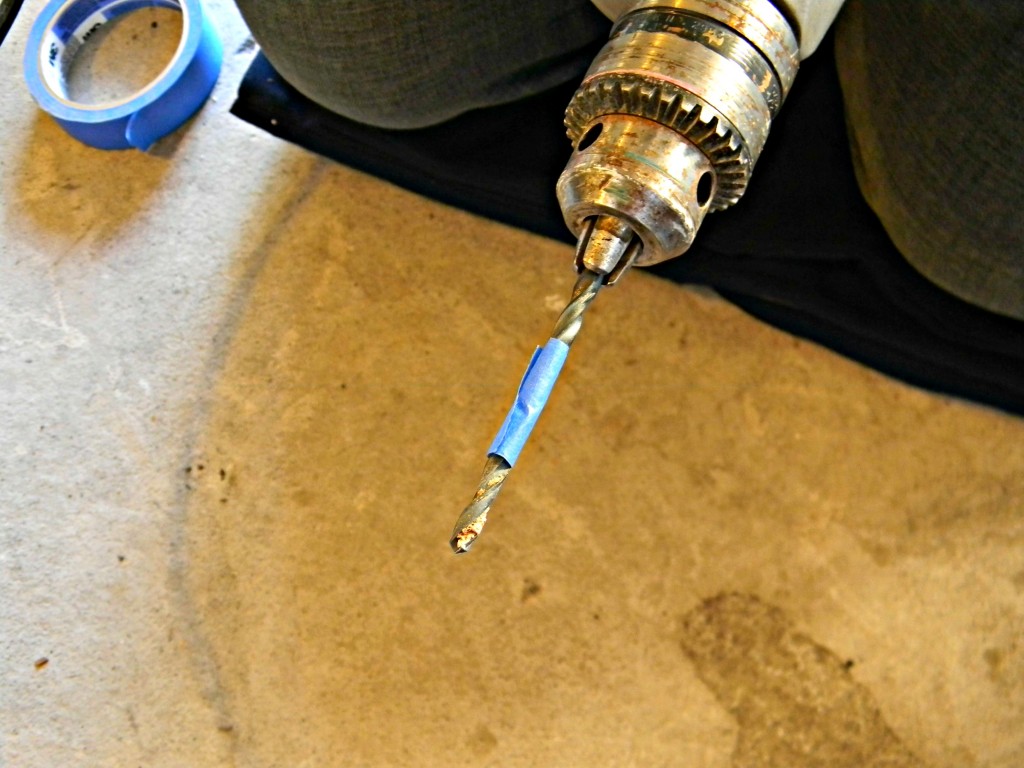
I drilled a hole in the center of one side of the block for the flag. Here’s a little trick to know how deep you’re drilling, measure on the drill bit then mark it with a piece of tape. Drill to the tape level and the holes will all be the same depth when you drill.
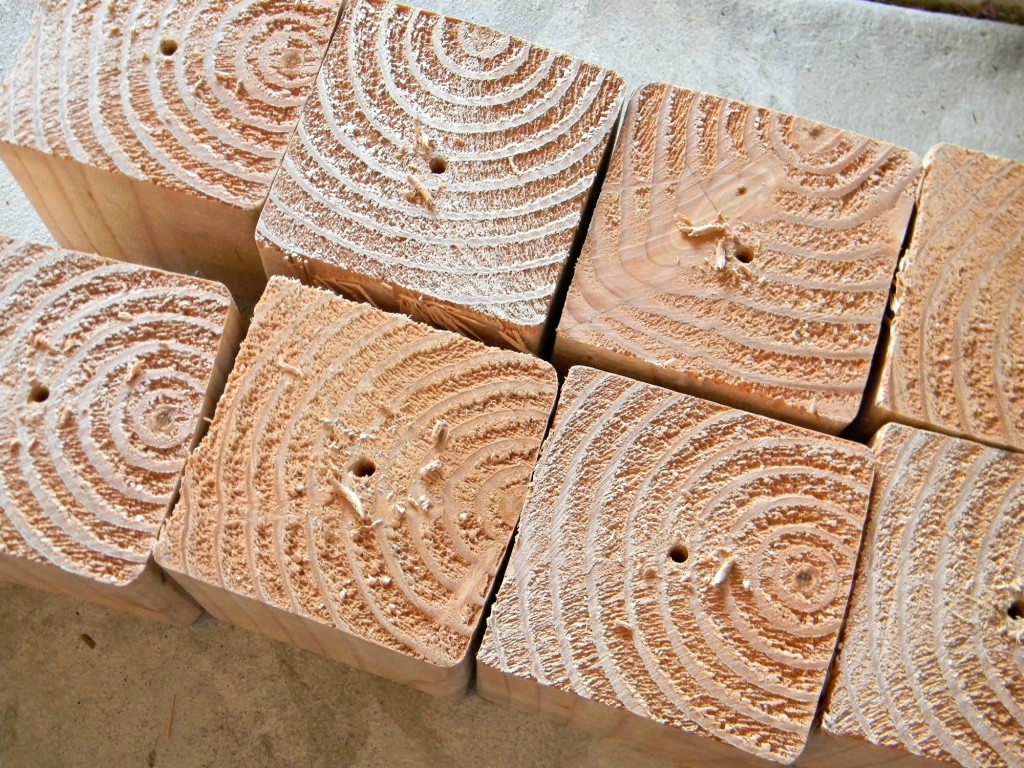
We bought a 4×4 at Home Depot and had it cut into square pieces. This is our 3rd and final project we were able to get out of one post.
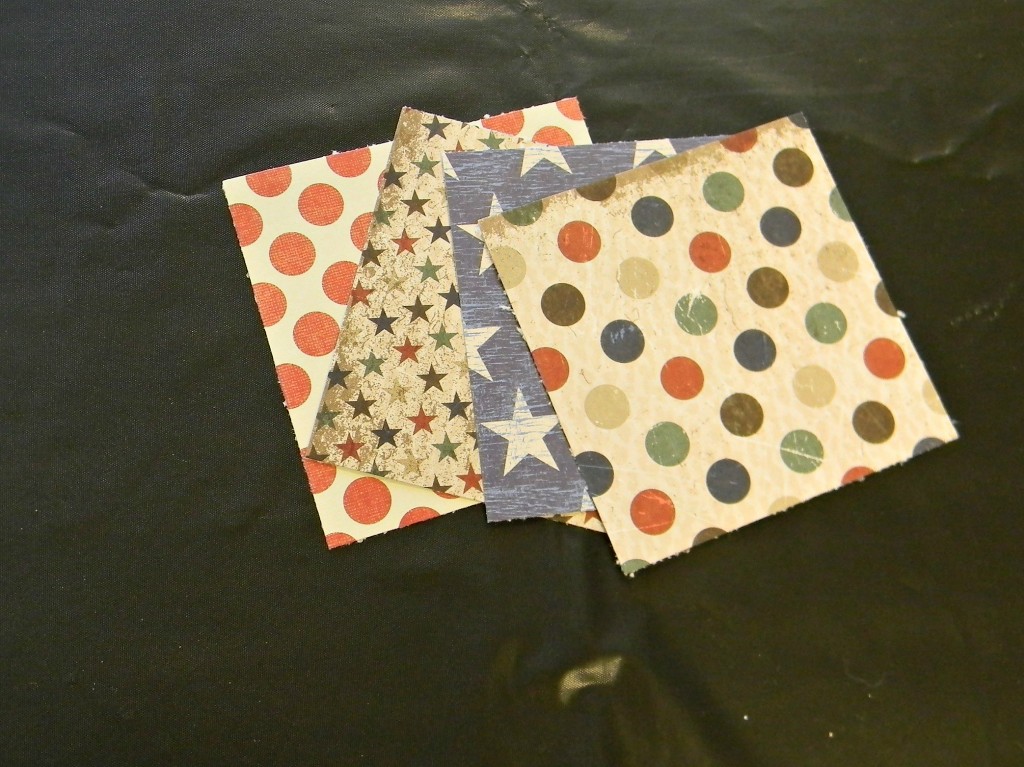
I cut scrapbook paper to place on the sides of the block. I also cut out stars and had buttons to embellish the paper.
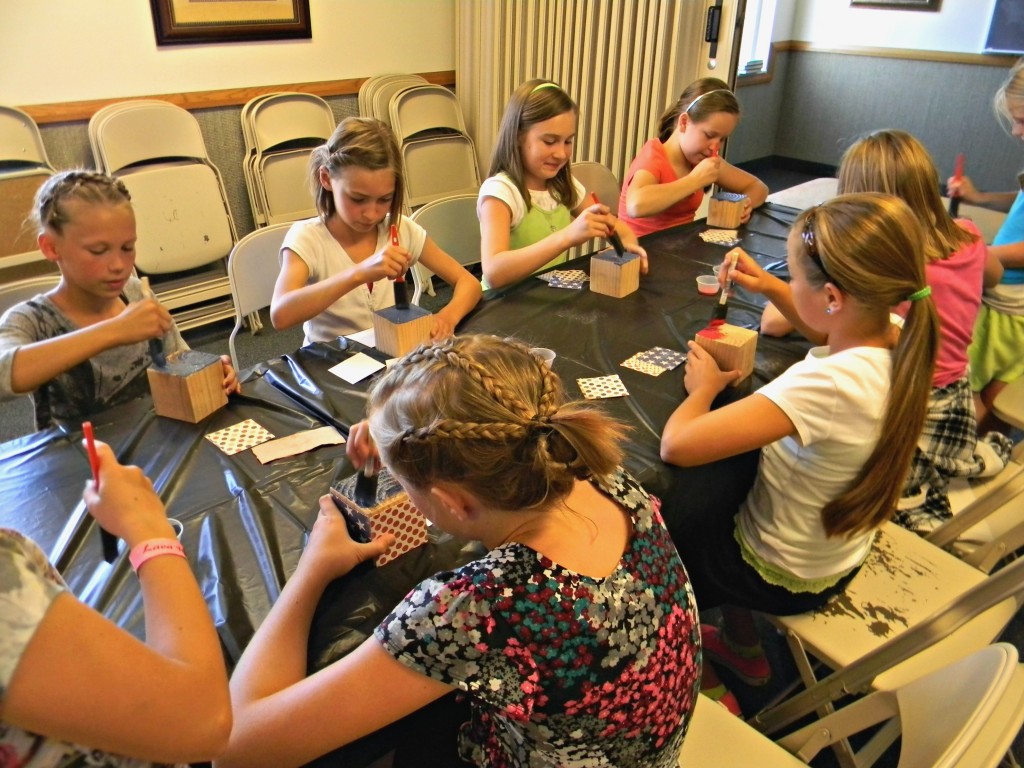
Here are the girls hard at work painting their blocks.
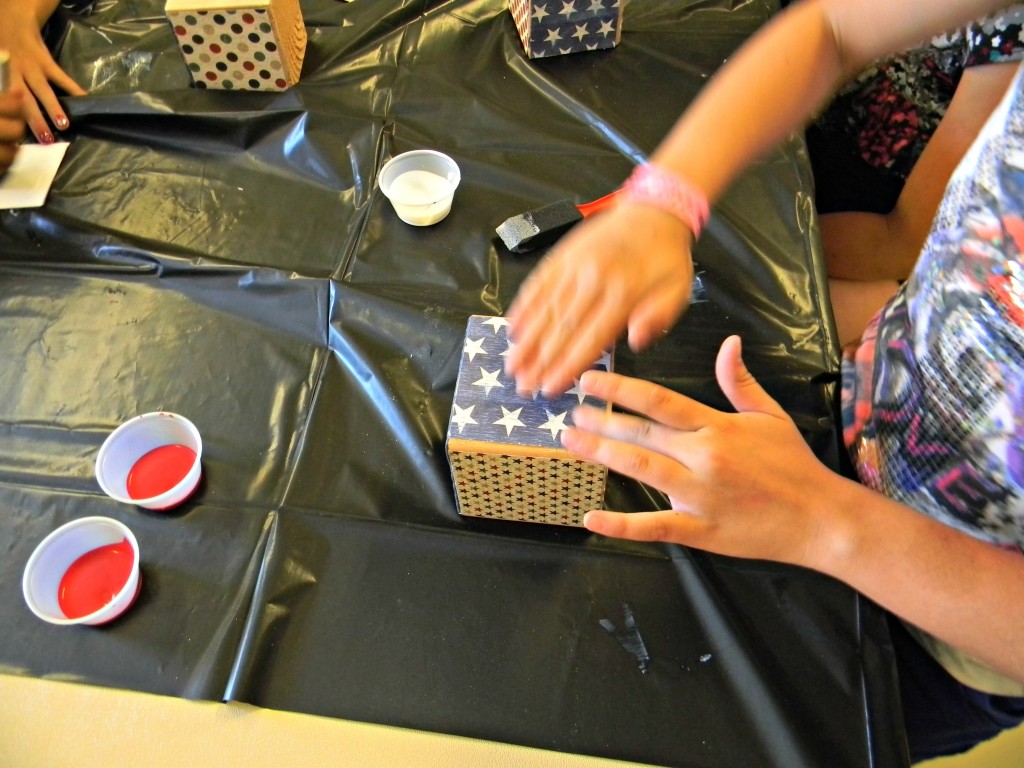
They used mod podge, paper, paint, die cuts and buttons to make their July blocks. When they were finished putting everything on they mod podged over the top to seal it.
They turned out so cute and it was such an easy project for them. It was fun to see how they were all a little different Emilee and her friend helped and were even able to make one for themselves. I’m going to miss working with these cute girls.



I love these, they are cute and simple. What a great craft to do.
i love this! so stinkin cute!
I love this idea – this would be great to set on the neighbors porch as little surprizes.
I think I’ll make these today!
Great idea!