Ice Cream in a Bag is a fun and delicious dessert for Summertime picnics or barbecues.
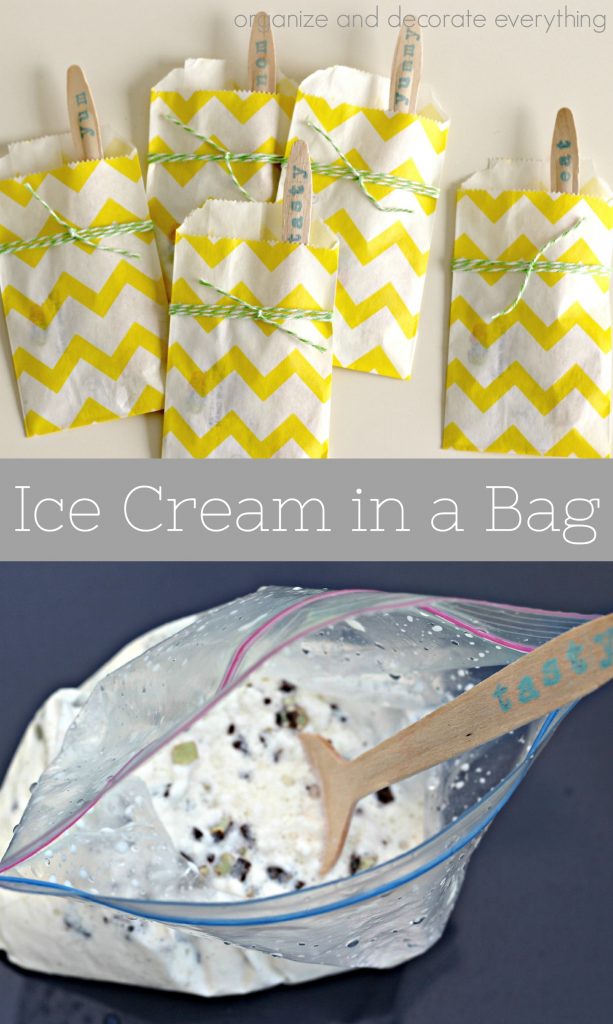
One of my favorite things about Summer is our impromptu picnics as a family. I keep a picnic basket stocked with plates, drinking cups, eating utensils, straws, and napkins. The other basket is ready for all the delicious food we will be enjoying. Sometimes I like to add a little something special to our picnic and I’ll make something creative to go along with our dessert or meal. I had all these supplies on hand so I wanted to make our dessert at the park a little more special.
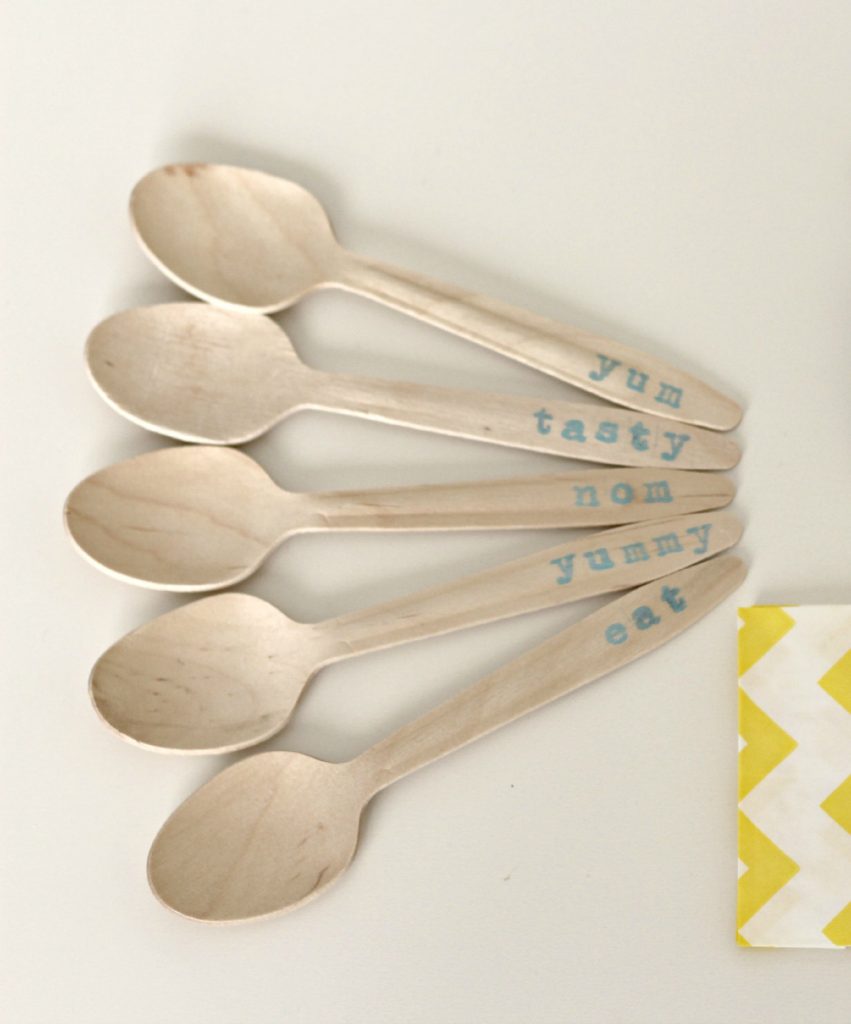
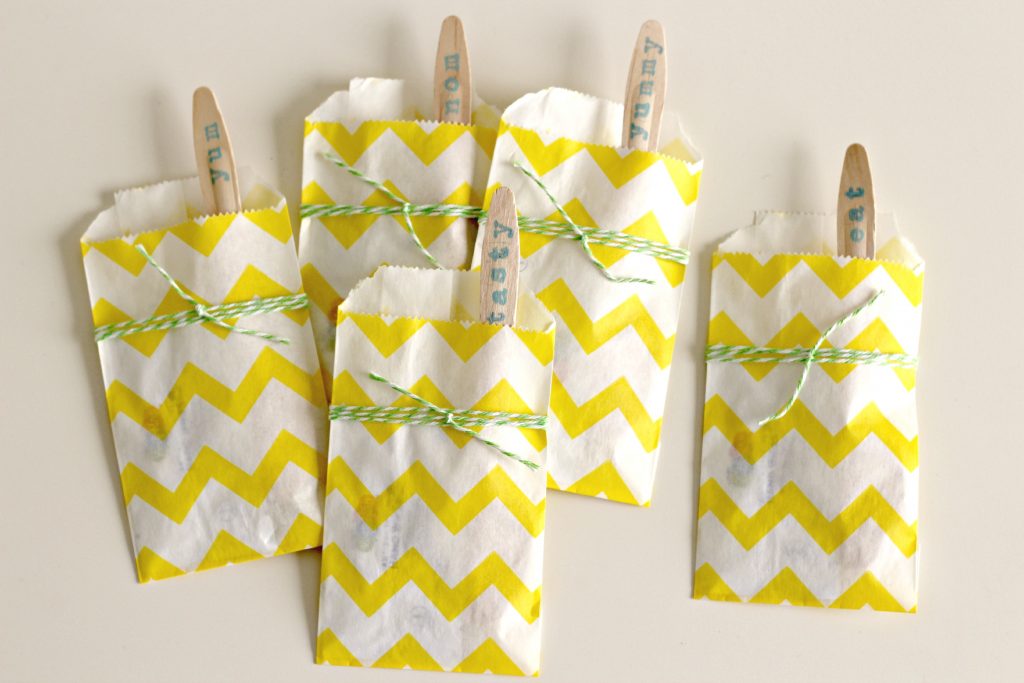
I stamped the wood spoons with dessert related words then put each one in a bag with a wet wipe package and tied it off with some bakers twine. It makes things so much easier to have individual packages for each family member. This would also be really cute and easy for a party and they only take a few minutes to make.
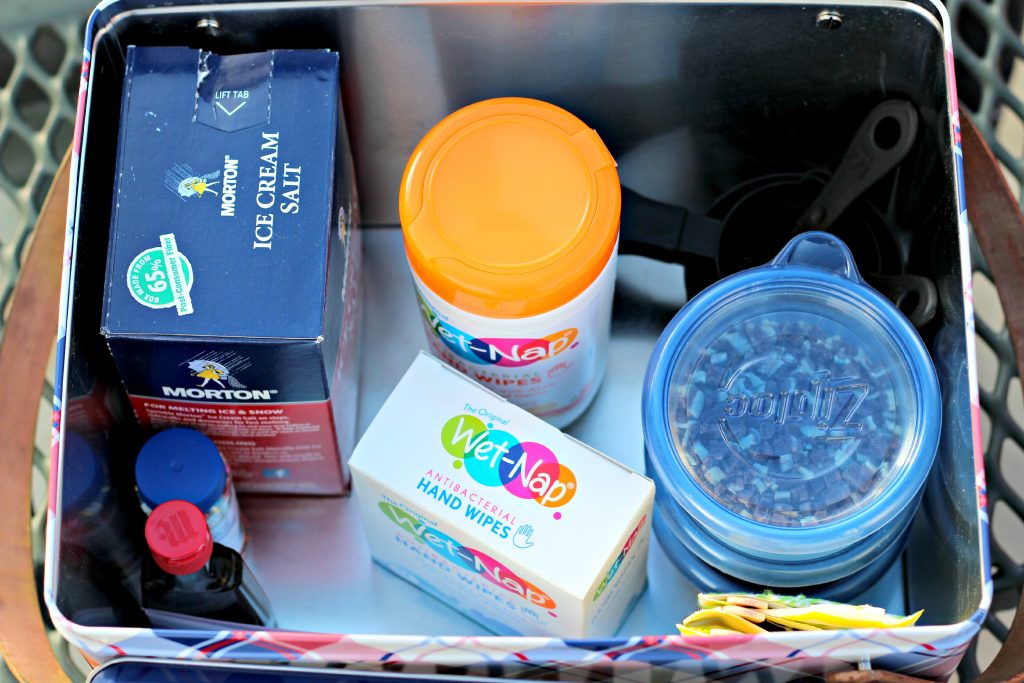
Our dessert basket holds everything we need to make Ice Cream in a Bag on our picnic, we also have a cooler with ice and half & half. Ice Cream in a Bag is so fun for kids to make and they love eating what they’ve made. We made vanilla ice cream then had a few add-in options if they wanted to add another flavor.
Here’s what you’ll need:
2 tbsp sugar
1 cup half & half
1/2 tsp vanilla extract
1/2 cup coarse salt (I used ice cream salt)
ice
gallon sized ziploc bag
sandwich size ziploc bag
Pour the sugar, half & half, and vanilla extract in the small ziploc bag. Make sure it is sealed tight and mix together by shaking it for a few seconds.
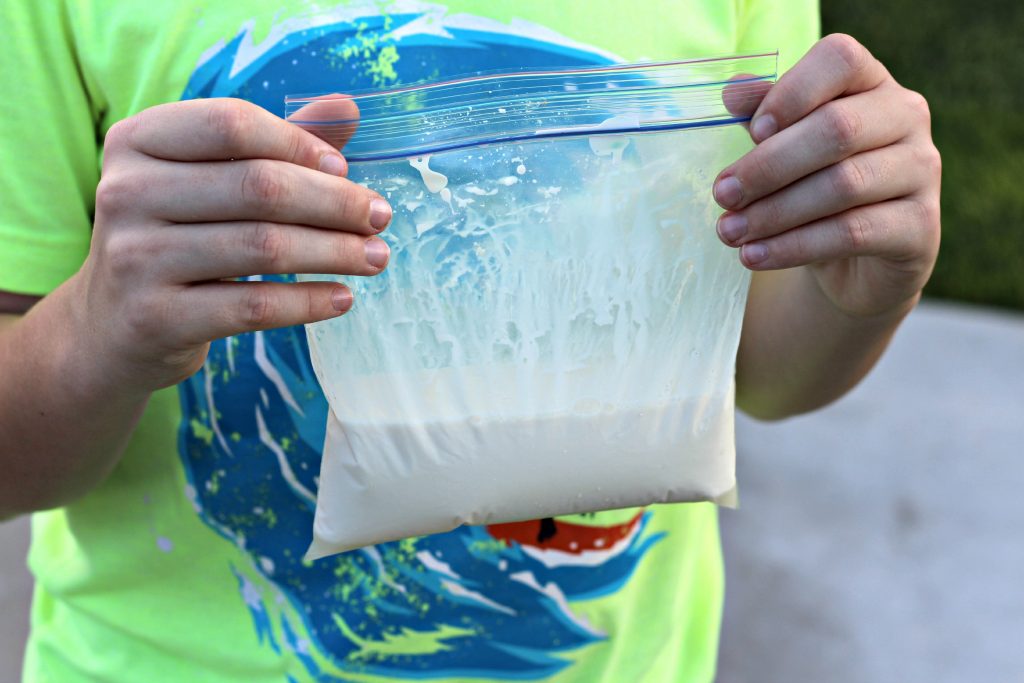
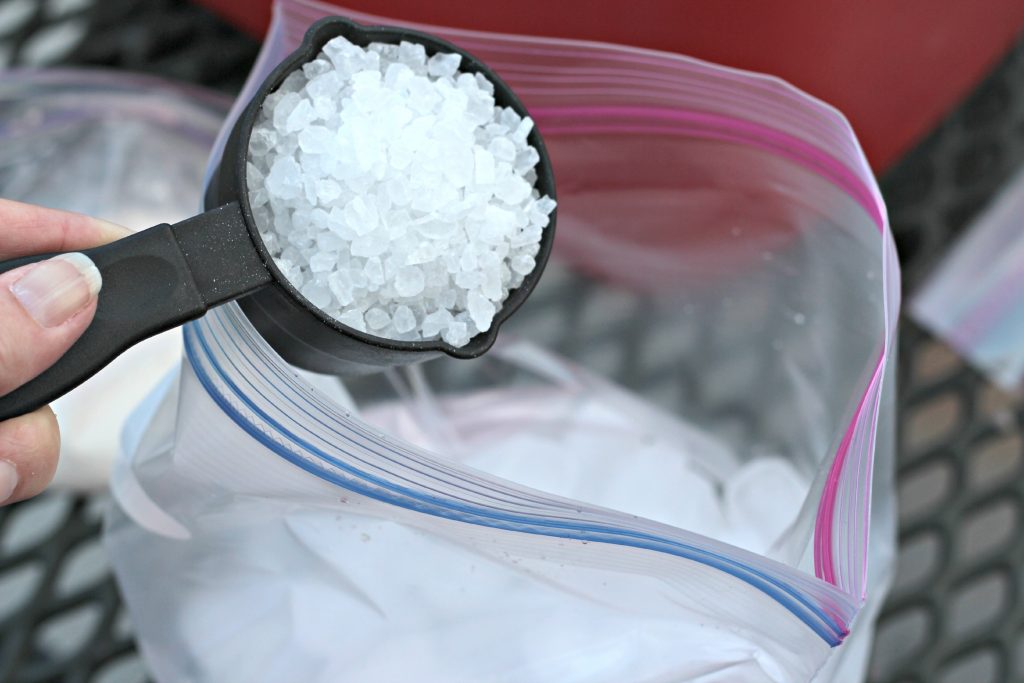
Fill the gallon size bag half way with ice then pour the salt over the ice. Place the cream filled bag into the ice filled bag and seal tight.
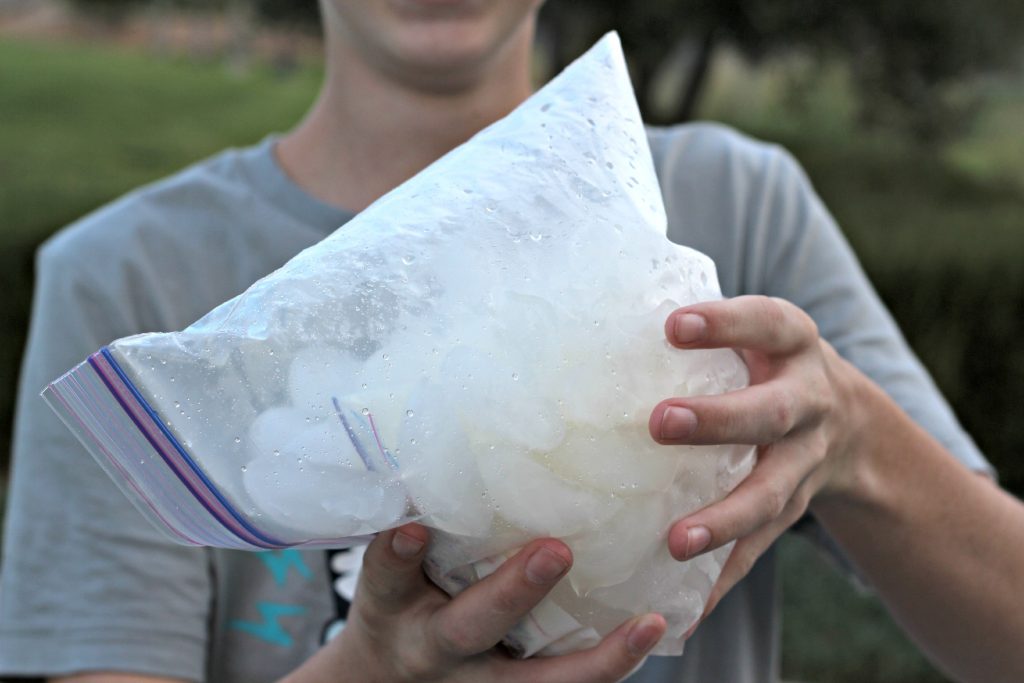
Shake for 5-7 minutes or until the desired consistency. We found that the bag gets very cold on your hands after about a minute. One option is to wear knit gloves or we have also sat in the grass and rolled it around holding the top of the bag. Check the bag after 5 minutes to see if the ice cream is hard, if not, continue shaking. Take the ice cream bag out of the large bag and pour cold water over the outside of the bag to rinse the salt off.
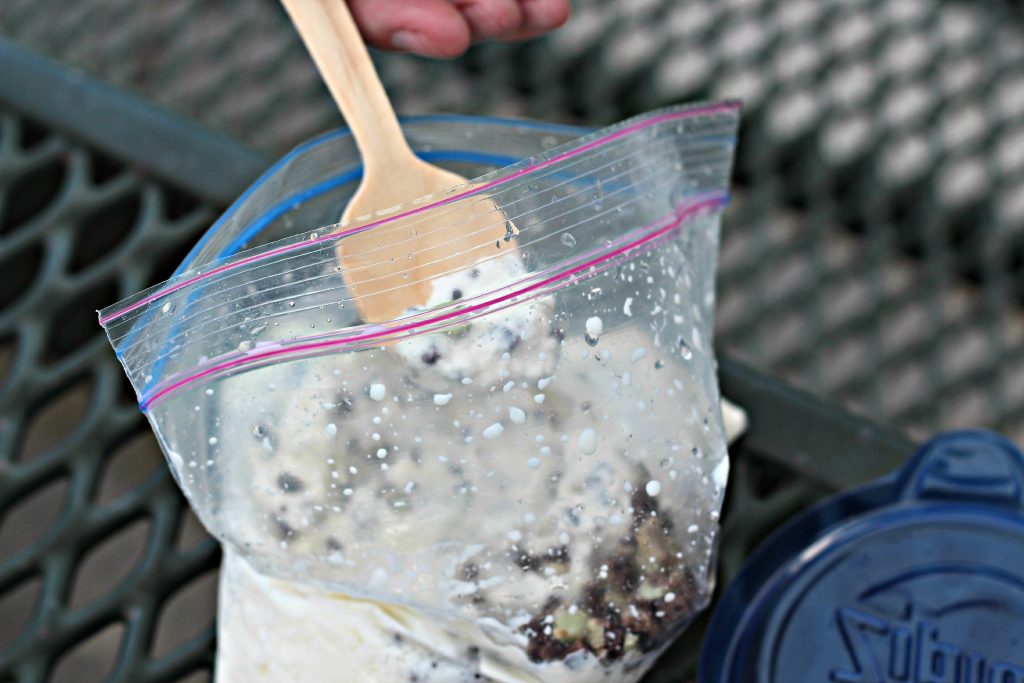
Wash your hands with a water or a wet wipe to make sure you don’t have any residual salt on your hands. You’ll be eating your ice cream directly from the bag and you don’t want it to taste salty. Add any toppings you like. We had mint chips, chocolate chips, nuts, chocolate syrup, caramel, and sprinkles to choose from. Make it your own and Enjoy!
Pin it for Later:

You might also like:
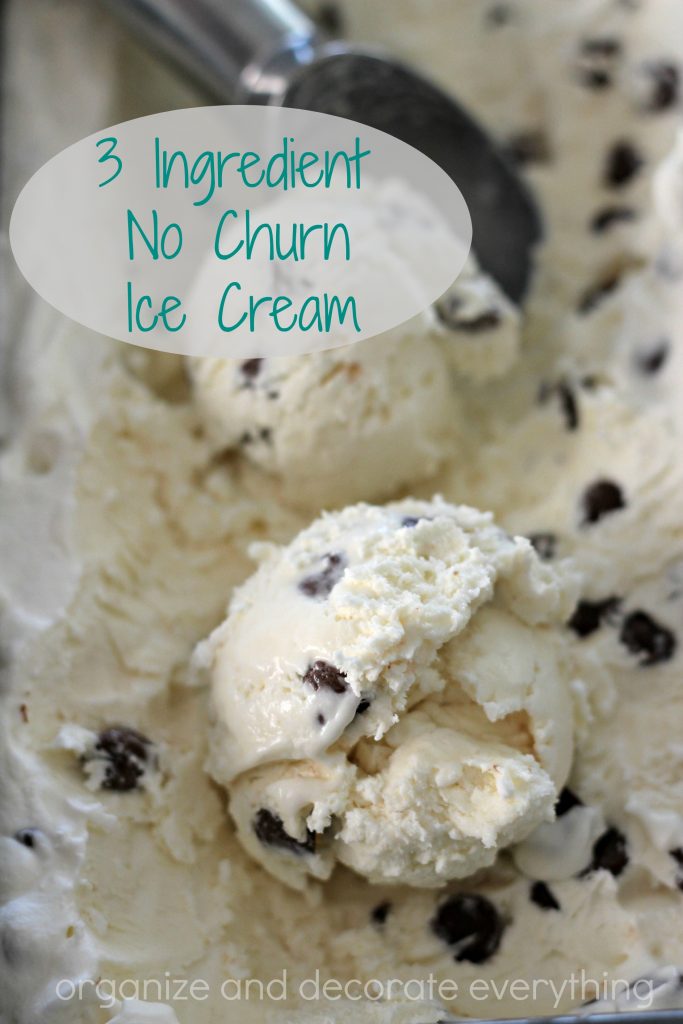
3 Ingredient No Churn Ice Cream


Love this great recipe idea on the go! This will be perfect for little league this summer! Thanks!
Believe it or not, we have NEVER made ice cream in a bag! I have got to make an effort to do this before the kids go back to school. Thanks for the visual reminder and I will make sure to bring some Wet-Naps to make clean up a little easier!
How fun! I’ve never made ice cream in a bag, but it would be a great party idea!
Great idea!! Love the ice cream in a bag.
That looks awesome! We too love homemade ice cream, but I have never been brave enough to take it along on a picnic.
This is fascinating! What a great idea 🙂
I love making ice cream and we made it as a child using rock salt but never in a ziplock bag! How creative! LOVE those bags and spoons too!
Such cute presentation…love the little stamped wooden spoons. *Swoon*
What a great idea. I like that you have everything organized and ready for clean up, too. Thanks for the recipe, I can’t wait to try it.
We love making ice cream in a bag. In fact we are thinking about doing that this weekend while camping. Pinned!
This is a wonderful opener for a fun science lesson
add on.
We’ve never made ice cream in a bag! But thanks to your article we will check this out! Thank you