You can read The Story of Our RV (part 1) and The Story of RV (the cabinets) if you’d like to see how far we’ve progressed to this point. It has been pretty slow going at times, but there has also been a lot accomplished. Some of the biggest and most time consuming projects were more mechanical and not very pretty, unless you’re really interested in vehicle repair we’ll just skip over that part. Since I like the pretty stuff that’s what we’ll stick to.
Remember this is being completed on a very strict budget (hence the slow progress) but we’re also trying to put a lot of thought into it. I talked about this before but we want it to be light and airy and homey, a little less like a standard RV.
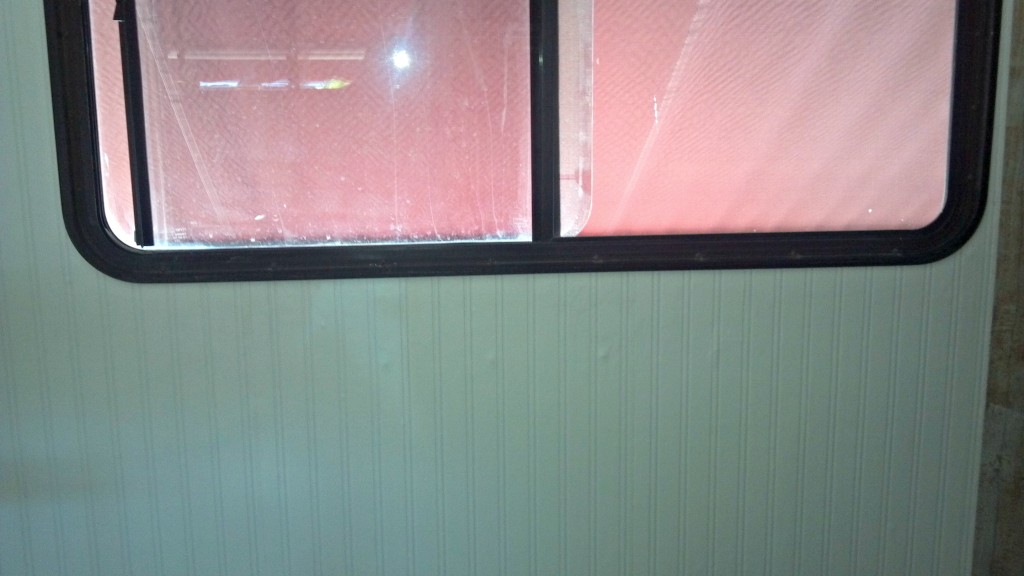
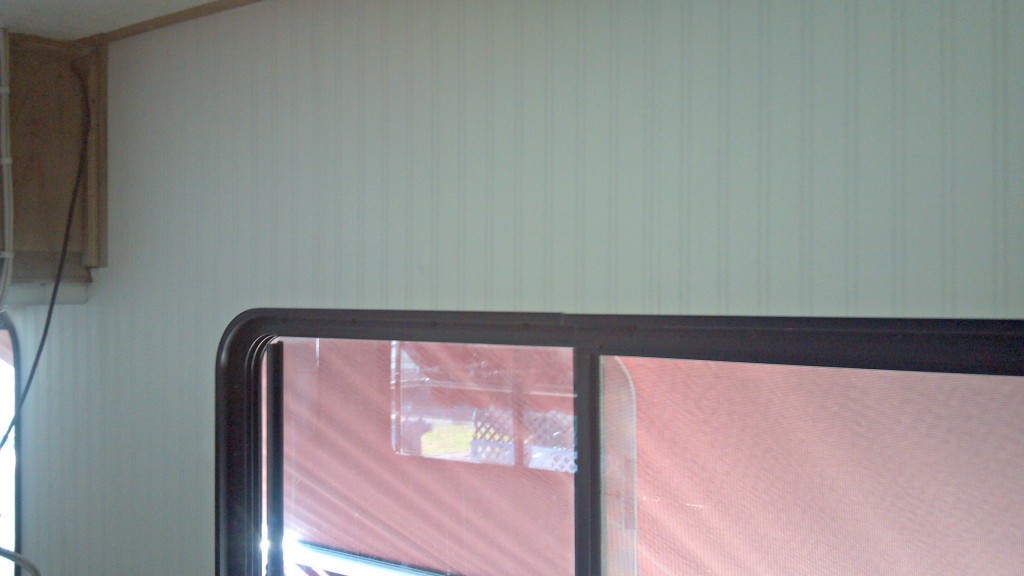
The wallpaper was put up next since that has to be done before any of the furniture and built-ins can be put in. Please excuse the bad pictures but you’ll get the idea, they were taken with a phone in really bad lighting. The awnings on the outside of the RV had to be lowered to stop some of the glare.
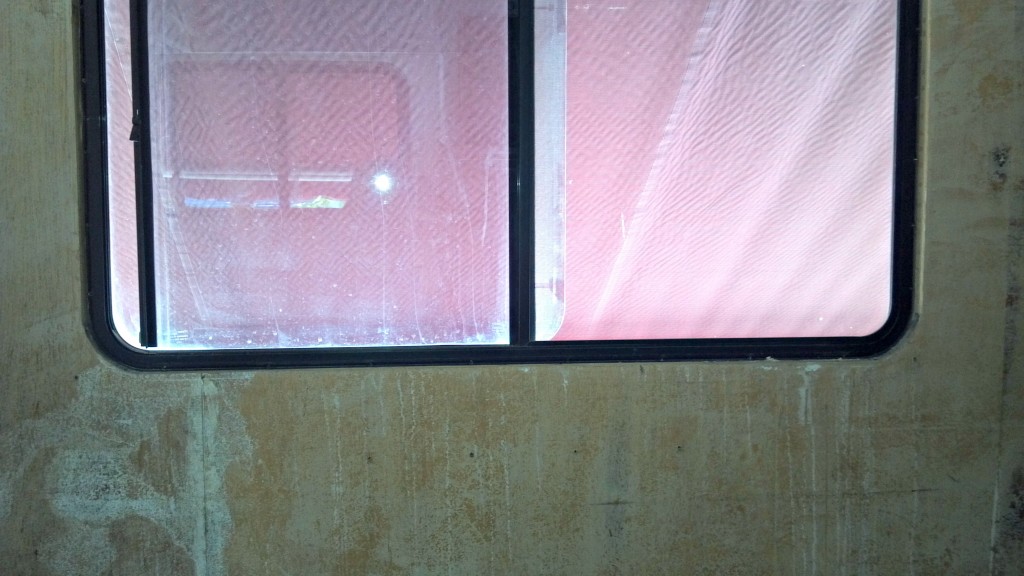
This is what the same area looked like before. RV walls are covered in wallpaper but this paper was torn and burned. Hubby had to peel it all off and make the surface as smooth as possible. Luckily a lot of these surfaces are going to be covered by furniture and cabinets.
We chose bead board wallpaper from Lowe’s because it looks awesome and is timeless. I’ve decided hubby’s really good at hanging wallpaper and has a new job around here.
The kitchen area is coming along really nicely. We have another great idea for under the microwave and behind the stove. Hopefully that will be done next.

The flooring will be next and since we’re looking at a trade, it will be free. You can’t beat that price! Hubby’s put in wood floors before so it should go pretty smoothly. Cross your fingers!
Okay, we’ve also made a few changes in the floor plan since the last post. This is our final decision since we’ll be making and adding permanent fixtures soon. I had a great idea for the bunk beds, so cross your fingers it will work. The bunks will be going where the dinette is, the dinette will be where the sofa sleeper is, a sofa sleeper will be where the leather sofa is, and a wardrobe will be where the pantry/ice maker is. The changes will actually be pretty simple since it’s basically gutted. There’s the RV update. More to come soon.