
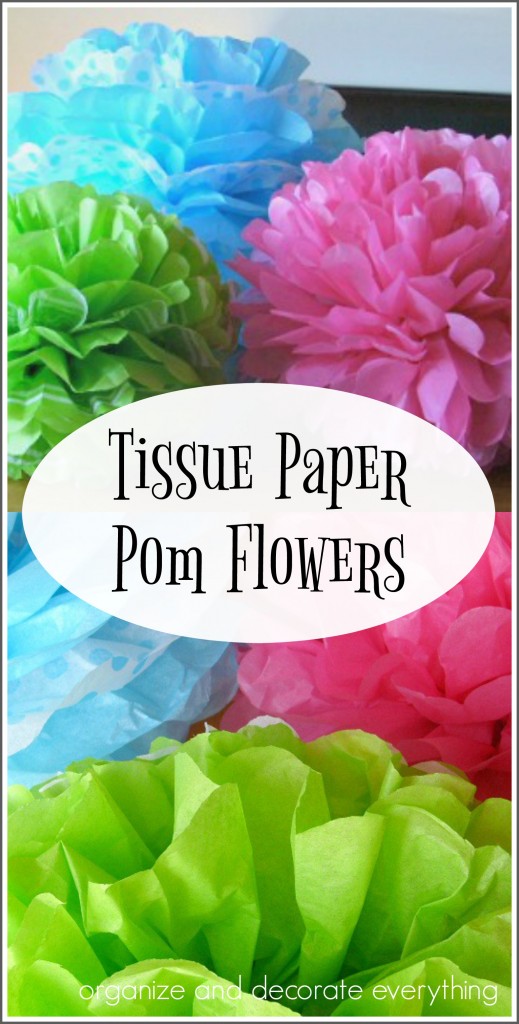
I’m sure a lot of you already know how to make these, but whether you need a refresher course or you’ve never made them before I thought I would share how to make these Tissue Paper Pom Flowers. They’re inexpensive and easy to make which makes them the perfect decoration to add a lot of color to any party or celebration. Also very little supplies are needed, which is always a plus.
Affiliate links have been provided for your convenience but do not add to the cost of the product.
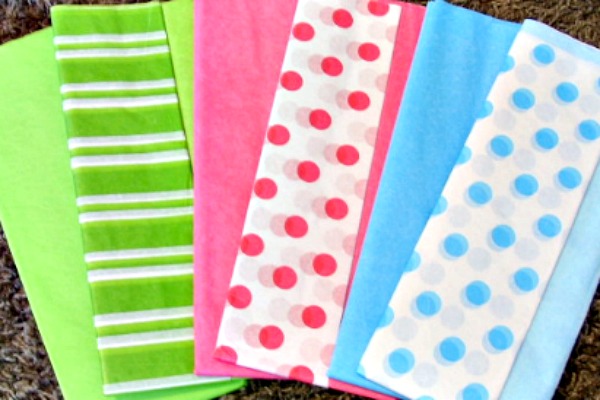
Supplies needed:
Tissue Paper (various colors)
Wire
Scissors
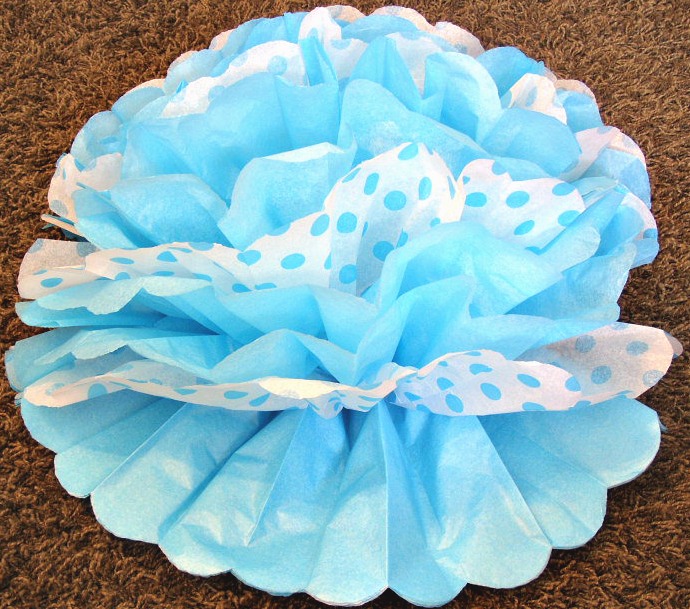
I used the patterned paper in the packs and I love the way they turned out, but you can also just use the solid sheets in your flowers.
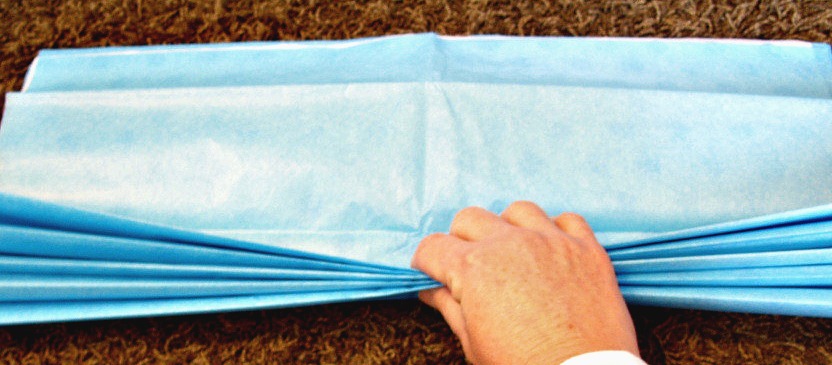
Start with 10-12 sheets of paper. I put some of the polka dot blue paper in with the solid blue (2 solid, 1 dot, 2 solid, 1 dot, 2 solid, 1 dot, 1 solid). Stack the sheets on top of each other and start folding accordion style. Folds should be about 1 1/2″ wide. If you’re making smaller poms make the fold width about 1″ wide. Crease the folds well.
Once you’re done, fold the tissue paper in half just to find the center of the paper.

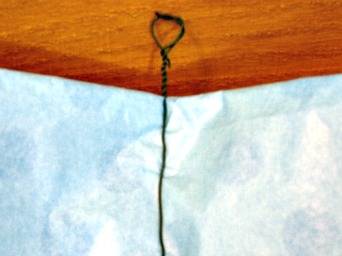
Cut a piece of wire 6″-8″ long. Put the wire in the center of the paper and twist the ends together to keep the wire in place. This will be in the center of the pom.
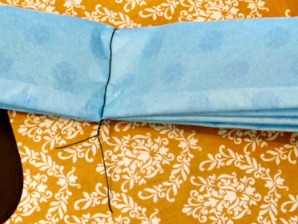
Make a loop with the ends of the wire. Put ribbon, string or fishing line through the loop so you can hang the paper pom flower once it’s finished.
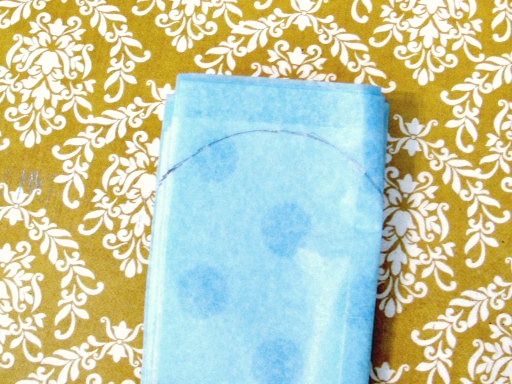
Draw an arch or semi-circle at each end of the paper to form the petals. My petals all have rounded ends but pointy ends look really cute too. It’s easy to make the flowers smaller by cutting more paper off the ends. Remember if you do make the flowers smaller you will want to shorten the folds to 1″ instead of 1 1/2″, just for proportion.
Use sharp scissors to cut through all the layers of the tissue paper.
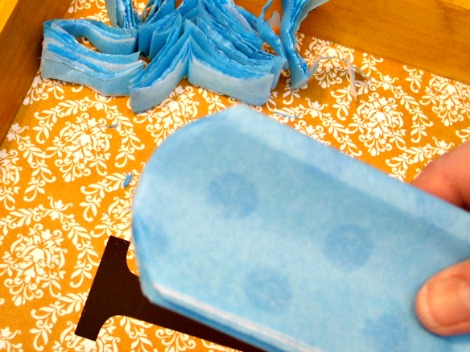
Once the ends are cut, fan the paper out like this.
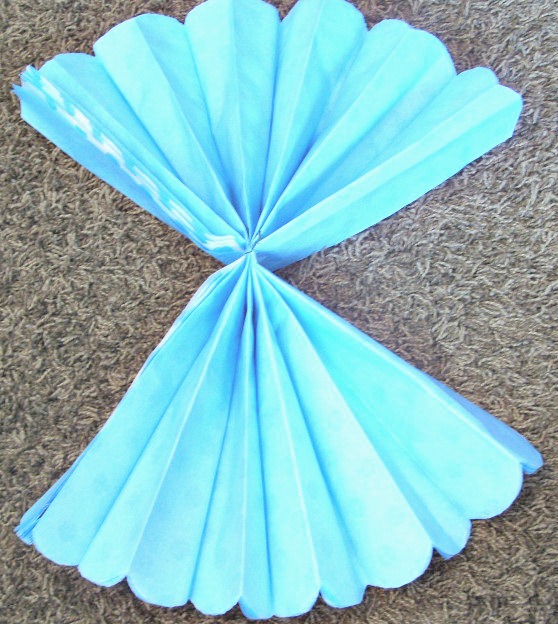
Then start pulling the papers up (towards the center) to form the pom, one sheet at a time. You need to be careful so you don’t tear the paper. Be gentle at first, you can make adjustments later. This picture is half a flower pom.
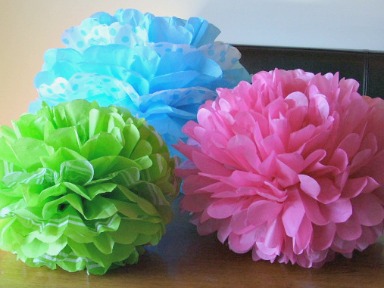
Fluff and make adjustments to the flower poms until they look the way you like. The pink one is all solid sheets and the green one is 7 solids and 3 stripes.
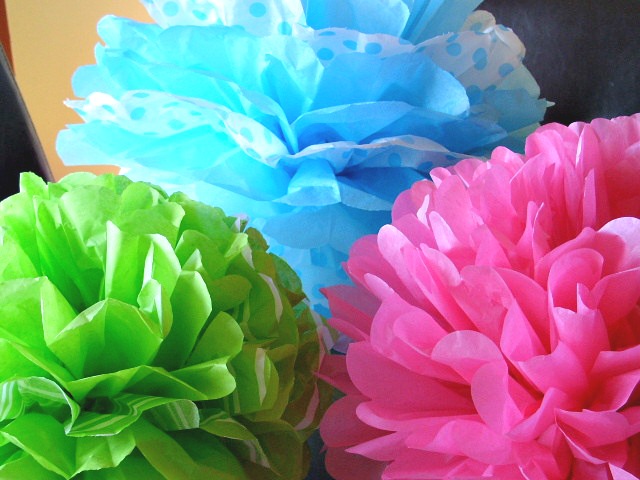
So fun! I want to make these for every party now. Aren’t these colors great?


So cute and easy! Thanks for the idea…I will try this!
Very cute! I just bookmarked this page so I can make some of these!!! Thanks.
So pretty! I just made something like this for a baby shower I’m planning. I cut out circles, wrapped ’em around a pencil and glued them elementary school style on a Chinese lantern from the Dollar Tree.
They are such petty flowers. We used to make them and stick them in chicken wire to build parade floats in high school. This is something I can do!
They are fun, and can be made in so many colors, each bringing in a new look…Love them!
Stopping by from Some What Simple! I love this post. I’ve been thinking of making these for my twins birthday party and now I know how!
-Julie
The Wanna Be Super Mom
I meant to say, stopping by from Some What Simple Blog Hop!
Great tutorial! I’m just itching to make some of these for spring. Thank you for sharing!!
– Michele
These flowers are so happy and fun!!! I can imagine them looking so happy hanging from the ceiling in my craft room… if I had one!! But they are fun and springy, so I think I will make them anyway even if I can’t figure out where to put them yet!
I love the springy colors! How very pretty!!!
Thanks for joining Get Your Craft on Thursday at Life as Lori. Please join me next week for another great party!
So cute! I keep saying I’m going to make these and never do! I’ll have to try it soon!
Rachelle
Great tutorial! I am in charge of decorations for a retirement party in a few months. I may have to make these! Better yet, my students could make them for the party!
Gorgeous! Sometimes even if we’re familiar with a project we need to be reminded that it exists!Thanks so very much for linking up at Craft Schooling Sunday, great to have you!
So cute 🙂 Where did you find the polka dot paper?
They look great. I love that you can personalize them! Thanks for sharing with Made it Monday! Jules
OOOOO I really like those!
i am one of those peeps that haven’t tried to make these. so i am thrilled to see the “how to’s” on making them!
yes, the colors are amazing. so fun. i too, would hate to see them go. when your friend comes to get them.
thank you so much for coming to the party & linking up!
i am thrilled to have you!
HAPPY SPRING!
kellie
I am so glad that you did a tutorial on these. I love them and can’t wait for a special occasion to use them. Laura@the mansion
Love these and they will look great for birthday decorations!
I am new to your lovely blog via The Blessed Nest and will be returning.
Deborah
http://fairfieldhousenj.com/2010/03/06/premature-pollination/
So, so cute! Those would be adorable in a little girls bedroom or at a birthday party. I need a little girl!
Thanks so much for the instructions.. they are so cute…now to not get them wet!! …lol
Sandy
http://thewondersofdoing.blogspot.com/
Those turned out cute! We are making some of these for my daughter’s birthday party this weekend, and I was glad I read through the post, b/c I hadn’t thought to make a loop out of the floral wire. Thanks for sharing!
Blessings!
-Sarah
I love that last picture with all three colors so close and bright. It’s cute-ness is helping me wake up a bit:)
Thank you! I thought I knew how to do this and have been meaning to try. I appreciate the breakdown!
Thanks for an easy to understand tutorial! I am one of those “have nots” so I was glad to know how to make them! These will be fun for my son’s birthday party 🙂
Now this is fabulous~ Well done!