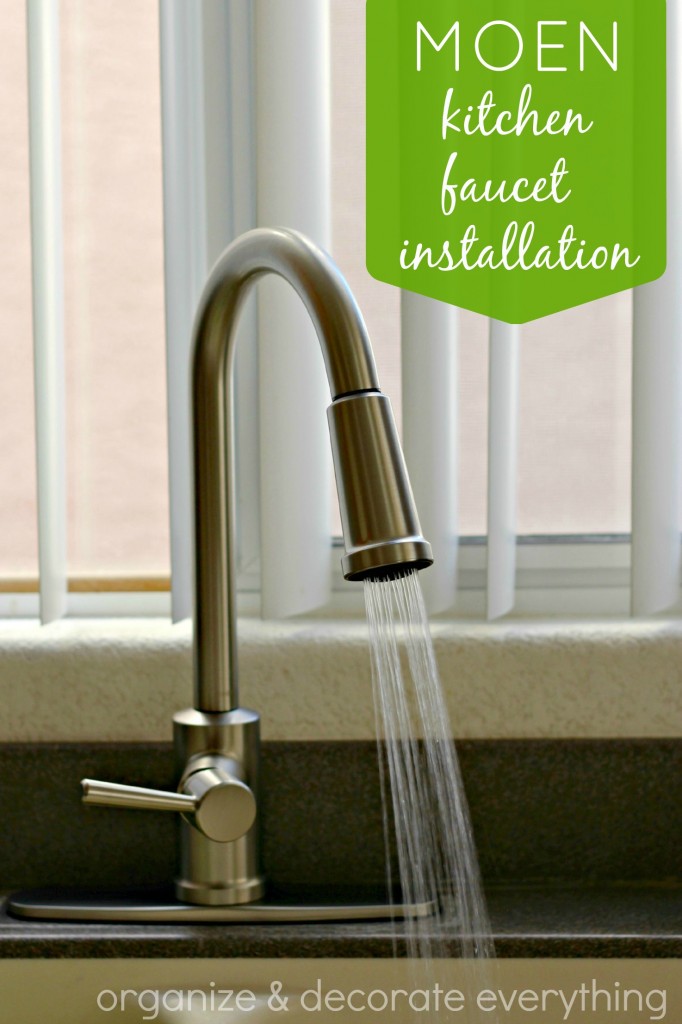
We moved a few months ago and the things I disliked most about this house were the faucets. I’m not kidding! They put in the smallest and cheapest faucets they could find. The kitchen faucet didn’t even have a spout diffuser so the water just kinda blurged out. When I was asked to review the Indi spot resist stainless Microban kitchen faucet by Moen I jumped at the chance. Not only is it exactly what I needed but it’s beautiful too. I’m pretty sure this is the easiest kitchen faucet installation ever.
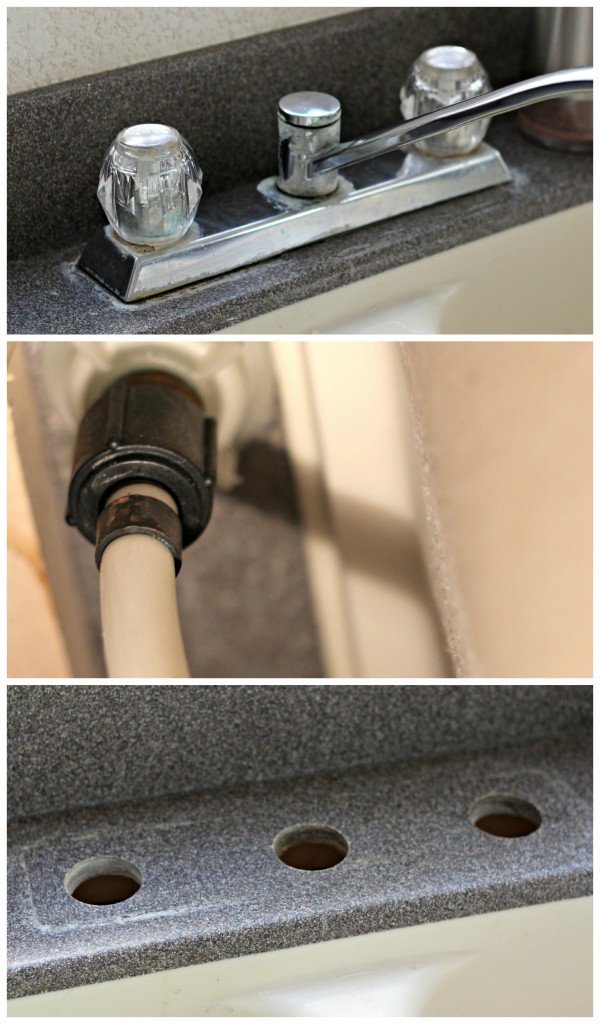
Check out the before faucet at the top. It leaked and was even rusty in a few spots. It was really pretty gross! I have to say I didn’t replace the faucet by myself. Hubby and I did it together, but we did it without arguing and that’s saying a lot. Important: start by turning the water off. Once the water was off hubby used pliers to twist the old faucet pipes and connecter off, then it was easy to take the faucet out leaving these 3 lovely holes. You might get a little dripping from water left in the pipes if you didn’t get it all out.
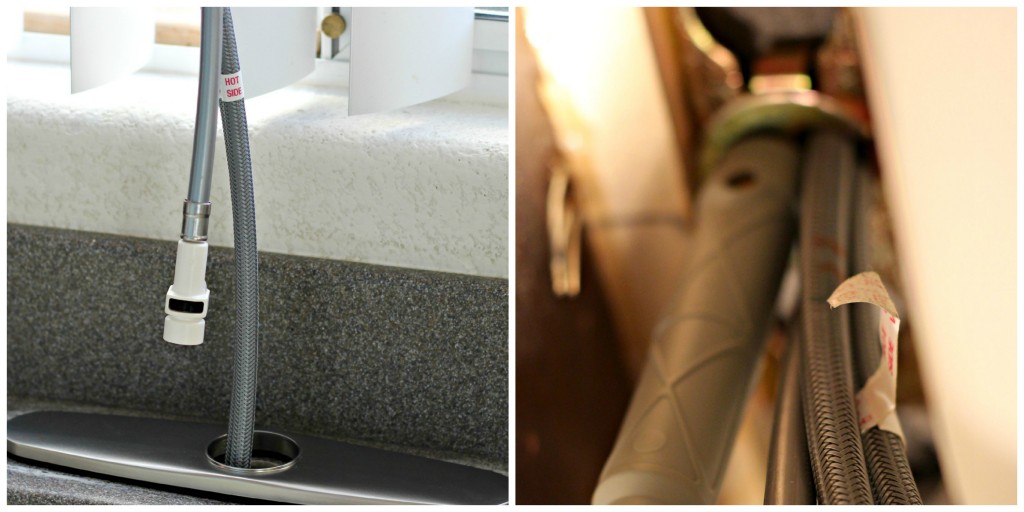
The faucet came with a round gasket and a deck plate and gasket. I had to use the deck plate to hide the 2 additional holes in the counter top. We used the support bracket and mounting bracket under the counter because it was right at 1/2″ thick (refer to installation guide). Use the Installation tool to tighten the mounting nut.
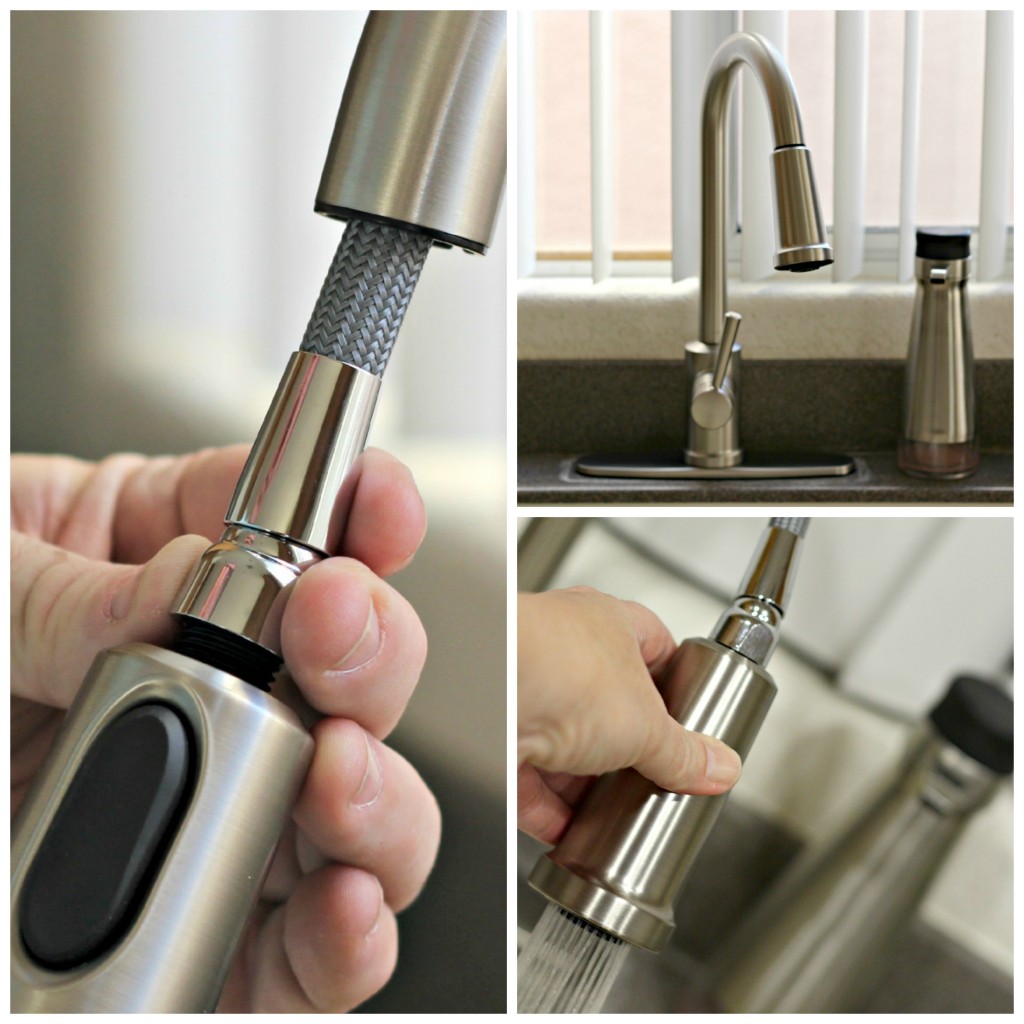
Install the pull down hose (my favorite part) through front of the spout. Then install pull down hose to outlet hose. Push in as far as you can until you hear a click, pull down (toward you) to make sure it’s secure. Place the hose weight onto the pull down hose, it simply clicks around the hose.
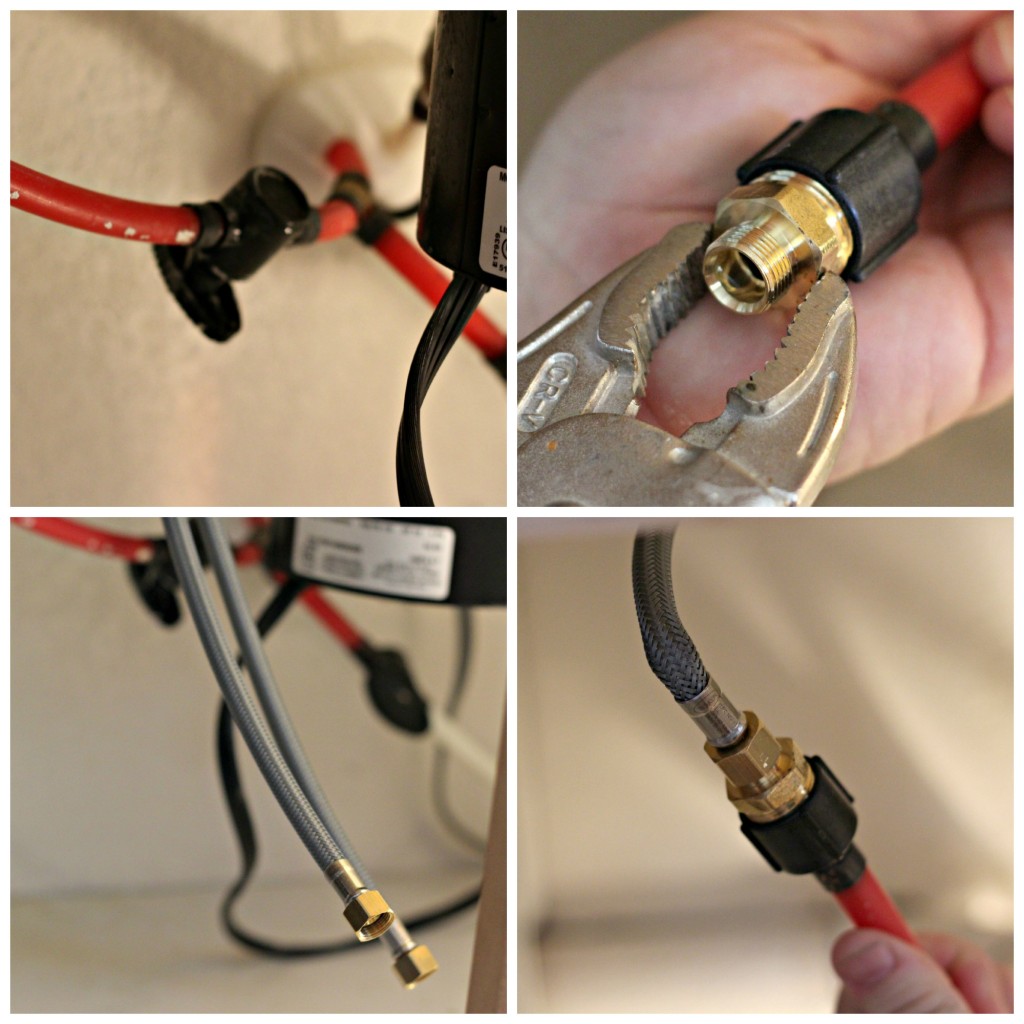
If you have normal water supply lines follow #8 & #9 in the Installation guide. Because our lines are permanently connected to the water valves we had to use the end of the the line that connected to the old faucet and connect it to the new faucet. We went to the local hardware store and talked to the guy in the faucet department about how to do that (the guy in the plumbing department had no idea how to help us). Just keep asking around until you get the help you need. He took my husband to the plumbing department for a piece that would act as an adapter. You will only need this part if your lines are connected like ours and you only need the piece on the right in the last picture, even though you have to buy the whole part. It’s very inexpensive.
This is how you will be putting the adapter on if your water lines are like ours. The adapter piece goes on the end of the water line then connects to the new water line from the faucet (like in the last picture). The lines from the faucet are labeled, hot and cold. Turn the water back on and check for leaks.
Make sure the screen and o-ring are in the inlet of the spray wand then thread the spray wand onto the pull down hose. Using pliers make a 1/8 turn. Do not over tighten. There’s a stream mode, spray mode, and pause mode. I love having a sprayer again. It was difficult cleaning some dishes and the sink without one.
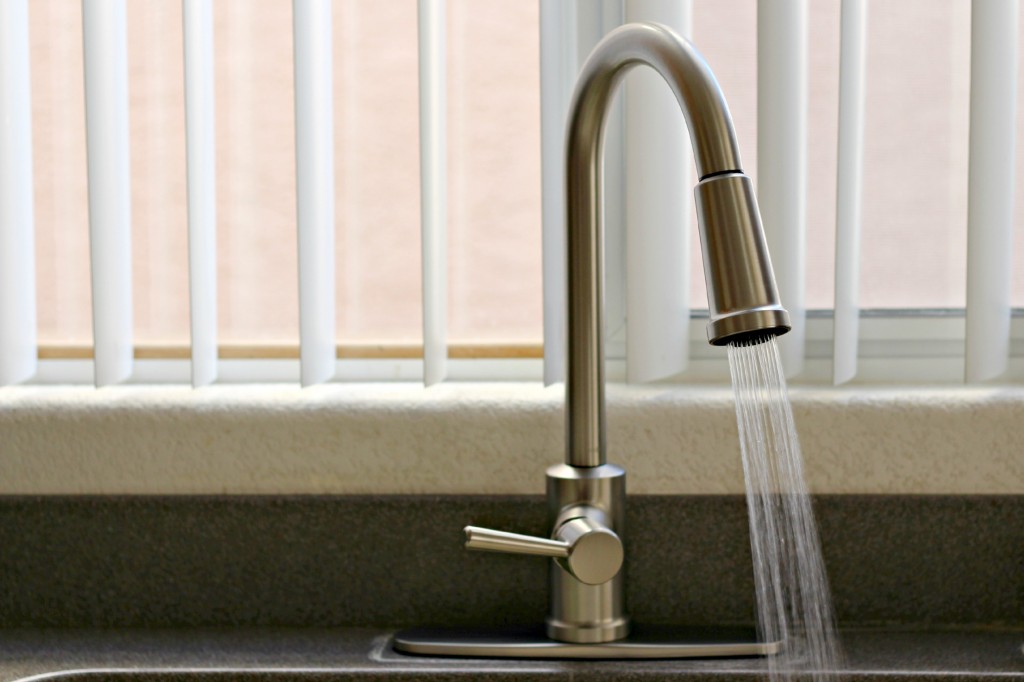
It comes with a soap dispenser but I won’t be using it because I don’t have an extra sink hole. Make sure to follow the installation guide for full instructions and trouble shooting. Isn’t it lovely? I can’t tell you how happy it makes me to have a full running, beautiful faucet in my kitchen now.
It was actually really quick and easy to install. The instructions are easy to follow but if you need more assistance Moen has step by step video instruction. Check out all the features and specifications. I love that it’s spot resistant stainless with Microban technology especially in the kitchen. I love no fingerprints!
In an upcoming post I will be sharing how I get rid of those tough hard water deposits on the counter top from the old faucet. Now if you’ll excuse me I’m going to go admire my new kitchen faucet for a minute.
Disclosure: I was given the Moen Indi kitchen faucet for review and as compensation for this post. All opinions, experiences and photos are 100% mine.





Wow, this is gorgeous! I would love a new facet. I sense something new on my Christmas list!
Wow faucets have become so gorgeous these days. You make the installation seem so easy.
Wooo such a beautiful faucet! And thanks for the great step-by-step pictures.
Gorgeous faucet…and looks like I could install myself! Score!
I am always amazed by how much a new faucet can transform your kitchen. I just got a new pull down faucet this year and I love it!
That is gorgeous! It really makes a difference!
I love the look of that faucet! Ours just started to fall apart and we have been on the hunt for one that would be fairly easy to install. Maybe we will give this one a try.
I love this! Beautiful faucet and better yet, easy to install! Our kitchen faucet is a bit leaky and has been on the to do list for awhile. Thanks for the motivation!!
This faucet look fantastic! If I ever get a new faucet, definitely looking for this one.
You make it look so easy! I love it!
I just love the moen faucets , so i have installed only moen faucets at my home in bathrooms as well as in kitchen.They are very stylish and best quality .
Wow! That faucet is gorgeous! Love your detailed instructions on how to install it too. You definitely made it seem easy.
My husband would love this! Yes, he loves being in the kitchen more than I do. I think we could handle this project. Adding it to our honey-do list.
You make it look so easy! I love it!
Hi, LEANNEJA!!! Great job. Very clear step by step installation process.
You did an excellent job for installation of kitchen faucets. Your kitchen faucet is simple but beautiful. Thanks for sharing this article.
I love the appearance of that fixture! Our own just began to self-destruct and we have been on the chase for one that would be genuinely simple to introduce. Possibly we will check this one out.