
Directions to make these Suspended Garage Shelves to hold your storage bins and get everything off the garage floor.
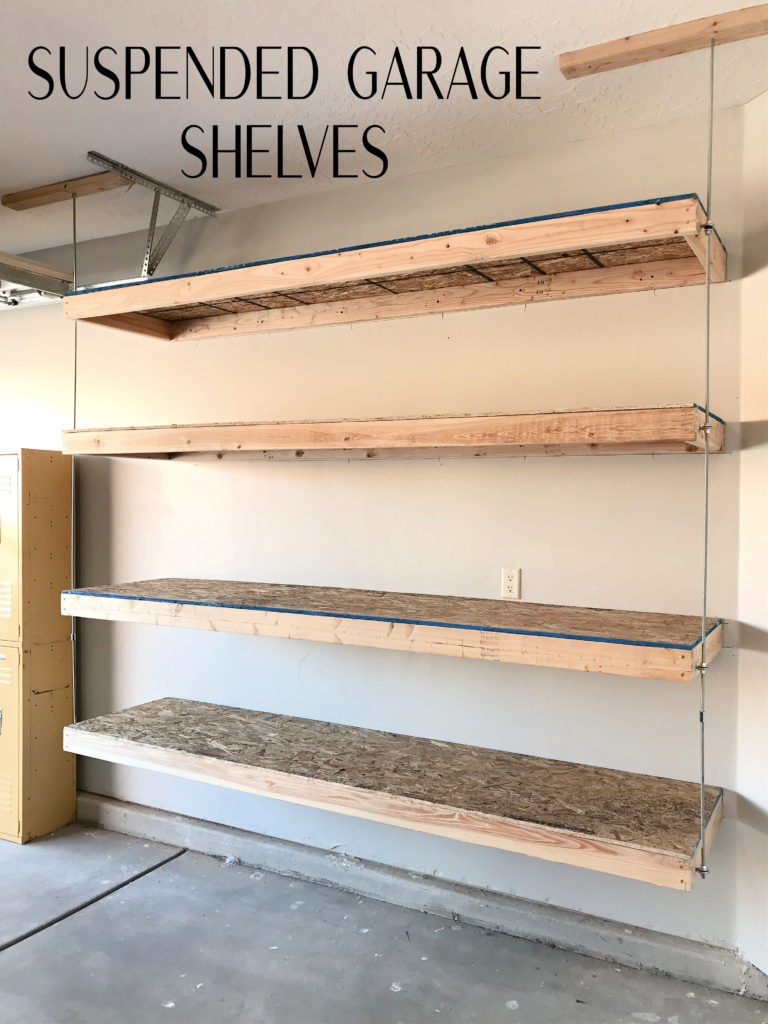
Hubby and our son built these shelves and I wanted to share with you how they were built for our space. I know prices have gone up quite a bit in lumber but these shelves are what you need if you want to fit your available space while also being strong enough to hold what you need.
Why did we decide on suspended garage shelves? Because eventually those bins on the bottom will be gone and we won’t have anything on the floor (those are our kid’s totes). Clean up of the garage floor will be so much easier with the hanging shelves.
Supplies for Suspended Garage Shelves (per each shelf)
2 8′ 2×4’s (for the frame)
2 2′ 2×4 pieces (for the frame)
1 2×8 piece 1/2″ OSB board (we had Home Depot cut a 4×8 sheet in half)
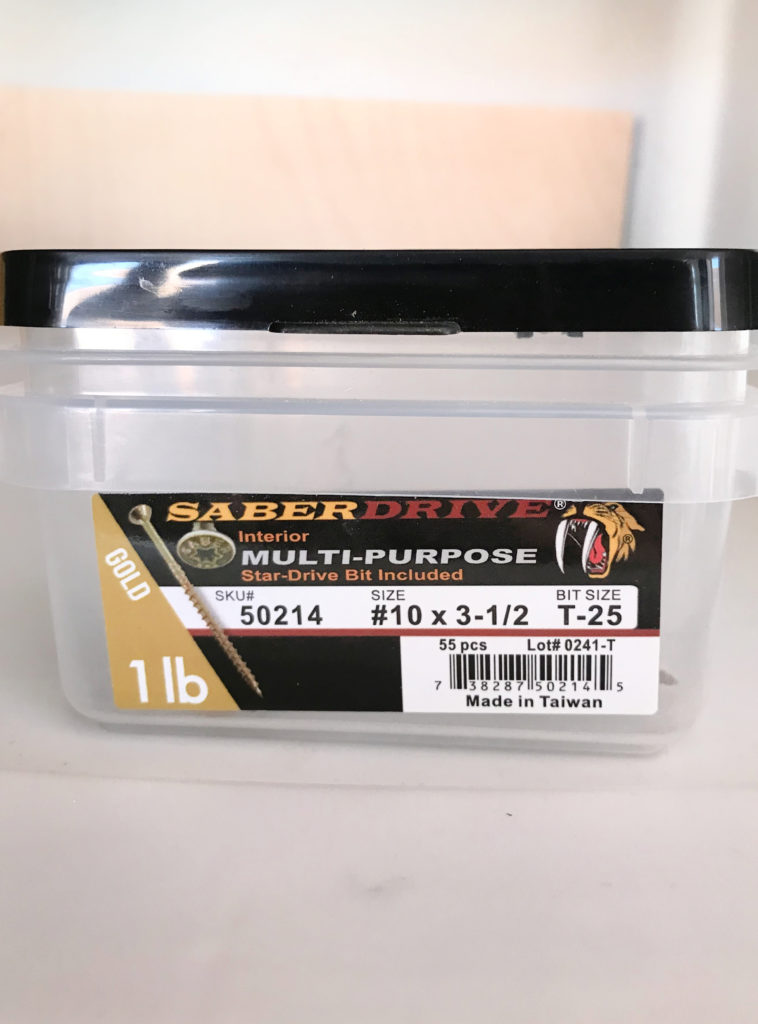
#10 x 3 1/2″ Star Drive flat head exterior wood screws
1.5″ grabber screws
2 lengths of 3/8″ threaded rod
2 threaded rod hanger screws
2 1/4″ eye bolts with nuts (should be at least 2 1/2″ long)
4 1″ washers with 1/4″ hole (for mounting the eye bolts to the 2×4 frame)
2 plastic eye bolt grommets
4 3/8″ nuts for the threaded rod
4 1″ washers with a 3/8″ hole
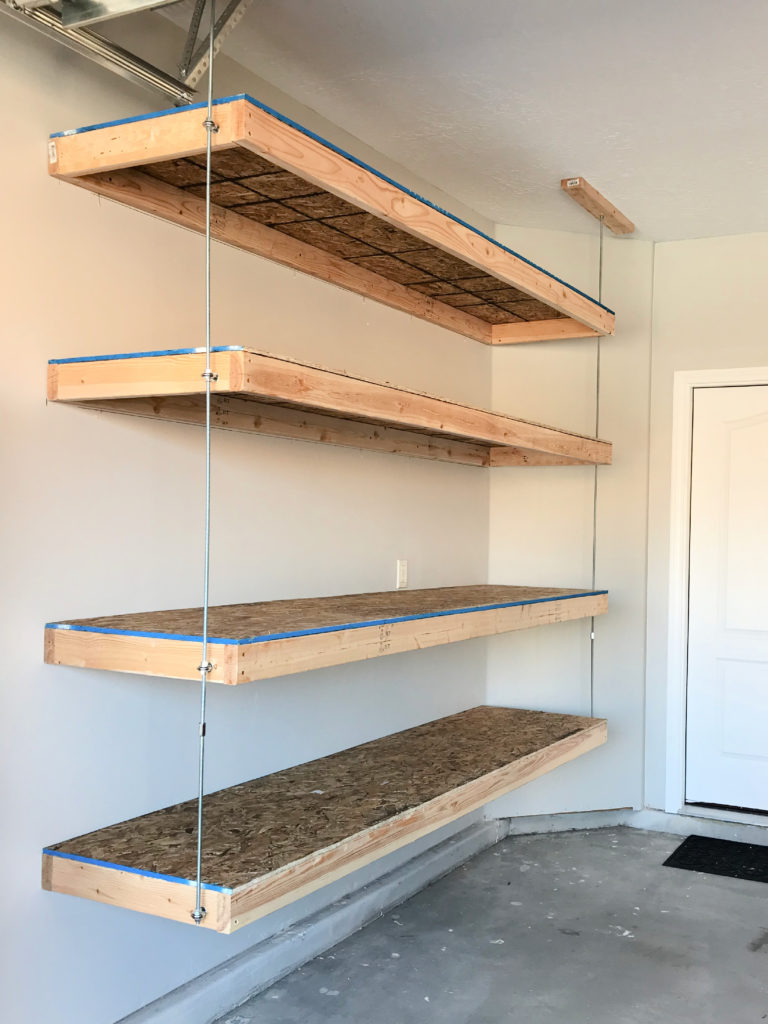
We initially made 4 shelves on one of the long walls in the garage. A couple weeks later we added a shelf over the side garage door and 2 more shelves in the garage alcove. We’ll probably be adding more shelves in the alcove for tools later.
Building the Suspended Garage Shelves
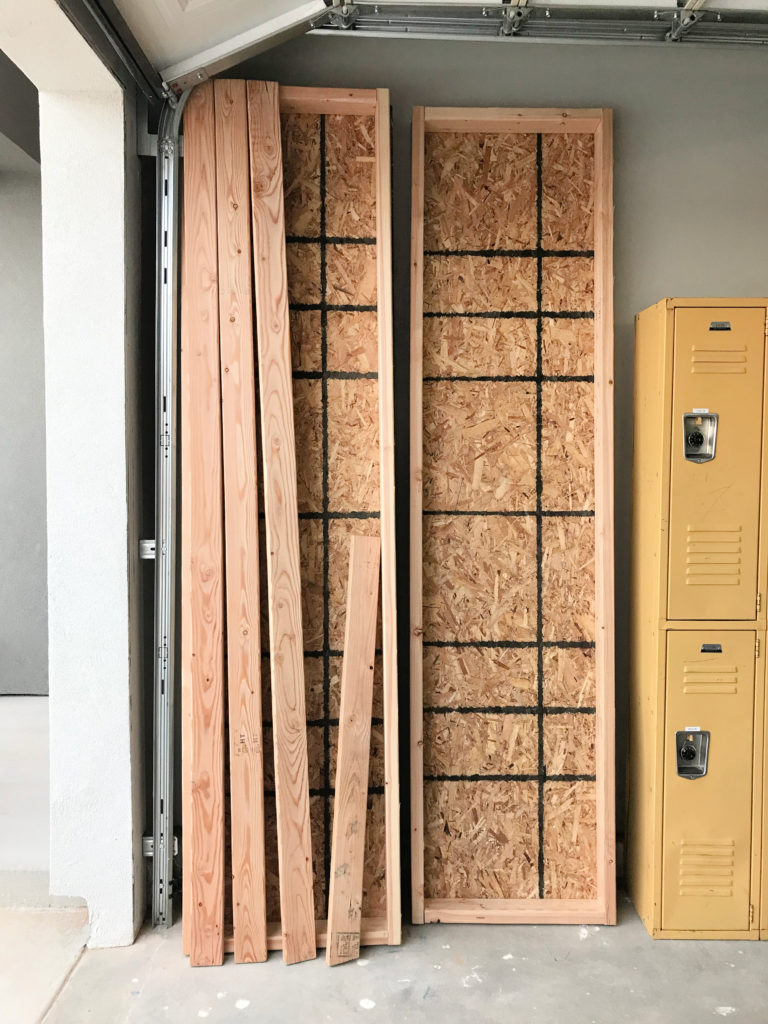
I would recommend cutting all the boards at one time. Since the OSB boards were almost perfectly square they used that as a template for the 2×4 shelf frame. Place the OSB board on top of the cut 2×4’s and line everything up.
Once it’s lined up have one person hold the boards in place at the corners while the other person screws in the grabber screws. Drill the screws through the OSB board and into the 2×4’s about 12″ apart all the way around.
Make pilot holes using a 1/8″ bit then screw the 3 1/2″ screws into the 2×4 frame. Tighten them on every corner of the frame to make sure it is secure. This will also make sure the shelves are flat and square.

These are the screws that are shown in the 2×4’s above. We found these work best in holding the shelf frame securely.
They made all four shelves at one time before moving on to hanging them.
Hanging the Suspended Garage Shelves
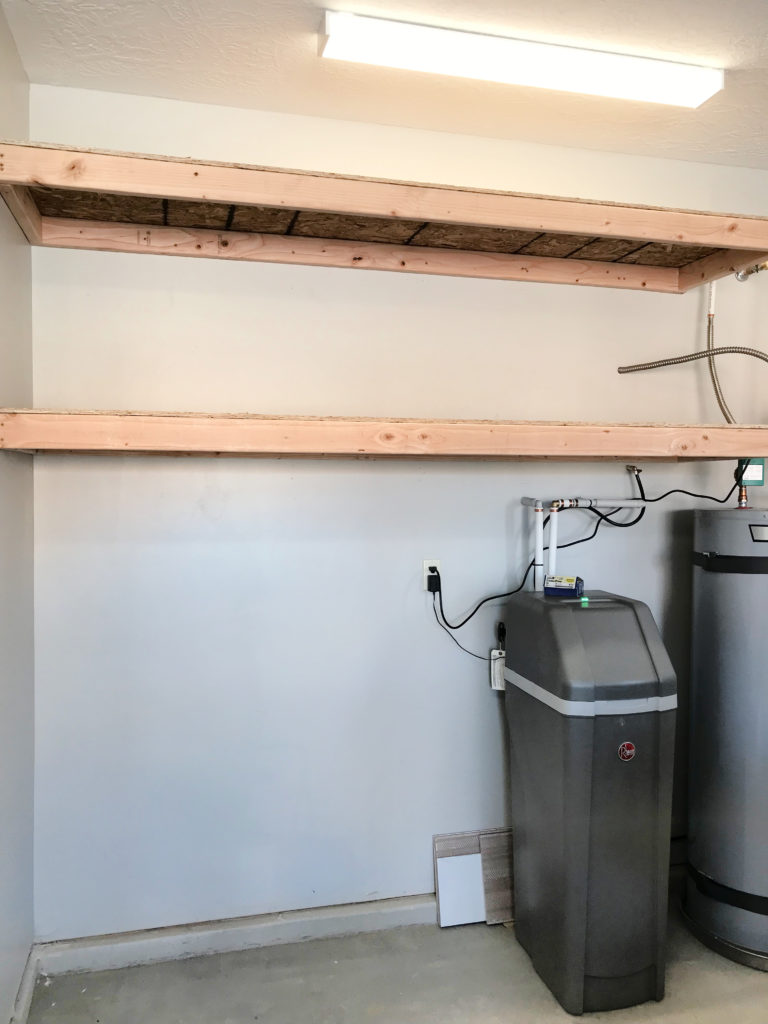
Use a level to mark the lines on the wall where you want the bottom of the shelves to sit. You can see that there are 2 lines close together here. That’s because we realized we wanted to keep the plug so we moved the shelf down a couple inches. It’s going to be fine, but there will be more space between those shelves.
Here’s a tip: make sure to measure your storage bins before you decide on the placement of the shelves. And remember to account for the shelf width.
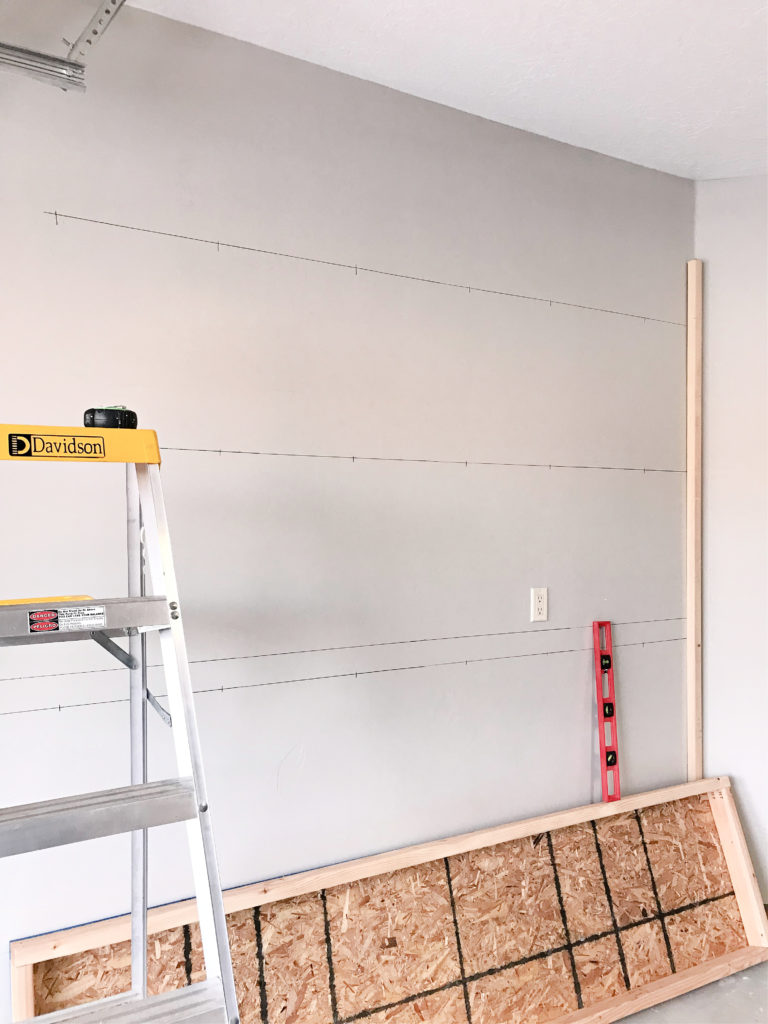
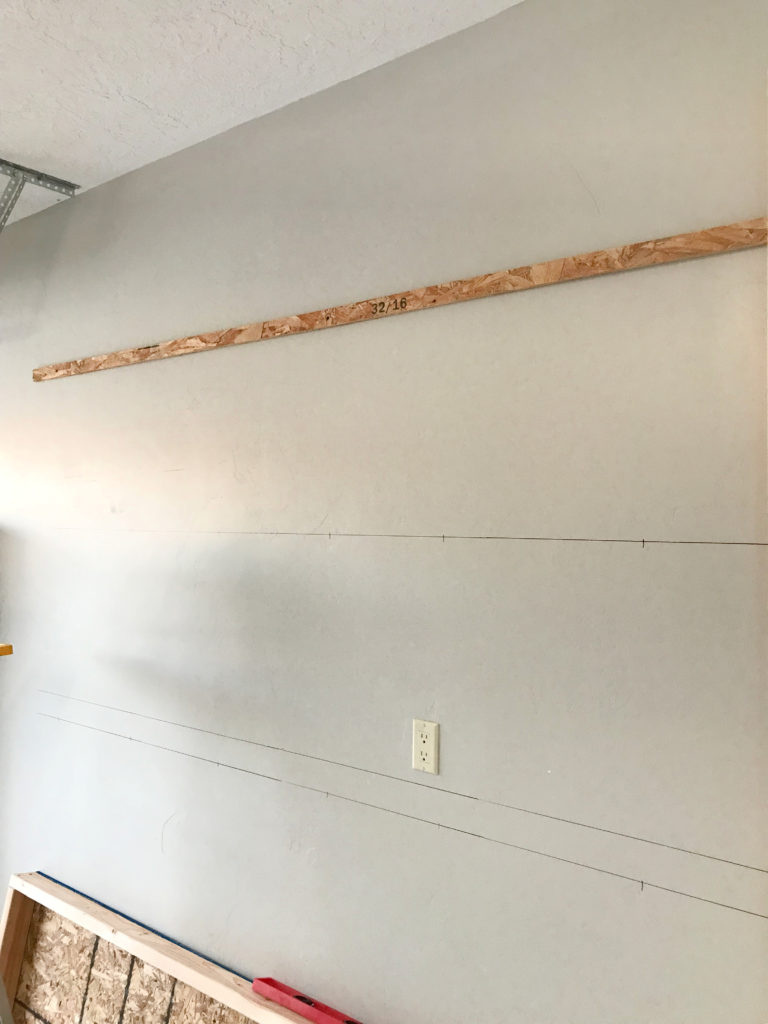
Hubby cut an 8′ x 3″ strip of OSB on the table saw to use as a guide for the shelves. Then he screwed it into the wall so the top aligned with the line marked on the wall. This is really helpful while placing the shelf on the wall.
Use a stud finder and mark along the strip where the wall studs are. I would suggest marking a little above and below the strip so you can easily see the marks.
You’ll need a helper to lift the shelf up and set it on the strip. While one person holds the shelf up the other person screws the shelf into the studs in the wall. Once you have at least 6 screws in the wall the other person can let go of the shelf.

One down and 3 more to go. The first one is always the hardest as you figure out the best way to do it. The other 3 went much quicker.

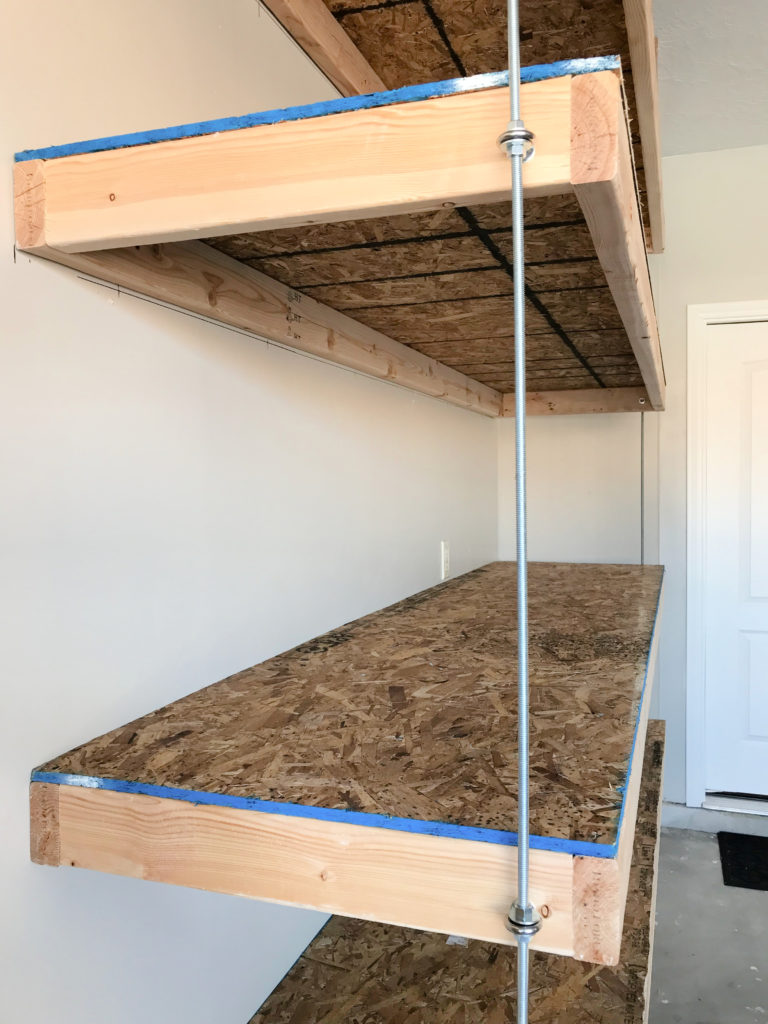
Once all the shelves are up drill a hole in each end of the shelves 3 inches from the front of the shelf. (See photo below) This is where the eye bolts will go. Screw the eye bolts into the shelf and put a grommet into the center of each of them.
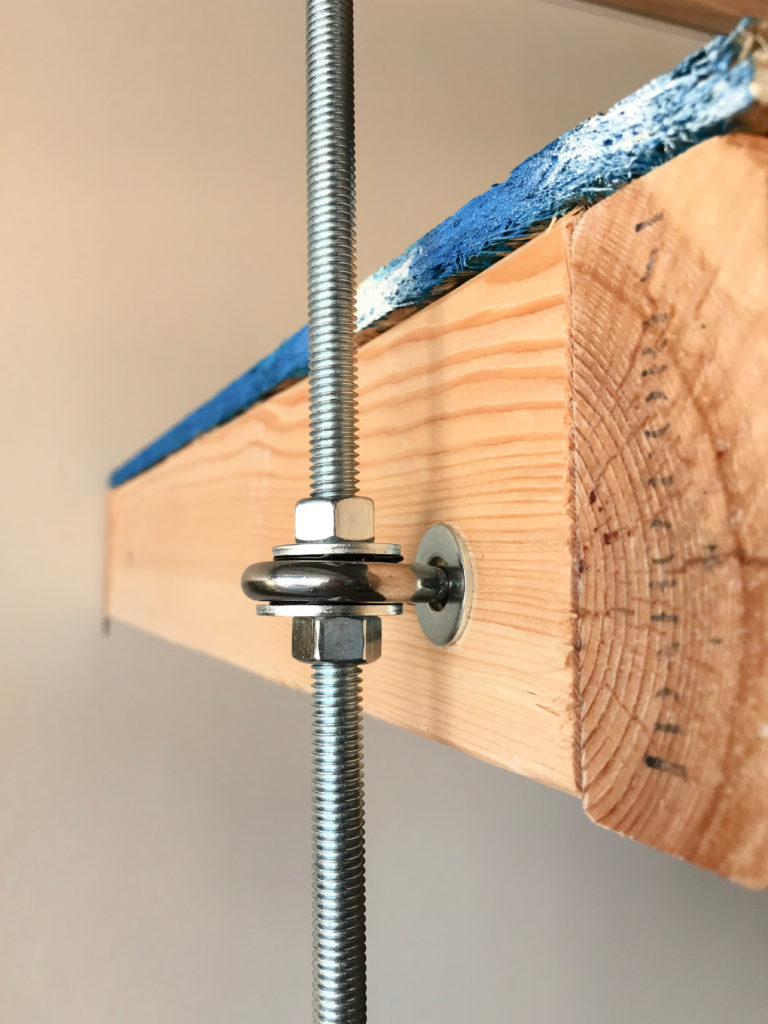
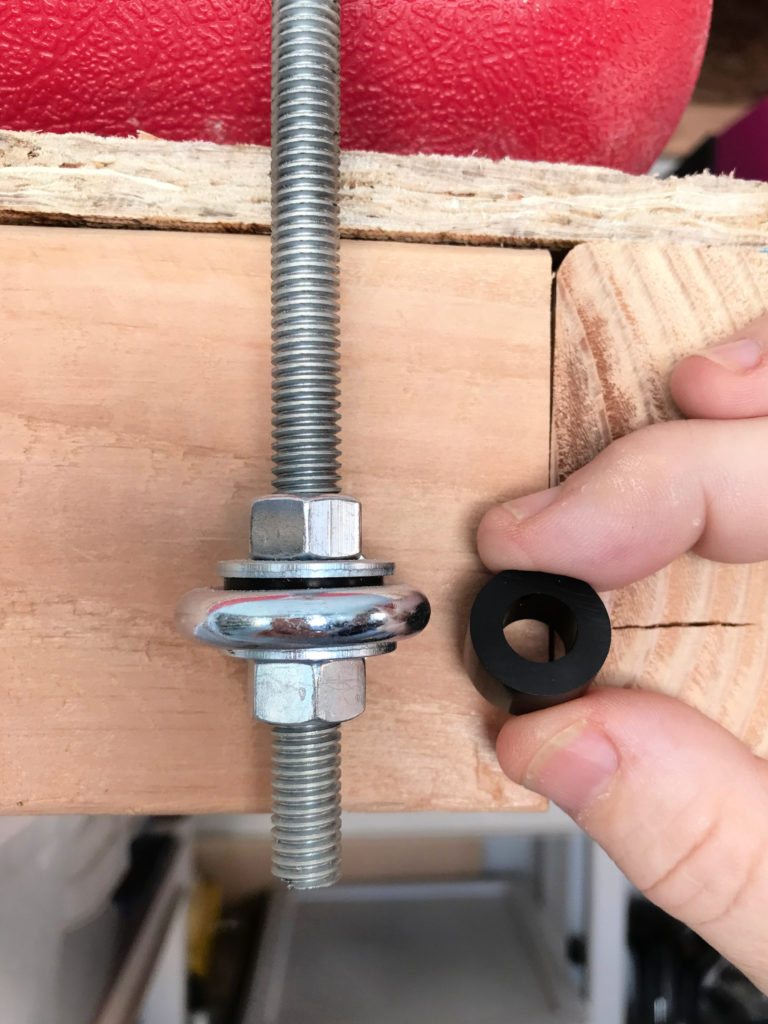
Here’s a close up of the grommet you’ll need and the placement of the nuts and washers around the eye bolt.
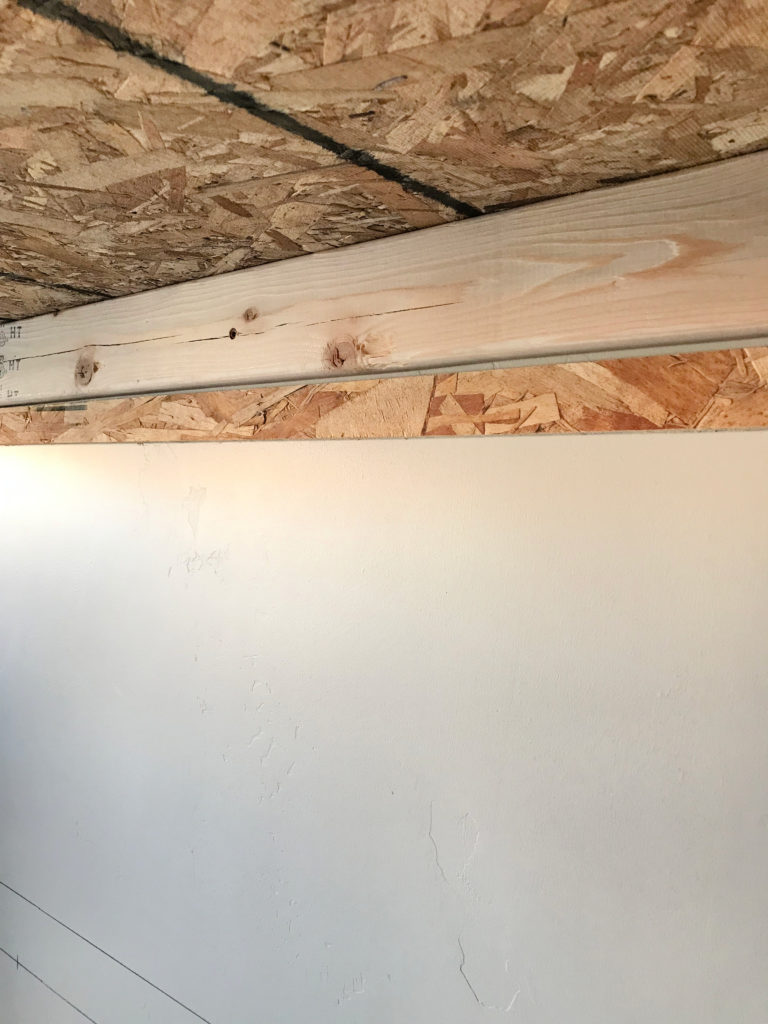
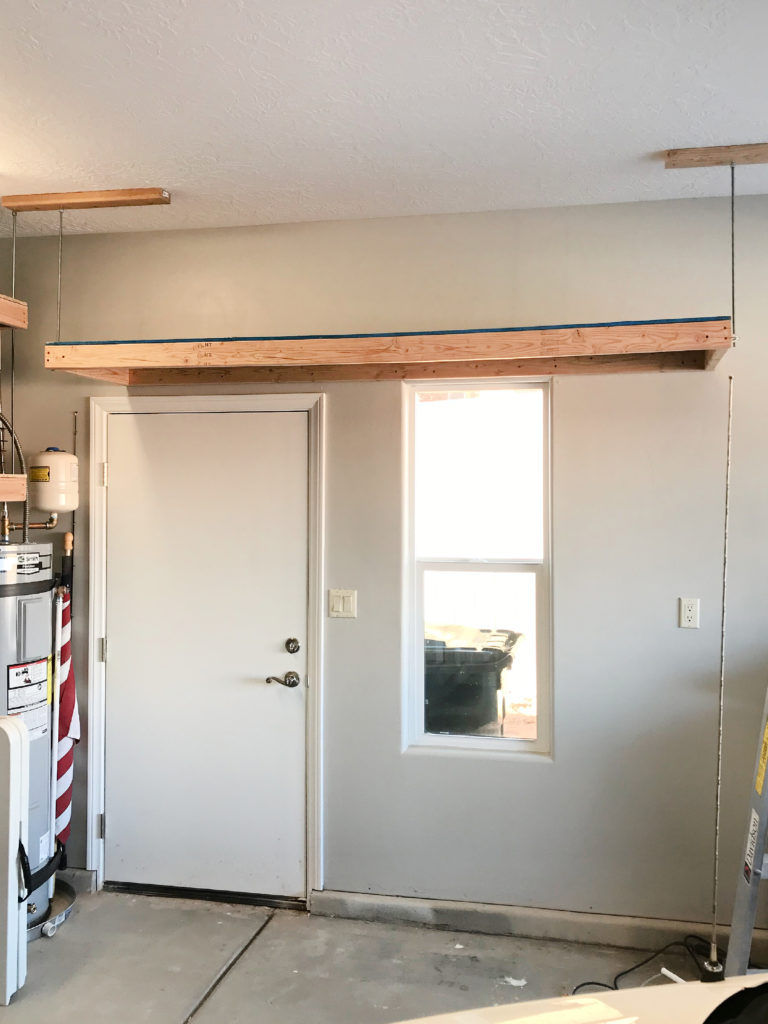
We had to attach some 2×4 pieces between 2 of the roof joists through the ceiling. This gives you something solid to screw the threaded rod hangers into and be able to take the weight of the shelves. So actually it’s a good idea to do it whether you think you need to or not.
To help you decide on the placement of the 2×4, put the threaded rod up through the eyebolts, use a level and mark the ceiling. Screw one 2×4 piece to the joists, through the ceiling on each end of the shelves.
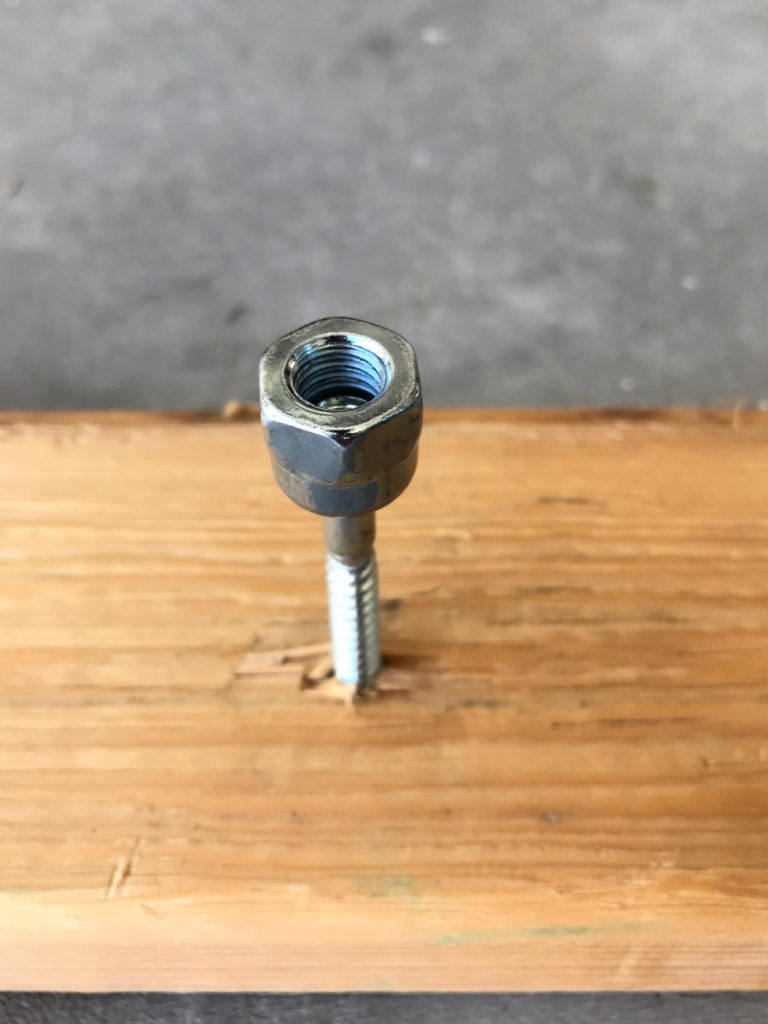
Drill a pilot hole into the 2×4 on the ceiling then screw in the rod hanger screws. Here’s a close up of the rod hanger screw.
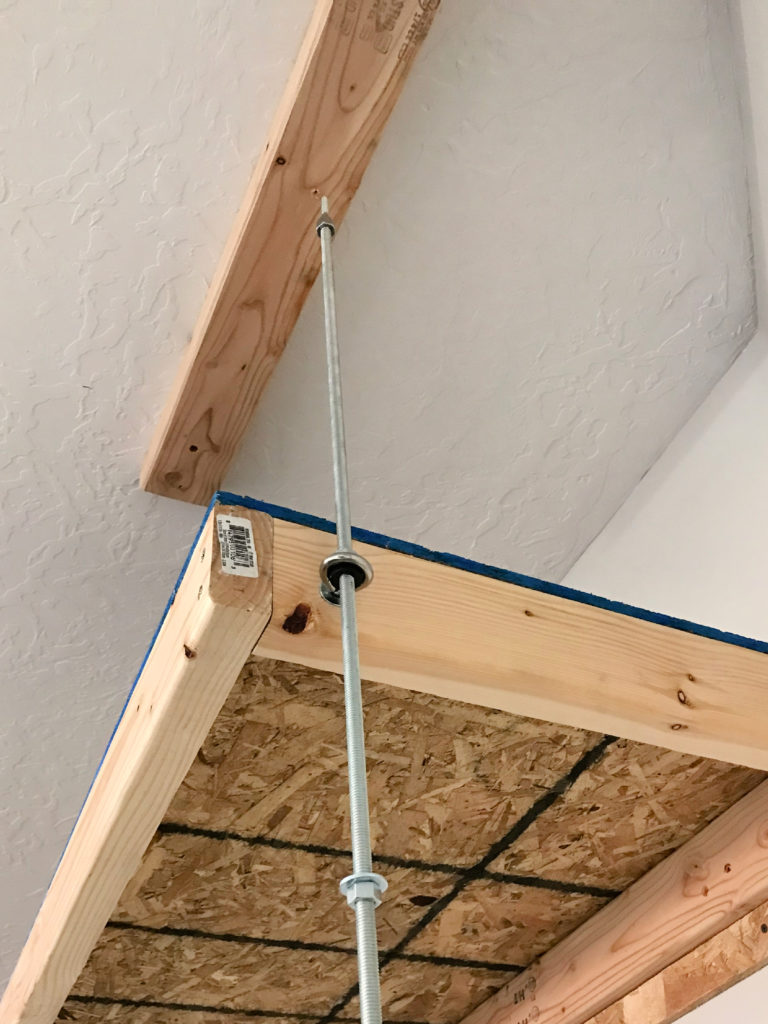
Screw the threaded rods into the rod hanger screws. Make sure to have the nut and washer that go above the eye bolt already on the threaded rod before screwing it in. Then tighten the washer and nut below the eye bolt. This is the single shelf we added above the side garage door.
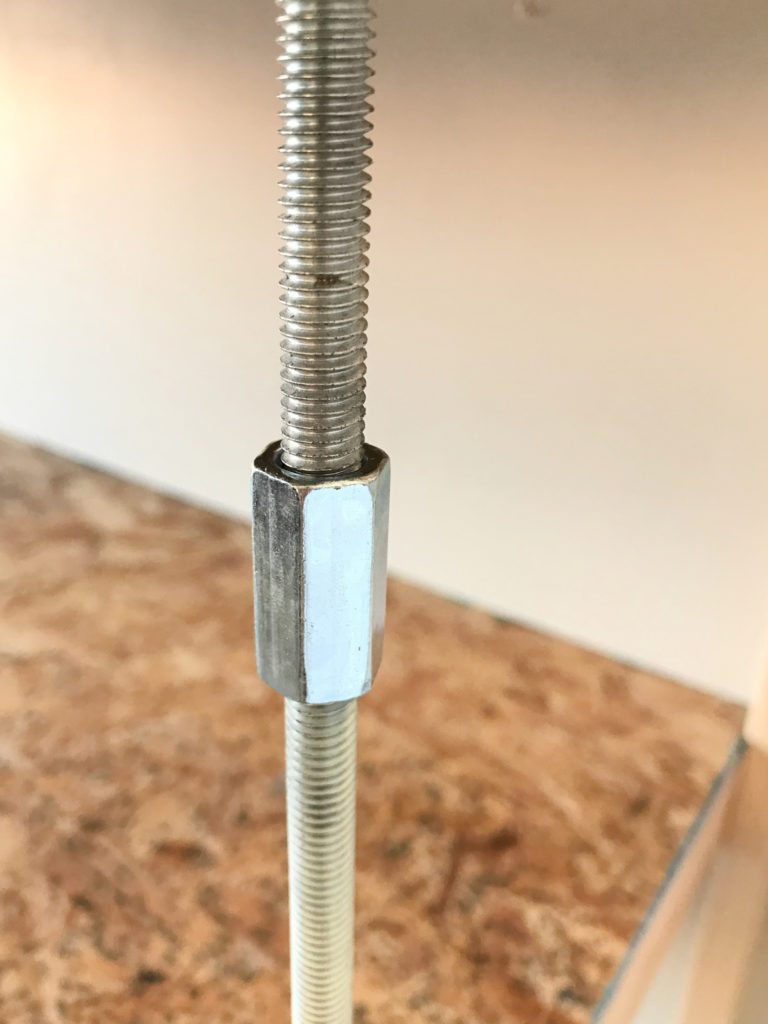
Since these shelves are covering the whole wall we needed to add an extender to the threaded rods. You can cut the rods to the length you need with a hack saw.
Here’s a close up of the extender. If hubby was going to do a shelf wall again he would cut the rods and put an extender between each shelf. It makes it much easier to put all the nuts and washers on where they belong. He thinks it would also add to the sturdiness of the shelves. Although they are already very sturdy.
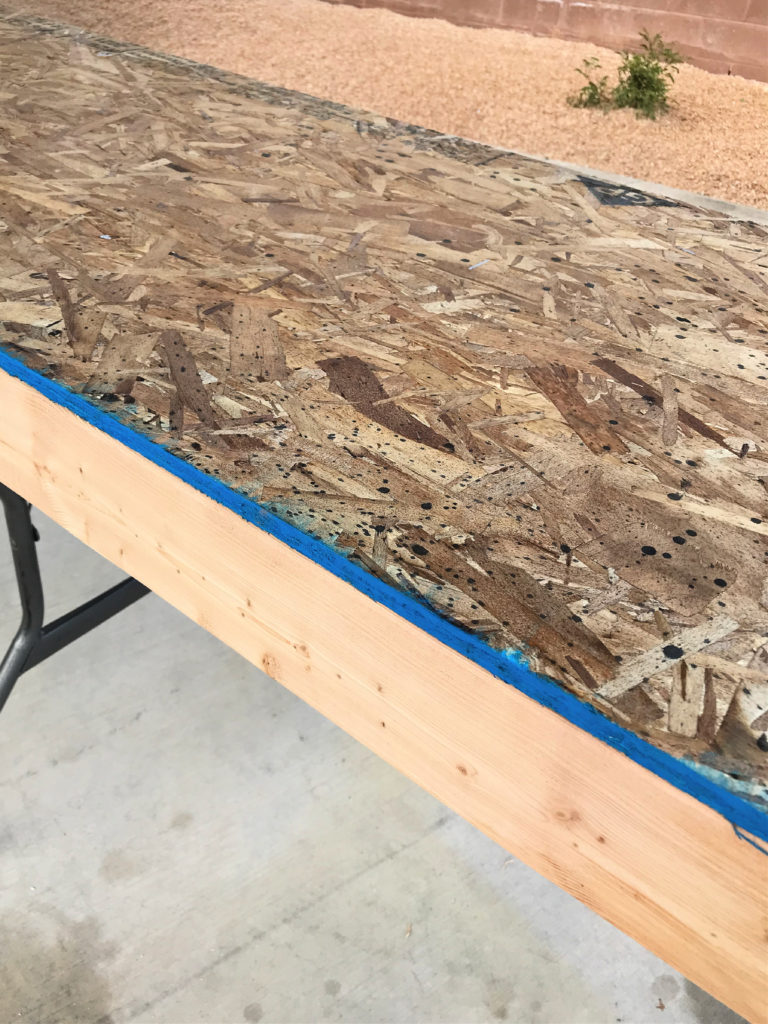
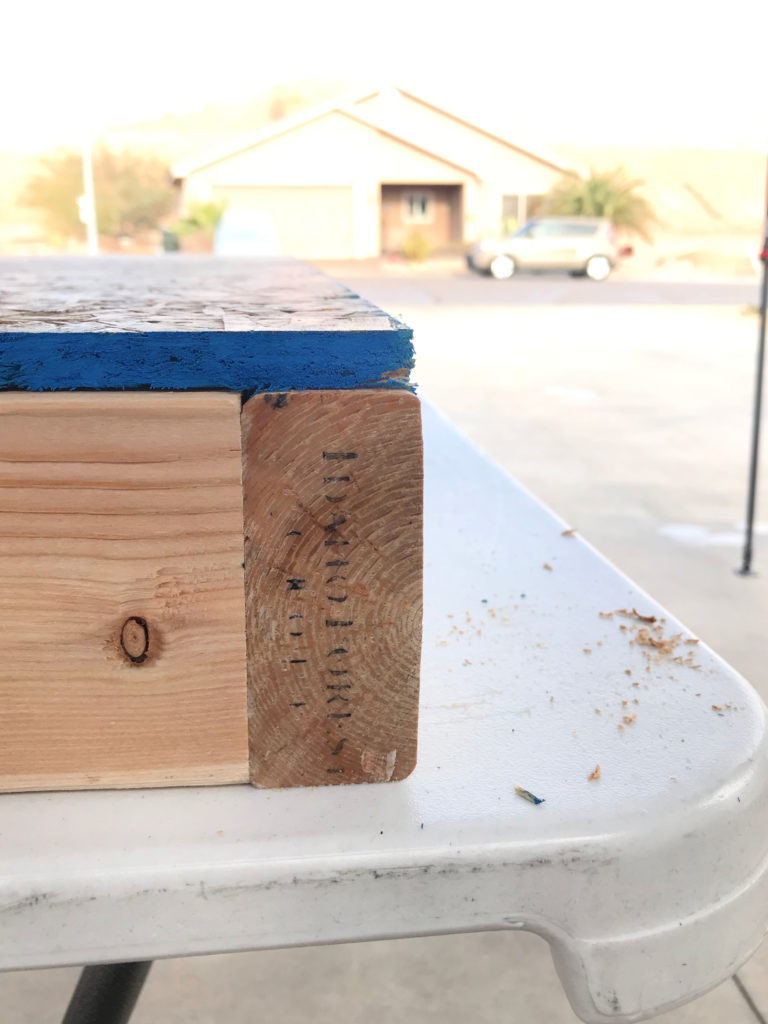
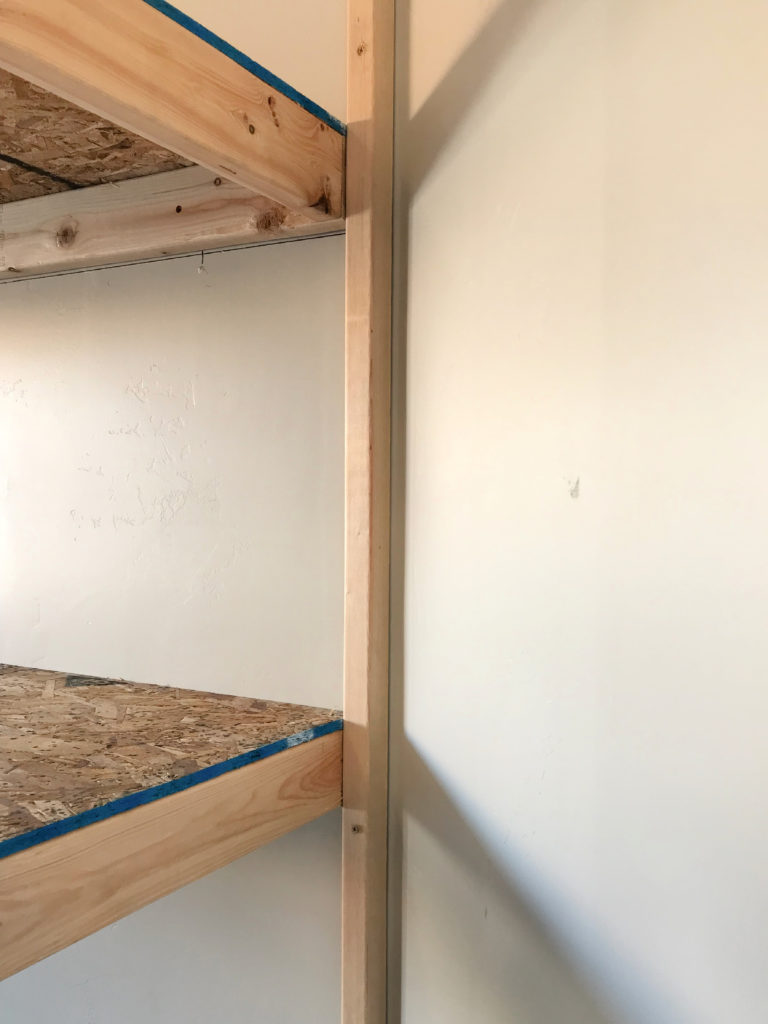
Once the shelves were finished it was time to take the spacer off the end of the shelves. This was just to make sure the shelves were parallel because they are butting against a weird wall angle.
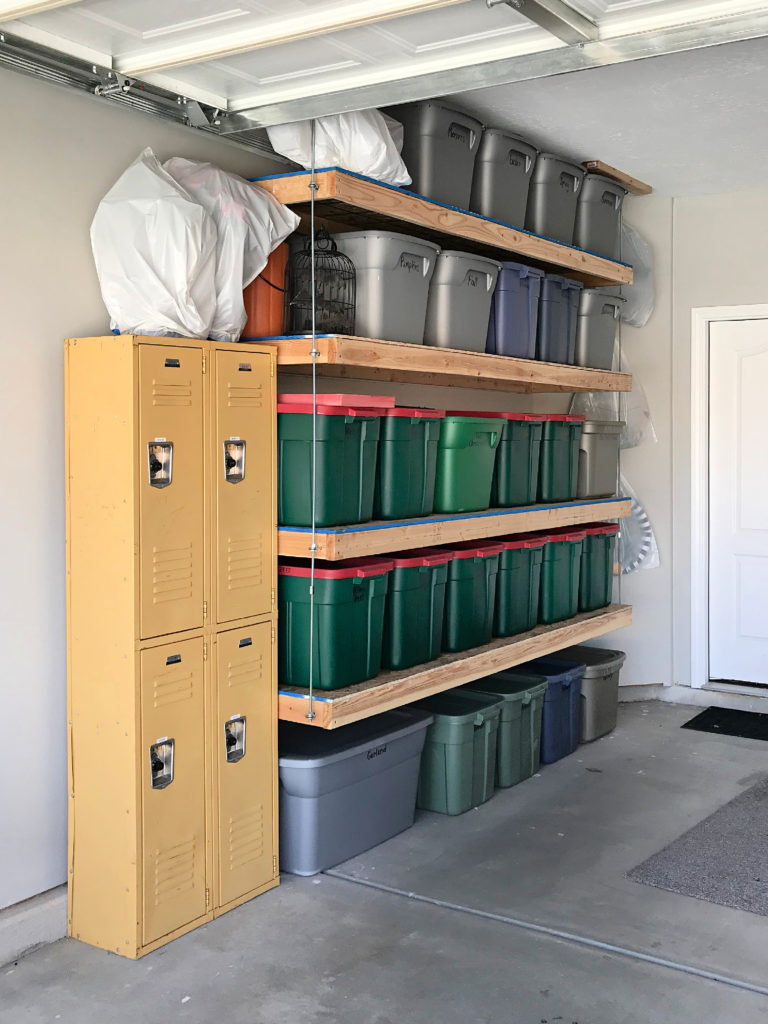
They turned out so good and hold so much weight. My favorite part is that almost everything is off the garage floor and I can get to any tote very easily.
See how we can still get to that plug when we need it?
More details about the Suspended Garage Shelves
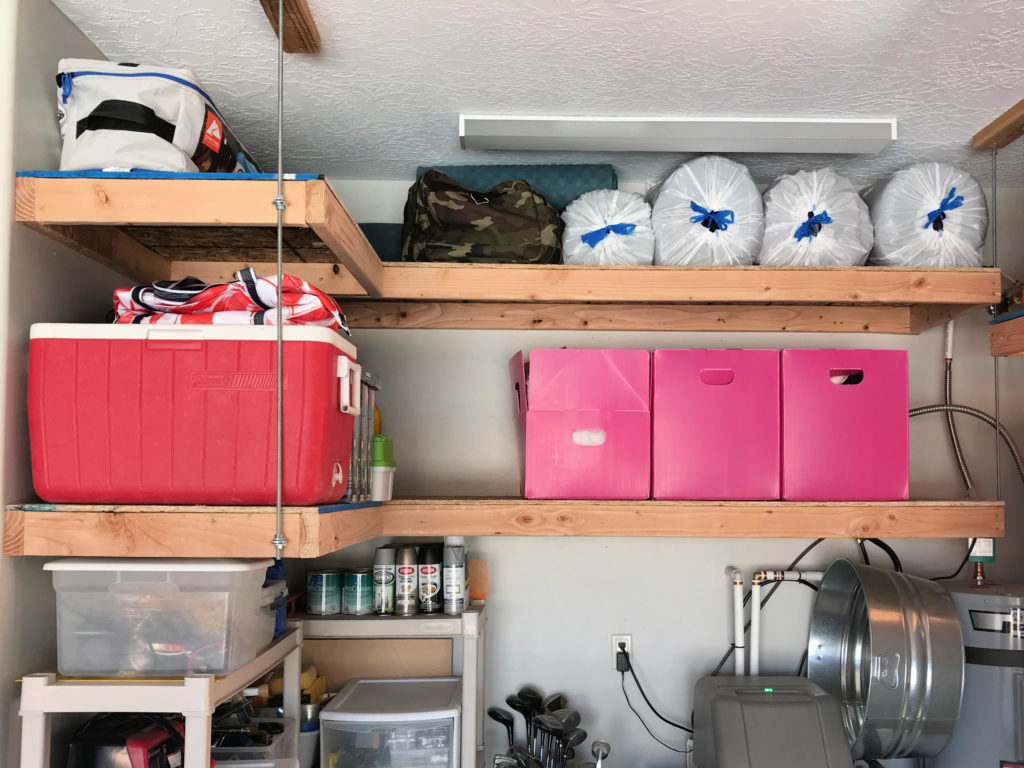
Here are the shelves we built in the alcove. They are only about 6′ long rather than 8′ like the other shelves are. You can make them any size to fit your space.
Once those shelves were up we decided to add 2 smaller shelves to give us even more space.
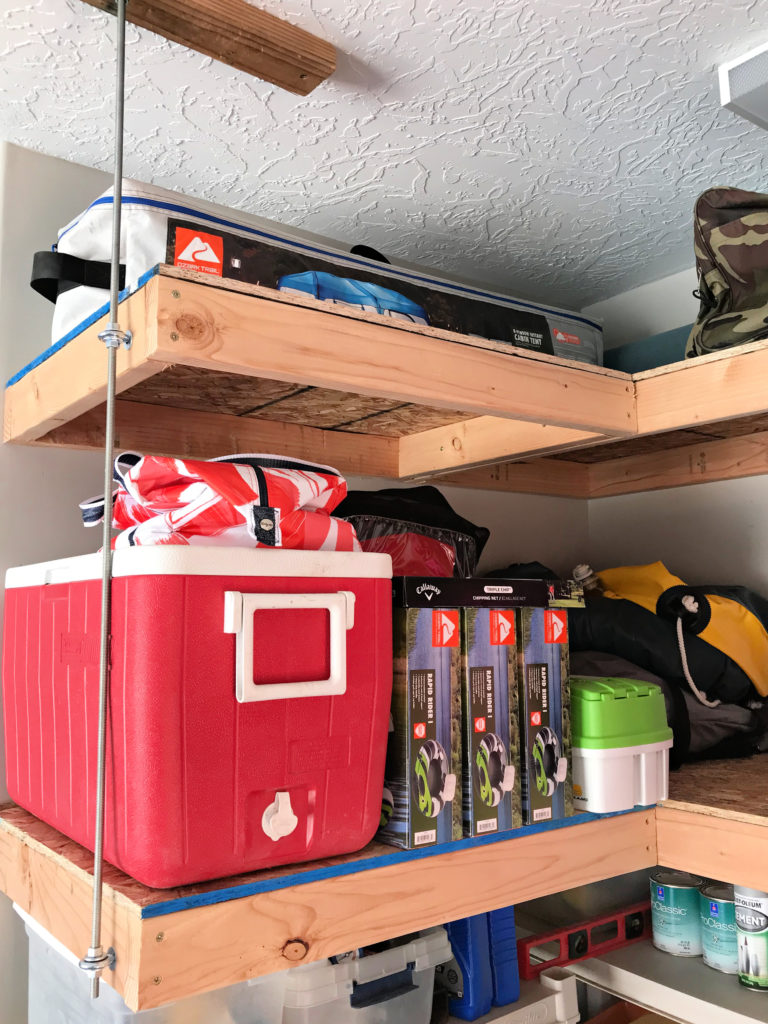
These shelves hold our outdoor and camping gear. I also have some foldable bins that hold things going to the donation center.
We want to add 3 more suspended shelves below these to hold all the tools still on the plastic shelves.
We’ve been using the shelves for about 8 months now and love them. Retrieving and putting things away only takes a few minutes which keeps everything easily organized.
I know you’re going to ask how much weight they can hold, because I would. My husband hung from the top shelf and he weighs about 260 pounds. So each shelf will easily hold 300 pounds. We have about 100 pounds on each shelf just to give you an idea of how much the bins and contents weigh.
Also cost is a little hard to estimate with the way prices have been going up and down but each shelf was about $45. If you make your shelves smaller the cost will be a little less. Even for the shorter shelves we tried to estimate everything so we had very little supplies left over.
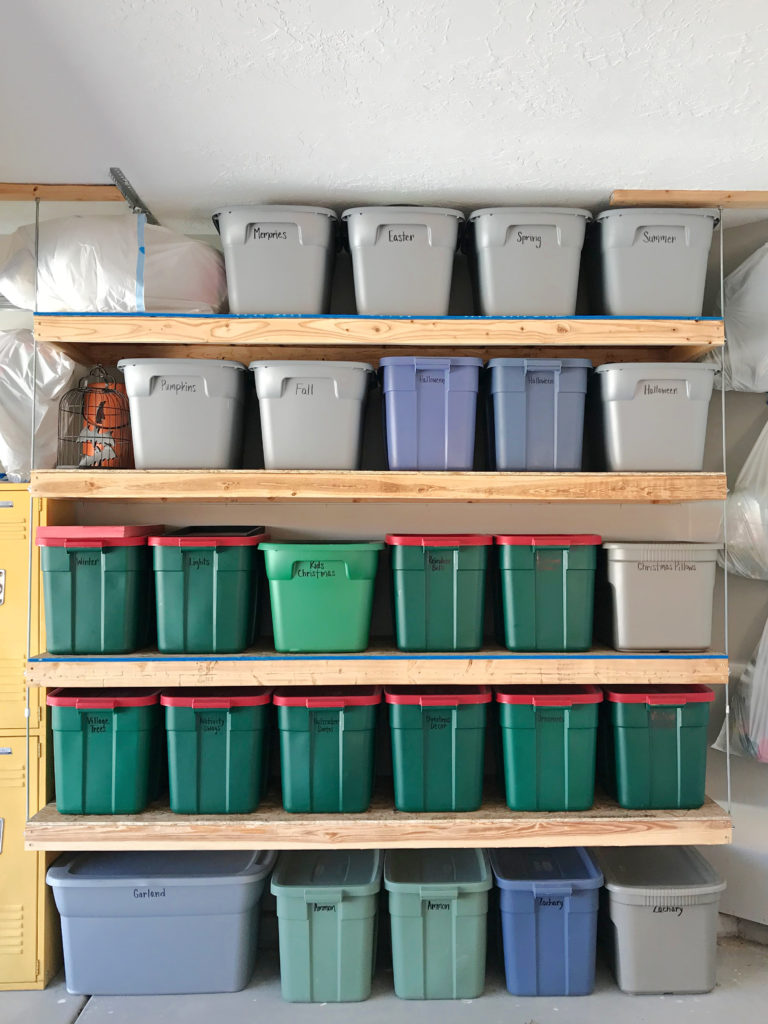
As I said in my last post the bins on the ground below the shelves belong to our kids so those will be gone at some point. Our goal is to get everything off the garage floor making it easier to clean.
Since I will probably get questions about the covered things in garbage bags, they don’t fit inside the bins and the bags are a good way to keep them clean and dust free.
Also the lockers used to be in our house holding kids school supplies, now they hold hiking supplies and work clothes.
If you have any questions please feel free to ask.
Pin it for later: Suspended Garage Shelves
You might also like these posts:
Organizing Storage Bins
Built In Storage Ideas


