Make these beautiful Scrap Fabric Rosettes using fabric scraps from a variety of fabric types.
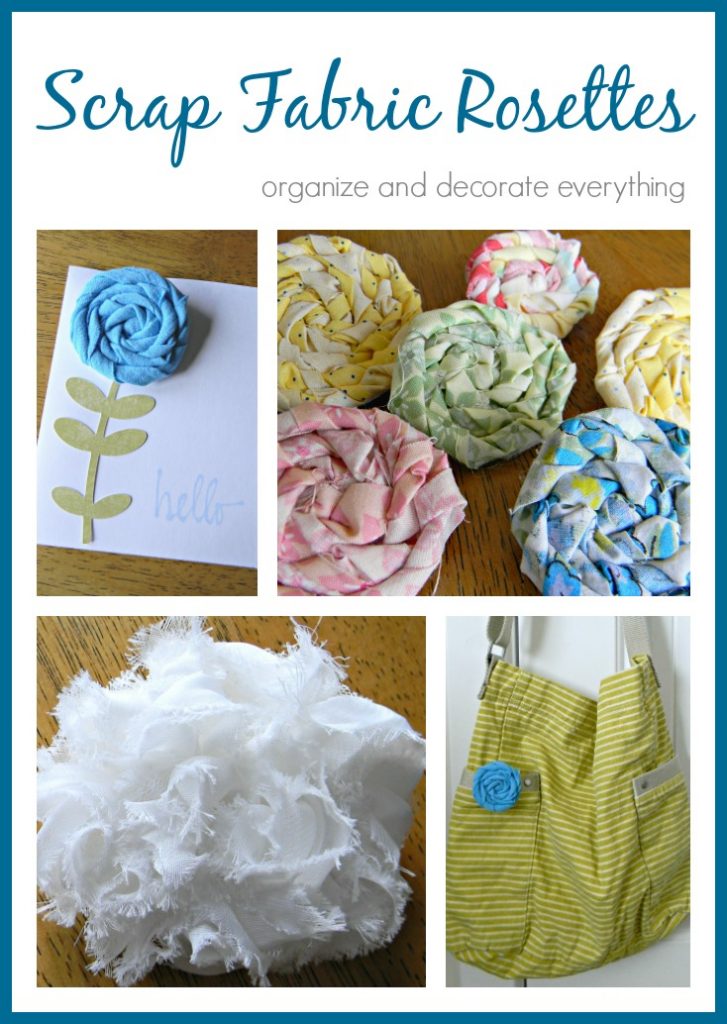
I love adding a little bit of color and texture to my clothing and home decor, these small scrap fabric rosettes are sometimes all you need. You can use all different fabric types to make the rosettes for a slightly different look. You can also use solid or patterned fabric and make them in different sizes for even more variety. There are so many options.
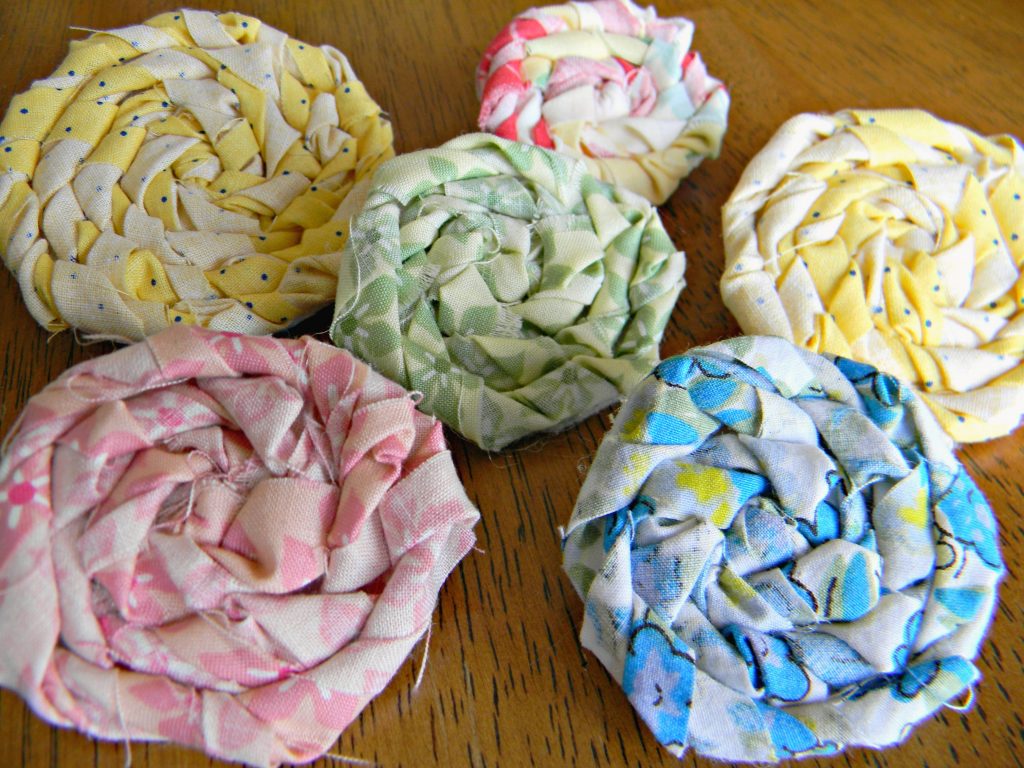
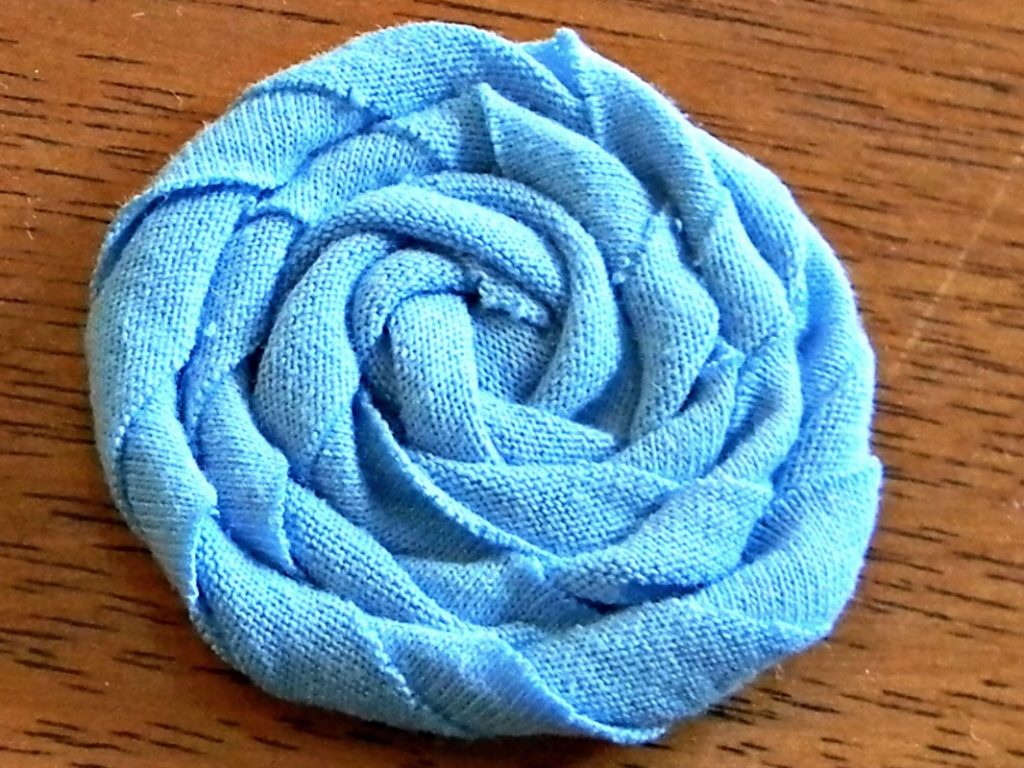
Cut a circle out of felt, remember you can make it any size you want. I traced the bottom of a cup. Mine is about 3″ across, but I’ve also varied some of them. The patterned fabrics above are cotton but this solid blue is actually a t-shirt I cut into strips. Cut them into about 1″ strips or tear the strips for a shabby chic look. The strip length will vary depending on the circle size but you will need a strip of at least 18″ long. You can cut off the extra once you get to the end if it’s too long.
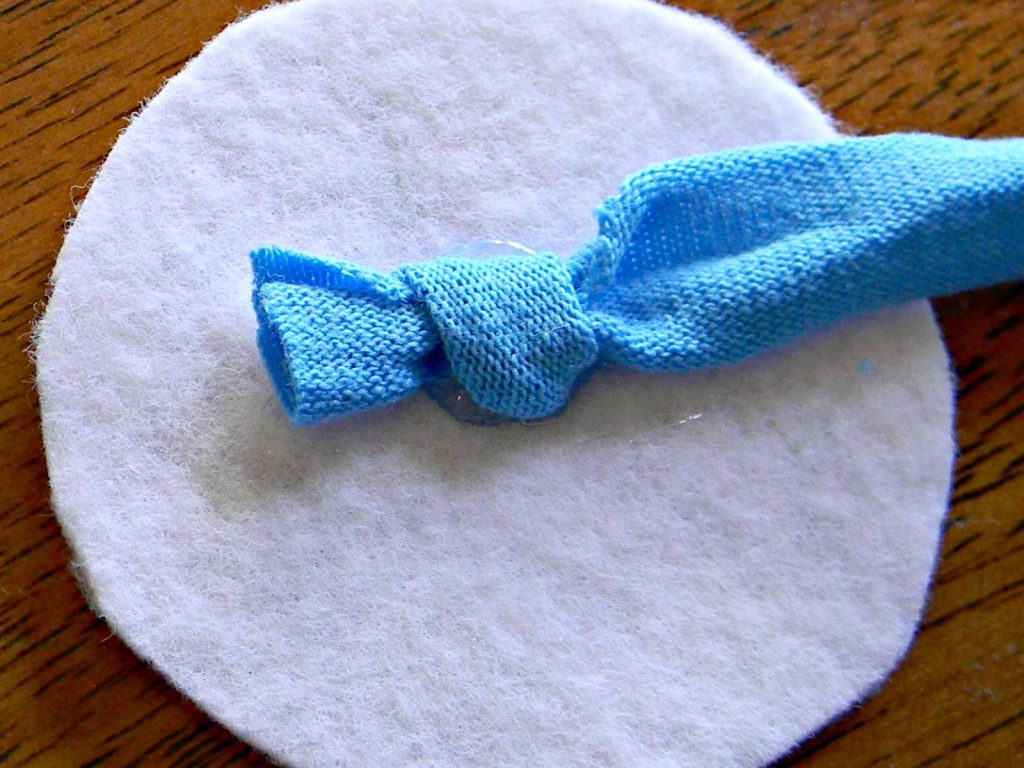
Tie a knot in the fabric close to the end of the strip. Hot glue the knot in the center of the felt circle. It makes a pretty center for the rosette and gives you a good starting point.
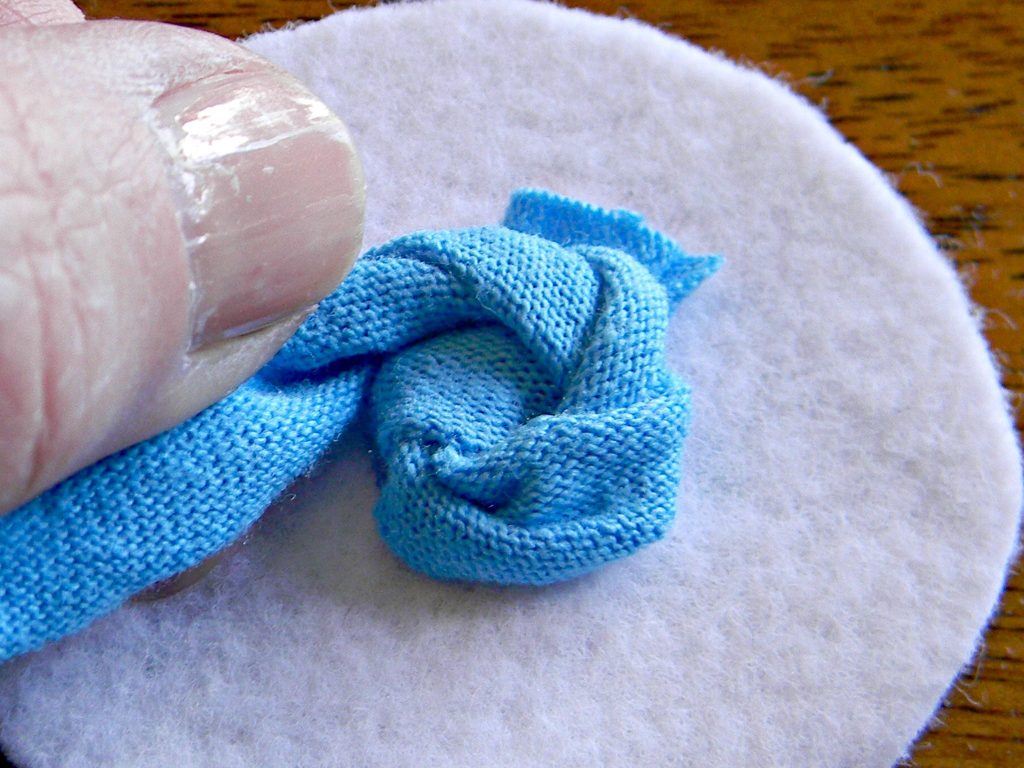
Twist the fabric as you form the rosette by going around the circle. Glue it in place every couple of twists. You can twist in either direction but I prefer to twist toward the outside of the circle. Make the twists tight or loose for a varied look.
Once it’s the size you like tuck the fabric strip under one of the folds and glue into place. Trim the felt circle if any part of it is sticking out around the rosette.
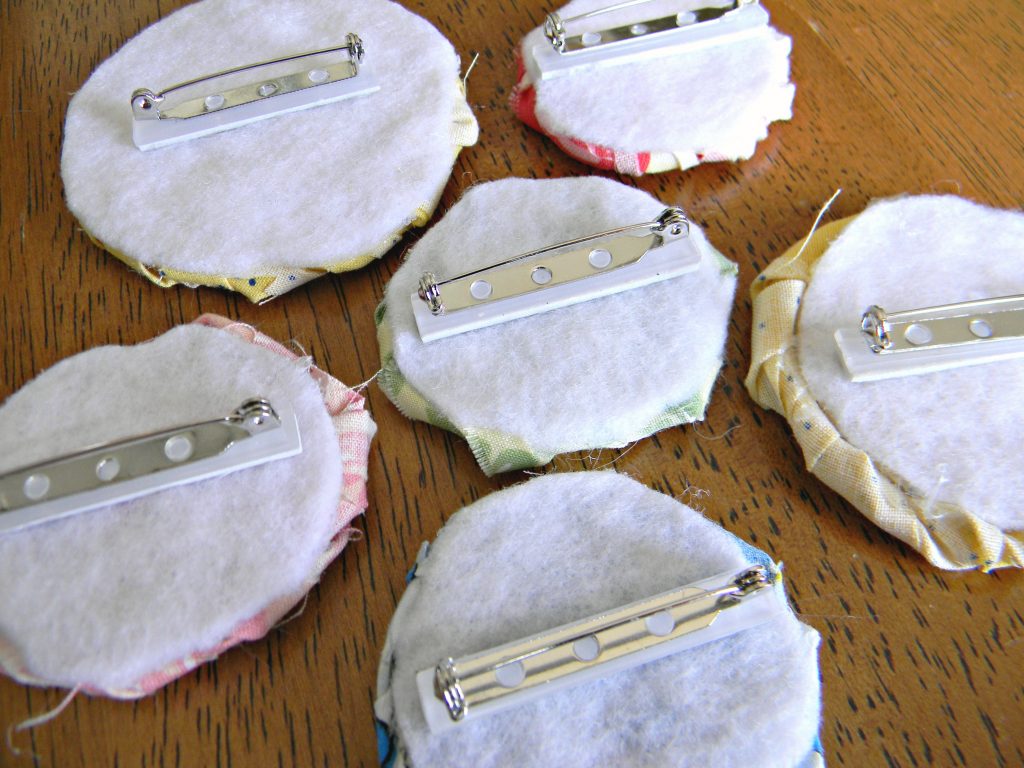
Add different things to the back of the rosette to attach them to your clothing or home decor.
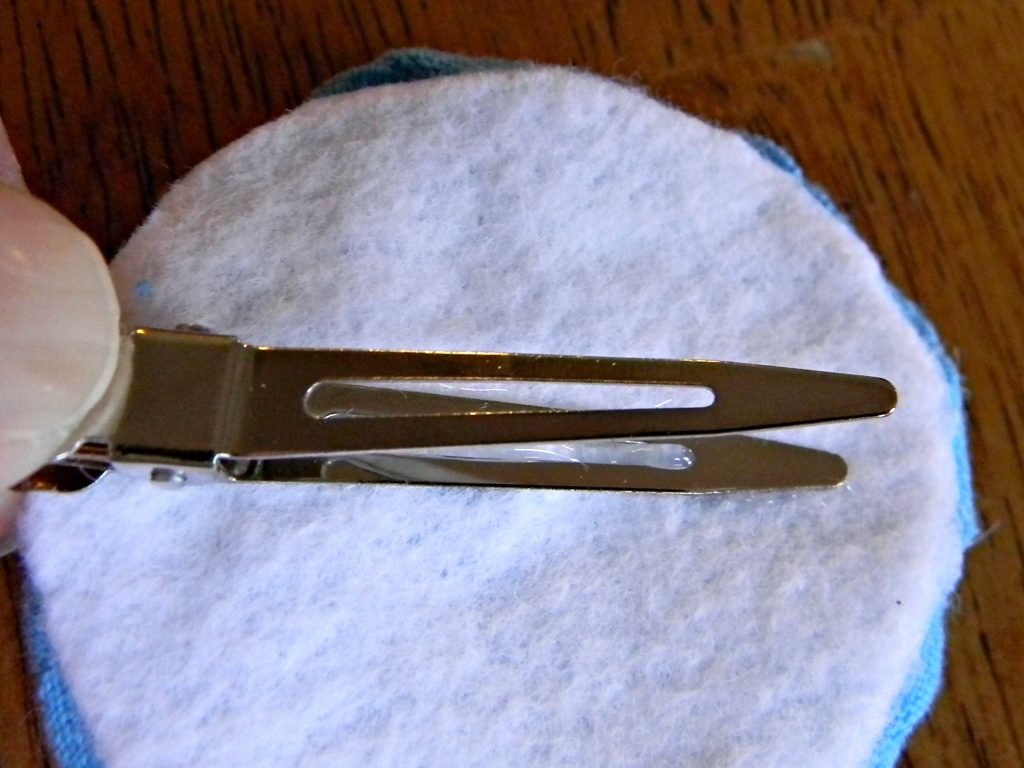
I added hair clips to some and pins to the others.
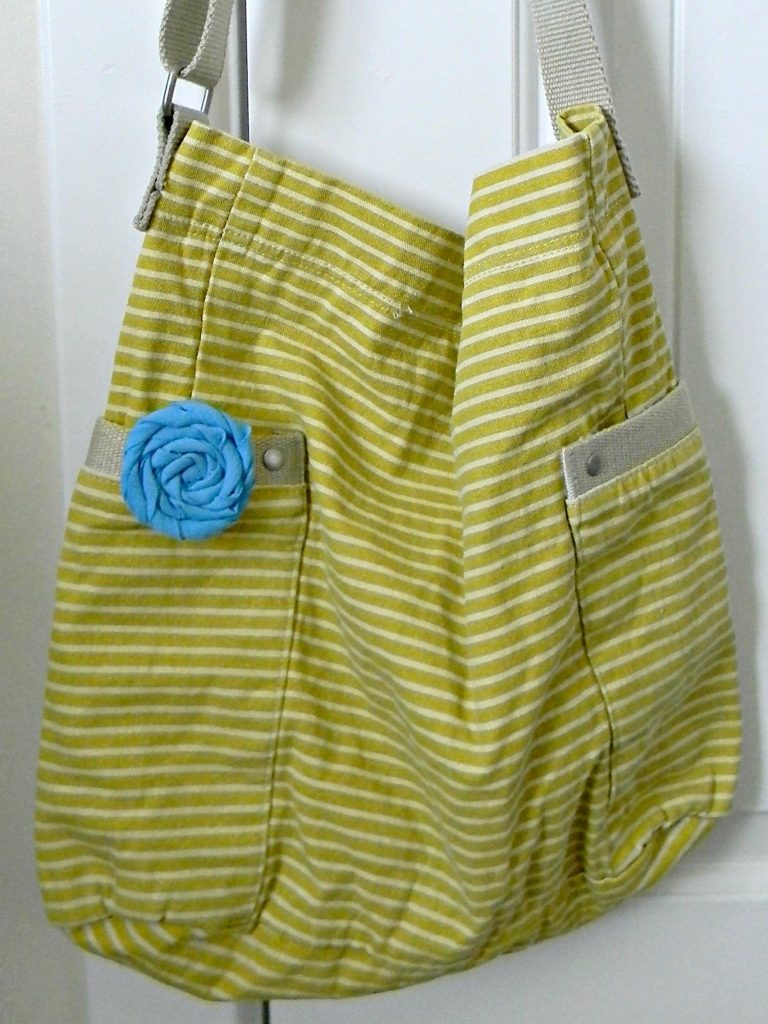
There are so many options for the rosettes. Some of my favorite places for them are bags, sweaters, pillows, headbands, hats and they can even be framed.
Here’s a cute idea, add them to a card for a sweet gift. Use a plain piece of cardstock then cut a stem and leaves out of green cardstock. Stamp a word like Hello or another sentiment on the front of the card.
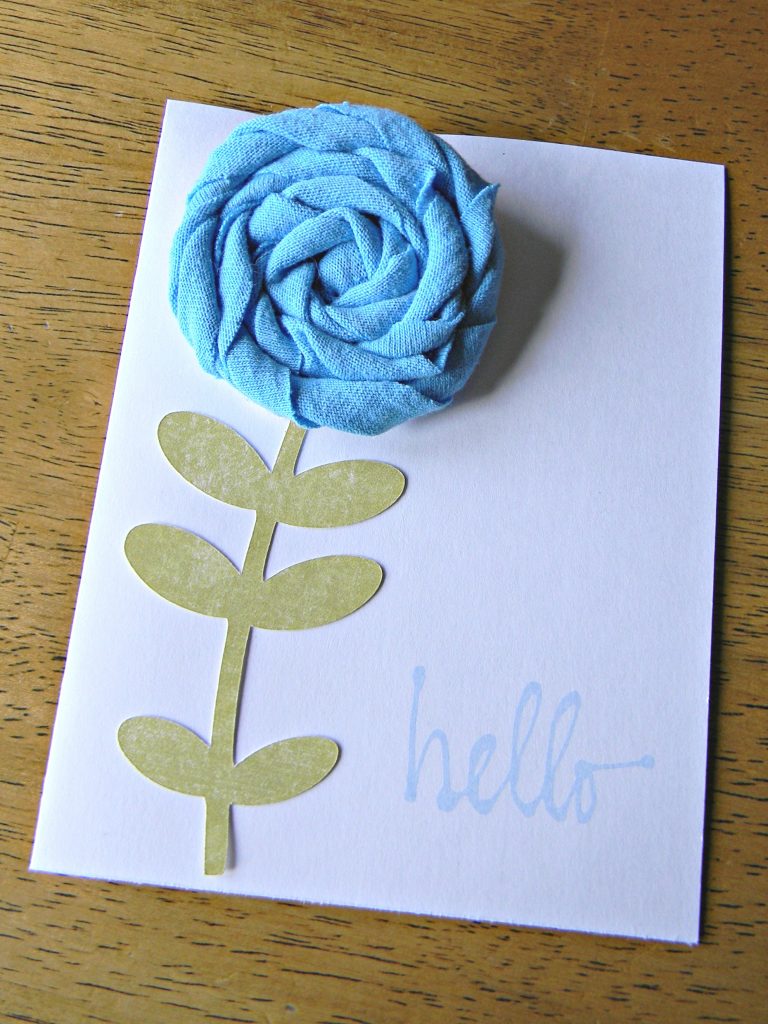
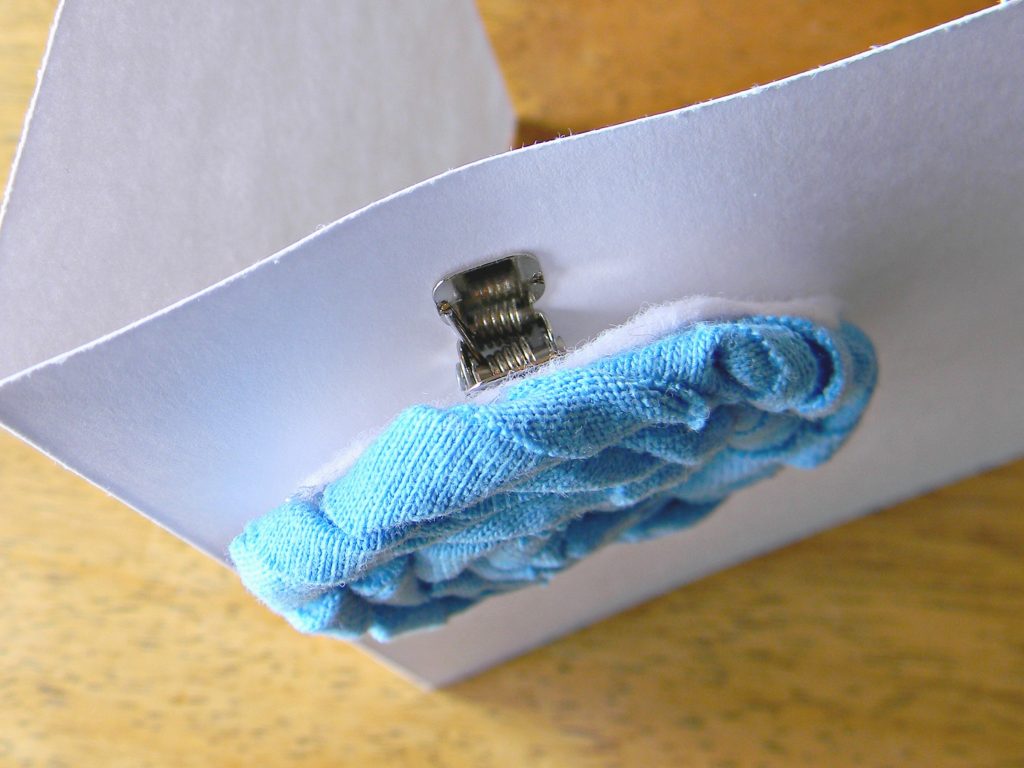
Cut a slit about an inch from the top of the card for the rosette. Slide the clip down in the slit to hold it in place.
I had a strip of rose ribbon left over from a previous project so I decided to try making another rose.
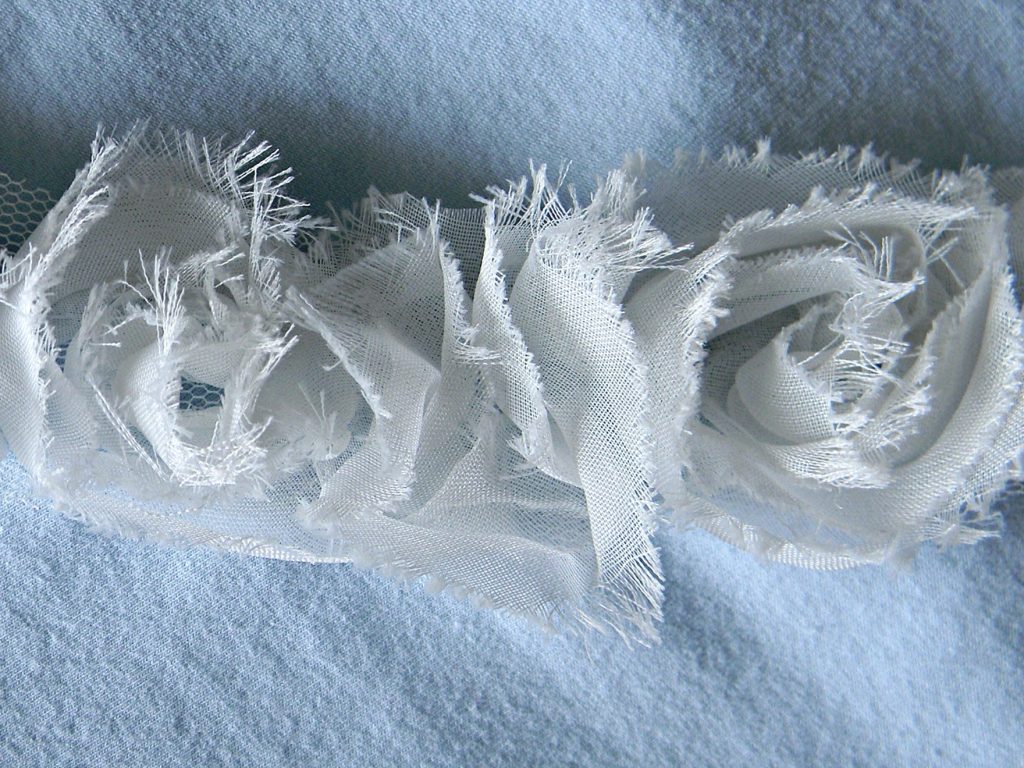
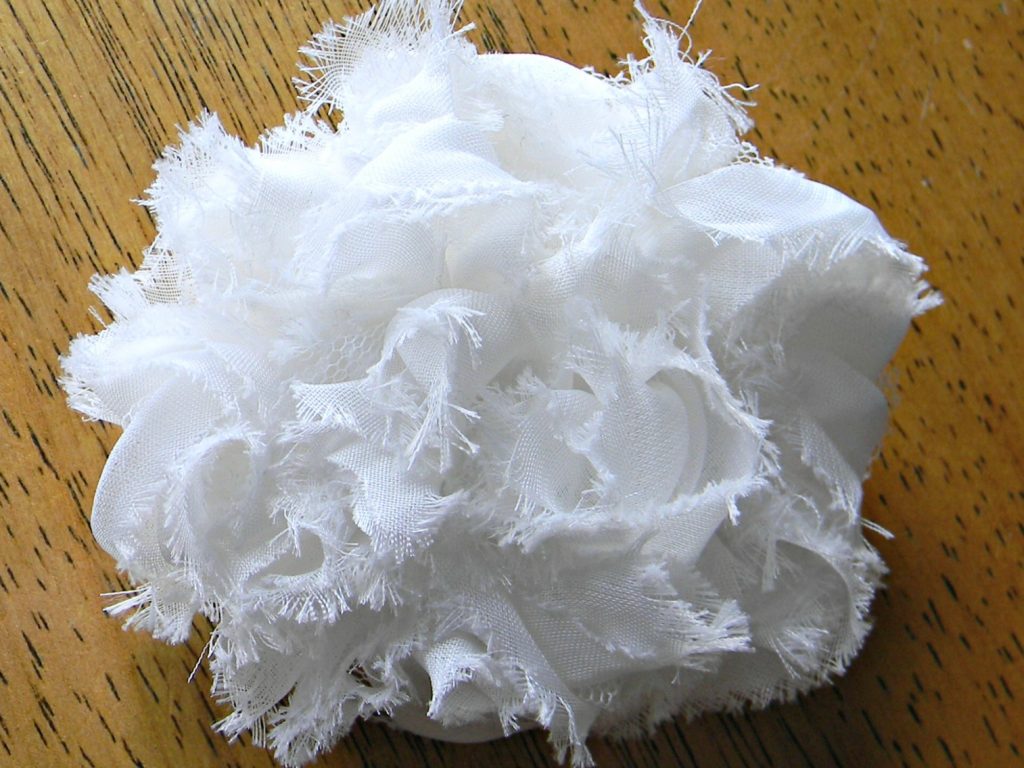
Run a basting stitch along one side of the ribbon then gather the stitch to form a flower. This is the back side. Glue on a round piece of felt to the back then glue on a pin.

I love this fluffy frayed one and it was so simple to make. I hope you like all of the options and will give them a try.
Pin it for Later:


