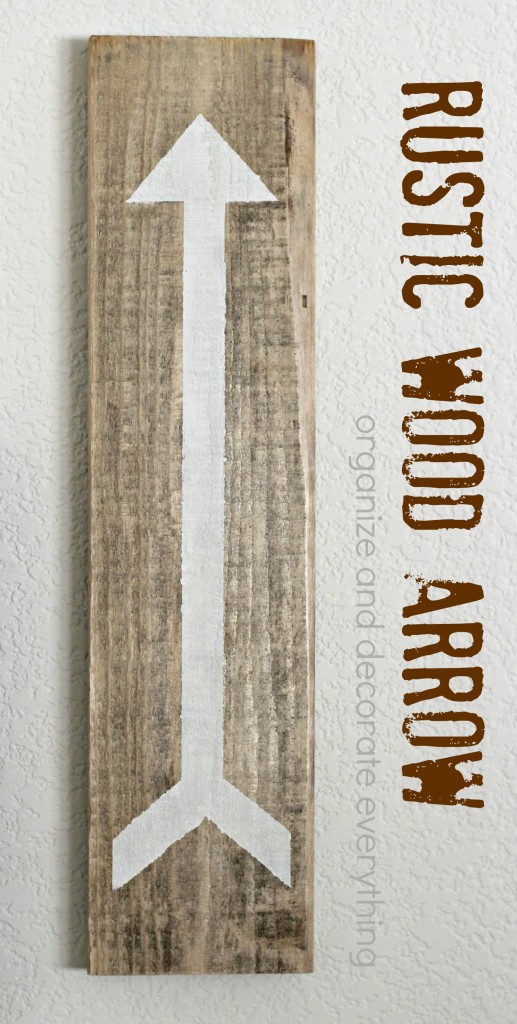
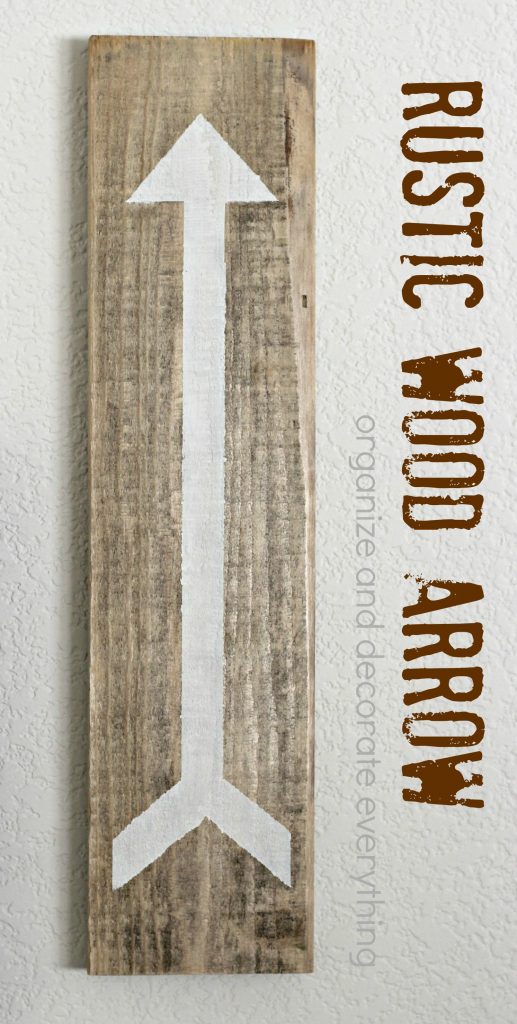
Arrows have been trendy for a while and my boys have had them in their room for a couple years but I wanted to add one more. This Rustic Wood Arrow is the perfect touch to their wall and it is so easy to make.
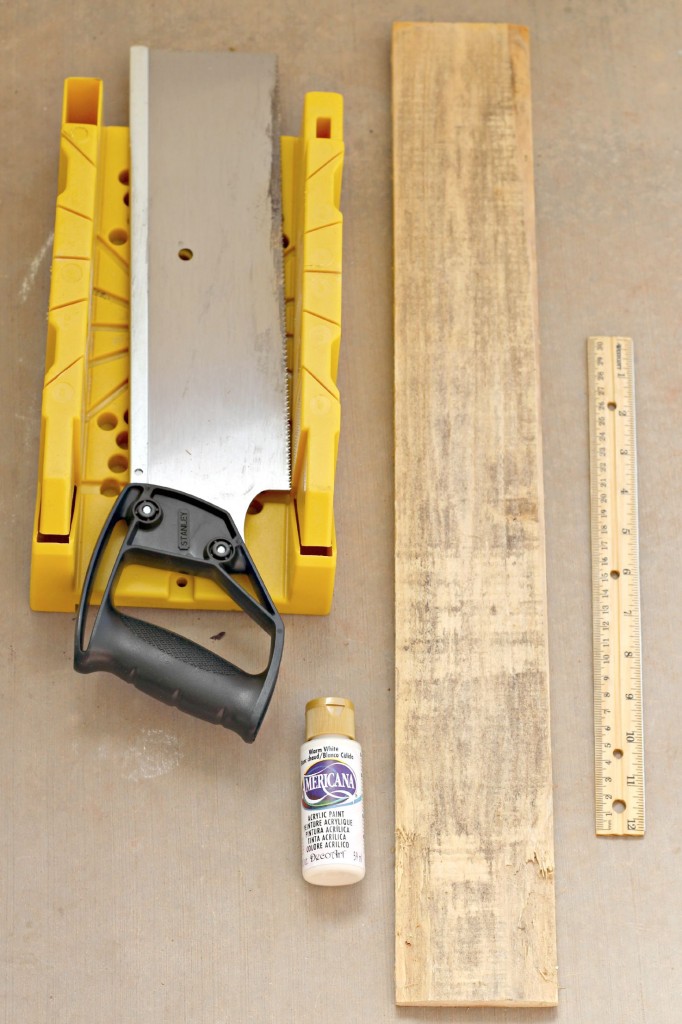
Supplies Needed:
Wood fence piece
White paint
Miter box and saw
Ruler
Sand paper
Tape
Sorry, I always seem to leave something out of the supplies photo so read the supplies list above for everything you need.
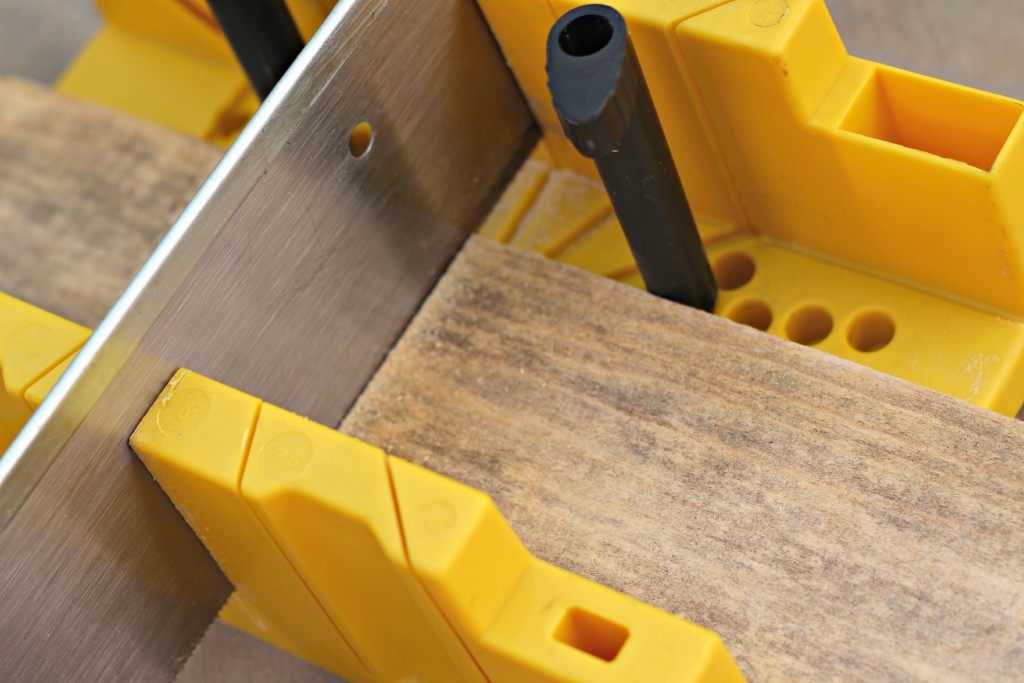
I love my miter saw. Sometimes it’s so much quicker and easier to use it for a quick cut rather than pulling out a large saw. I have some awesome left over wood fencing that I dragged all the way from Utah. I just couldn’t part with it and I can’t wait to use it for more projects. For this project I cut the piece of wood fencing 14″.
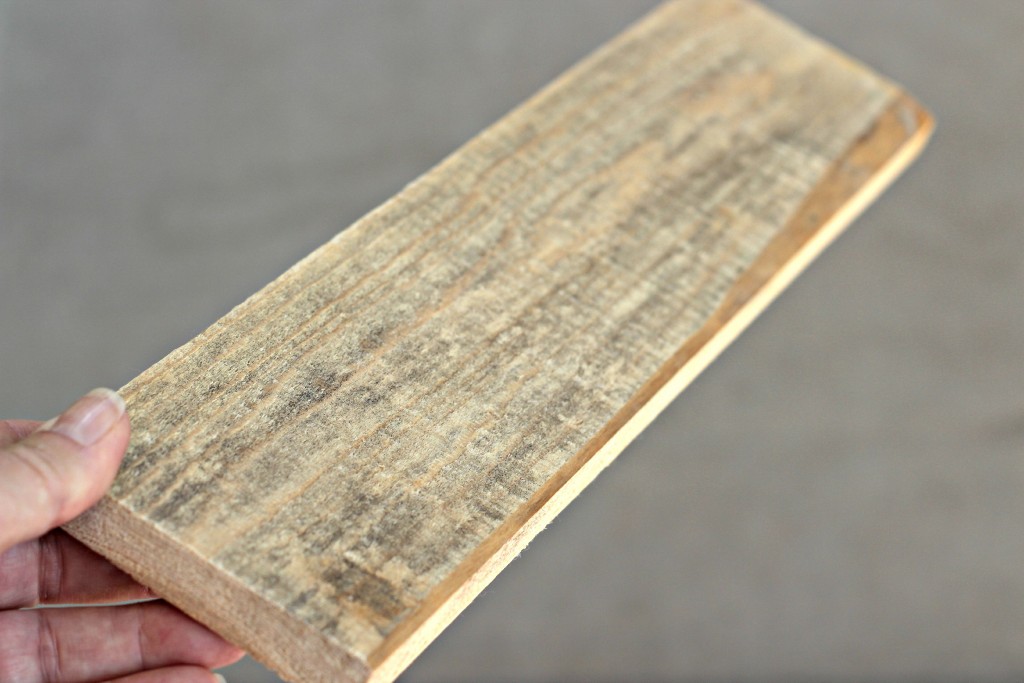
It’s about 4 years old so I didn’t have to do anything to age it. I love how weathered it looks. Perfect for the boys room! Use sand paper to knock off some of the really rough spots to avoid splinters.
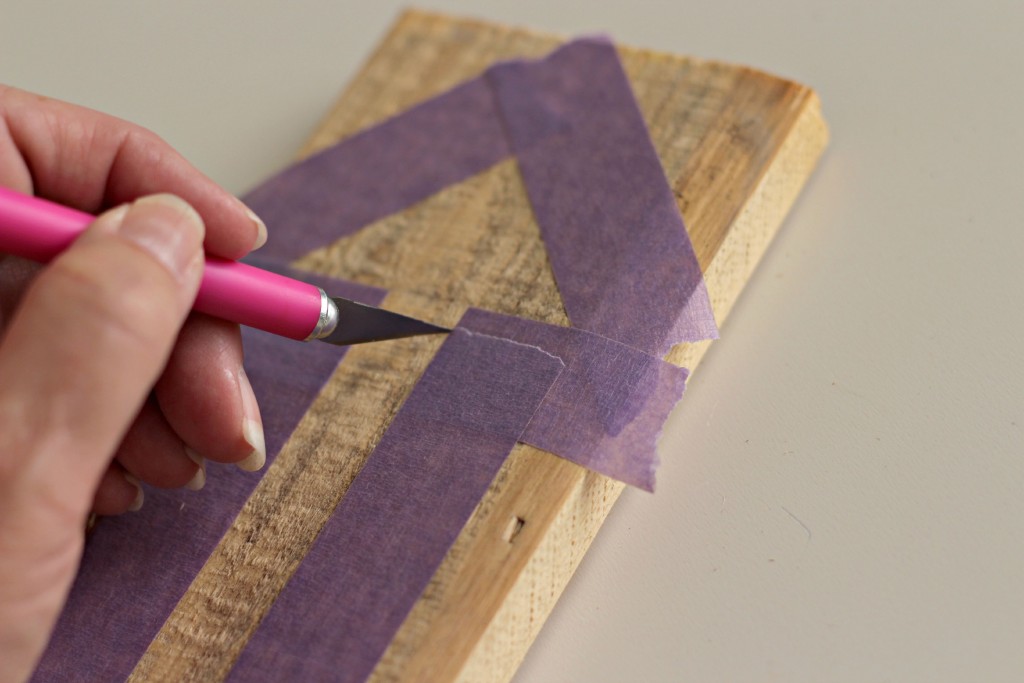
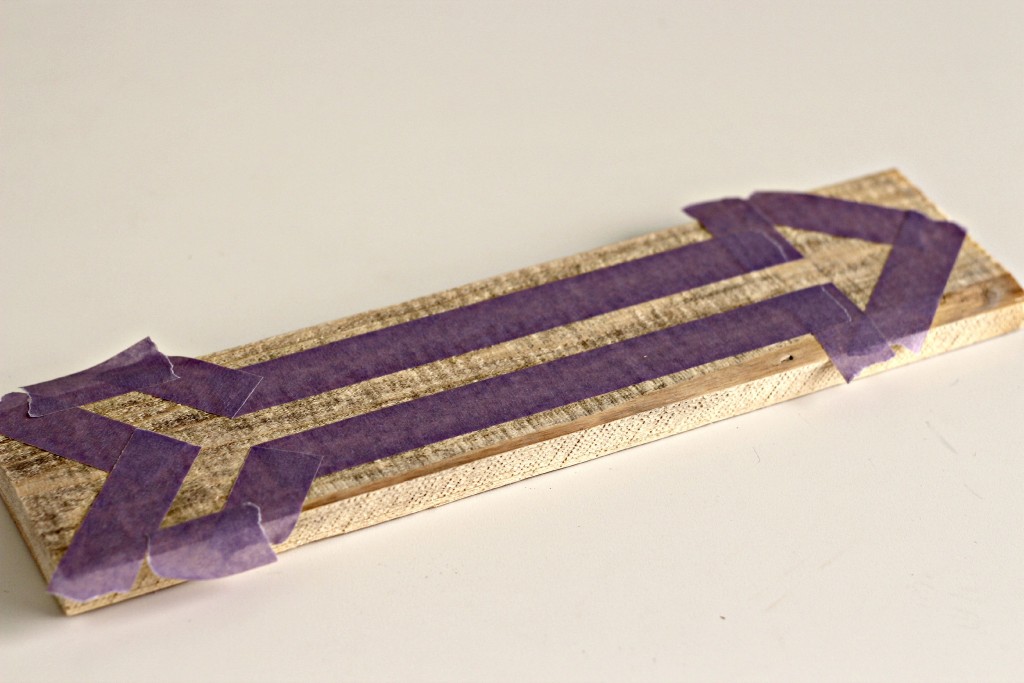
I showed Ammon at least a dozen arrow patterns and he didn’t like any of them so I decided to make my own with his guidance. I love that he has enough interest in his room to want to have some input. Use painters tape to make the arrow, that way you don’t need to have a personal cutting machine. You can just rip the tape off the roll and not have to worry about smooth edges where it overlaps. The only place it matters about having straight edges is where it’s going to be painted. That’s where I used an exacto knife to make sure it was perfectly straight. I used a ruler to find the center of the board and to keep the tape straight for the arrow.
Here is the arrow he wanted. Simple enough, but I’m glad he’s happy with it. Make sure to press down the edges of the tape really well, especially if you’re working with a rough piece of wood.
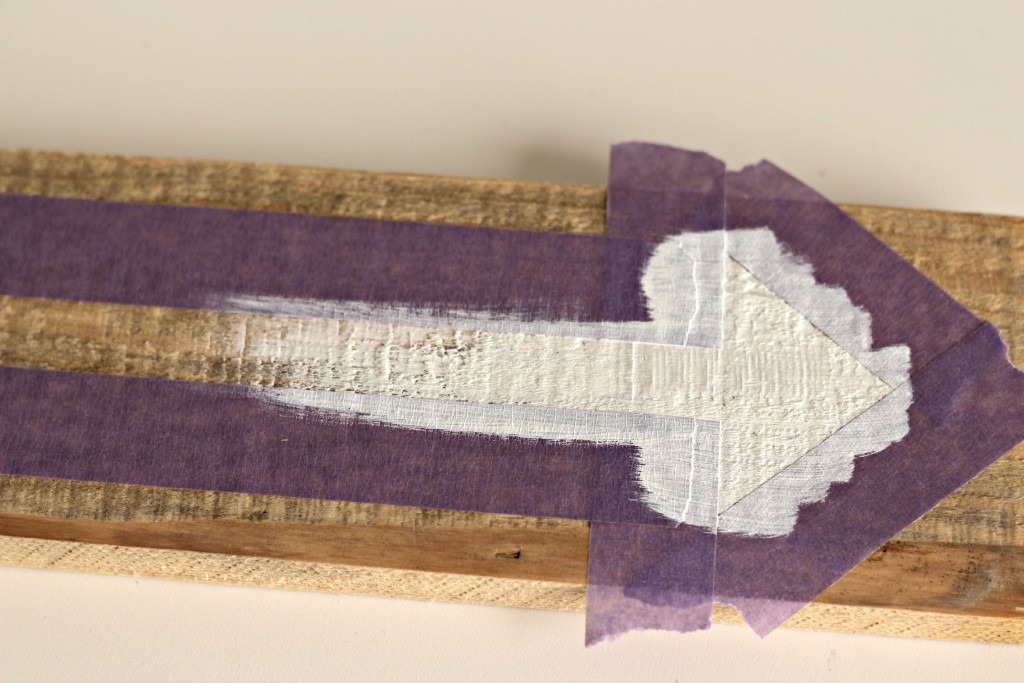
I used warm white paint to fill in the arrow. Don’t use a lot of paint if you want it to look rustic. You can sand it later if you want, but that’s an extra step I wanted to skip.
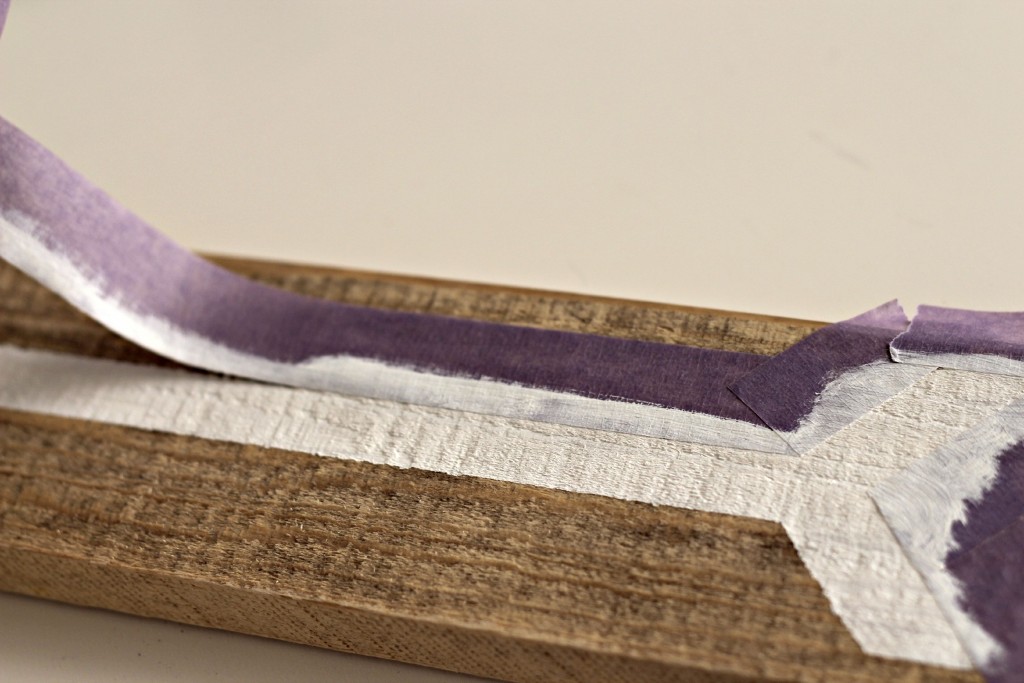
Peel off the tape as soon as you fill in the arrow. Can I just tell you that peeling off tape is one of my favorite things to do. I love being able to take a peek at the finished project. No matter how small the project, it’s still rewarding.
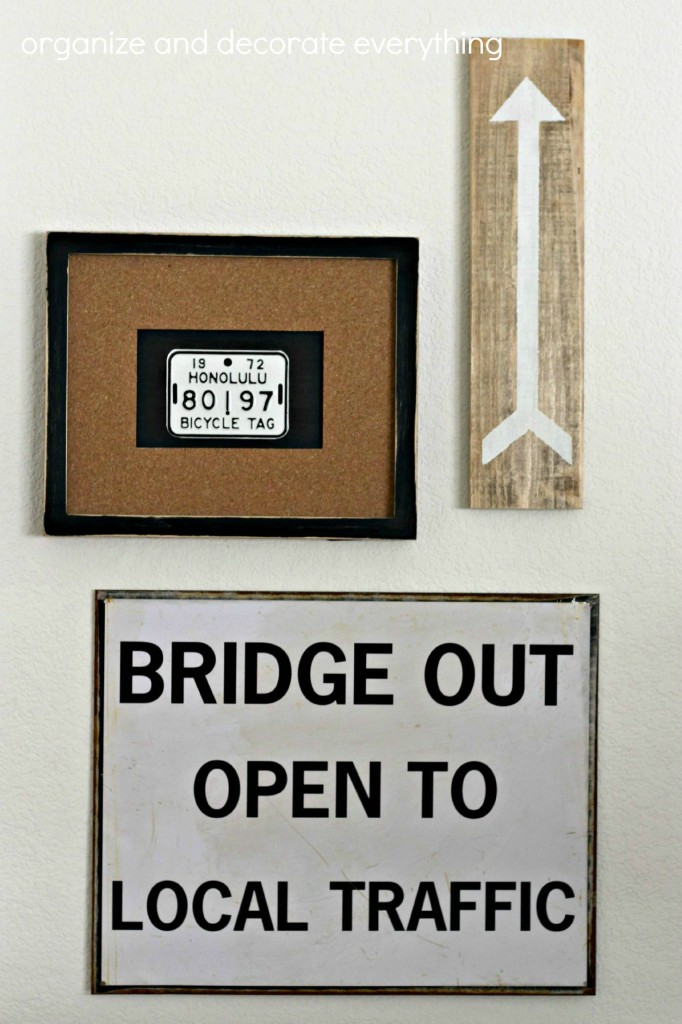
Doesn’t this wall look great?! The bridge out sign is from a local shop in Utah. The bike tag was purchased in a little shop in Hawaii. You can get the full tutorial on the Framed Bike Tag by clicking on the link. I think I need to make more arrows. I love it and it was so easy!
Pin it for later:


That is such a great decor idea! Thanks for sharing.
Plaidandsugar.blogspot.ca
I love your rustic wood arrow project such a amazing for kids and also you mentioned miter saw, Now i can make for my kids