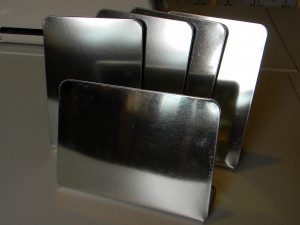
I’m going to share with you some pretty and functional magnet boards. Be prepared for picture overload. By the way, I didn’t have to go out and buy one thing for this project. Sometimes it’s good to have a “mini craft store” in your basement. I bought these years ago and knew I would eventually do something with them.
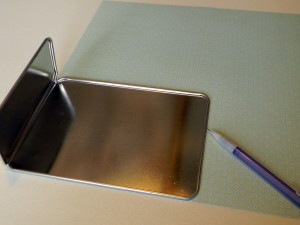
First I traced the shape of the board on the back side of the scrapbook paper. I made sure the paper was centered exactly where I wanted it.
I used a glue stick to secure the paper to the board. Don’t use mod podge for this part, the paper will peel right off if you do. Cover the board really well with the glue, especially the edges. Then center the paper and smooth it on.
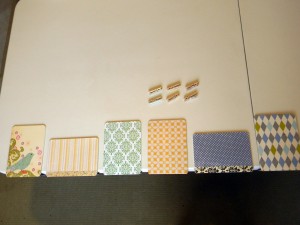
I made a lot of them at one time, assembly line style. Let the glue dry for about 15 minutes or more before you cover the top with mod podge.
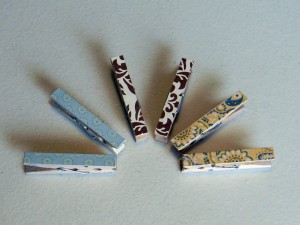
While the boards were drying, I cut coordinating paper to adhere to the mini clothespins. I used mod podge for this part.
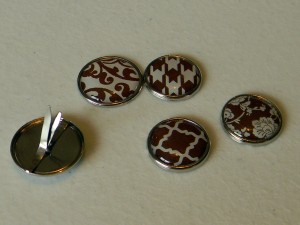
I also wanted some cute magnets so I took the backs off some decorative brads. I thought they would make perfect magnets for this project.
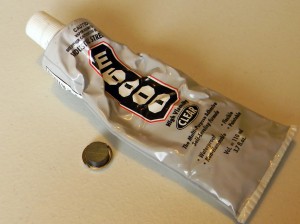
I always use E6000 to secure my magnets. This stuff is strong. It smells strong too, so you might want to open a window when you use it (unless you really want a headache).
Cover the boards and clothspins with a thin layer of mod podge. I do this so you can wipe them off if something gets on them. I also made a few flower magnets using small paper flowers and small brads.
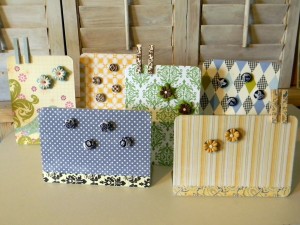
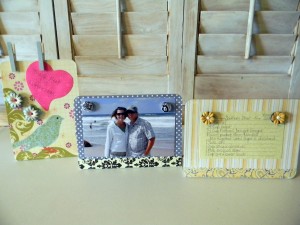
Didn’t they turn out so cute? They can hold notes, pictures, recipes, or anything else you can think of.
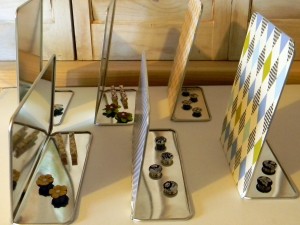
If you don’t want the magnets hanging out on the front of the board when they’re not being used you can store them on the back. Clever, no?
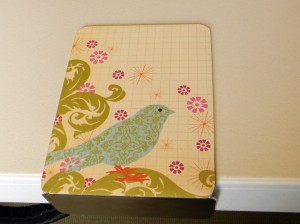
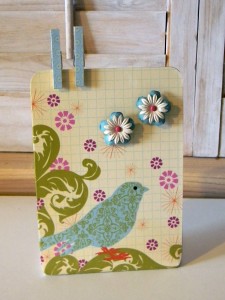
Here’s a closer look at my favorite one. So super easy and functional. What one is your favorite? You can make these using a regular piece of sheet metal. Hardware stores will even cut it for you. Bend the bottom of the board leaving about 2″ to form the stand.



Adorable!Would be great gifts! Where did you get the metal boards if we didn’t want to use sheet metal? Thanks!
I really do love these. I love all the paper you used but the bird is my favorite.
Hi Leanne!!
This is the cutest project, Im pinning this to make later:) I’m now following you on twitter too, so we can learn the ropes together haha! It was super fun meeting you!!
I love it! They are so cute this would be good to do for gifts for my aunts Ive been looking for something!
Those are really cool.
♥ sécia
What a fun project! And what a great blog you have. It was great to meet you last night at the TL Art Shoppe!
what a fun idea! and i like how the magnets can be stored in the back/stand 🙂
That is awesome idea!
This is adorable! Thanks for sharing. I found you via Every Creative Endeavor link up party. I would love for you to check out my blog too!
Teresa
I love this. Where did you find the boards? I would love to make one and use it as a recipe holder.
I love this idea! Definitely going to try it out 🙂 Thanks for sharing!
These are adorable!
super cute…I think I might have that same scrapbook paper in my stash/store! Gotta clear that out…doesn’t it feel good to use up the stuff you have! Your results are gorgeous!
Love these! What a cute idea! Thank you for sharing! I love digging through my attic and closets to re-invent stuff!
Jen
grat teaching post Ilove the bird , Of course! good idea
This is super cute! Love the idea:)
So cute! Thanks for the glue stick tip, I rely too heavily on Modge Podge sometimes 🙂 Stopping by from Someday Crafts
Adorable! And yes, I too would love to know where to find these little metal stands? I’ve been in the mood to make some magnet boards! The glue stick was a great tip! Thanks so much for sharing!
Best Wishes and Blessings,
Amanda
These turned out beautiful! Love em
these look wonderful:) love the paper!!!
So cute! What are those boxes made of? I’ve read so many mixed reviews of magnetic paint…this looks like a fantastic – and pretty alternative!
I could definitely use some of these and so cute!!
So very cute. I like the way it stands and that you can put your magnets back there for storage.
This turned out really good.. I love magnets and boards.. This project is surely on my to-do-list.. Thanks for sharing..
Hani
Great idea! LOVE that bird paper!
Please tell me where you bought the board you covered…I would love to make these for our annual church feastival in september ( so I have enough time to complete them; cause life sometimes gets in the way of the best laid plans). THANKS SO MUCH!!!!!
I really love this idea! Could you tell me where you got the magnetic boards from? I think these would make great Christmas gifts! Yes…. I’m thinking about it already 🙂
Hi Ladies! I bought the boards at Target in the dollar spot but it was about 2 years ago. I still see them every once in a while so just keep an eye out for them. You could also purchase some sheet metal and bend them into shade using the edge of a table or counter. I hope this helps. Thanks for all your wonderful comments.
These are so pretty! Love how you coordinated all of the magnets, clothespins, etc! Somehow I missed these in the Dollar Spot! I try so hard to walk by when I’m in there but I just CAN’T. Two years ago — so sad I missed these — hope they DO turn up again sometime! Thanks for posting!
I was just wondering where you got your metal frames from.. This is a really cute idea…
I really like your board, great and creative work idea. keep it Up.
looking for magnet board ideas and google foundy you! thanks..im excited to make some for my shut in church friends/
im not clear on the brad/magnet idea..what part do you use? do you attach magnet tape to the decorative part? thanks for some clarity for me!
I found some metal stands at HL. They have them in the party supplies for table markers.