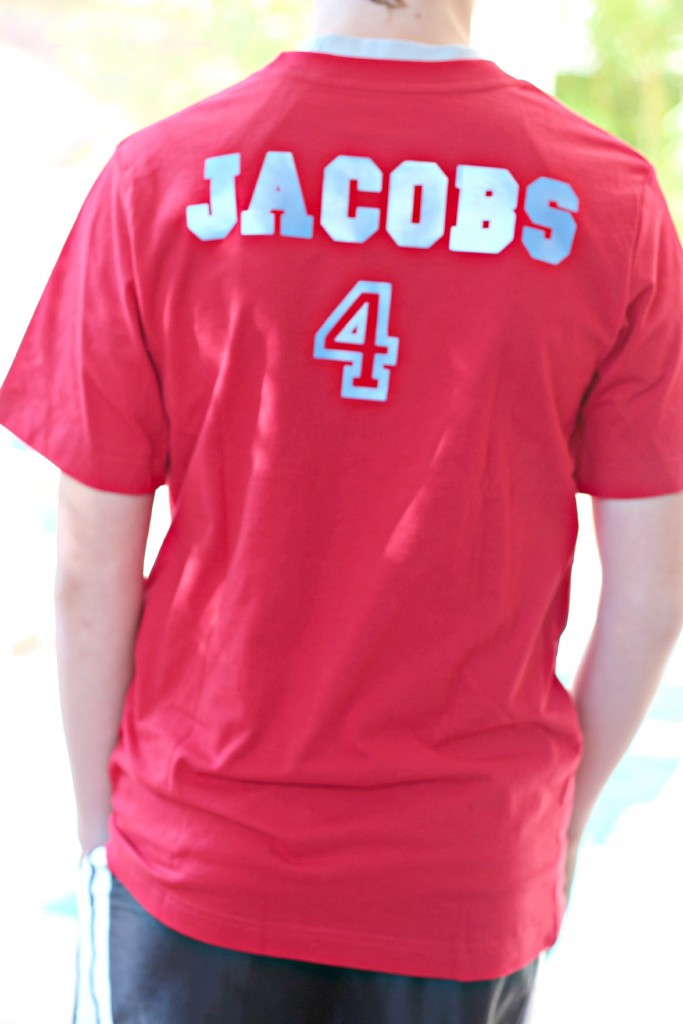
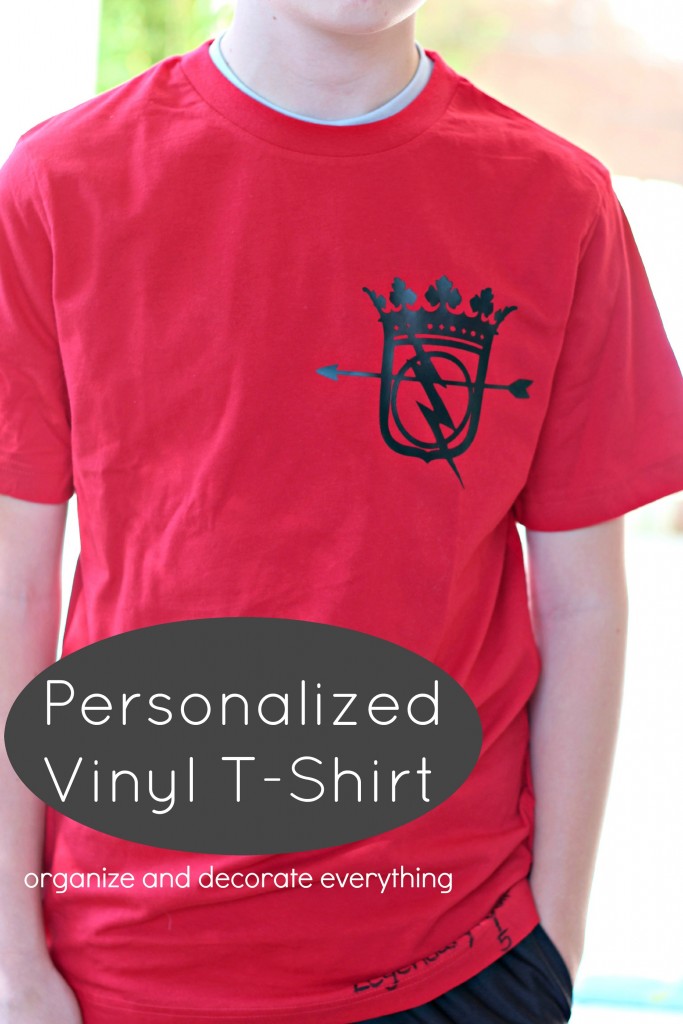
The school year is coming to an end and my son and his friends came up with an idea of what to wear the last day of school. They wanted to wear matching shirts they had found on line, but the shirts were a little to pricey and there was a chance they wouldn’t make it here on time, so we came up with another plan. We decided to make Personalized Vinyl T-Shirts that we could customize ourselves.
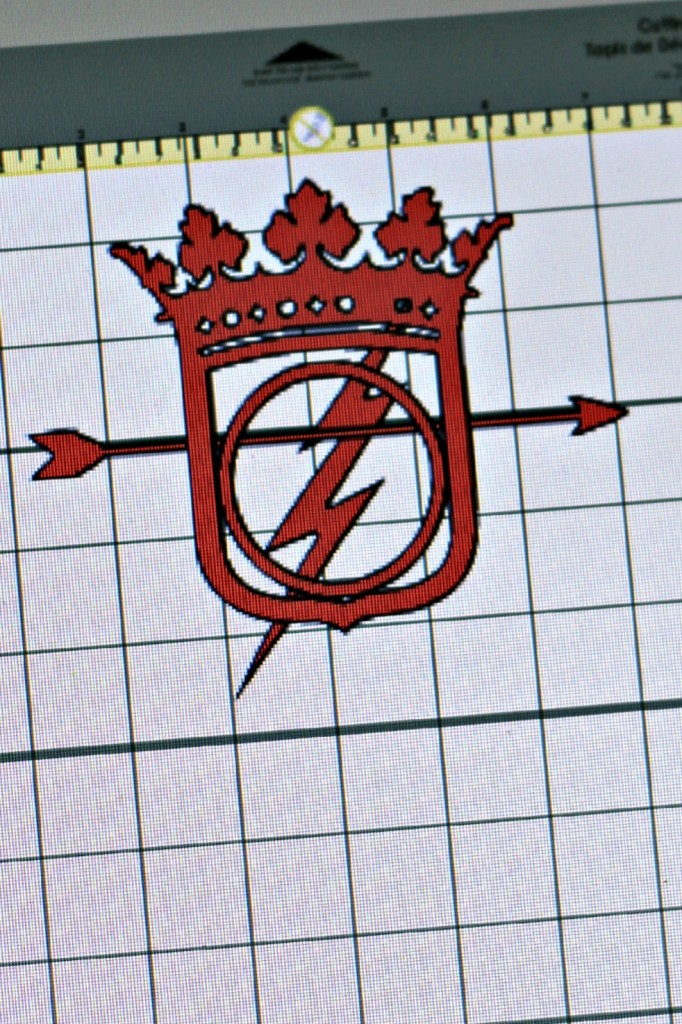
This was the first time I took multiple images and put them together to make one image. AJ actually designed the image and I looked for all the pieces to bring it together. This is before it was weld together.
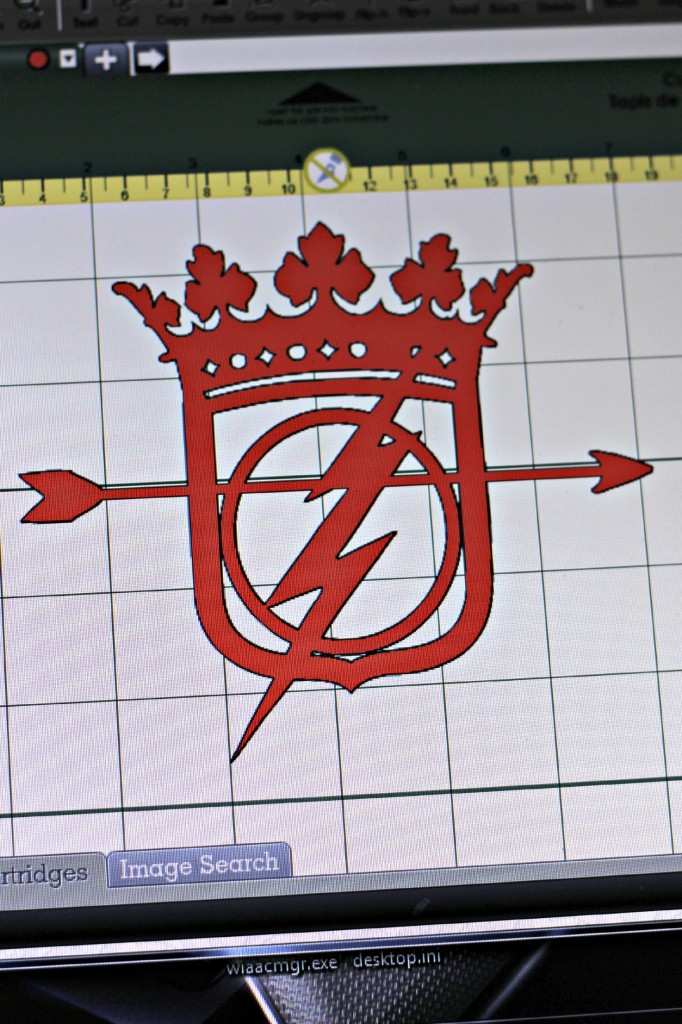
Once you weld the images together it looks like one piece. There’s a button to click to weld each image. Follow the directions on the fabric vinyl because it needs to be treated differently. Make sure to lay the vinyl shiny side down on the cutting mat.
For best results follow the directions on how to apply the image to the fabric. The instructions are really easy to follow.
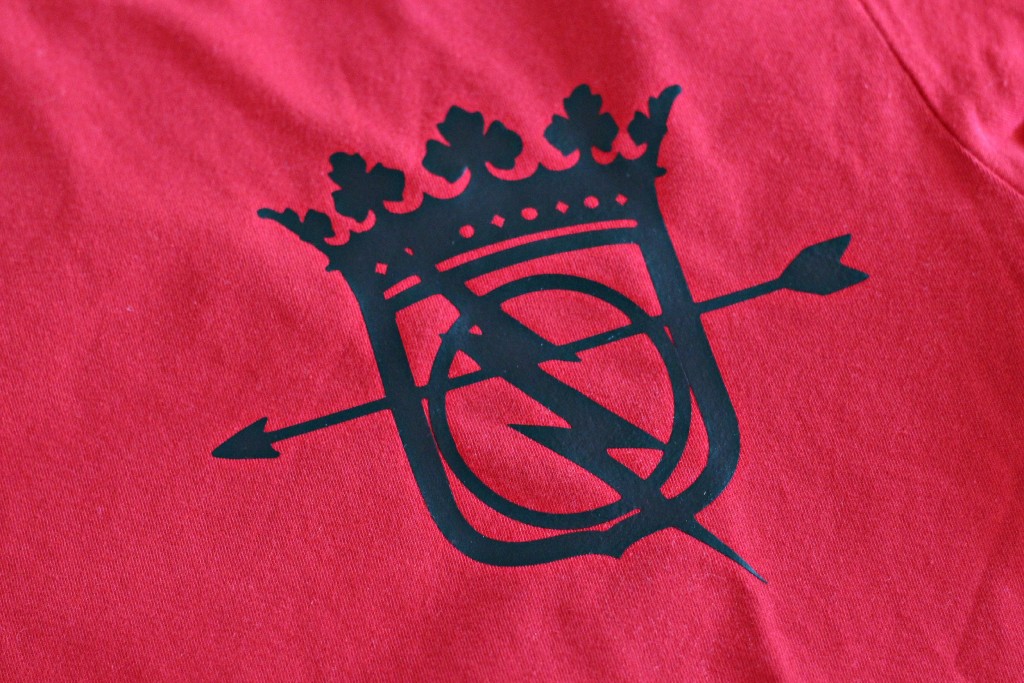
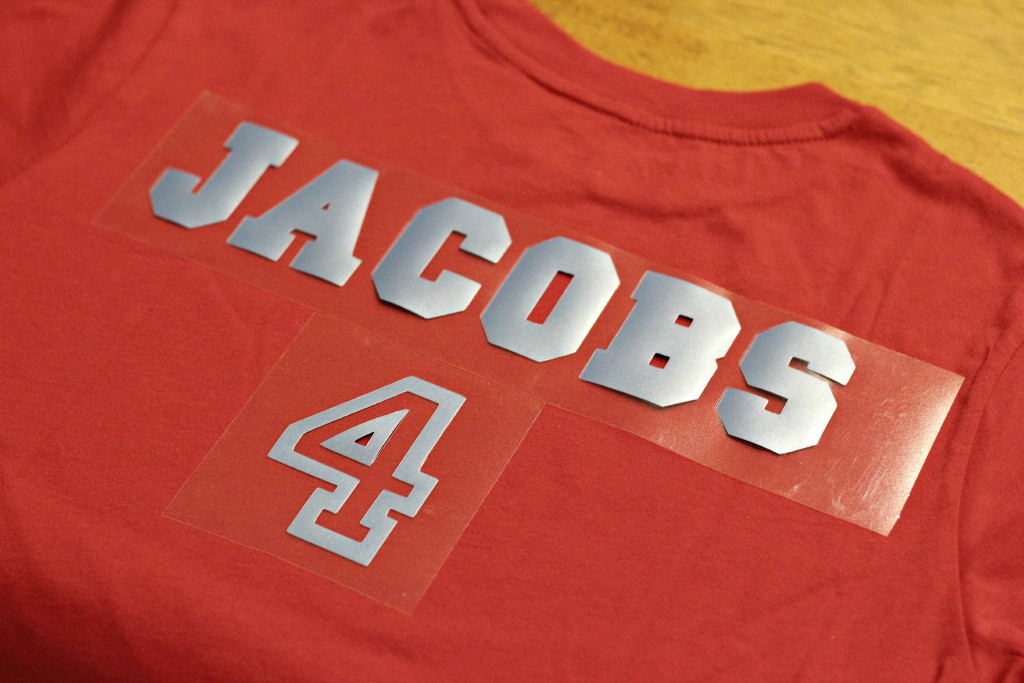
When spelling out a name or an image that needs to be in a certain direction you will need to make sure it’s set on mirror image. That will insure the letters are facing the right direction when they are cut out and applied. I forgot to reverse the 4 and had to redo it. Oops!
The boys all came over to decide the colors they wanted on the back and to help make the shirts. It’s their last few days of elementary school and I think it’s so cute that they wanted to do something like this together. They are all entering middle school next year and who knows how or if things are going to change then. I hope they can stay good friends for many years.
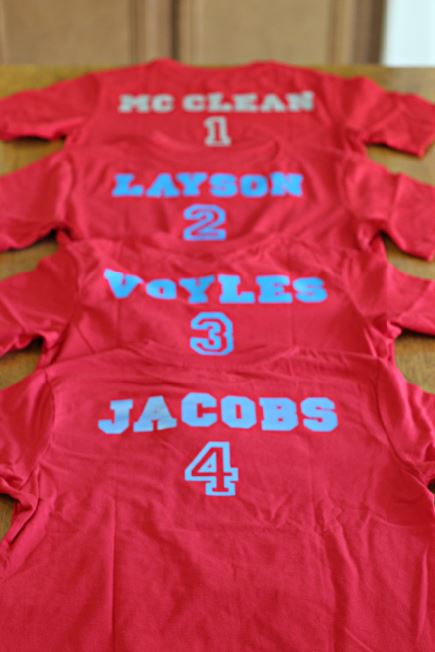
AJ is so happy with his design and the boys are excited to wear them tomorrow. I love that he thought to make them. Thrifty and crafty, I’ve taught him well.