Okay, this is why burlap was a hard theme for me. Do you remember when burlap was huge around blogland? I never got into it. I actually bought some and it’s sat on a shelf for over a year now. It’s rough and messy to work with and I wasn’t sure I was going to like it, but guess what? I do. I love the texture and warmth it adds.
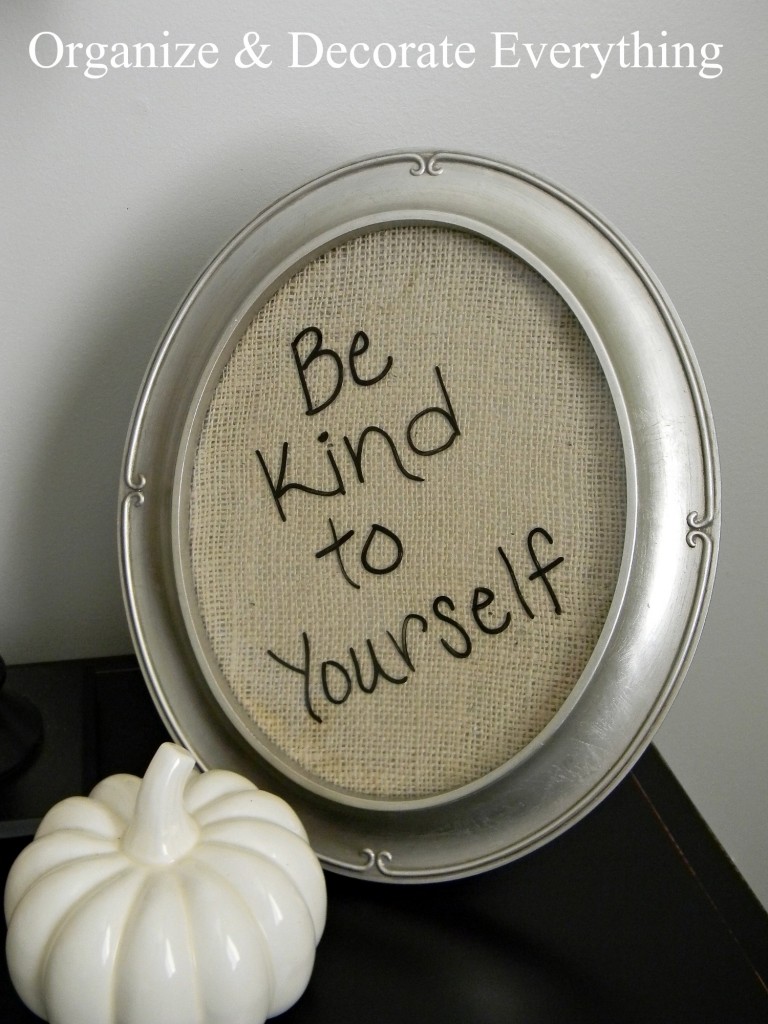
My first project is very simple but it means a lot to me. While I’m watching Conference (a semi-annual event in my church) I take notes. I get much more from what was said if I can review it later. At the end of Robert D. Hales talk he said Be Kind to Yourself. And it hit me, I’m often not kind to myself. In fact I’m very hard on myself a lot of the time. I needed a reminder to give myself some slack, think better about myself, and even give myself a pat on the back once in a while.
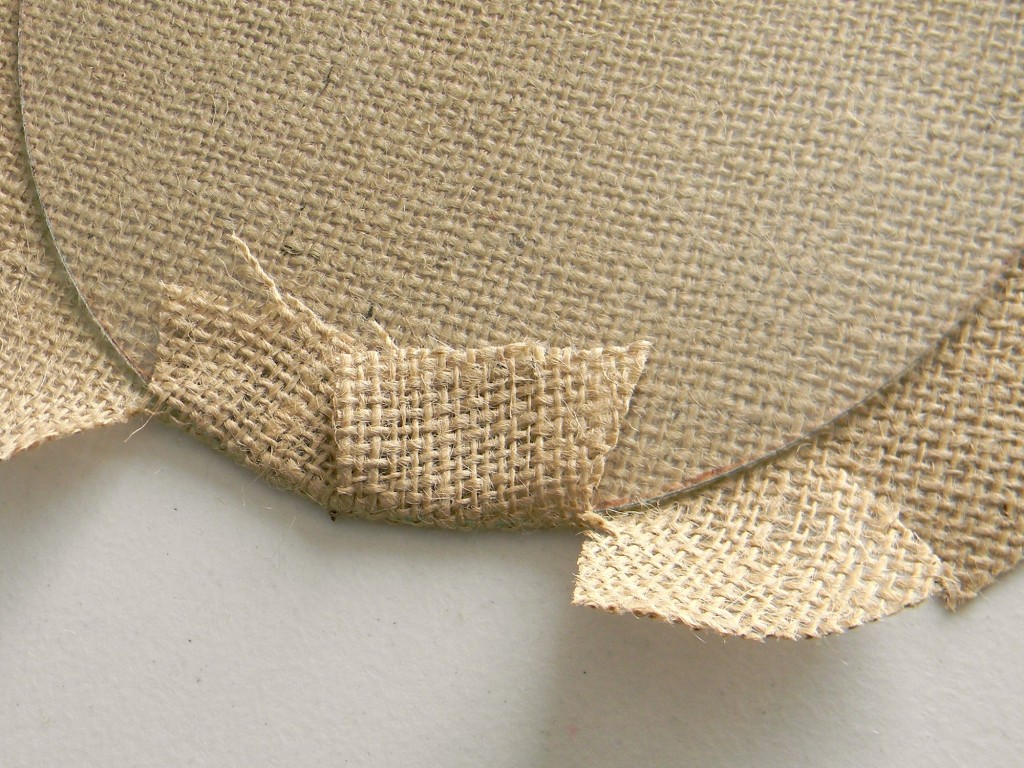
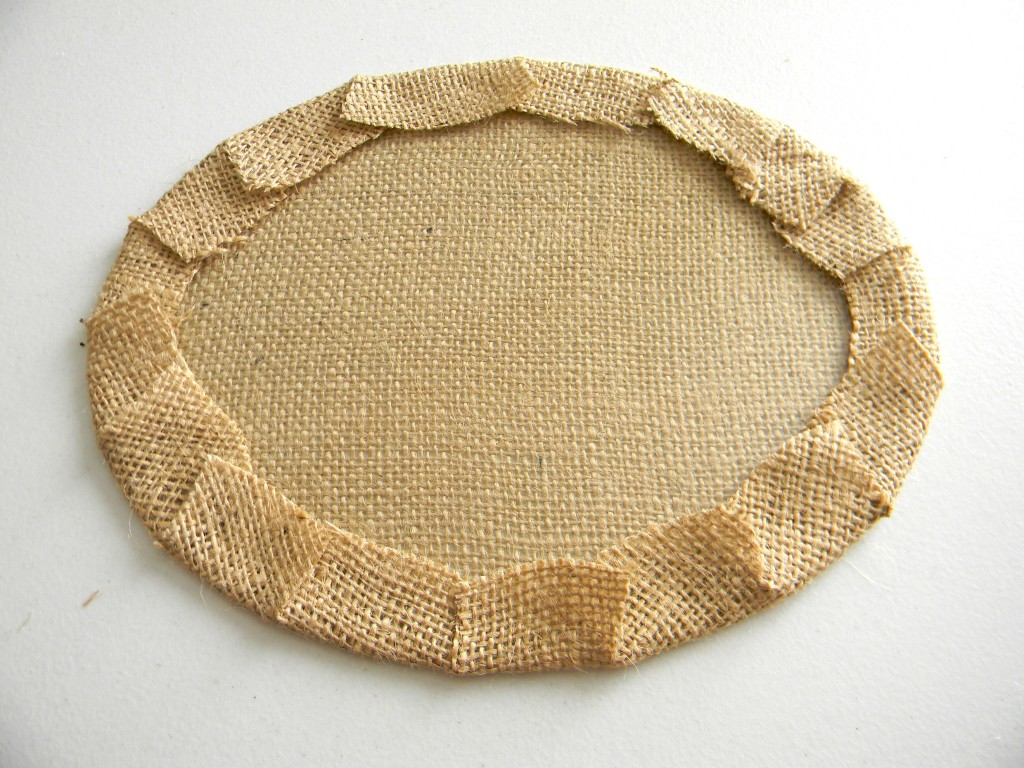
I cut a piece of burlap about an inch bigger than the piece of glass. Then I cut slits into the burlap so it would form the oval without any creases or bumps. I used a tape runner to secure it. You can wrap the burlap around cardboard but for some reason this frame came with 2 pieces of glass so I just went with it.
I went all the way around the glass then placed it back in the frame. The burlap is sandwiched between the 2 pieces of glass.
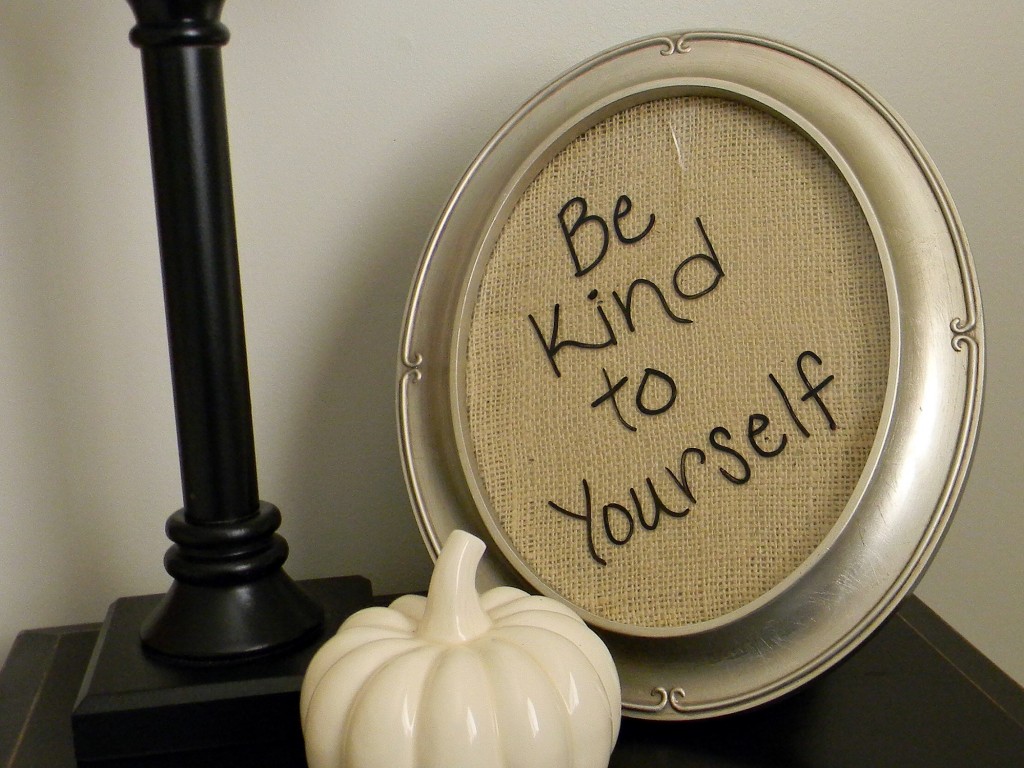
Then it was time to write my message on it. I just used a dry erase marker and wrote directly on the glass. It ‘s on my nightstand and is a great reminder to me that I need to treat myself with respect. I can just wipe the glass off and write a new message, but I need this reminder so it will be staying for a while.
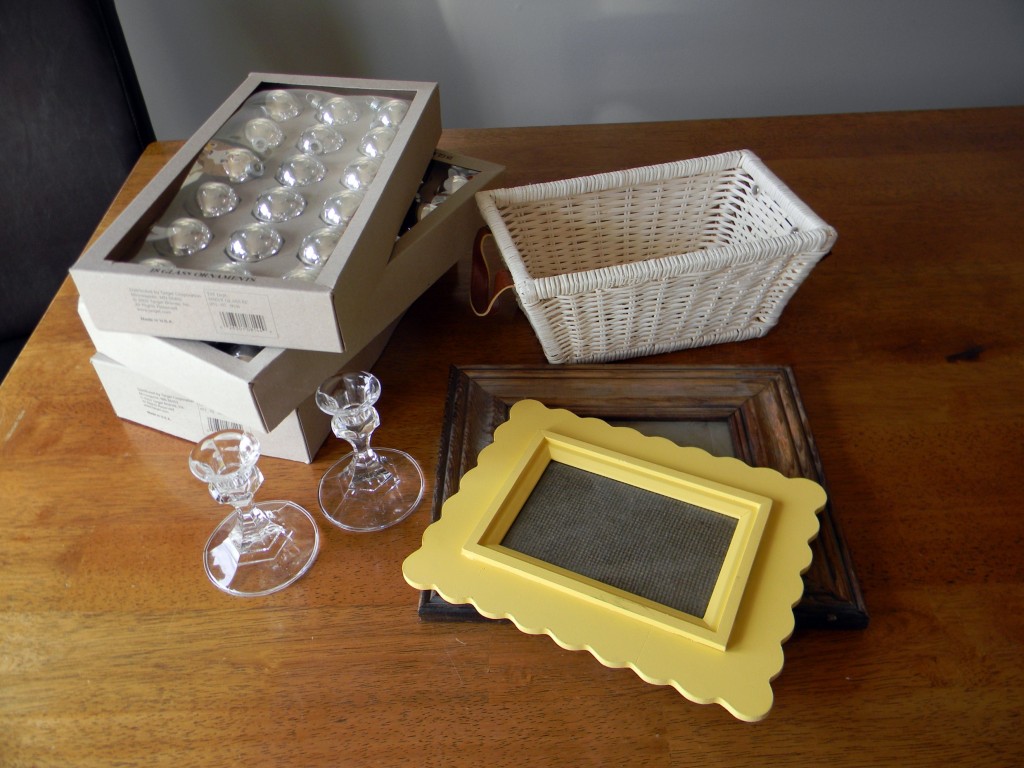
Now for the next project. Do you remember this yellow frame I bought for .75 cents from the D.I. (thrift store)? The picture makes it look not too bad, but it really was a hideous yellow.
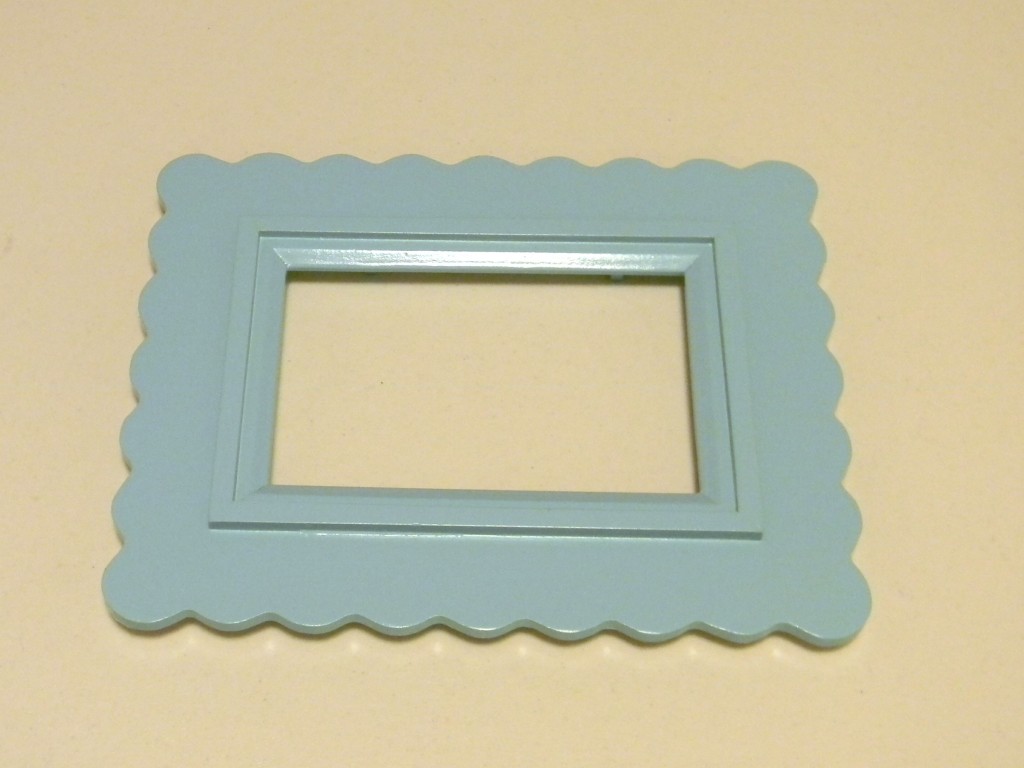
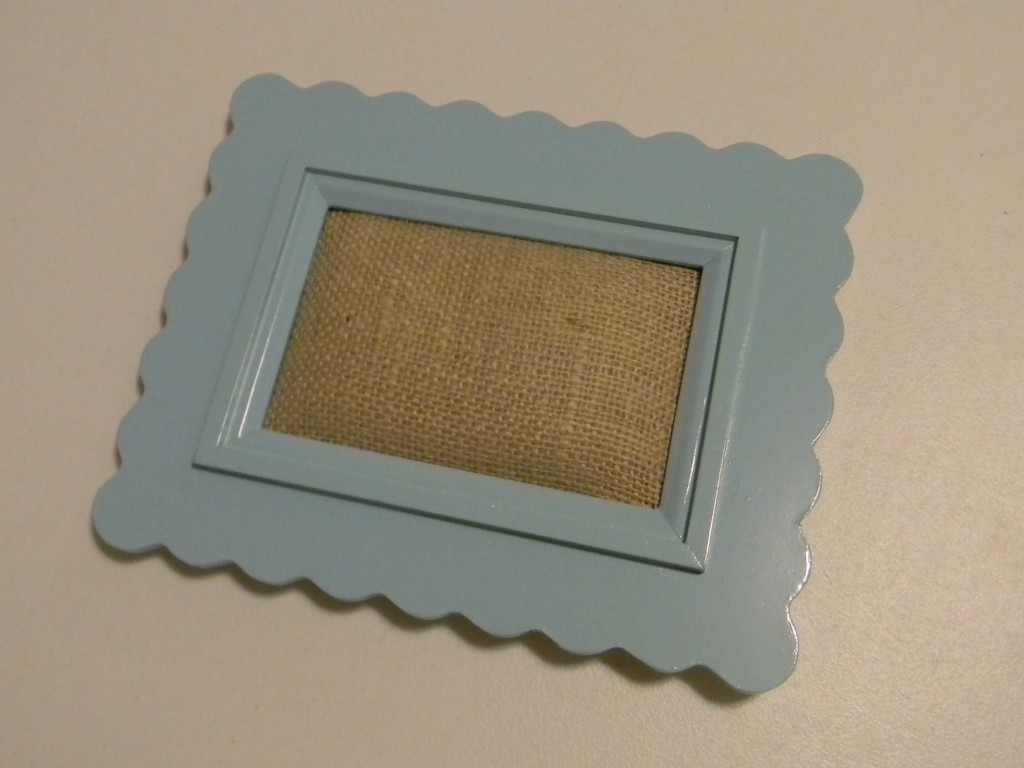
Now it’s this lovely Krylon Blue Ocean Breeze.
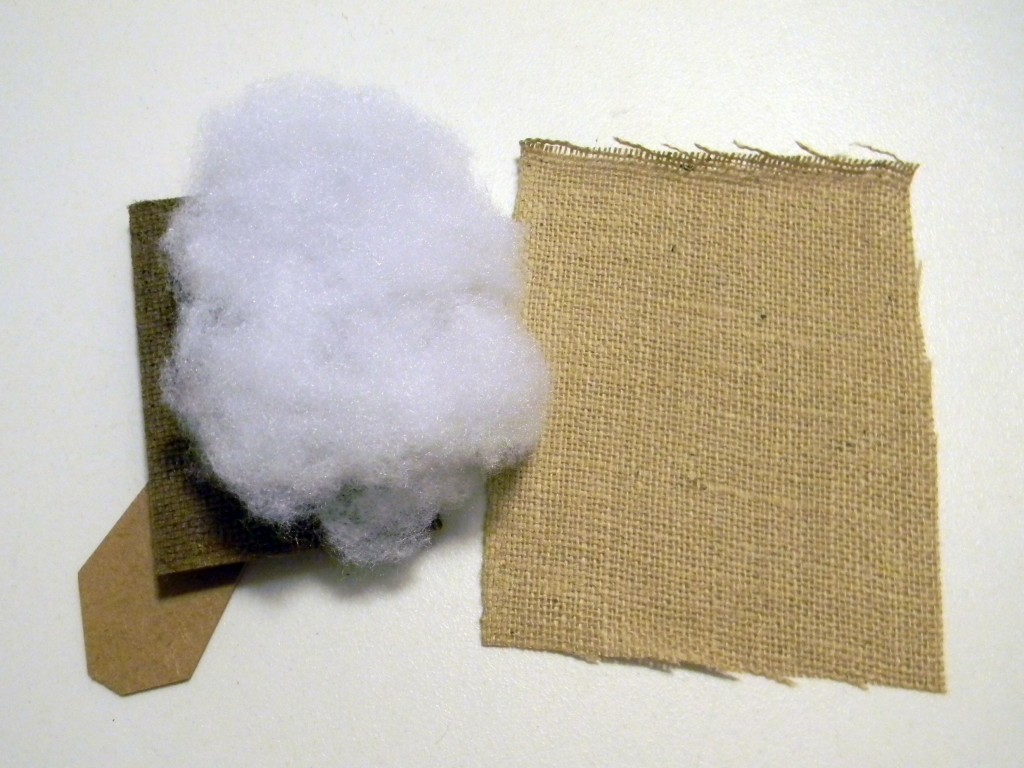
I took the frame apart, added some batting next to the back, and wrapped the burlap around it.
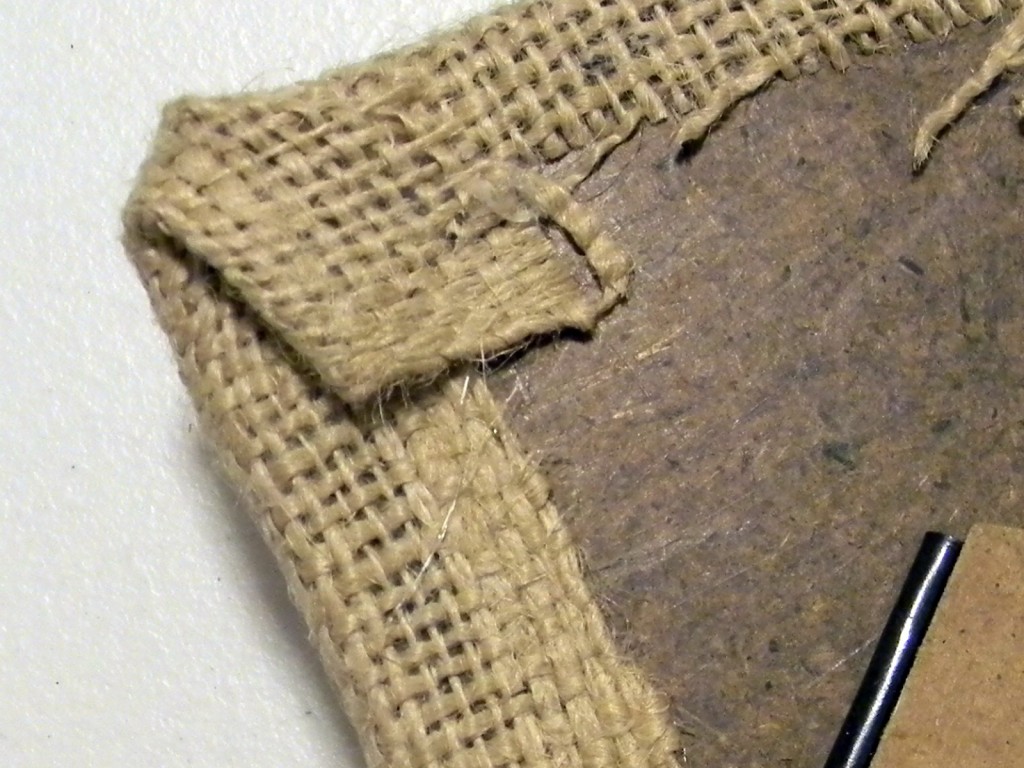
I used hot glue to secure the burlap to the back.
Then I stuck the back into the front of the frame minus the glass.
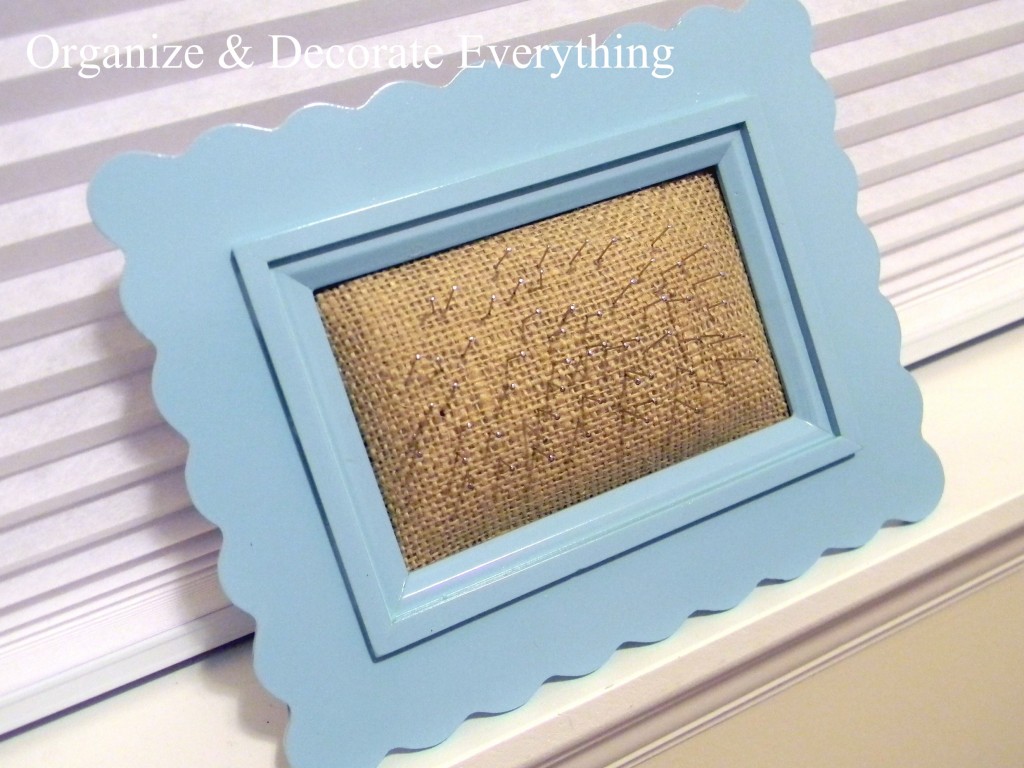
Now I have a lovely pin cushion with pins ready for all the sewing projects I need to be working on. It looks great in my temporary craft room.
I also made a burlap pin board if you’d like to check it out here.



these projects are great Leanne! I don’t usually use burlap because I think it stinks- but I agree that the texture and warmth is adds are worth getting over it. 😉
It was so fun to see you last night!
xoxo,
Amy
These are wonderful projects! I have some leftover burlap and these two ideas are great ways to use it. Thanks again for sharing.
I just love the look of burlap. Put a lovely frame around it and it can be used almost anywhere.
Enjoyed the post!
Those are really cute projects.
I like the fact that you get the look and texture -yet the burlap isn’t taking up a huge about of space. You see, I have a cat that would LOVE to tear apart anything large – like a burlap runner.
So this might be a way of getting the benefits of burlap while keeping kitty away!
Great projects, Leanne. I think your message is perfect, and one that we can all use. I love the color you chose for the pin cushion frame… gorgeous!
Love this Leanne! The pin cushion is such a great idea, totally stealing it. 🙂
Cute ideas! Especially that first one. Great blog!
Thanks for including me in the POV this month! 🙂 Love your project! Hope all is well with you Leanne! 🙂