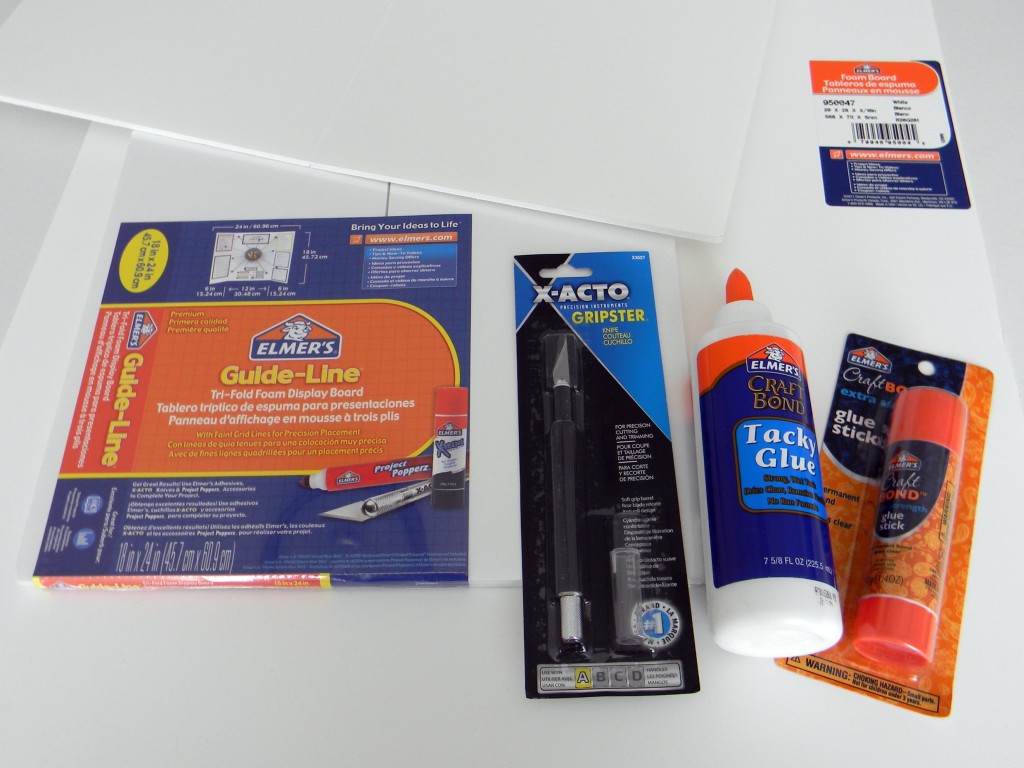
Here’s the next project I made with the Elmer’s products that were sent to me.
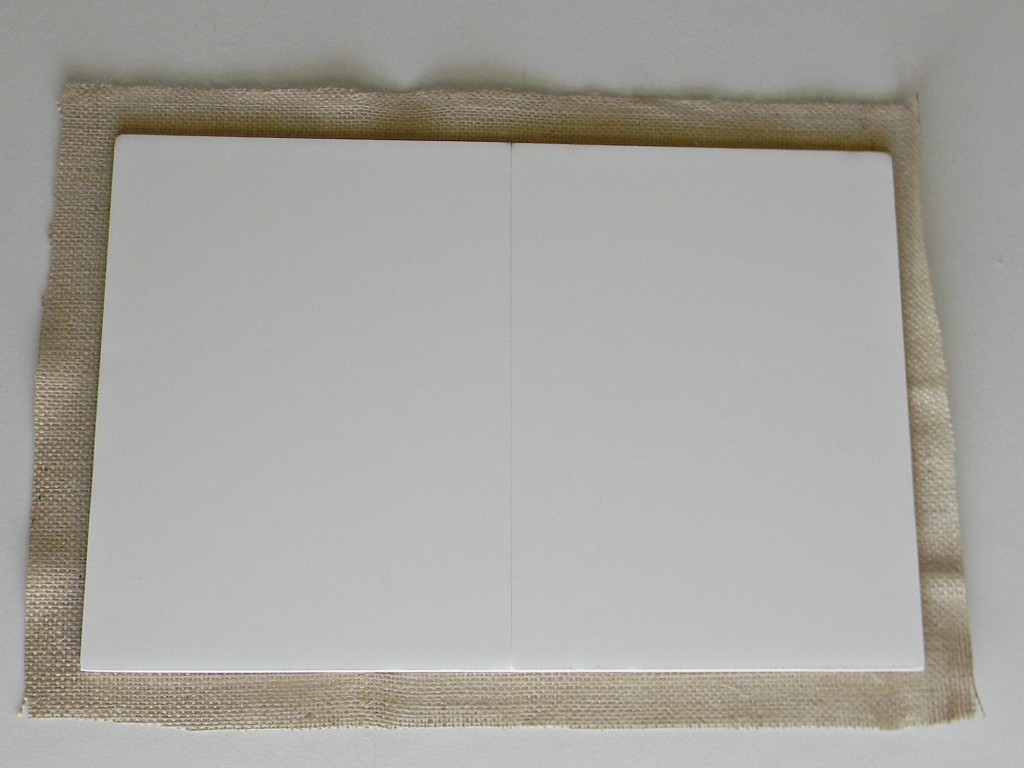
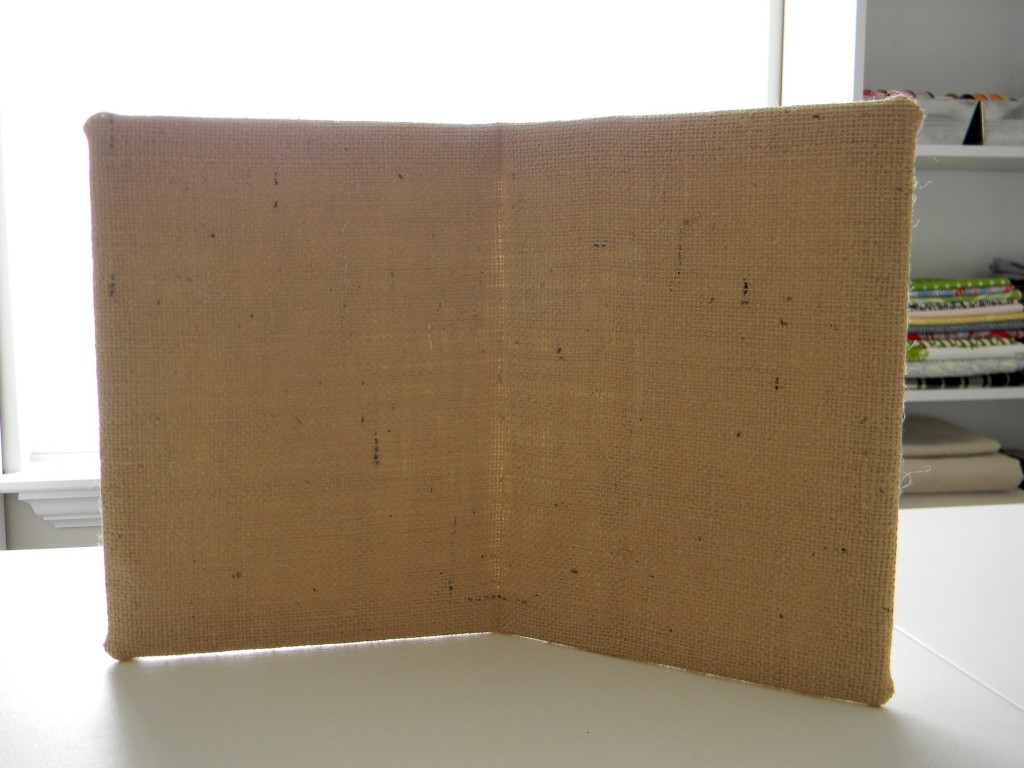
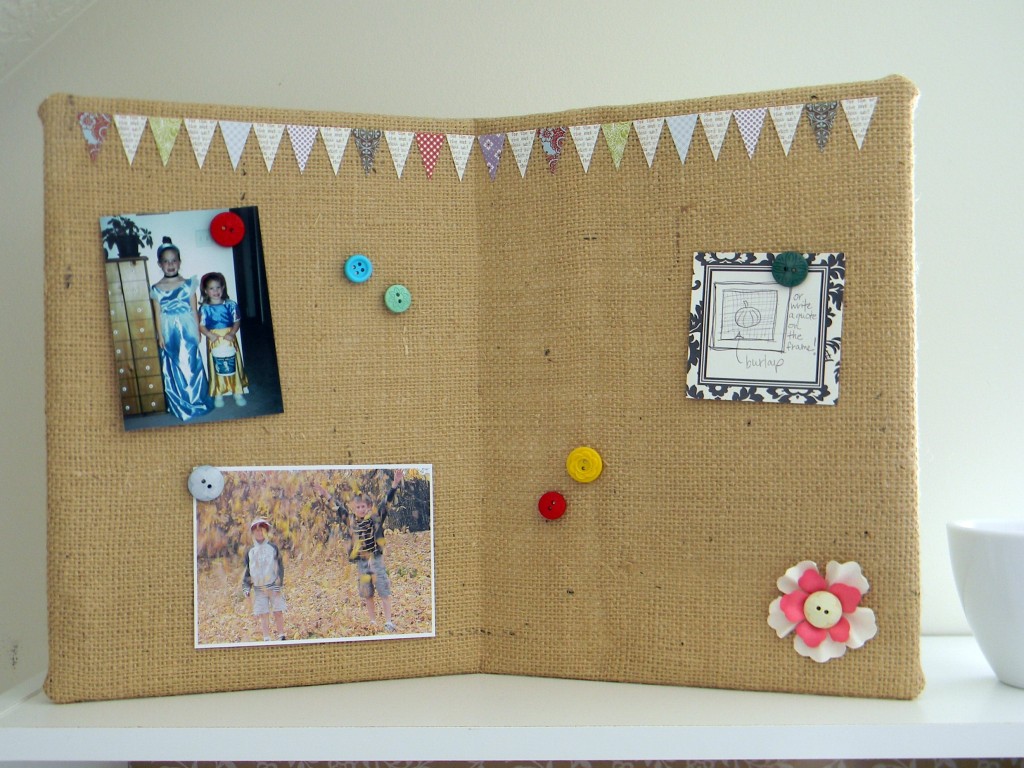
I started with the mini bi-fold foam board and a piece of burlap. The burlap is cut 1″ bigger than the board all the way around.
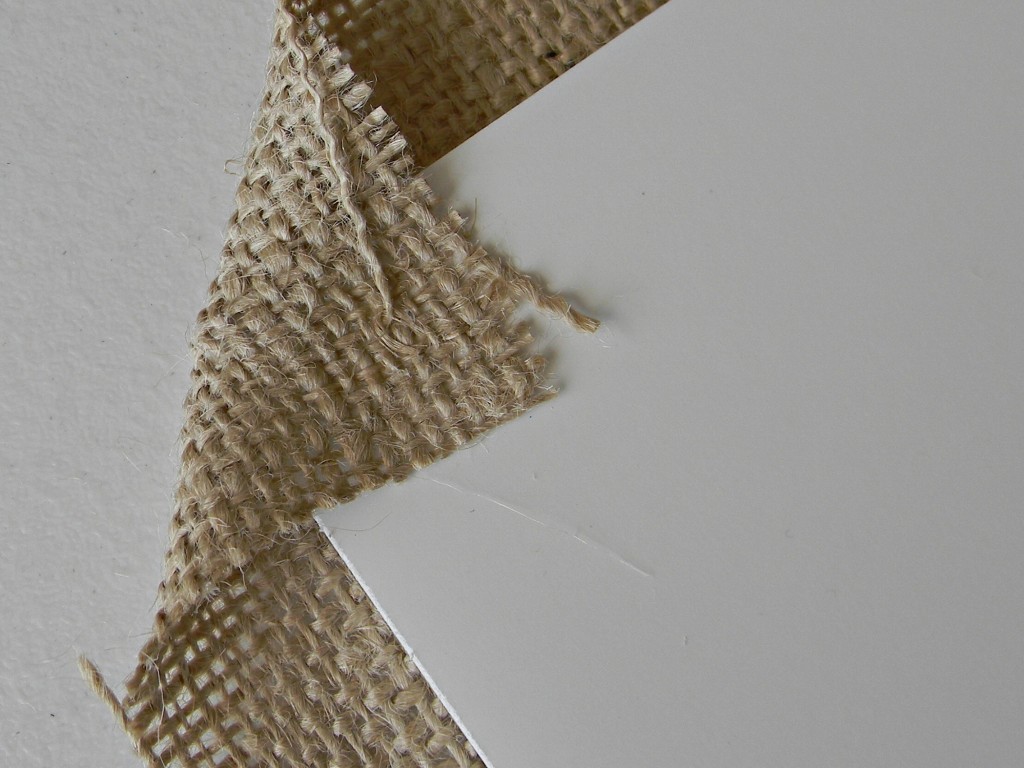
I started by gluing all the corners first.
Then I pulled up all the sides and glued them in place. Don’t pull too hard on the burlap or it can become misshaped.
That’s it, but a little too plain. Don’t ya think?
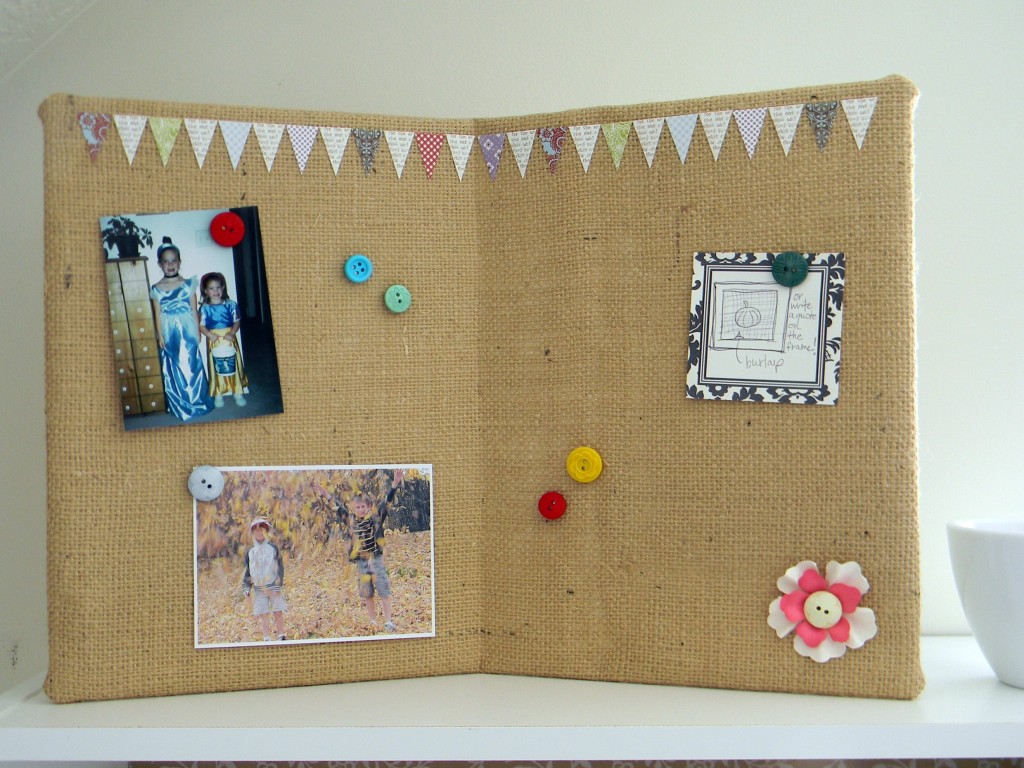
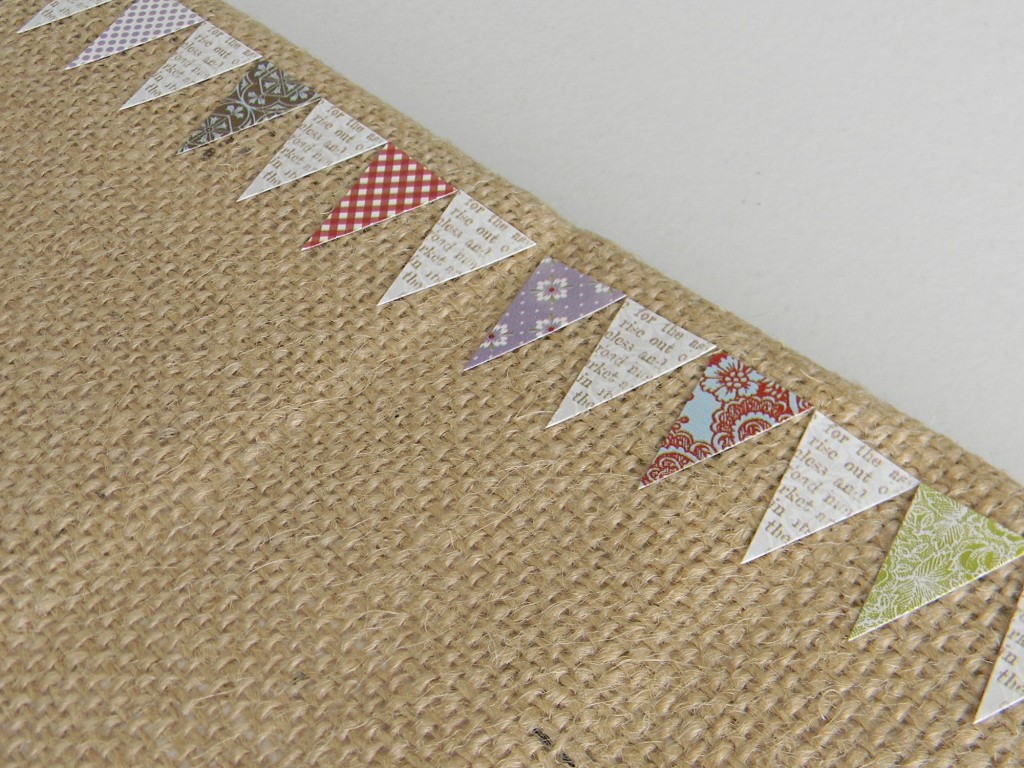
I had these cute banner stickers, so I added them to the top of the board. The pieces stick really well on the burlap.
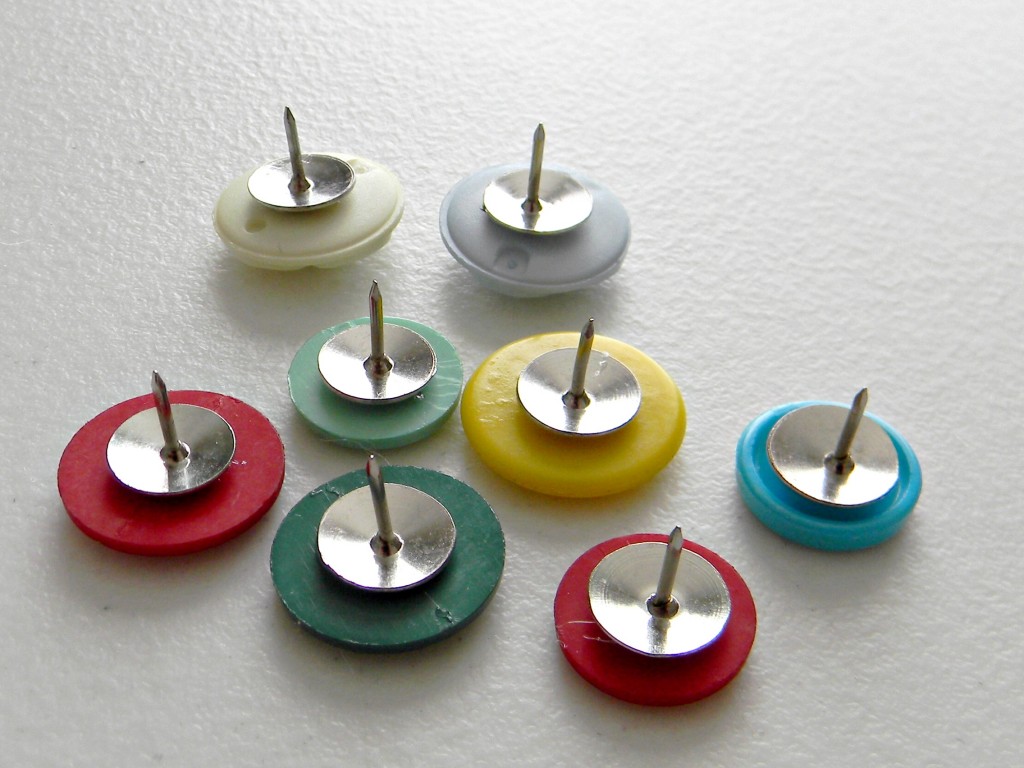
Then I made some cute push pins by gluing colorful buttons on the tops of thumb tacks.
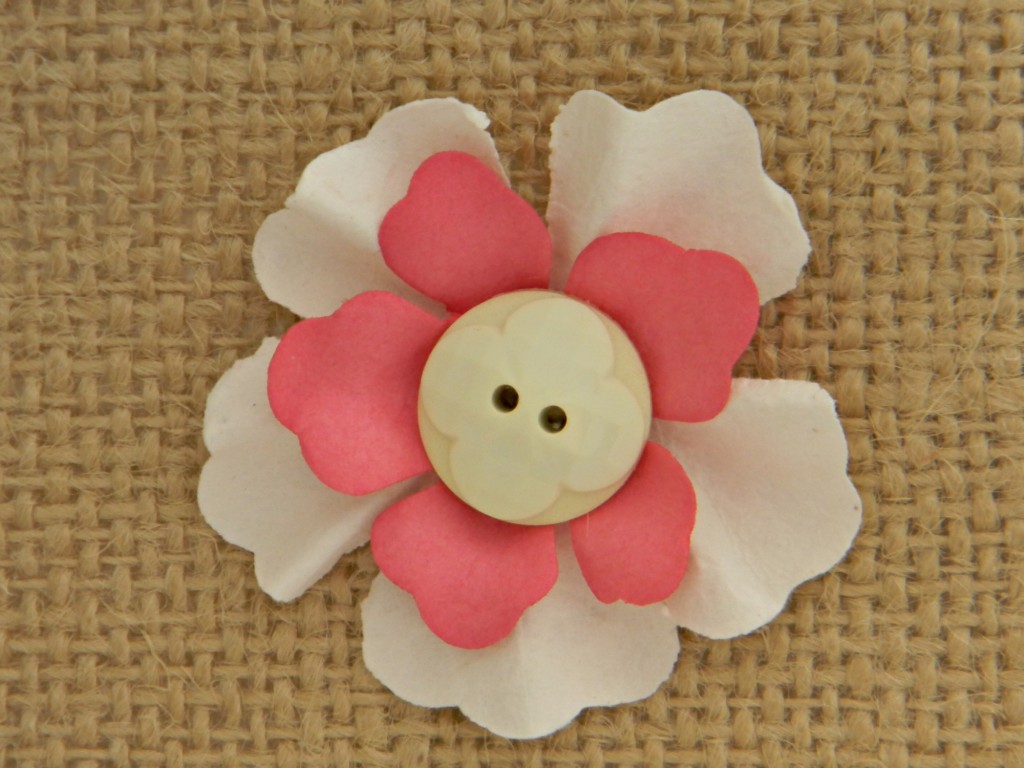
And then I made a cute flower for the board by adding one of the push pins to the center.
That looks much better. It’s going in my craft room where I can pin pictures, ideas, and inspiration photos.




I love that – the push pins really make it!
Cute Leanne! I love the natural colors with the burlap. turned out really cute!
That’s super cute! I like the personalized tacks. Great job! I’m stopping by from {AKA} Design and hope you get a chance to come by and see the projects I hooked up!
This is a clever idea. I love that you used burlap, bunting and buttons! Some of my favorite things. 🙂 Visiting from every creative endeavor’s linky party.