Welcome to day 6 of 31 days of Loving Where You Live.
We’ve all had the experience where we buy a piece of furniture, pillows or bedding because we love it and then a few years later our style has changed and it’s not our favorite piece anymore. Luckily most things are easy to change. Here’s a few things you can try.
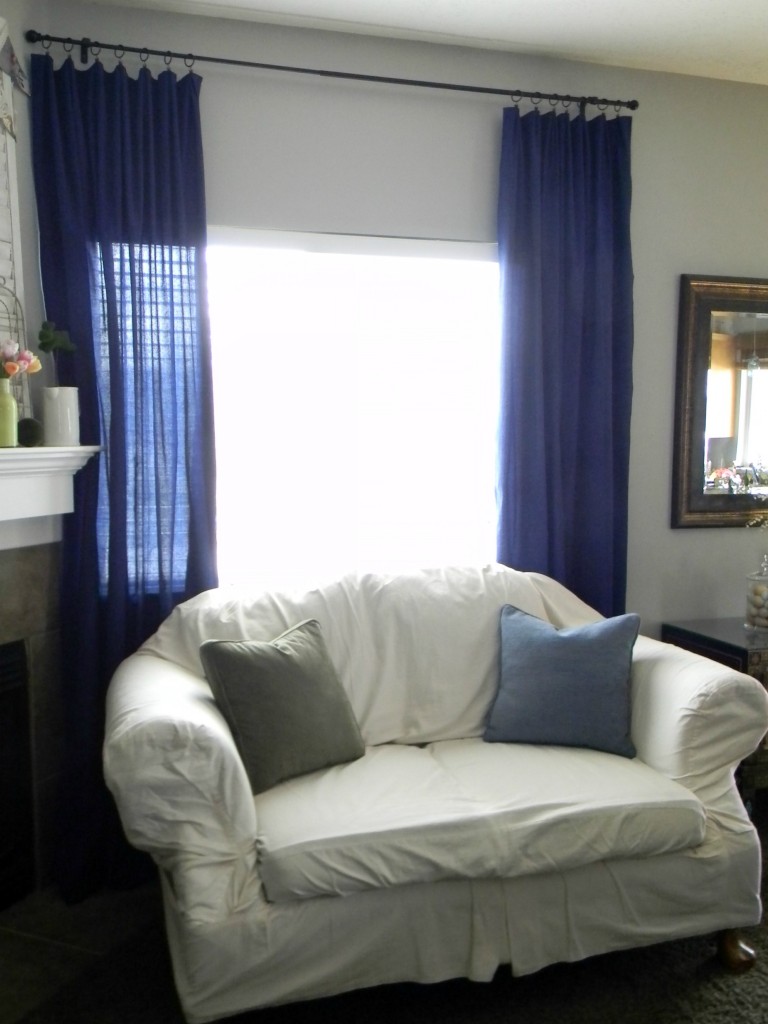
Slipcover a sofa that doesn’t fit your style anymore.
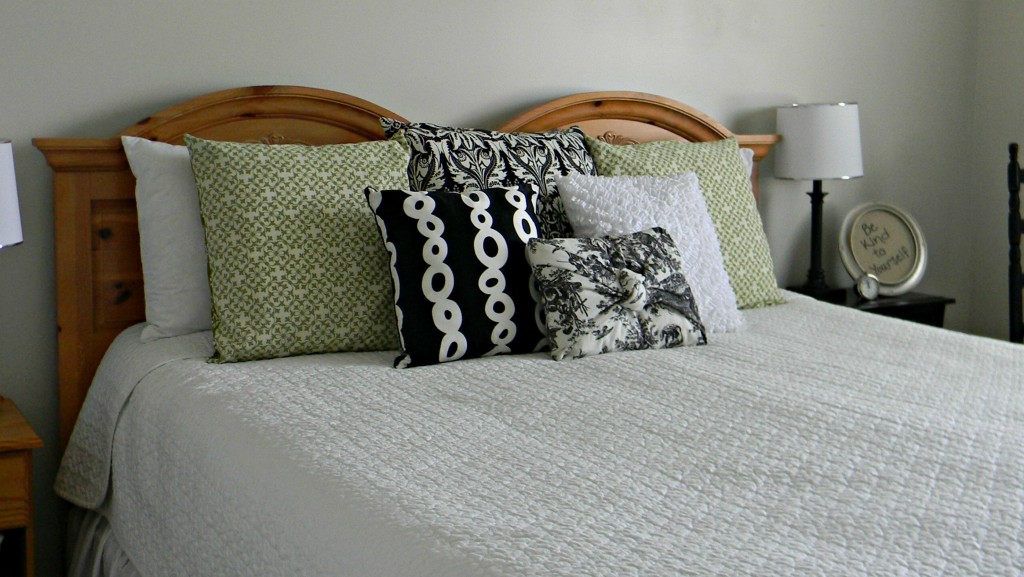
Change your bedding to change the whole look of the room.
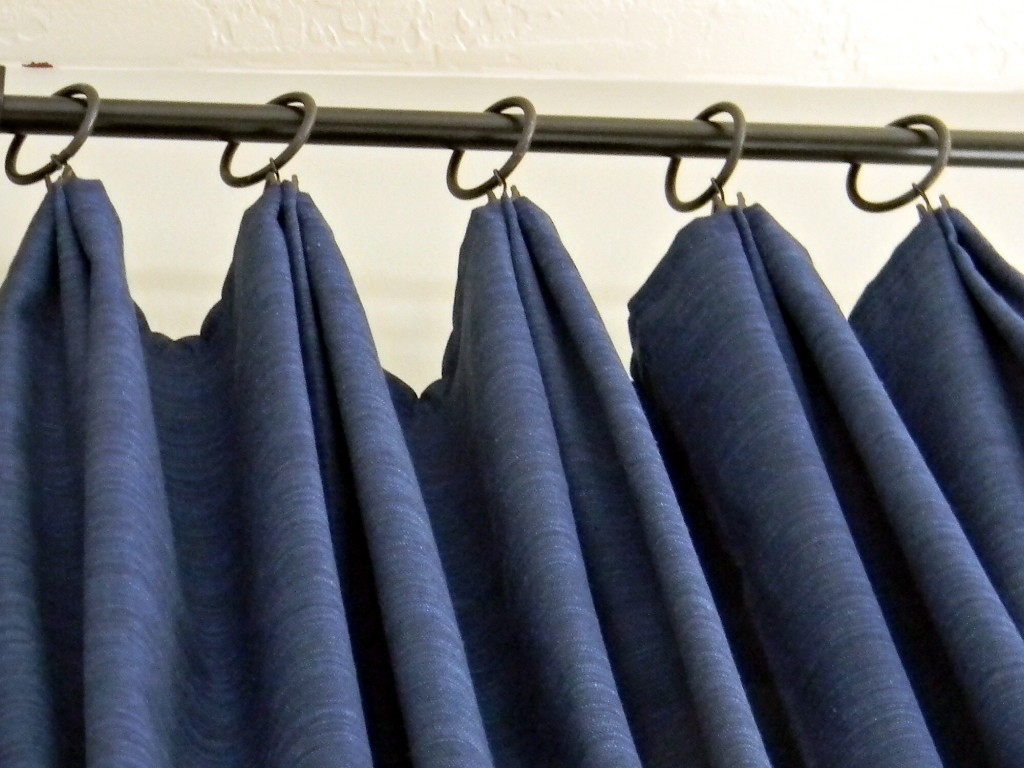
Change curtains inexpensively by using table cloths as new curtains.
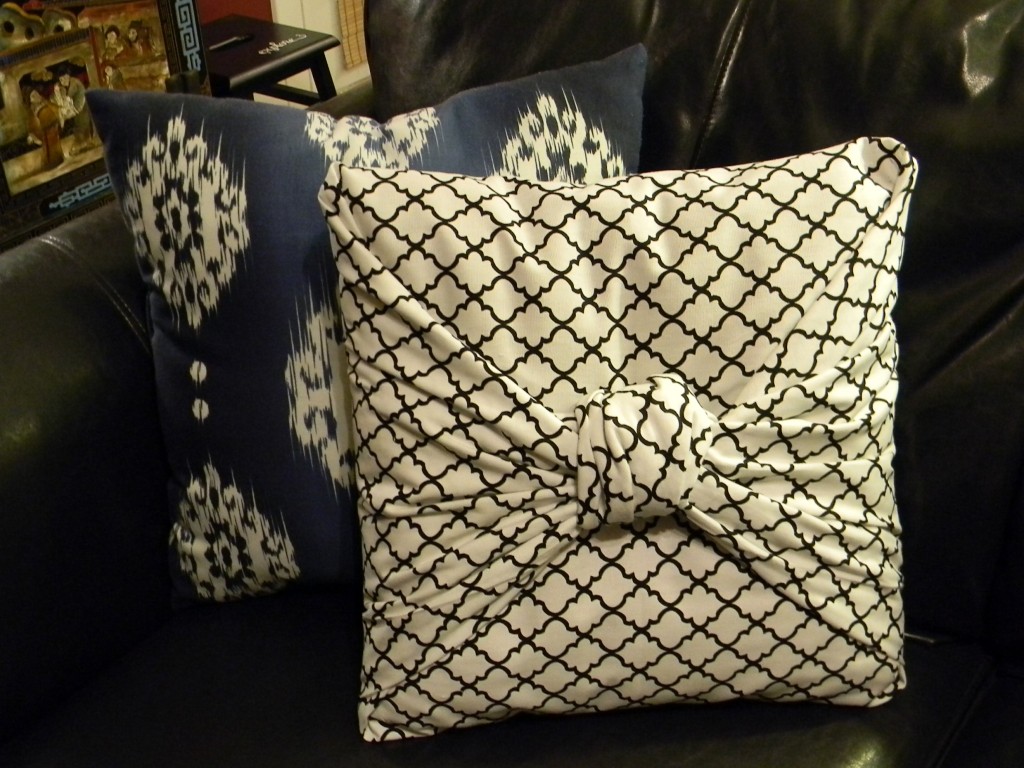
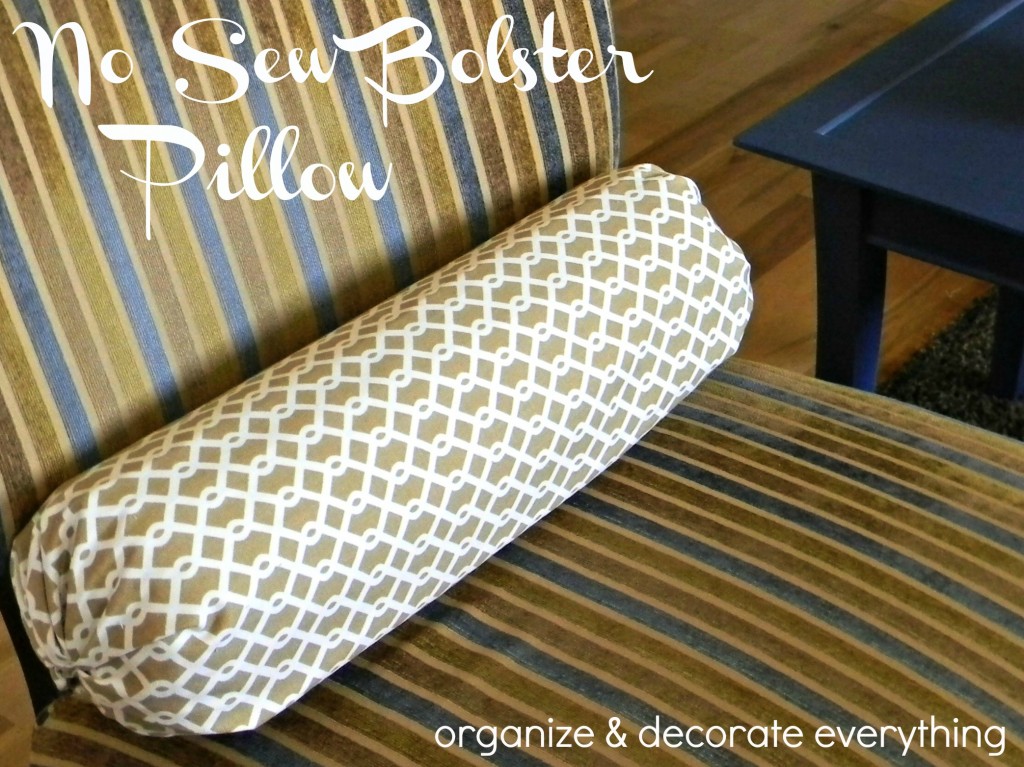
Cover your pillows using this no-sew tutorial.
And guess what? I have a new no-sew pillow to share with you today.
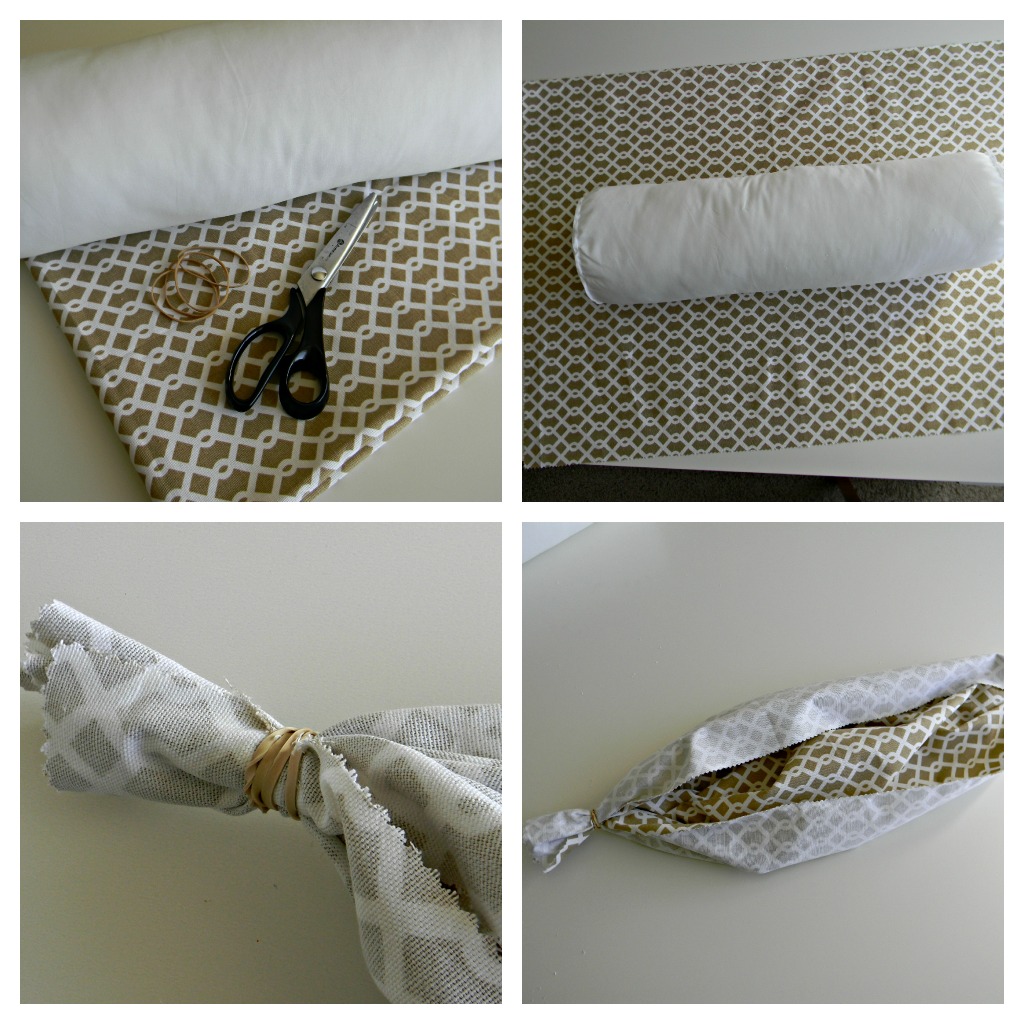
You will need 2 pillow forms, 1 yard of fabric and 4 elastic bands to make 2 pillows.
I only paid a little over $4 for the fabric using my 40% off Hobby Lobby coupon.
I did no sewing, gluing or ironing on these pillows but if you would like a more finished look you could sew or use stitch witchery on the folded end.
Start with 1 yard of fabric for 2 pillows.
Cut the fabric using pinking shears.
Leave 4″ extra fabric on each side and 4″ extra fabric around the pillow.
Start with the fabric wrong side up and gather one end of fabric about 2″ from the end and wrap with an elastic band.
Overlap the end over the beginning a little.
Do the same thing to the other end and it looks like the last picture.
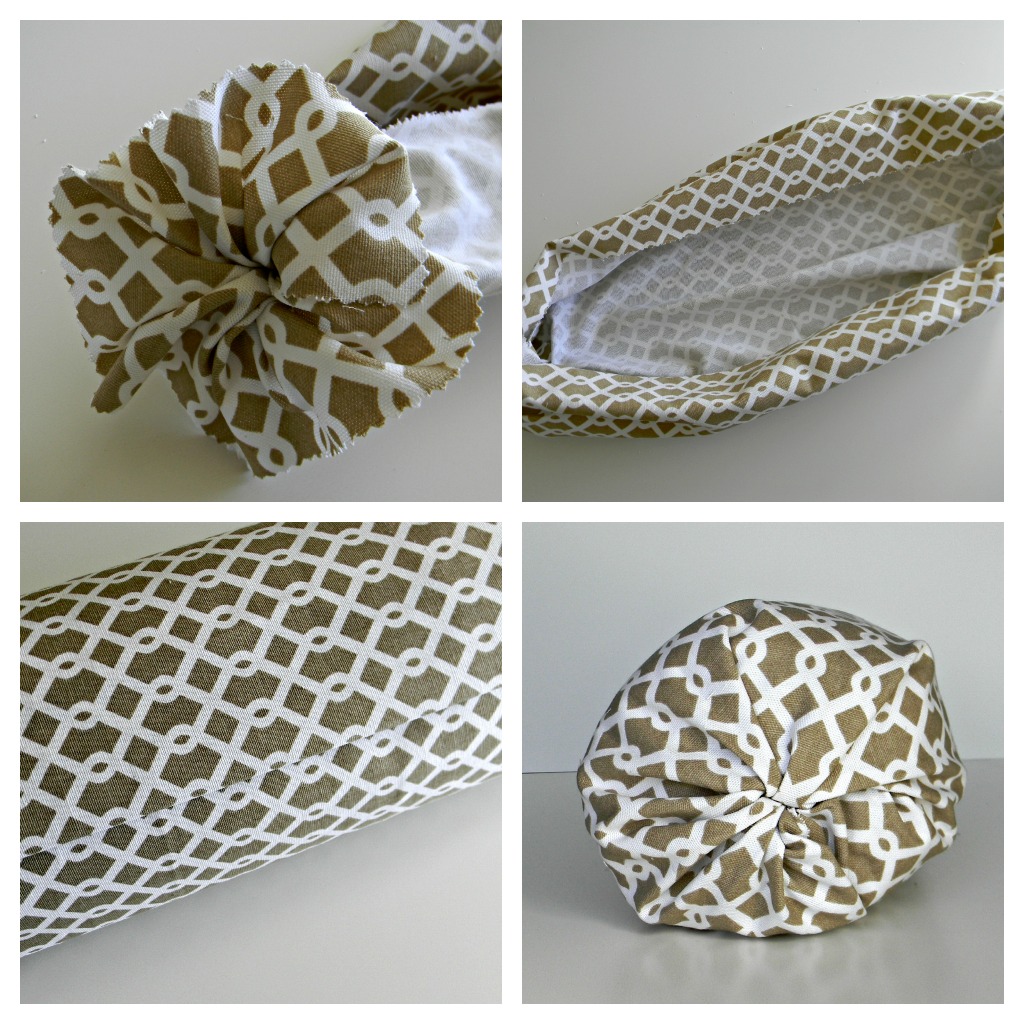
Fan out the ends so it looks something like the first picture.
This will help it lay better once it’s turned wrong side in.
Now turn it and it should look like the 2nd picture.
Place the form inside and pull the fabric around the form spacing the fabric evenly.
Turn the unfinished end under. It overlaps about 3-4″ and stays really well if the fabric is stiff enough.
The pillow ends look like the last picture.
See you tomorrow for the next post in the series 31 days of Loving Where You Live: Make It Personal




Wow! What a great trick! No sewing whatsoever! I can’t believe how pretty it turned out too….. This is great for a QUICK redo….
I must say, what really grabbed my attention a first was: The fabric is SUPER cute !
thanks for sharing this awesome tip!
These are so cute.
Debi @ Adorned From Above
You are going so good. Keep up your great work. We’re following you!
Great series! Very inspiring!
more of these tricks please,….i`m learning!