
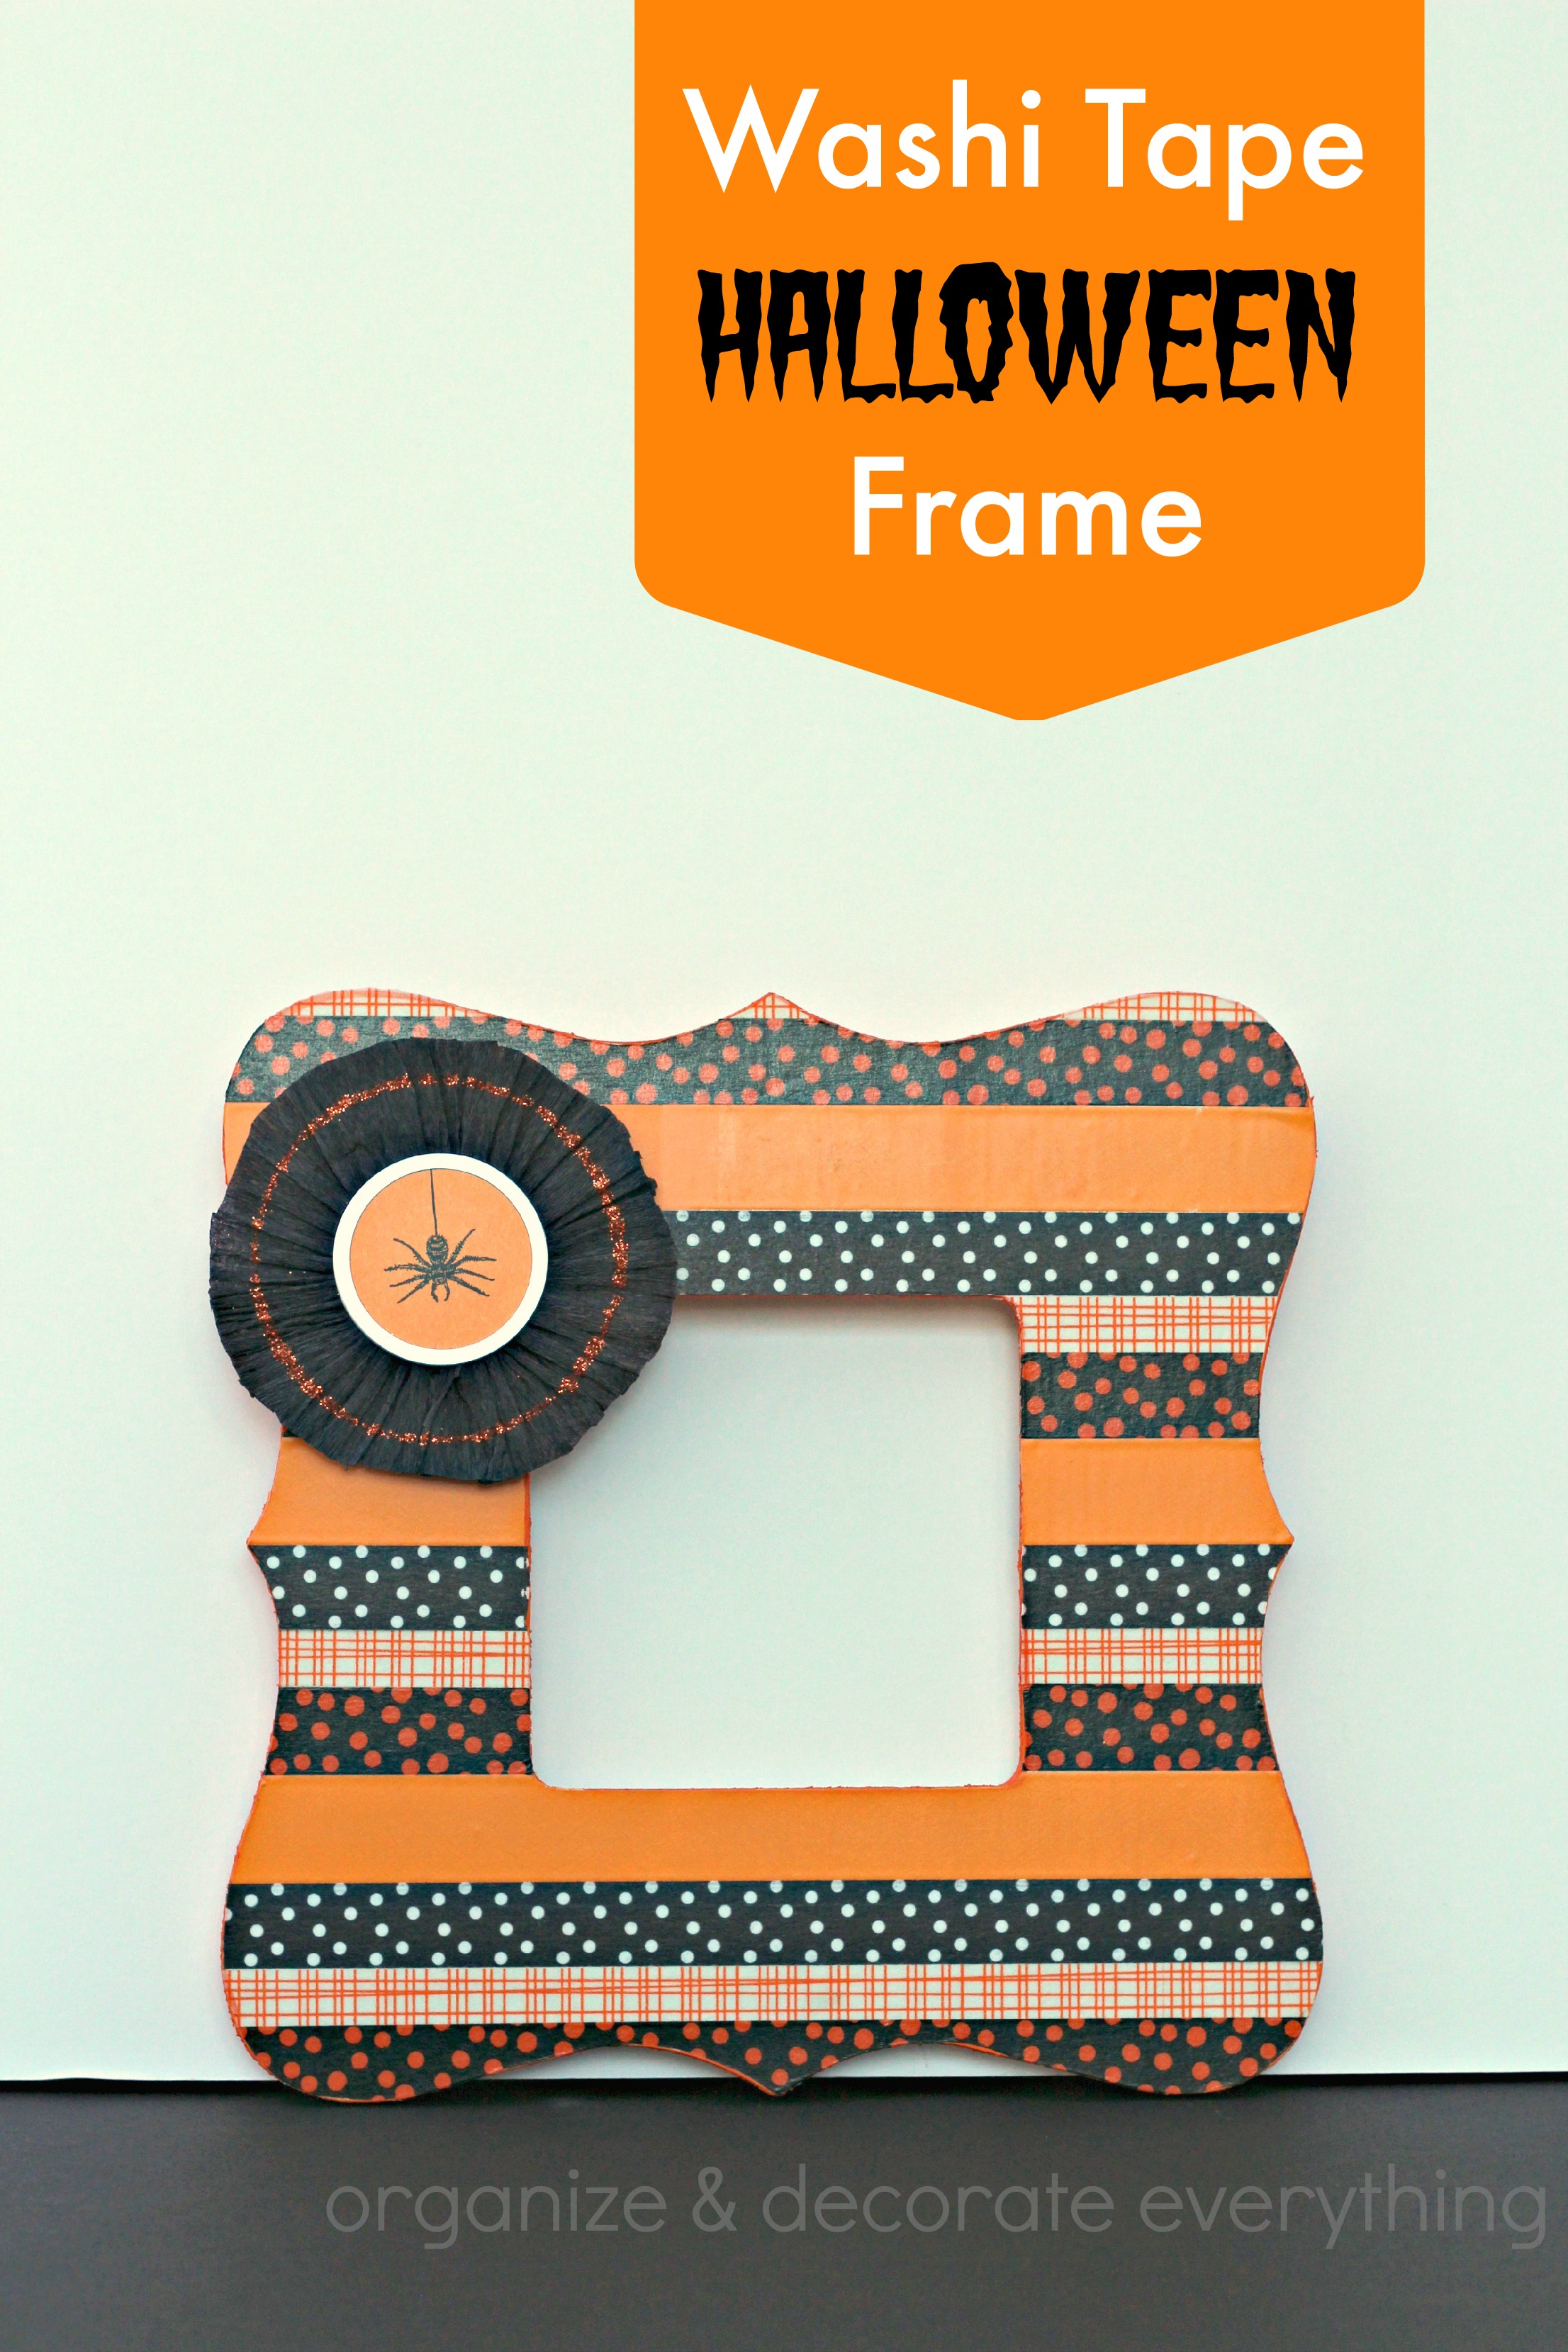
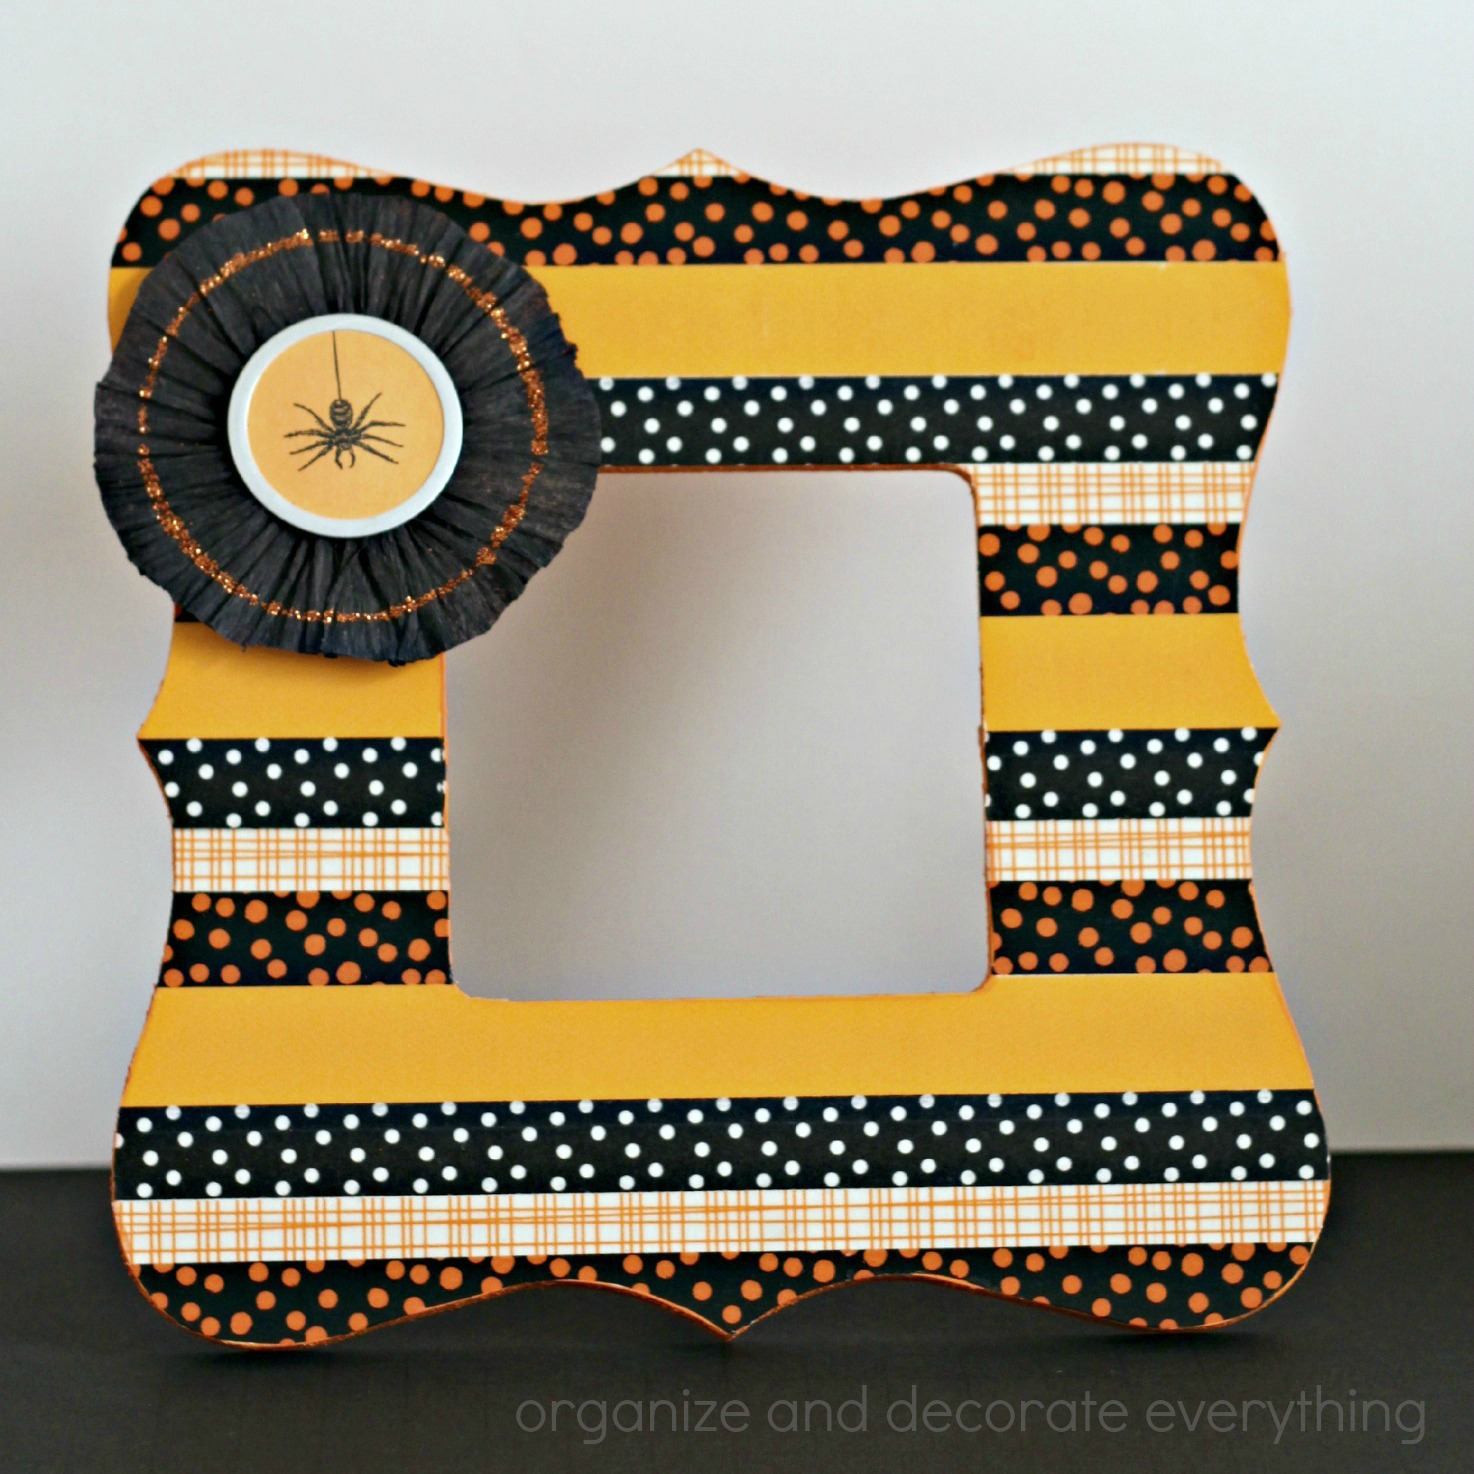
For my project, I’m sharing how to make this decorative Washi Tape Halloween Frame. It’s really easy and inexpensive and adds a ton of fun to your Halloween decor. Let’s get started!
You will need:
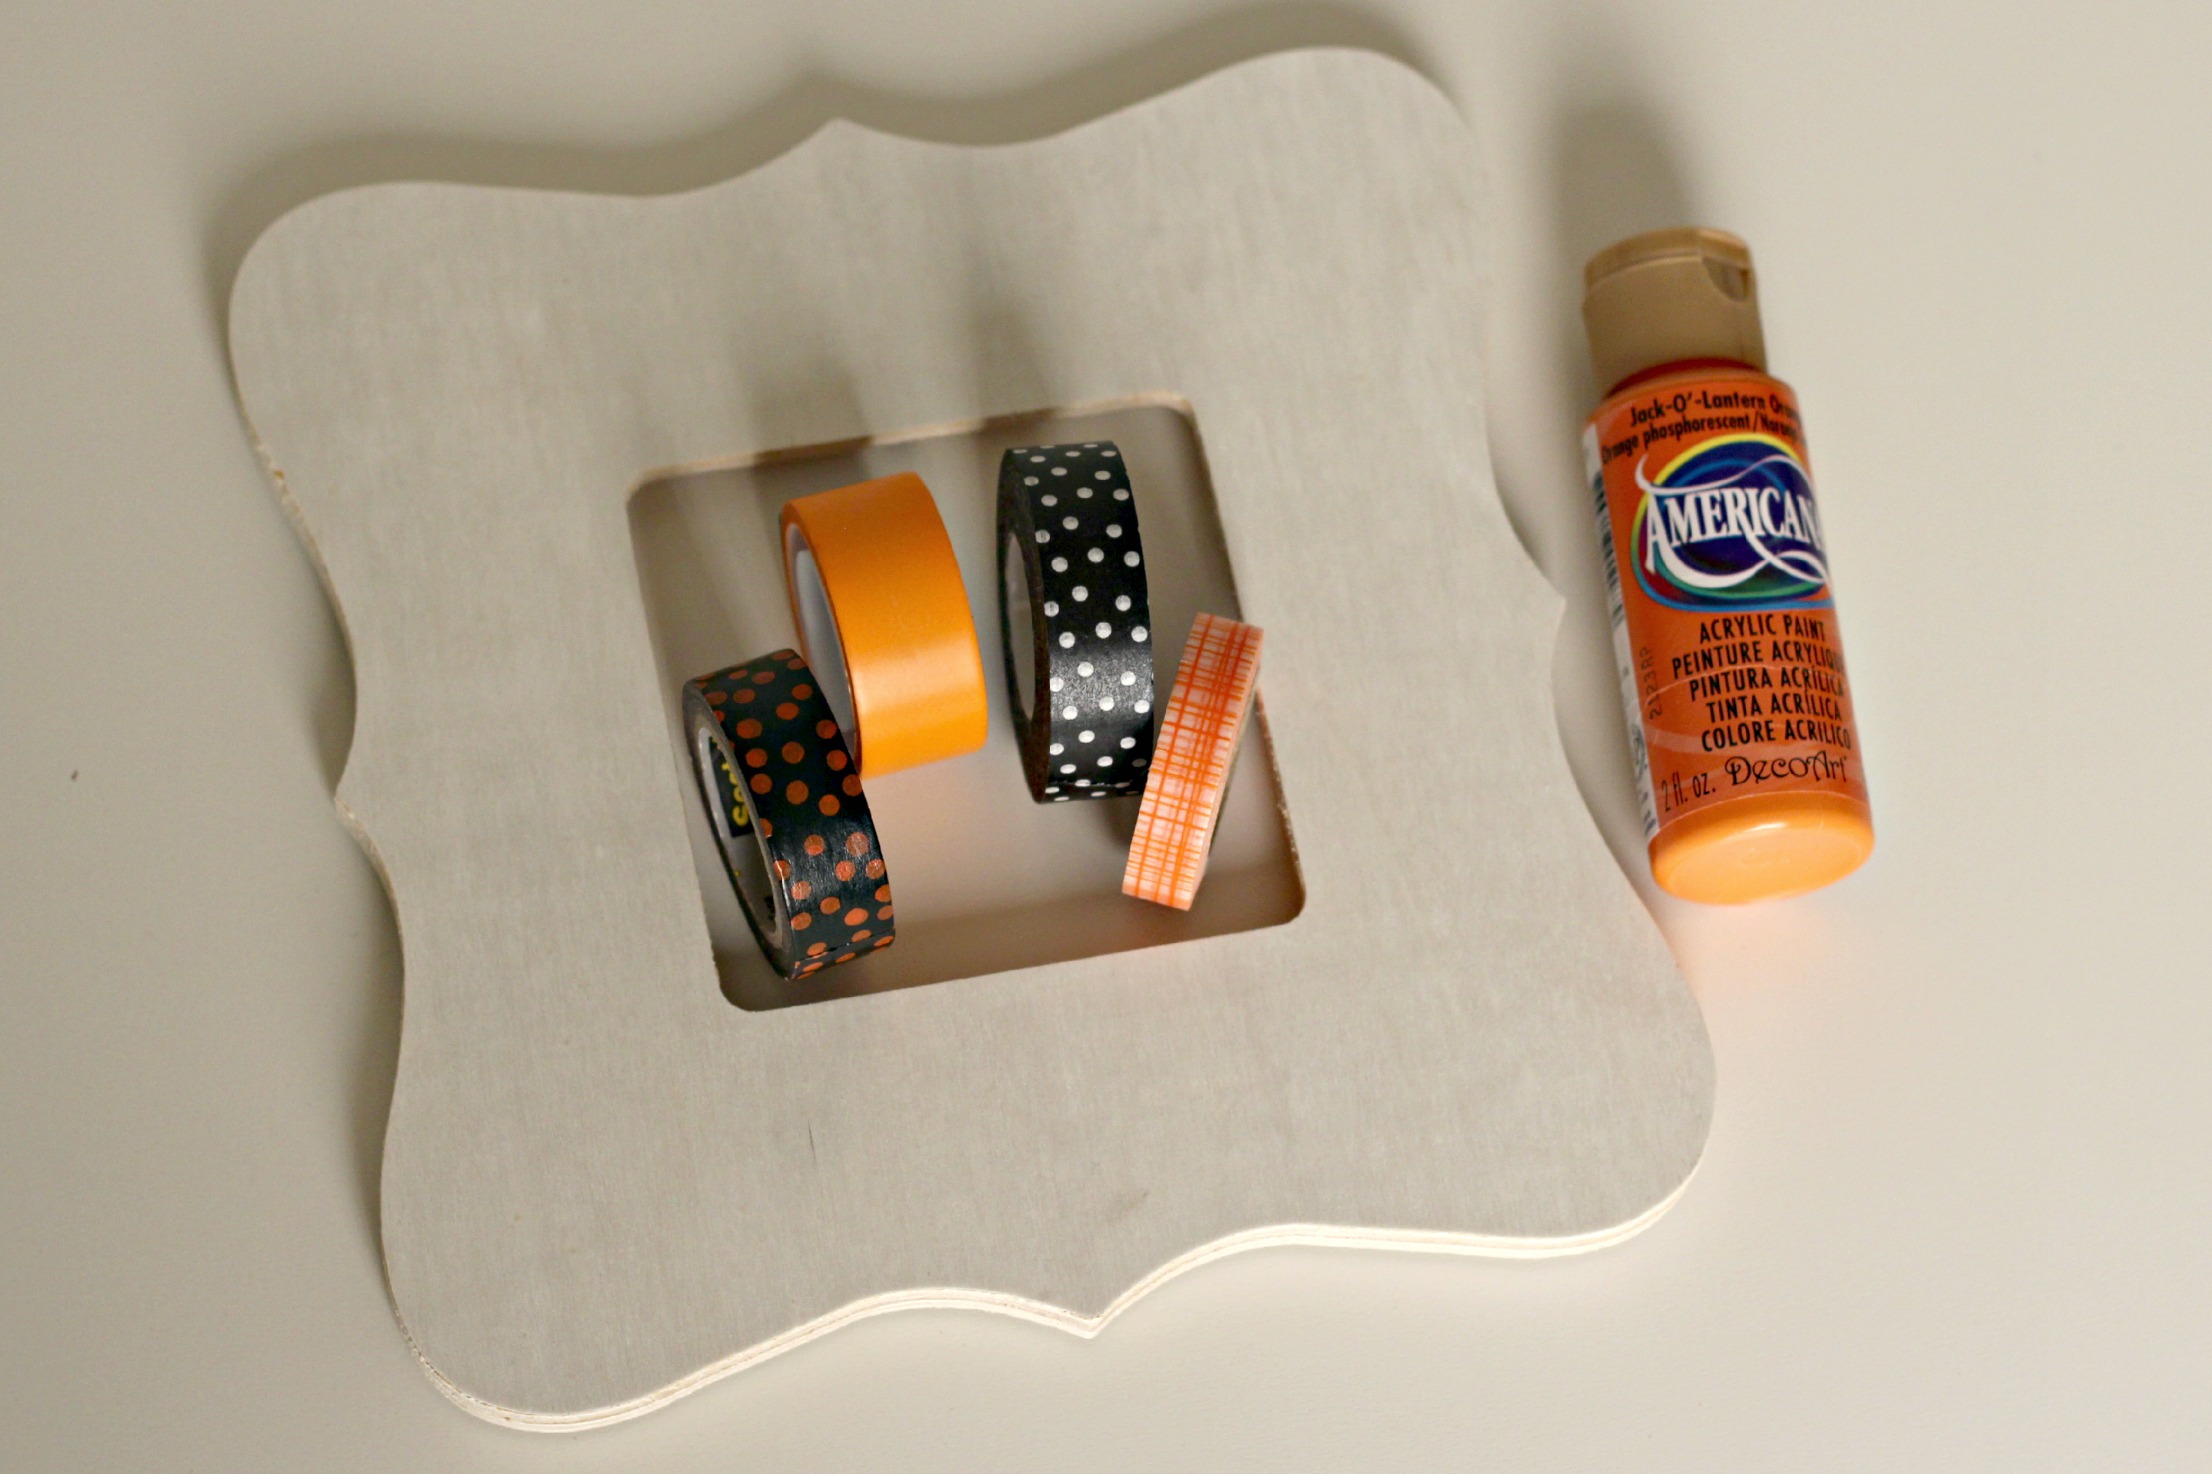
Flat unfinished wood frame
Washi tape
Paint
Xacto knife
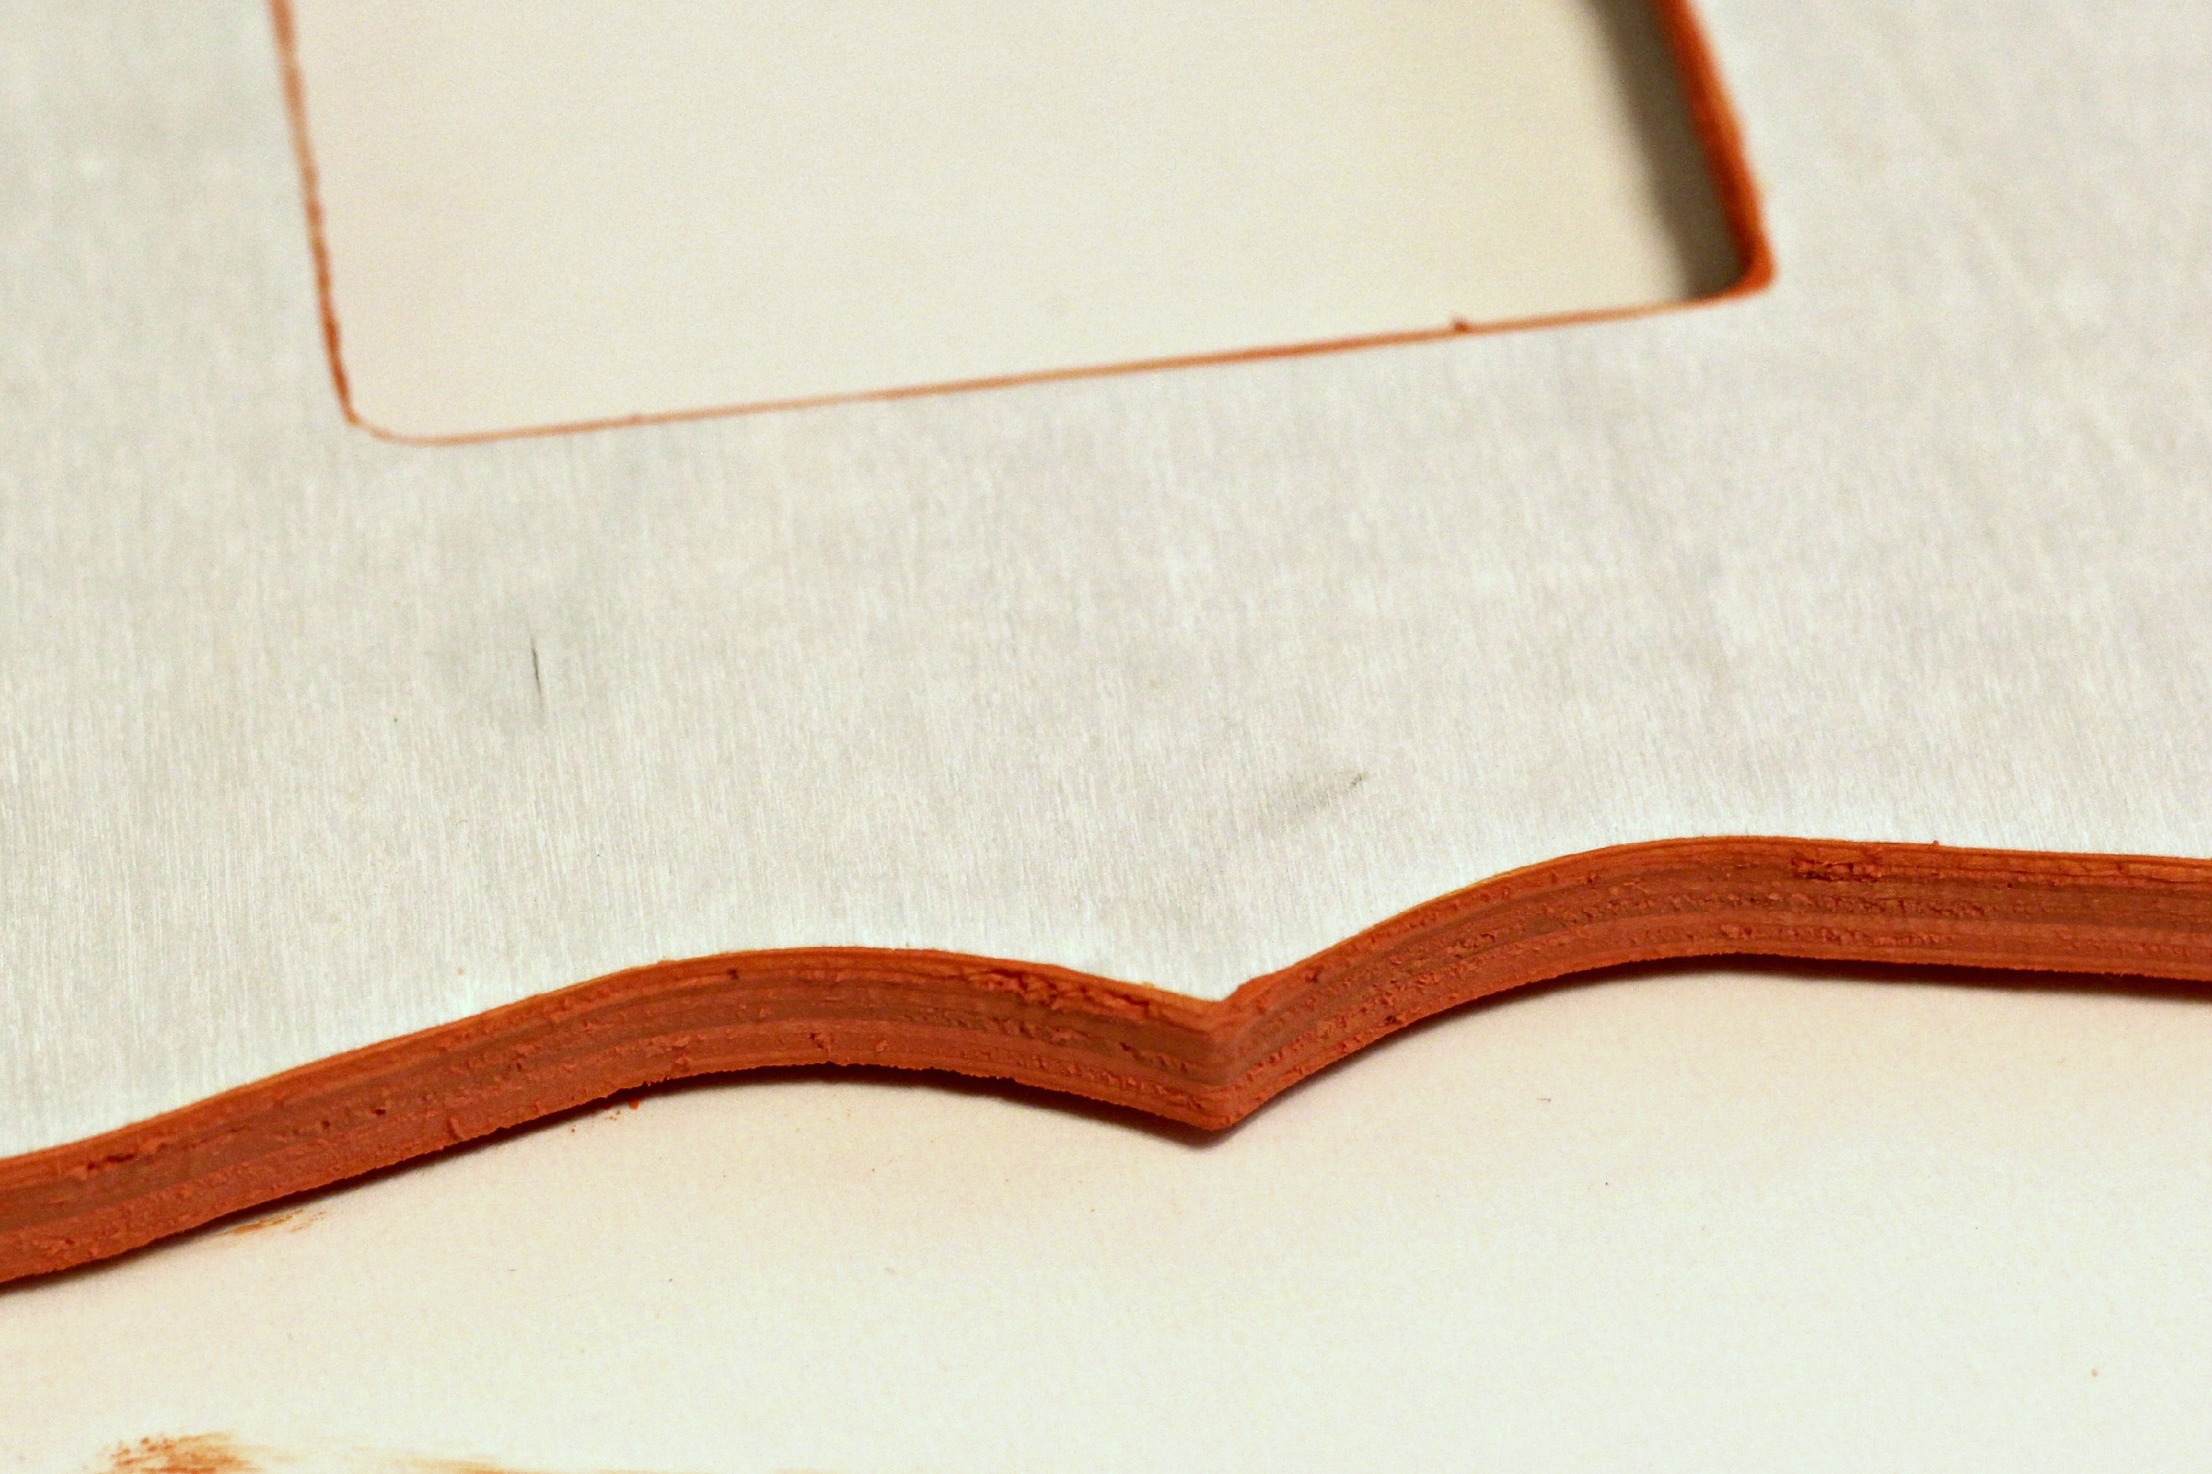
Start by painting the edge and inside of the frame in the color of your choice. No need to paint the whole frame, it’s going to be covered by the washi tape. Let it dry.
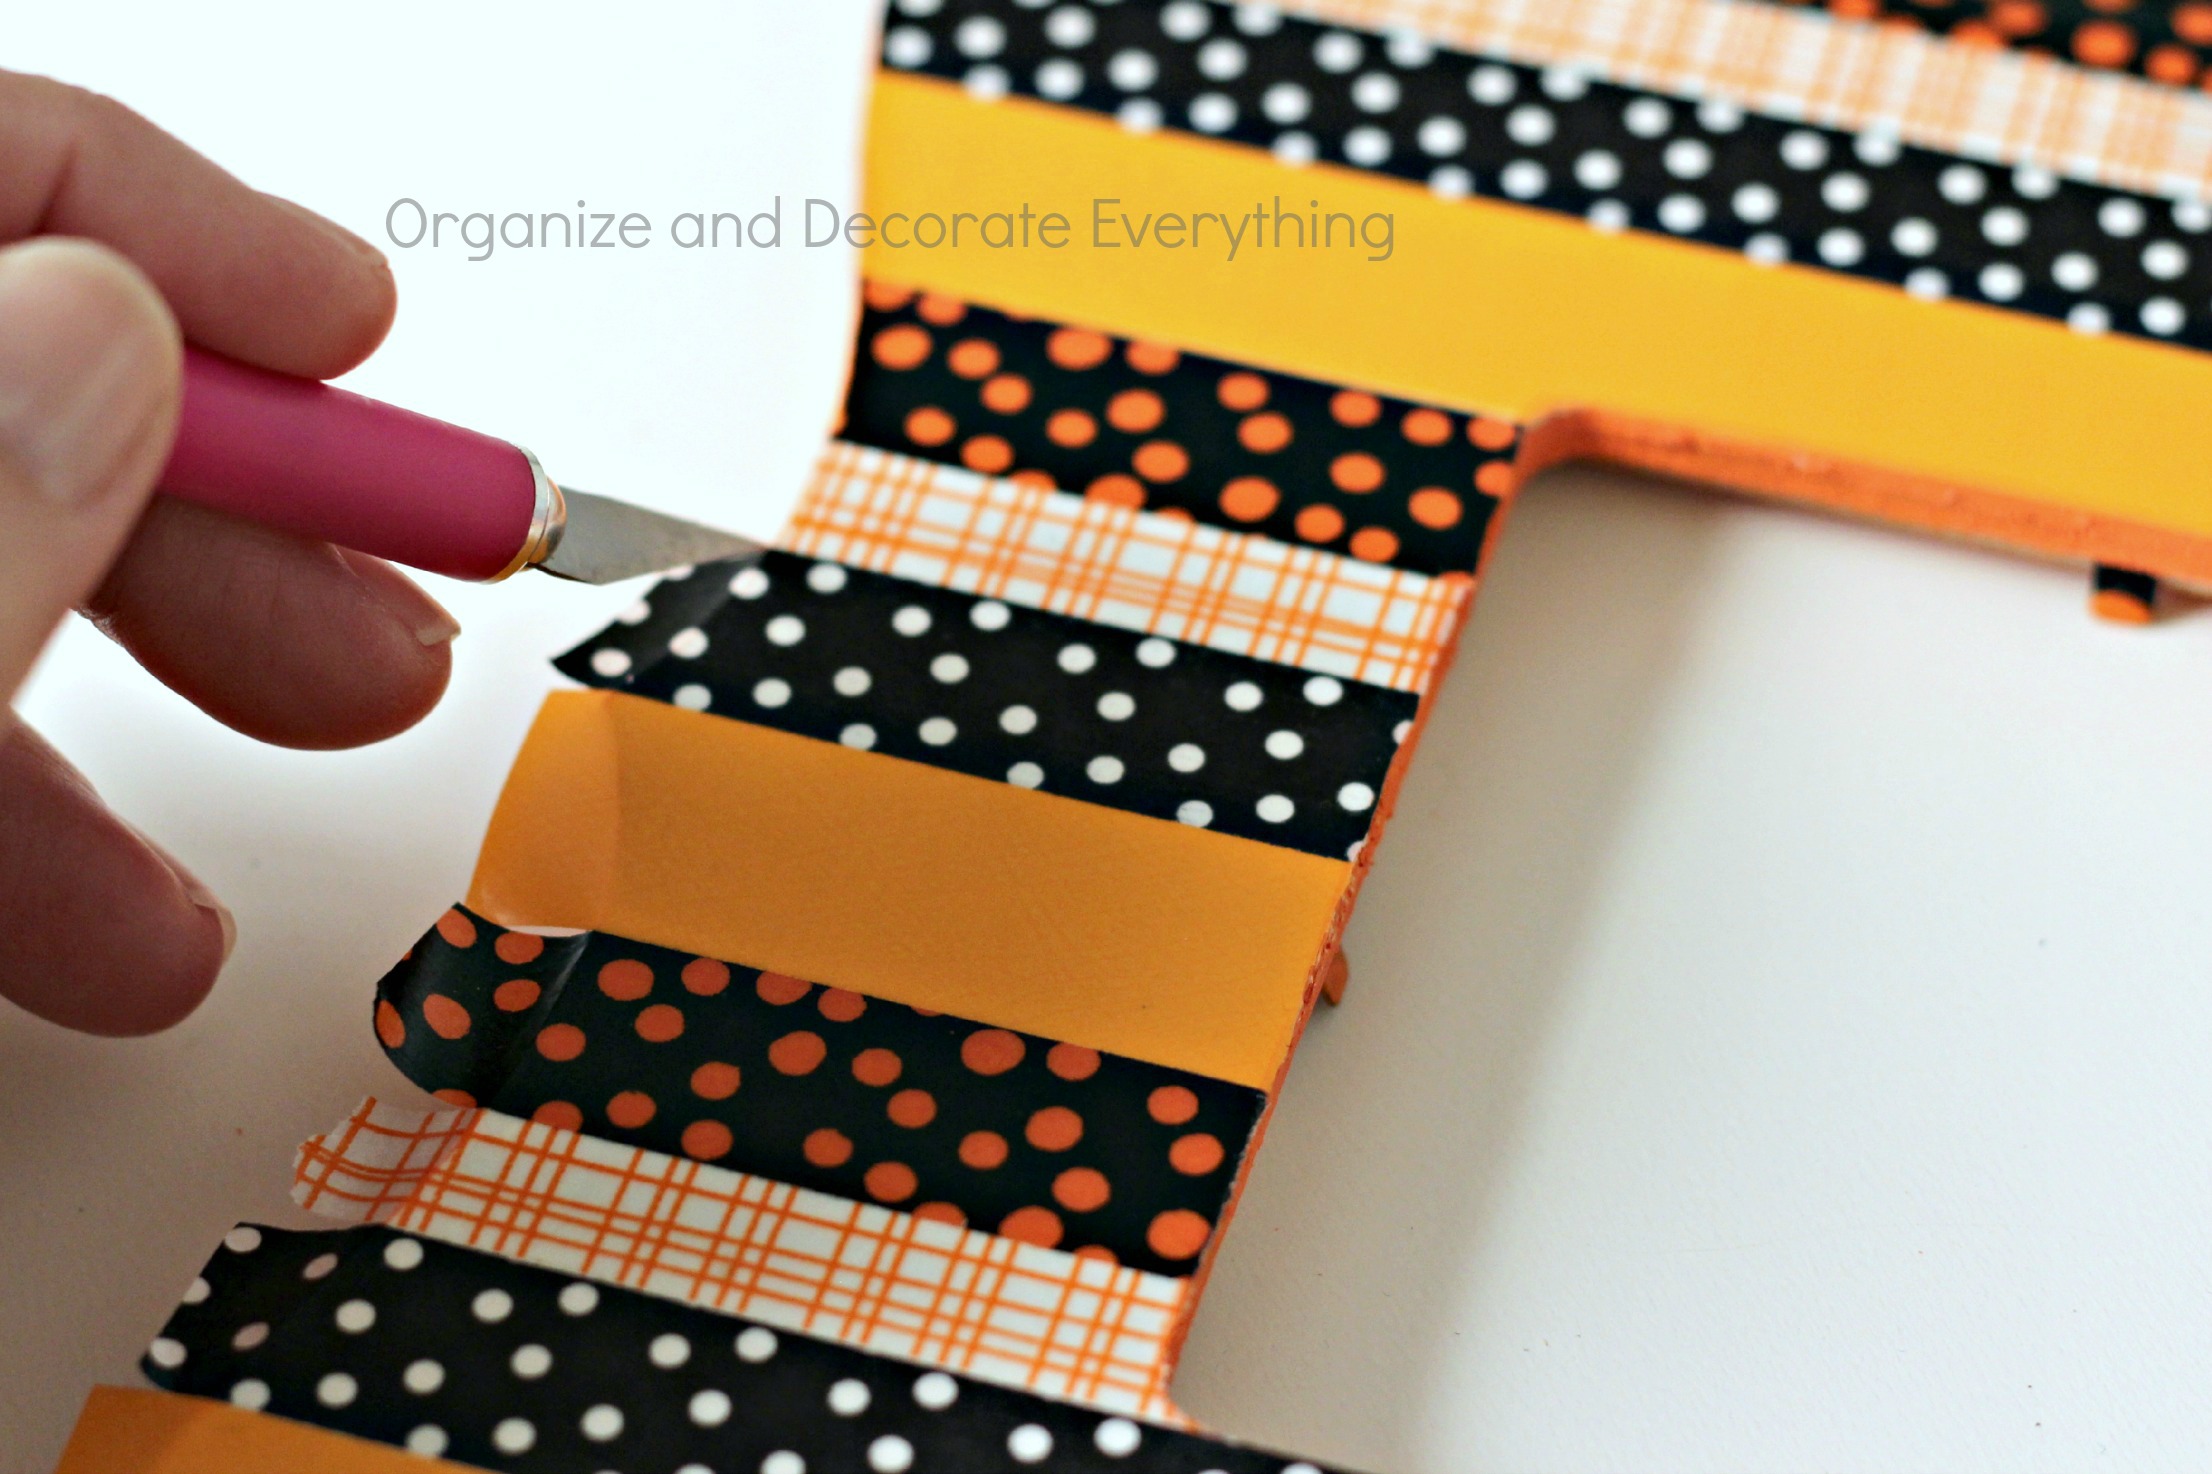
Decide what order you want the washi tape in, start at the top and cover the front of the frame. Make sure the tape is secure especially on the edges.
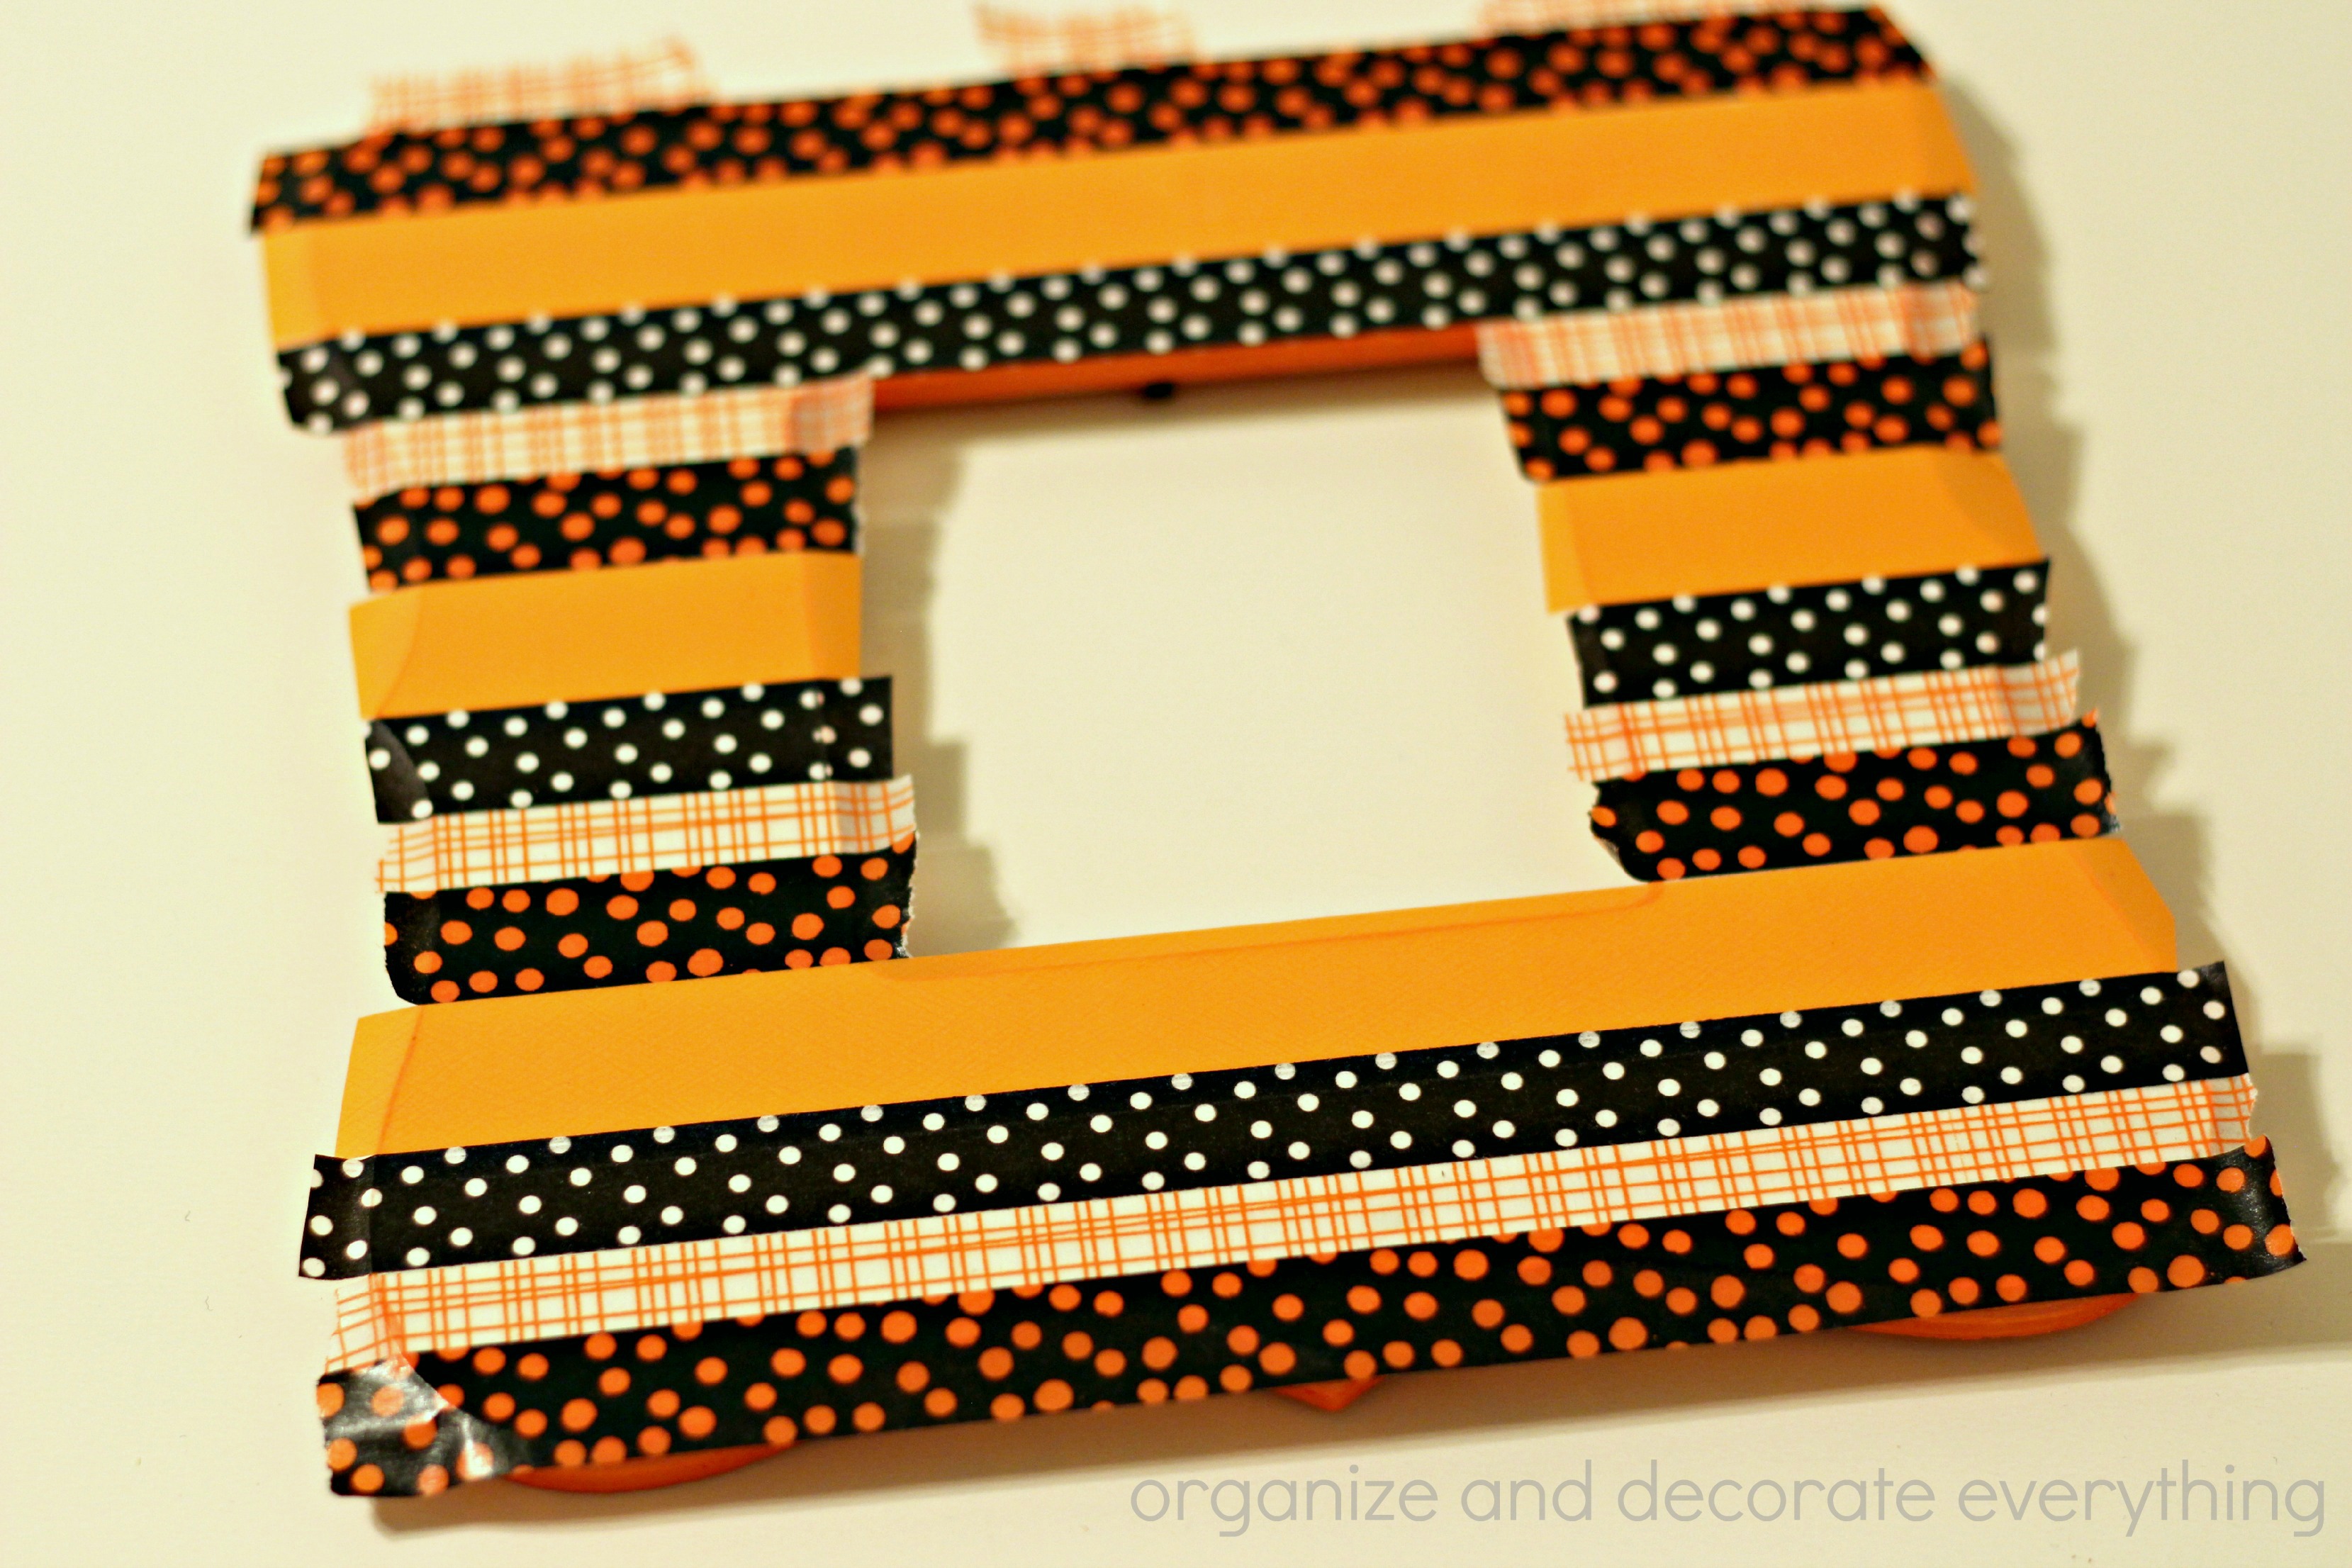
Use the knife to carefully cut the excess tape from the frame.
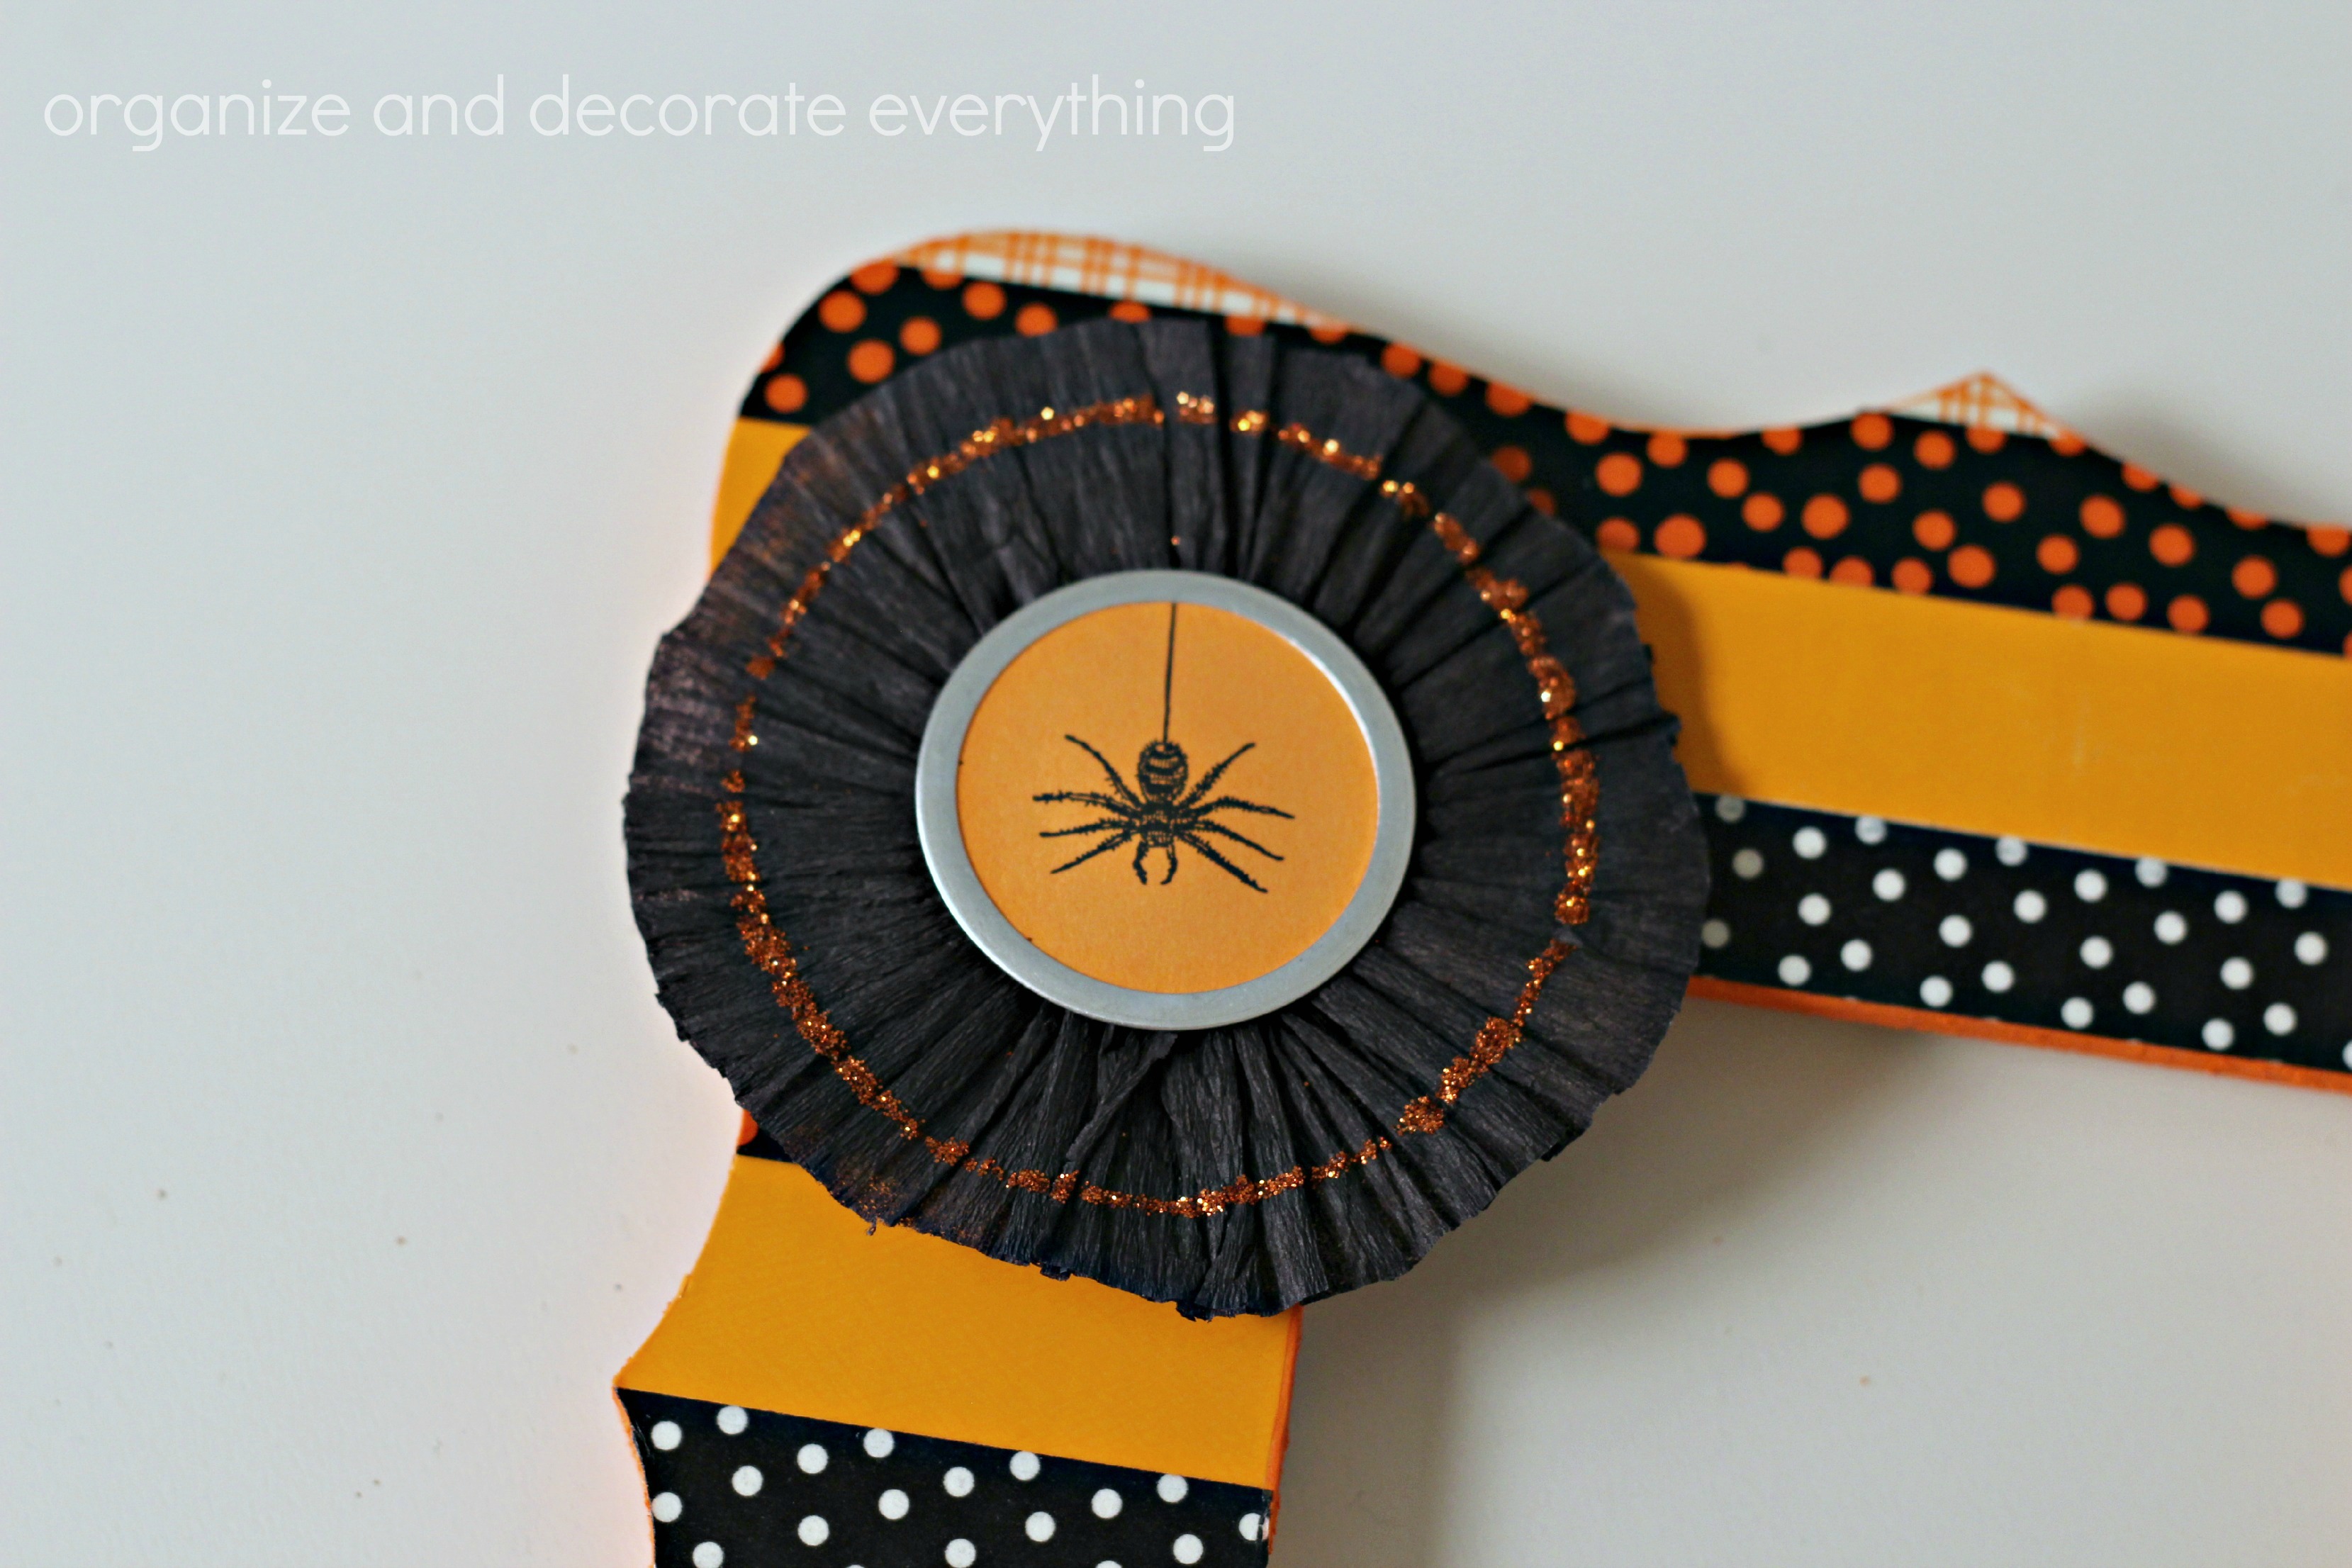
Add any embellishments you like. I had this cute Halloween medallion in my stash so I decided to use it. You could add any Halloween goodies you have hanging around.
Now you can insert a cute Halloween photo to display with your other Halloween decor.


Such a cute idea, love it! It’s been WAY too long since we’ve seen you Leanne, but loving your blog! Thx!! xo
SUPER cute. So festive and fun. Off to pin. 🙂