
Updated Nightstand by using paint, baskets and a different knob to make it new again.
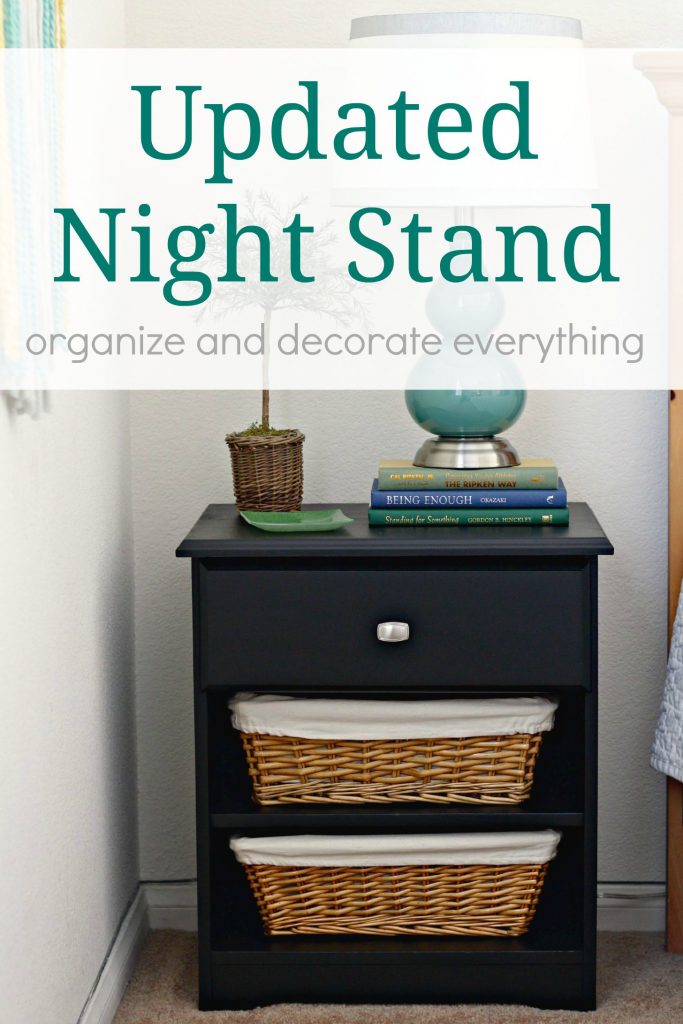
Changing and updating things around the house seems to be never ending. I find it rewarding to be able to update furniture we already have into something we love again. The best part is that it usually only takes some paint, a little time, and maybe some hardware to get a new piece of furniture that looks brand new and fits our current style. Since I’ve been working on our master bedroom I thought I would do an update on hubby’s night stand. I love his Updated Nightstand and that it only took paint and a little time to get it looking the way we want it.
Supplies Needed:
Nightstand
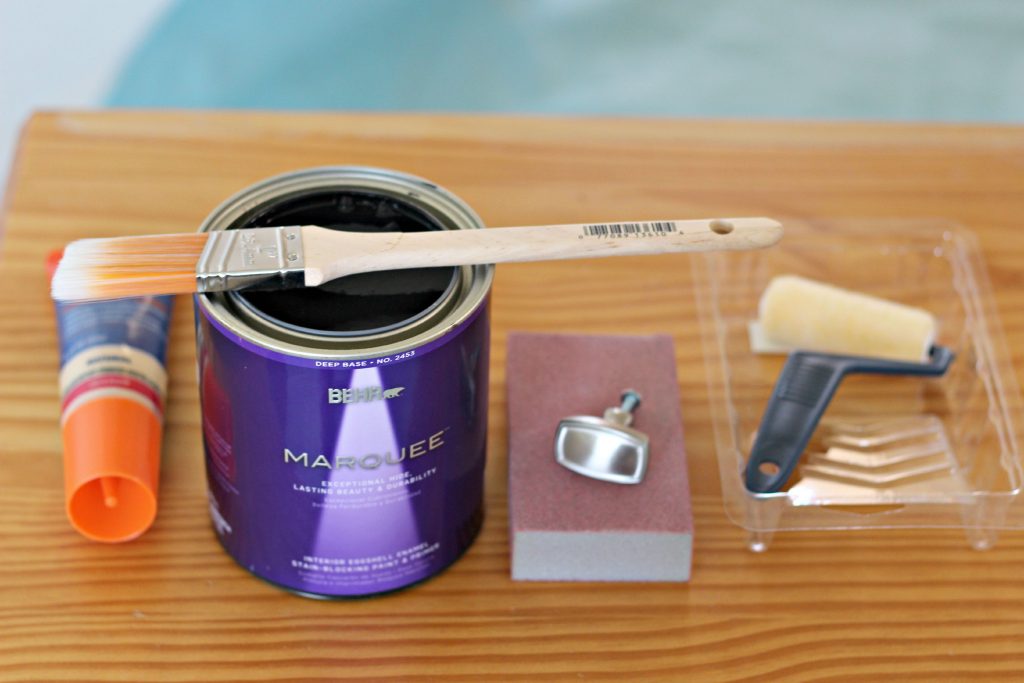
BEHR MARQUEE Interior Paint & Primer
Paint brush
Wood filler
Sanding block
Small roller
Knob
Thick wrapping paper
Screw driver
I purchased a new nightstand for my side of the bed a few years ago with the intention of painting this one the same color in the near future. It’s been a few years and I’m finally getting around to it. They’re not the same style, but that’s what I love about paint, it takes mismatched pieces and makes them work together. After staring at the BEHR MARQUEE® Interior One-Coat Color Collection color selections for 15 minutes I fell in love with the rich color of Limousine Leather. I knew I wanted black and this was the perfect color.

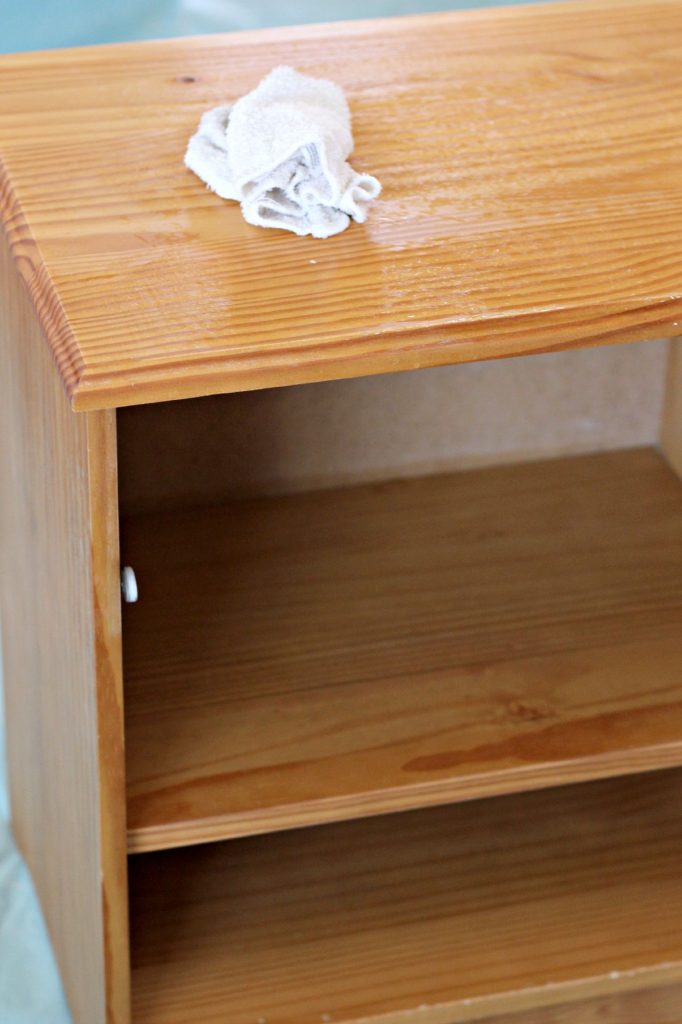
The nightstand didn’t have much of a finish on it but I started by lightly sanding the piece then wiping it down with a damp cloth to make sure all the dust and dirt was removed. After sanding this piece I think I’m ready to invest in an electric sander.

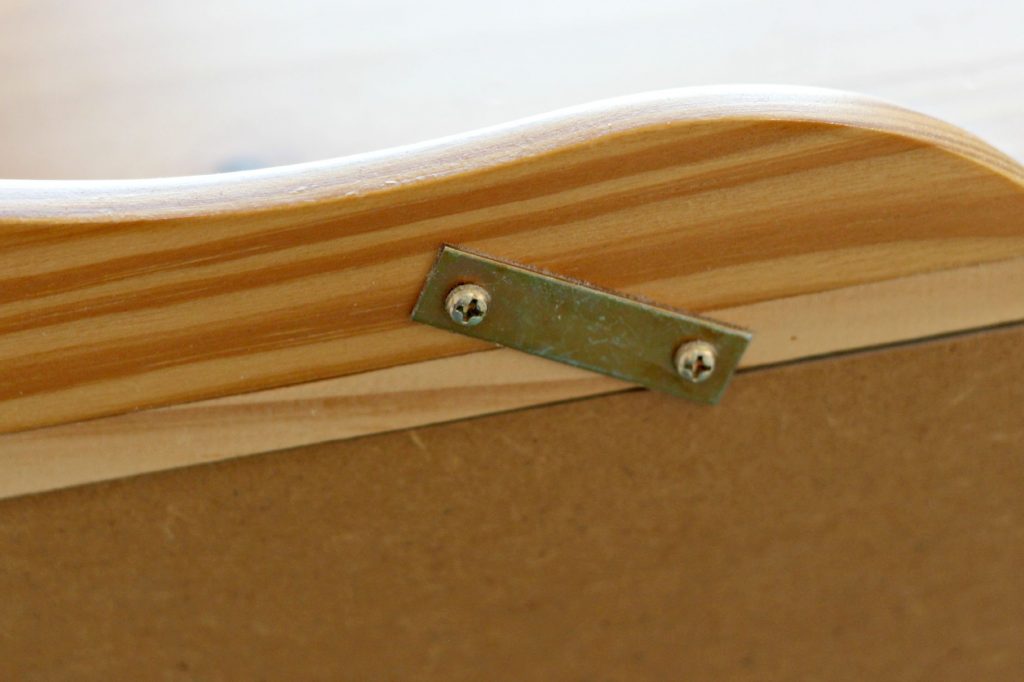
There’s a little curvy decorative piece of wood on the back of the nightstand that just had to go. Luckily it was easy to remove by unscrewing it in a couple of places. Now I have a piece with very clean lines, which I love.
There are a few scratches on the top of the nightstand so I applied wood filler to the scratches, let it dry completely, then sanded and wiped it down with a damp cloth again.
Now comes the fun part. There’s something so wonderful about the transformation through paint. I used a small brush to get paint in the inside corners of the cubby area and along the decorative edge.
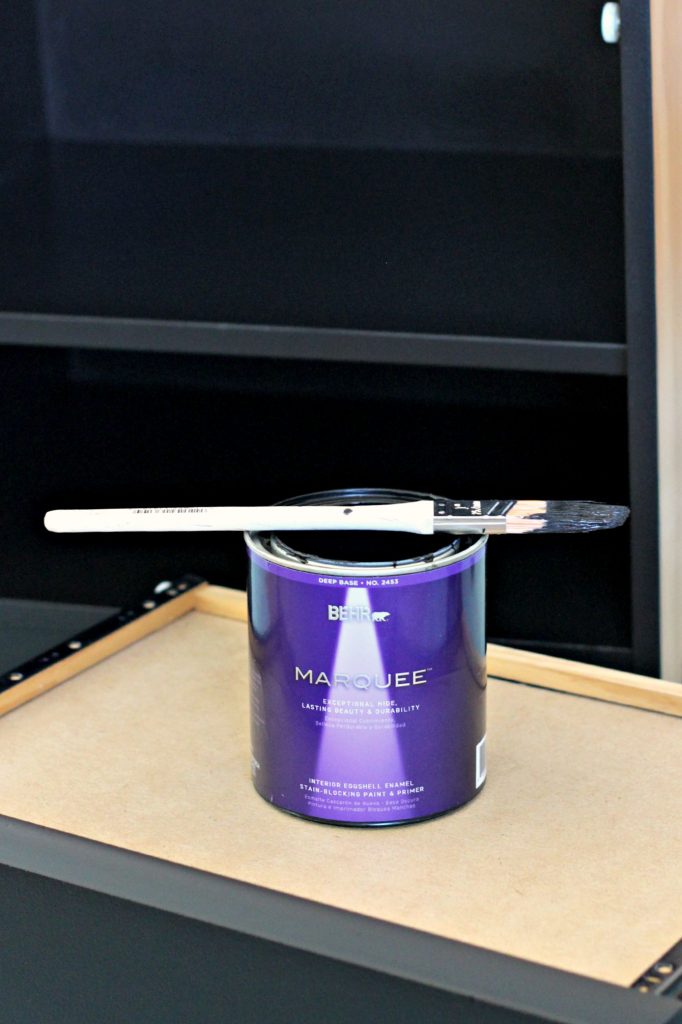
Then I used a small roller to the roll the paint on the flat and smooth surfaces. One-coat coverage is guaranteed when BEHR MARQUEE Interior Paint & Primer is tinted to a color from the one-coat color collection. Such a time saver and it looks fantastic.
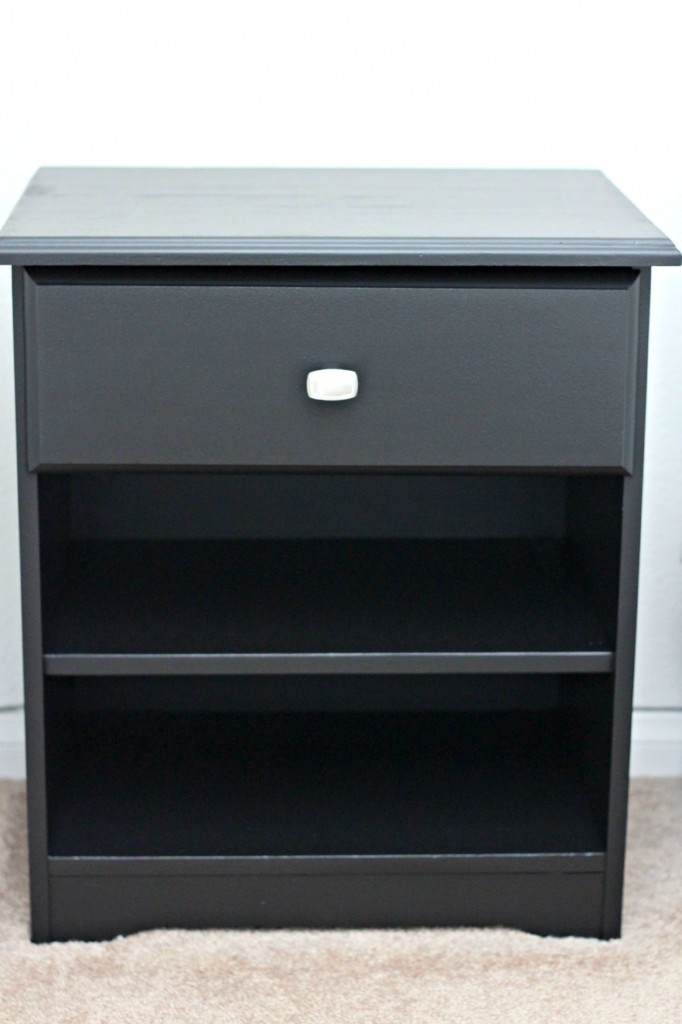
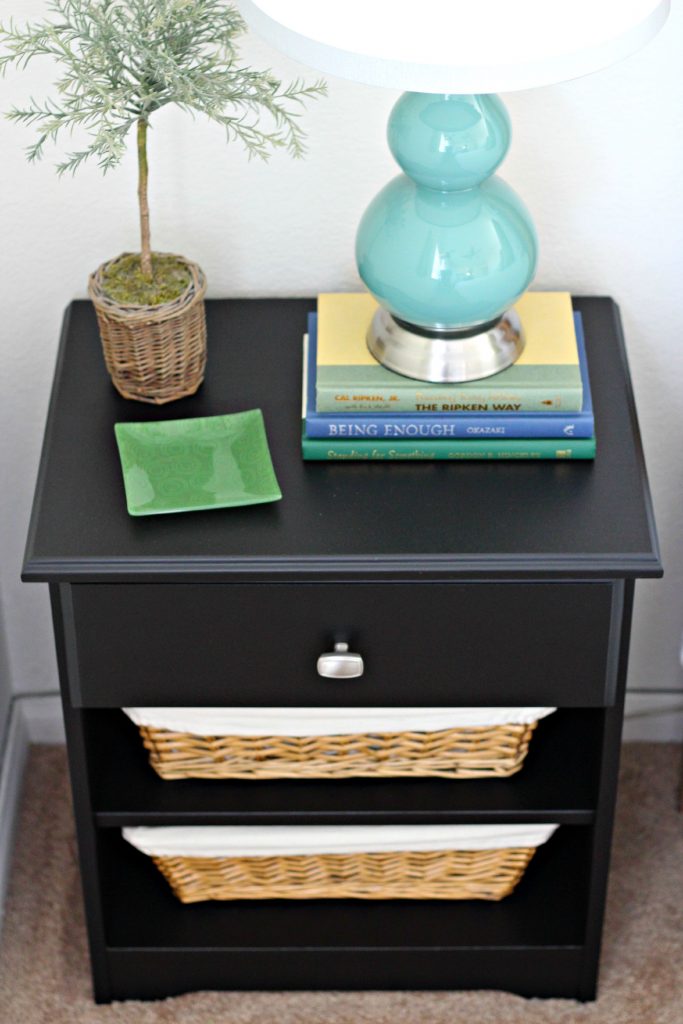
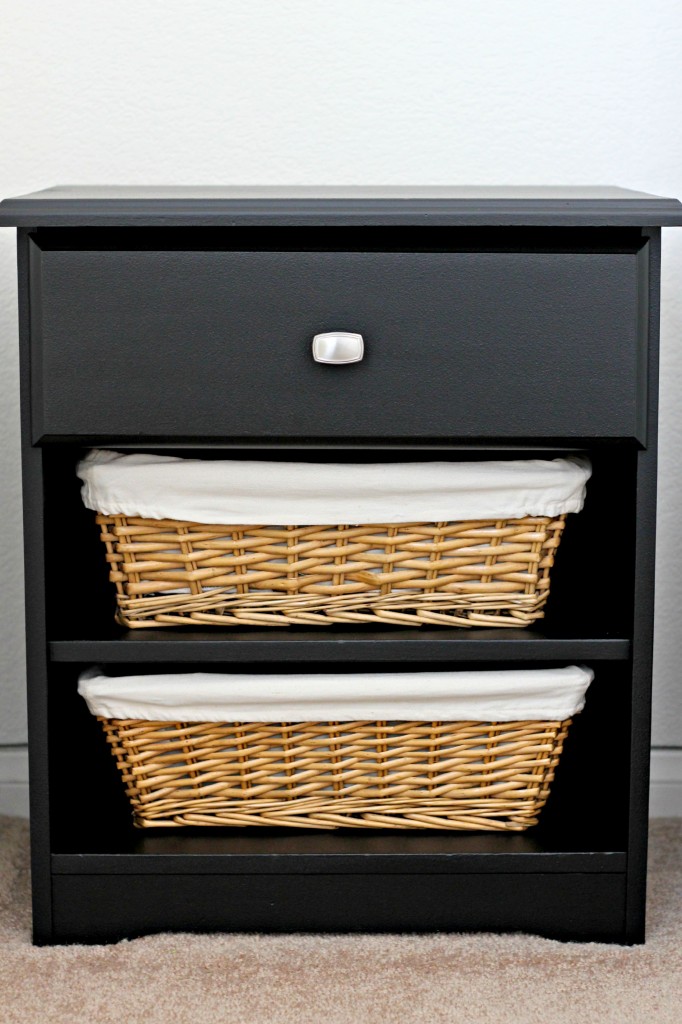
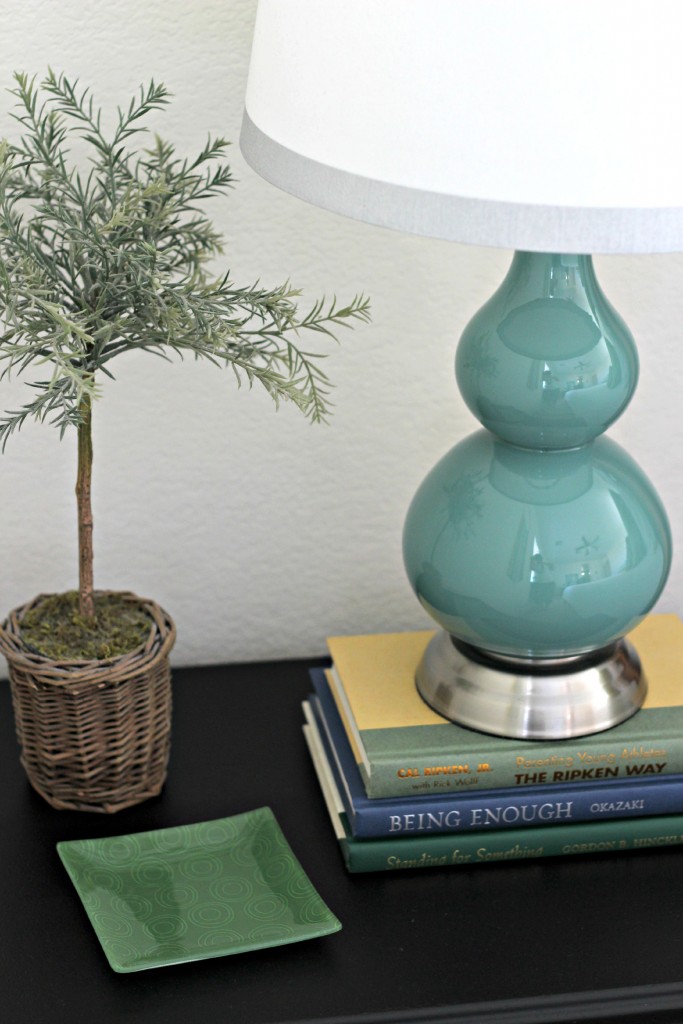
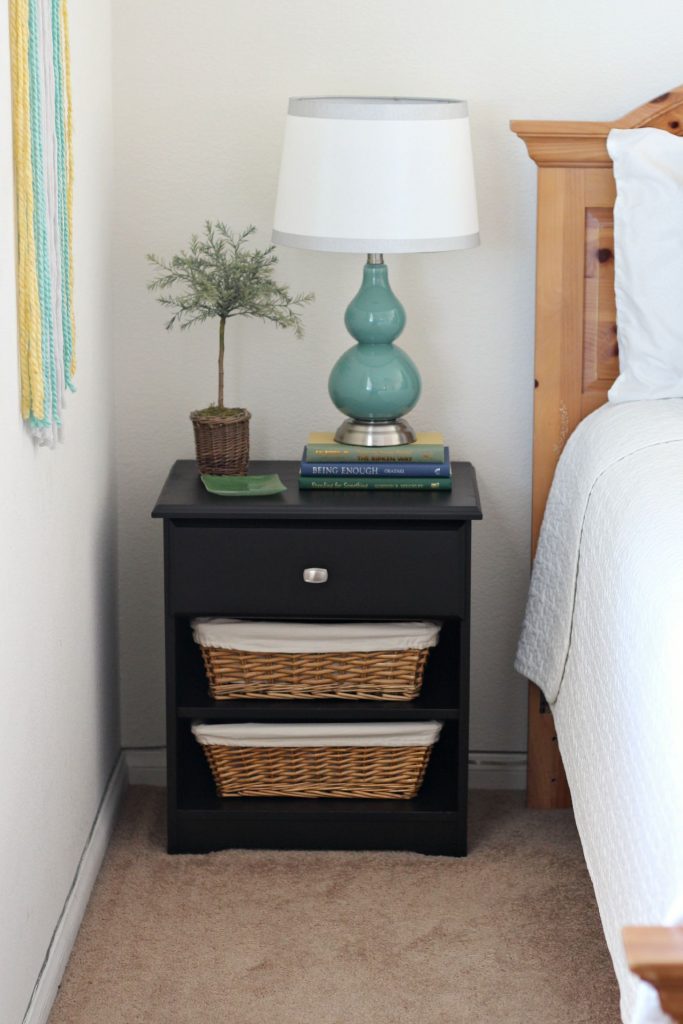
Once the paint was dry it was time to improve the nightstand even more. The empty cubbies got baskets to hide all of hubby’s stuff in and of course we needed to add a new drawer pull.
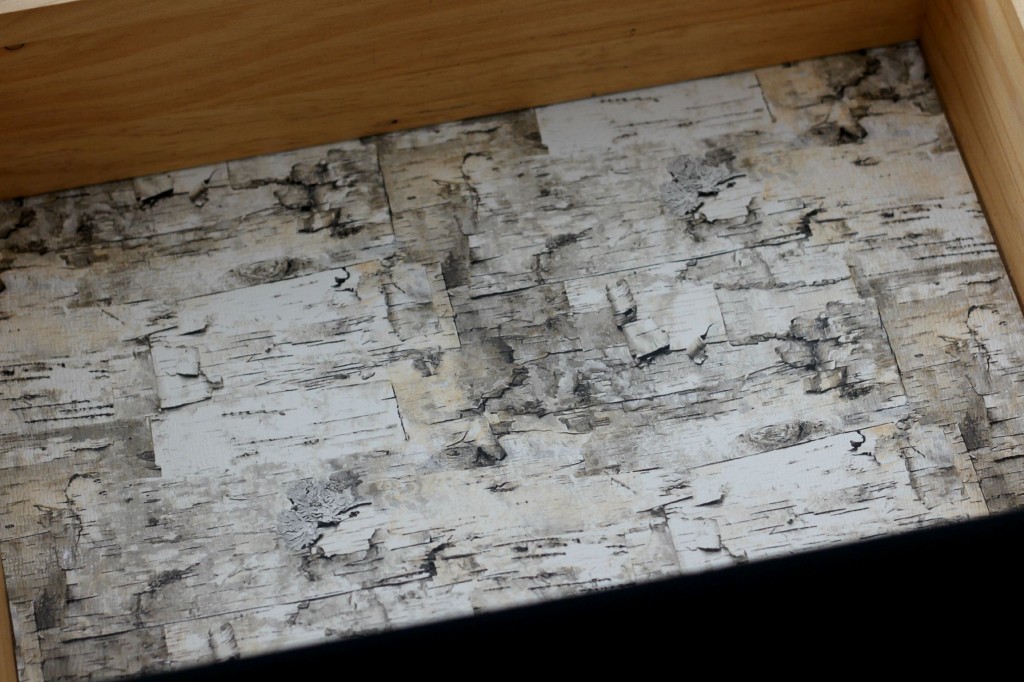
I also lined the inside of drawer with some fantastic wrapping paper. The paper is super thick, has texture, and is very masculine, which is perfect for hubby’s new nightstand.
Once the top was styled it was ready for use.
I am so pleased with how it turned out. Now I’m even more motivated to get the rest of my furniture painted. Are you ready to paint a piece of furniture now?
Pin it for later: Updated Nightstand


Comments on this entry are closed.