
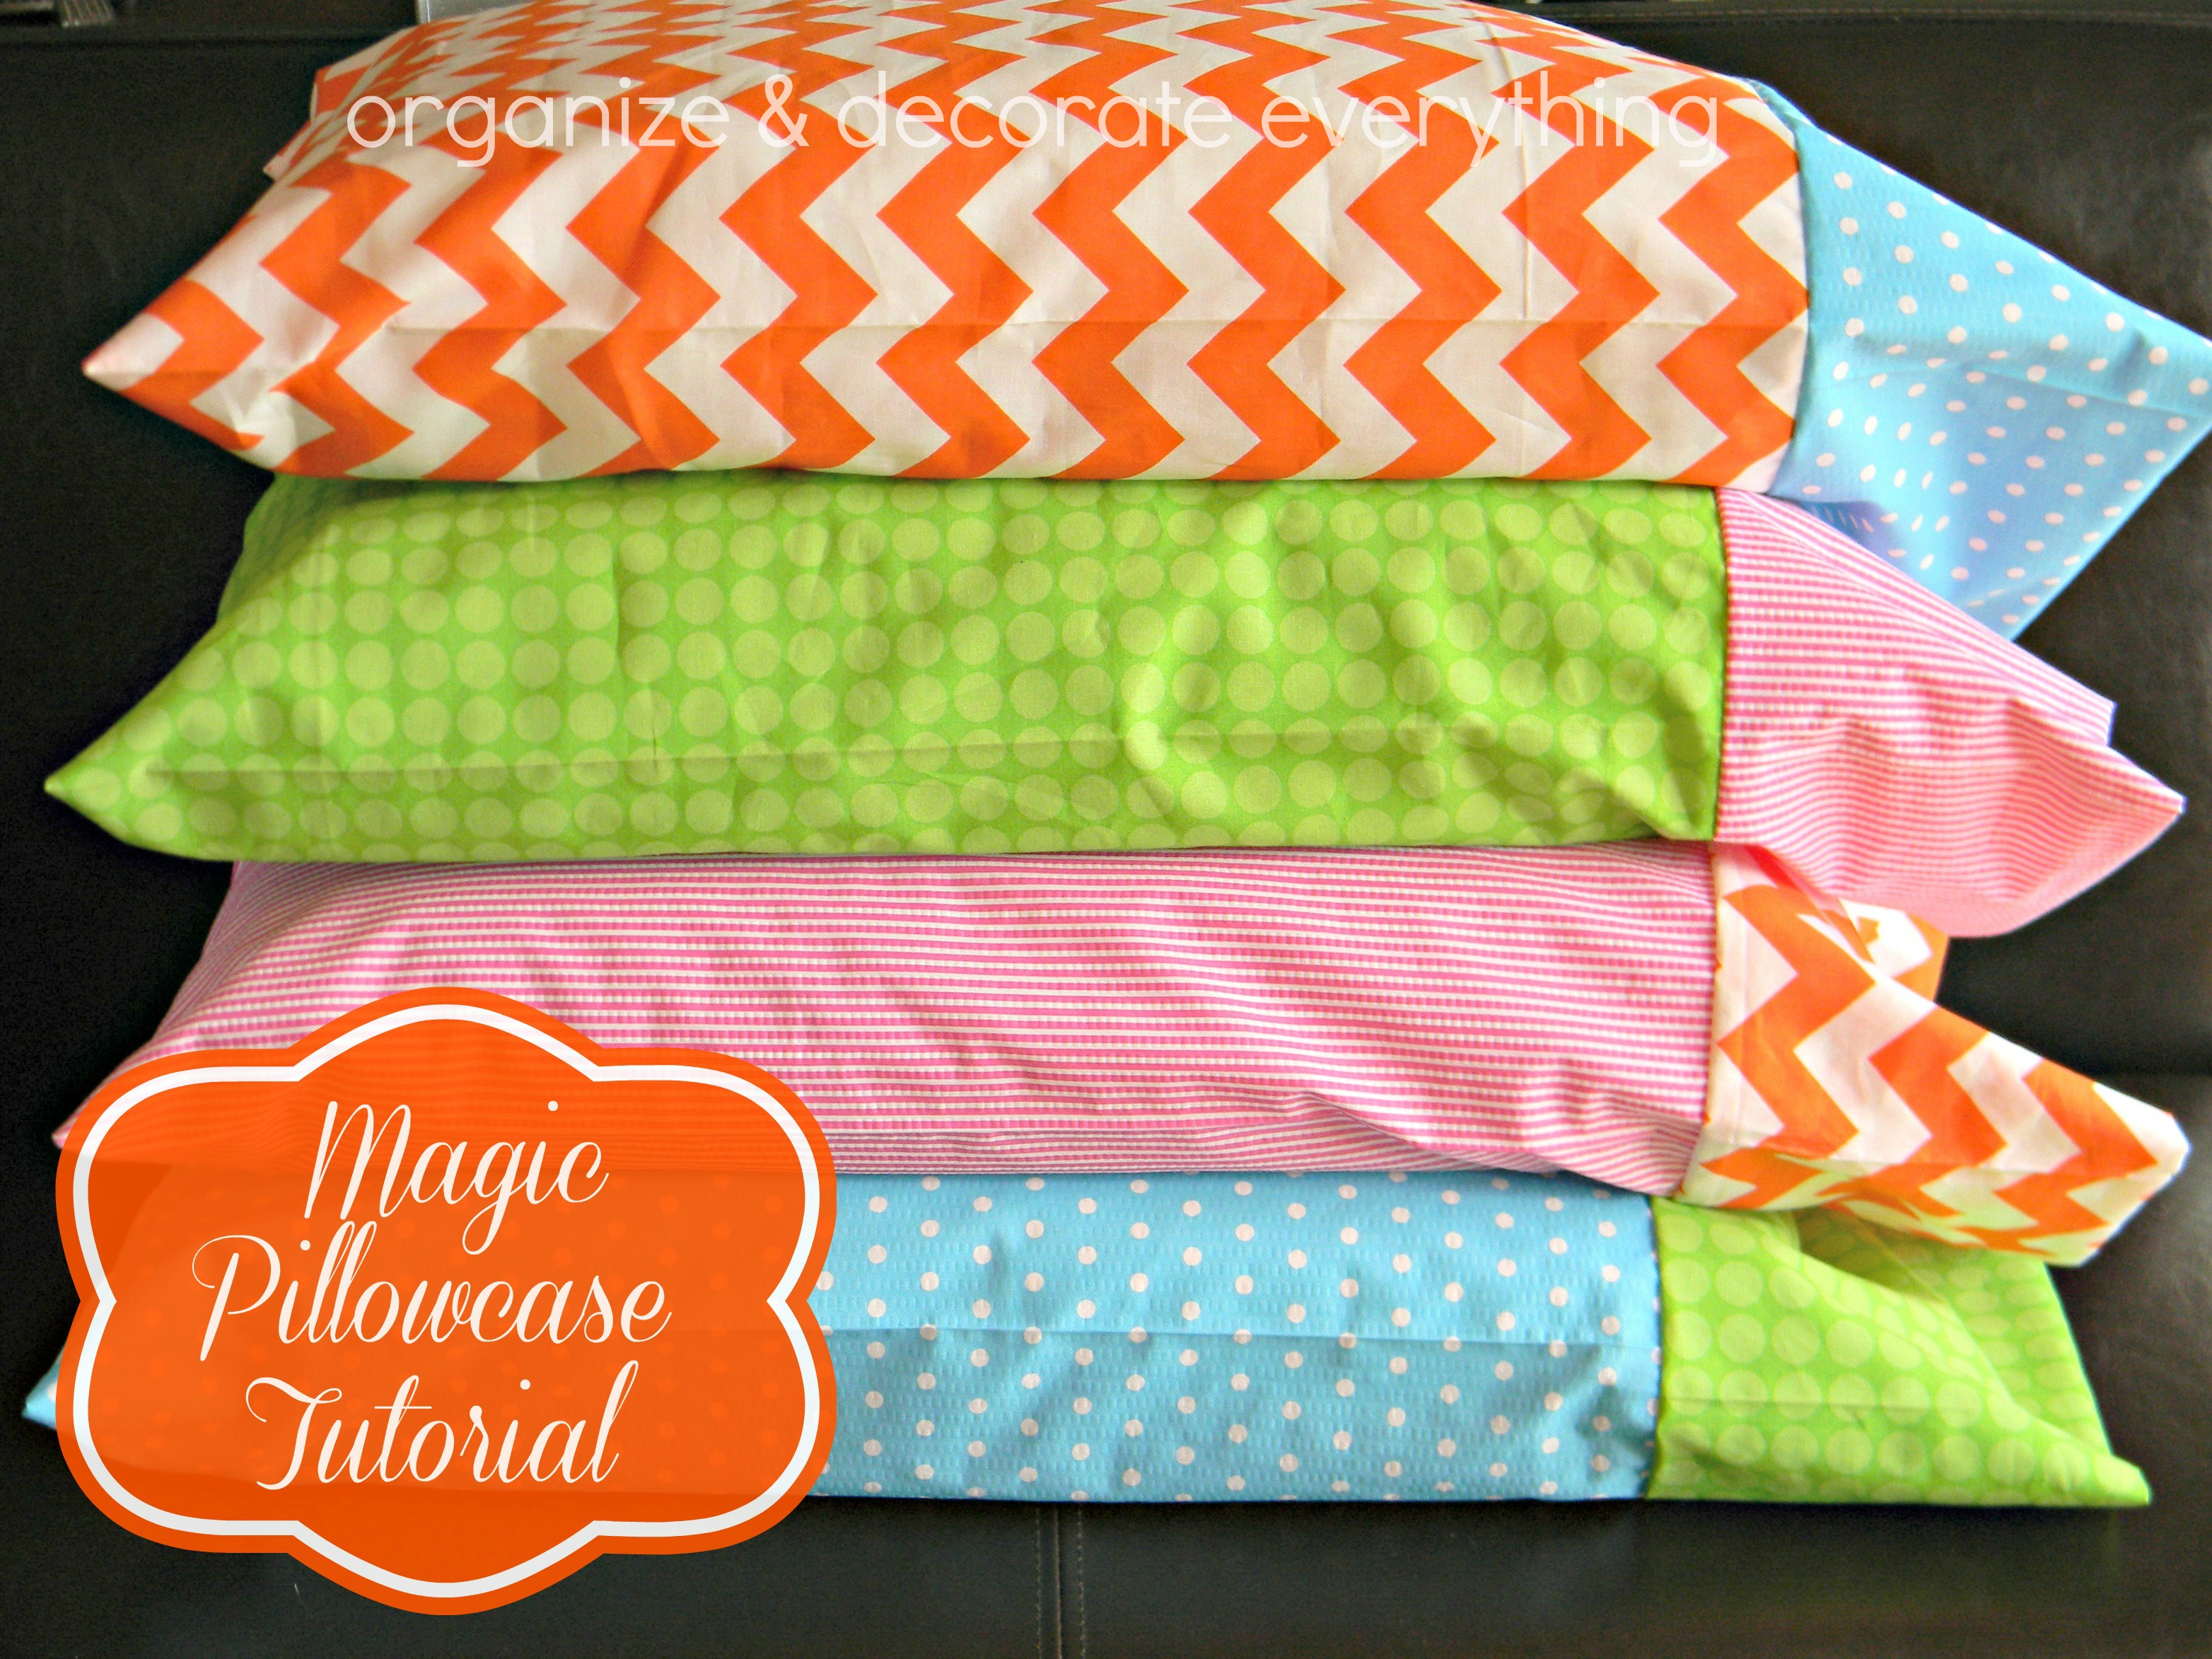
I’ve been wanting to make fun pillows in bright colors and fun patterns for a while. I finally had an excuse to and couldn’t wait to share this magic pillowcase tutorial with you. I’m not much of a seamstress beyond sewing class in school and a few pillow covers and curtains for my home. It looks like it could be complicated but it’s actually pretty easy once you get the hang of it.

Follow this magic pillowcase tutorial for simple to make pillowcases that turn out so cute. They are a fun project for a slumber party or to teach as a first sewing project for beginners.

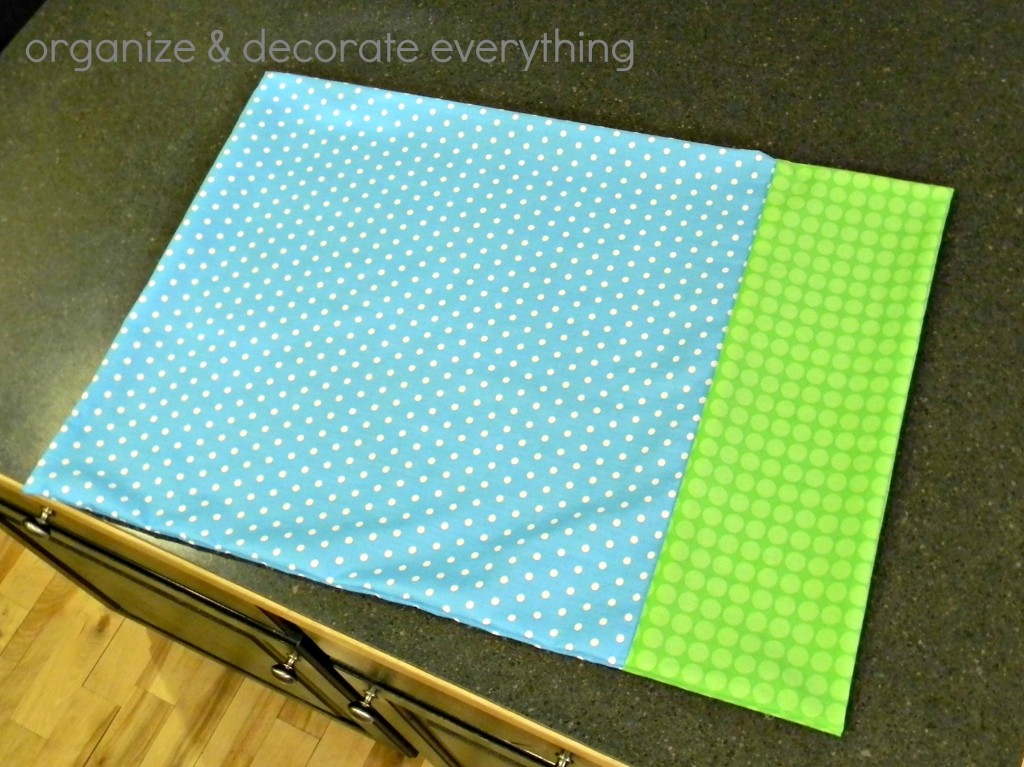
This is the fabric needed. I bought 1 yard each of 4 different patterns and mixed them up. The fabric is 45″ wide. The colors and patterns are so bright and fun that they were easy to mix and match to make fun pillow cases.
You need:
3/4 yard for the main fabric (27 inches)
1/4 yard for the cuff in contrasting fabric (9 inches)
2 inch trim fabric or ribbon trim (optional)
I opted not to add trim to the pillow cases to make it easier for a beginner (that would be me).
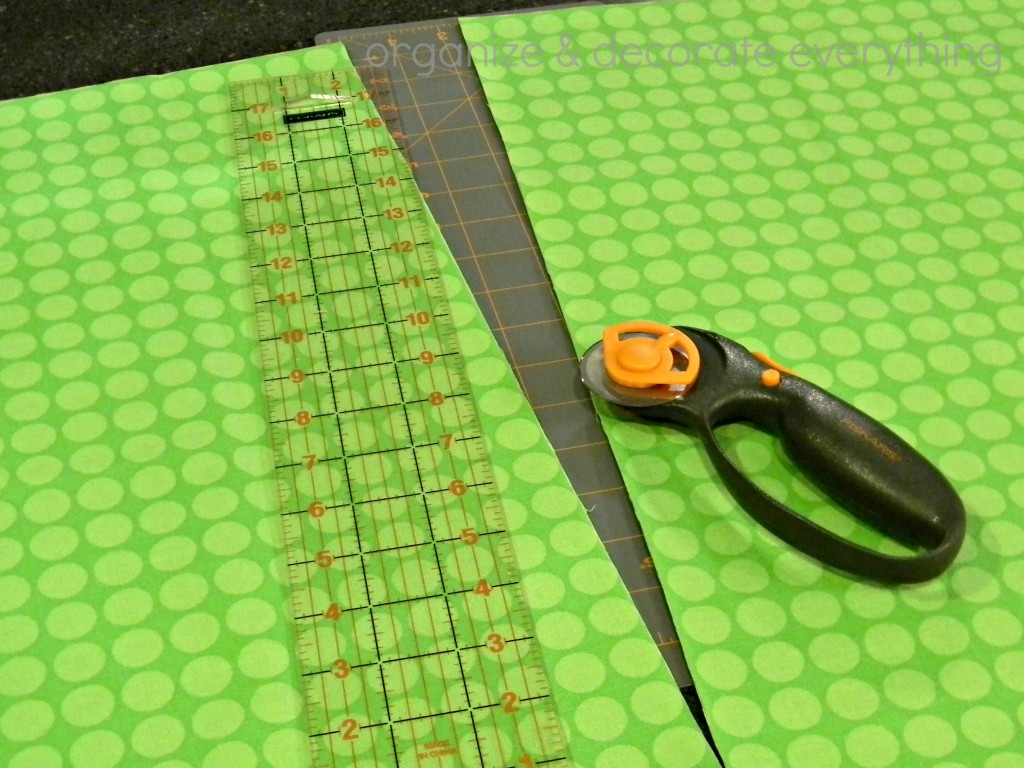
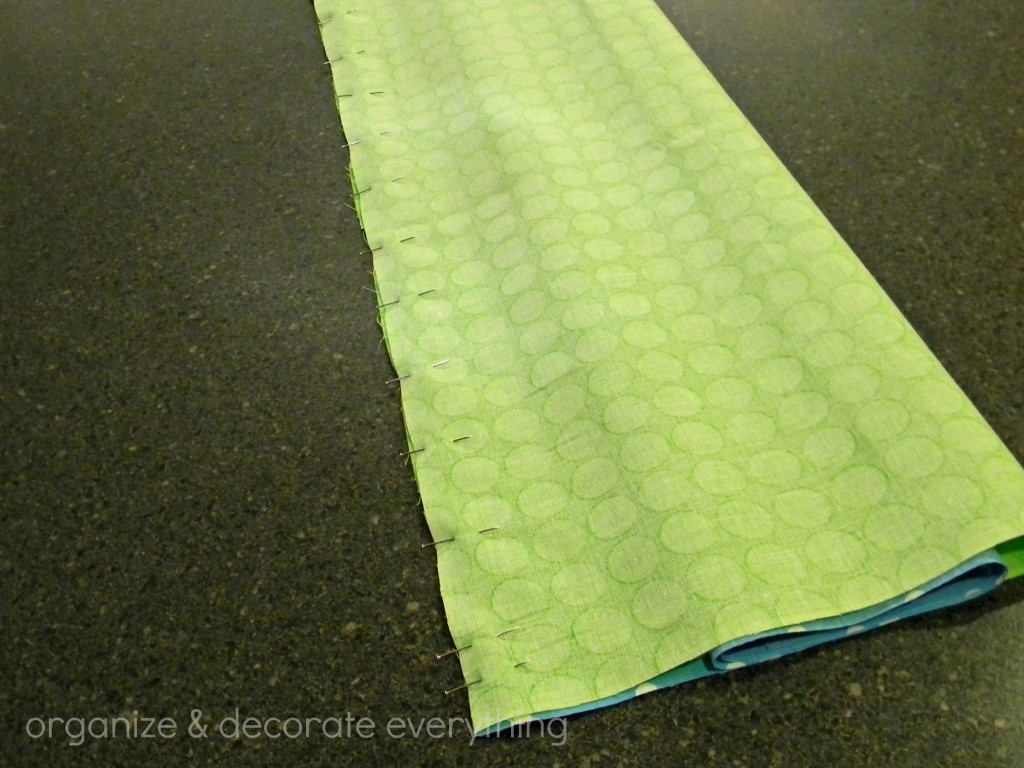
Cut the fabric at 27″ leaving 9″ for the cuff of another pillowcase. I cut the fabric for all 4 cases at the same time. This is where the fun begins. Place the main fabric right side up then place the contrasting fabric face down (right sides together) on top of the main fabric. Line the fabrics up and pin into place. The smaller piece is the cuff.
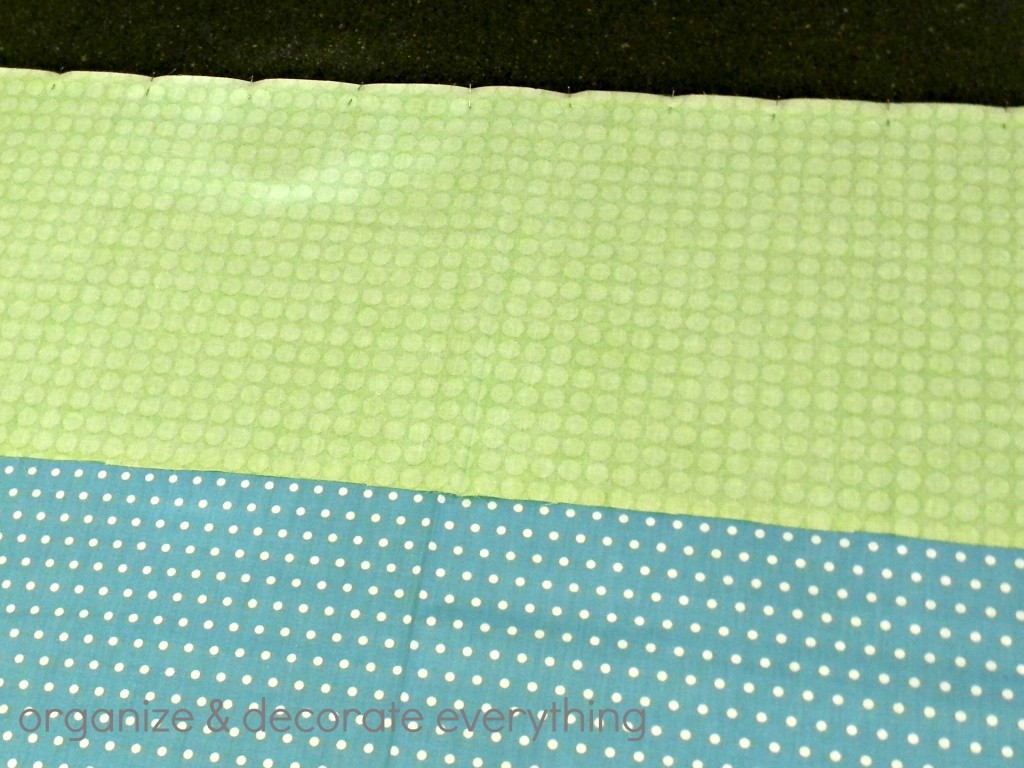
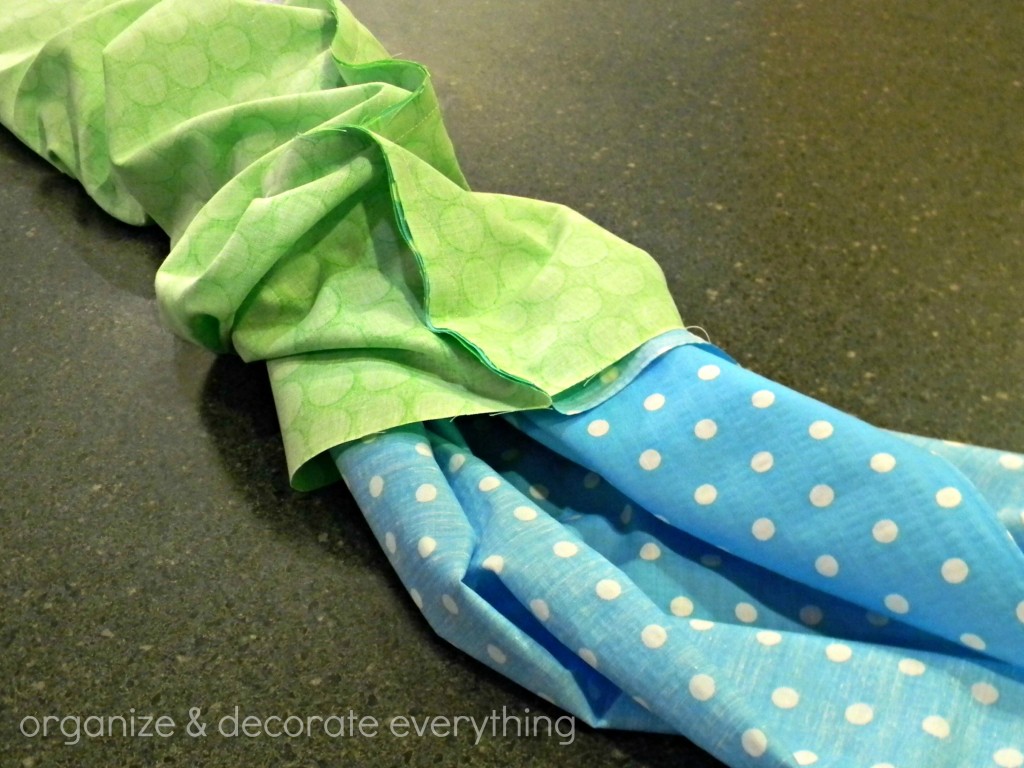
Open cuff and roll the main body of pillow case up to the cuff leaving an inch or so.

Fold the cuff area around the body of the pillow (right sides together). The whole body of the pillow case is inside the cuff now.
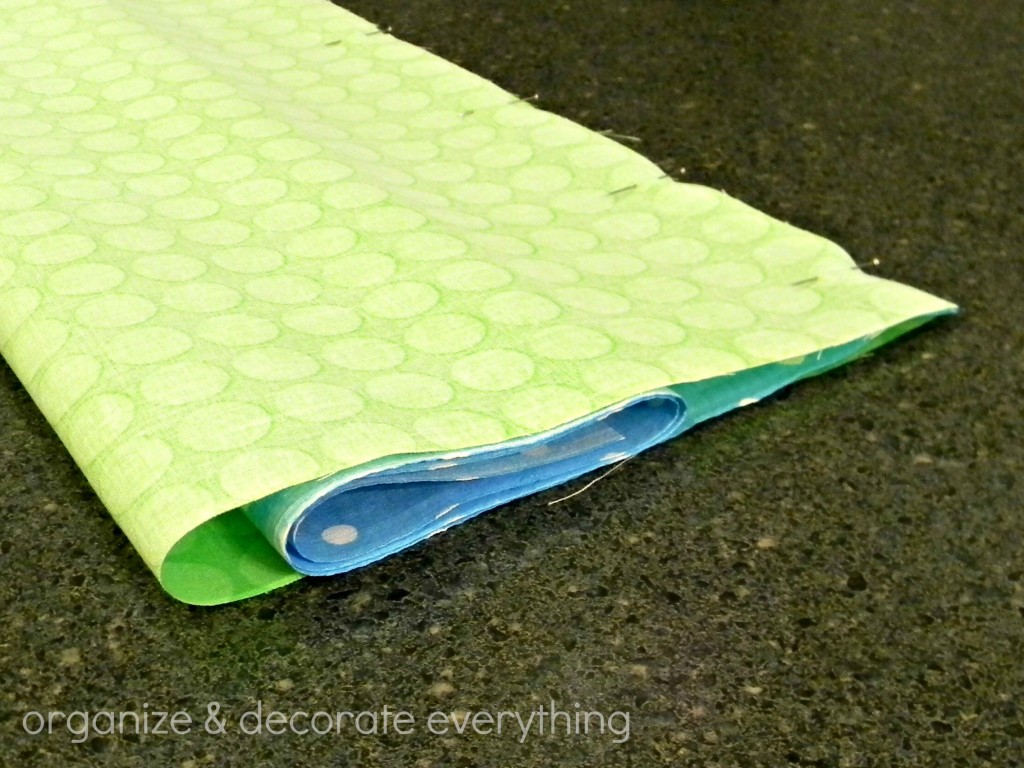
Line the fabric edges up and pin into place. Sew 1/4″ seam along pinned side.
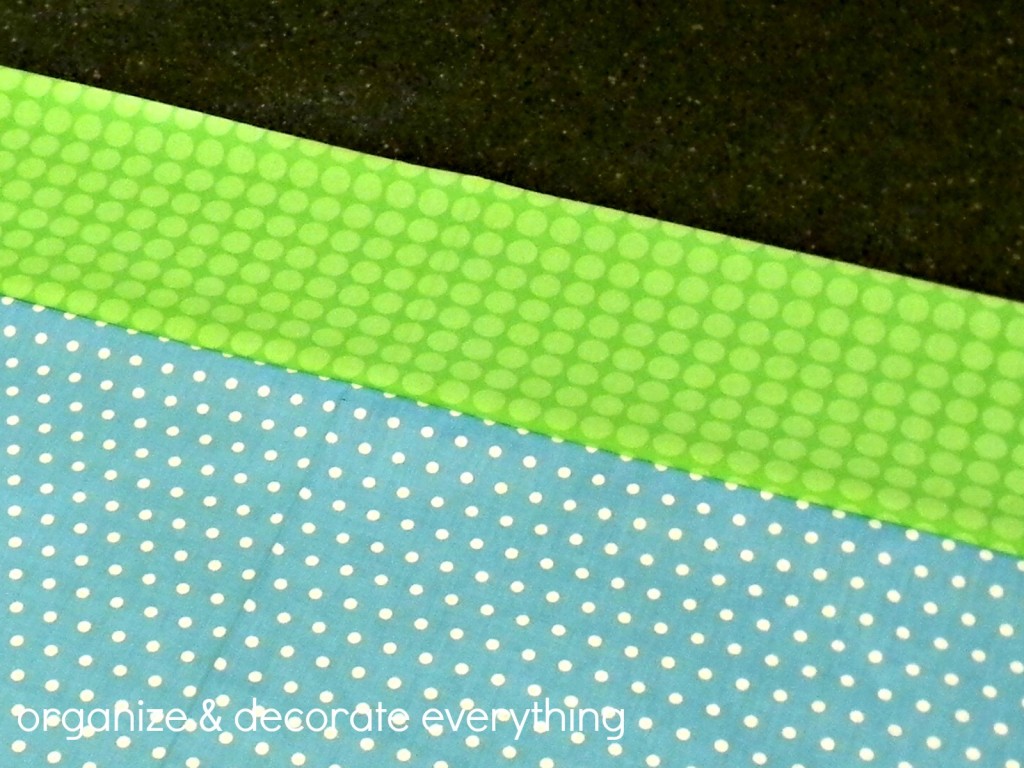
Now is the super fun part. Take the inside body of the pillow and pull out. You might have to work it out a bit. The cuff will flip right side out.
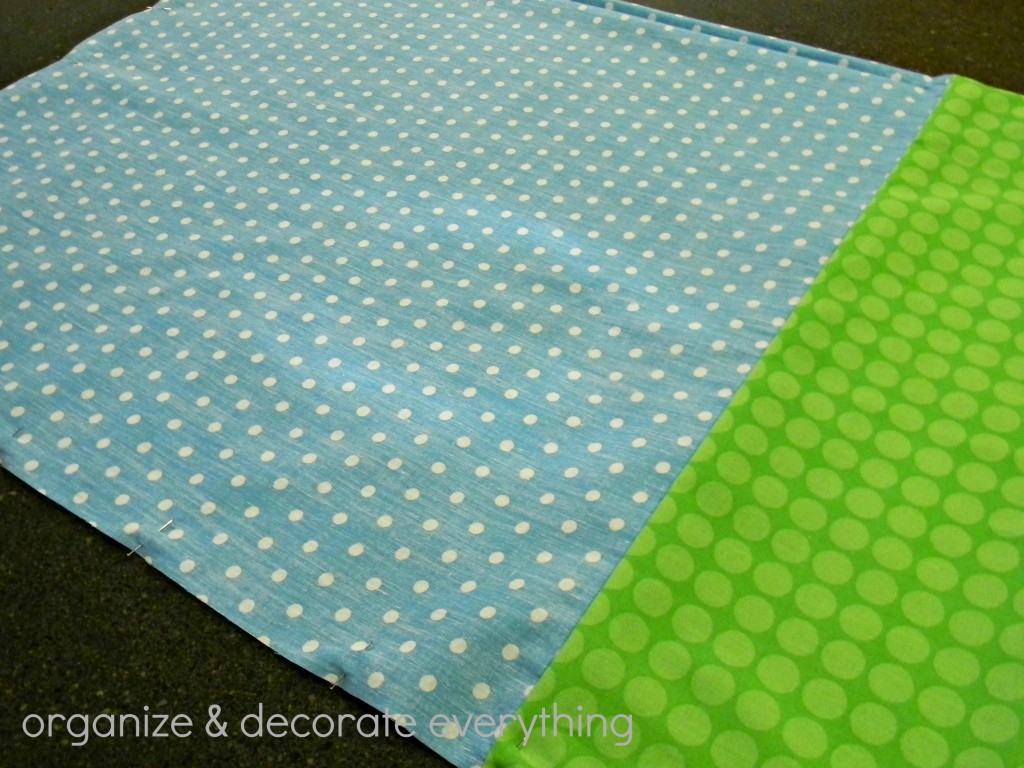
Ta-da! The cuff now has no outside seams. The cuff is totally finished, you just need to sew one pillow case side up now.
Fold the case right sides together and pin into place. Sew a 1/4″ seam the full length of the side.
Then turn the pillowcase right side out.
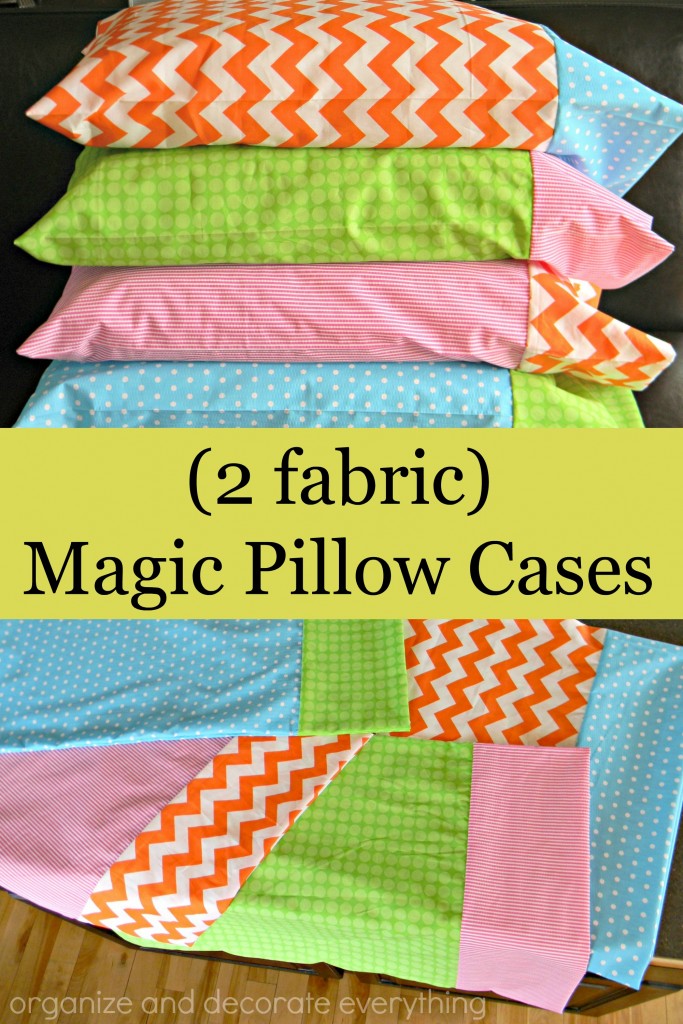
The pillowcases came together really quickly. I think they would be fun to make for gifts, camping, girls camp, contrasting bedding, or a slumber party. My daughter has claimed a couple of them and the other 2 will be for guests.
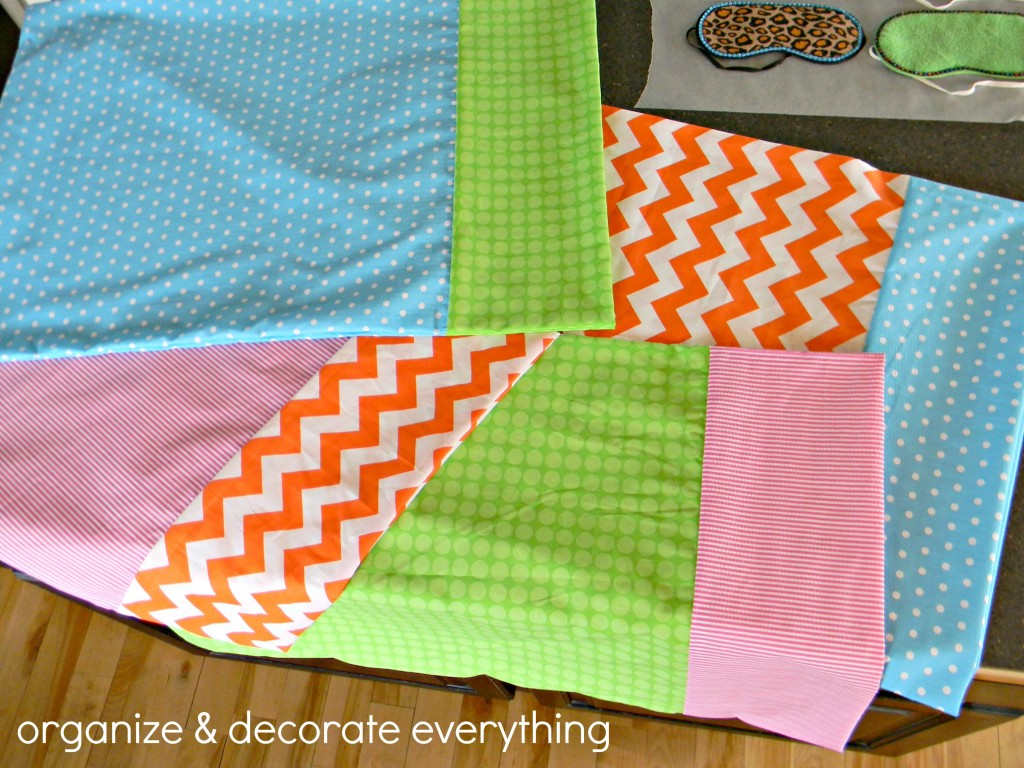
I also made some sleep masks. I added some ribbon trim to dollar store masks to coordinate with the pillow cases. You can see them in the upper right hand corner of the photo above.


These are so cute. I love to make these for girls camp.
These are adorable! I love the bright, vibrant colors, too!
I love making those. The pattern I have adds another fabric trim between the cuff and the main body. I also finish the side and bottom seams with a french seam so no fraying! Love your fabrics!
So cute! These would be so fun for a girls birthday party sleepover! Where did you get the cute fabric?
Consider making some of these for pediatric cancer patients…share a smile!
Such fun prints! Love it!!
so cute, adorable patterns and colors, thanks for easy to follow tutorial!
This was fun! I made four pillowcases last night, one for each of my kids. They picked out the fabrics, and I put them together in no time. Your directions were perfect! Thanks.
This is the most clear tutorial I have found, thank you! But I still have 1 question… What is the width of the fabric you used? Every tutorial I have found has said to cut the fabric to 27″, but is that using a 45″ fabric? I have been asked to make a few of these from swaddling blankets.
Thanks,
Robin
I made a few princess pillowcases today and your directions made it a breeze and they came out awesome! Thank you!
They look gorgeous! thanks for putting a tutorial together. I will say though, that I have some purchased pillow cases like this, and because there is no inner “envelope” the pillows constantly fall out and you end up with an unsightly white pillow edge. Hope the next time you make some, you get some photos! 🙂
Sheree
Do you prewash the fabric for these pillowcases?
I usually prewash the fabric for any sewing project.
I love these pillowcases. I made bunches of them over the last few years and donated them to an organization called ConKerr Cancer that distributes them to children in hospitals so they have something more personal and comforting than the standard issue hospital linens. I also gave them as gifts to my teenage newphews (hard to find appropraite gifts for teenage boys!) and use them myself. I have made them in cotton and in flannel as well with french seams so they are finished inside and outside. Great tutorial for a great DYI project!
These are so cute. I think they would be a great party favor for a kids pajama party.
My daughter and i made these for her 13th birthday party for favors. We found fabric that said Happy Birthday and presents all over. The girls loved them.
These are great and so colorful. Have you ever heard of enchanted makeovers? They makeover shelters that women and children stay in. One of their projects is called the “traveling pillowcase”. These would be great for that. You should check it out.
Vicky
I have been sewing for nearly 50 years and have made many pillowcases. I can’t believe I have never considered doing it this way! This is refreshing! Thank you so much!
Can you believe this is the first time Ive read this post?! I saw it pinned and thought “gee those pillow cases look SO familiar…and cute…I want to make some!” then I click and read and there it is. They were the adorable sleepover party pillows from SNAP last year! Too funny! Great tutorial!
I too am wondering about what the width the fabric should be (after cutting the 27″ and 9″) before starting the pillow.
I’m doing the 3 fabric version and my cuff gets off or unsquared after the sewing of the tube even though its aligned and pinned in the process. Some how i end up with extra cuff at the end and it throws the whole cuff and sometimes pillow out of alignment. Help!!
How would you make these Queen size? Measurements?
AND your method only works with non-directional fabric–right?
Great tutorial! I’ve got a Craft Gossip post scheduled for this evening that features your magic pillowcase
Love these!!! Holly
Love the fabric!! Can you tell me where you purchased the green dot fabric?
These pillowcases are so adorable! Do you have to have a sewing machine to make them?
I have been making pilllowcases like these for years for my kids and nieces. They still ask for them.
Many people want to know what the width of the fabric is for the standard size pillowcases. It is 42 inches. Just buy a standard 44-45″ fabric and trim the selvage off the edges and you will basically have it. Hope this helps! Kim
You did a great job. These pillowcase are adorable. I haven’t make any pillowcase before. Yours make me want to give it a try.
I made a rookie mistake and chose a fabric with a clear direction to the pattern . I followed the instructions exactly and it came out with the pattern sideways! Guess I should have read the comments first. Still, it was easy to follow your instructions, and I’d definitely make it again!!
First tutorial I’ve seen that made sense. Have watched many and tried to follow directions but turned out an epic fail. Yours was so easy to follow. I will definitely try one mor time❤️🤷🏼♀️