
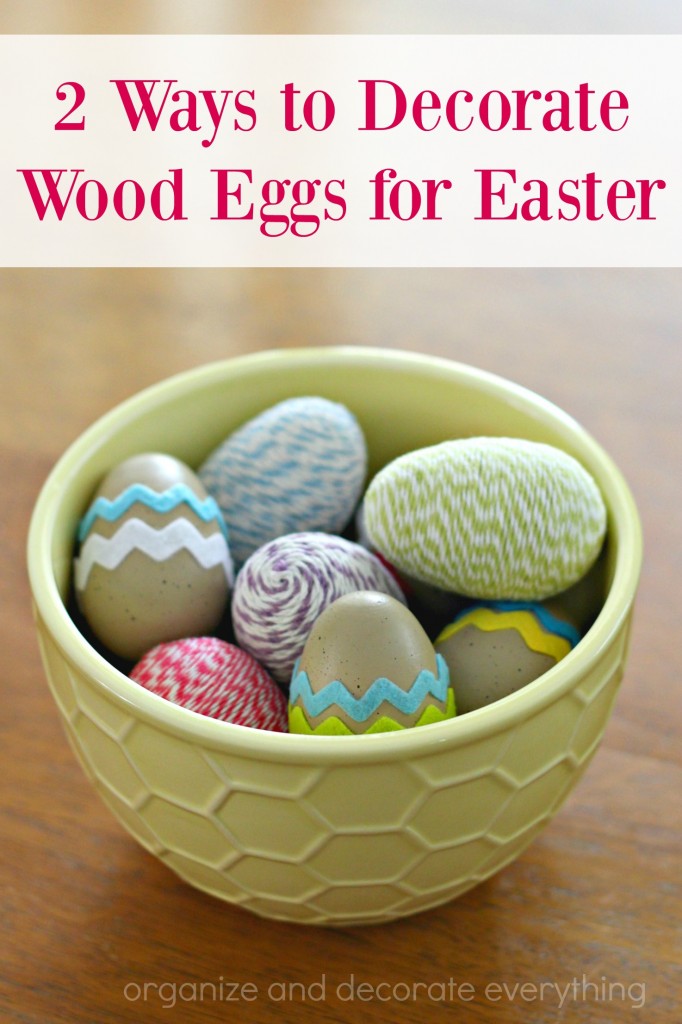
I love Spring! There’s a sense of renewal and a promise of things to come. It’s like the world is waking up from a deep sleep. It’s a time to open the windows and let the fresh air in. I also love decorating with bright colors this time of year, so it was time I took my plain wood eggs and perked them up a bit. I’m sharing 2 Beautiful Ways to Decorate Wood Eggs for Easter.
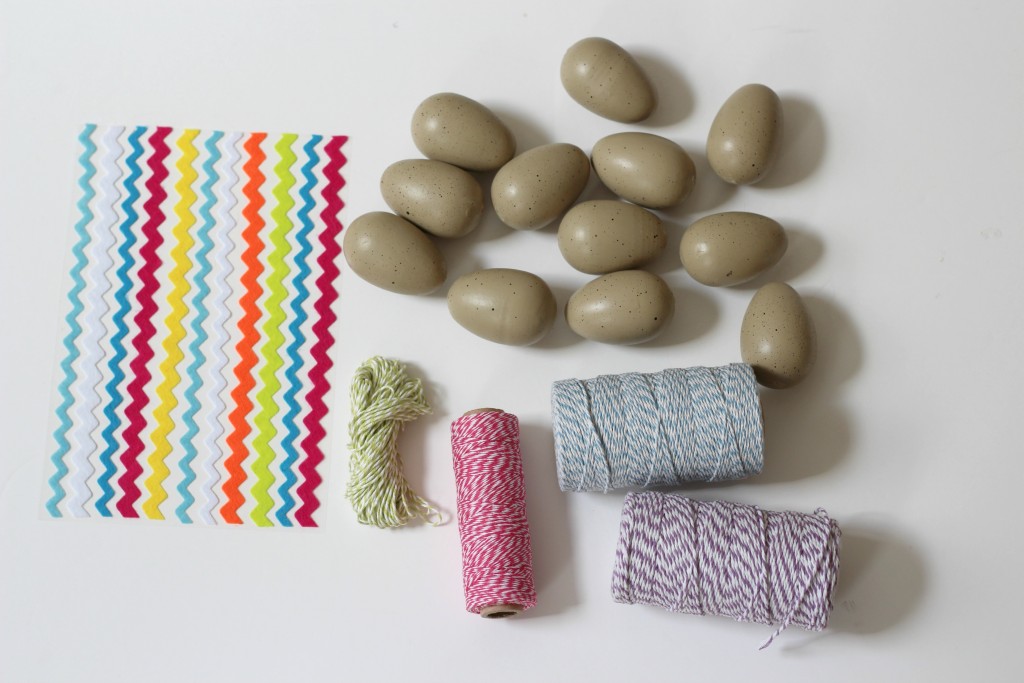
Supplies Needed:
Wood eggs (or any eggs you’d like to use)
Baker’s twine in several colors
Felt sticker strips (from Target)
Scissors
White glue
Small brush
Hot glue
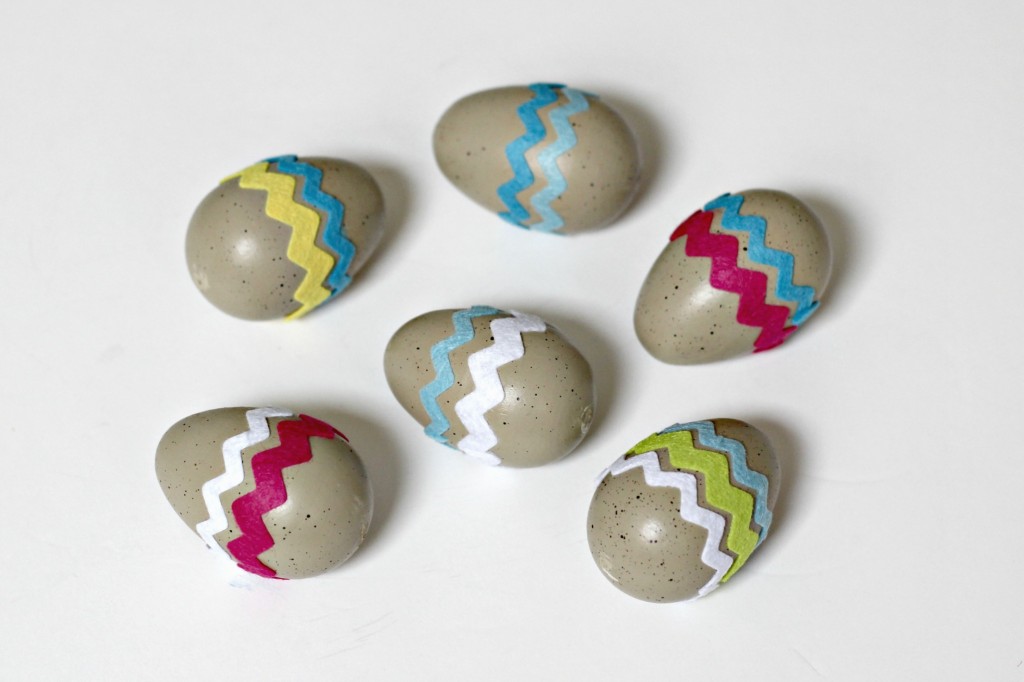
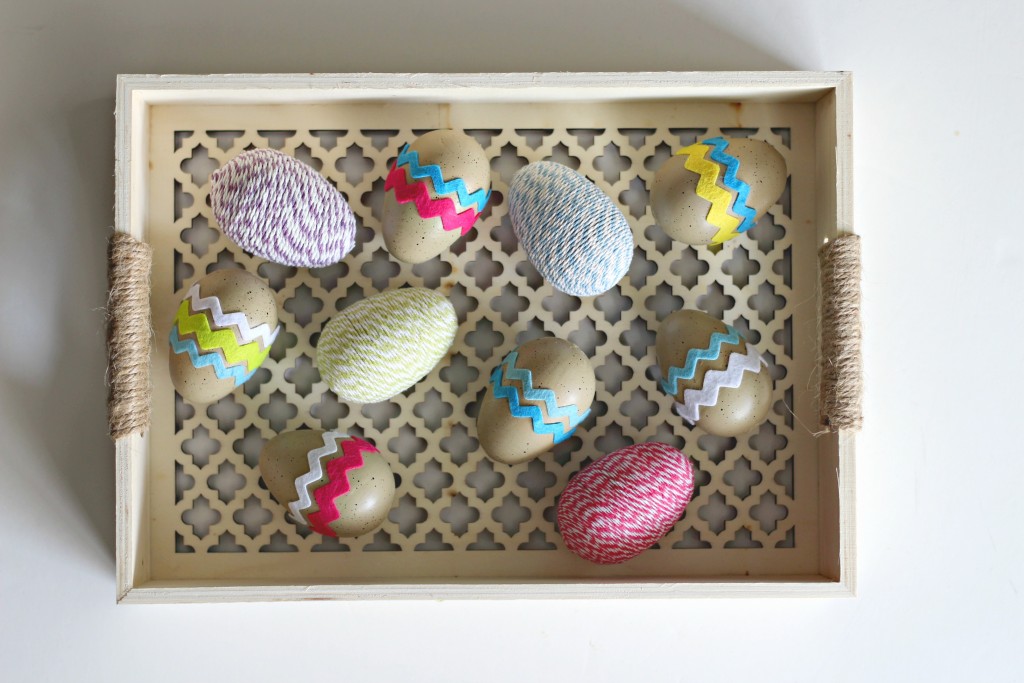
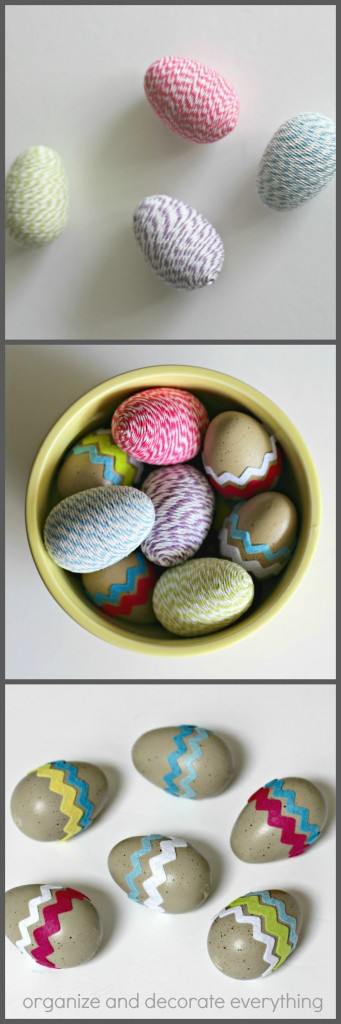
These first set of eggs are simple to make but are perfect if you want to add temporary color during the Easter and Spring season. I’ve had these wood eggs for years and they are a fun addition to my kitchen decor but I wanted to perk them up a bit for Easter. Simply wrap the eggs using the felt strips cut to the length you need. These were purchased at Target and already have a sticky adhesive on the back. Nothing could be easier than that. It’s like instant decor! Just remove the strips to have the eggs returned to their original state after Easter, if you desire.
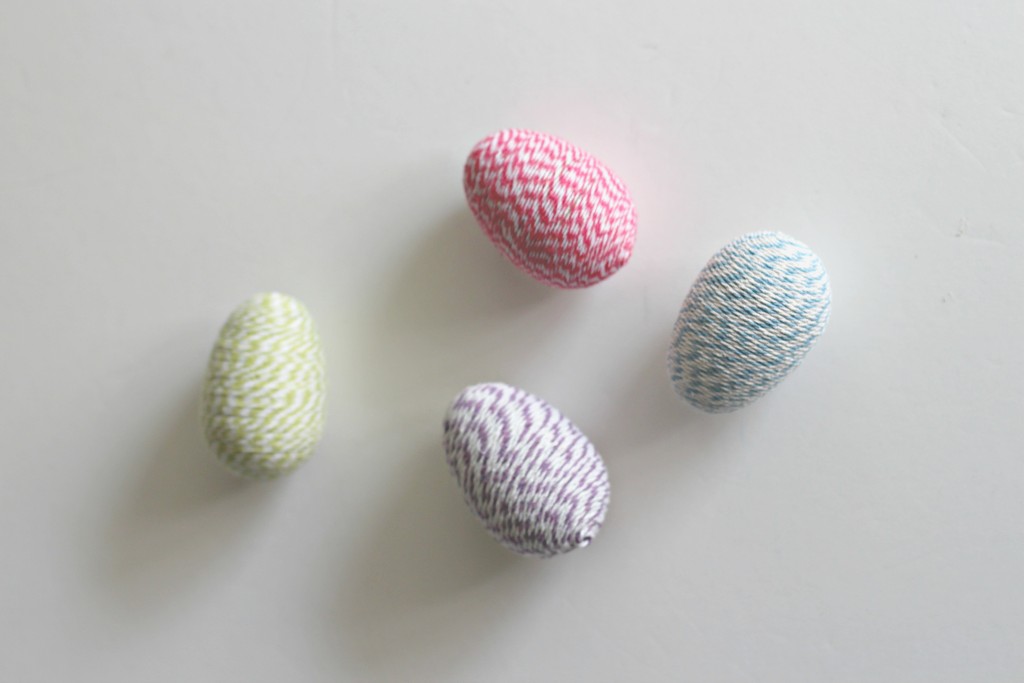
I love how these twine wrapped eggs turned out. Start on the bigger end of the egg and add a drop of hot glue, quickly attach the end of the twine to the glue on the egg and make a small swirl with the twine. This is the beginning of the wrapping. I tried using white glue to get it started but it was quicker and easier to use hot glue to secure it in the beginning. You don’t want to use hot glue for the rest of the egg though or it could turn out uneven. I worked in sections while applying the glue. Brush glue on about 1/3 of the egg and continue wrapping the twine around the egg until you reach where the glue ends then apply glue to the next section.
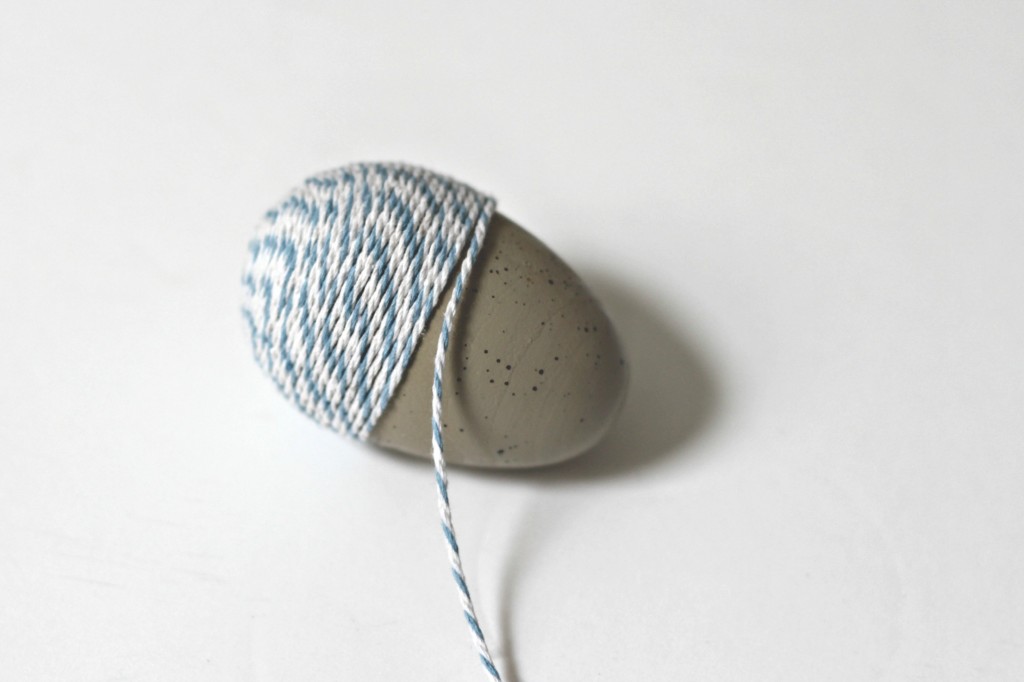
Make sure to keep the twine as close together as possible to avoid gaps. End the wrapping by adding a drop of hot glue to the other end and cutting the twine as close to the egg as possible.

They took a little more time than I though they would but I’m pleased with how they turned out. My daughter said they looked store bought so I guess I’ll take that as a complement. Doesn’t the twine make a fun pattern on the eggs?
These eggs are a simple way to add color and texture to any space for Easter or Spring.
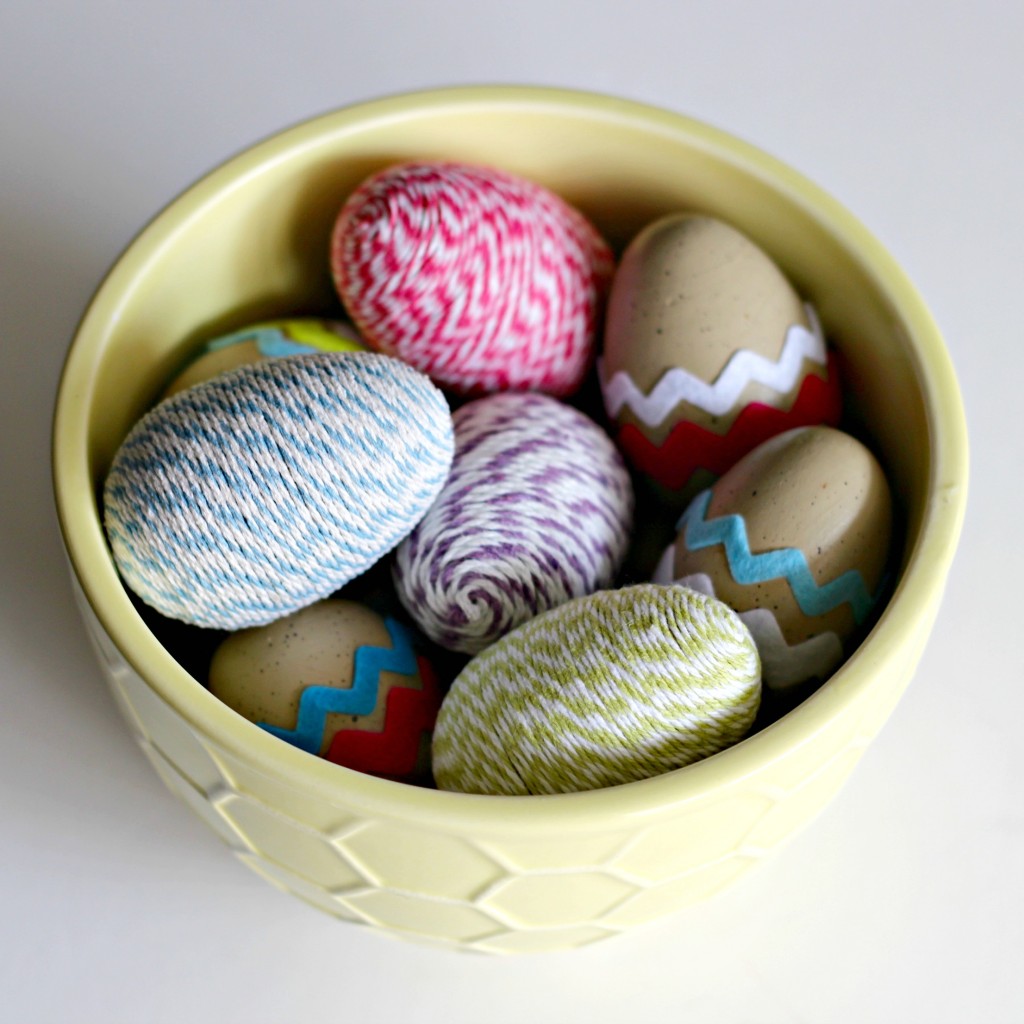
I might make more twine eggs. They were a lot of fun. If I get tired of the felt eggs I can simply peel off the strips and return the eggs to their original state.
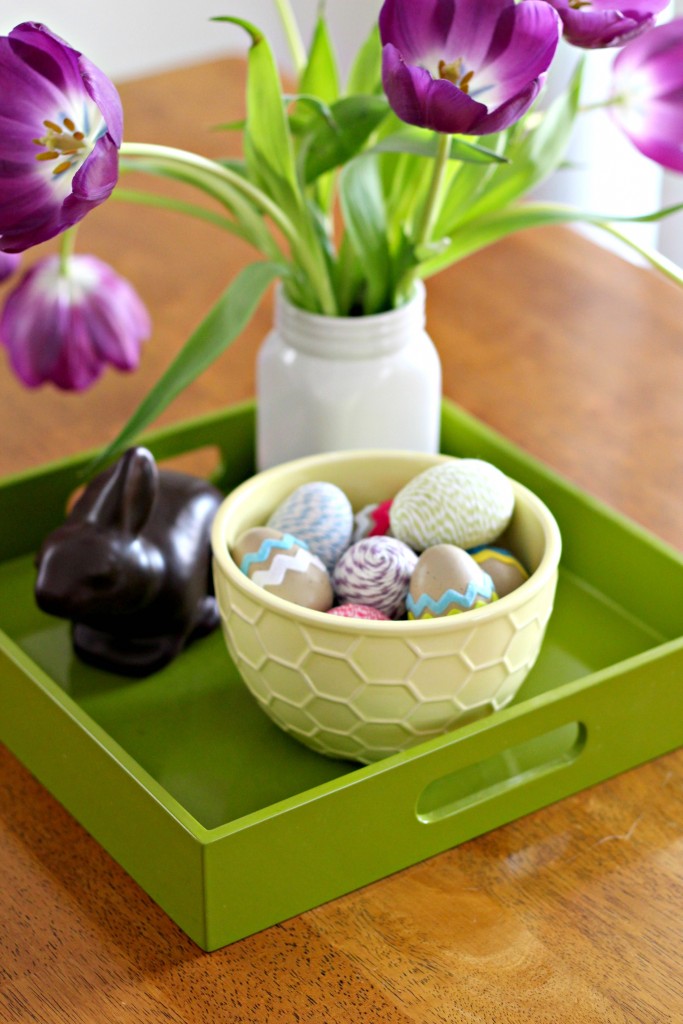
What a beautiful vignette for my Easter table.
You can also use plastic eggs to make these 2 designs. I will probably try that for the twine eggs next time since they are fully covered. Happy Easter! And happy crafting and decorating!


LOVE those twine covered eggs!
I really loved reading your blog. I also found your posts very interesting. In fact after reading, I had to go show it to my friend and he ejoyed it as well!