
I have so many wonderful memories of playing with yarn when I was in Junior High. I made pom-poms, tassels, wall hangings, hanging plant holders, I was even taught how to knit a scarf from my grandma. Isn’t it funny how everything comes back in style? What was once trendy, is trendy again. I made a Yarn Wall Hanging for my bedroom and now I’m hooked all over again. This one is super simple and I love how it turned out.

Supplies Needed:
Yarn (3 different colors – thick)
Large embroidery hoop
Scissor
Ruler
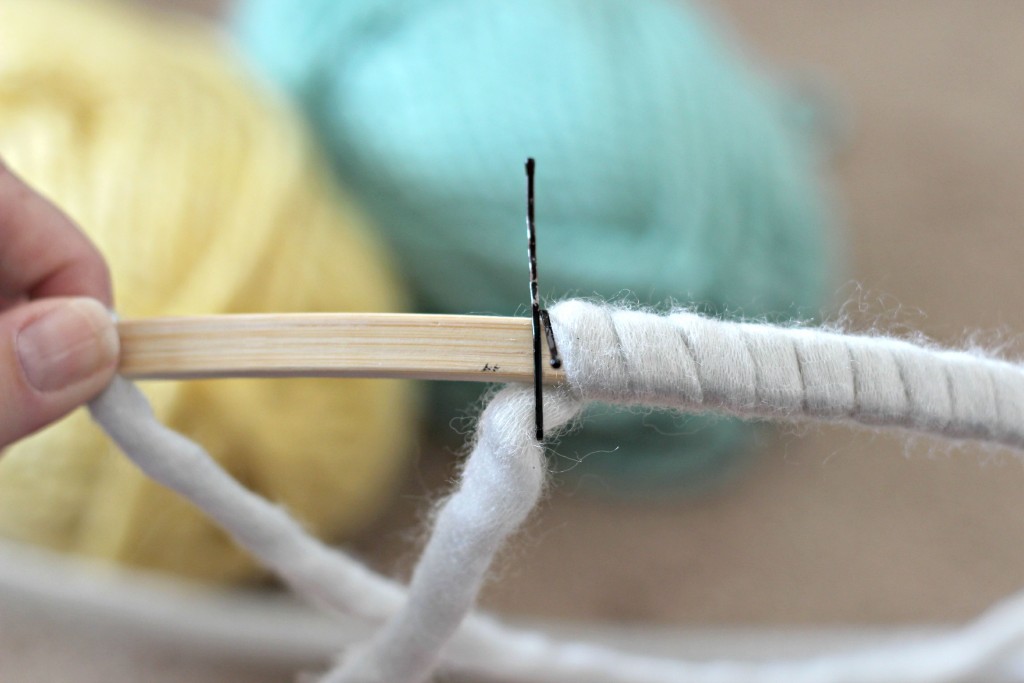
Wrap the hoop with yarn. I used the same color around the hoop as I used in the center of the wall hanging. Make sure to clip the yarn to the hoop to hold it in place as you wrap. I was being lazy and grabbed a bobby pin that was sitting within my reach. It worked fine but I’m sure a clip would work better. Tape might work too.
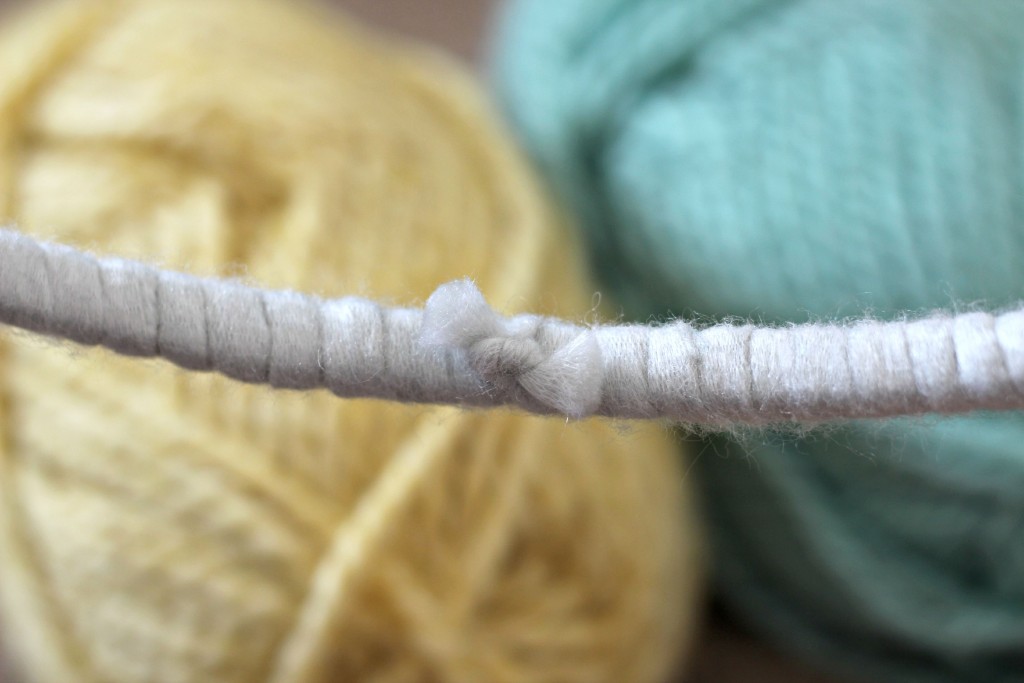
Once the yarn was wrapped all the way around the hoop I tied the end pieces together in a knot and trimmed the yarn. There’s no gluing in this project, just a few knots. I love how simple it is.
I used the knot as a center reference on the hoop. Cut the yarn pieces 5 times the diameter of the hoop. The pieces will actually be 1/2 that when you loop them over the hoop. Fold the yarn in half and lay it over the top of the hoop.
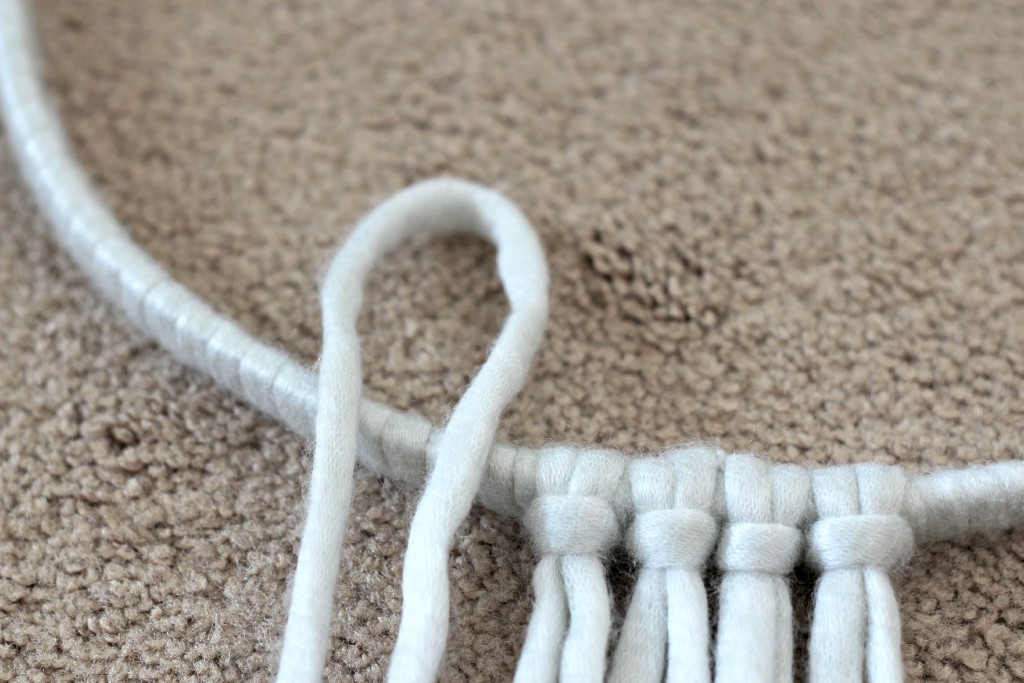
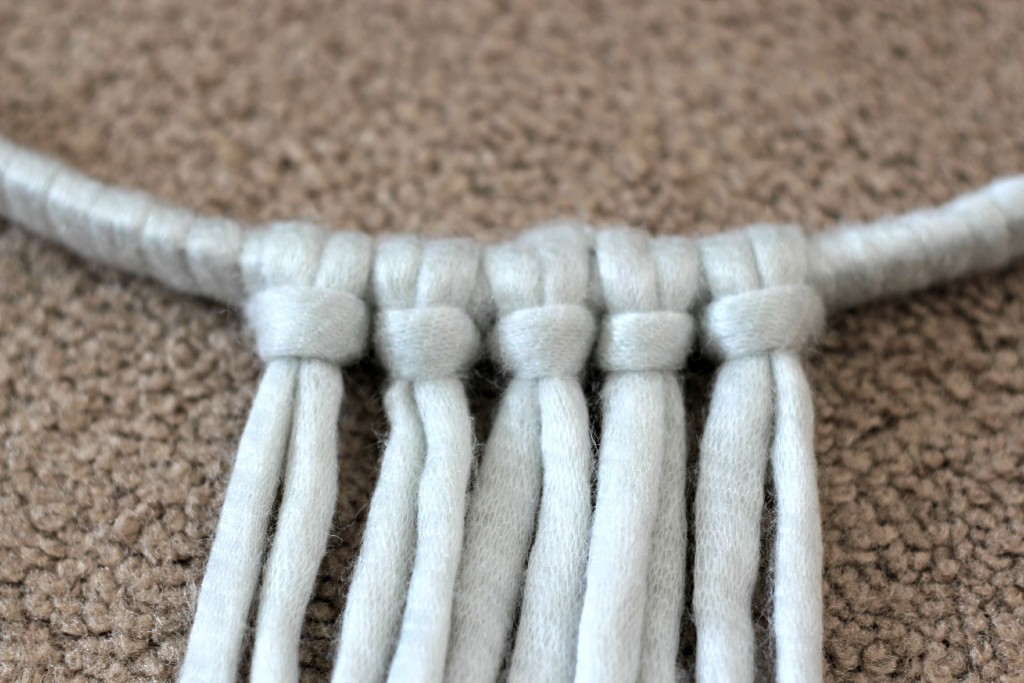
Put your fingers through the loop on the inside of the hoop and pull the yarn under the hoop and through the center of the loop as shown.
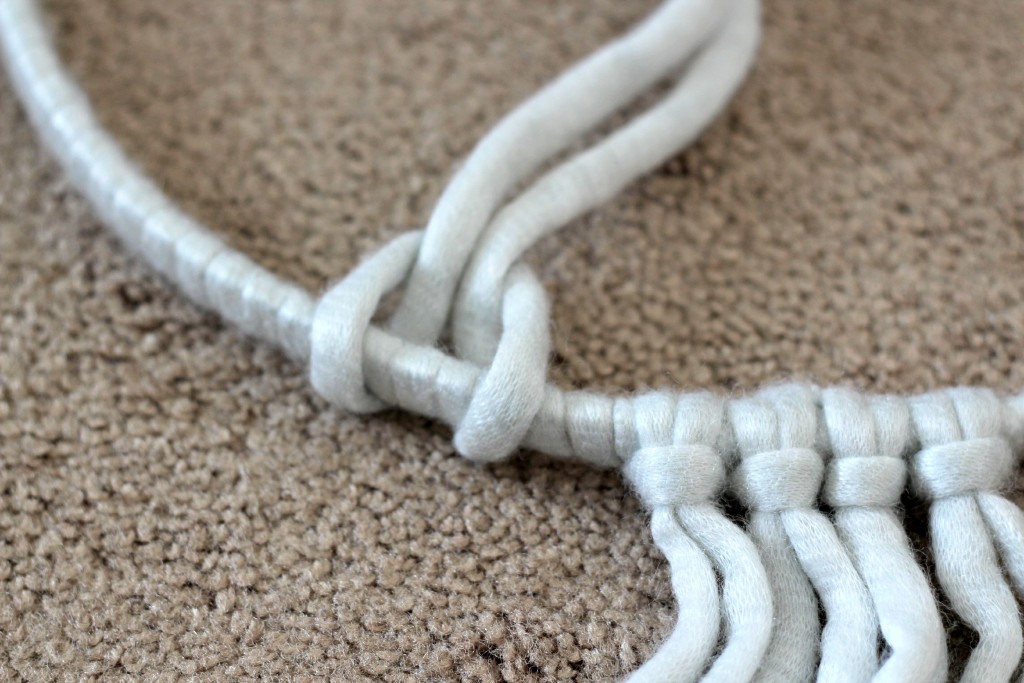
Pull the yarn back to the outside of the hoop so it looks like the photo below, then place them close together. I cut 10 pieces of the gray yarn. Add them all on in the same way.
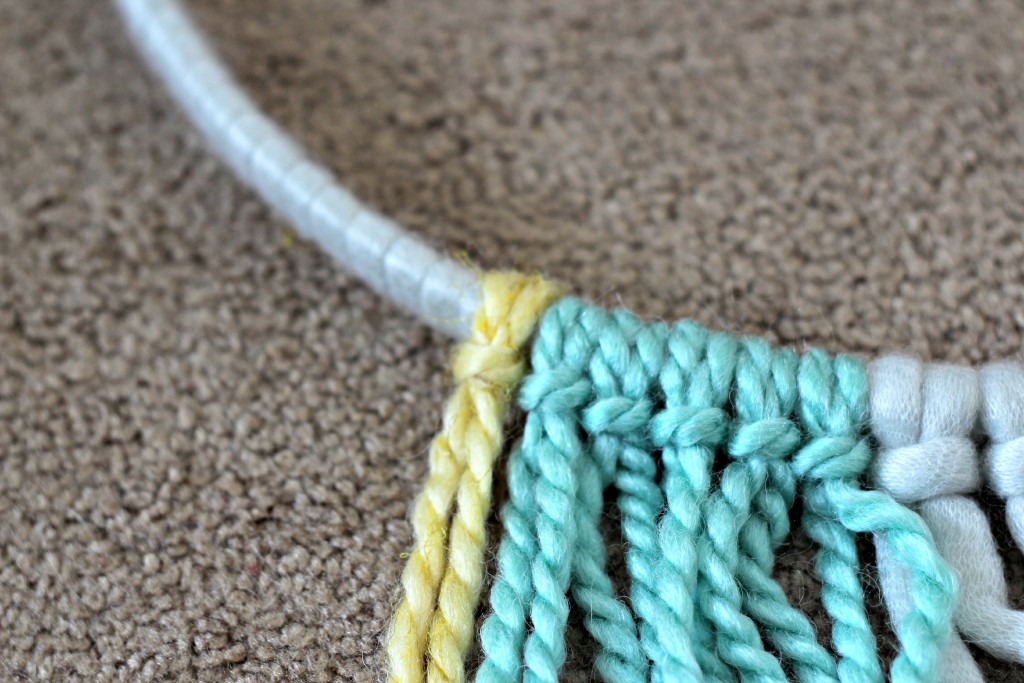
Then cut and add 10 pieces of green yarn to the hoop. Place 5 pieces of green yarn on each side of the gray yarn. Then add 3 pieces of yellow yarn on each side of the green yarn.
Don’t worry about the ends being perfectly even. You can now cut them straight across or in a design. I chose to cut them on an angle. I used the ruler for a straight edge but still didn’t worry about it being too perfect.
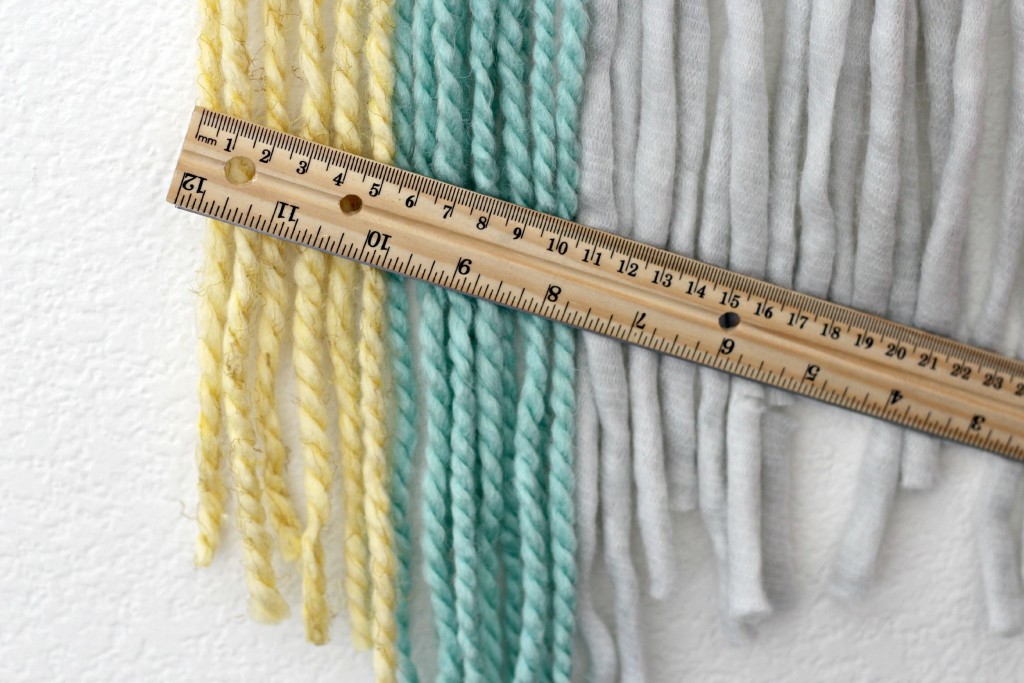
This is how the ends look now.

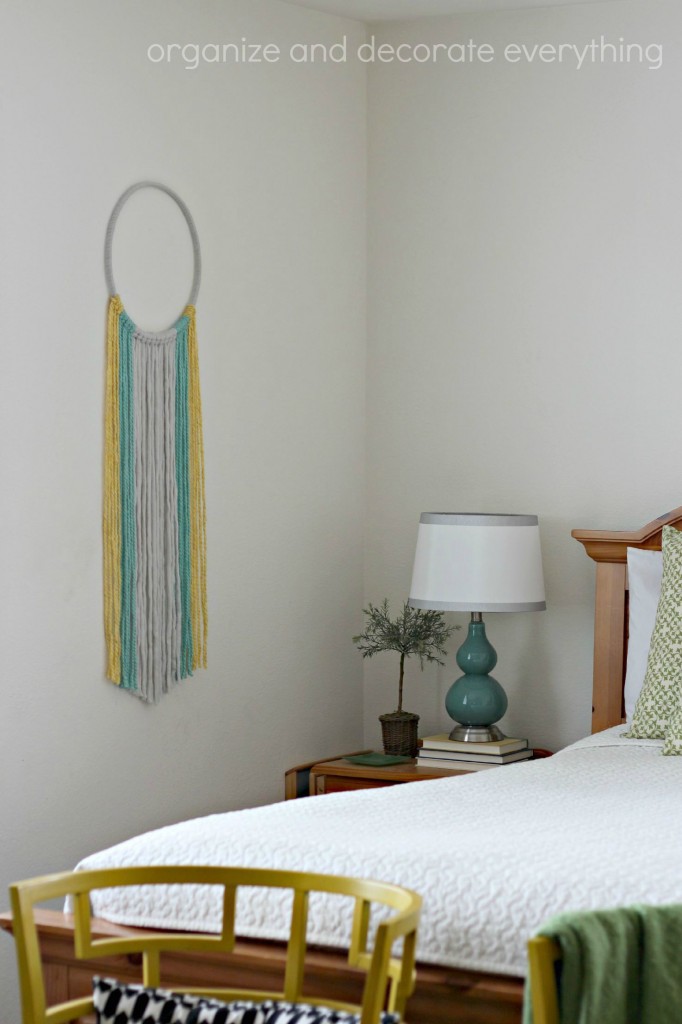
Umm, I love it! The wall hanging is a perfect focal point for very little money. I’m slowly but surely getting my bedroom the way I want it. I will probably finish decorating our rental right before it’s time to move. That’s the way it usually works, right?


Oh! This is very cool! I should totally make one – looks easy and very colorful!
Groovy and far out