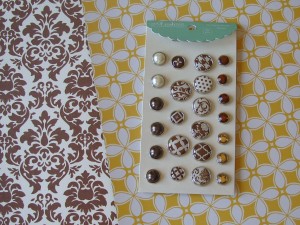
I’m working on Amanda’s room slowly, very slowly. She’s not going to be in her room for a few weeks because of visitors, but I’m still trying to get a few things finished for when she is. Here’s the inspiration I’m working with (she’s not allowed to change her mind again).
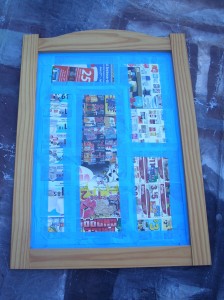
This mirror was originally mine. I think I’ve had it for 15 years, but only used it for 3. It’s natural wood which made it easy to paint.
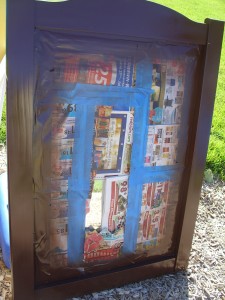
I covered and taped the mirror area to protect it. Then painted it Krylon Leather Brown.
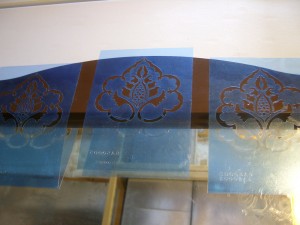
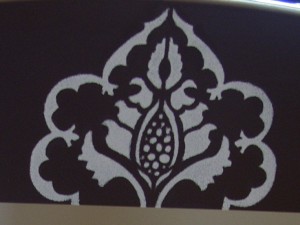
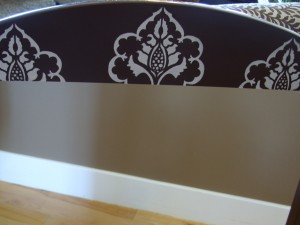
I took Amanda to Hobby Lobby to pick out some stencils or get ideas about what she wanted. We decided on this stencil (you’ll be able to see it better in a few pictures). I bought 3 of them to help make it go faster, plus they were on sale for .79 cents each.
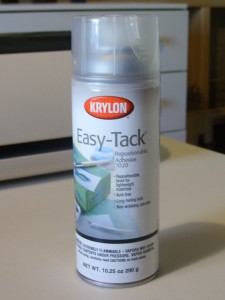
I sprayed Easy-tack on the back to hold them in place while I was stenciling. It worked well and made it easier to work with the stencil.
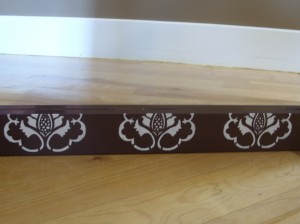
Here’s a close up of the stenciled pattern. I forgot to take a picture of me actually stenciling , but you know what to do. Just be sure to dab off the excess paint onto a paper towel so you don’t have too much paint on the brush.
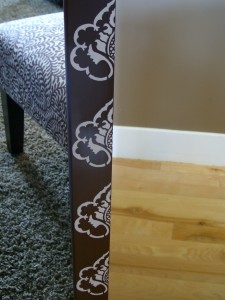
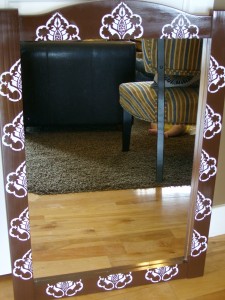
Here’s the left side of the mirror where I stenciled the left side of the pattern.
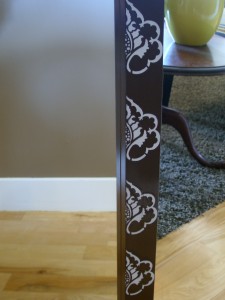
The right side of the mirror with using the right side of the stencil.
On the bottom of the mirror, I used the bottom half of the stencil.
And across the top of the mirror I used the top half of the stencil.
The spacing for the pattern is 2″ apart on the top and the bottom and 1″ apart on the sides.
Amanda loves it and I think it turned out pretty good too. I haven’t stenciled for quite a few years so this was a good place to start again. I’ll hang it up in a few weeks when all the visitors have left her room.



That looks great! I would have never thought of doing the stencil like that! 🙂
That turned out so nice! I haven’t stenciled in a long while, probably because I am not good at it 🙂 That was a clever, inexpensive way to revamp that mirror. Great job.
I am totally doing this with the stencils I have! What a great idea! Never thought to use the stencils on a mirror!
Hey, I just found you while blog-hopping and you are heaven-sent!! So inspiring, plus you’ve motivated me to get organized. But I don’t see anywhere that I can click to follow you. Please Help! http://shadowcase.blogspot.com
Love how you used the stencil! Nice! I have a mirror that needs fixing up, too….it looks REALLY boring as it is. :p
LOVE the transformation!
The mirror looks so pretty with the paint and stencil. I really love that pattern and how you used different parts of it on the sides and top & bottom. I haven’t tried stencils before but it looks so easy with a beautiful result. Thanks for sharing!
Sarah
That is awesome, I love it!
That is sooo cute! I need a stencil like that. Looks great!
Oh, Cute! You did a wonderful job! LOVE how your mirror turned out! Beautiful!! 🙂
This turned out really pretty – looks like something you’d find in Pier 1!
Love it! The stencil turned out amazing. Thanks for sharing.
This is so cute!
That is super cute! It looks absolutely amazing!
Thanks for linking up!
~Liz
I love that pattern! We appreciate you joining us this week at Anything Related!
{Rebekah}