

This was originally posted on the Crafting Chicks but I’m sharing it with you here in case you missed it over there. I’m showing you an easy way to reupholster a bench. It took less than an hour and cost less than $10 in supplies.

Let’s start with a before and after. Isn’t it always fun to see them side by side? I love seeing what a big impact a little fabric and some spray paint can have. When Emilee saw the before pic she said, I don’t remember it being that ugly.
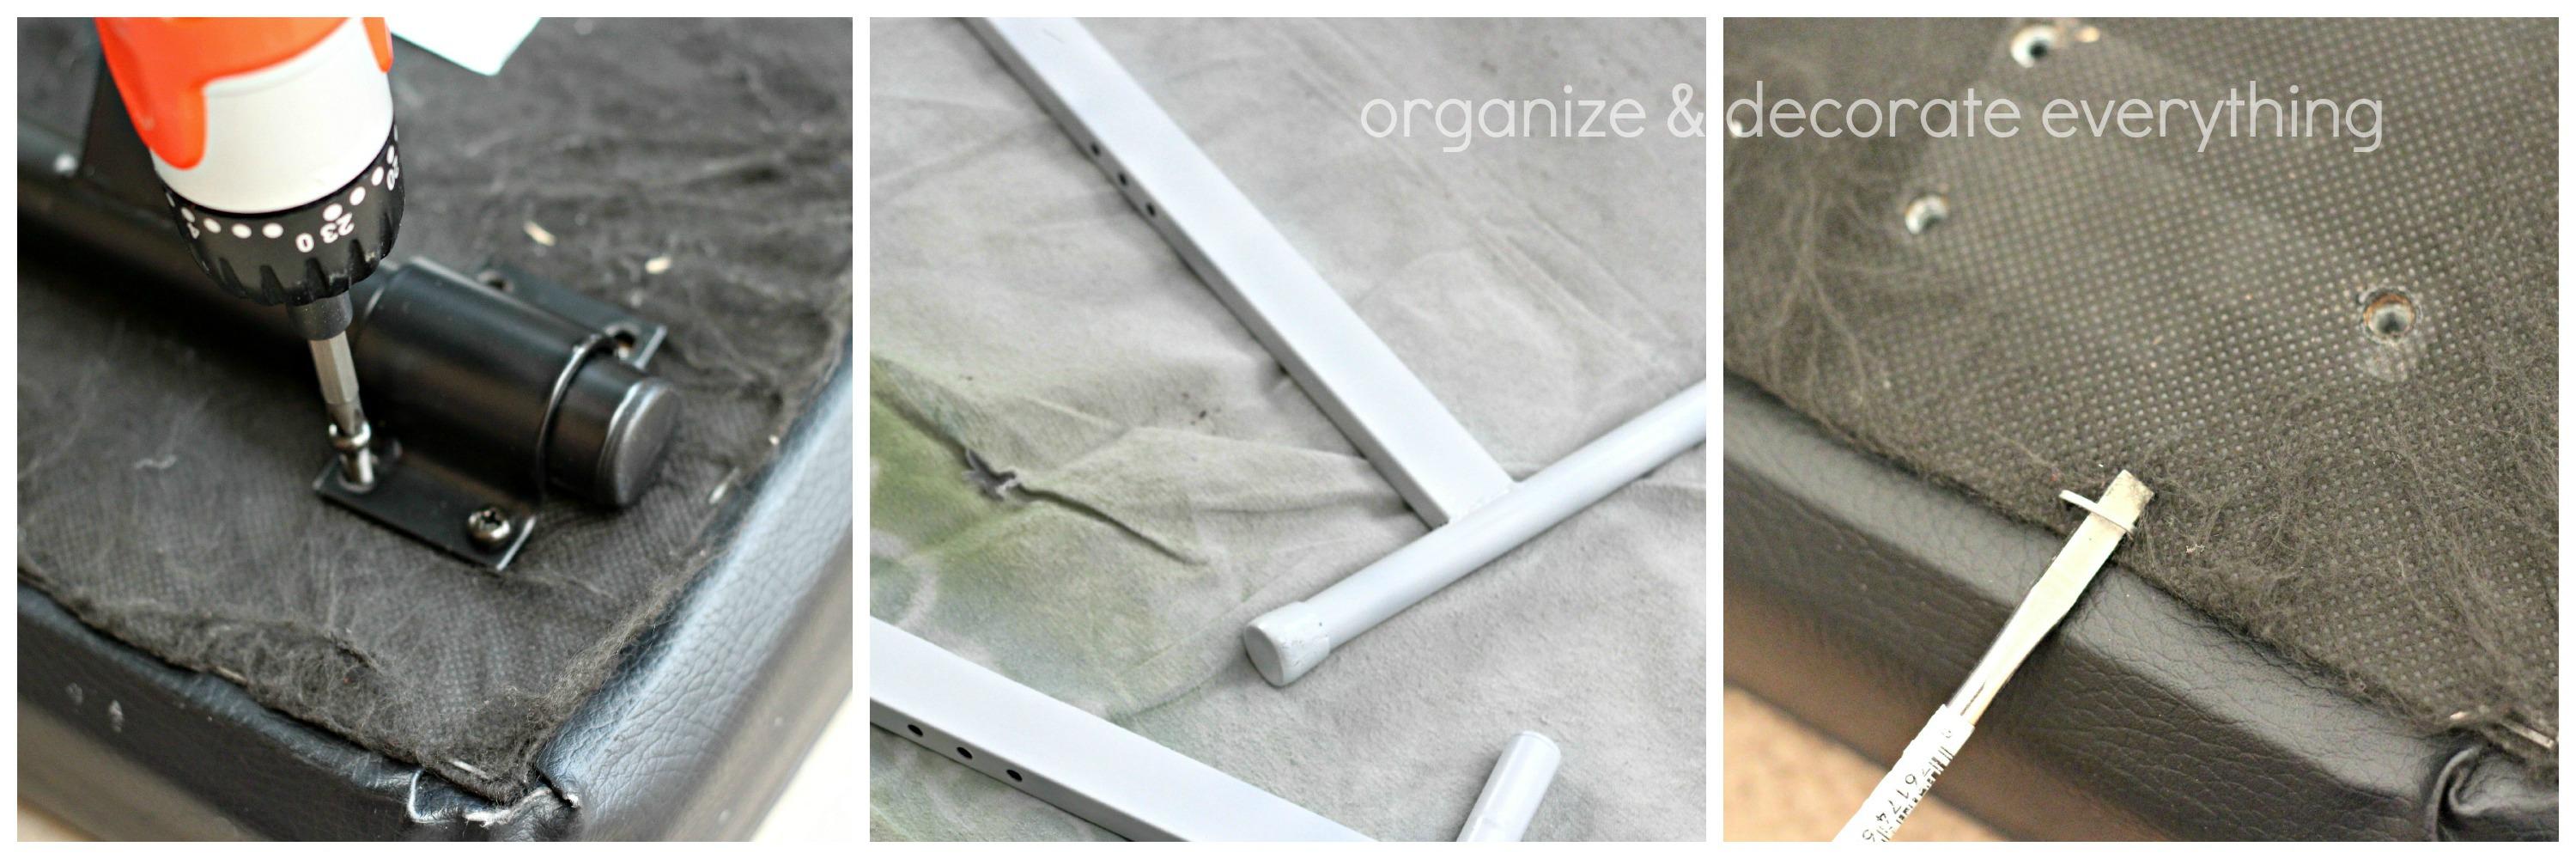
The first step is to get the bench taken apart. It was an easy process but the most time consuming part was taking the staples out. Start by taking the screws out of the bottom of the bench to take the legs and attachments off. I chose to paint the legs white to match Emilee’s desk. Prime them before painting then paint with 2 light coats of your color choice of paint. While the legs were drying I took the dusk cover off the bottom of the bench. Use a flat head screw driver to pry the old staples up.

Now it’s time to add the new fabric. You can either take the old fabric off or leave it on and upholster over it. I chose to leave it on this time to help keep the shape of the seat since this type of fabric is difficult to pull tight. Cut the fabric large enough to wrap around all sides of the seat cushion and at least an inch onto the underside. Center the seat, upside down, on the fabric. Pull one side of the fabric tight and use a staple gun to hold it in place, now do the same thing on the opposite side. Check the fabric at this time and make any adjustments before stapling the other 2 sides. Pull the corner fabric up and staple the center of the fabric onto the bottom of the seat.
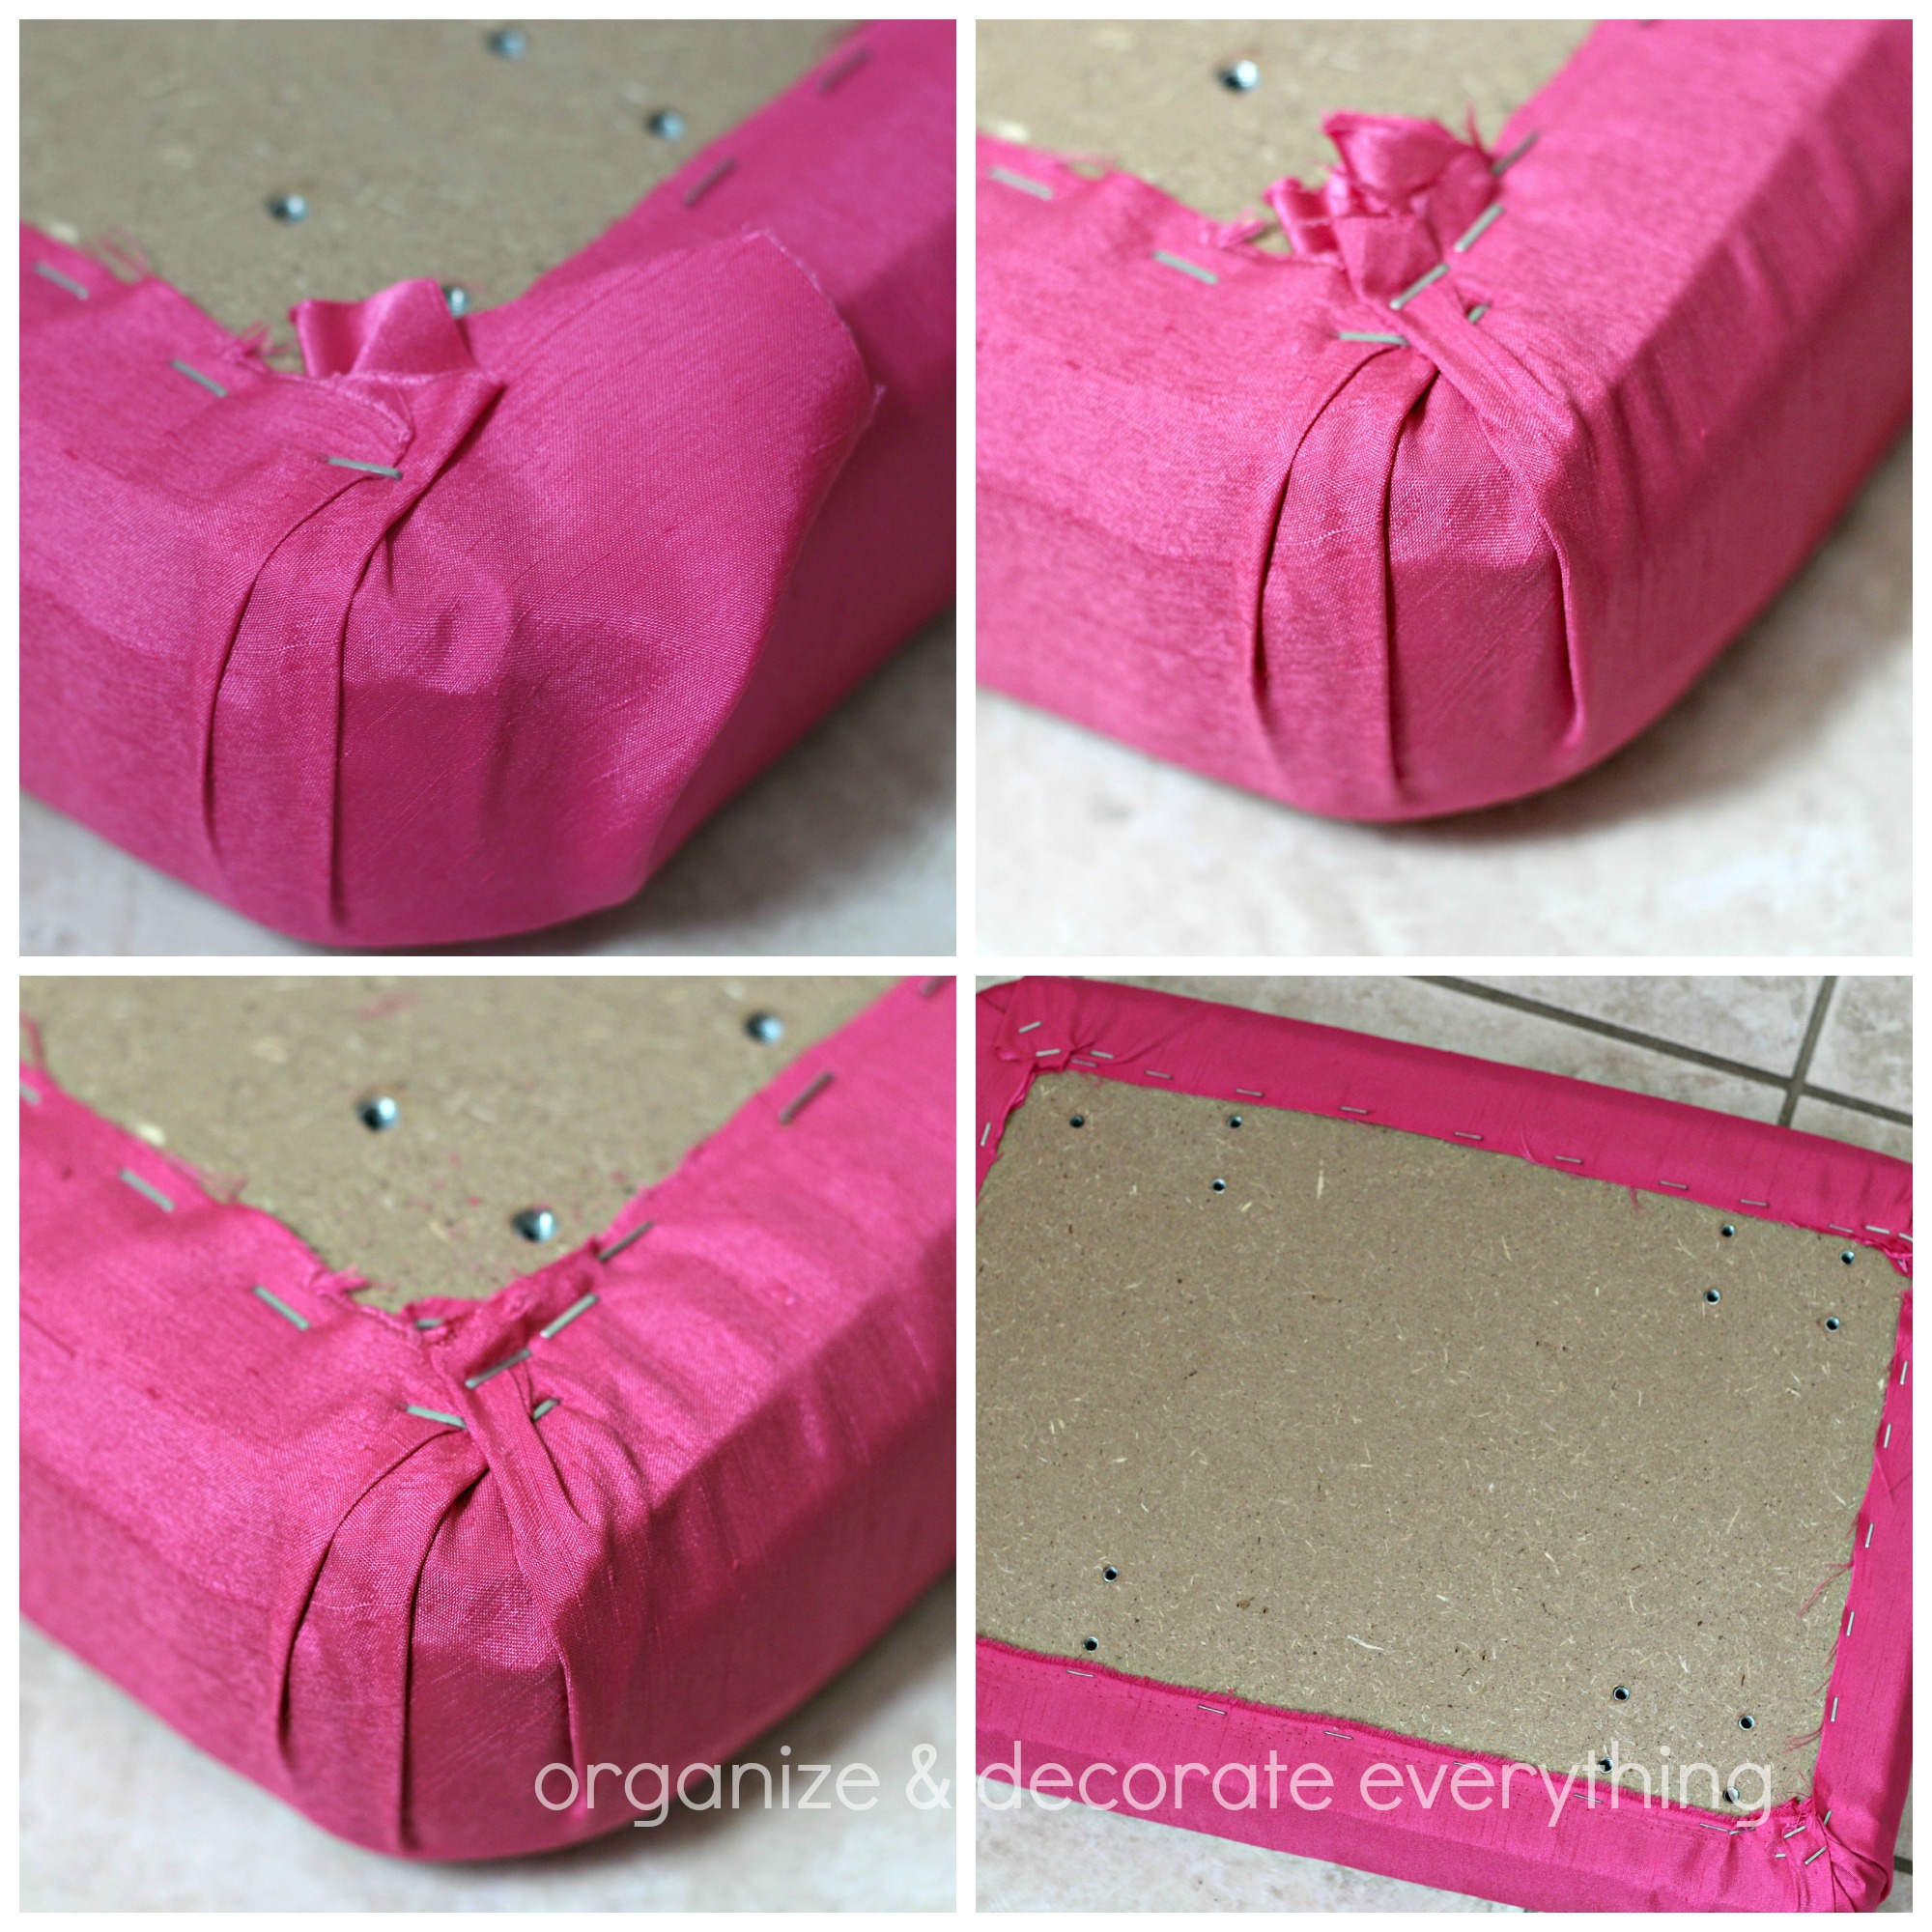
Gather and fold one side of the corner and staple, now move to the other side of the corner and do the same thing. Always work on the opposite side of the seat next. There will be some extra fabric making it bulky in the corner. Cut off the excess fabric at this time. Now it’s ready for the dust cover.
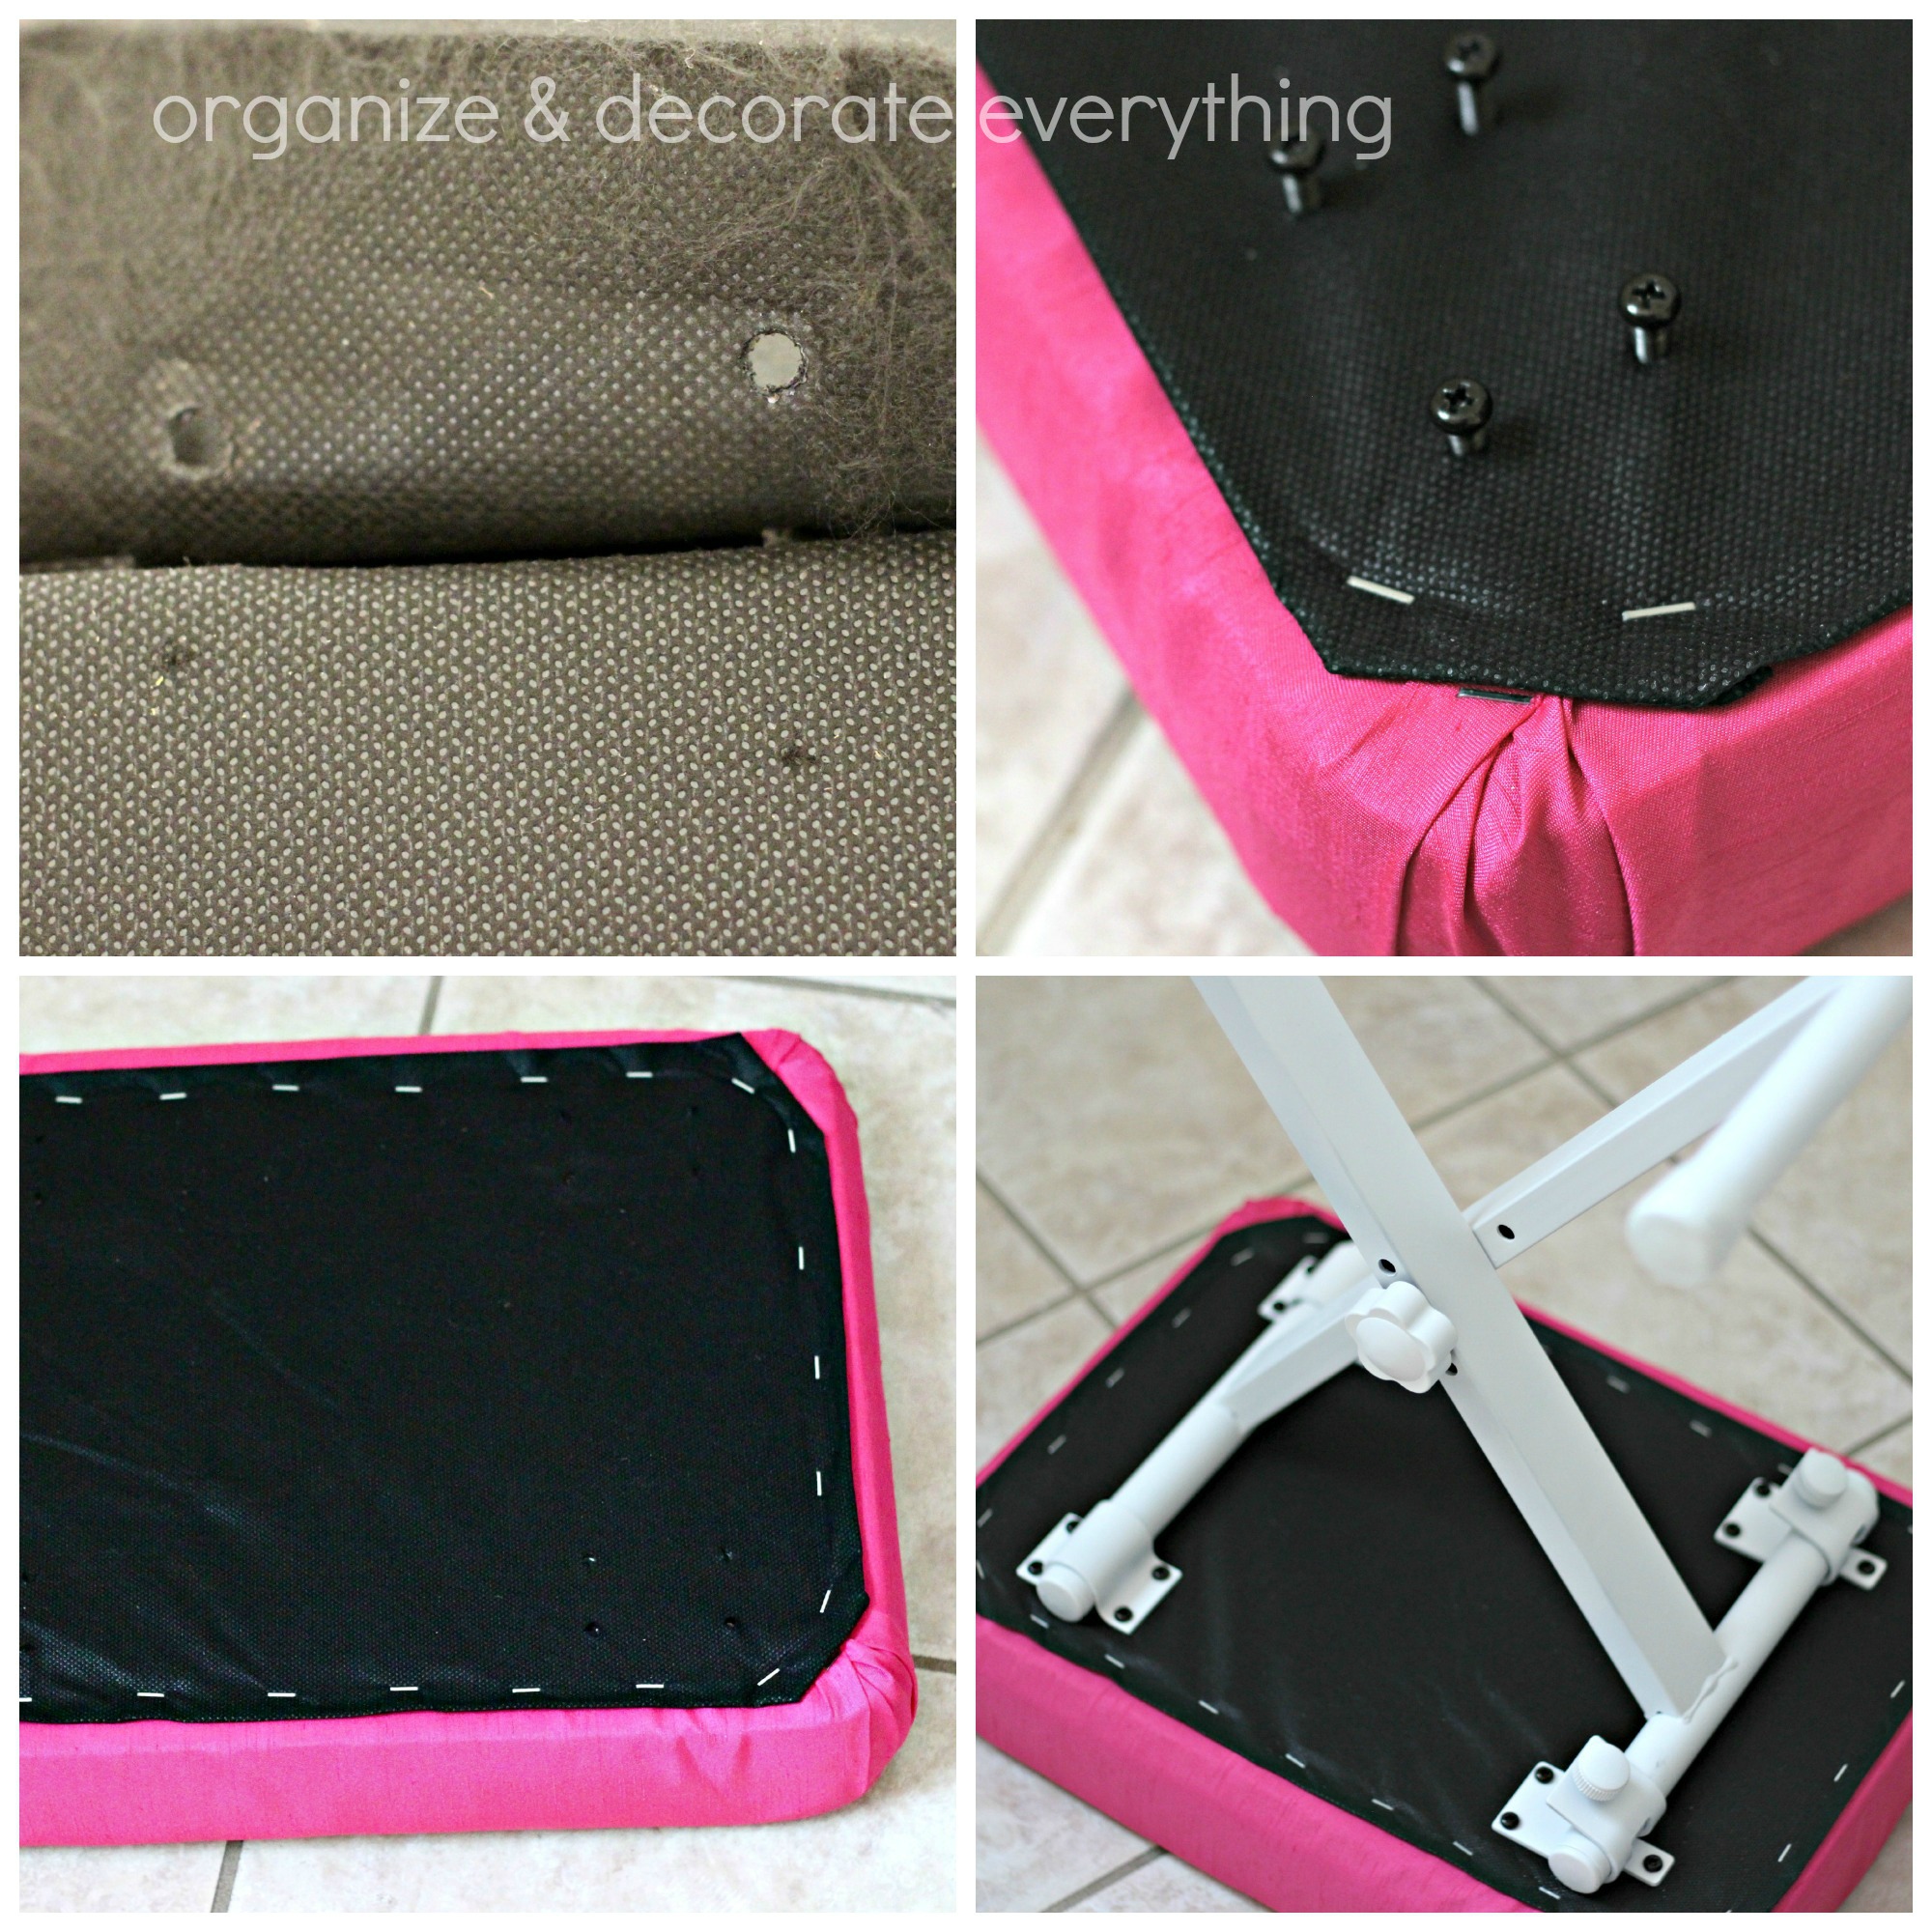
Use the old dust cover as a template for the new one. Cut the fabric to size plus an inch to fold under so there’s a smooth edge on all 4 sides. I used an Exacto knife to cut slits where the screws need to go through the fabric. Place the screws back in the holes temporarily to hold the dust cover in place while you pull and staple it on the bottom of the seat. Once it is stapled all around screw the legs back on the bench.
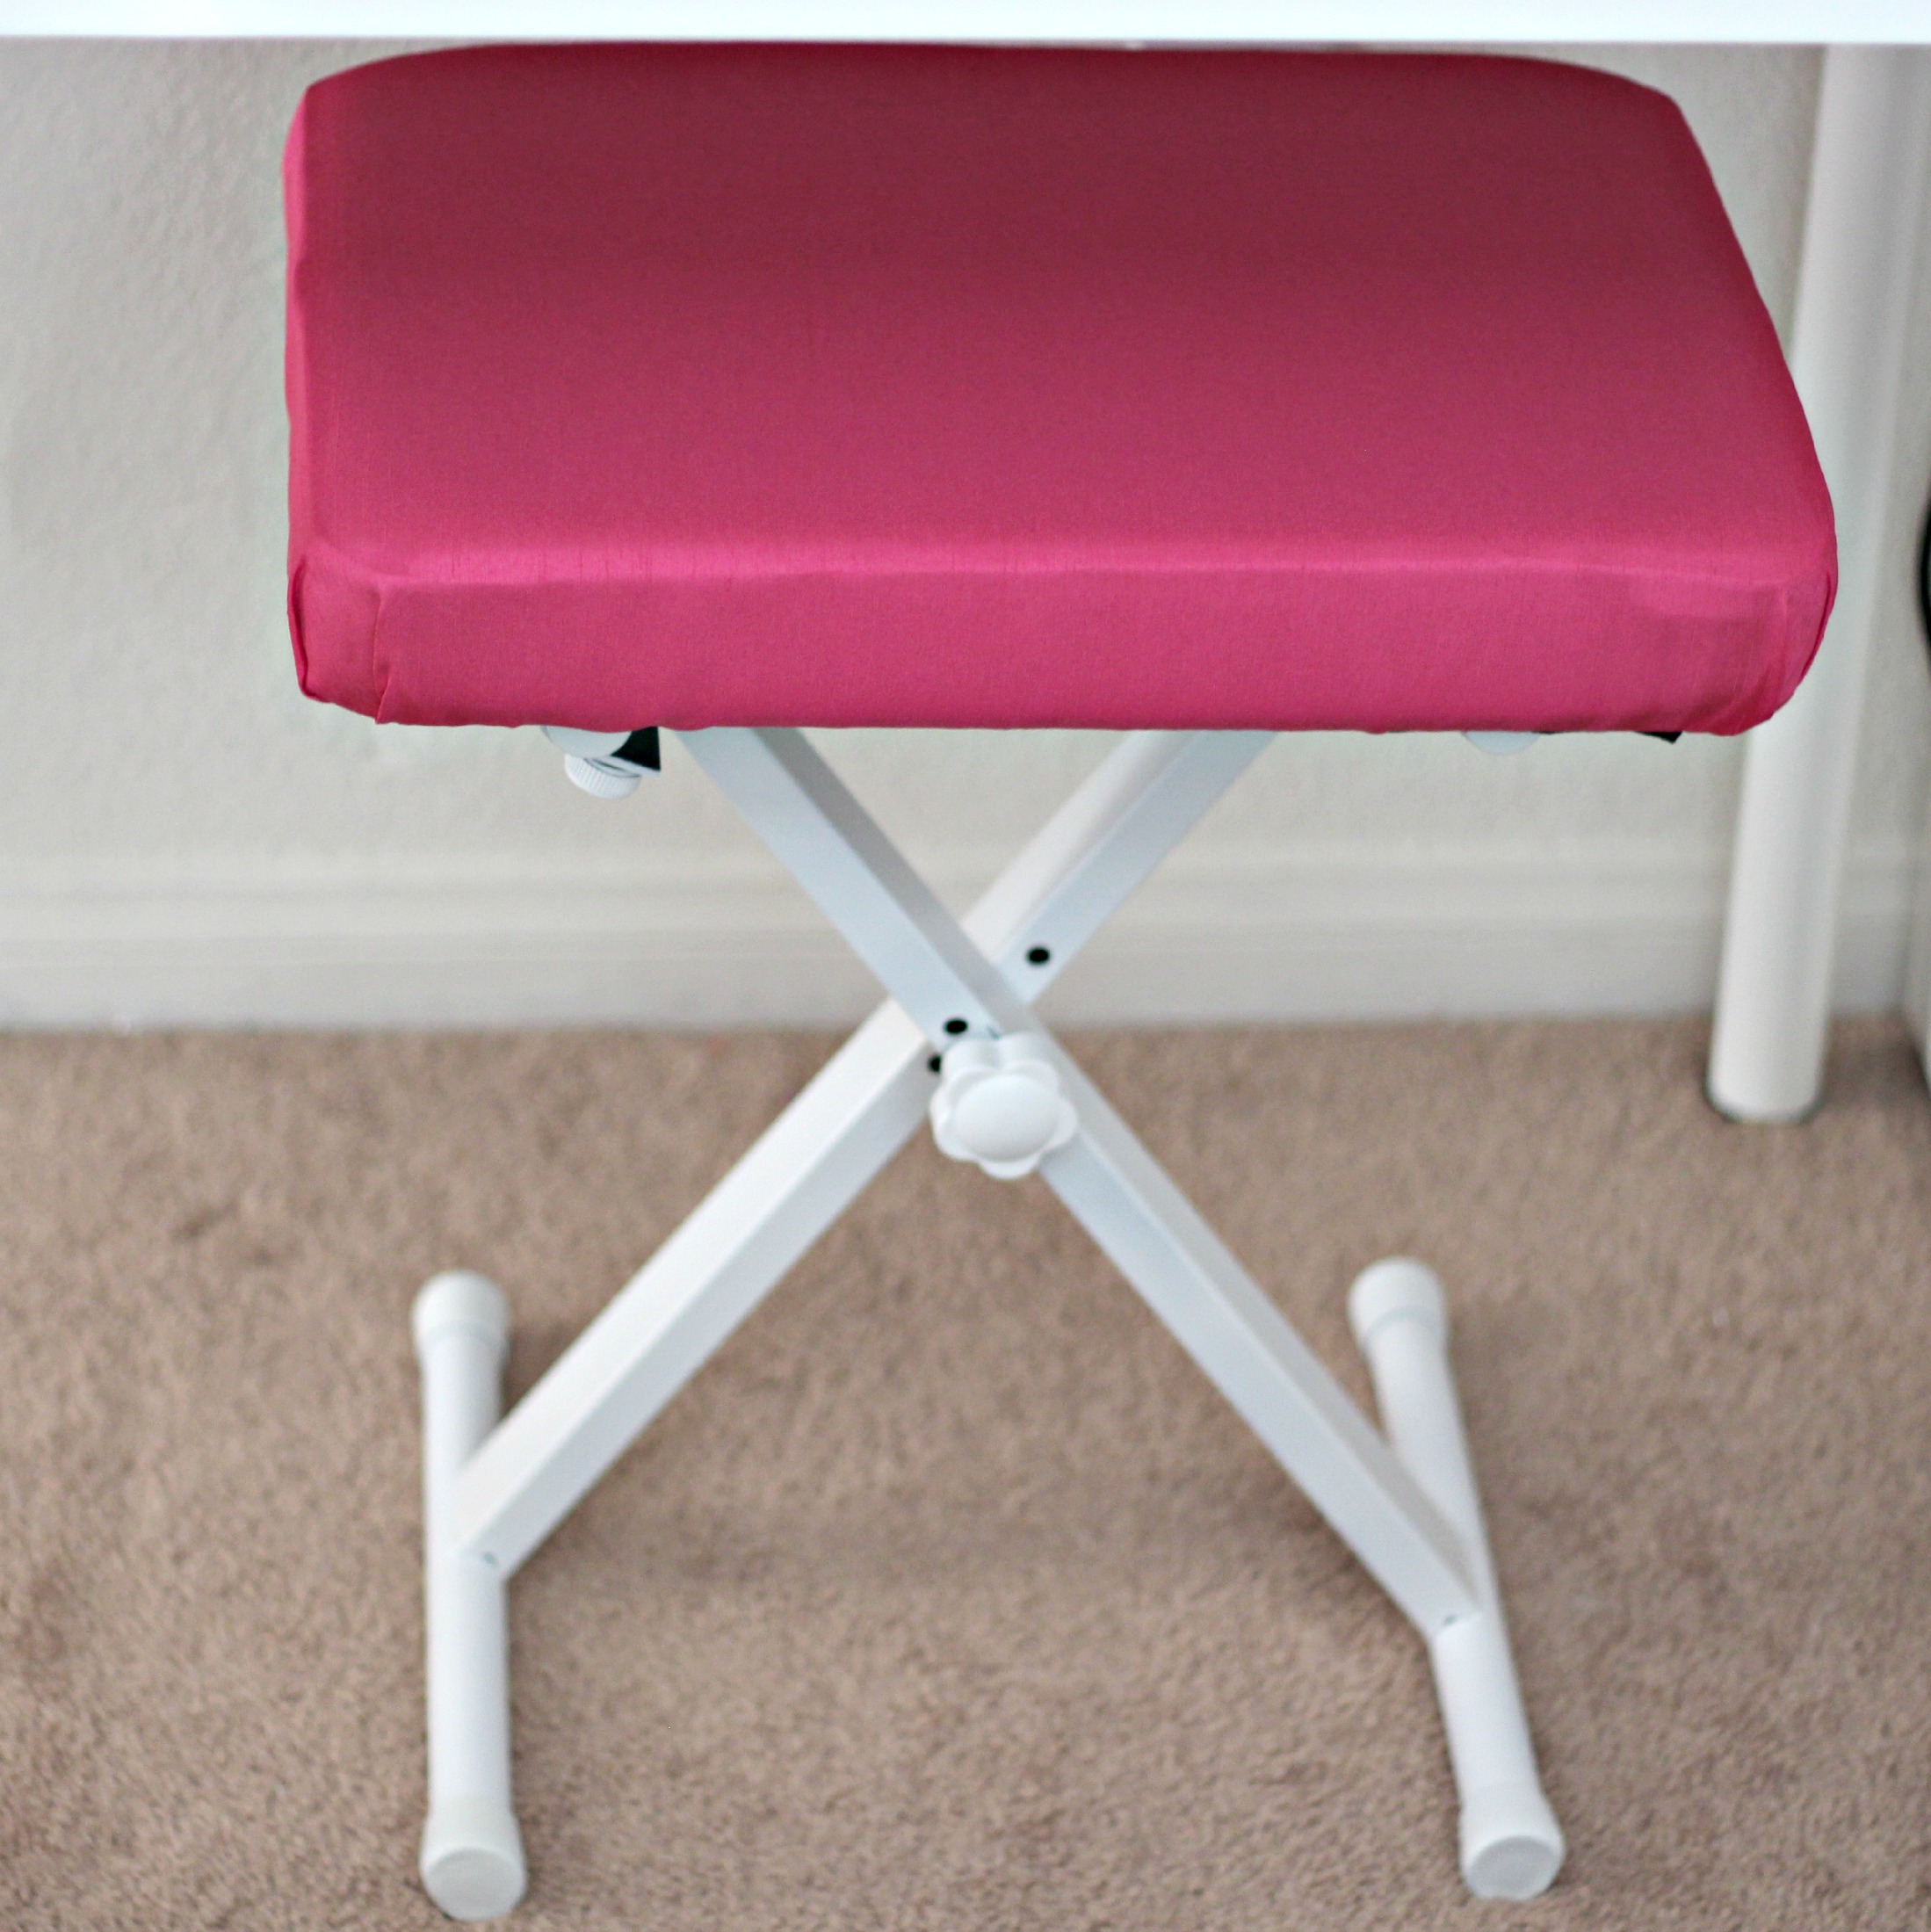
Emilee’s room is much smaller since we moved. She didn’t have enough space for her keyboard bench and a desk chair so we decided to make the bench work for both spaces. By painting it and add new fabric it works perfectly in both spaces now.

Of course she needed to try it out as soon as I was finished with it. You can use this same technique to make a new cushion for a dining or desk chair. I love being able to use things I already have and make them like new again.
What have you been working on lately?


