
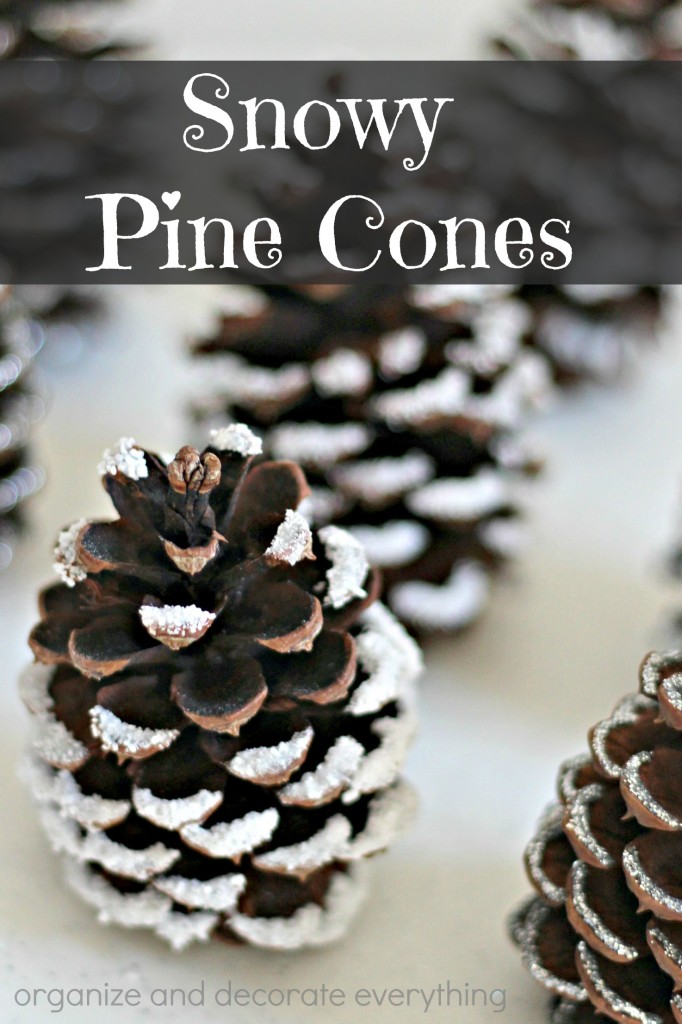
I’m using a lot of natural elements in Christmas crafts and decorating this year. It’s an inexpensive way to decorate but still celebrate the season in style. Combine free and natural elements with other decorations for a good balance of color and texture. I’m sharing 4 different ways make these Snowy Pine Cones. You can pick your favorite to make or make all four like I did.
This post is part of the 31 days of Christmas Ideas series. Click over to the main page to see all of the 31 Christmas posts (they will be added daily).

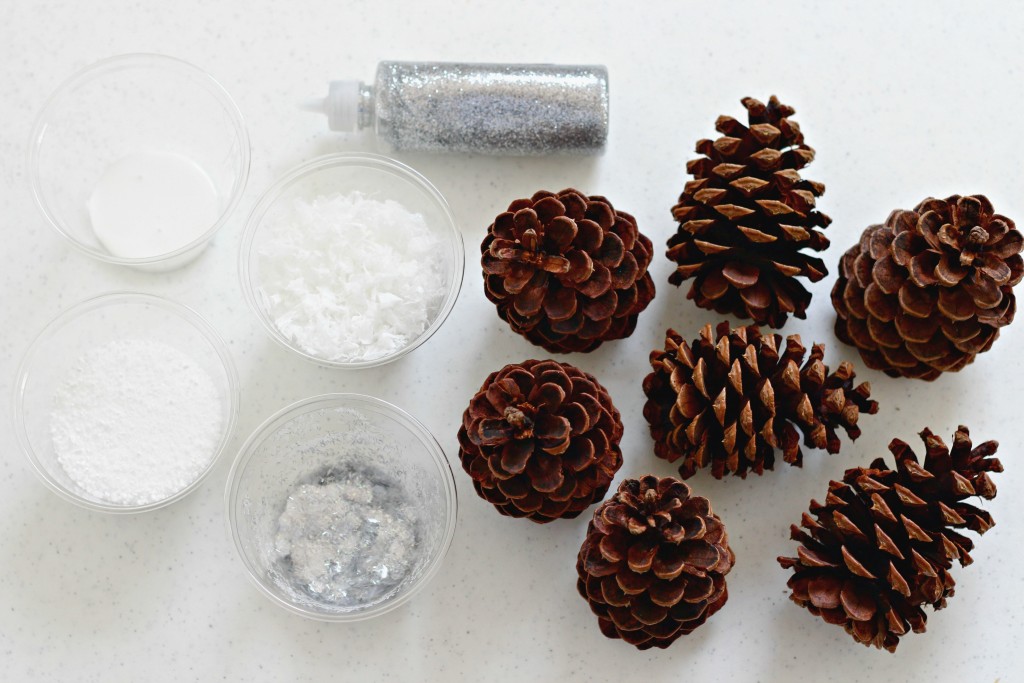
Supplies needed:
pine cones
glitter glue
epsom salt
glitter
fake snow
glue
paint brush
You probably already have most of these supplies, so let’s get started. You can purchase pine cones at any craft store or find your own in nature. If you find the pine cones in nature you will need to bake them for about 30 minutes in a 200 degree oven to make sure to get rid of any bugs living in them. Turn them once to make sure they don’t burn. Let cool completely before crafting.
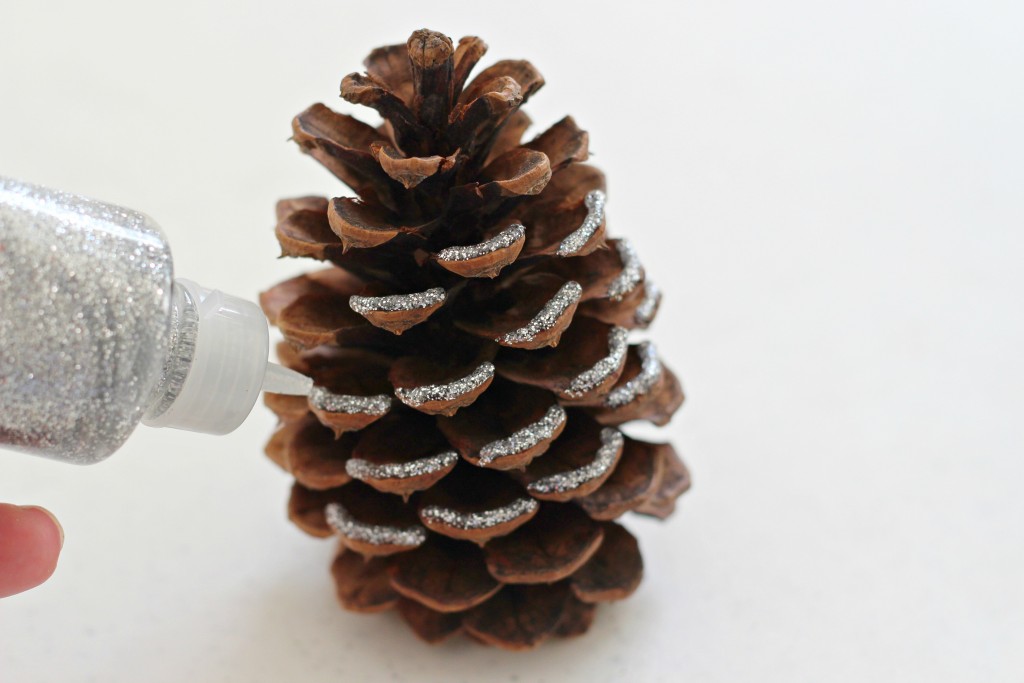
Use glitter glue to add sparkle to the “petals”. I have no idea what the parts of a pine cone are called. This is a pretty fast process but takes the longest to dry so I made them first. You could also use different colors of glitter glue, depending on your Christmas theme. This is a great craft project for the kids.
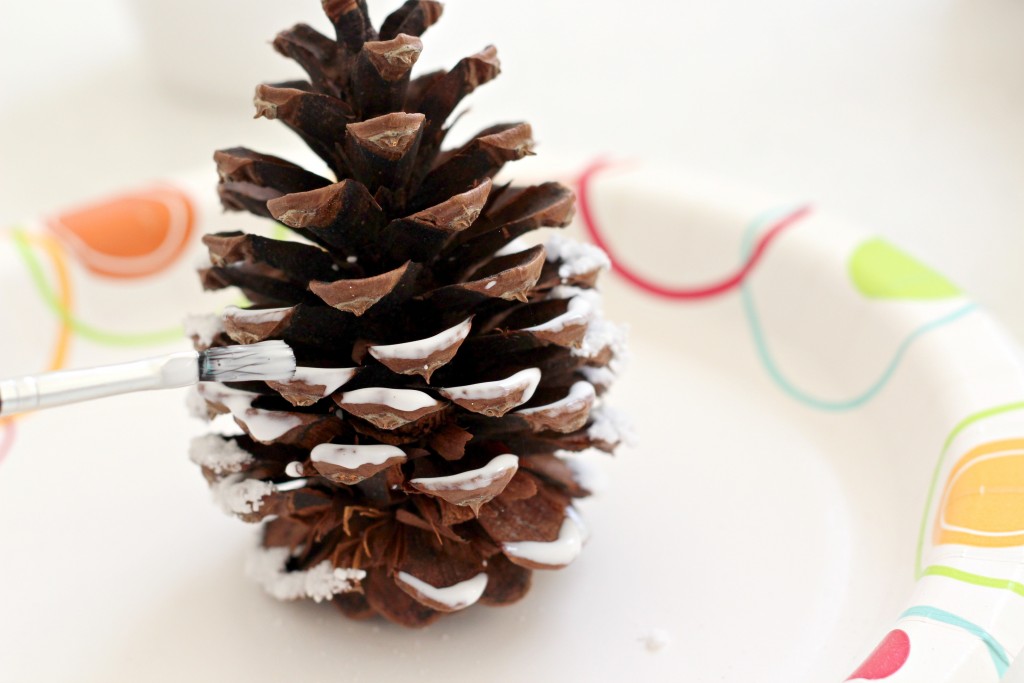
The next 3 snowy pine cones will need to have glue painted on first. Use whatever glue you have handy, regular white glue works fine. I had tacky glue and it’s really thick so I thinned it out with a bit of water first. Paint glue on the petals you want “snow” on.
I used epsom salt on these pine cones. They turned out to be my favorite. Apply the glue then sprinkle on epsom salt, shake off the excess and let dry.

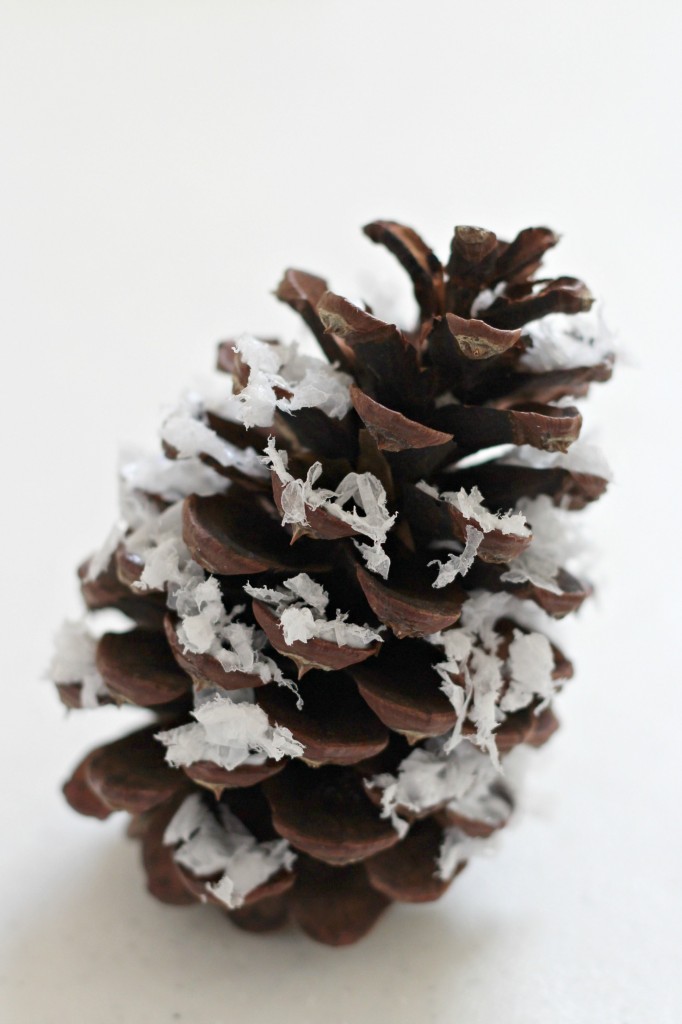
I used fake Christmas snow on this pine cone. It was a little harder to apply because of the size of the flakes but I’m happy with how it turned out.
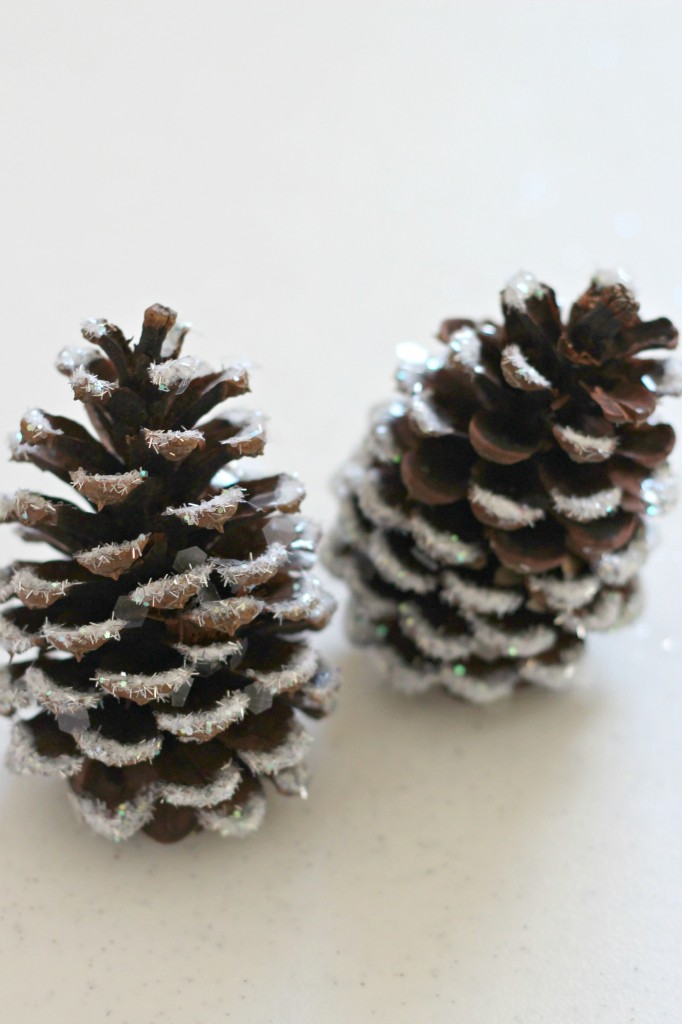
I used glitter on the last two. I had small amounts of 3 different types of glitter so I combined them to make enough. Apply the glue, sprinkle on the glitter, then shake off the excess. I love how these look frosty and by combining the 3 different types of glitter it gives them more depth and texture.
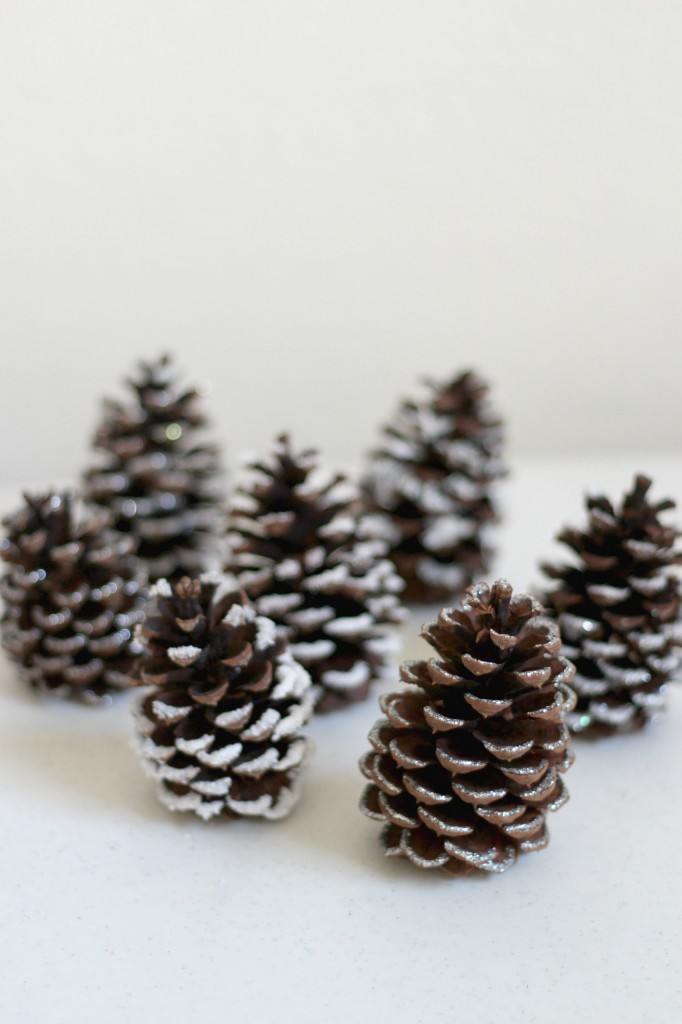
These pine cones are perfect for Christmas but can also take your decorating through Winter.
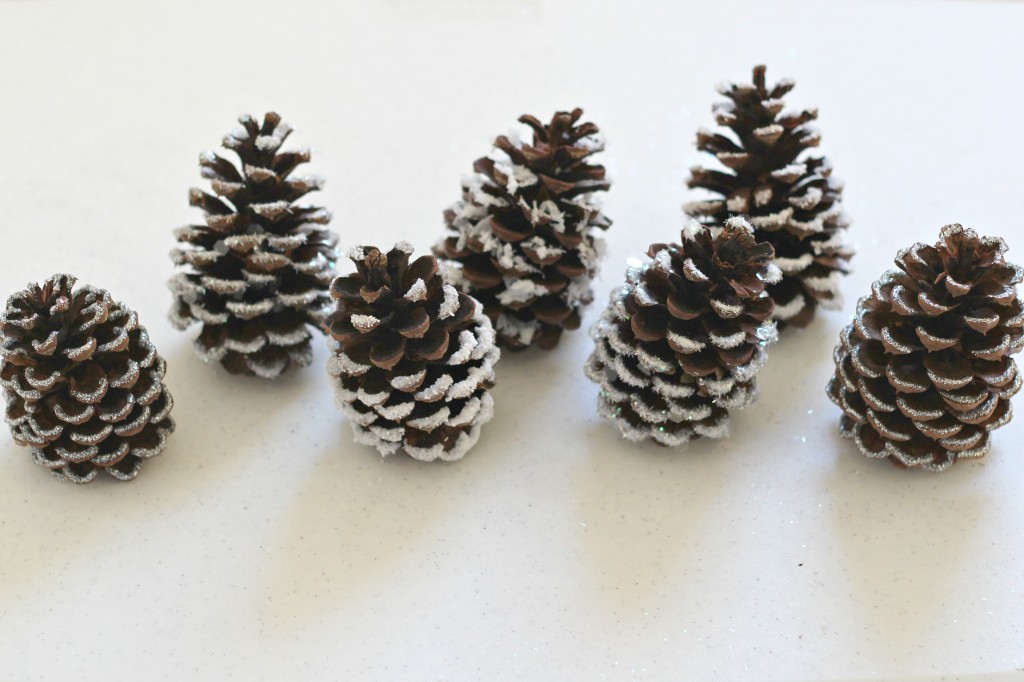
Toss them in a bowl and use them as a centerpiece, add them to candlestick holders, or add ribbon to them and turn them into ornaments. What’s your favorite snowy pine cone?
Please join me tomorrow for the next 31 Days of Christmas Ideas post.


