
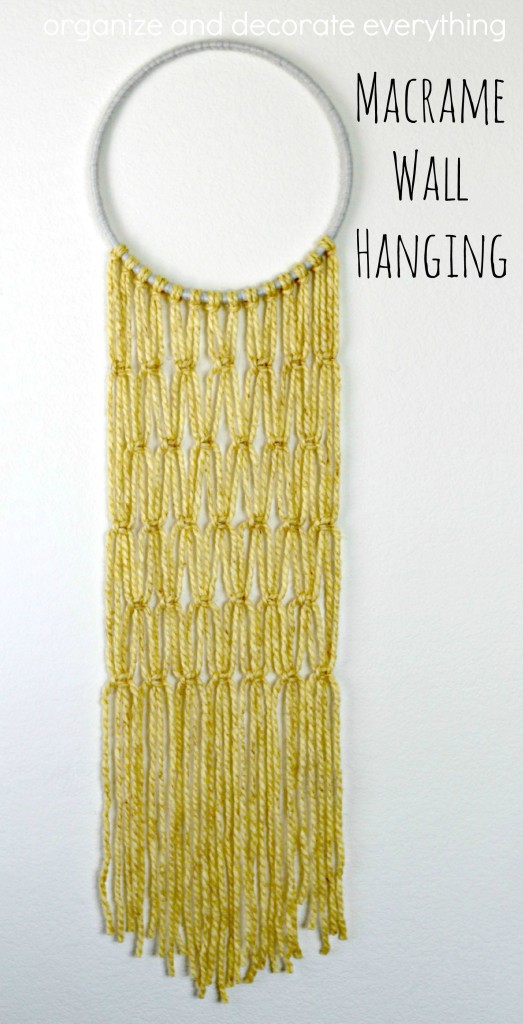
I told you I was addicted when I made my last wall hanging. I thought I’d change things up a bit for my side of the room and make a Macrame Wall Hanging this time. Oh, this brought back so many memories. I used to love macrame but hadn’t made anything using it for at least 30 years. I think the last thing I made was a hanging plant holder. I had a macrame owl when we were first married and now I wish I still had it! One of my favorite things about macrame is it’s inexpensive and you can make it cover a whole wall if you like. It makes a great focal point. I made mine long instead of wide because of the space I wanted to fill.
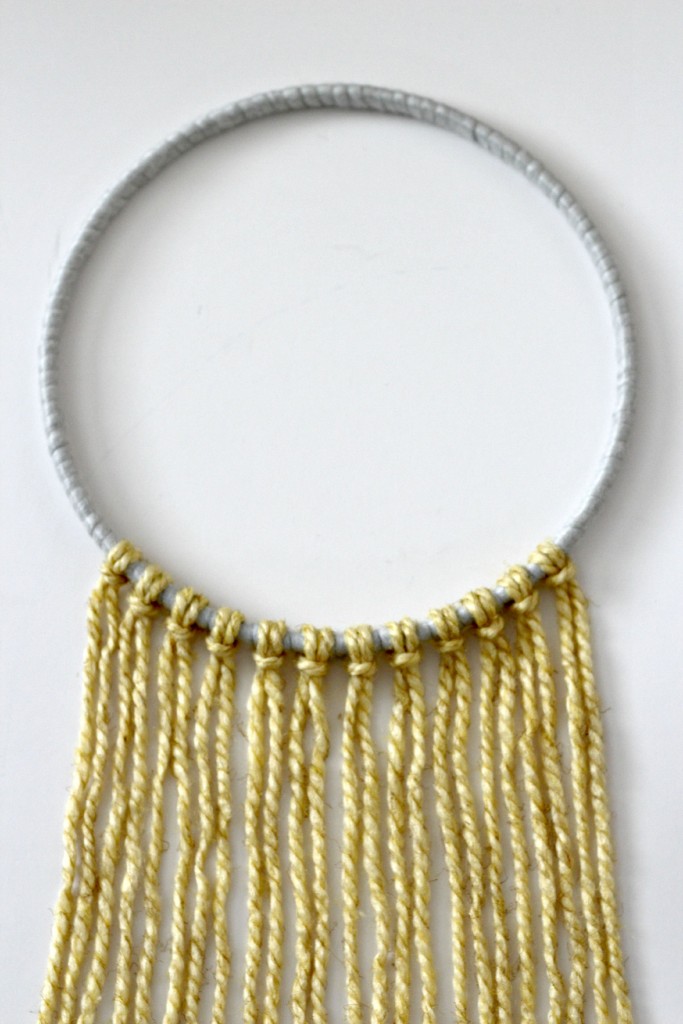
I started this wall hanging the same as the one I made last week so I’m going to refer you back to the original post to see how to wrap the hoop and attach the yarn to the hoop. Here’s a photo for reference. I didn’t have to purchase any new supplies since I still had a hoop and plenty of yarn. I chose to work with just one color this time. Each piece of yarn is about 6 feet long then folded in half over the hoop.
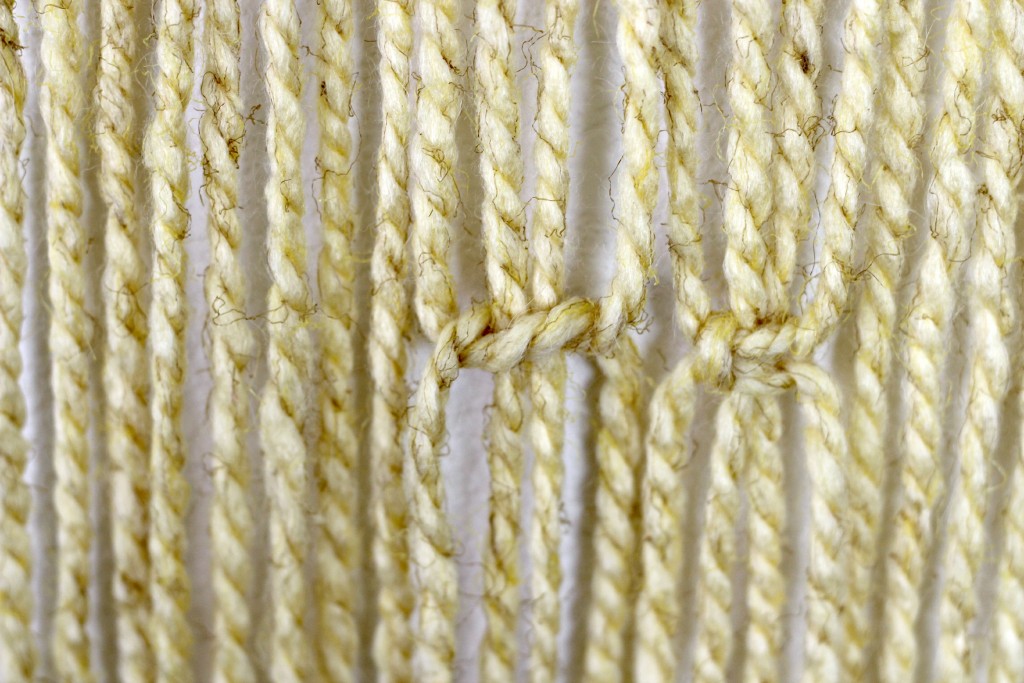
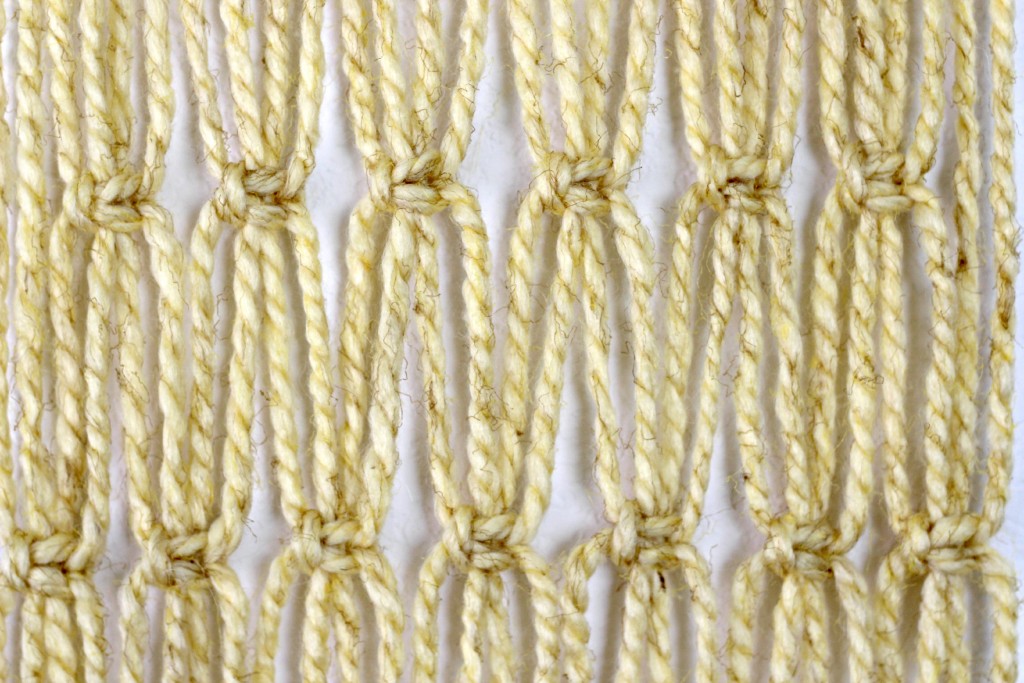
Working with yarn is a little different that working with rope. Yarn can stretch so you have to have a lighter touch while working with it. I am just using one knot this time. If you know how to tie a square knot this is easy, if not, I’ll show you how. You will be working with 4 pieces of yarn at a time. I started in the center and worked out in each row. The 2 pieces in the center will stay in place. Take the piece on the left, place it over the 2 in the center and behind the right piece.
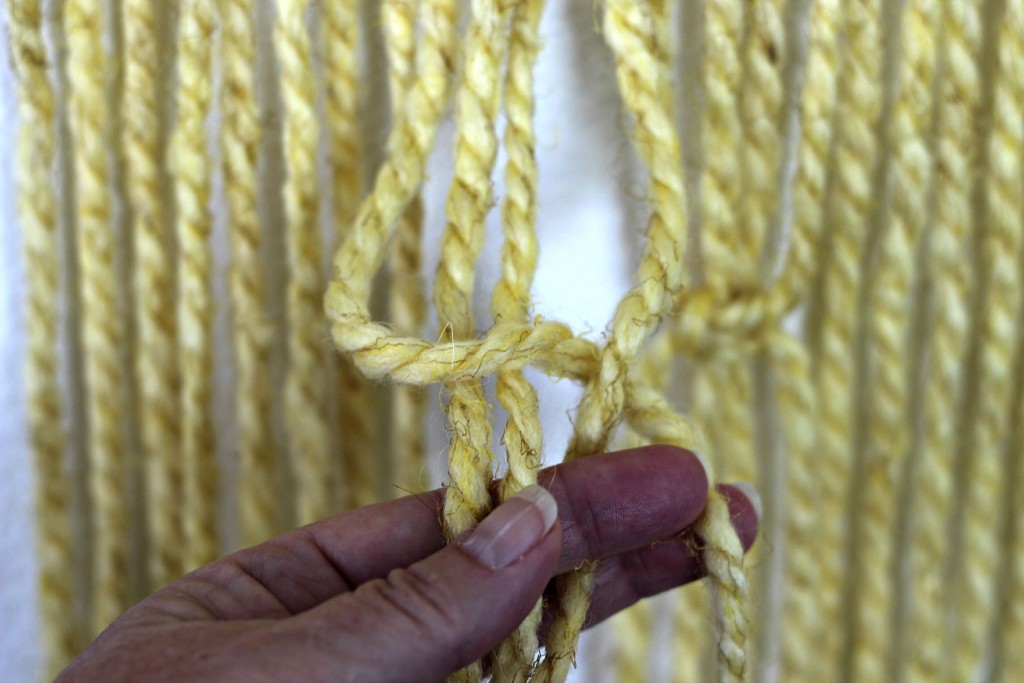
Now bring the right piece behind the 2 center pieces and through the loop on the left. This is how it will look.
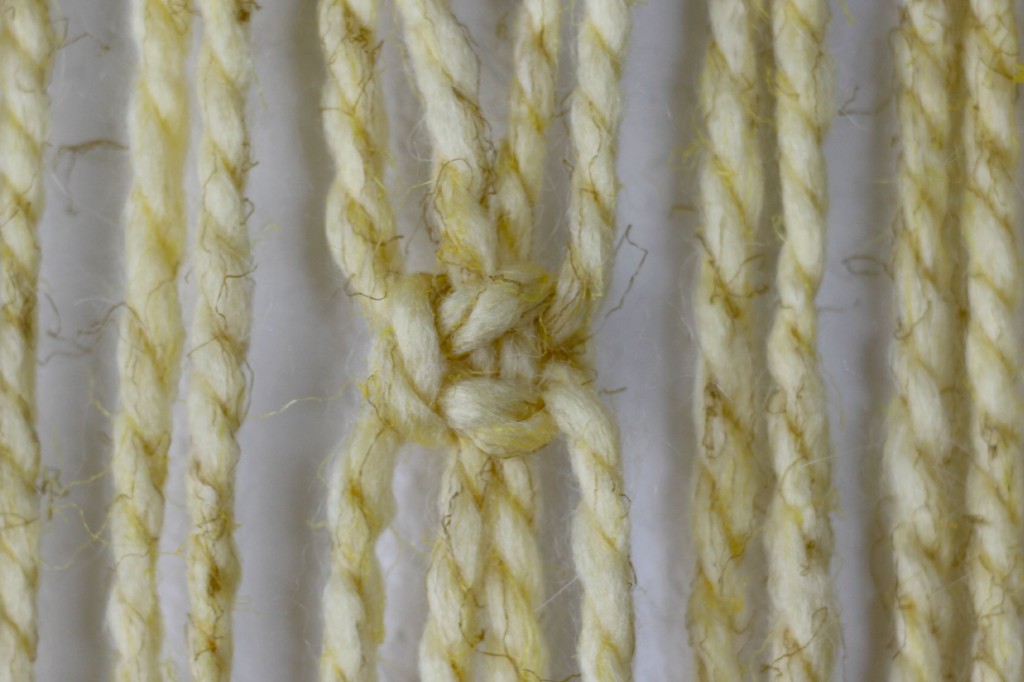
Once it’s tightened it will look like this. You have now finished the first half of the knot.
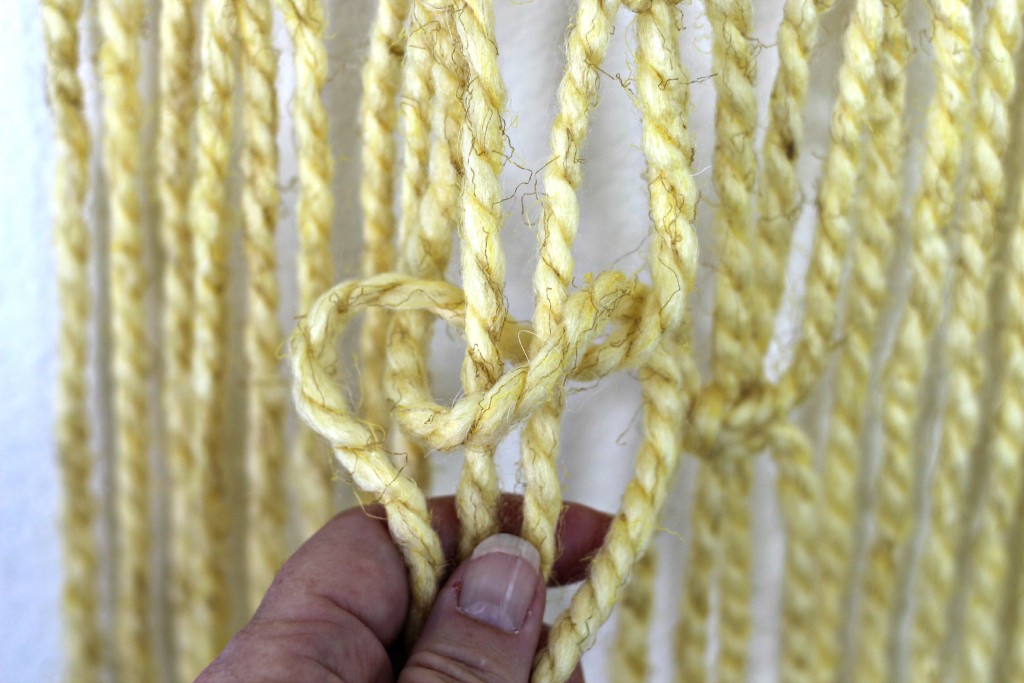
Now do the same thing in the opposite direction. Take the piece on the right in front of the 2 center pieces and behind the piece on the left.
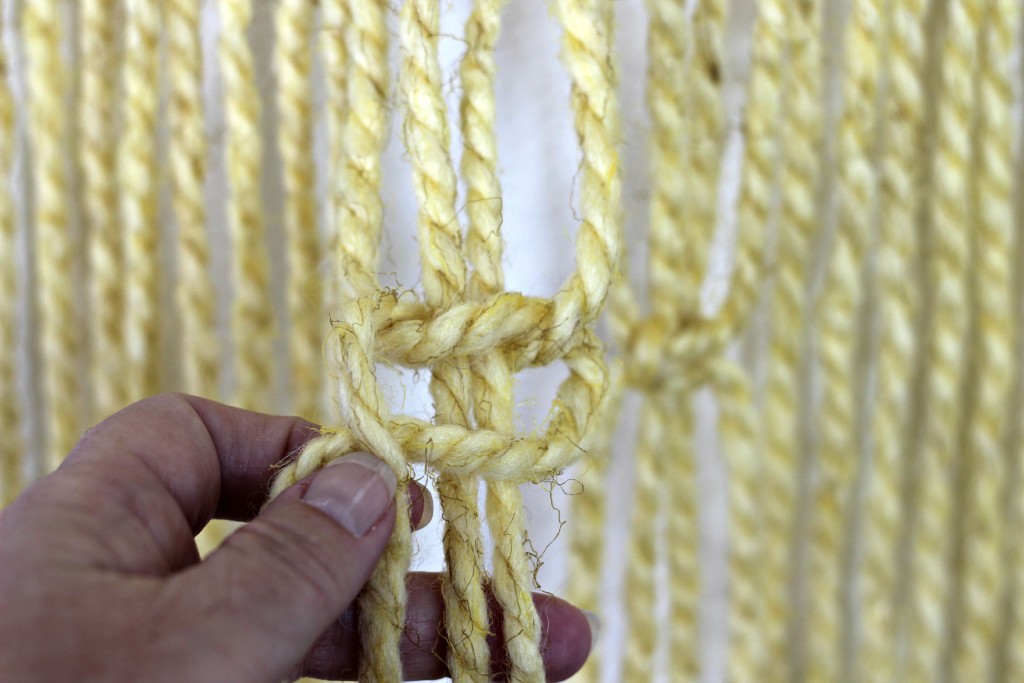
Bring the piece on the left behind the 2 center pieces and through the loop on the right. This is how it will look before it is tightened.

Now tighten the knot. Remember yarn stretches a bit so be careful not to pull too tight.
Use this photo for reference for where to start the first knots. I think the center one is about 3 inches from the hoop. If the lines don’t look straight to you they might not be. Funny and true story: When we were first married and moved into our first teeny tiny duplex I was anxious to hang pictures on the wall. Apparently I can’t eyeball if something is straight or I hold my head to one side or something because nothing was hung straight according to hubby. He bought me a level on his way home from work the very next day. I always use a level when hanging pictures now. If they’re not straight don’t tell me, I think they are.
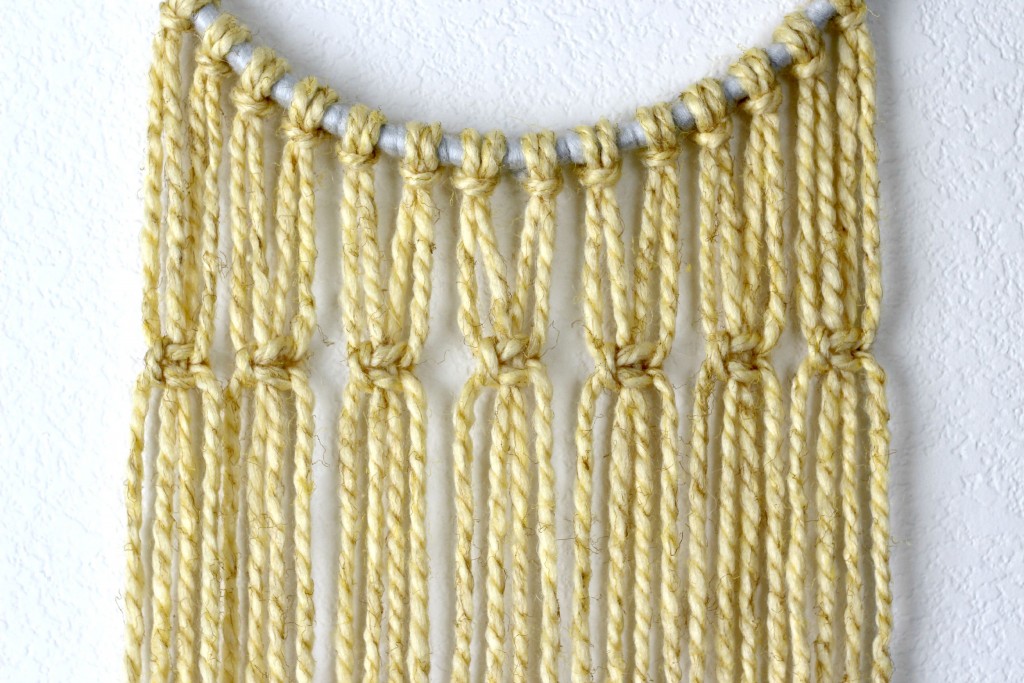
You are going to stagger the pieces of yarn you use for the next knots to make this pattern. It’s really easy once you get started and it goes really fast.
I made 5 rows of knots and cut the bottom randomly instead of using a ruler this time. I didn’t want it to be perfect on the bottom. You can check out the other post to see how I finished the bottom on the other one if you want it to be straight.
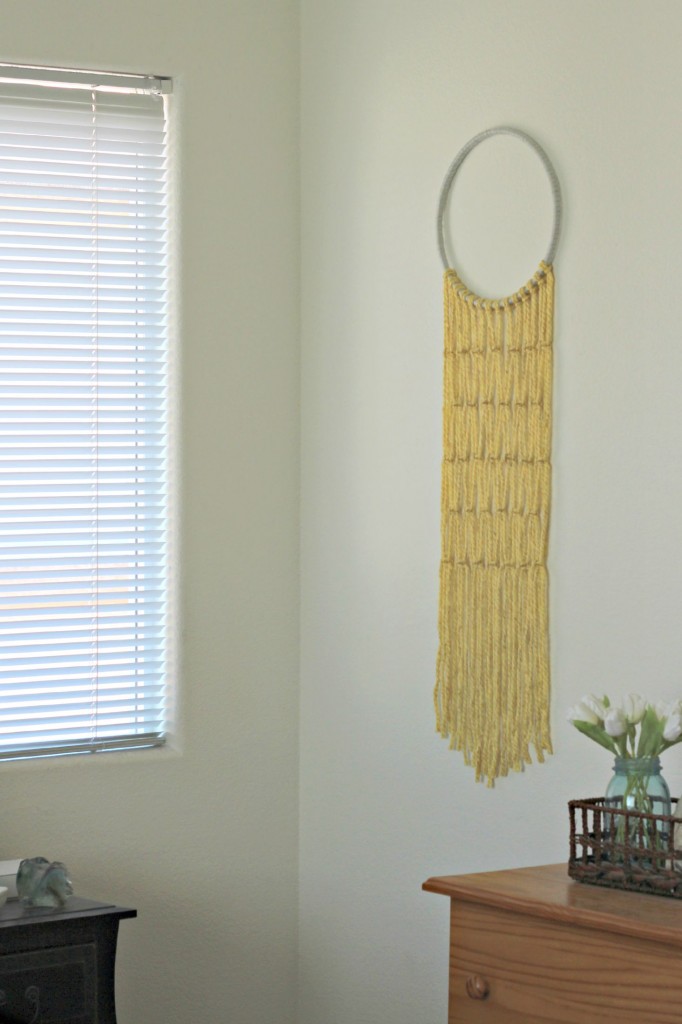
I am finishing my room little by little. I still have the dresser in this picture to paint and also hubby’s side table. Hopefully those are both coming soon. Maybe I should dust before I take a picture next time.
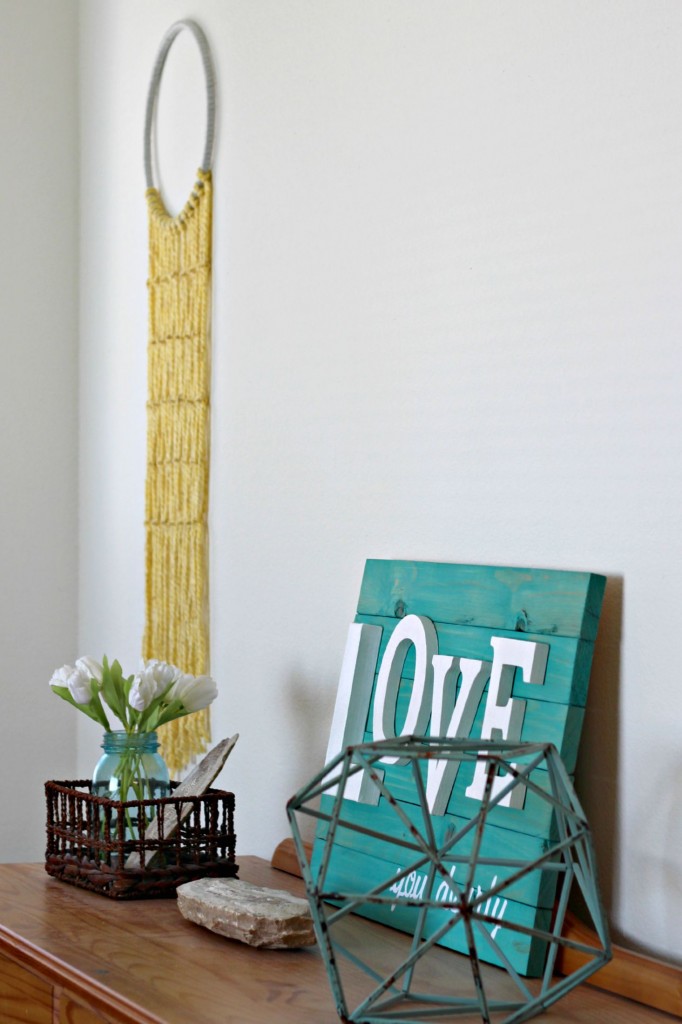
Here’s a link to the LOVE sign if you want the tutorial for it.


